


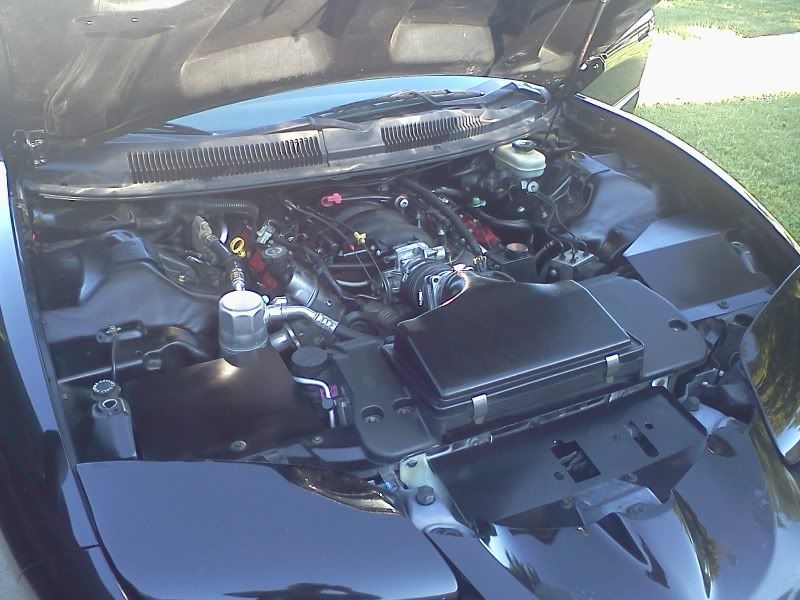


Another engine bay cover (in work)
Dude...you gotta have the rear edge of that piece marry up to the bottom of the air box edge so the air goes right into the air opening. Otherwise, its not gonna help much. And can you make it so it the front edge of the piece contours the two scoops. It would be great of that could be done, then have it seal with weather-stripping all the way around.....then these cars would actually have a true ram air hood.
.
.
LS1 Tech Stories
The Best V8 Stories One Small Block at Time

Gas Monkey Built a 6-Wheel Ferrari Testarossa With a Corvette LT4 Engine
Verdad Gallardo
7 Most Reliable High-Performance Engines GM Has Ever Built
Verdad Gallardo
Amazing '71 Camaro Restomod Is Modern Muscle Car Under the Skin
Verdad Gallardo
6 Common C5 Corvette Failures and What's Involved In Repairing Them
Pouria Savadkouei
Retro Modern Bandit Pontiac Trans AM Comes With Burt Reynolds' Autograph
Verdad Gallardo
Top 10 Greatest Cadillac V Series Performance Models Ever, Ranked
Pouria Savadkouei
Top 10 Most Powerful Chevy Trucks Ever Made!

Hennessey's New Supercharged Silverado ZR2 Has 700 HP
Verdad Gallardo
Coachbuilt N2A Anteros Is an LS2-Powered C6 Corvette In Italian Clothes
Verdad Gallardo Also, just a thought.. Any way to cover up the part just above the back where its cut off, under the lid
make it where it does a 90 straight up an inch or so.
I don't see how this would effect anything.
no big deal would just look even better imo..
make it where it does a 90 straight up an inch or so.
I don't see how this would effect anything.
no big deal would just look even better imo..
Point taken, I understand what you mean but....the hood will not close (latch) if the back end of the plate is level with the air box. Great idea and it makes perfect sense for the idea that you have but in order for that to work, the hoop latch on the bottom of the hood needs to be abou 1/2" longer for depth purposes.
.
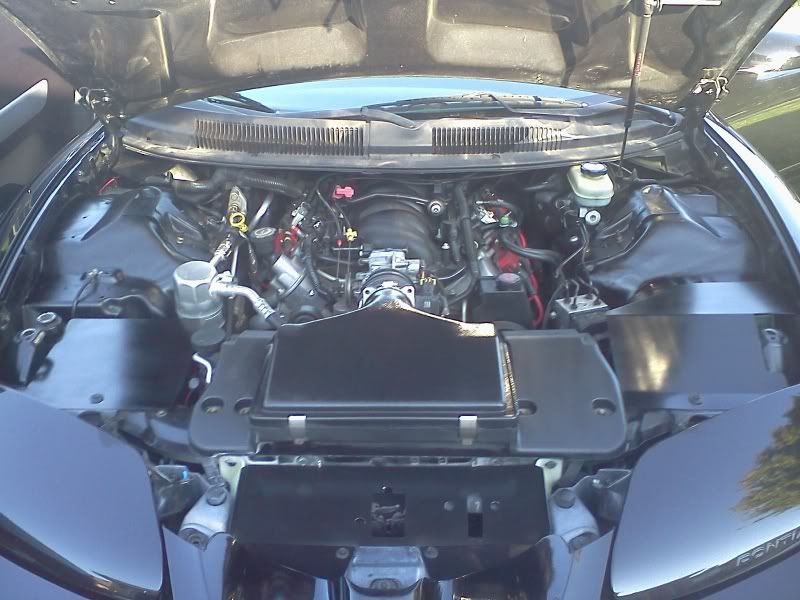
First...I suck at editing pictures.......lol
You can see where I would put up walls on the side, and around the hood latch. Maybe some kind of material that could flex as the hood comes down on it, sealing it from top and bottom. Then the long strip "bridge" that reaches across that gap and lays on top of the sheet metal piece.
A friend of mine wanted to put a giant clump of clay moulding material in that whole area, then slowly carv out clay until thats exactly what you would have, all in one piece. Then experiment with different foams. Evem make the bottom out of a piece of acrylic, then the side walls and hood fence with foam. The bridge is easy to make.
.
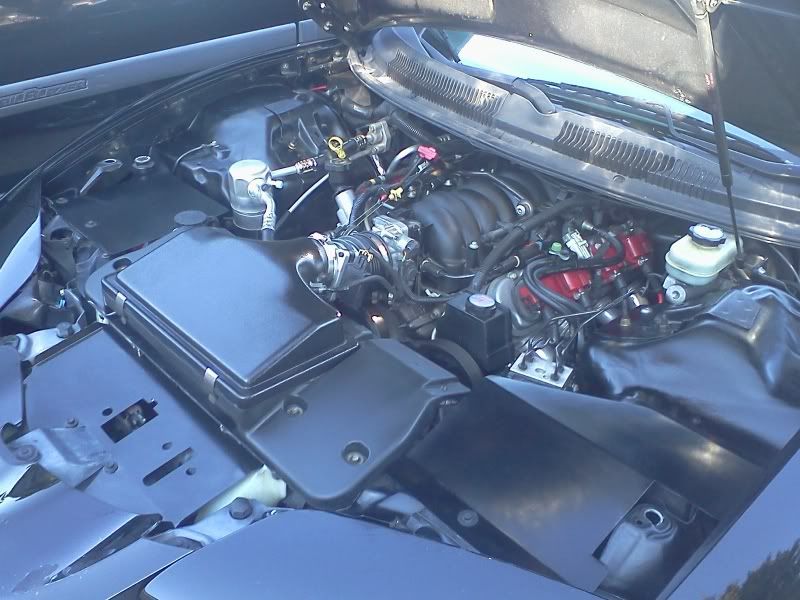
I kinda get what you mean but all that area is needed for the bottom of the hood to latch into place. There is absolutley no room for much of anything else.

So instead of notching the plate (which I did on th first one and didn't like it), I took the rotozip and grinded the latchsupport structure down so the plate would fit nicely. Don't worry about the integrity of the latch support. That thing is completely over designed lol!!! Trimming the fat 