
Custom CETA Mod, painted tail lights to match. (Lots of pics)
 02-01-2012, 01:49 PM
#1


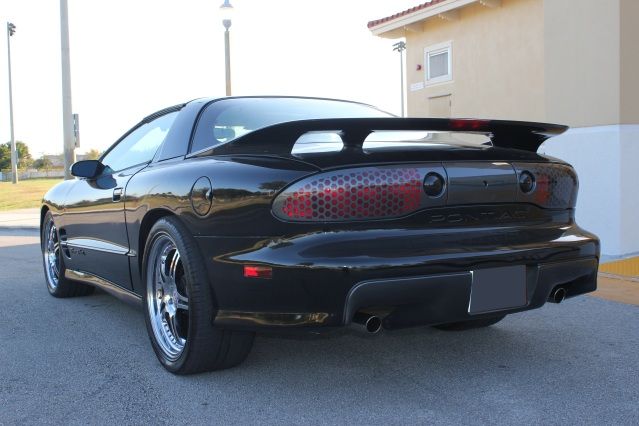
Dont know or have seen anyone try this yet (even tho im sure someone has at some point) but I took the plunge and the end result came out pretty nice. Inspiration came from the Blackbird Trans Ams and all the guys on here with the nice black/charcoal CETA mods done to their rear bumpers, I just took it a step further and prepped, meticulously masked off, painted, and clearcoated the lights to match. Never did want to take sandpaper to badass LS1 honeycomb brake lights but they needed some TLC so i decided to paint everything in a unique scheme. Enjoy!!!!!


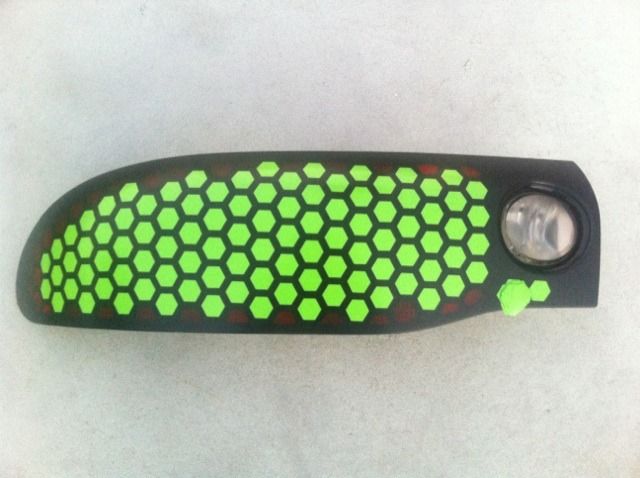
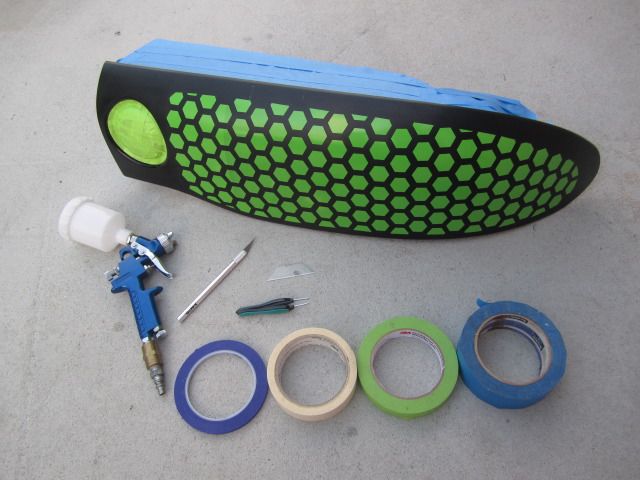
Mixed alittle black and some clear for the reverse lights then bought about 500 hexagons specifically cut to match the size of our honeycomb tail lights.

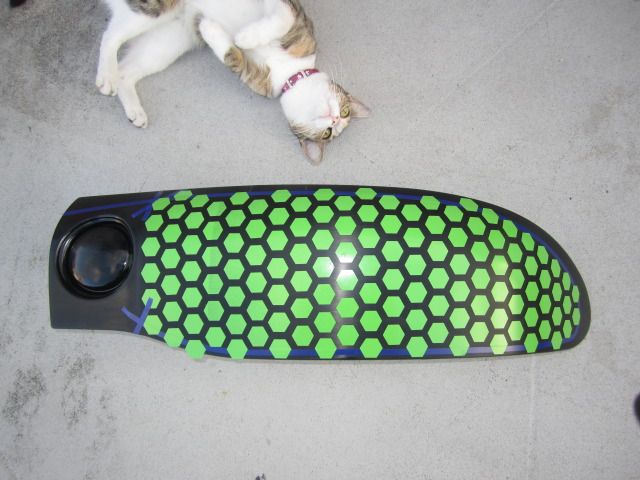
Cat being nosy. I need to teach her how to paint, or something...
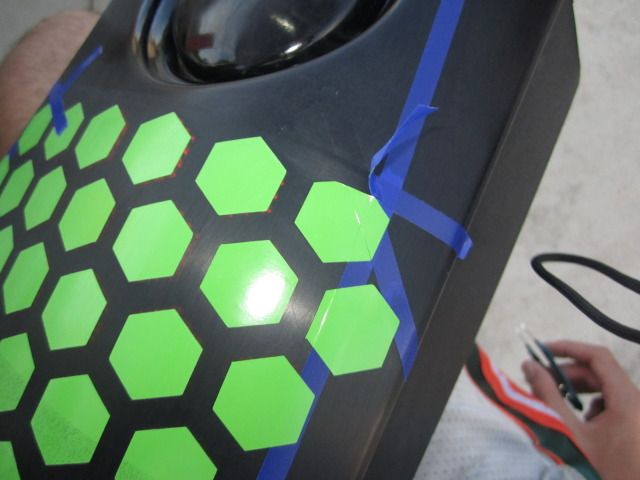
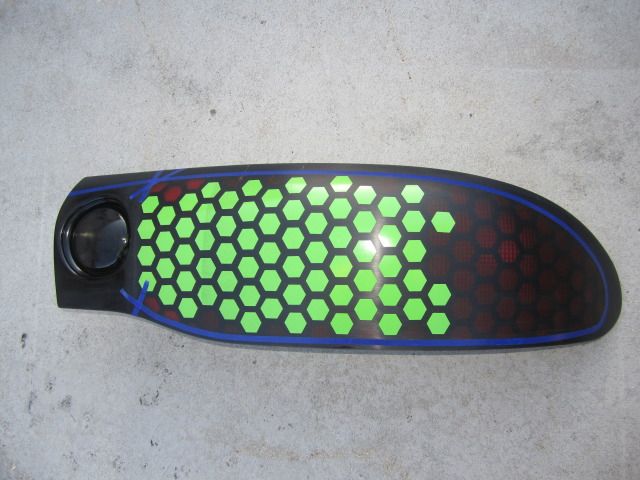
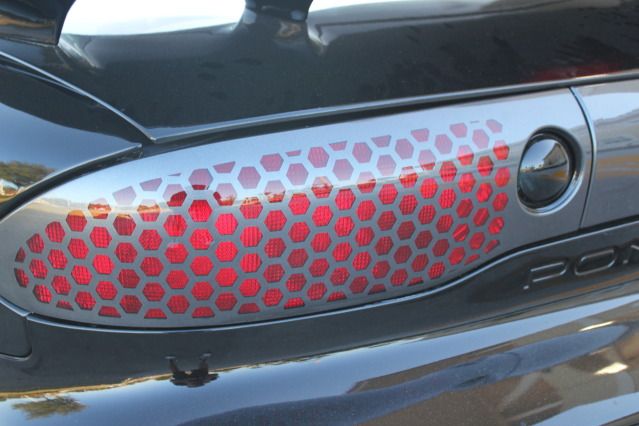
Time to cut out the excess honeycomb decals that "touch" the blue tape, alot of the red hexagons on the lights are not complete hexagons around the contour of the brake light if you look closely. Alot of them are cutoff in some way, shape, or form, so i followed the line with the blue thin 3M tape. This was the best way to see where that cutoff was.
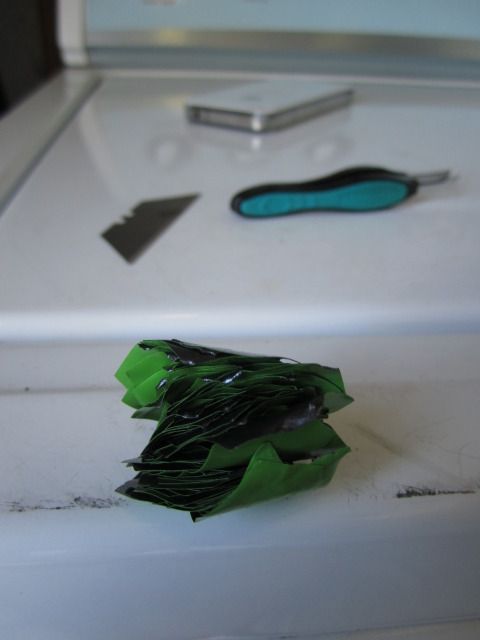
Exacto knife, a nice blade, and tweezers (yes tweezers) are a must.
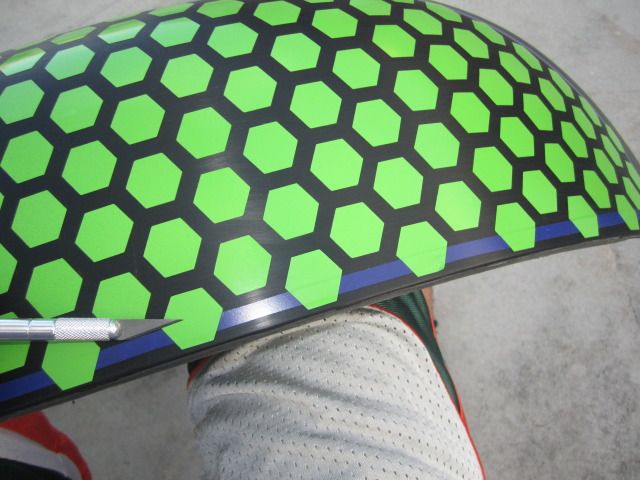
Gives you an idea of how much masking has to be done in different stages to get it all right.
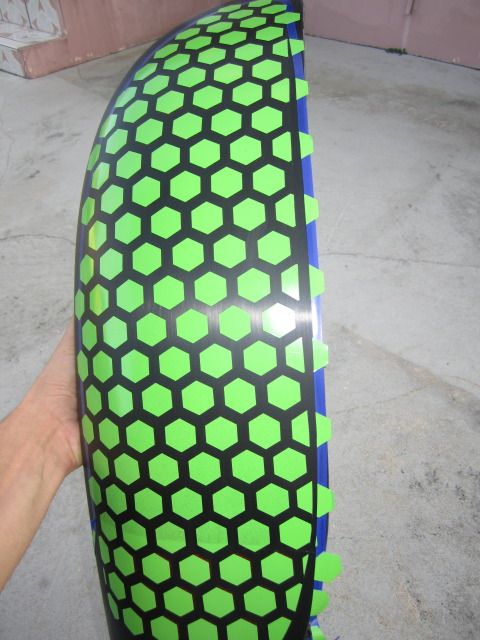
Sprayed everything with the metallic grey and waited for it to dry alittle bit.
Removal of hexagon decals
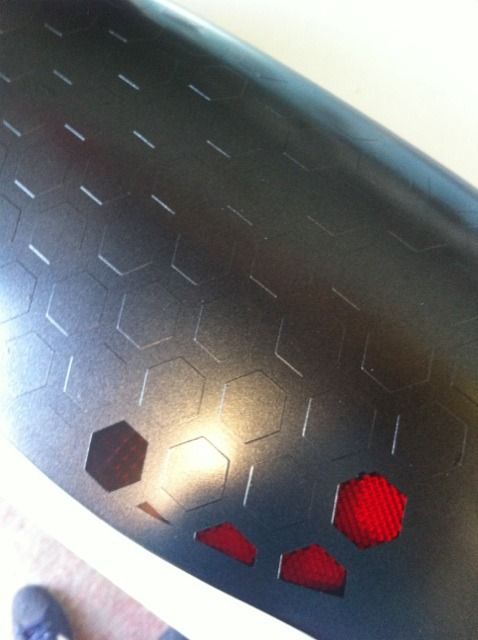
Very time consuming task, might spend more on beer by the time your done...
Collection of a few of the hundreds of decals you have to remove and discard
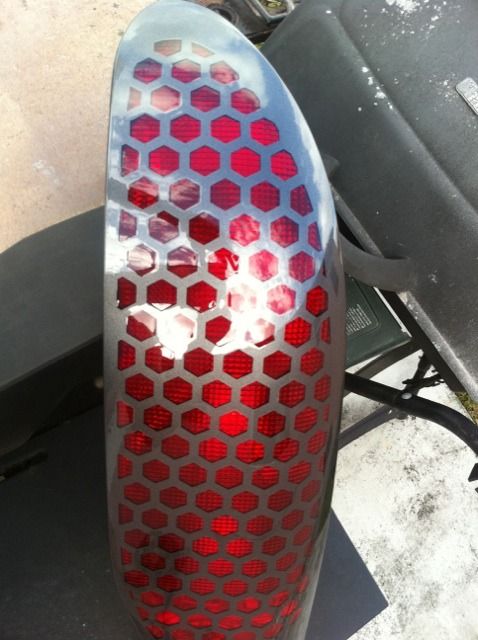
No clearcoat yet but looks good so far.
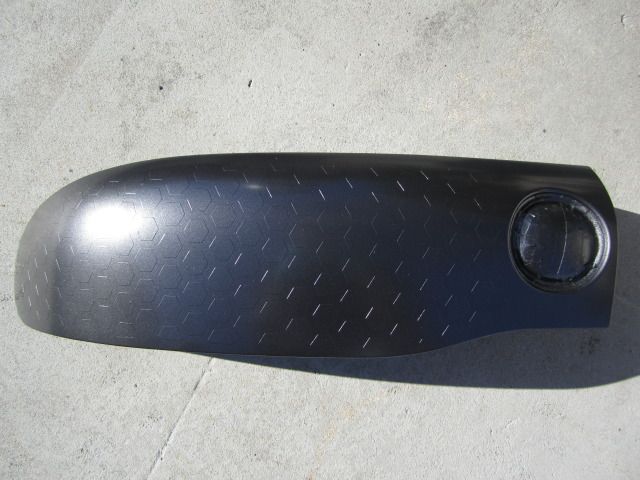
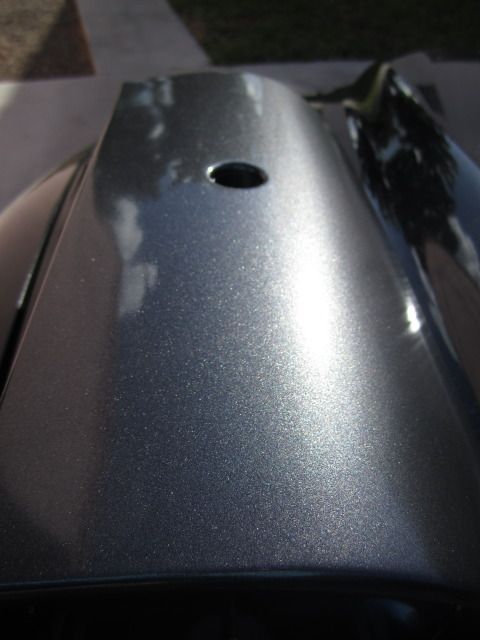
Center tail light panel prepped and painted. The metallic flake looks great in the sun without clearcoat....
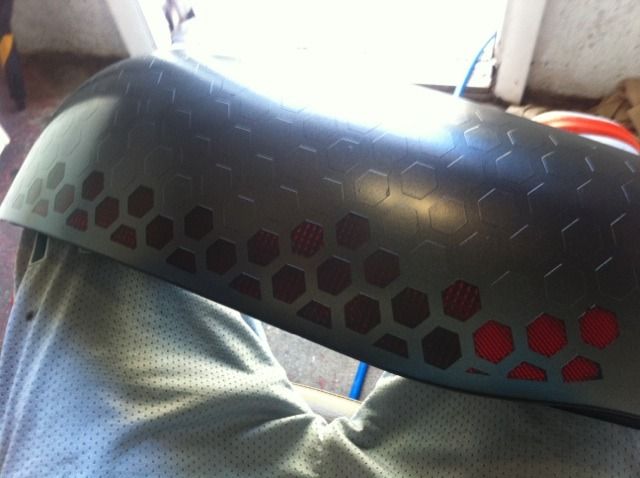
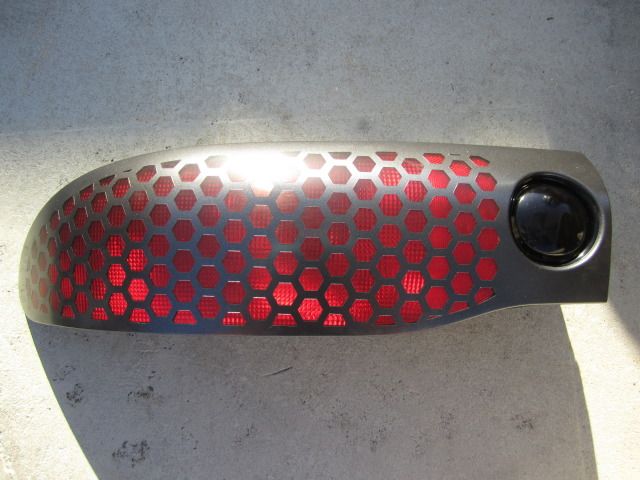
Testing tail light to make sure enough light shines through for braking and driving. Had to make sure everything looked decent before final preparation/sanding and before the 3 coats of clear. And yes the reverse lenses/bulbs are perfectly functional day or night even with them blacked out the way they are. (Only sprayed one maybe two coats to darken them to this point and they were good to go)

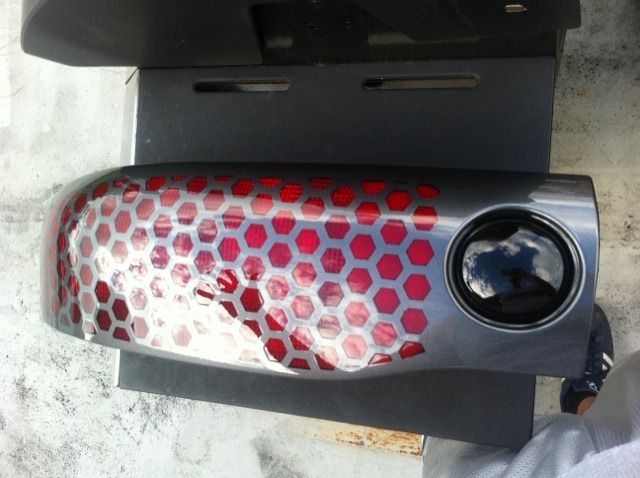
Clearcoat ROUND 1
Clearcoat ROUND 3 (Final coat!)
Tested everything...3rd brake light still missing and car is dirty...
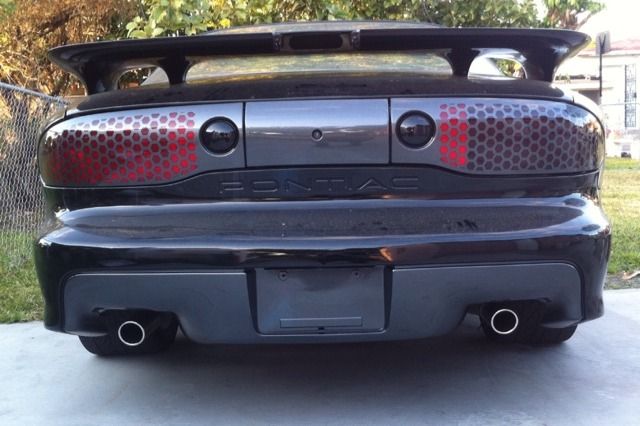
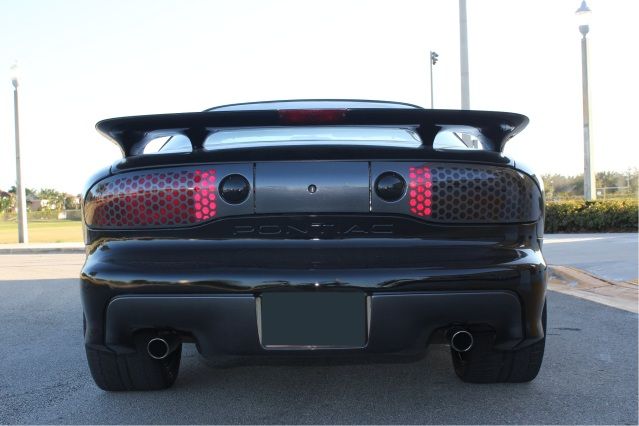
Final pics below with all lenses on. I thought it looked clean so i left it as is, but i would love to see this setup with a gloss black "Trans Am" decal and black "bird" similar to the factory center panel to match the smoked out reverse lights and tie everything together. Either way it came out great and i left it because i thought more decals would clutter up the rear. Overall im happy, well worth the time invested to have something unique.
Mixed alittle black and some clear for the reverse lights then bought about 500 hexagons specifically cut to match the size of our honeycomb tail lights.
Cat being nosy. I need to teach her how to paint, or something...
Time to cut out the excess honeycomb decals that "touch" the blue tape, alot of the red hexagons on the lights are not complete hexagons around the contour of the brake light if you look closely. Alot of them are cutoff in some way, shape, or form, so i followed the line with the blue thin 3M tape. This was the best way to see where that cutoff was.
Exacto knife, a nice blade, and tweezers (yes tweezers) are a must.
Gives you an idea of how much masking has to be done in different stages to get it all right.
Sprayed everything with the metallic grey and waited for it to dry alittle bit.
Removal of hexagon decals
Very time consuming task, might spend more on beer by the time your done...
Collection of a few of the hundreds of decals you have to remove and discard
No clearcoat yet but looks good so far.
Center tail light panel prepped and painted. The metallic flake looks great in the sun without clearcoat....
Testing tail light to make sure enough light shines through for braking and driving. Had to make sure everything looked decent before final preparation/sanding and before the 3 coats of clear. And yes the reverse lenses/bulbs are perfectly functional day or night even with them blacked out the way they are. (Only sprayed one maybe two coats to darken them to this point and they were good to go)
Clearcoat ROUND 1
Clearcoat ROUND 3 (Final coat!)
Tested everything...3rd brake light still missing and car is dirty...
Final pics below with all lenses on. I thought it looked clean so i left it as is, but i would love to see this setup with a gloss black "Trans Am" decal and black "bird" similar to the factory center panel to match the smoked out reverse lights and tie everything together. Either way it came out great and i left it because i thought more decals would clutter up the rear. Overall im happy, well worth the time invested to have something unique.
Last edited by fenix999; 02-01-2012 at 02:52 PM.

 02-01-2012, 02:06 PM
#4
Thanks alot guys...and yeah it took way too much work over the course of a couple days. Too much to even want to remember but once i took sandpaper to the lights i was like F*** it i might as well finish. LOL
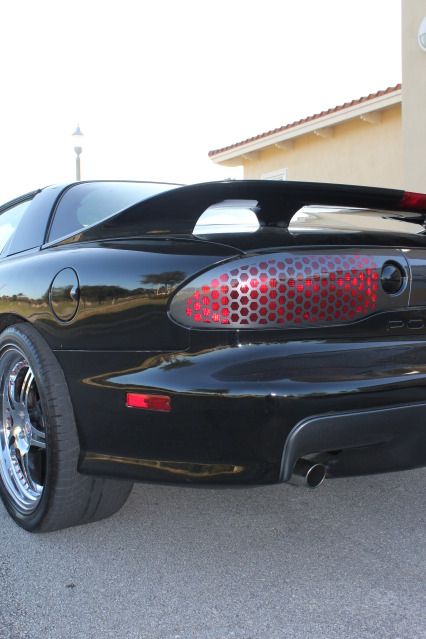
Wheels are chrome HRE's, staggered 19x9.5" fronts/20x10.5" rears by the looks of it. Tires are 275's up front, 315's for the rears. Its alittle too much tire but it looks alright overall and for the money i paid its staying that way lol
Wheels are chrome HRE's, staggered 19x9.5" fronts/20x10.5" rears by the looks of it. Tires are 275's up front, 315's for the rears. Its alittle too much tire but it looks alright overall and for the money i paid its staying that way lol
02-01-2012, 02:20 PM
#5
Launching!
iTrader: (19)

Join Date: Oct 2003
Location: Houston, Tx
Posts: 204
Likes: 0
Received 0 Likes
on
0 Posts
Man, that looks cool as hell, not a fan of the color but the idea behind it and the work you put in, definitely original and best for the guys trying to make a theme of their cars such as yourself.
02-01-2012, 02:28 PM
#6
Thanks i appreciate it. I didnt want it to come off as "ricey" or to be seen from a mile away, just a subtle change to the rear since all Trans Ams have the same setup with either stock honeycomb lights and/or the CETA bumper mod painted black. I was trying to find the right shade of grey with a metallic flake to it so it stands out alittle (especially in the sun) against the plain jane black paint, and i think i picked a decent one. The other shades i was contemplating were too light of a silver and didnt look right at all being that the lights and lower bumper take up a huge chunk of visual real estate back there. The other shades didnt give off that "charcoal" color i was trying to achieve. Thanks for the honest opinion though, what color scheme would you have picked for it instead? Lighter, darker, another color entirely or would you have left it stock....?
Last edited by fenix999; 02-01-2012 at 02:36 PM.

Trending Topics


 Very good work!
02-01-2012, 04:50 PM
Very good work!
02-01-2012, 04:50 PM
#17
Douchebag On The Tree
