


Completed Wire Mod: Tutorial Inside
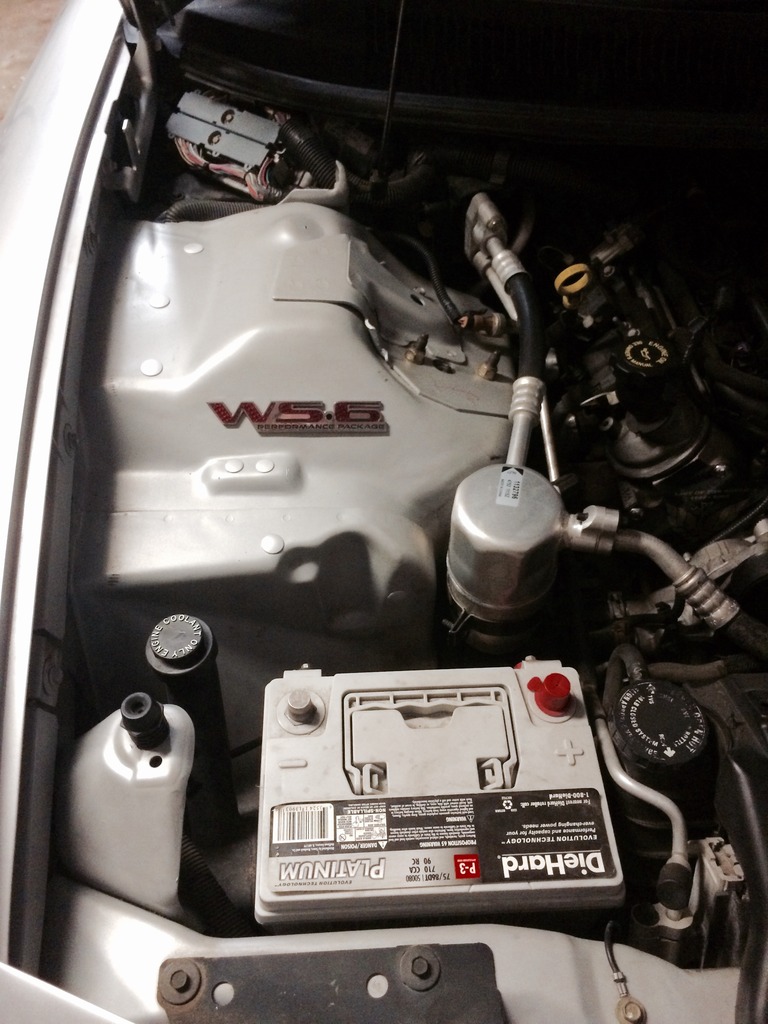
I kept the heater, A/C is gone. The air line you see controls the flapper doors in the HVAC box under the dash. All I did was take a section of the same plastic tube from a spare engine harness I had, and join it with heater tubing from the parts store to extend it.
Yeah...the hard vac line coming off the harness...I knew about that one. I was talking about the larger hoses going from the firewall to back behind/under the PCM. I guess they are the heater hoses, but I thought it was AC lines. Either way it gave me an idea. LOL
I plan on keeping the AC.....I even have a couple cars that previous owners deleted the HVAC system from that I may add it all back. It get's too hot down here not to have it in a daily driver. Your picture gave me an idea about possibly hiding most of the AC and heater hoses though. I know some custom hoses would need to be built, but most local NAPA or Bumper To Bumper stores can make those.
^that. You can certainly just brush some paint on the edge to prevent that. Also add a grommet around the edge so that the hard edge is not exposed. When I did this mod I also repainted everything, so rust was never a concern.
LS1 Tech Stories
The Best V8 Stories One Small Block at Time

Gas Monkey Built a 6-Wheel Ferrari Testarossa With a Corvette LT4 Engine
Verdad Gallardo
7 Most Reliable High-Performance Engines GM Has Ever Built
Verdad Gallardo
Amazing '71 Camaro Restomod Is Modern Muscle Car Under the Skin
Verdad Gallardo
6 Common C5 Corvette Failures and What's Involved In Repairing Them
Pouria Savadkouei
Retro Modern Bandit Pontiac Trans AM Comes With Burt Reynolds' Autograph
Verdad Gallardo
Top 10 Greatest Cadillac V Series Performance Models Ever, Ranked
Pouria Savadkouei
Top 10 Most Powerful Chevy Trucks Ever Made!

Hennessey's New Supercharged Silverado ZR2 Has 700 HP
Verdad Gallardo
Coachbuilt N2A Anteros Is an LS2-Powered C6 Corvette In Italian Clothes
Verdad Gallardo Hey buddy will doing the wire mod hurt any of the car running stuff


1-3/4 Bi-Metal hole saw. Lowes has them and it gets the job done very well. Just did a friend's car this past weekend actually.
I always thought you had to remove the fender to do this. I may be doing this soon, I relocated my passenger coils to the batterly location, and routed the wire bundle on the frame rail and Im not a fan of how it turned out. This would allow me to hide it all though I will end up with some excess wire because of it though
I always thought you had to remove the fender to do this. I may be doing this soon, I relocated my passenger coils to the batterly location, and routed the wire bundle on the frame rail and Im not a fan of how it turned out. This would allow me to hide it all though I will end up with some excess wire because of it though
I would also get a electrical connector disconnect tool from Lisle... makes the job a **** ton easier.. dont forget to make a diagram on a notepad of which colored wire goes where in the connector...
If you use a 1-3/4" hole saw, there is no need to break down the wiring connectors. They fit through perfectly!
1 3/4 hole saws, connector disassembly....yikes, some of you guys are making a mountain out of a mole hill, lol.
IIRC, I used a 1" hole saw, drilled two holes side by side keeping in mind the width of the widest plug connector and some play room for the next connector sharing the wiring from feeding the first harness through. Blend both holes together using a die grinder so that now you have a slot. Smooth rough edges, prep with paint, modify a grommet, start feeding wires.
IIRC, I used a 1" hole saw, drilled two holes side by side keeping in mind the width of the widest plug connector and some play room for the next connector sharing the wiring from feeding the first harness through. Blend both holes together using a die grinder so that now you have a slot. Smooth rough edges, prep with paint, modify a grommet, start feeding wires.