When you click on links to various merchants on this site and make a purchase, this can result in this site earning a commission. Affiliate programs and affiliations include, but are not limited to, the eBay Partner Network.
Anyone know where water drains from a wsq or smoothie q?
Thank you for any help.
I was wondering where the water drains to on one of these hoods. Since you can only get them with heat extractors and my car sits outside, so it will get rained on. This is a big deciding factor on whether I order the hood or just keep my sleek beak. There are no other options since I cannot find a Firehawk, Raptor hoods seem to be out of production, and Superhawk hoods are dead (check sig)
These f body cowls are leakers from day one so I deal with that water and want to make sure I am not adding 2 new places for water under my hood.
I got the hood, sitting on the car, roughed into place, just been super busy with work and have only spent 10 minutes here, 20 mins there filing and grinding and trying to get it to fit.
I will try and check tomorrow where it drains, I currently have them taped closed due to all the damn maple seeds falling everywhere. From what it looks like, it appears to run down a channel and drain into the nostril airbox and out the front of the nose. No other drain holes anywhere, but I will try to verify it tomorrow.
Hood fits extremely well right out of the box. I did have to slot everything and cut the nose thickness 1/8" and have to file both the bumper and the hood. I did add weight to one side and overbend the hood to get it to sit down because I have lowered the center to the max. I still need to add the latch and struts and see if it moves again. Due to the nature of the nose design, it will take some work. It's not as simple as a ws6 hood or sleek beak. A lot of curves to to mess with. I have seen a lot of pics of this hood and it looks like most people don't spend much time aligning it. I am taking a lot of extra time and making sure that mine fits better. It just takes time and patience but I am very happy with the hood.
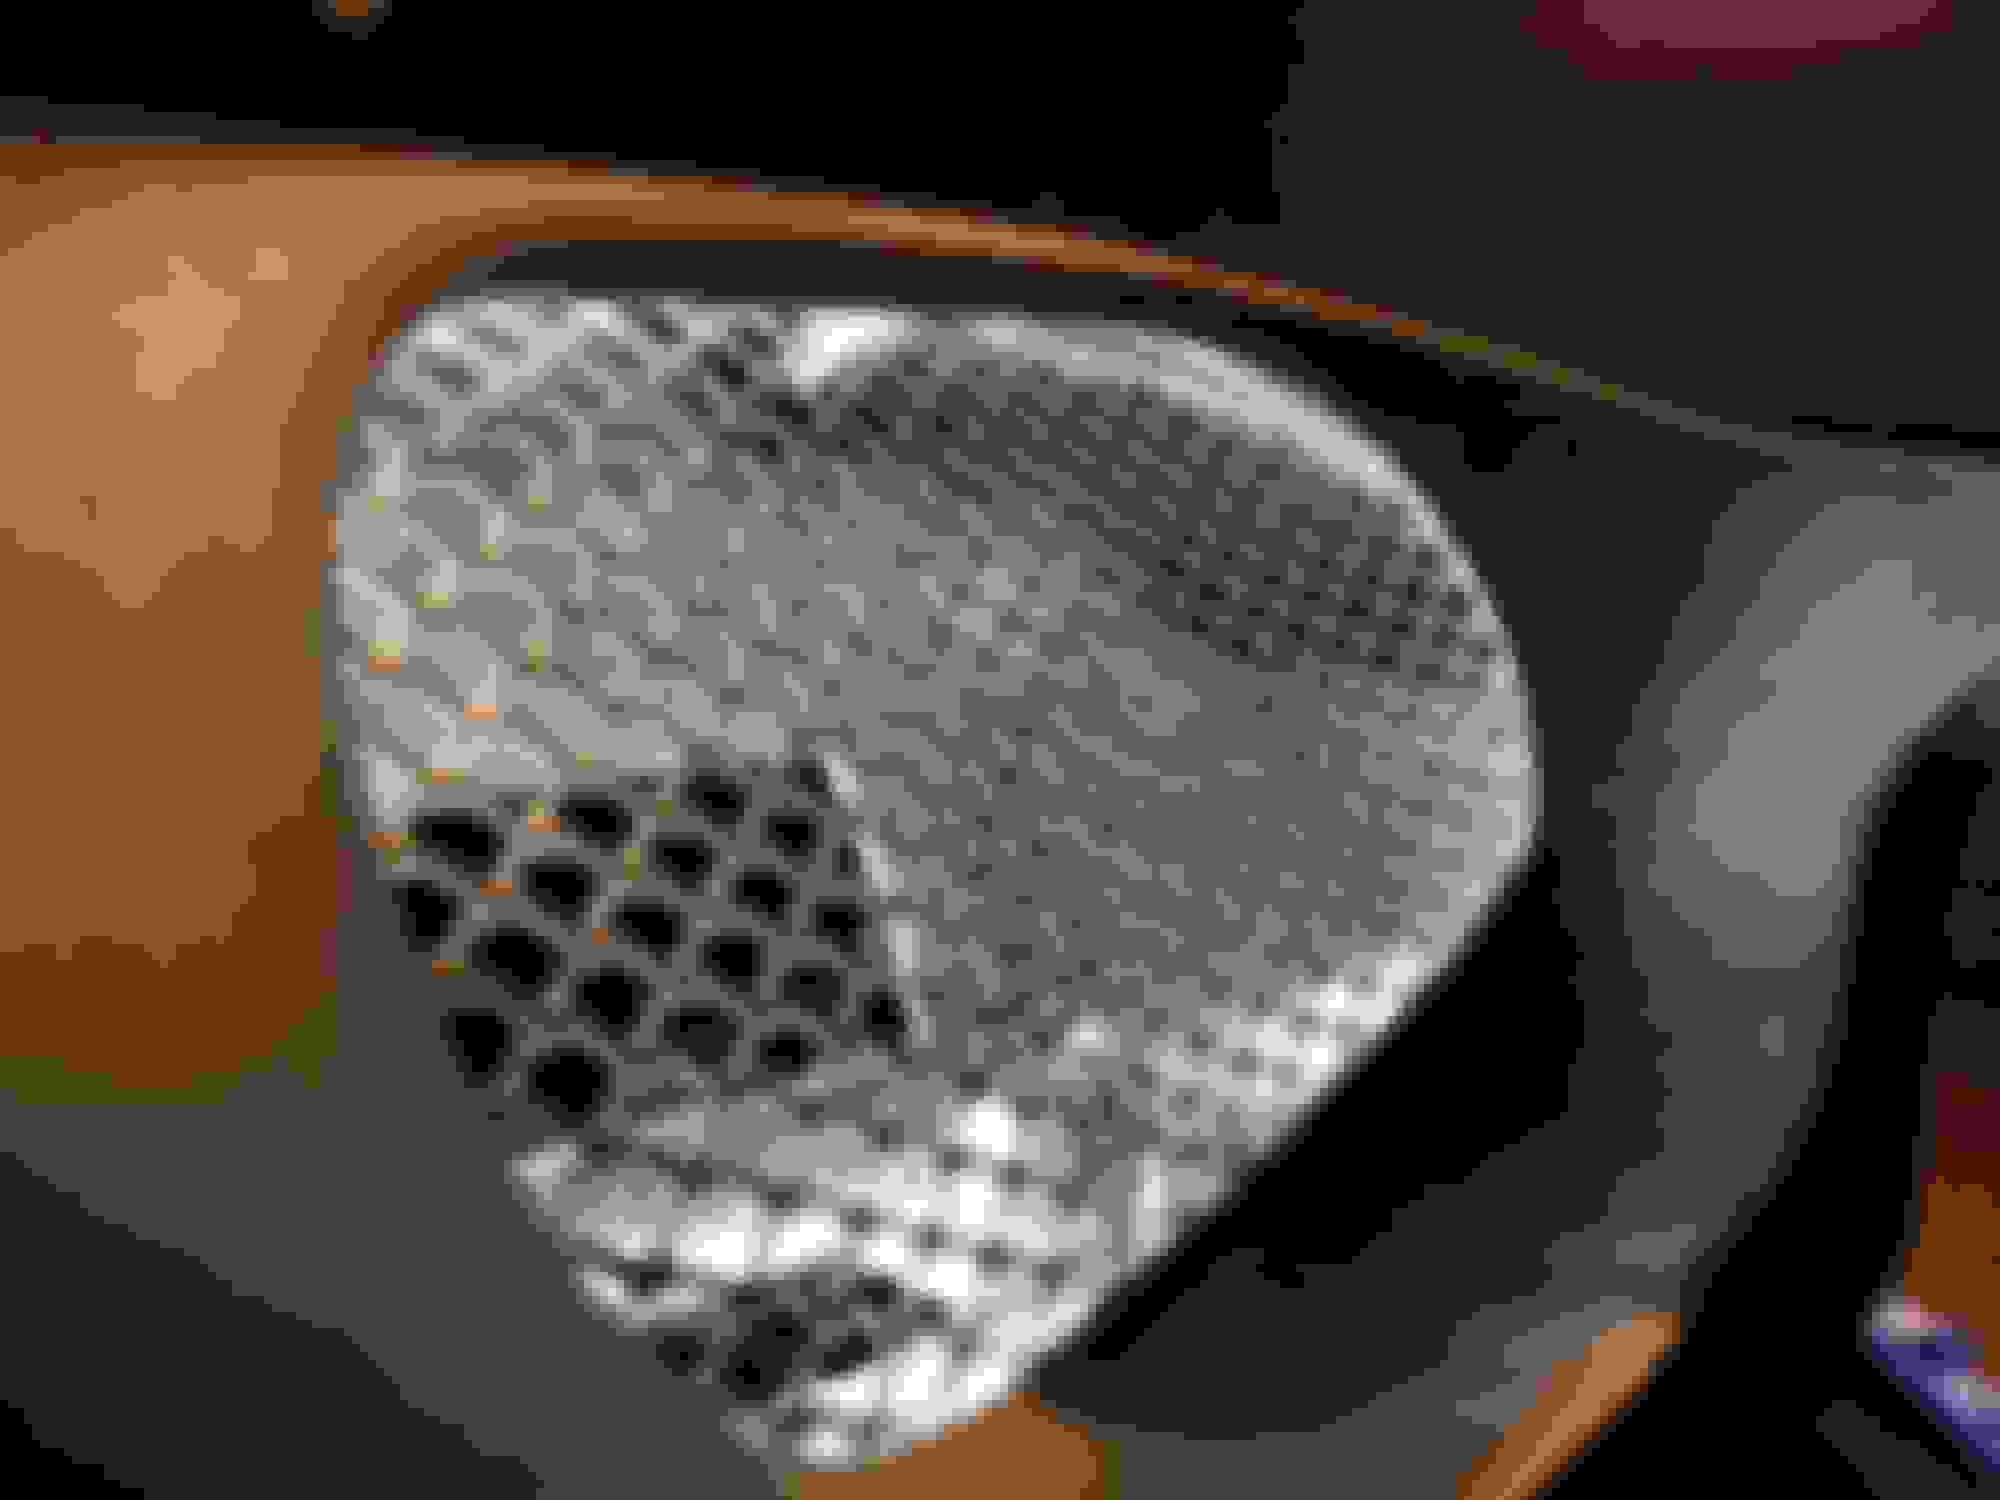
I the hood has no drain holes. The water goes into the heat extractors, through a channel, and into the nostril box and either drains out where the hood latch bolts to, or out the nose. I do plan on drilling some holes earlier in its pathway to drain the water, but it is no problem where it does now. Pics are not the best but they will give you an idea:
You can see the bulge from the top and the bulge at the bottoms where the heat extractor is.
The 2 taped areas are holes where the heat travels up to thenextractors. This is also the channel that heads towards the nostrils for water flow
The dark area to the right in the nostril is the path where the water flows into the nostril box and out either the latch hole or the nose itself
I still need to bolt the center of the bumper in final so that I can see where I need to grind the bumper to produce equal gaps. These are pics just loose without shims. I needed to lower the center hole and raise the outer 2 holes to make it flow better.
One thing that I did notice is that in the heat of the sun, the hood lowers itself perfectly and it looks like a dead perefect fit. But when night falls and it cools down, the corner ps would raise up. I added a good amount of weight today with the hood raised to "overbend" the corner and after the day became cold, the hood did not raise again. I will have to see after a few days if it moves back or not.
In these pics, this is the same corner of the hood, one in the day where the hood settled, one at night where it shows the hood raising again. Hopefully the overbending today has solved this. It would move like this every day.
Well after yesterday of having weight to overbend the corner, the corner was perfect after it cooled. Looked perfect this morning when I went to work, but after a day in the sun and it cooling tonight, when I got home from work, it had raised back up again. I just can't win. I will see if anything changes with the hood latch and bumpers changed but if that doesn't work, it's getting hood pins. It's so close to perfect though.....
Thanks for the pics. Hopefully it settles in that corner for you. I think mine will get baked in the paint booth before fitting it at all to hopefully cure it fully
I hope you plan on baking it unpainted on the car. I wouldn't consider doing it not on the car and not fitted first. You will be filing and grinding spots gaurenteed. I ground the nose down an 1/8", curves on the nose needed to be matched to the other side, under the edges along the fenders, and I still need to do another edge on that raised corner.
It is going through my buddy's Chevy/Buick dealership, so I figure they will be able to get it right. I just read that baking before paint was a good idea and was going to suggest it. The whole car is likely getting new paint due to the chameleon paint and needing a bit on both quarters plus the hood.
I failed on the first hood i sent them by using the ebay superhawk knockoff and them basically laughing at it. It's what i get for trying to save my buddy money since he sprung for the hood. Hopefully this one will work out better for his shop cause i could not find a steel ws6 hood like they wanted anywhere.
Ok, I thought you were going to bake and paint it before fitting the hood. You would regret that for sure.
At least you received a knock-off hood. I ordered a real one (check sig) and never received it.
I plan on driving mine around and using the engine to bake it for now if I ever get the time to put the motor back together. The way my season is going, I will probably drive the car looking as is and the rip it apart in spring and get it painted while I have no time for the car. I'm so close to getting it to fit as good as stock, almost out of options.
I don't think there was ever such a thing as a steel ws6 hood. GM never made it and I highly doubt that any aftermarket company ever did either
I don't think they did either. I figured why do a stock one compared to this if I couldn't get a steel one like they wanted. I think the Smoothie is a great look on these cars.
I read your saga w him...That sucks. I got $300 in a hood that would be good for someone with time to massage it at least. Be good for a drag race or beater for sure. Just not up to what they wanted to work with there.

 01-19-2017, 07:25 PM