When you click on links to various merchants on this site and make a purchase, this can result in this site earning a commission. Affiliate programs and affiliations include, but are not limited to, the eBay Partner Network.
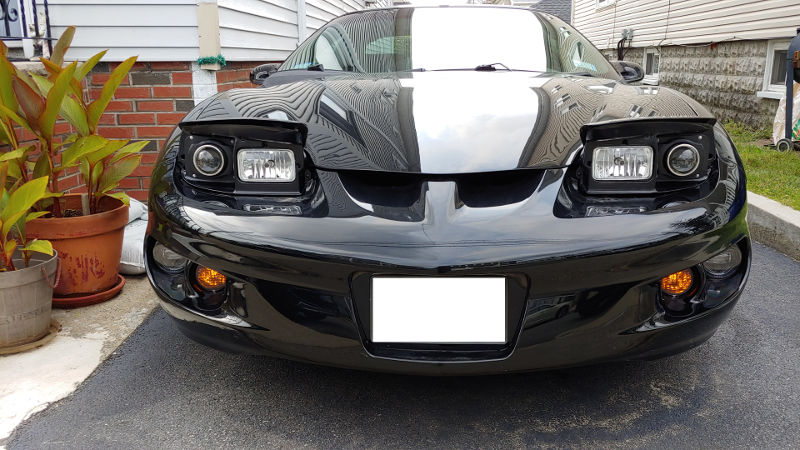
First and foremost, Brian is incredible to work with, and I�m incredibly happy with the upgrade! New on top, old on bottom� taken at the same location but obviously not on the same date or position. I just grabbed the photo for comparison.
More details:
I had a couple minor issues with fitment of my headlight buckets and Brian went out of his way to remedy the situation including overnight shipping a part and offering even more help than I needed. I can�t say enough good things about his customer service.
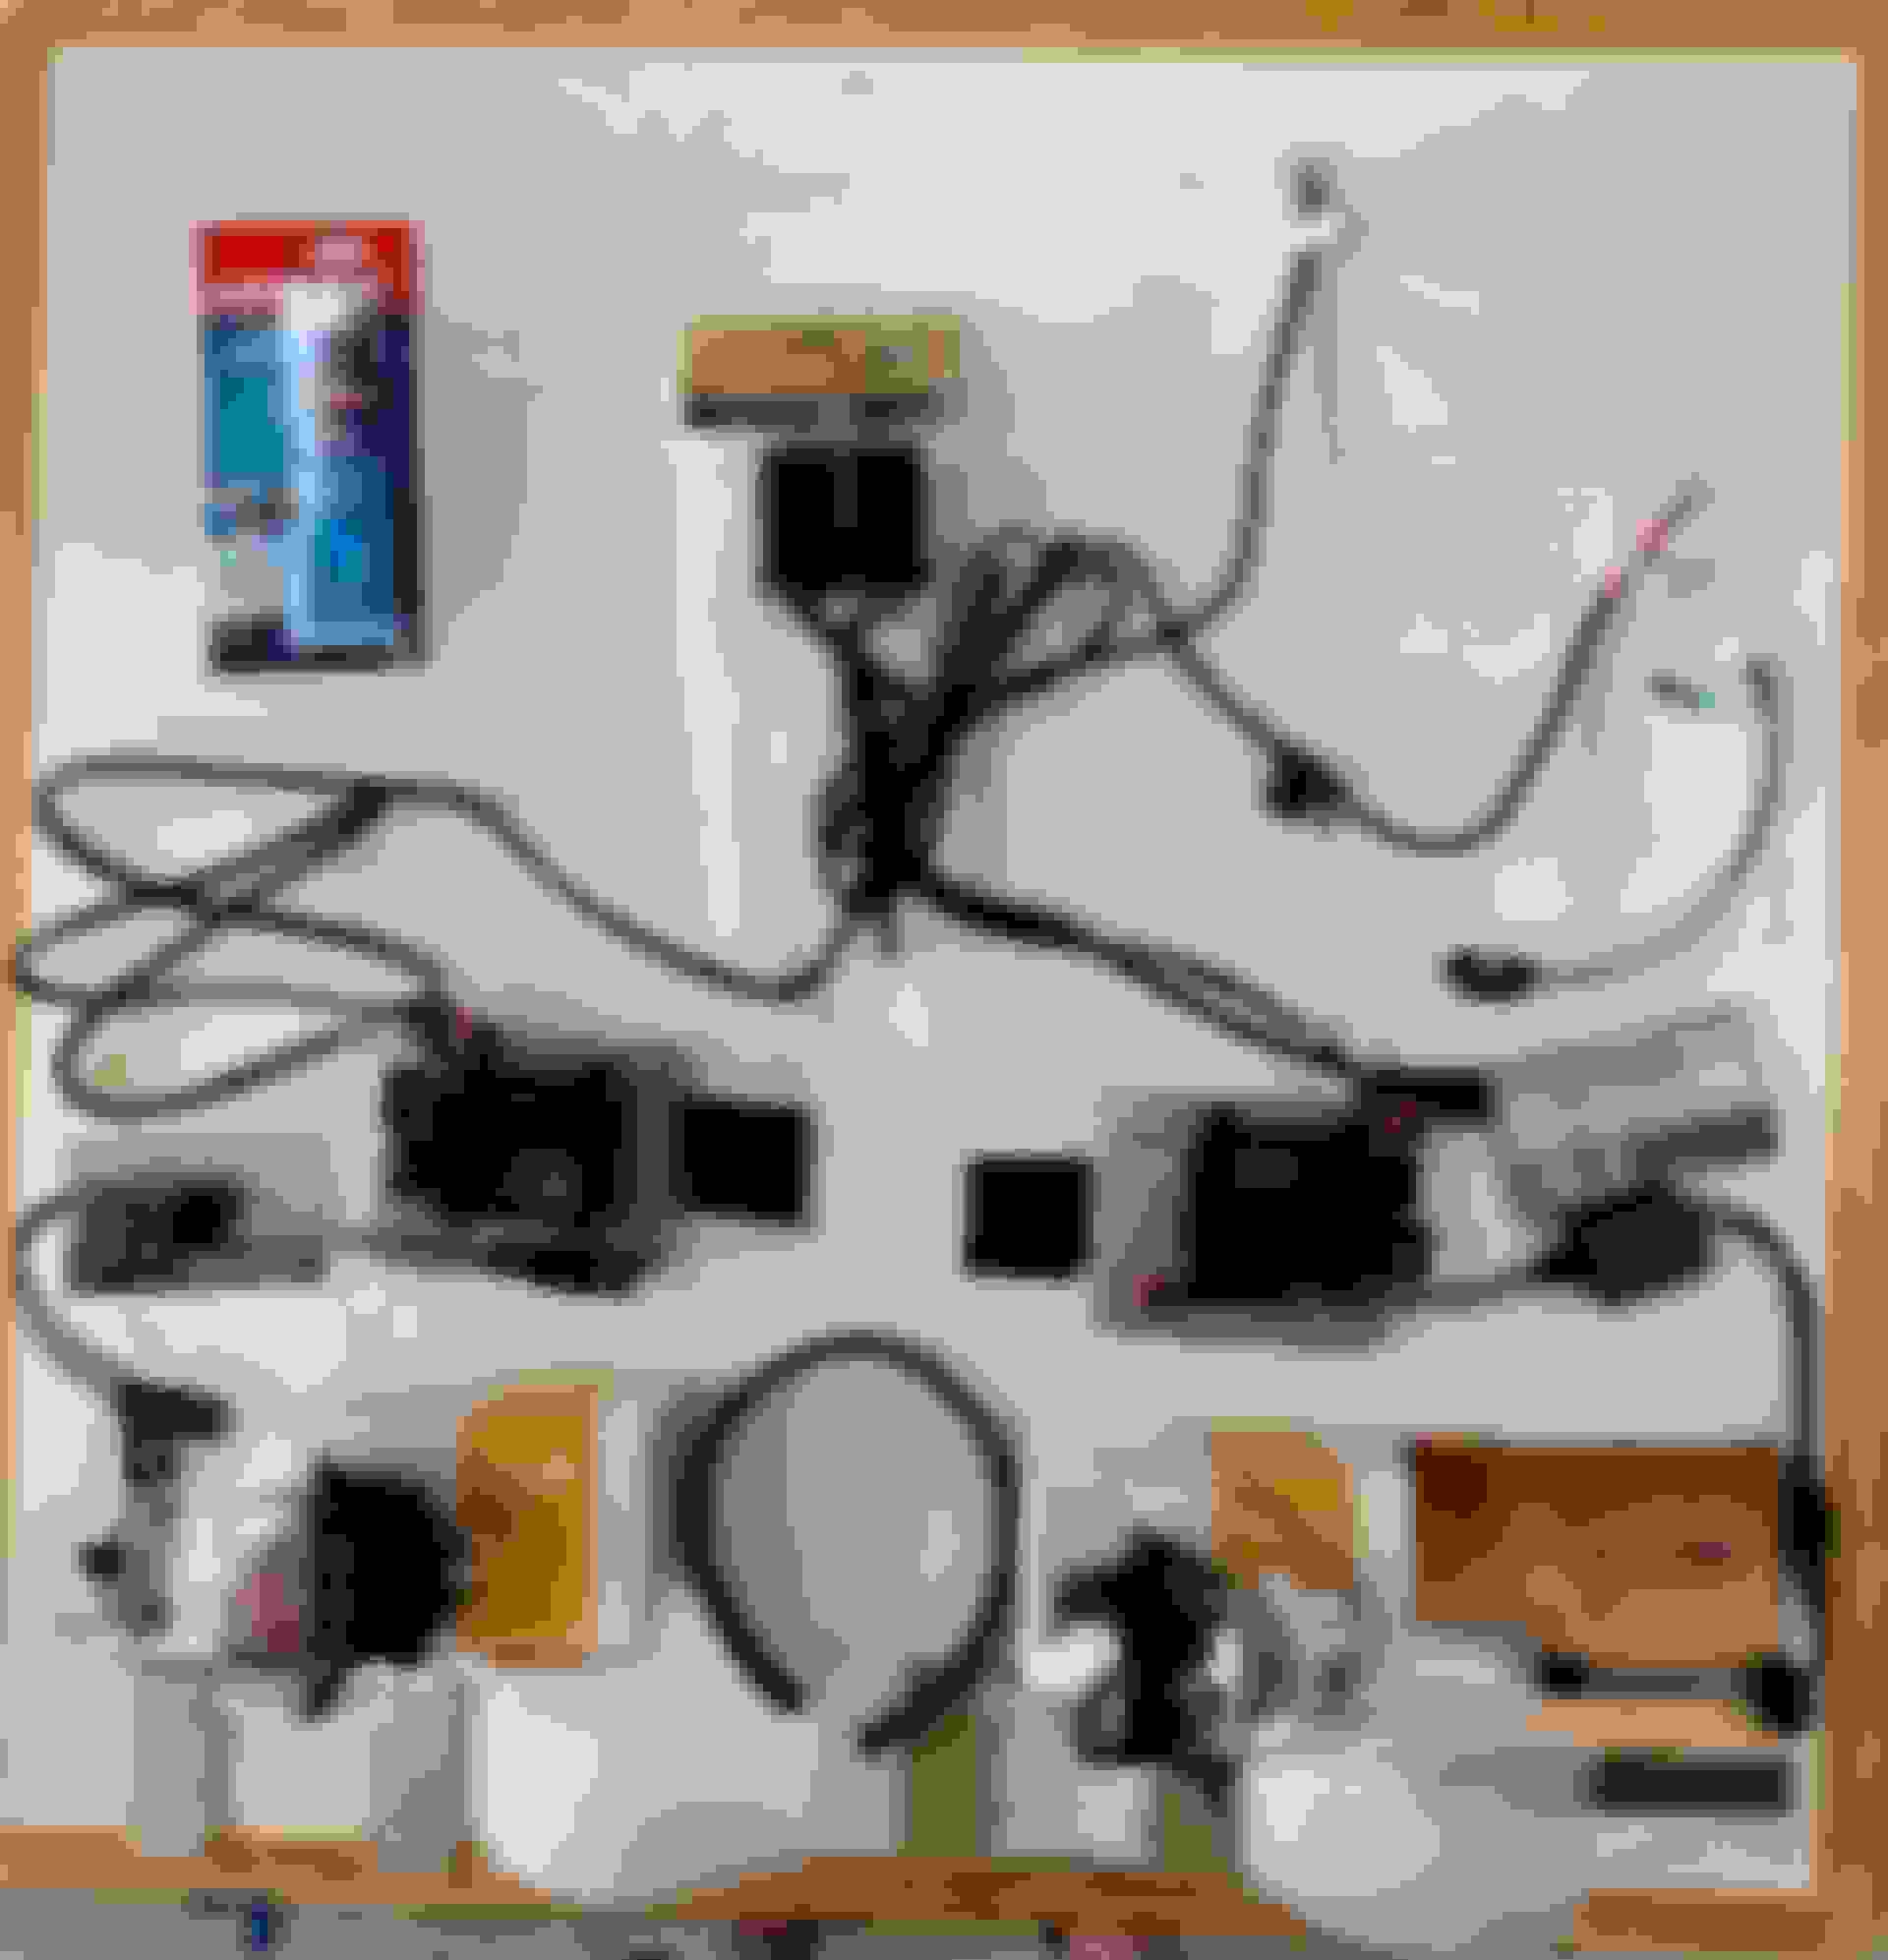
So�all the kit:
Projectors, bulbs, acrylic decorative piece, clear lens covers, wire relay harness, ballasts, igniters, foam seal, and latex sealant. Basically everything you need, for the normal install.
It�s a pretty straightforward install actually. The hardest part was running the wires and mounting things up.
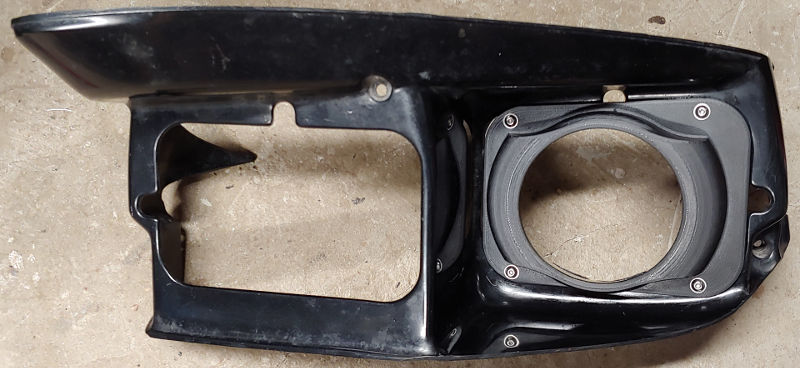
Here are a few shots of the parts including the acrylic trim piece that fits over the projector and on top of the headlight bucket to give it a clean look. The acrylic is covered in brown paper for protection. Likewise, the projector cover is covered in a white paper for protection.
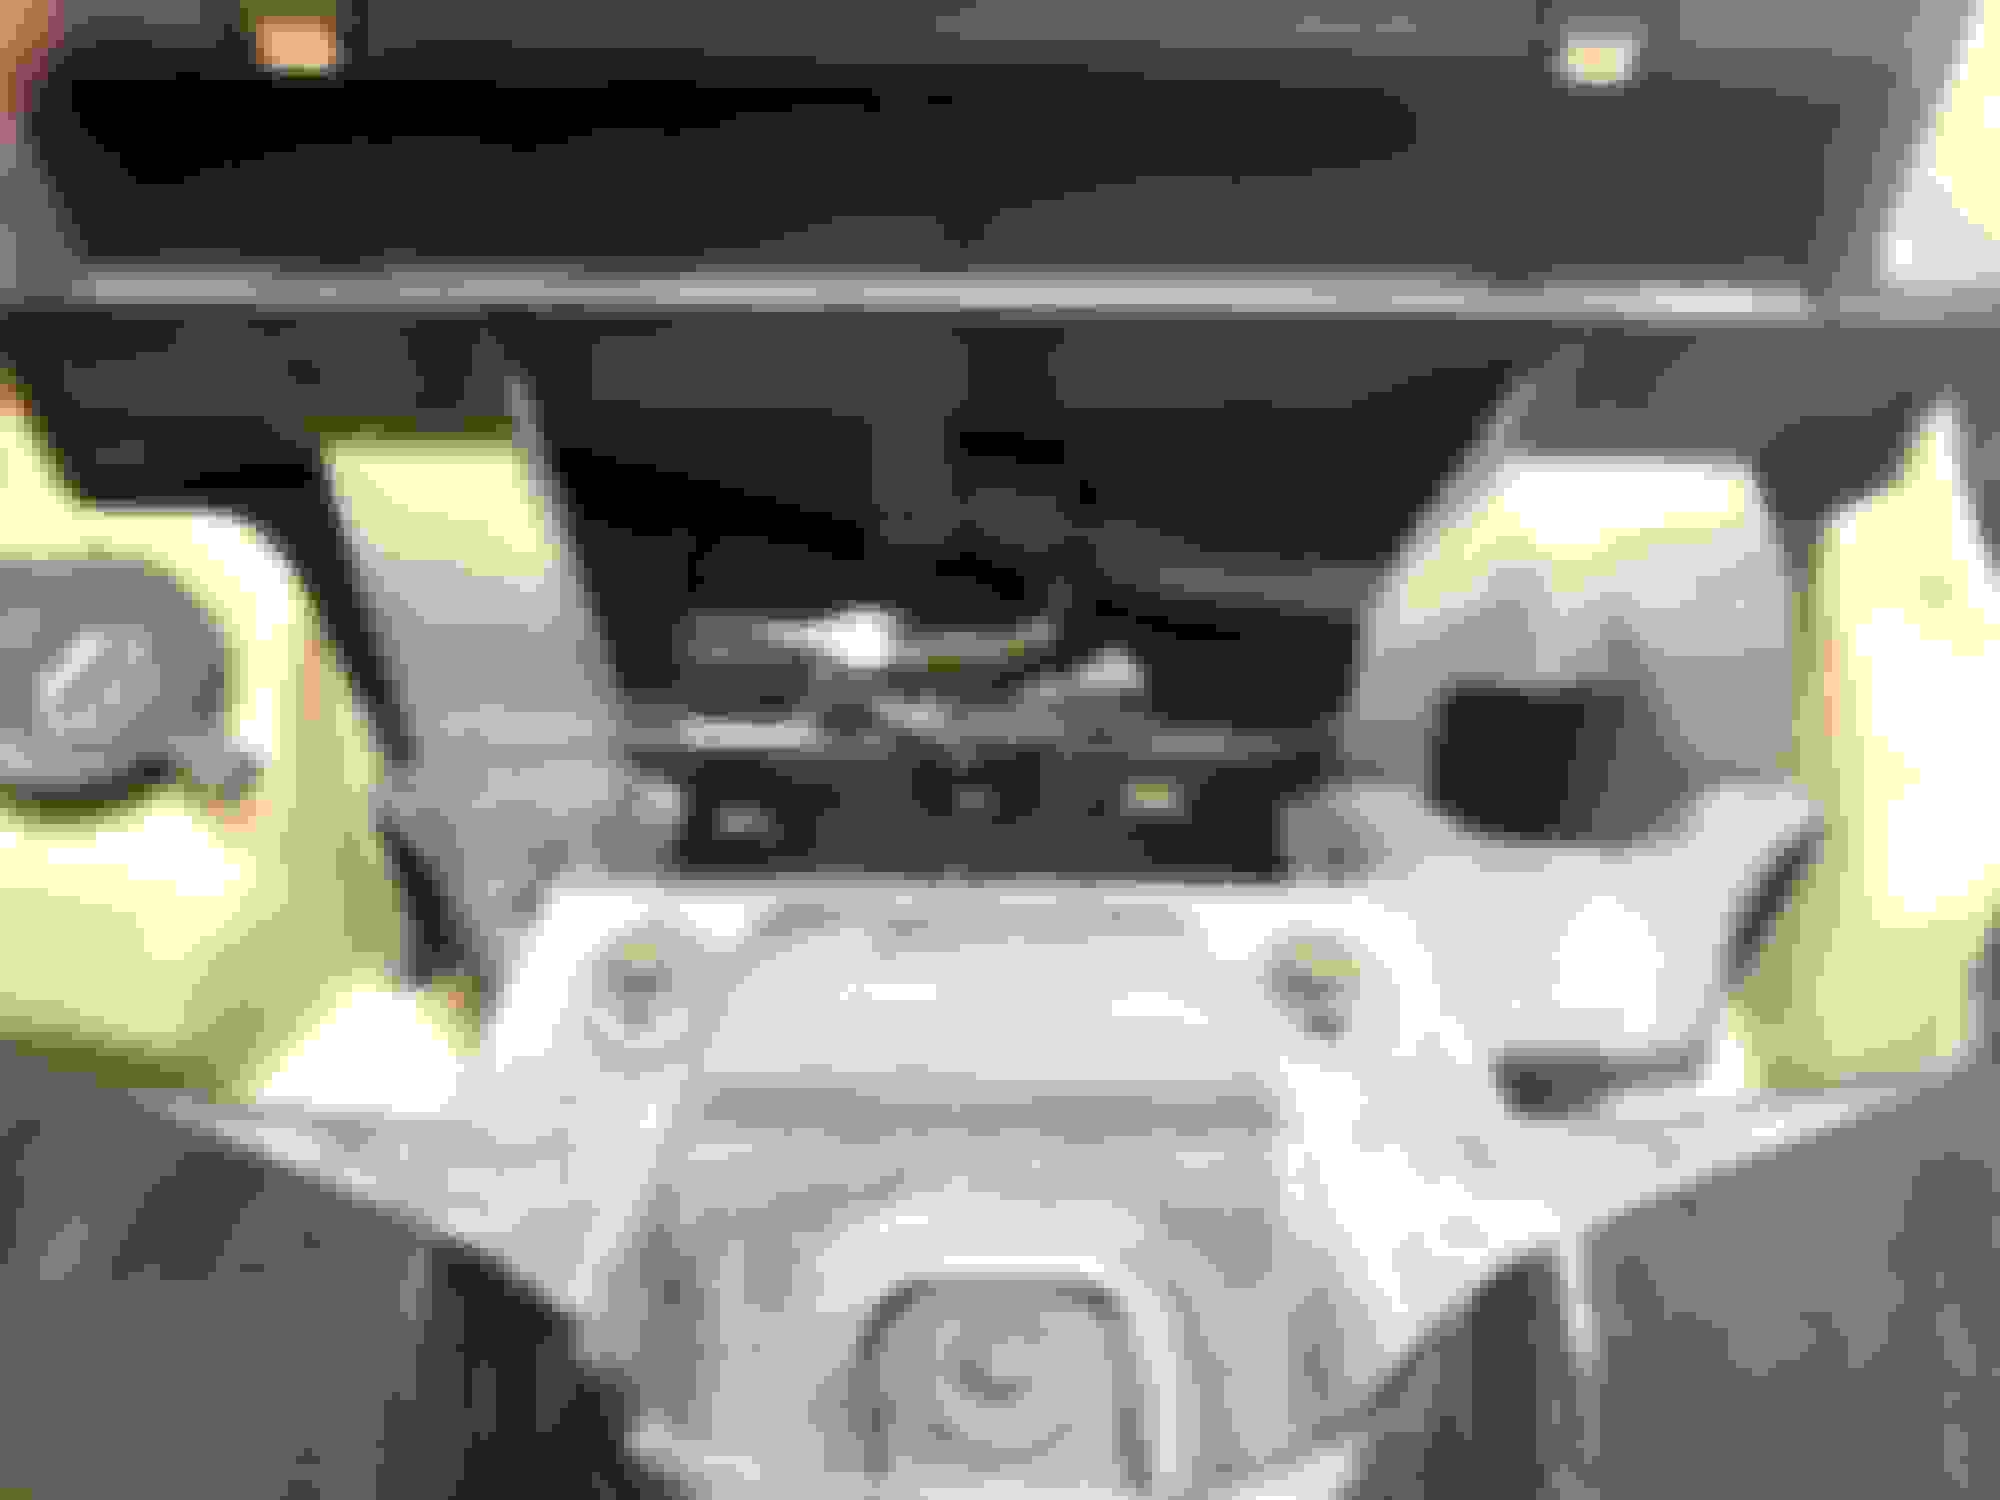
I chose to mount the relay wiring on the drivers side, behind the fuse panel, and the drivers side ballast next to the radiator. I used a push style factory connector to mount the relay to the plastic area by the fuse panel, and self tapping sheet metal screws to mount the ballast.
I then tied in to the negative terminal by the ballast and the positive remote charging terminal to power the relays (I don�t have a good picture of the ground tie in, but it�s obvious where it goes). Just a note that you�ll need to buy a new nut to thread onto the remote charging terminal for ease. It�s a metric nut M10-1.5 hex nut. You�ll also have to hollow out the supplied ring terminal to fit over the threads. I used a 3/8� drill bit to shave the ring terminal until it fit.
The drivers side igniter is free hanging under the headlight assembly along with the existing headlight wiring. There is a supplied adapter that is inserted into the existing driver side headlight female terminal and connects to the relay harness to power the relays whenever the headlights are turned on. I secured the supplied adapter to the female terminal with electrical tape to be sure it didn�t come loose.
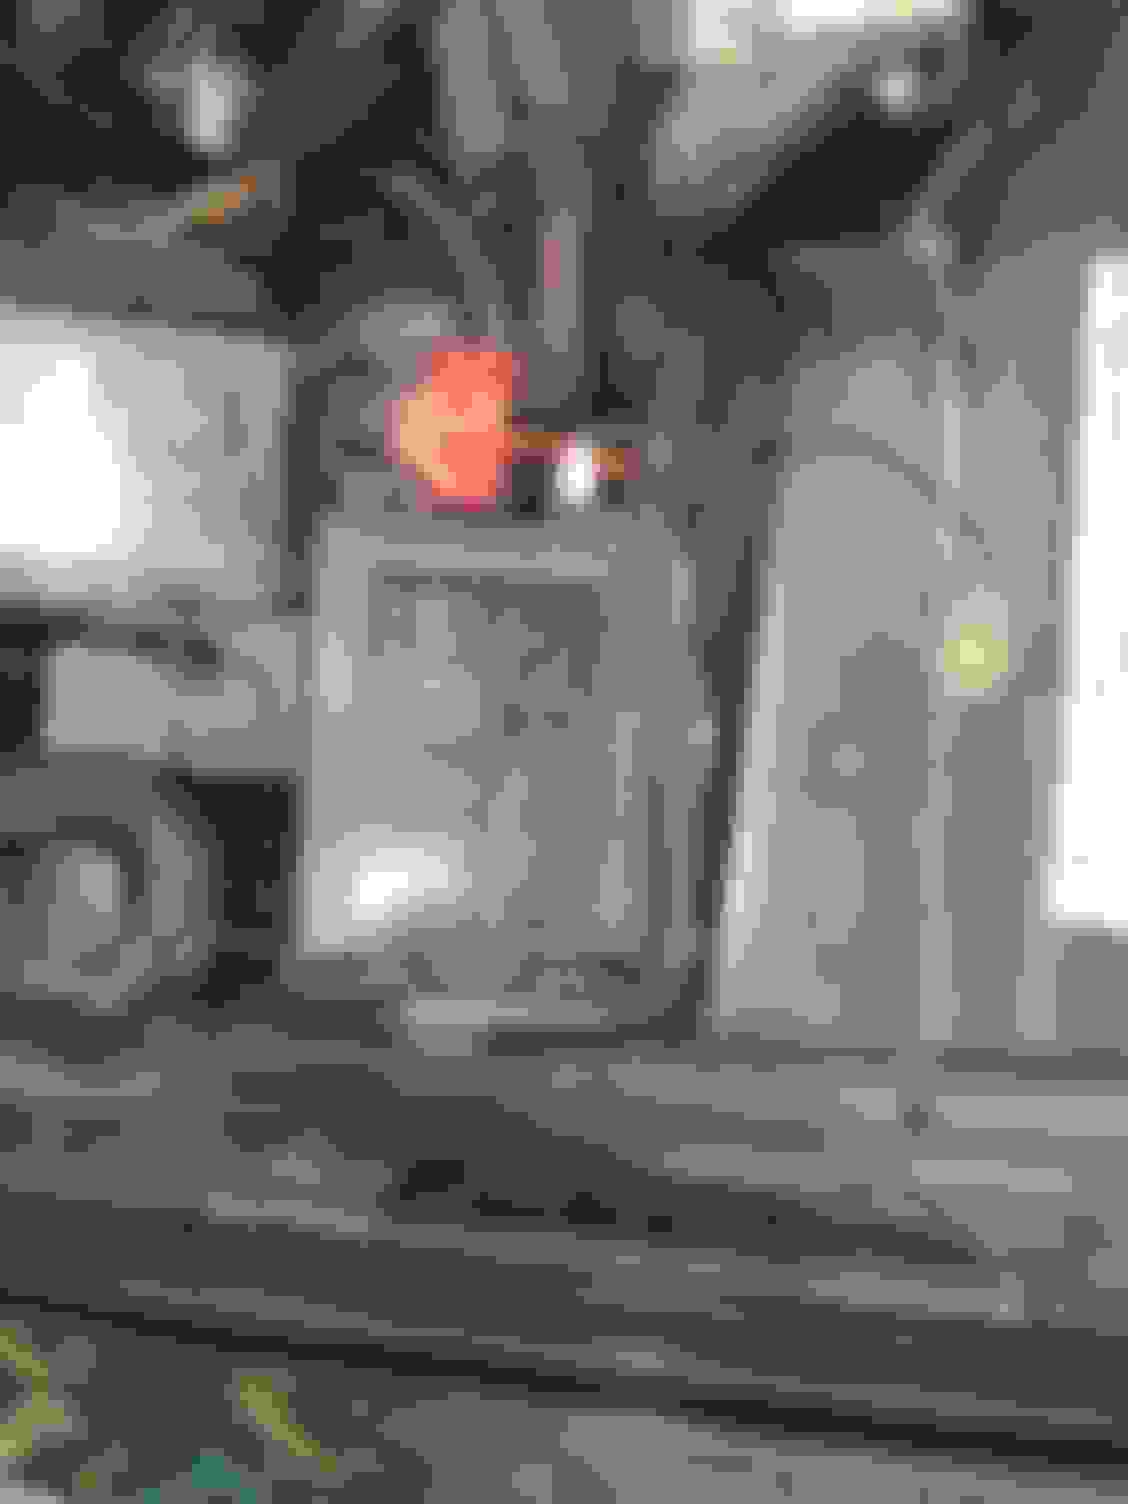
Then I routed the passenger side ballast wire from behind the drivers side headlight, by the washer fluid reservoir, and then to behind the passenger headlight. And this is what I�m least happy about. The passenger ballast and igniter are just zip tied to the existing headlight wiring. It works and is secure, but it isn�t pretty lol. I�m definitely open to suggestions on where to more effectively mount the ballast that is shielded from the elements.
Hard to see, but the wiring is zip tied to the factory conduit.
The wiring pokes out from behind the passenger side headlight and then routes underneath to the existing headlight wiring area.
The ugly mess of wires�again, definitely open to suggestions for mounting this better.
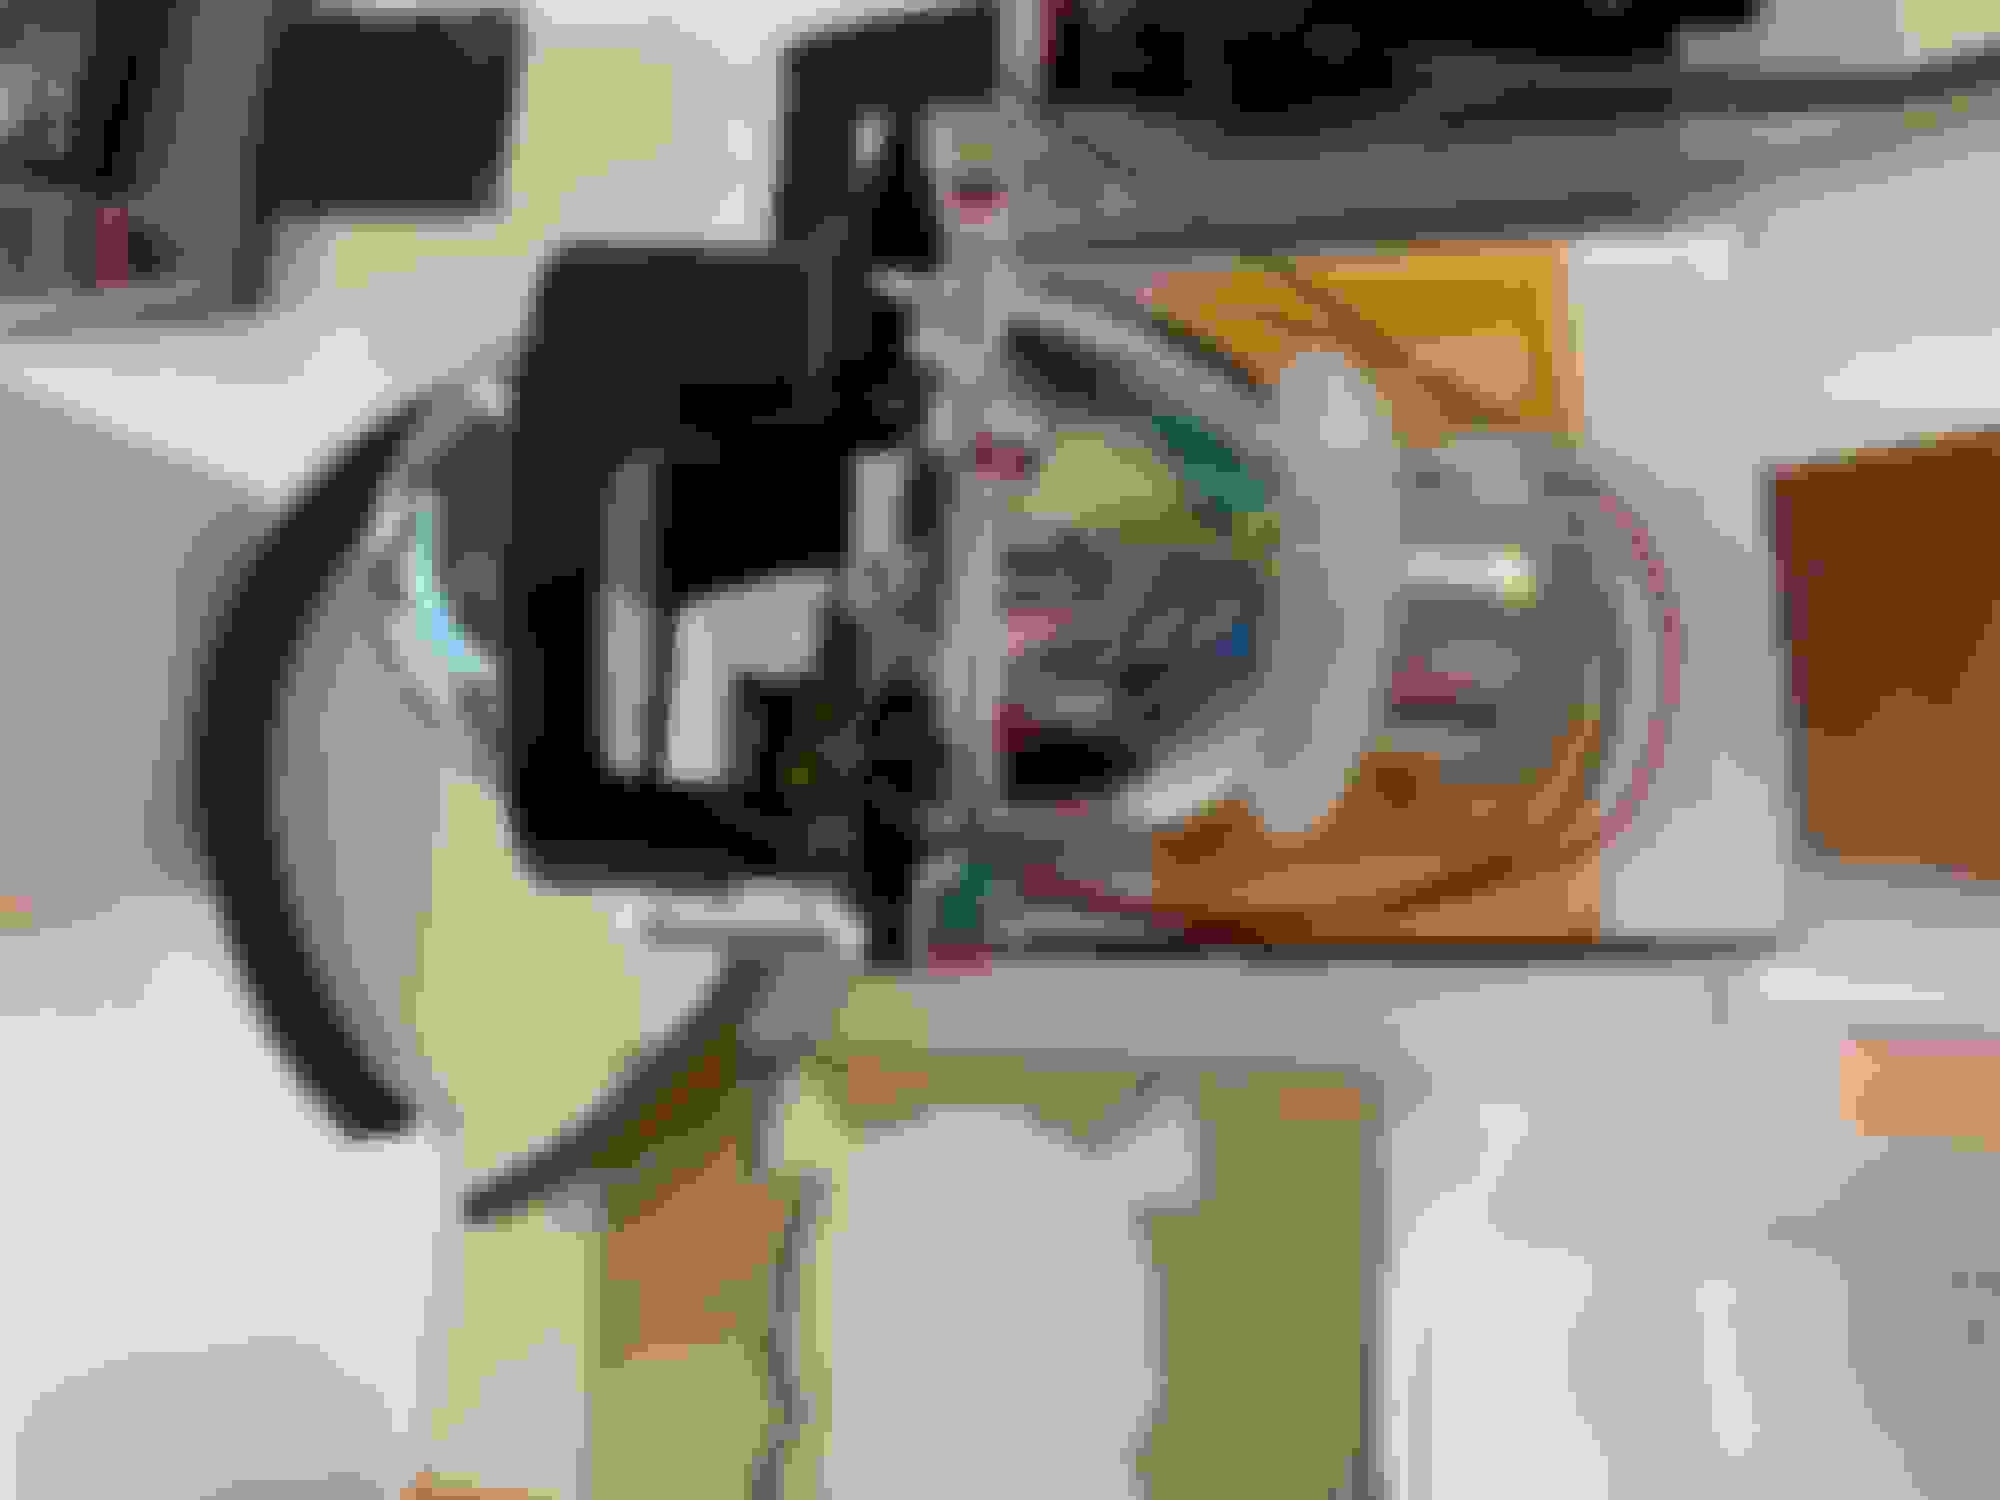
So, I ordered the bi-xenon kit which includes high beam functionality. The instructions tell you to splice into the existing high beam circuit to power the high beam solenoid on the new projector, but I didn�t want to splice into any existing wiring, so I built my own high beam pigtail that plugs into the high beam connector and then into both the projector solenoid and the high beam headlight. I found that the correct terminals to do this are 280 series terminals. They can be �weatherpack�, �Delphi�, or �Aptiv�, but the important part is that they are the 280 series size. You can buy them from a lot of places and you order them according to whatever gauge wire you are connecting them to. Here is a picture of my homemade connector and the flex wrap as well. In this pic, I don�t have the proper 280 series male terminals on the cable yet, I replaced them later. Those male terminals plug into the high beam headlight connector and the female 280 terminals connect to the high beam light. Apparently you need the connection to the headlight to avoid unintentional activation of the solenoid.
I also added my own weatherpack connector to the solenoid wires on the projector for easy connection along with some flex wrap.
Next step was to install the projector into the housing and then the trim pieces and cover.
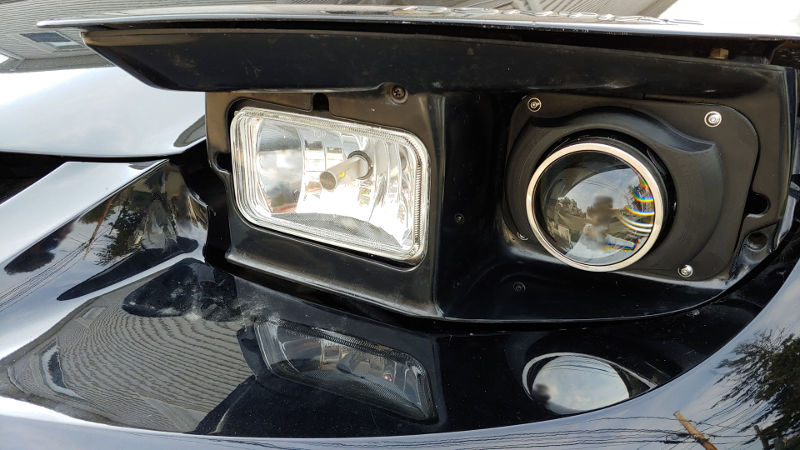
I had an issue where the projector tightening ring wasn�t quite long enough for my headlight buckets. Only missing by a couple mm, but it meant that the projector wasn�t tight in the bucket, that�s where Brian swooped in and sent me the spacers. You can see them in the pic of the completed headlight assembly:
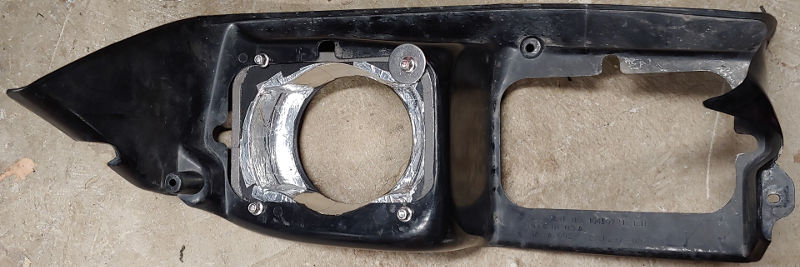
One thing to note�the headlight bucket has tabs that you need to bend down flat. Well, they don�t really bend down flat, so the acrylic cover ends up sitting a bit off of the headlight bucket. Brian includes silicon sealant for this exact reason, and it works perfect. But if I did it over, I�d just cut the tabs off and file them down to avoid the gap and I�d still seal it anyway
Once I let the sealant dry I just reassembled everything and connected it all up
I think it�s definitely possible t go with bigger projectors, if someone could design and fabricate their own plastic cover. There is a good bit of room still in front of the projector.
Yeah, the passenger side might be rotated a bit. I finished up late and honestly ran out of energy lol.
The projector is held in place by the rear ring threading down against the round tabs on the back, and a rubber washer on the inside. The metal spacers were used to ensure that there was a good pressure fit snugging the projector against the headlight bucket.
OK. So like other universal retrofits that use the bulb hole.
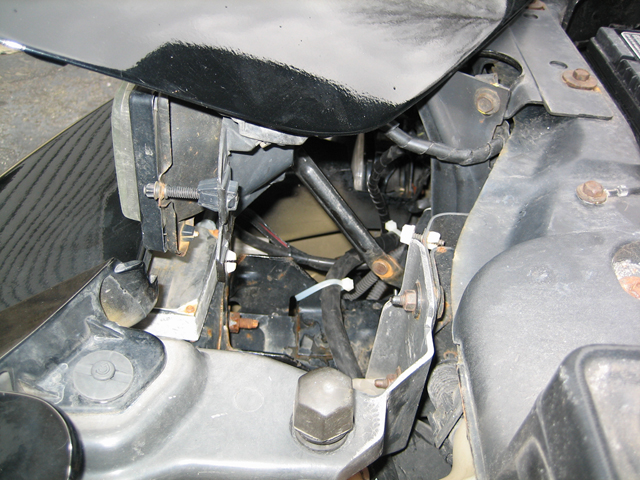
For my ballasts, I mounted them to the flat top of the front frame rails that goes under the nose (either side of washer tank / under headlights). I used super strong automotive velcro or trim tape (i forget which).
See the Silver brick in this pic under headlight? That's one of the ballasts (these are the previous older ones).
I think it mounts very much like other universal kits but I�m not very familiar with them
if you�re not too worried about modifying the buckets, a person could cut off the rear tabs and use a threaded ring to tighten the projector in place and then use the cap to secure the bulb.
Thanks for the mounting location idea! I completely forgot that Brian included industrial strength Velcro in the pack for mounting the ballast! I can definitely use it to mount the ballast out of the way. I was so focused on trying to find a place that I could mount the ballast using screws I completely forgot about the Velcro lol!
3M Trim tape wasn't enough. One was coming loose. So they are bolted now. There ended up being enough for 3 of the 4 to bolt through alright (it was close for a couple). The 4th on each had to have a bigger washer for something to grab onto. I used stainless steel flanged M4 cap screws and matching flanged nylon lock nuts.
The opening in these is too large for the Hella 60mm projectors. I can post the STL files (model files), but if you print them, you'll get a bigger gap around the projectors, the depth may be wrong, and centering might not be the same. I'll post the STL Files later anyway in case they may help you.
On the other hand, I do have a pair of Hella 60mm projectors and a spare headlight. But I don't have a spare pair of the brackets. Alternatively, I could make a pair of shrouds that may be able to attach to the brackets. Hmmm. You gave me something to think about. I'll have to get some stuff out of storage.
Do you have the Hella 60mm projectors installed in your car already?
So what I would like to do is make my own projector headlights using LED's instead of HID's. I understand that if I make my own mounting brackets for the projectors alone, then I would have to seal them up? But if i modify an existing reflector housing and seal up the back then I don't have to completely seal the projectors and only seal them up from the back to make sure nothing gets in correct? I don't know if any of this will work or is even remotely possible. Also another thing, I have a 93-97 firebird base model, which I have not seen any builds for. Or anything cheap and aftermarket for that matter.
If you really want to make your own set, you can mount a sealed set Like I did and make a shroud, or modify a cheaper pair of housings to contain projectors like you listed above.
However, find a version of those projectors that say they take a D2S or D2H bulb instead of H11 and stick with HID. Installing LED in a HID projector may have lower output than sticking with HID in them.
Or if you really want projectors and LED, for a little more money, buy LED Projectors. There are some that look the same as the ones you found but have built-in LED.
The M-LED 2.0 from Morimoto might be the best aftermarket option and they are priced as such. There are some similar / knock-off versions too for a little less.
 10-11-2021, 10:04 AM