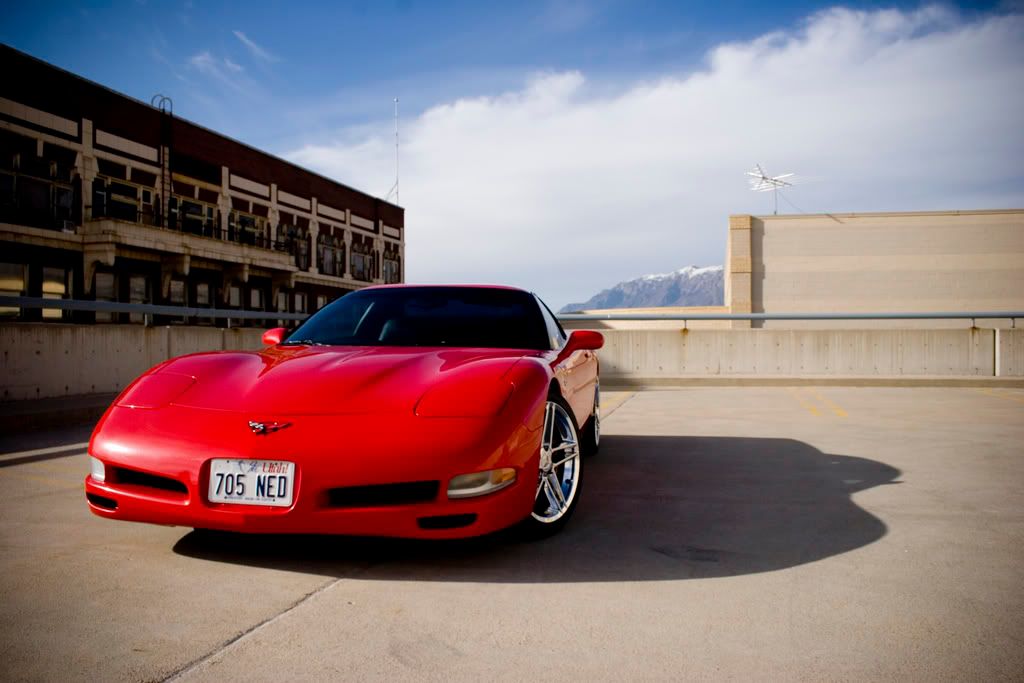

Started Wet sanding (pics)
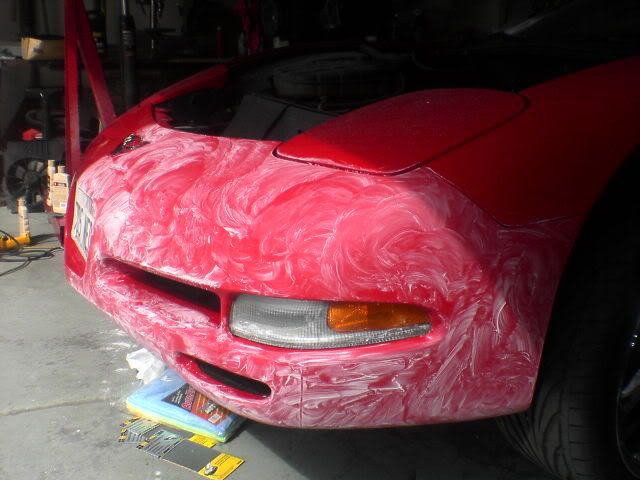
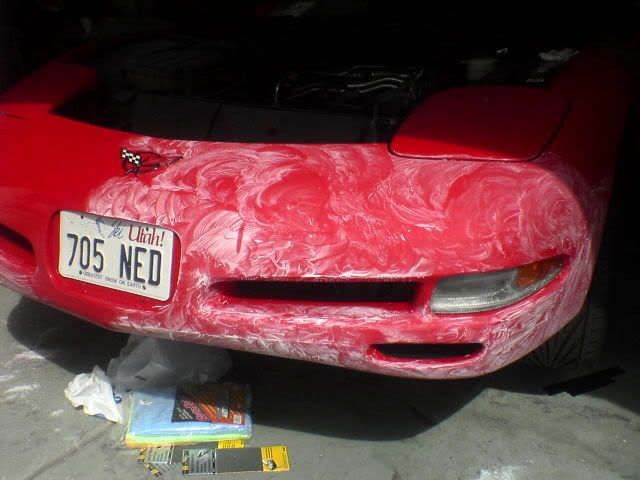
well my car has got some mileage on it, and the front bumper looked like ***. Sooo.... i decided to put myself to work and begin wet sanding the front bumper. 
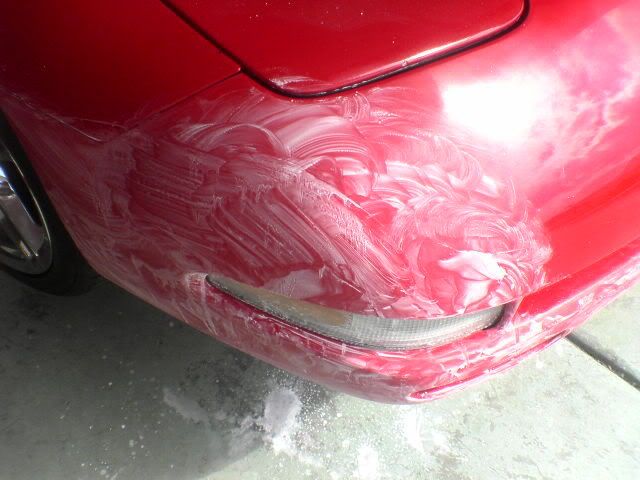
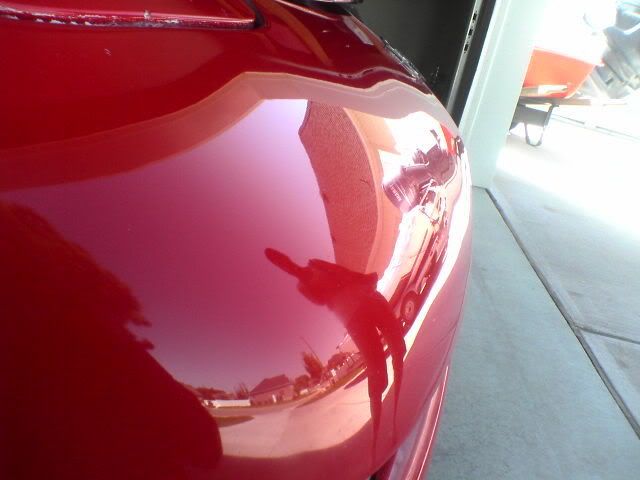
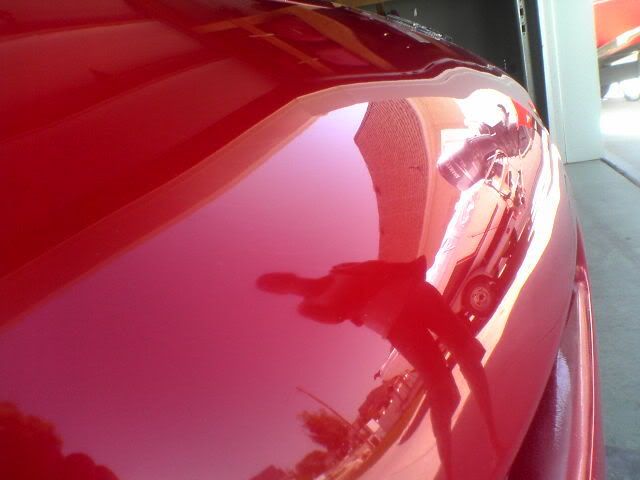
In this pic you can see where i had done a "test" patch, just to the right of the sanded area, in which i had earlier sanded it down and tested to make sure i could buff it down and make it look nice again.
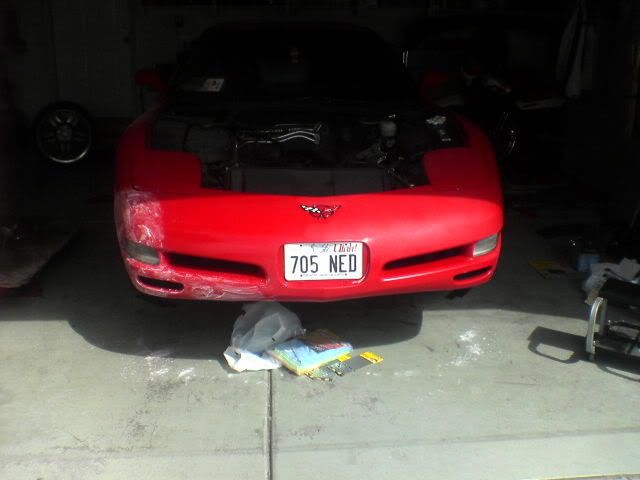
In this pic you can see where i had done a "test" patch, just to the right of the sanded area, in which i had earlier sanded it down and tested to make sure i could buff it down and make it look nice again.
Originally Posted by Smokin00WS6
what method are you using?? Tell us your results. good luck.
im starting out with a fresh wash first (of coarse)
blocking the car with 800 grit wet/dry paper and sanding until i cant see any shiny spots (where the rock chips and orange peel are still present)
wet sanding with 1000 grit sand paper to clean up the rough finish
wet sanding with 2000 grit paper to smooth stuff out even more
using a wool pad with the mguires heavy cut cleaner until i cant see any more deep scratches caused by the sand paper
Fine cut cleaner on a mguires "polishing" yellow pad
swirl remover 2.0 on a mguires polishing yellow pad
"machine glaze" on a tan "finishing" pad after all is said and done.
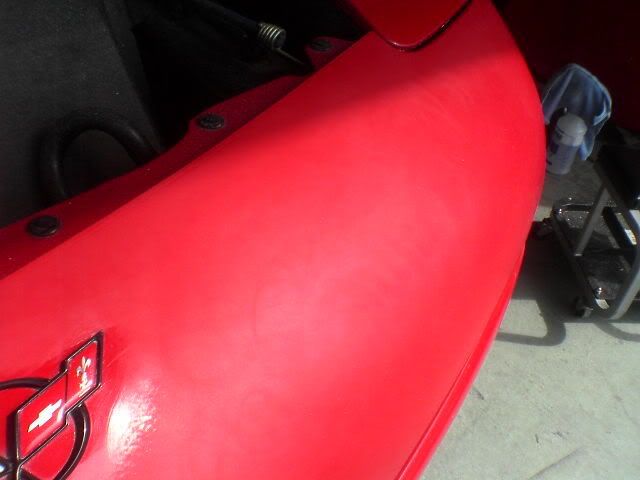
ive found that the heavy/fine cut products like to have high speed and lots of movement with the buffer, with the wool pad i put the pad on an angle and use the outside rim to get the tough scratches down.
the swirl remover 2.0 likes to be around 1500 rpm's and nice and slow movement.
the machine glaze i turn it clear down to 1000 RPM's and just go nice and slow and easy and the shine is really quite amazing!!
all "peppering" is gone, all oxidation, as well as some pretty harsh little scratches i had on the front bumper. its really turning out quite awesome ! its ALOT of work though

Originally Posted by noxiouSS
damn that looks really good! Im gonna go out on a limb and say this isn't your first time doing this
lol get back to the main branches.. this is my first time wet sanding as well as my first time using an orbital buffer
 so far i think im doing a pretty wicked job
Trending Topics
LS1 Tech Stories
The Best V8 Stories One Small Block at Time

6 Common C5 Corvette Failures and What's Involved In Repairing Them
Pouria Savadkouei
Retro Modern Bandit Pontiac Trans AM Comes With Burt Reynolds' Autograph
Verdad Gallardo
Top 10 Greatest Cadillac V Series Performance Models Ever, Ranked
Pouria Savadkouei
Top 10 Most Powerful Chevy Trucks Ever Made!

Hennessey's New Supercharged Silverado ZR2 Has 700 HP
Verdad Gallardo
Coachbuilt N2A Anteros Is an LS2-Powered C6 Corvette In Italian Clothes
Verdad Gallardo
Awesome K5 Blazer Restomod Comes With C7 Corvette Power
Verdad Gallardo
10 Camaros You Should Never Buy

10 LS Engine Myths That Refuse to Die
Verdad Gallardo
Originally Posted by GR33N GoblinM6
so is your clear coat now gone?
haha nah, there is plenty left. it takes quite bit of sanding to get through the clear coat (i found out the hard way on my hood trying to get rid of the spot where my car got keyed) it took a good 20 mintues of sanding with 800 grit paper as hard as i could on one little spot to finally break through the clear coat.
the easiest way to tell is your going to far is to just pay attention to existing rock chips. as long as your sand everything evenly you can judge roughly how much you have to go based on how bad and how deep the rock chips are. you can basically sit and sand softly until you dont see any more "glossy" spots where the chips were and once your too that point they are gone. I stopped just far enough to get the "peppering" off the front end but didnt go so far as to test my luck removing big rock chips. i can blend them with the buffer easy enough.


Originally Posted by blue99SS
Damn man, looks like you are doing one hell of a job. Looks like the hood was keyed right by the passenger side headlight, correct? Sucks man, too bad you didn't catch him.
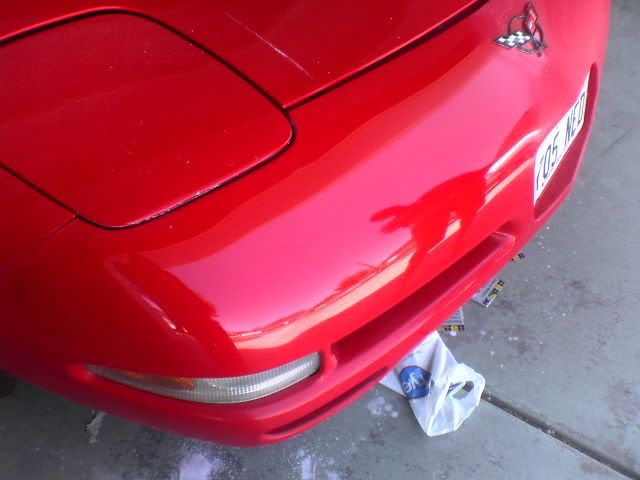
lol thats actually sanding dust
 it got keyed up by the hump just before the windshield on the passenger side... its deep. It was there when i bought the car, i think the previous owner pissed off a few people.
Originally Posted by Ericbigmac83
nice job, wish i had the guts and the free time to do that. i just need a whole new paintjob at this point, lol
ya know, i was thinking the same thing before i did this. i had it in my head " well it cant look any worse if you **** it up, might wanna do this before you go for paint"
im absolutely blown away at the imperfections i have taken out. this buffer kicks major ***

Originally Posted by ZaneO
You might be surprised just how much clear you killed after 800-1000-2000. You might not break through, but you might not have any more UV protection either.
Looks great though.
Looks great though.
thats what zaino is for
haha (im kidding) id rather have less clear coat and have it look like glass than have peppered *** paint with scratches and swirl marks. i actually was able to hide the spider cracks damn well too. i shoulda taken a before pic so you could see what im talking about