When you click on links to various merchants on this site and make a purchase, this can result in this site earning a commission. Affiliate programs and affiliations include, but are not limited to, the eBay Partner Network.
I am going to drop my pan on my 2008 TB 4.2 wich is my dialy car and change Filter.
Once im doing that, i want to cure the most leaks and upgrade it.
My OEM Stall speed is 2000 RPM and i use WOT a lot in D.
The tranny has 160k miles on it and it's preety healthy.
I want to give it a longer and happier life and get all the benefits till it dies.
This is what im gonna do :
-Block 3-2 Valve and 2-3
-Use the spring of 3-2 into AFL Valve inside the current spring
-Block the 4th acum feed hole and keep the guts out
-Remove the Case Checkball and the checkball on the rear side of the tranny
-Keeping the stock .471" boost valve because i cant change it.
Install the following :
-Sonnax 2nd and 4th super servos with 0.60" travel
-Sonnax Pinless 1-2 or Transgo (Have both). Wich one you recommend?
-Sonnax pinless FWD piston or Transgo (I have both) Wich one you recommend?
-O ringed end plug
-Directionall superior capsule for 3rd.
-Reverse and FWD Abuse plugs
-New separator plate with steel checkballs
-Ream and install Sonnax TCC Isolator valve (Or?)
-Plug the PWM Hole in sep plate
Ugh...
GM has found the perfect solution to block the modders, by putting the Input speed sensor right on the boost valve.
In order to remove the speed sensor, you have to take off the tranny. (from what i know).
Anyways, i've got another 2008 in my garage, and i will try find a way to disconnect and connect the speed sensor.
But i love your sense of humor. I laughed hard. Imma go cry now #GM4Life.
Last edited by Edward Stark; Aug 26, 2021 at 06:37 PM.
Im going to let Vortec and Maroon give you the best advice, but this is what I at least suggest......for what its worth
Originally Posted by Edward Stark
Hello!
I am going to drop my pan on my 2008 TB 4.2 wich is my dialy car and change Filter. - calibrate your factory dipstick, ill bet its off slightly.
Once im doing that, i want to cure the most leaks and upgrade it.
My OEM Stall speed is 2000 RPM and i use WOT a lot in D.
The tranny has 160k miles on it and it's preety healthy.
I want to give it a longer and happier life and get all the benefits till it dies.
This is what im gonna do :
-Block 3-2 Valve and 2-3 - dont block the 2-3, just both 3-2 valves
-Use the spring of 3-2 into AFL Valve inside the current spring
-Block the 4th acum feed hole and keep the guts out - leave the 4th accumulator check ball out as well
-Remove the Case Checkball and the checkball on the rear side of the tranny - I would leave it in on a stock application, but either way works
-Keeping the stock .471" boost valve because i cant change it. - damn ISS
Install the following :
-Sonnax 2nd and 4th super servos with 0.60" travel - factory 093 corvette servo and factory 4th will be just fine here.
-Sonnax Pinless 1-2 or Transgo (Have both). Wich one you recommend? - I wouldnt go pinless, to me they have a tendancy to possibly **** in the bore. Factory aluminum with longer shank is just fine here
-Sonnax pinless FWD piston or Transgo (I have both) Wich one you recommend? - Same as above
-O ringed end plug
-Directionall superior capsule for 3rd.
-Reverse and FWD Abuse plugs
-New separator plate with steel checkballs
-Ream and install Sonnax TCC Isolator valve (Or?)
-Plug the PWM Hole in sep plate
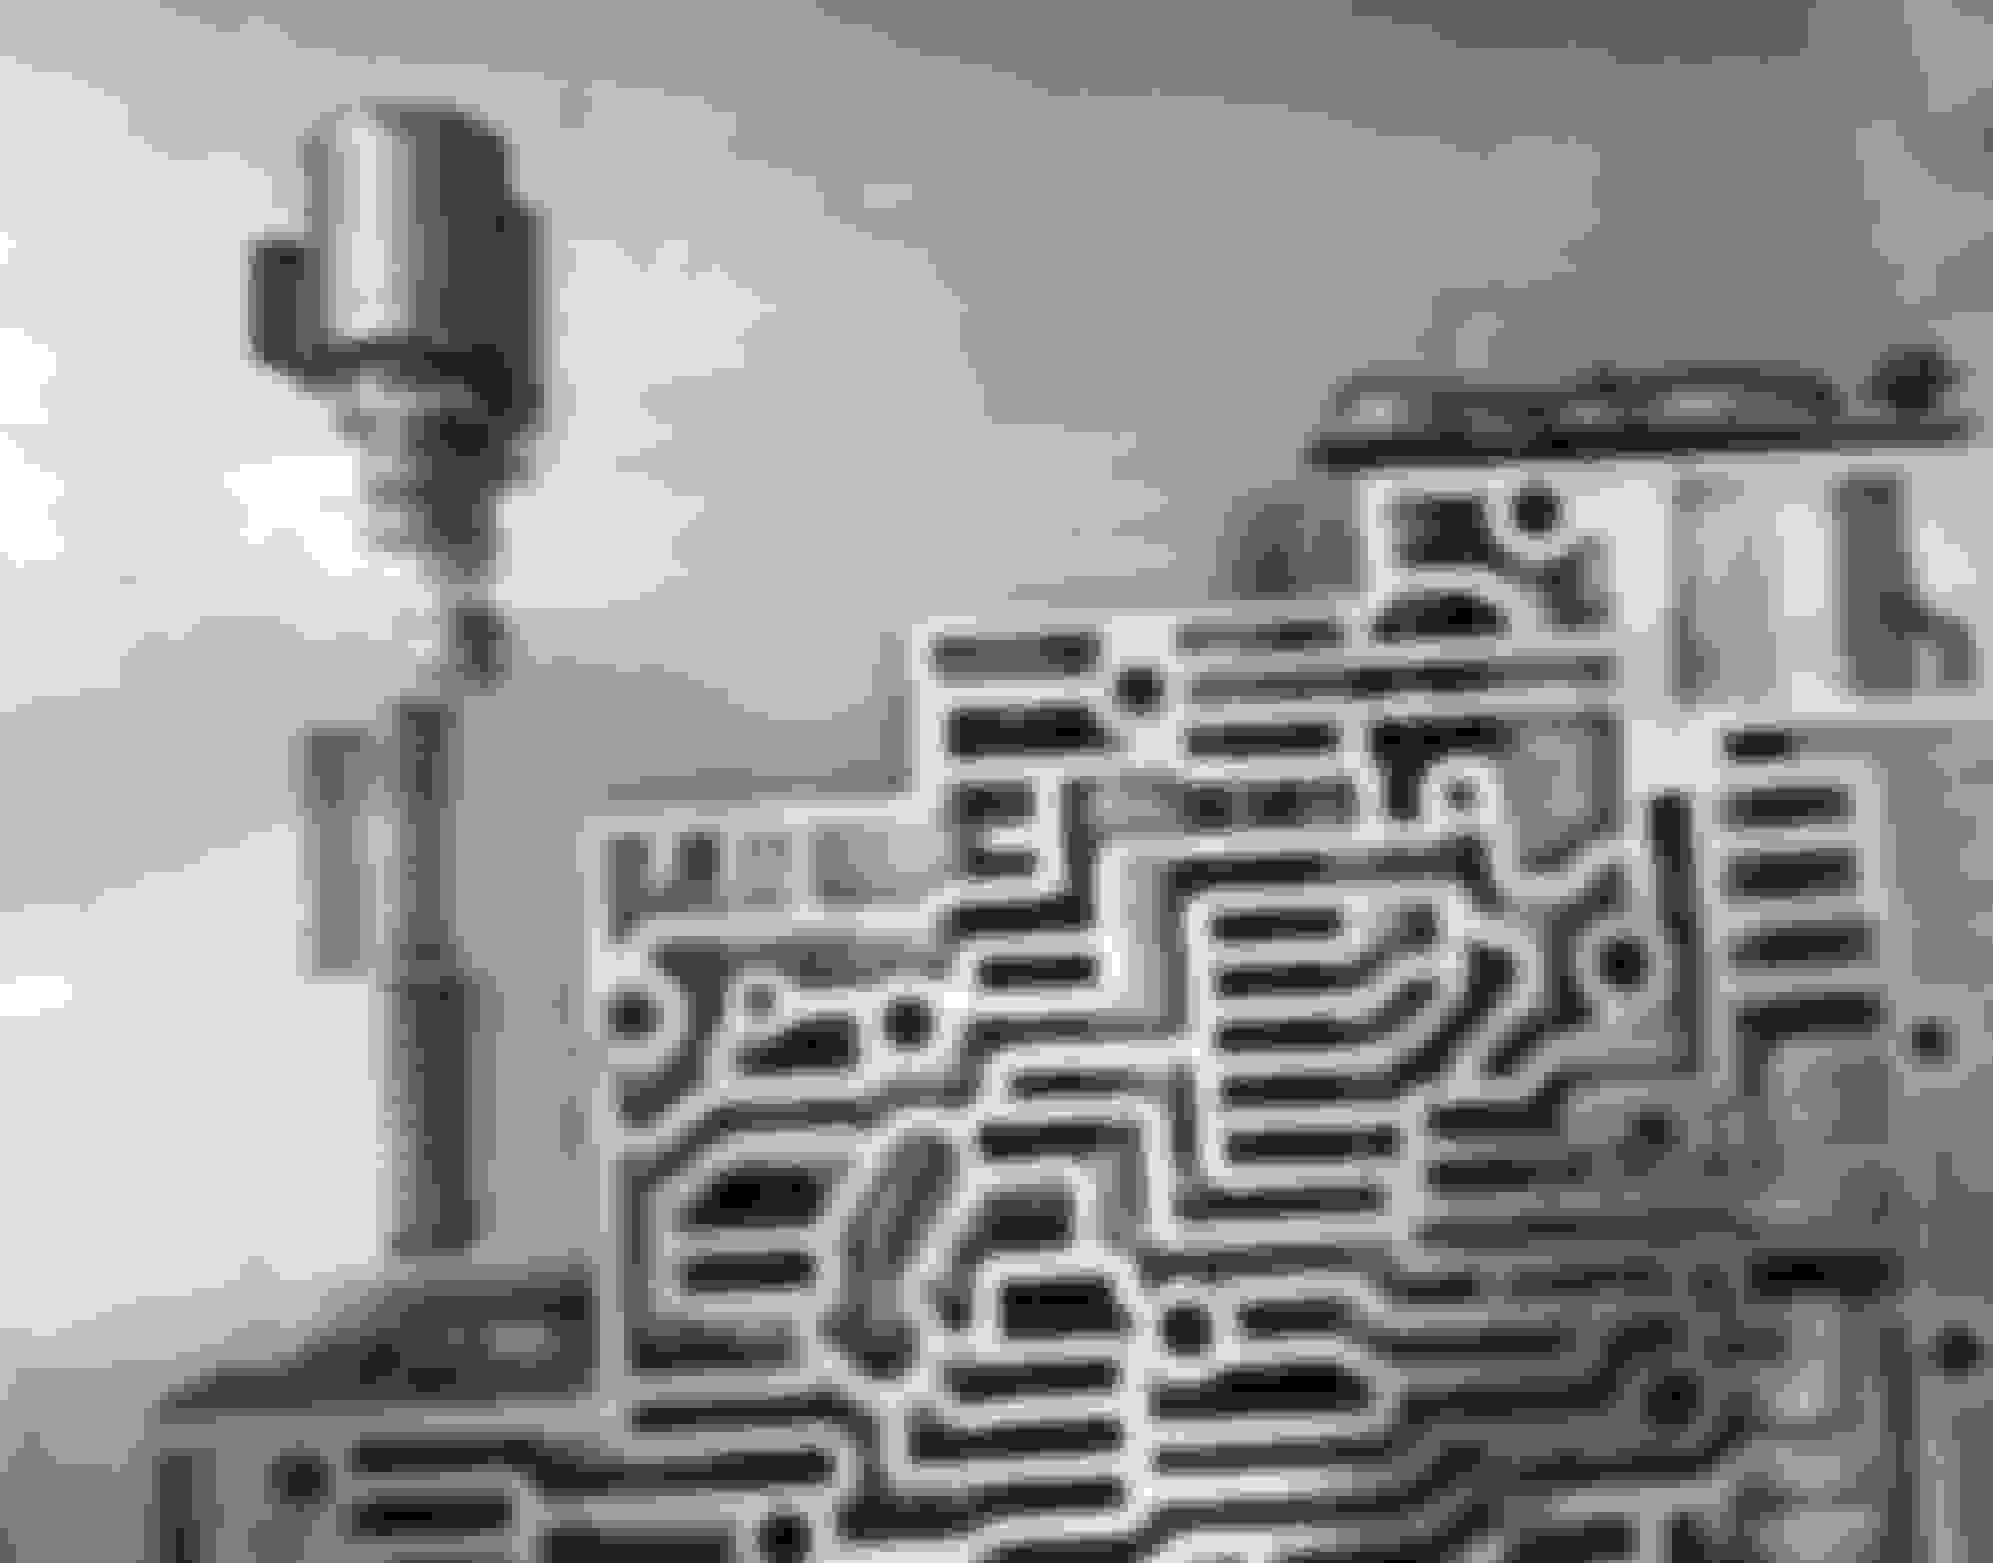
Separator plate holes : - Seems aggressive but again ill let them comment?This will also determine and/or factor what servos you use as well as 1-2 accumulator setup too
What do you think about it?
Should i invest in AFL Reaming tool and install aftermarket valve? - Do you have the ability to vacuum check your VB? This will ensure you know what leaks you need to fix if you have any so you know you have a tight VB when you reinstall.
Any other suggestions for my VB project?
Im going to let Vortec and Maroon give you the best advice, but this is what I at least suggest......for what its worth
Thank you @2BFAST !
i dont have the ability to vacuum test it
and i already bought the 2-4 super servos few months ago hahah.
about the AFL, i want to go for sure. But im a bit confused with Maroon's directions on inserting another spring. If i insert another spring, i block it right? And if i block it then reaming is not needed?
Btw, do you recommend any drop in valves from the zip kit or something like this in order to cure other possible leaks?
Dipstick calibration is the Performabuilt directions to mark right at the pan gasket height?
In my opinion, with that many miles, spending the $120.00 to build your own vacuum testing tool via MaroonMonsters AWESOME write up is worth every penny. Again, this will give you the best guide on what you need to do with your VB.
Regarding the 3-2 valves. Remove the spring in the 3-2 control valve and toss it. Remove the 3-2 downshift spring and insert it INSIDE the factory AFL spring. I believe a 2008 unit is the same as the earlier units regarding spring pressure of this spring. Ill let them confirm that, but I believe it is and should be a purple/yellow spring. Then block both 3-2 valve inboard and install your o-ringed end plug in your 3-2 downshift bore as well as the others down the row.
Regarding drop in valves, your reverse abuse and forward abuse valves are great drop in valves. Specially the reverse, this is a potential large leak in the 3rd circuit. They are the exact same valves so just order quantity two.
Central Valve Bodies out of Oklahoma has a very nice .001" oversized drop in AFL valve. But you might not need this depending on the wear. You will only know if you vacuum check this.
Yes with the pan off, insert your dip stick and mark the dipstick right at the gasket surface of the case. This is your new HOT full mark.
Thank you @2BFAST !
i dont have the ability to vacuum test it
and i already bought the 2-4 super servos few months ago hahah.
about the AFL, i want to go for sure. But im a bit confused with Maroon's directions on inserting another spring. If i insert another spring, i block it right? And if i block it then reaming is not needed?
Btw, do you recommend any drop in valves from the zip kit or something like this in order to cure other possible leaks?
Dipstick calibration is the Performabuilt directions to mark right at the pan gasket height?
I do like the 4th-Gear Sonnax Servo... and do use it in some builds.
I do not use the 2nd-Gear Sonnax Servo often, as the Corvette Part works well after orificing as needed.
You are adding a second Spring... they fit in one another, and will NOT block the Valve.
This is done to increase AFL Fluid pressure.
The Spring has nothing to do with reaming the AFL bore.
The bore needs to be in good shape or an oversized Valve will be needed (most of the time, it will be needed).
O-Ringed End-Plugs, and the Abuse-Valve Plugs work very well for sealing Valve-Body leaks that are very common.
I like the Full-Mark to be 0.125" above the Oil-Pan rail.
Is there any oversized valve that i can just drop in?
good to see you 🤩
Ugh...
GM has found the perfect solution to block the modders, by putting the Input speed sensor right on the boost valve.
In order to remove the speed sensor, you have to take off the tranny. (from what i know).
Anyways, i've got another 2008 in my garage, and i will try find a way to disconnect and connect the speed sensor.
But i love your sense of humor. I laughed hard. Imma go cry now #GM4Life.
well that sucks, i didn't think that change was until '09, but have never worked on a 2000s 4L60E in only earlier units. good luck on your shift kit!
2BFAST made some good notes on your already good list.
Looks like you have taken the time to do research.
Don't bother reaming and dealing with the TCC
If it vacuum checks well, just flip the inner valve and block the valve from moving
OR if it does not vacuum check well, use a fitzall valve with o rings. Separator plate holes : - As already mentioned, accumulator setup will change 1-2 shift feel.
In my 2008, the 1-2 shift is crisp already(stock tranny).
So i guess i'll keep everything OEM except for the acum piston. (My acum is half way down and it has only 1 spring inside)
I will use the aluminum piston with o-ring outside. because 2BFAST told me that sonnax pinless are not a favorite
Is this setup good for 1-2? Or you would recommend doing something else to the 1-2?
Last edited by Edward Stark; Aug 27, 2021 at 04:23 PM.
Perfect timing, I was just doing this myself and reading through old posts.
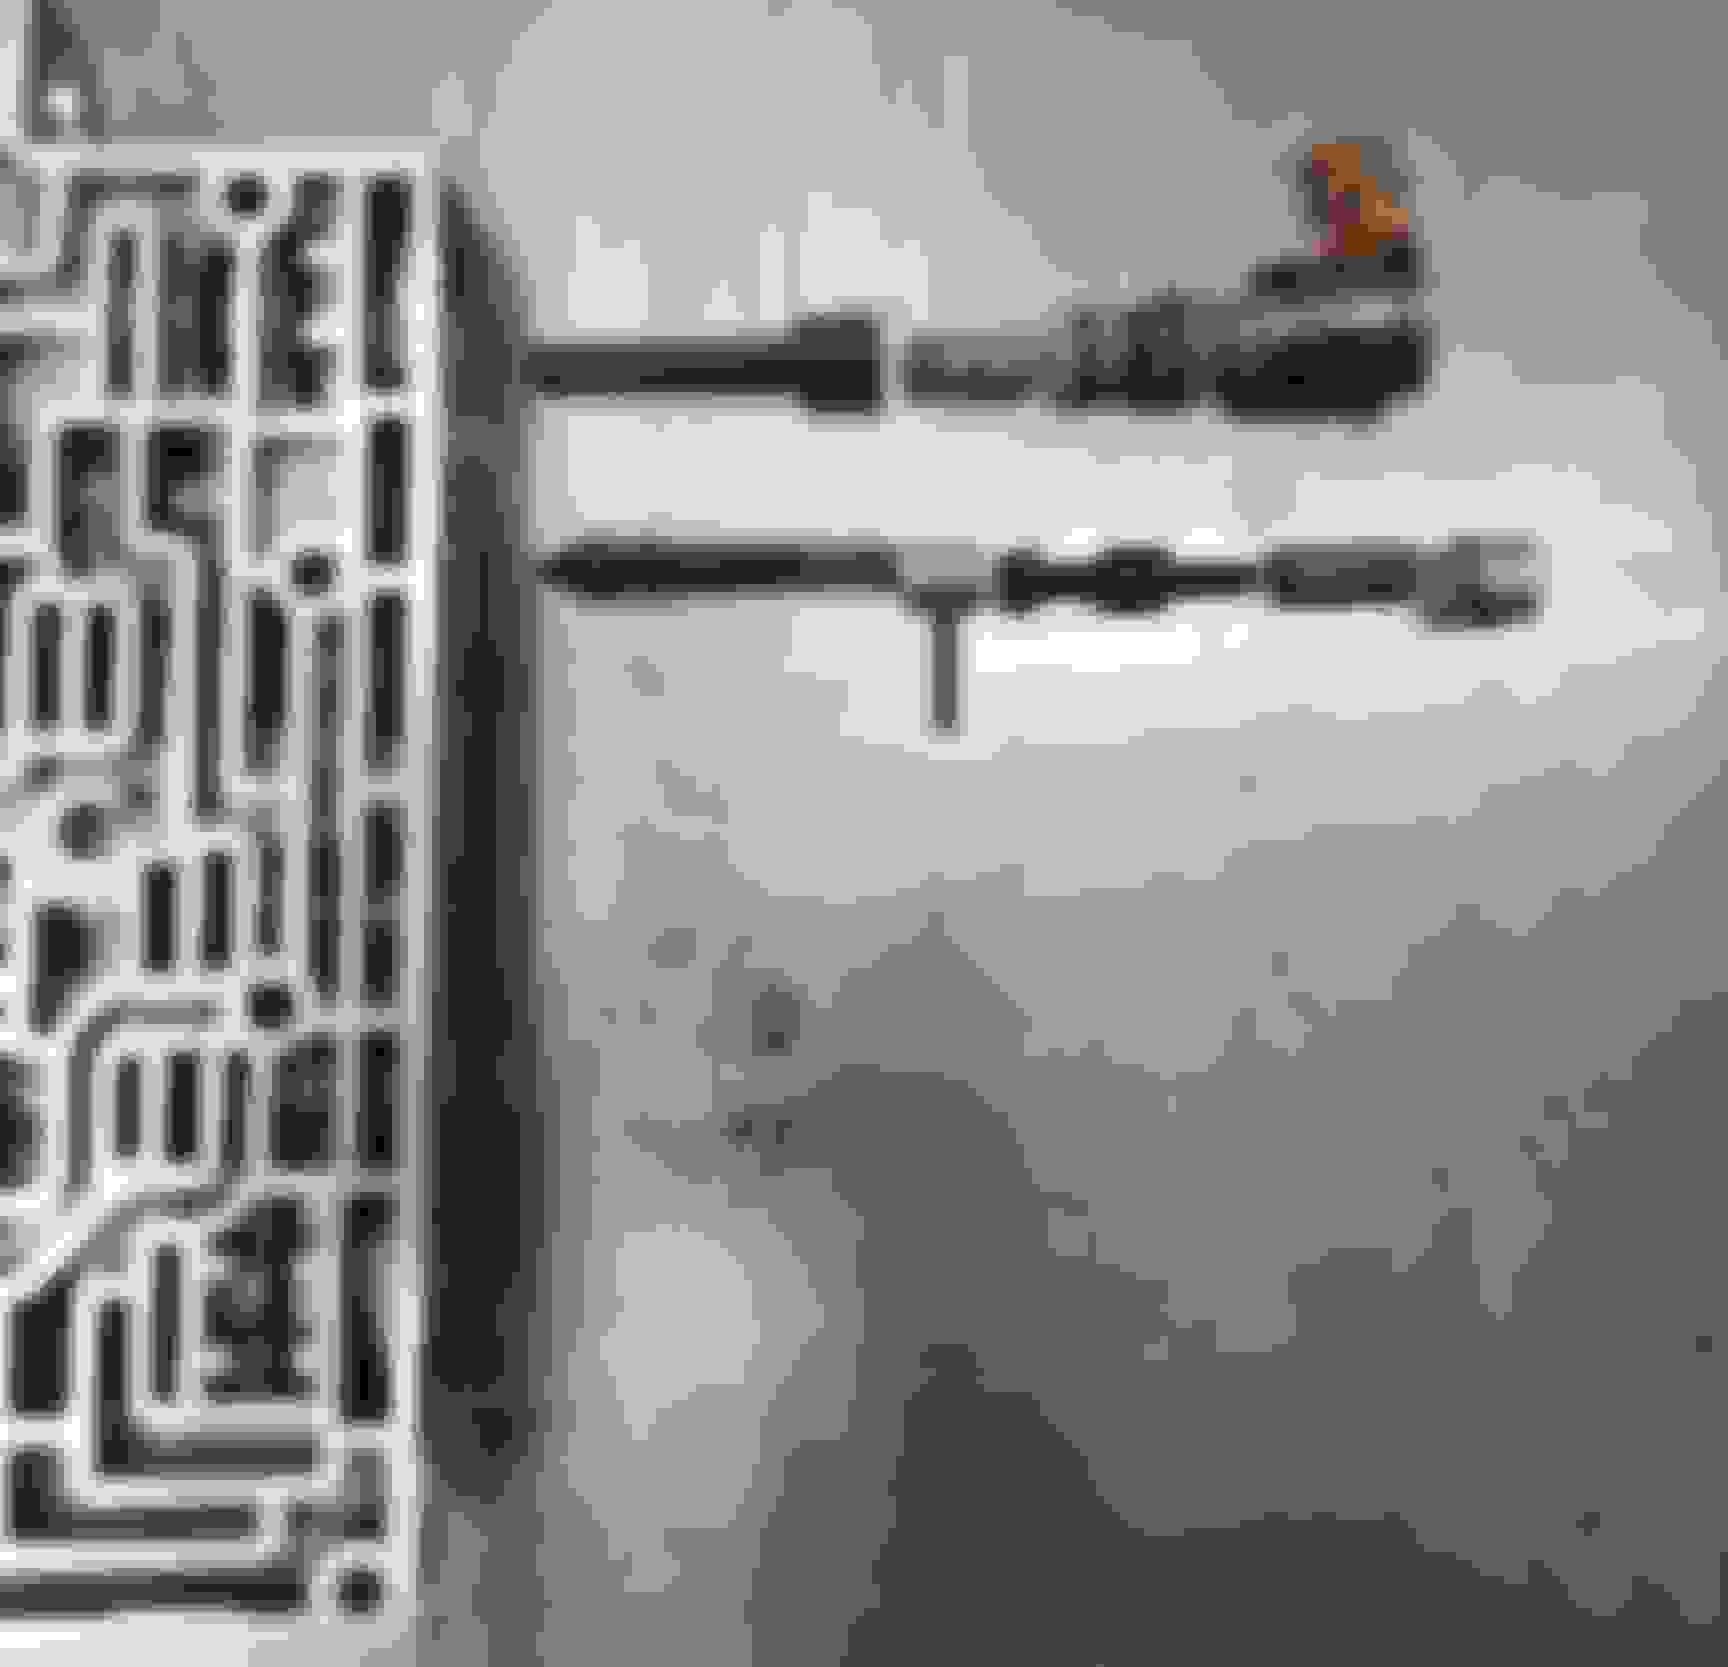
I have the trans go SK 4l60e shift kit and it has a white spring for the AFL which is a fraction longer than the 3-2 downshift spring(see pic) , so I will just use that. Is this the correct configuration and should I put a sonnax o ringed end plug in here.
Next question, when you say block valve inboard, does that refer to having the valve pushed all the way in its bore. I have made up these 2 steel tube spacers if that's correct.
I have sonnax o ring end plugs but I don't have abuse valve plugs yet. Do all end plugs need replacing with o ringed end plugs.
yes to the transgo white spring
no to the o-ring end plug in the AFL bore. Just use the stock plug there
Yes to blocking inboard
to the OP...yes your 1-2 accum should be fine
Maroon,
I would like to sharpen this project with the following questions :
2-4 Servo : Do i need to add any springs to the 2-4 sonnax servo?
I just pulled my OEM servo, took the spring from the 2nd servo and the plate cover for the servo, installed everything into Sonnax servo and it's all i did.
I've seen some kits add 2 springs inside the 2nd servo. What is the reason for that and can i enjoy any benefits from it?
The 2nd servo cover that transgo sells with 4 cuts on the plate is a good practice? How nessesary is that?
My current 1-2 setup is OEM. 1 small spring inside and a piston. It's a late style. Do i need to modify that or just leave it as it is?
The oversized 3-4 relay valve is a good practice?
Thank you!
Last edited by Edward Stark; Aug 30, 2021 at 09:03 AM.
Grady im sure will answer as well, but for what its worth......
Originally Posted by Edward Stark
Maroon,
I would like to sharpen this project with the following questions :
2-4 Servo : Do i need to add any springs to the 2-4 sonnax servo?
I just pulled my OEM servo, took the spring from the 2nd servo and the plate cover for the servo, installed everything into Sonnax servo and it's all i did.
I've seen some kits add 2 springs inside the 2nd servo. What is the reason for that and can i enjoy any benefits from it? Adding another cushion spring will firm up 2nd apply more, which to me you dont need.
The 2nd servo cover that transgo sells with 4 cuts on the plate is a good practice? How nessesary is that? It wont hurt anything, basically the theory is it allows quicker oil exhaust for 3-2 downshift when on deceleration and possible less of a "clunk". Wont hurt you. Not really sure if it makes a huge difference but again doesnt hurt.
My current 1-2 setup is OEM. 1 small spring inside and a piston. It's a late style. - I would leave this Do i need to modify that or just leave it as it is? -
The oversized 3-4 relay valve is a good practice? - This requires a reamer
no need for a cushion spring. The 60e has a hydraulic apply bias that kicks-off the band on a 2-3 shift. The spring is not needed
the 4 cuts is fine.
I still do it on many units.
it eliminates the 2-3 accumulator function of that cover. And it will change the 3-2 kickdown characteristics also.
talking about your 1-2 accumulator...sounds fine.
I like to set the accumulator up to soften the shift most times.
for a performance unit or something with alot of rpm i will use a spring on both sides of the accumulator piston to limit travel and volume and firm the shift because rpm will be climbing rapidly through the range the 1-2 shift needs to happen
but that is sometimes too firm for a daily driver
I did everything!
MAAAAN i LOVE how it works now!!!!!
my tranny got a second life!!!
It is so smooth on part throttle, and holding like brand new in WOT! Shifts like DSG! This thread is gold!
I did everything!
MAAAAN i LOVE how it works now!!!!!
my tranny got a second life!!!
It is so smooth on part throttle, and holding like brand new in WOT! Shifts like DSG! This thread is gold!
6 Common C5 Corvette Failures and What's Involved In Repairing Them
Slideshow: From wobbling harmonic balancers to failed EBCMs, these are the issues that define long-term C5 ownership and what repairs typically involve.
Retro Modern Bandit Pontiac Trans AM Comes With Burt Reynolds' Autograph
Slideshow: A modern Camaro transformed into a retro icon, this limited-run "Bandit" build blends nostalgia with brute force in a way few revivals manage.
Top 10 Greatest Cadillac V Series Performance Models Ever, Ranked
Slideshow: Cadillac didn't just crash the high-performance luxury vehicle party, it showed up loud, supercharged, and occasionally a little unhinged...
Coachbuilt N2A Anteros Is an LS2-Powered C6 Corvette In Italian Clothes
Slideshow: A one-off sports car that looks like a vintage Italian exotic-but hides a C6 Corvette underneath-just sold for the price of a new mid-engine Corvette.