How To: Fix Chipped Nav Buttons and Knobs
 05-23-2011, 08:59 PM
#1

I posted a few pictures of my refinished shifter trim in another thread, so I decided to go ahead and upload these. Hopefully this will be helpful for those of you with chipped nav buttons.
Depending on the severity of the chips (especially if it's in the lit circles or text), it may not turn out absolutely perfect... but it should look a hell of a lot better than chipped up buttons.
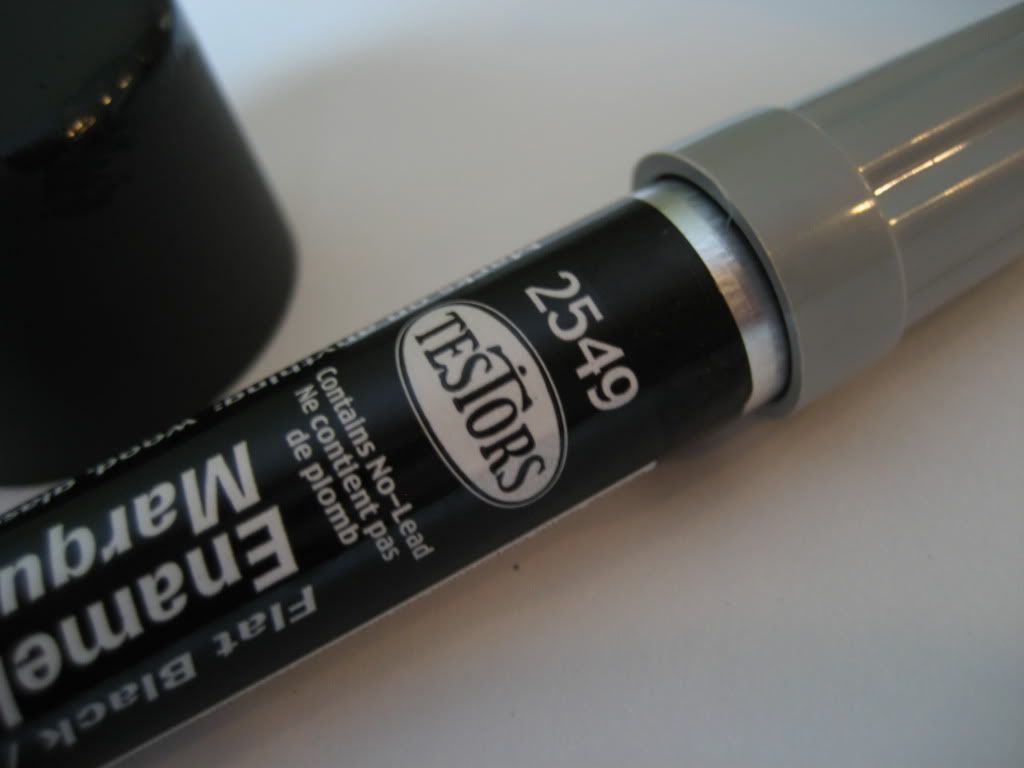
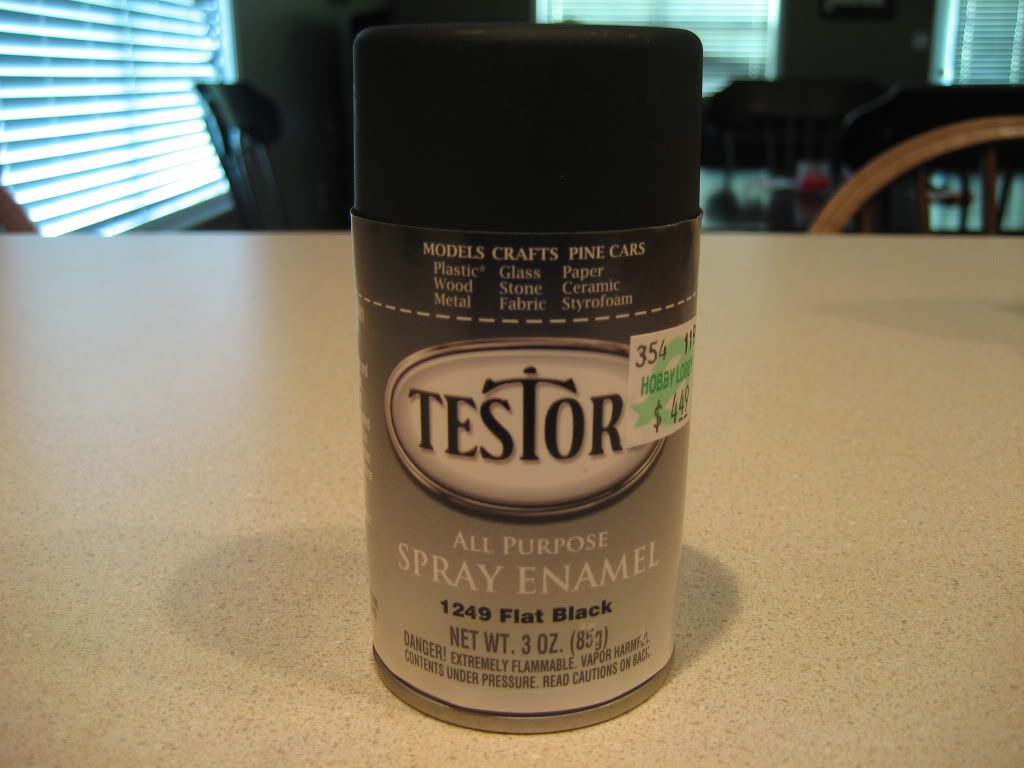
The supplies are only a few bucks at a hobby store:
-Testors Flat Black Enamel Marker
-Testors Flat Black Spray Enamel
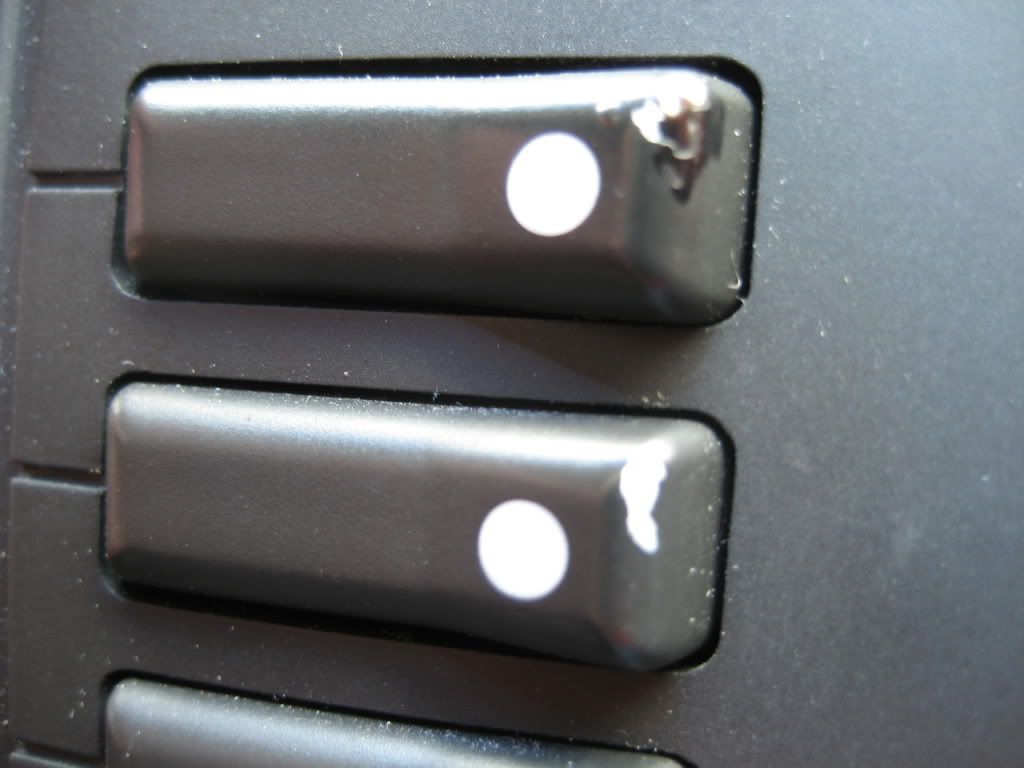
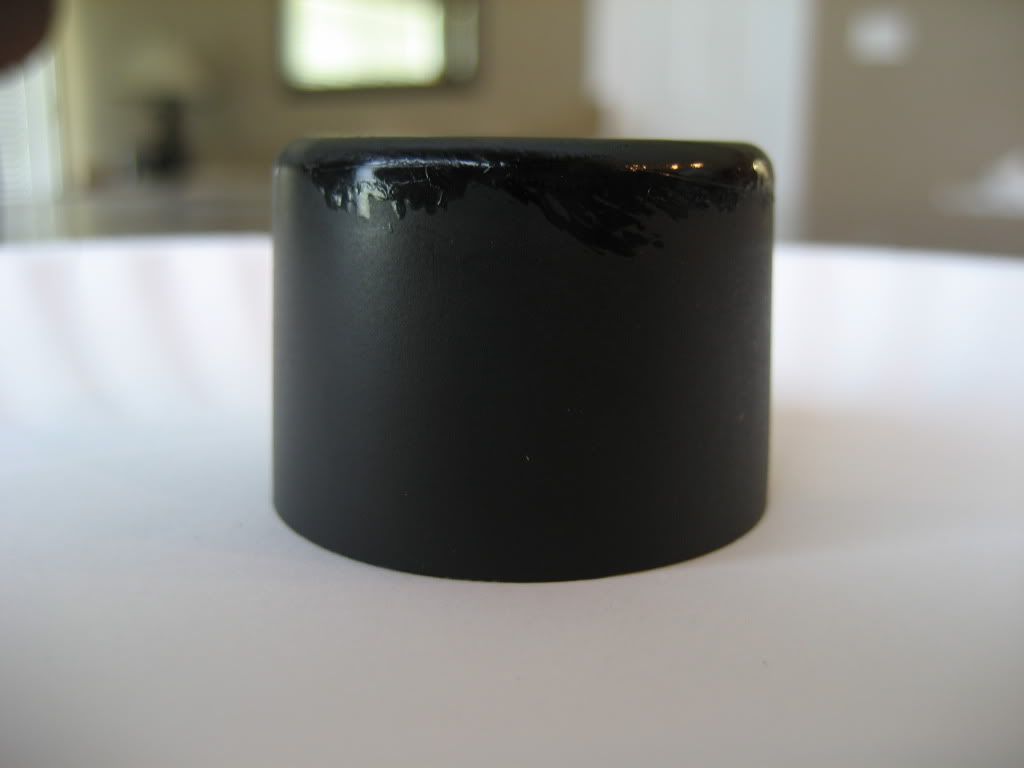
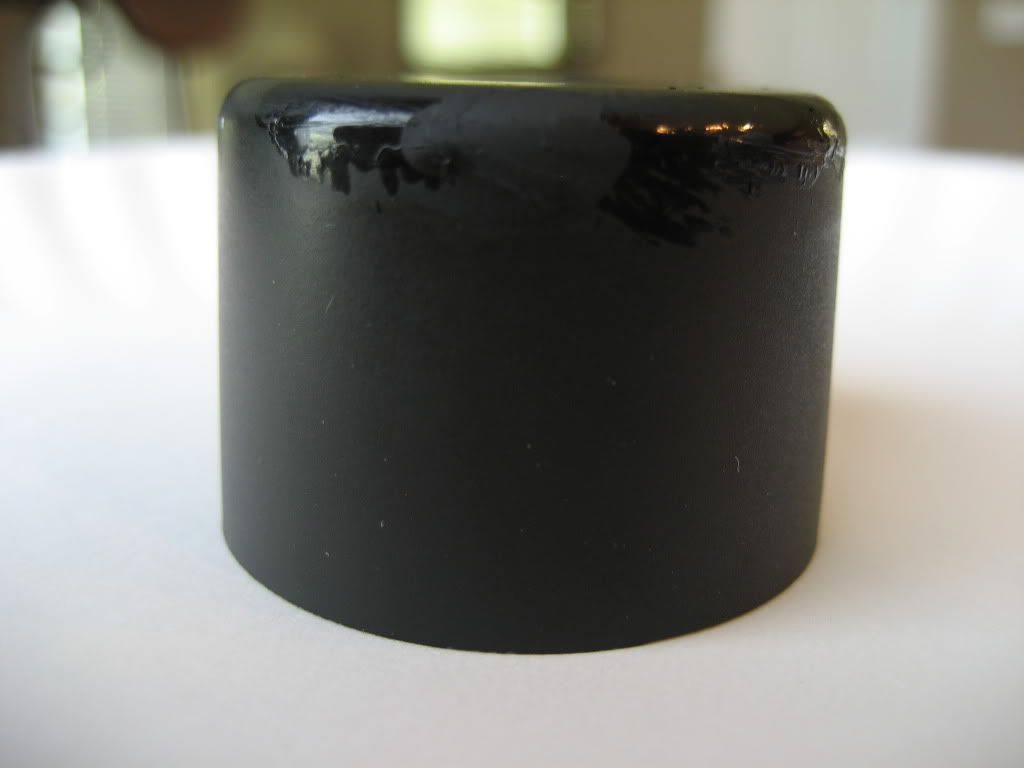
Here are some before shots. The previous owner tried to use some paint that didn't match very well.
I tested out the marker on one of the *****. I knew I was going to sand them down and repaint from 'scratch' (pun intended), so they made good practice pieces.
This is the same **** with all of the old touchups covered. I'm not sure if that dark spot is too thin (not covering all of the old touchup) or too thick (not dried all the way). I was just screwing around to get a feel for it.

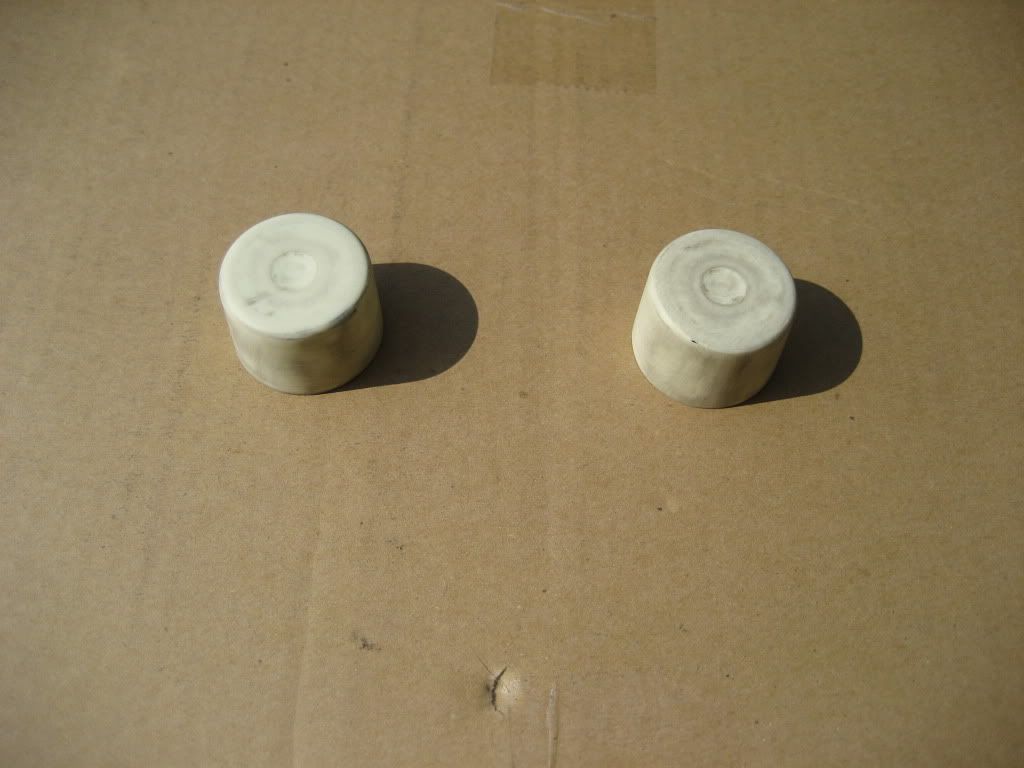
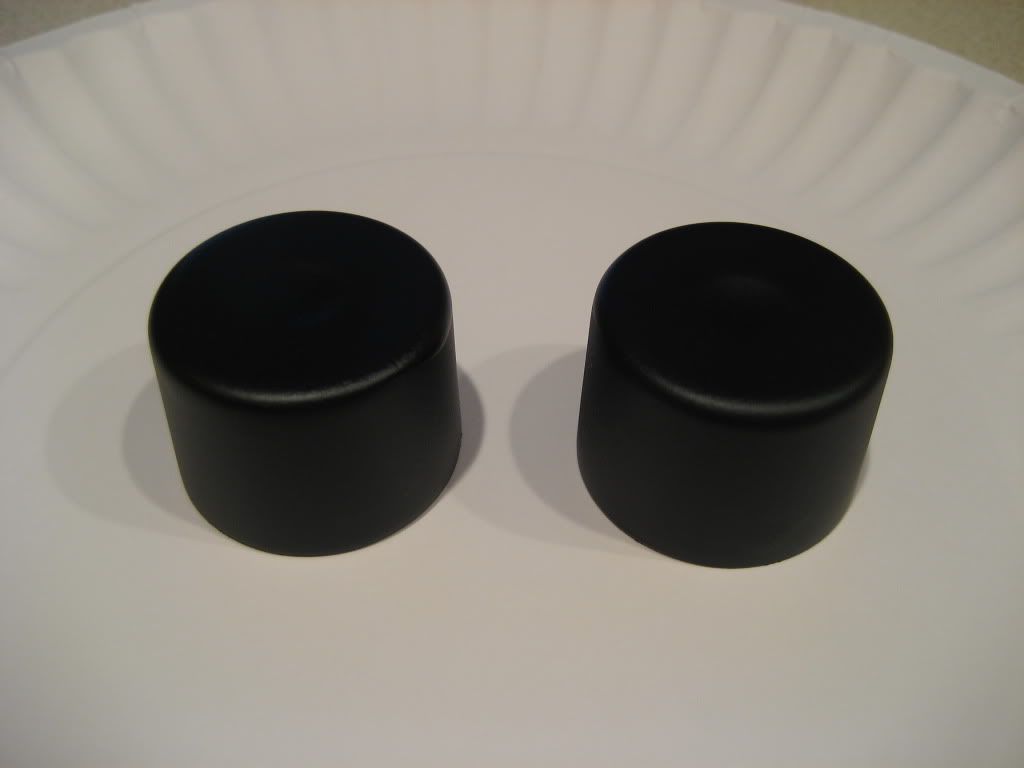
Here are the ***** sanded and resprayed.
After testing it out, I knew the marker would be a pretty good match for the buttons. I used some masking tape just to make sure I didn't get any on the bezel.
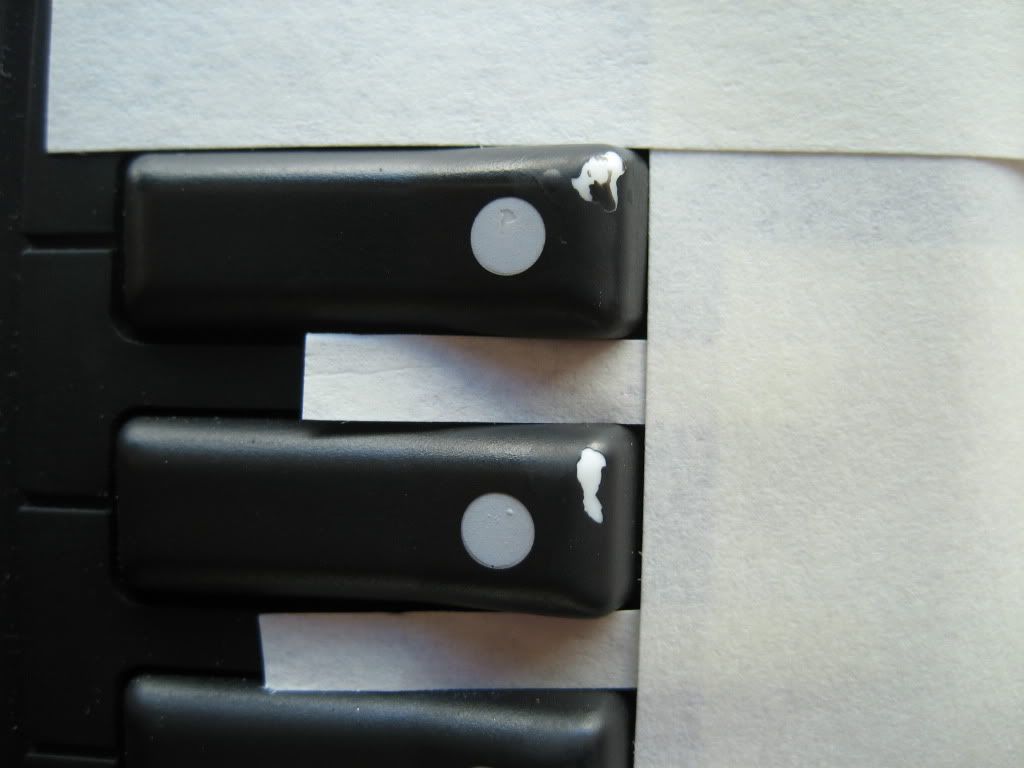
Glad I used that masking tape...
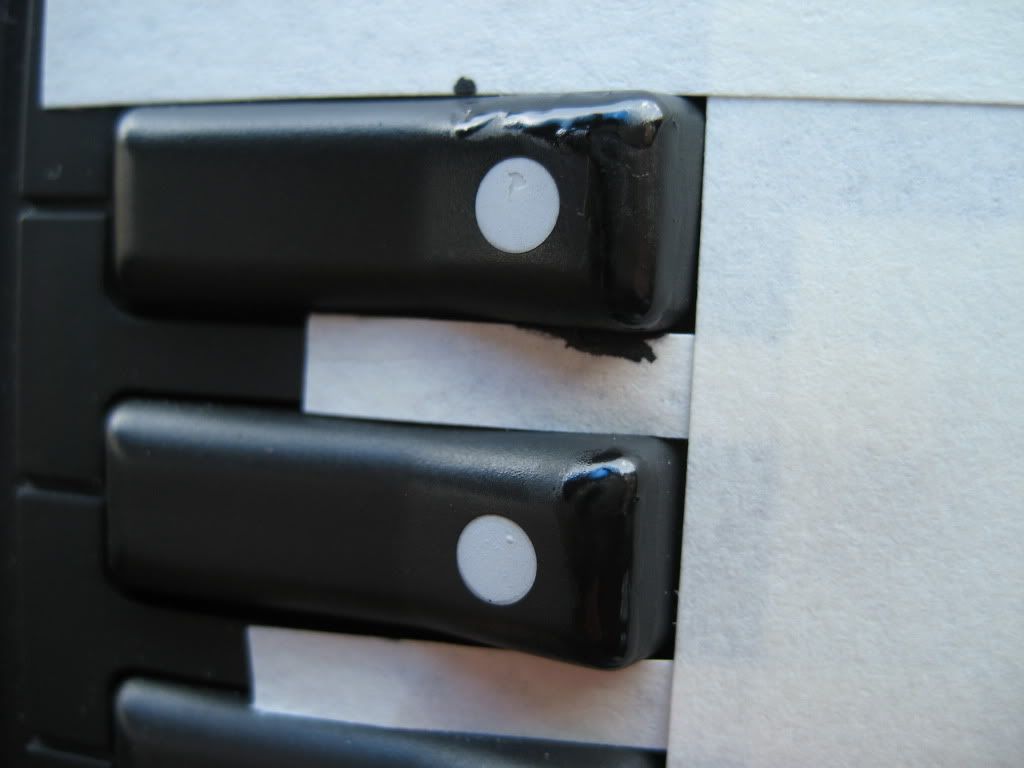
This was only about an hour after touching them up. They looked even better after it had a good chance to fully dry. Zoomed in like that, you can see the repaired areas pretty clearly, but actual size (inset image to give you the idea) it's nothing you would ever notice.
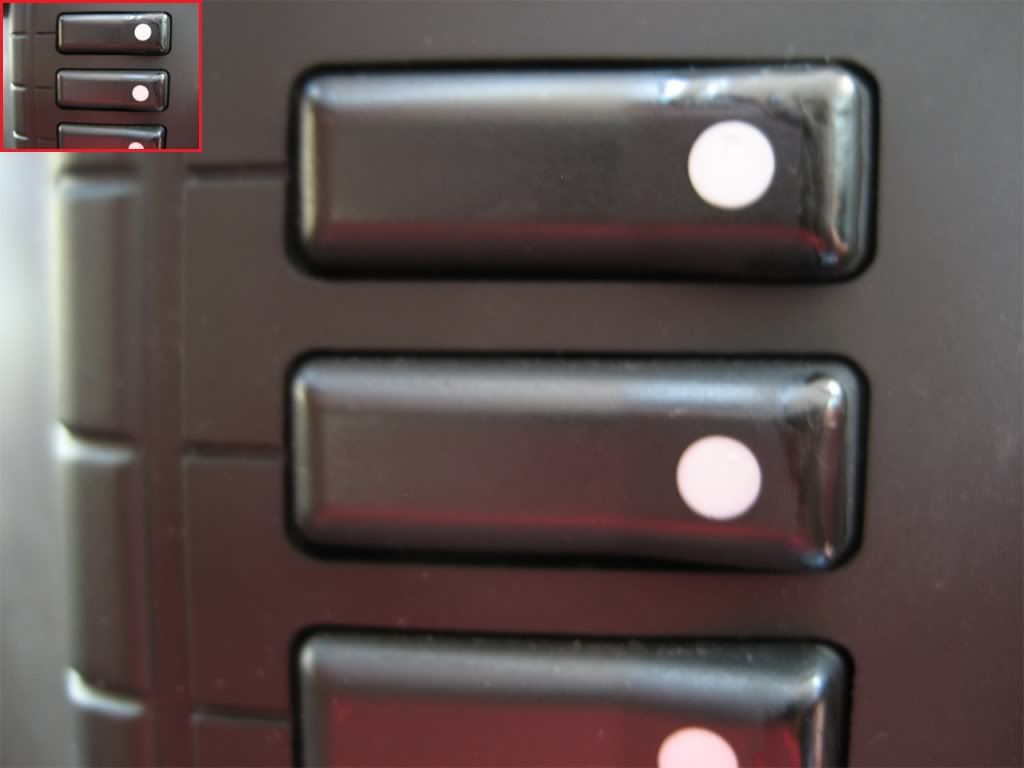
The timestamp on these pictures is 05/31/10, so it's been about a year. They've held up great so far, but to be fair, I'm gentle with them. I do have one new chip in the text of one of the other buttons. The text would be exponentially more complicated to do well. At some point I'll give it a try. If I screw it up, I'll buy a new button to replace it.
Depending on the severity of the chips (especially if it's in the lit circles or text), it may not turn out absolutely perfect... but it should look a hell of a lot better than chipped up buttons.
The supplies are only a few bucks at a hobby store:
-Testors Flat Black Enamel Marker
-Testors Flat Black Spray Enamel
Here are some before shots. The previous owner tried to use some paint that didn't match very well.
I tested out the marker on one of the *****. I knew I was going to sand them down and repaint from 'scratch' (pun intended), so they made good practice pieces.
This is the same **** with all of the old touchups covered. I'm not sure if that dark spot is too thin (not covering all of the old touchup) or too thick (not dried all the way). I was just screwing around to get a feel for it.
Here are the ***** sanded and resprayed.
After testing it out, I knew the marker would be a pretty good match for the buttons. I used some masking tape just to make sure I didn't get any on the bezel.
Glad I used that masking tape...
This was only about an hour after touching them up. They looked even better after it had a good chance to fully dry. Zoomed in like that, you can see the repaired areas pretty clearly, but actual size (inset image to give you the idea) it's nothing you would ever notice.
The timestamp on these pictures is 05/31/10, so it's been about a year. They've held up great so far, but to be fair, I'm gentle with them. I do have one new chip in the text of one of the other buttons. The text would be exponentially more complicated to do well. At some point I'll give it a try. If I screw it up, I'll buy a new button to replace it.

 06-19-2011, 09:35 PM
#4
Staging Lane
iTrader: (2)
Join Date: Jun 2011
Location: Front Royal, VA
Posts: 77
Likes: 0
Received 0 Likes
on
0 Posts
Thanks for taking the time to write this up. I got the same supplies this weekend and got mine looking almost good as new this weekend. My new to me V had chips on all 6 preset buttons, as well as the Nav and Band button. Saved me a ton of coin since the buttons are about $8 each to replace. I did cheat and use my wife to paint the ones close to writing or the white dots since she's used to careful painting work from her cake business. They came out great.

 04-27-2013, 02:57 PM
#8
11 Second Club
iTrader: (3)
Join Date: Jul 2008
Location: Houston
Posts: 328
Likes: 0
Received 0 Likes
on
0 Posts
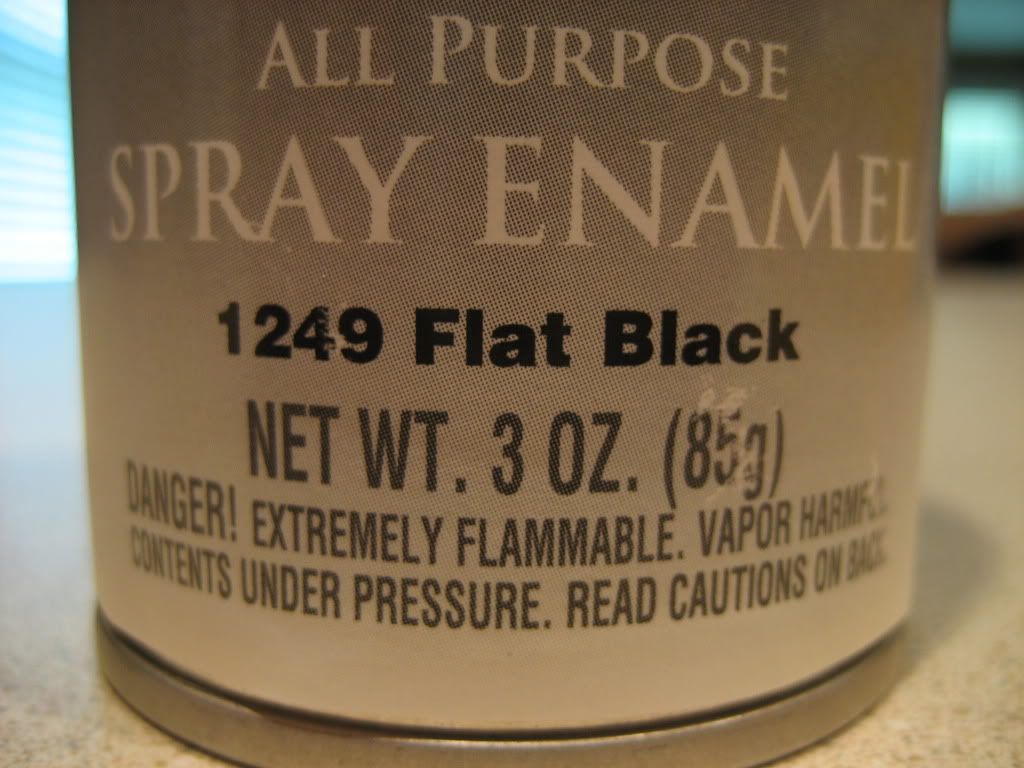
Good write up. I need to do my shifter bezel. Did you use the Spray (Flat Black) can?
Any tips on pulling it out of there for paint? Sanding?
Thanks...
Looks Great by the way.
Any tips on pulling it out of there for paint? Sanding?
Thanks...
Looks Great by the way.