A Camaro Shifter fits a V? Yes it can
 09-02-2012, 07:36 PM
#1
TECH Resident
Thread Starter
iTrader: (10)
Join Date: Oct 2005
Location: Cincinnati, Ohio
Posts: 948
Likes: 0
Received 0 Likes
on
0 Posts

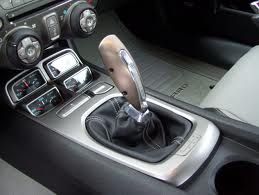
I was looking to an alternative to a $4-500 shifter or just a stock shifter modified for a shorter throw. I spent some time pouring over google images and on Ebay Australia. I compared images of Camaro and Commodore shifters and how they install. In my search I stumbled upon a cheap Hurst shifter for a late model Camaro ($125 shipped):

Next I removed the stock shifter as per instructions on the Cadillac forums
http://www.cadillacforums.com/forums...ifter-top.html
After examining the stock shifter cup I was going to have a friend make a new billet cup (and still may) but I had a idea to modify it with a piece of exhaust(yeah exhaust) pipe. The Camaro shifter is 1.50 in diameter and has O-rings to hold it and to isolate vibrations. Here is a pic of the kit I got from the web
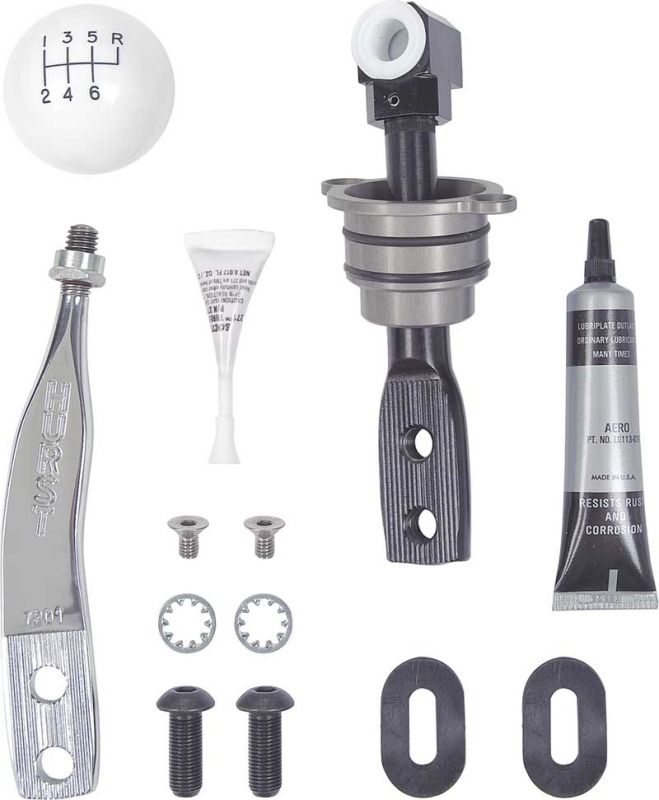
I went to the auto parts store and bought a piece of 1 1/2 inch exhaust pipe which slid nicely into the original V shifter cup
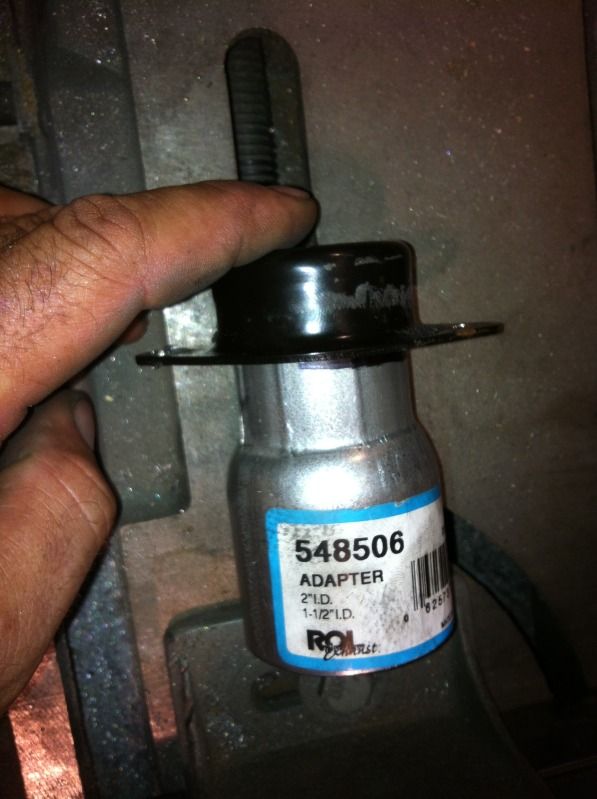
Some of my pics did not turn out but I marked it and cut it off with a band saw then slid it back inside.
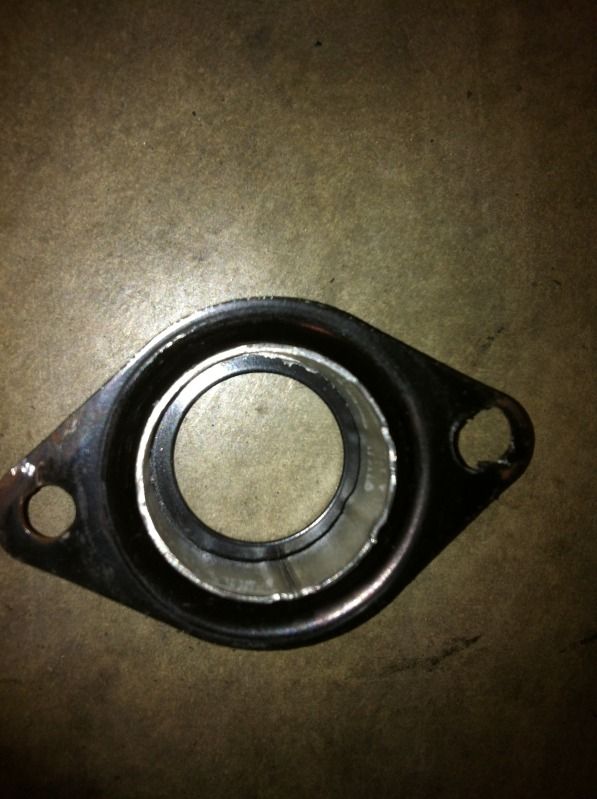
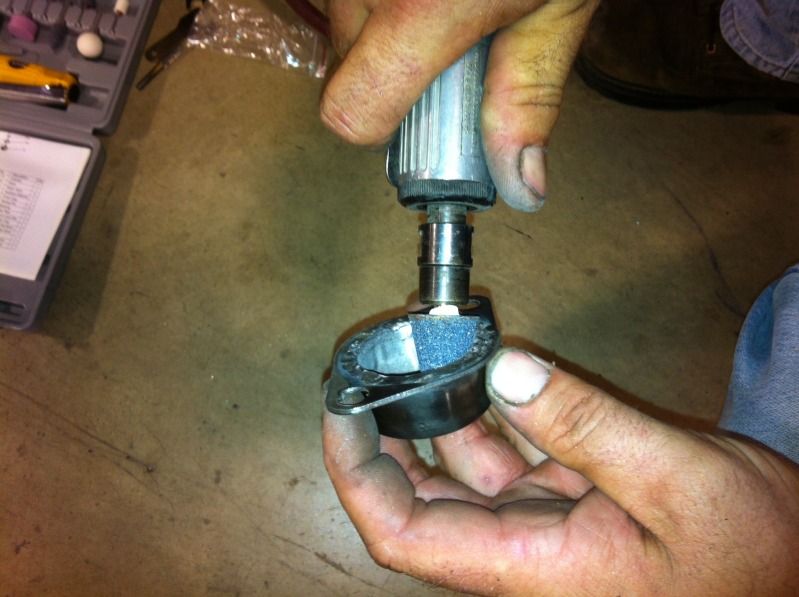
One of the pics I lost was where I welded it. I welded all around the inside and then laid it on the belt sander and sanded the bottom flat. In the next pic you see where I chamfered the edges so the lubricated shifter could slide in as per the instructions in the Camaro kit. You can also see how I welded and sanded it here.
Next with the Camaro shifter installed in the cup I drilled holes in the cup to match the Camaro shifter bolt locations. (sorry again pic was bad).
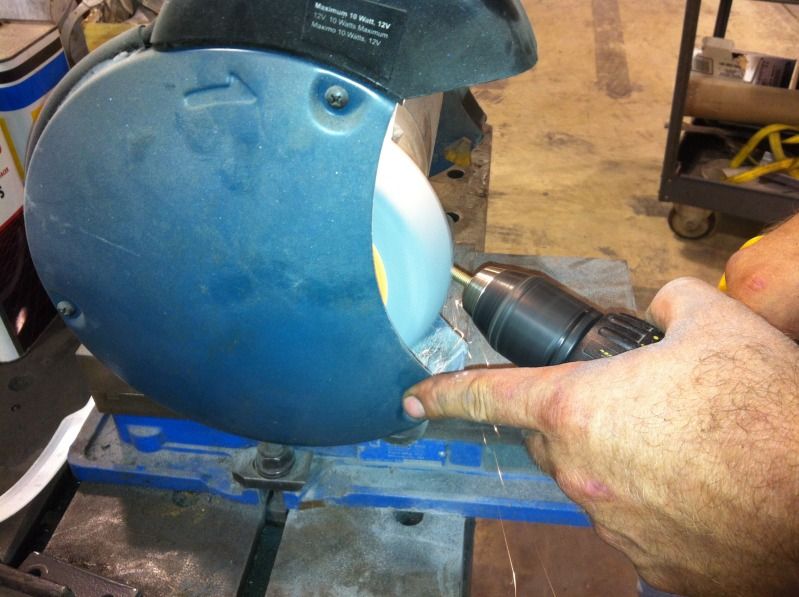
Now that the Camaro shifter fit inside the V shifter cup I put the assembly back down through the shifter mount and drilled the corresponding holes through the mount. I needed cap screws to hold it in because the holes were very close to V shifter cup. I turned down the bolts with my trusty drill and bench grinder.(M6X1.0)
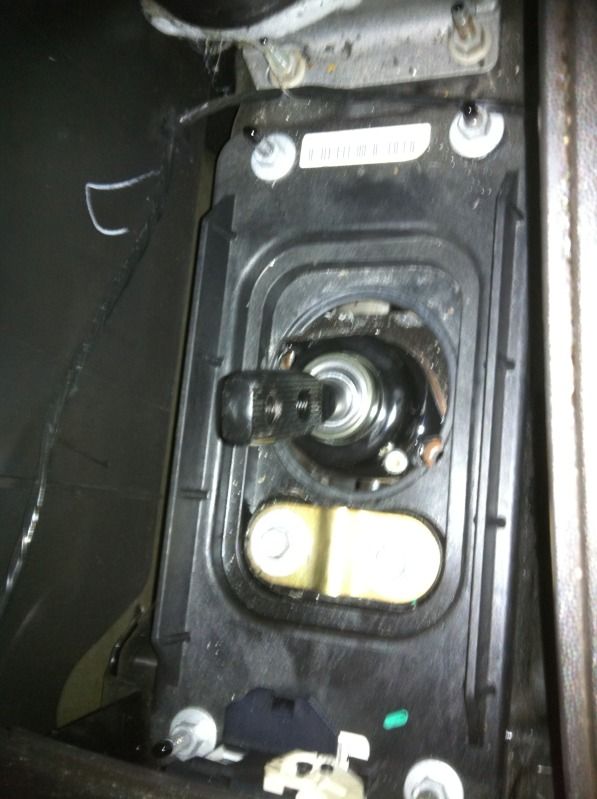
Now here is the shifter bolted back into place.
The topside goes back together as it came apart after the shifter stick is installed. I don't have a pic of the underside where I reused the V metal insert for the Camaro bushing. I had to install one washer to take up the difference in width of the camaro and CTS-V shifter base. I will get a pic of that when I put it back on the lift. I hope this helps others who strive to make out of the box ideas work (and are cheap like me). The shifter performs flawlessly and each shift is more like a detent. It is firm and positive and there is no way you can mistake whether or not it is in gear. I love it. I need to work on a **** and maybe the boot as I am not sure I like the white hurst shifter ball. More pics to follow tomorrow.
Next I removed the stock shifter as per instructions on the Cadillac forums
http://www.cadillacforums.com/forums...ifter-top.html
After examining the stock shifter cup I was going to have a friend make a new billet cup (and still may) but I had a idea to modify it with a piece of exhaust(yeah exhaust) pipe. The Camaro shifter is 1.50 in diameter and has O-rings to hold it and to isolate vibrations. Here is a pic of the kit I got from the web
I went to the auto parts store and bought a piece of 1 1/2 inch exhaust pipe which slid nicely into the original V shifter cup
Some of my pics did not turn out but I marked it and cut it off with a band saw then slid it back inside.
One of the pics I lost was where I welded it. I welded all around the inside and then laid it on the belt sander and sanded the bottom flat. In the next pic you see where I chamfered the edges so the lubricated shifter could slide in as per the instructions in the Camaro kit. You can also see how I welded and sanded it here.
Next with the Camaro shifter installed in the cup I drilled holes in the cup to match the Camaro shifter bolt locations. (sorry again pic was bad).
Now that the Camaro shifter fit inside the V shifter cup I put the assembly back down through the shifter mount and drilled the corresponding holes through the mount. I needed cap screws to hold it in because the holes were very close to V shifter cup. I turned down the bolts with my trusty drill and bench grinder.(M6X1.0)
Now here is the shifter bolted back into place.
The topside goes back together as it came apart after the shifter stick is installed. I don't have a pic of the underside where I reused the V metal insert for the Camaro bushing. I had to install one washer to take up the difference in width of the camaro and CTS-V shifter base. I will get a pic of that when I put it back on the lift. I hope this helps others who strive to make out of the box ideas work (and are cheap like me). The shifter performs flawlessly and each shift is more like a detent. It is firm and positive and there is no way you can mistake whether or not it is in gear. I love it. I need to work on a **** and maybe the boot as I am not sure I like the white hurst shifter ball. More pics to follow tomorrow.

 09-02-2012, 09:53 PM
#3
TECH Resident
Thread Starter
iTrader: (10)
Join Date: Oct 2005
Location: Cincinnati, Ohio
Posts: 948
Likes: 0
Received 0 Likes
on
0 Posts
Yeah I will do a short video tomorrow. The throw is pretty short and it is a very positive shift. I do not notice any extra noise or harmonics but I have not driven on the highway yet.

Trending Topics
09-02-2012, 10:48 PM
#8
TECH Fanatic
Interesting. I have also seen a similarly modded C5 shifter made to work in this fashion. I don't think it was any shorter of a throw than the conventional options...but it was much better than OE and was free as the guy had it laying around since it was taken off a used car.
09-02-2012, 11:39 PM
#10
I'm not sure that you need to modify the stock cup. i think you could just use the hurst flange/holes to mount it. that would cut down on half of the work. Once you tighten down the covet over the flange the o-rings really dont provide any vibration resistance. now to see a picture next to stock to see if it is a shorter throw and where it is shorter at.
09-03-2012, 09:06 AM
#12
awesome work.. thanks for poastin this up
yea i was thinking the same thing, there must be a fitment issue with the hurst cup and the base plastic shifter plate
yea i was thinking the same thing, there must be a fitment issue with the hurst cup and the base plastic shifter plate
09-03-2012, 11:09 AM
#13
If this is as short of throw as the modified stockers I will probably pick on up. I have no complaints with mine, but want the look, I already have a hurst **** on mine.
 09-03-2012, 07:57 PM
#18
TECH Resident
Thread Starter
iTrader: (10)
Join Date: Oct 2005
Location: Cincinnati, Ohio
Posts: 948
Likes: 0
Received 0 Likes
on
0 Posts
Thanks for the compliments. I would love to make a billet cup that makes it a direct bolt in with no mods. If anyone has any questions I am happy to help.
09-03-2012, 09:16 PM
#20
TECH Resident
Thread Starter
iTrader: (10)
Join Date: Oct 2005
Location: Cincinnati, Ohio
Posts: 948
Likes: 0
Received 0 Likes
on
0 Posts
Now that I have the shifter I have been looking at *****/sticks. I like the new "Drive Hard" series from Hurst. They are more than the damn shifter.