Cadillac CTS-V 2004-2007 (Gen I) The Caddy with an Attitude...

Makin progress

Thread Tools
 
Search this Thread
 
Old 06-12-2015, 08:11 AM
  #141  
TECH Addict
iTrader: (10)
 
NIKDSC5's Avatar
 
Join Date: Mar 2007
Location: DFW Area
Posts: 2,599
Received 22 Likes on 19 Posts

Default

Originally Posted by 54inches
you ducking posting photos too?
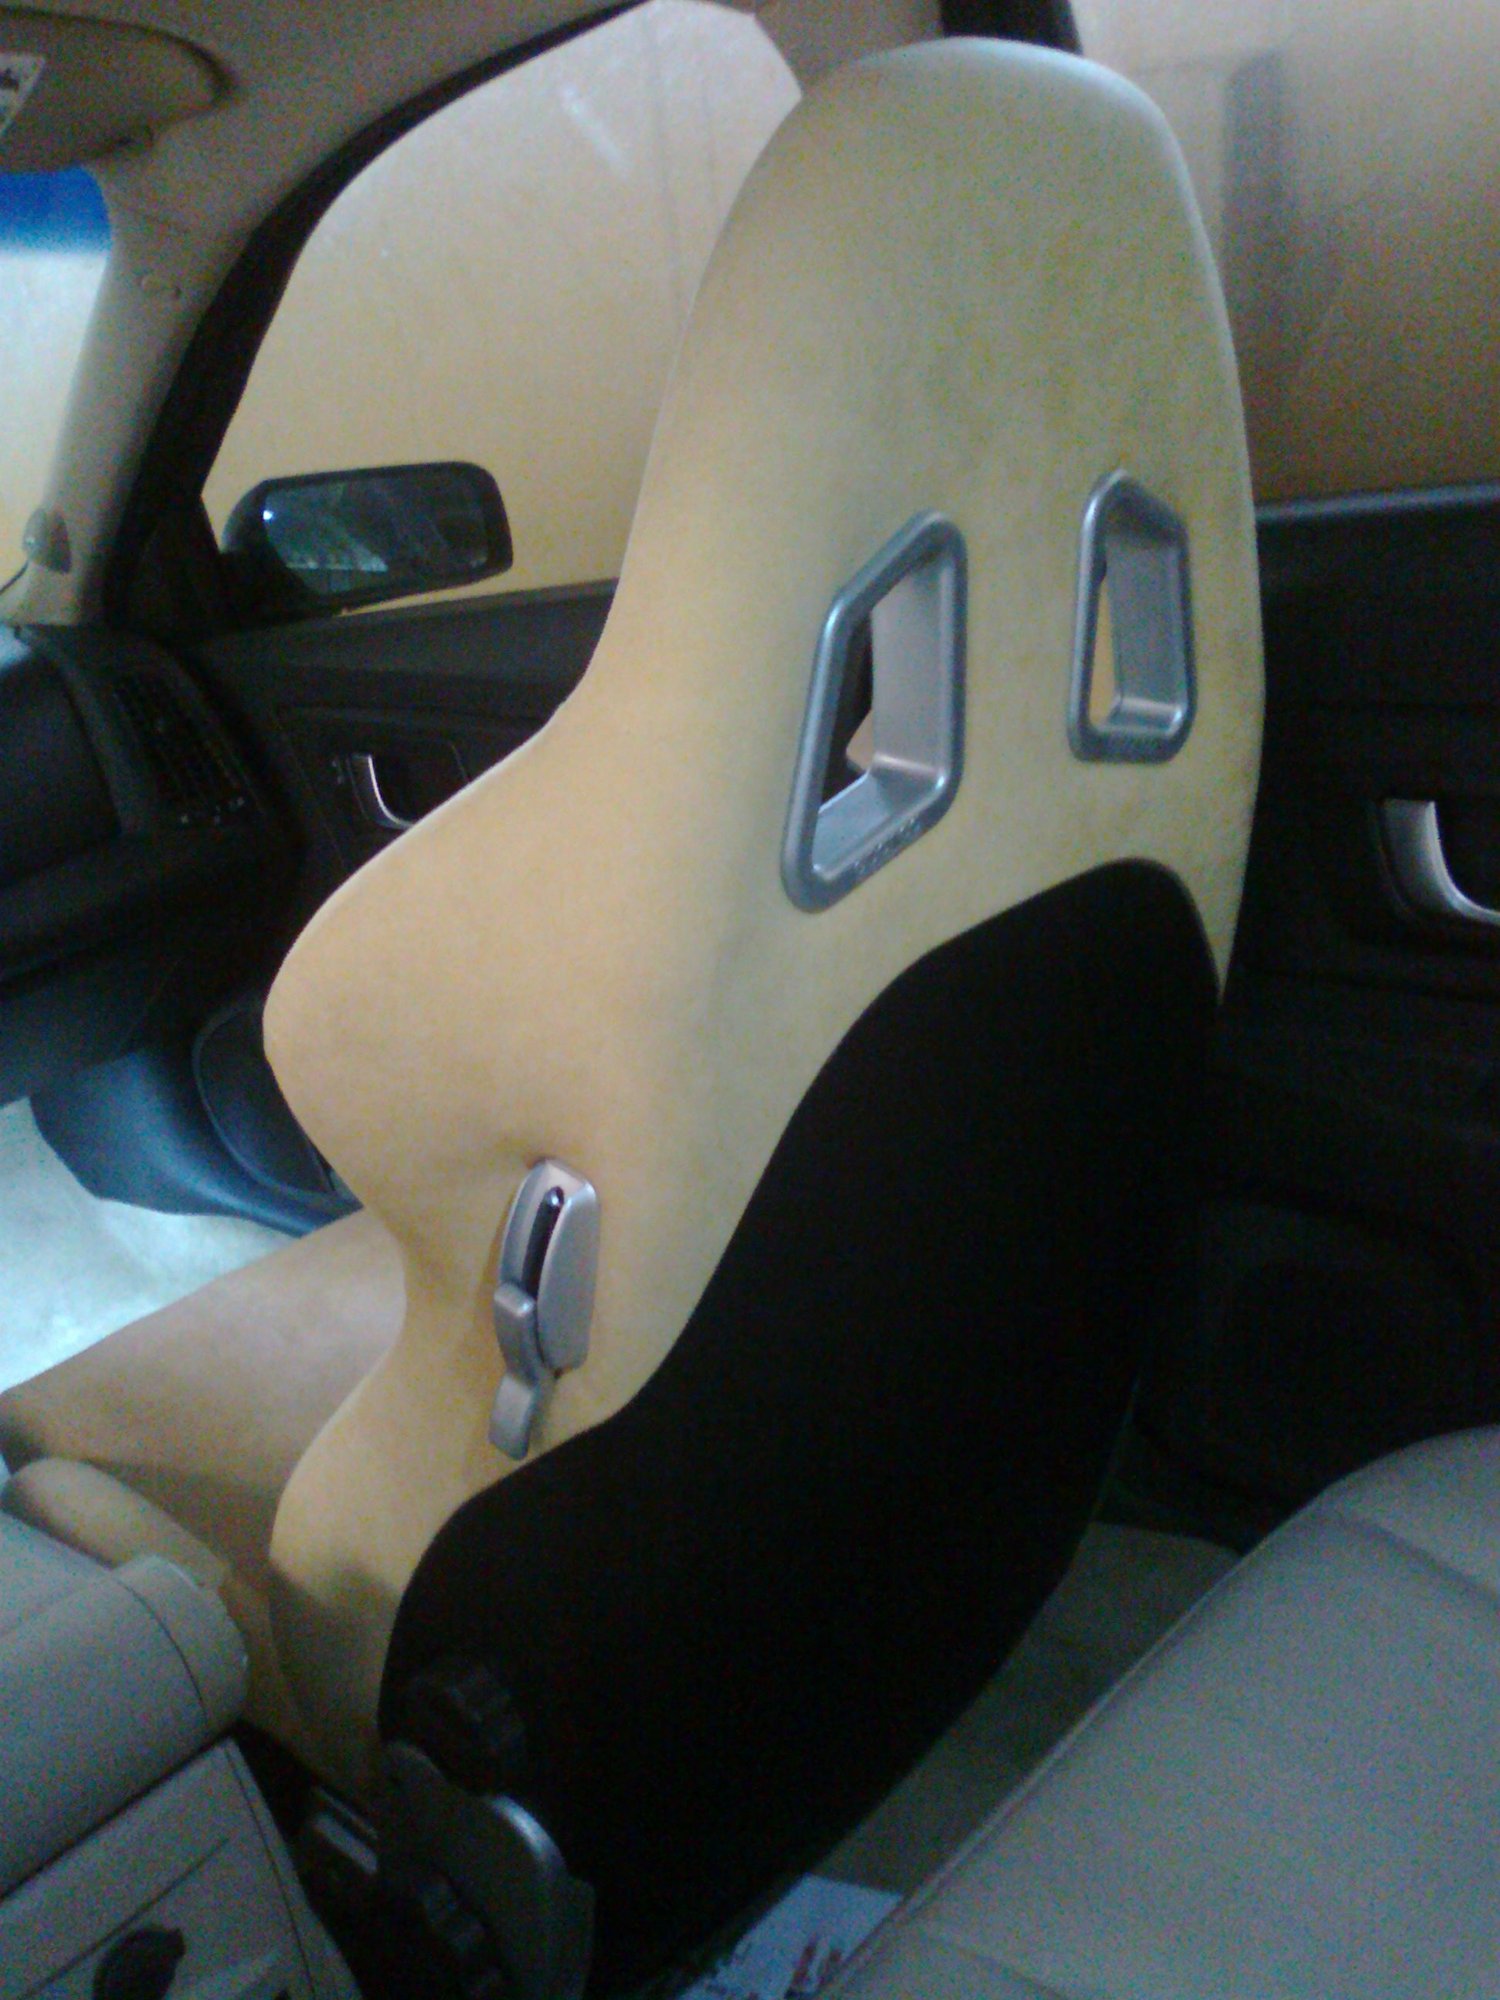
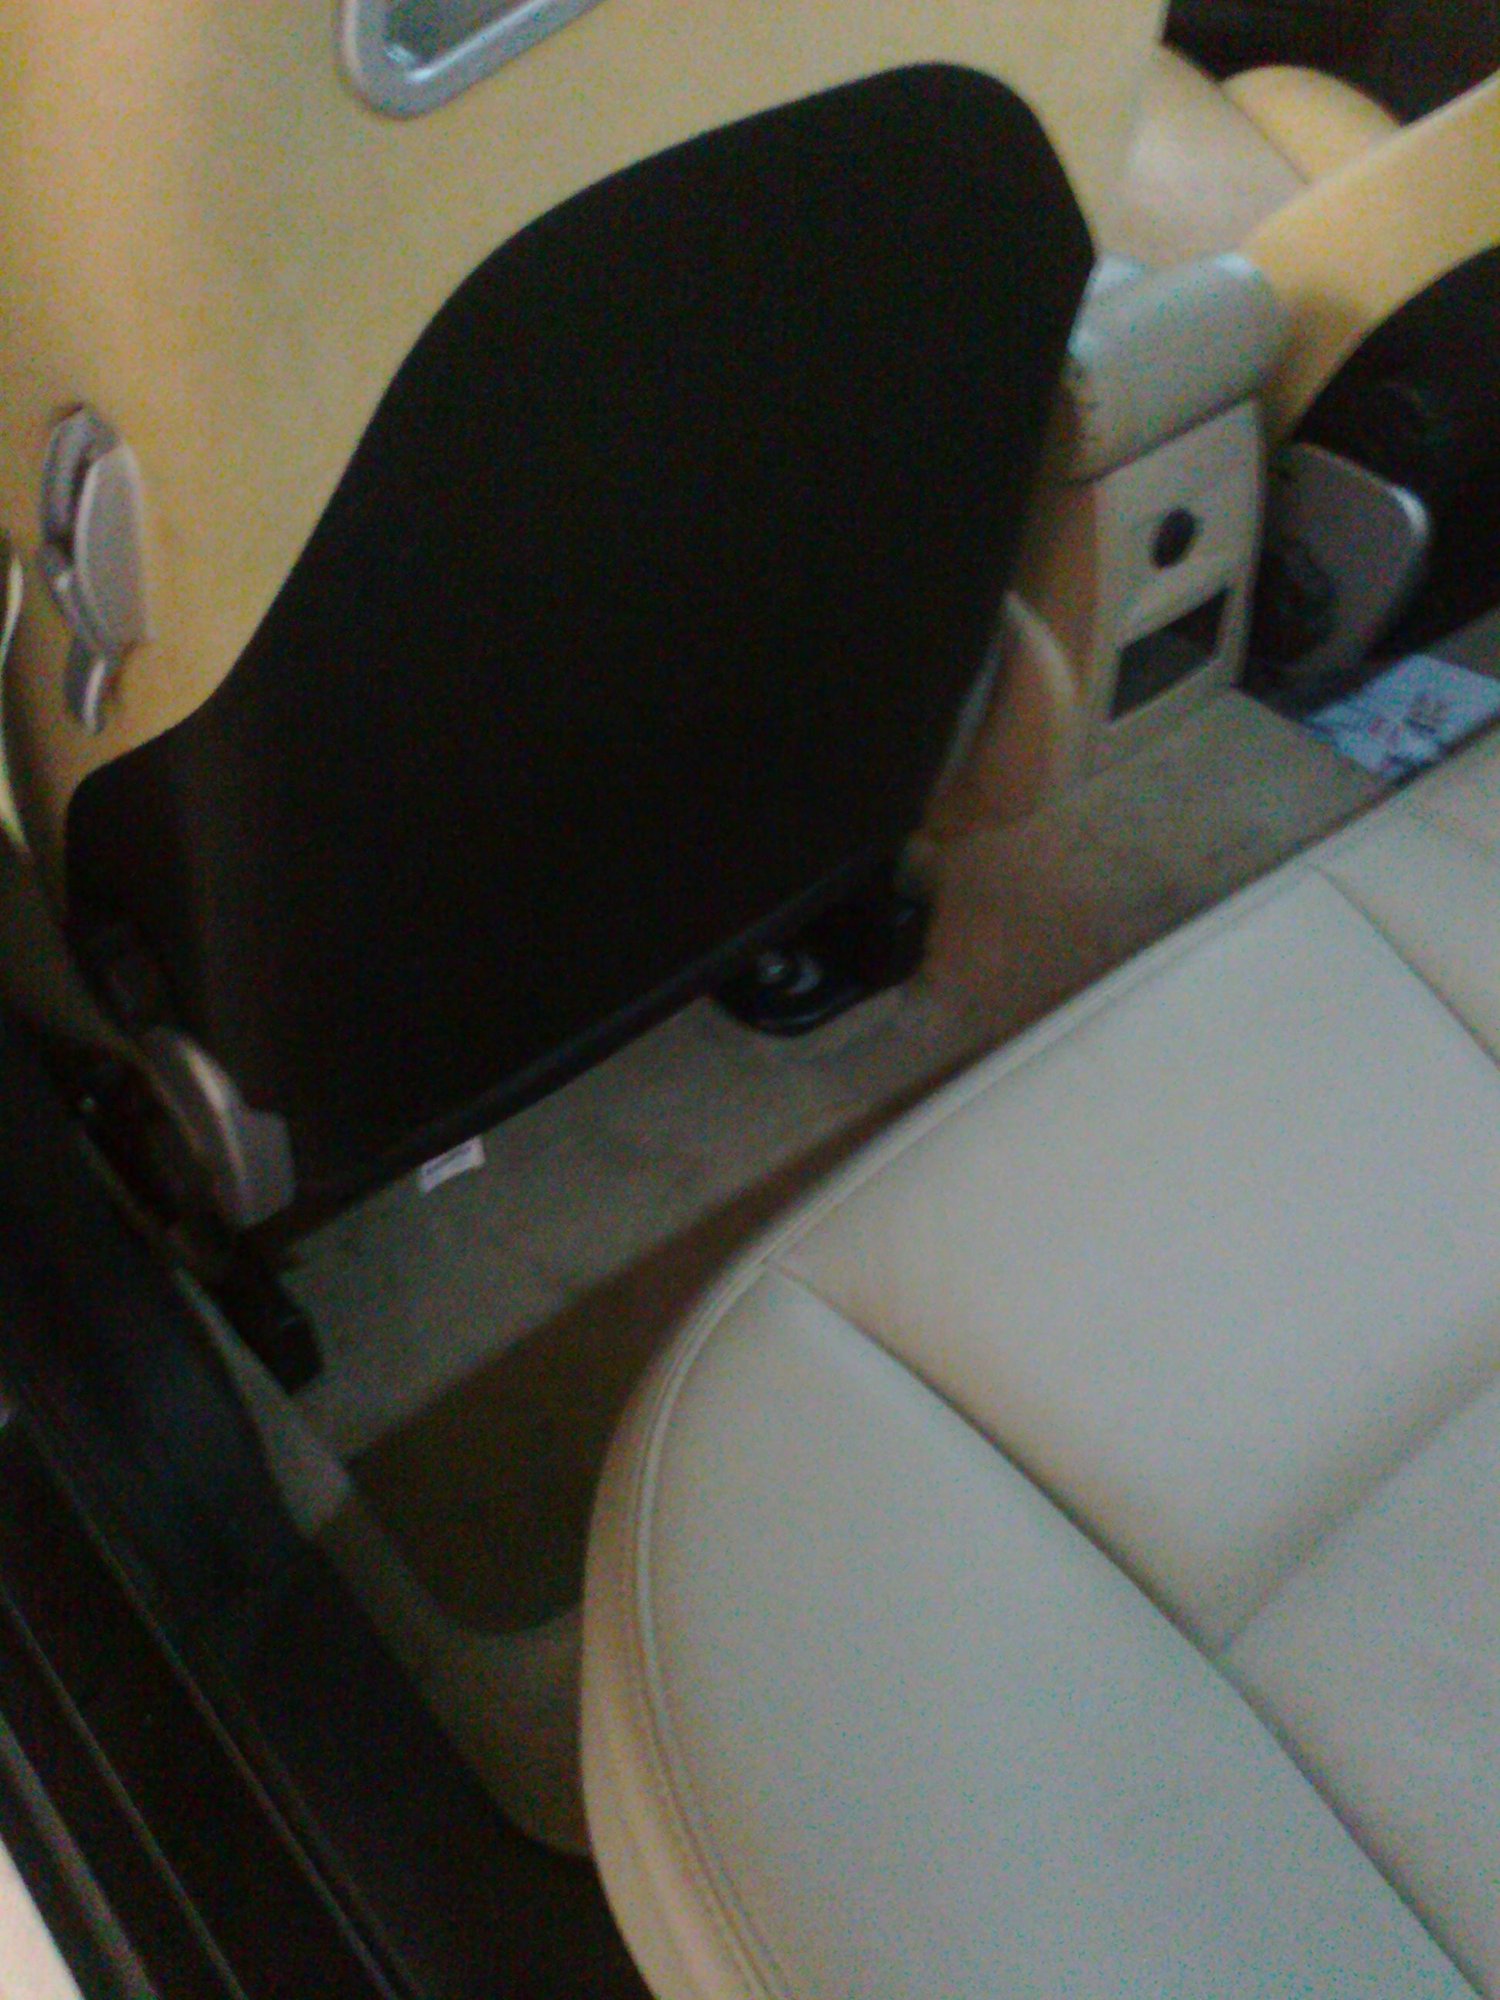
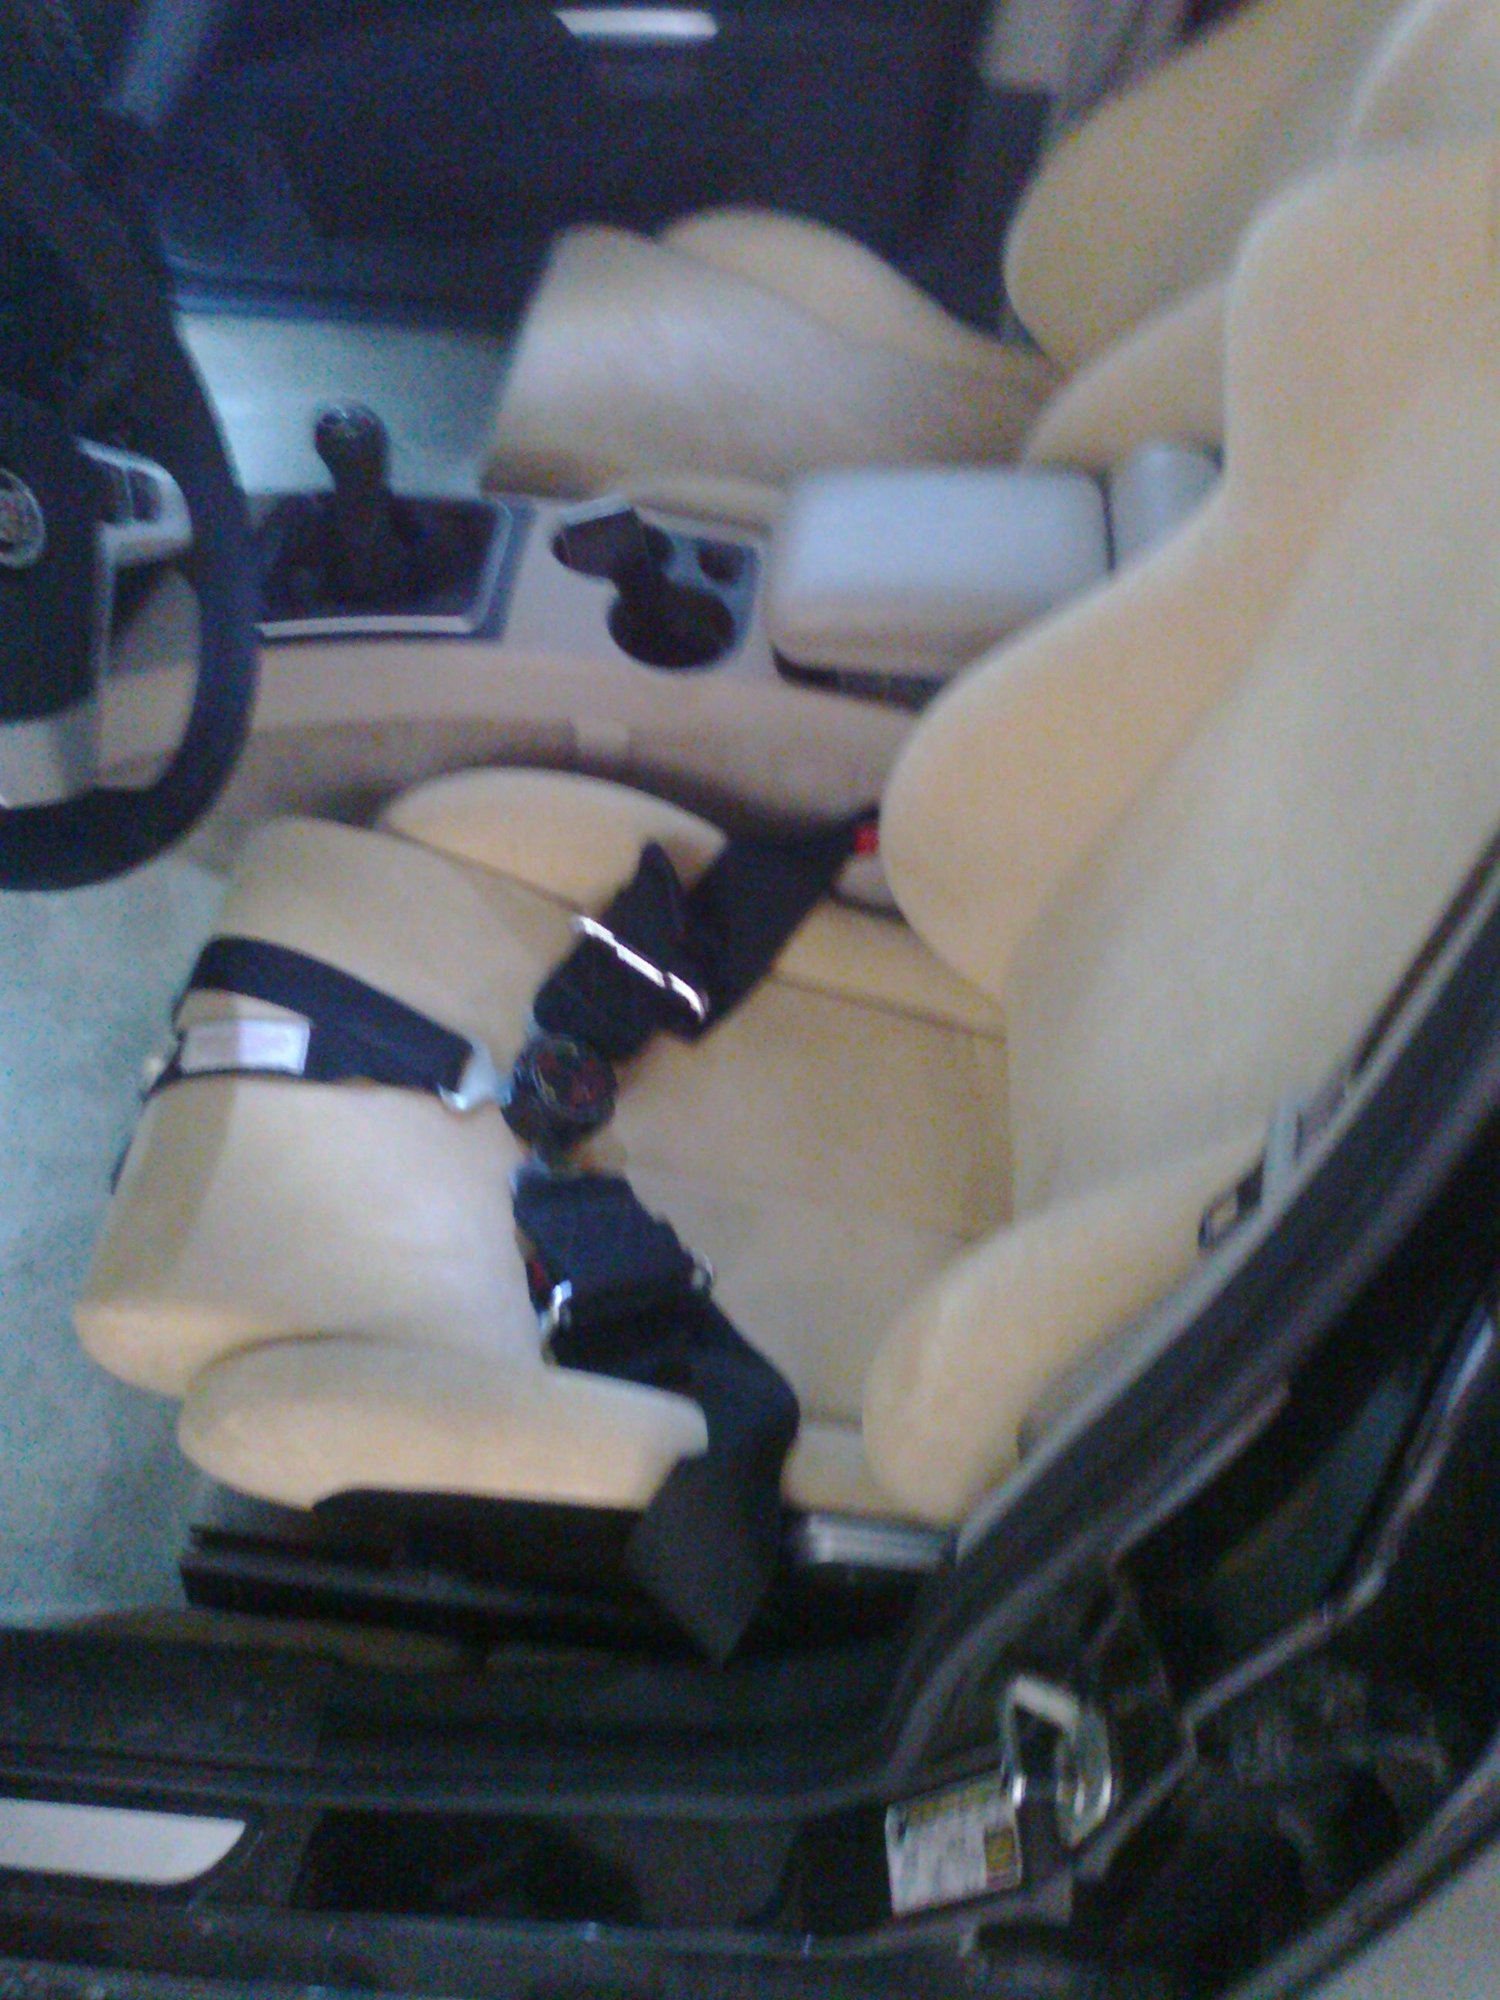
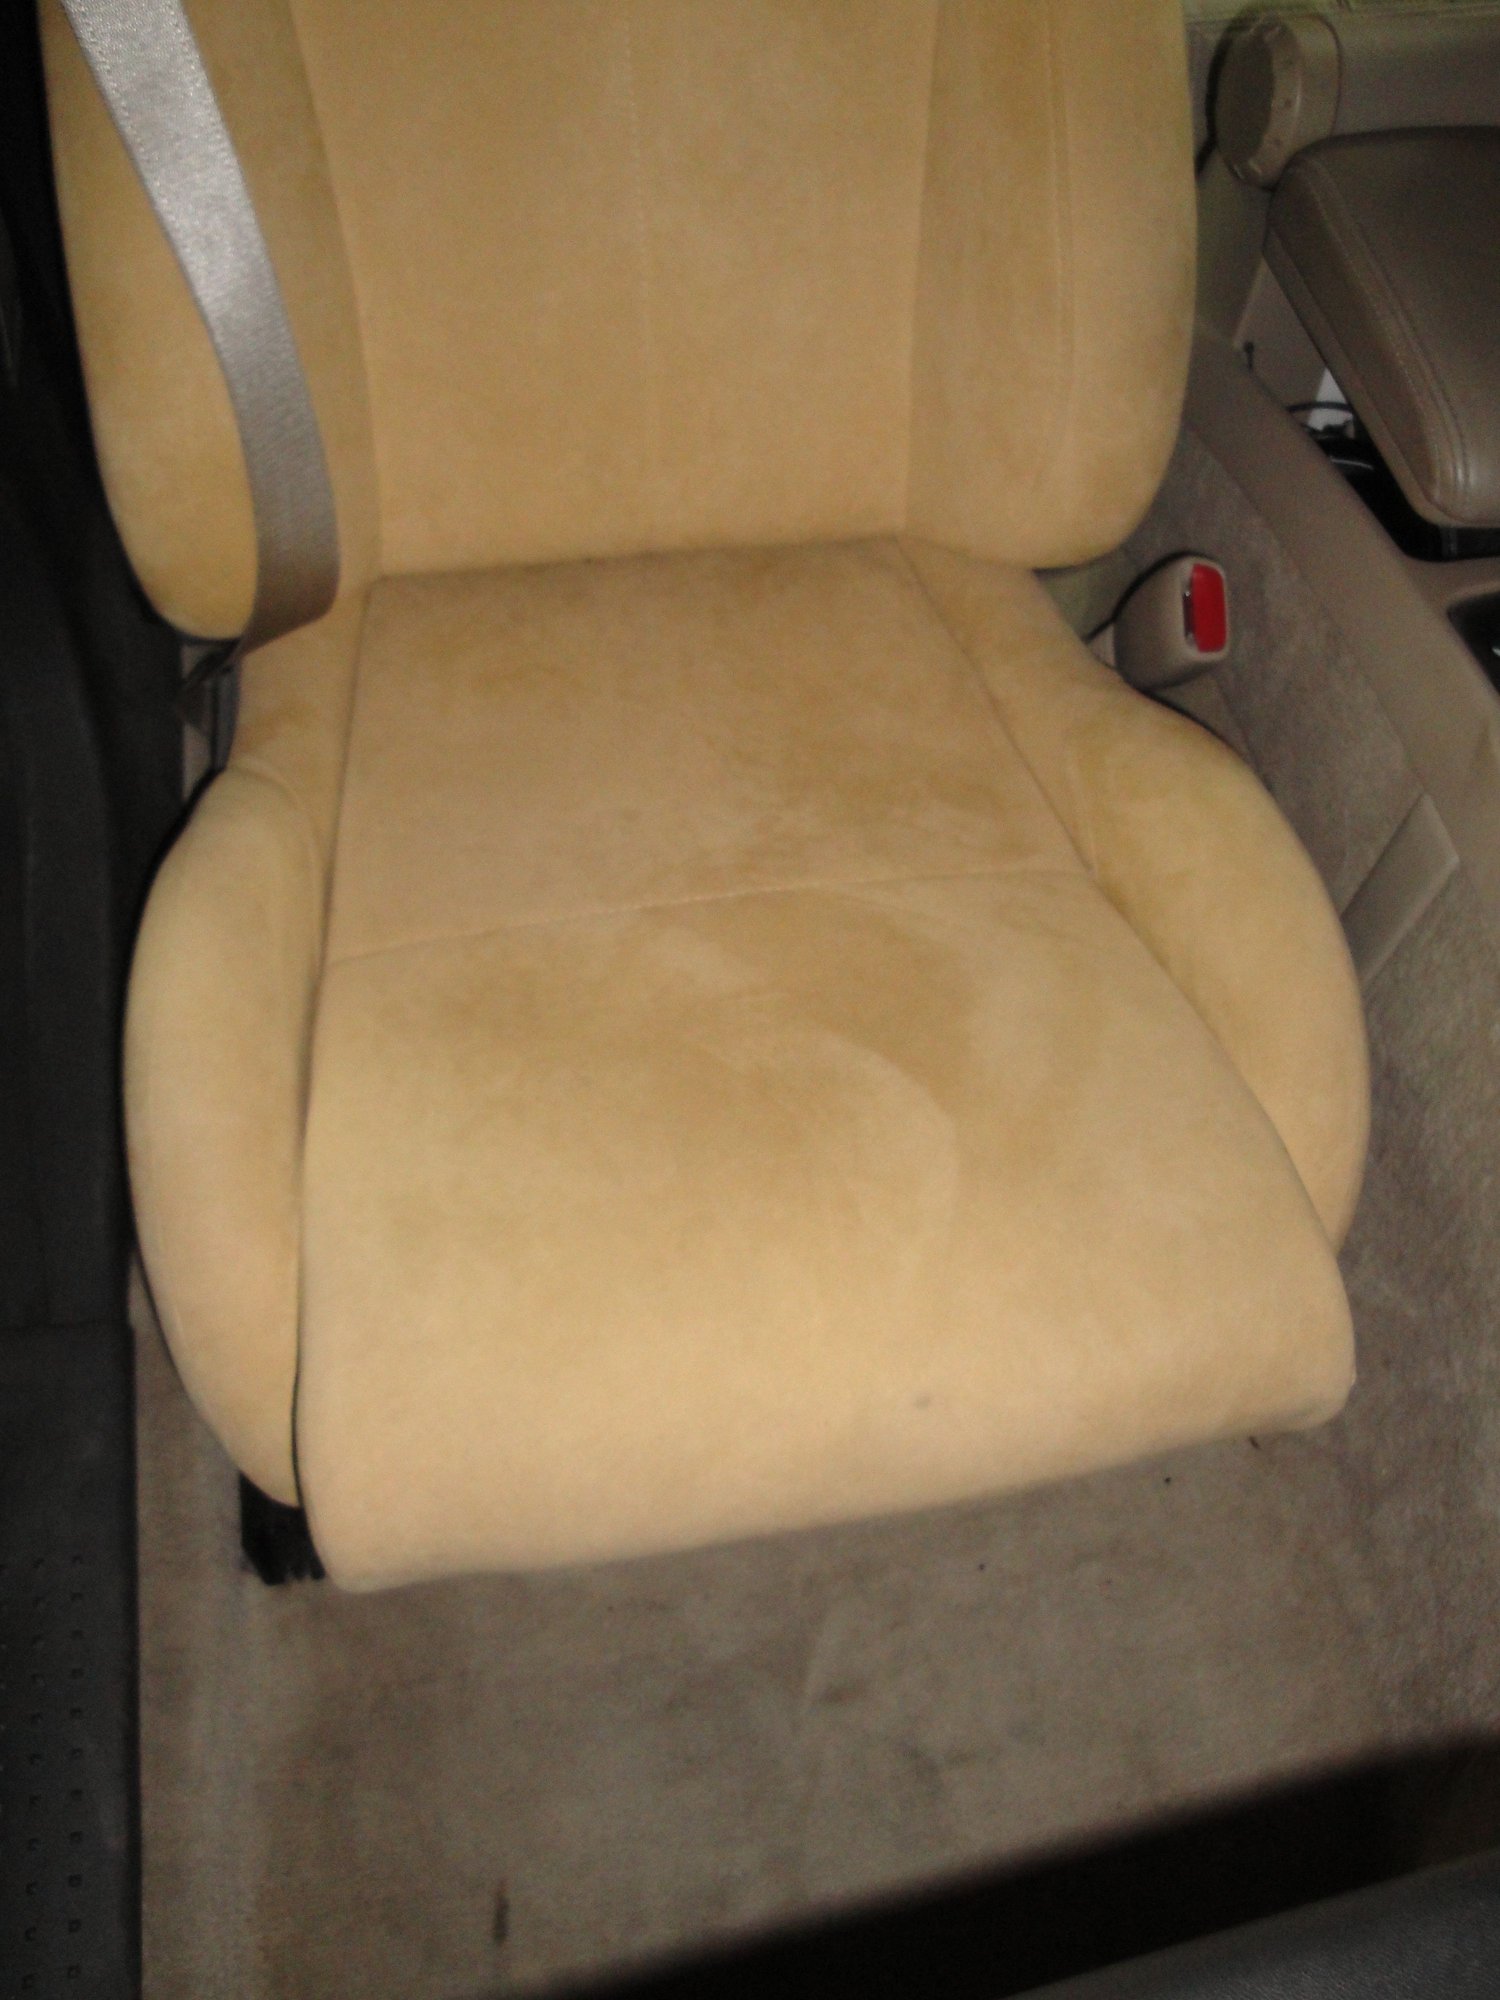
No one has asked. I only have a few of while I was installing them.


Old 06-12-2015, 11:53 AM
  #142  
TECH Resident
 
serik21's Avatar
 
Join Date: Aug 2010
Posts: 756
Likes: 0
Received 0 Likes on 0 Posts

Default

Originally Posted by NIKDSC5
No one has asked. I only have a few of while I was installing them.


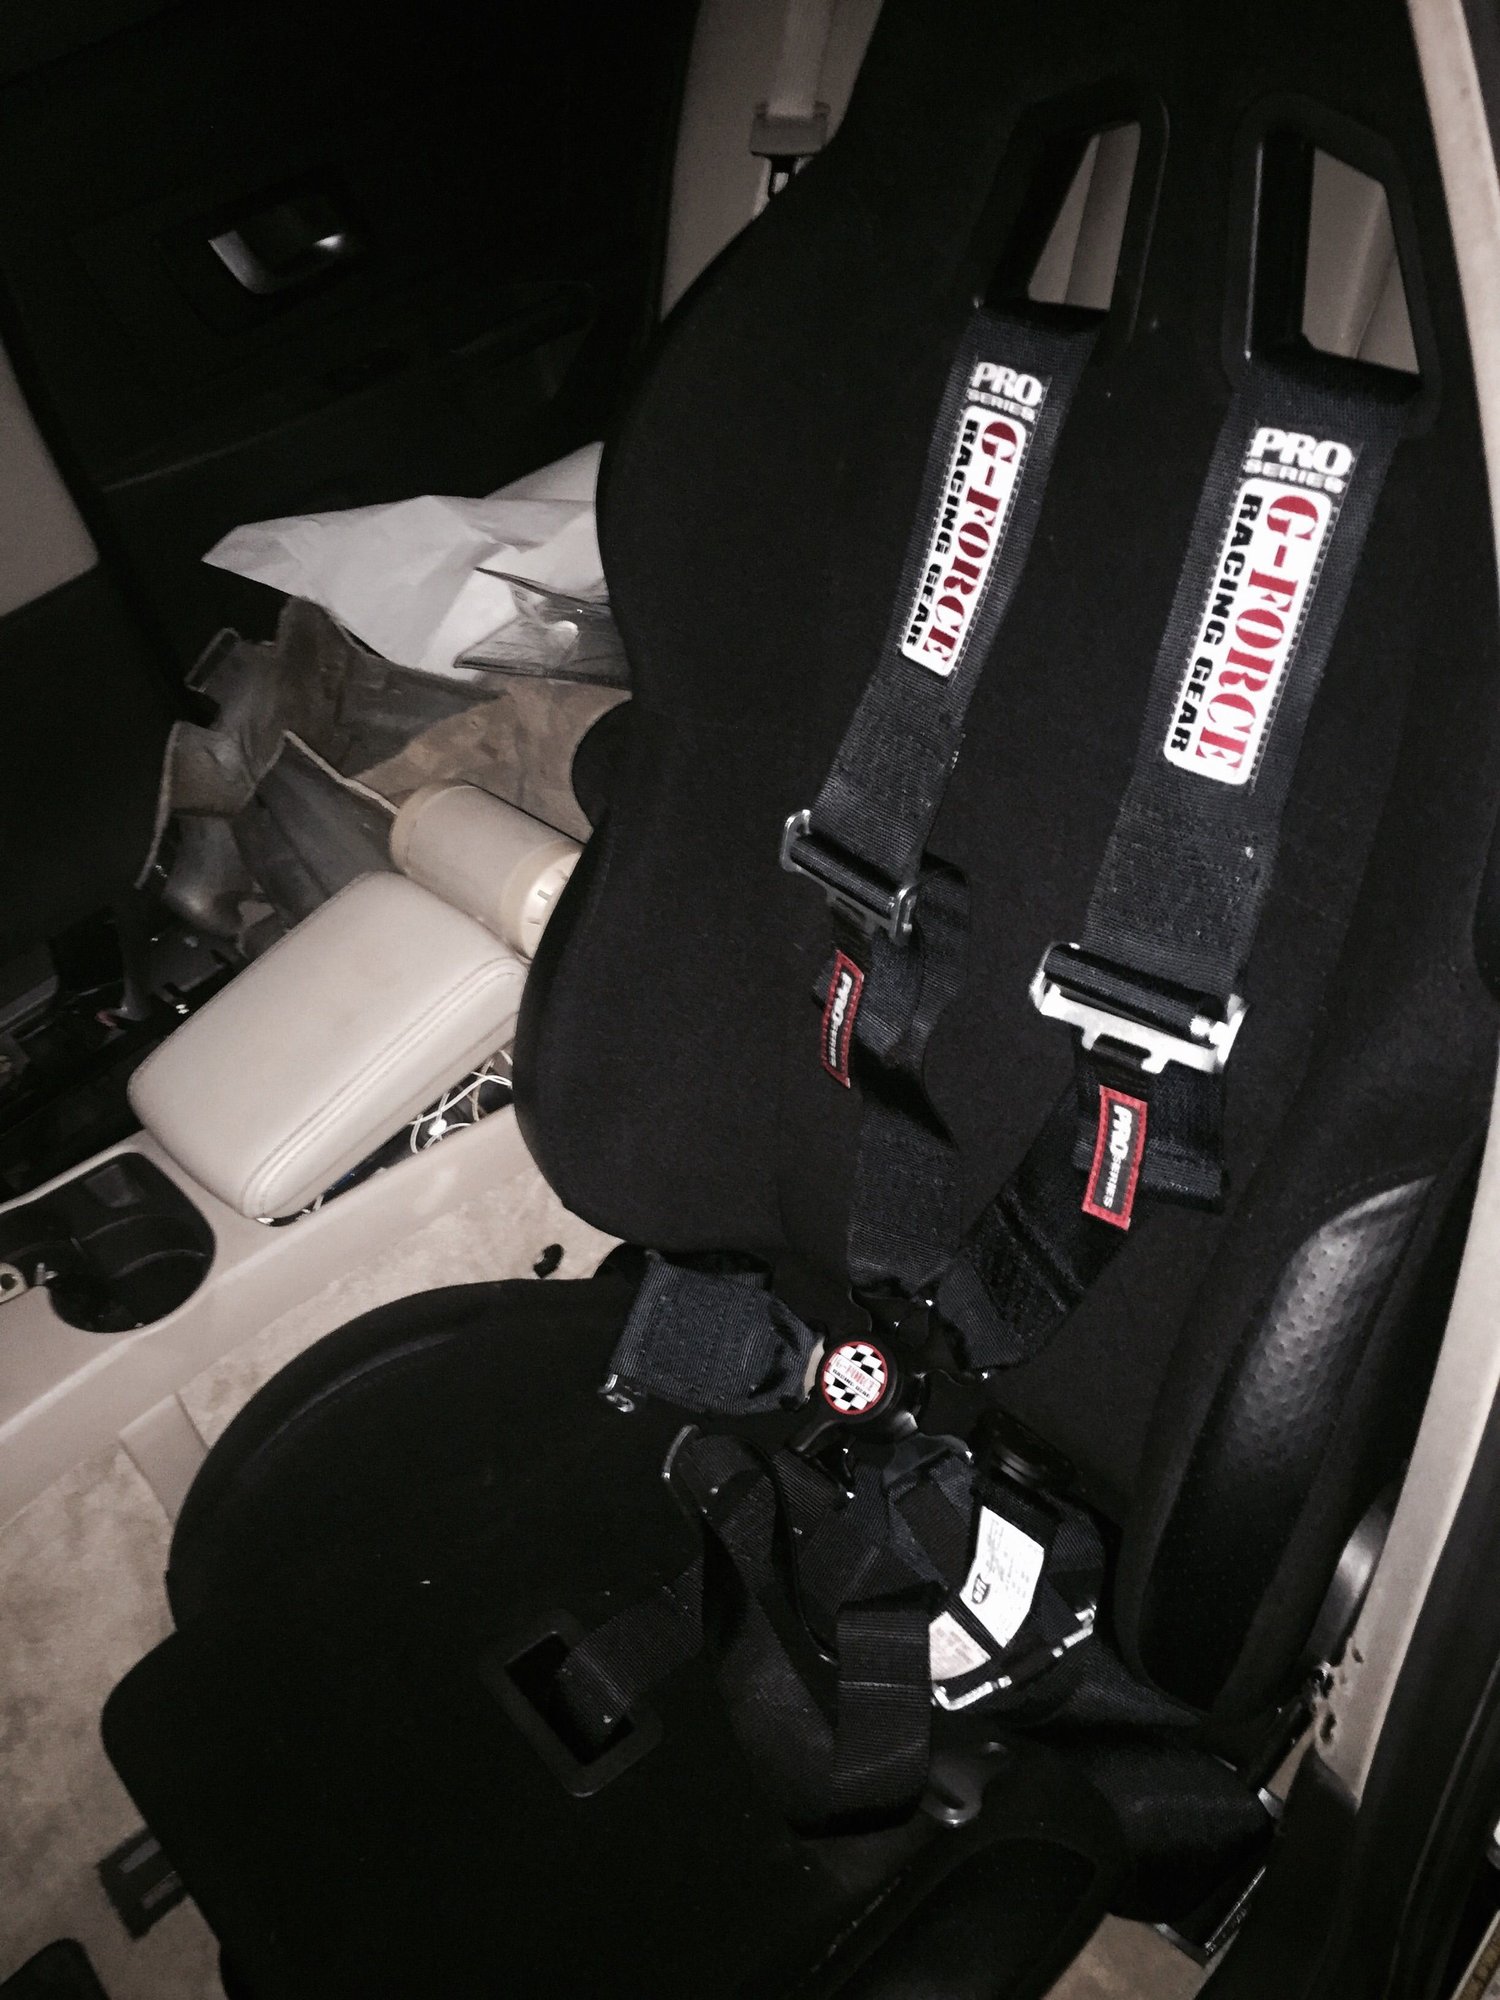
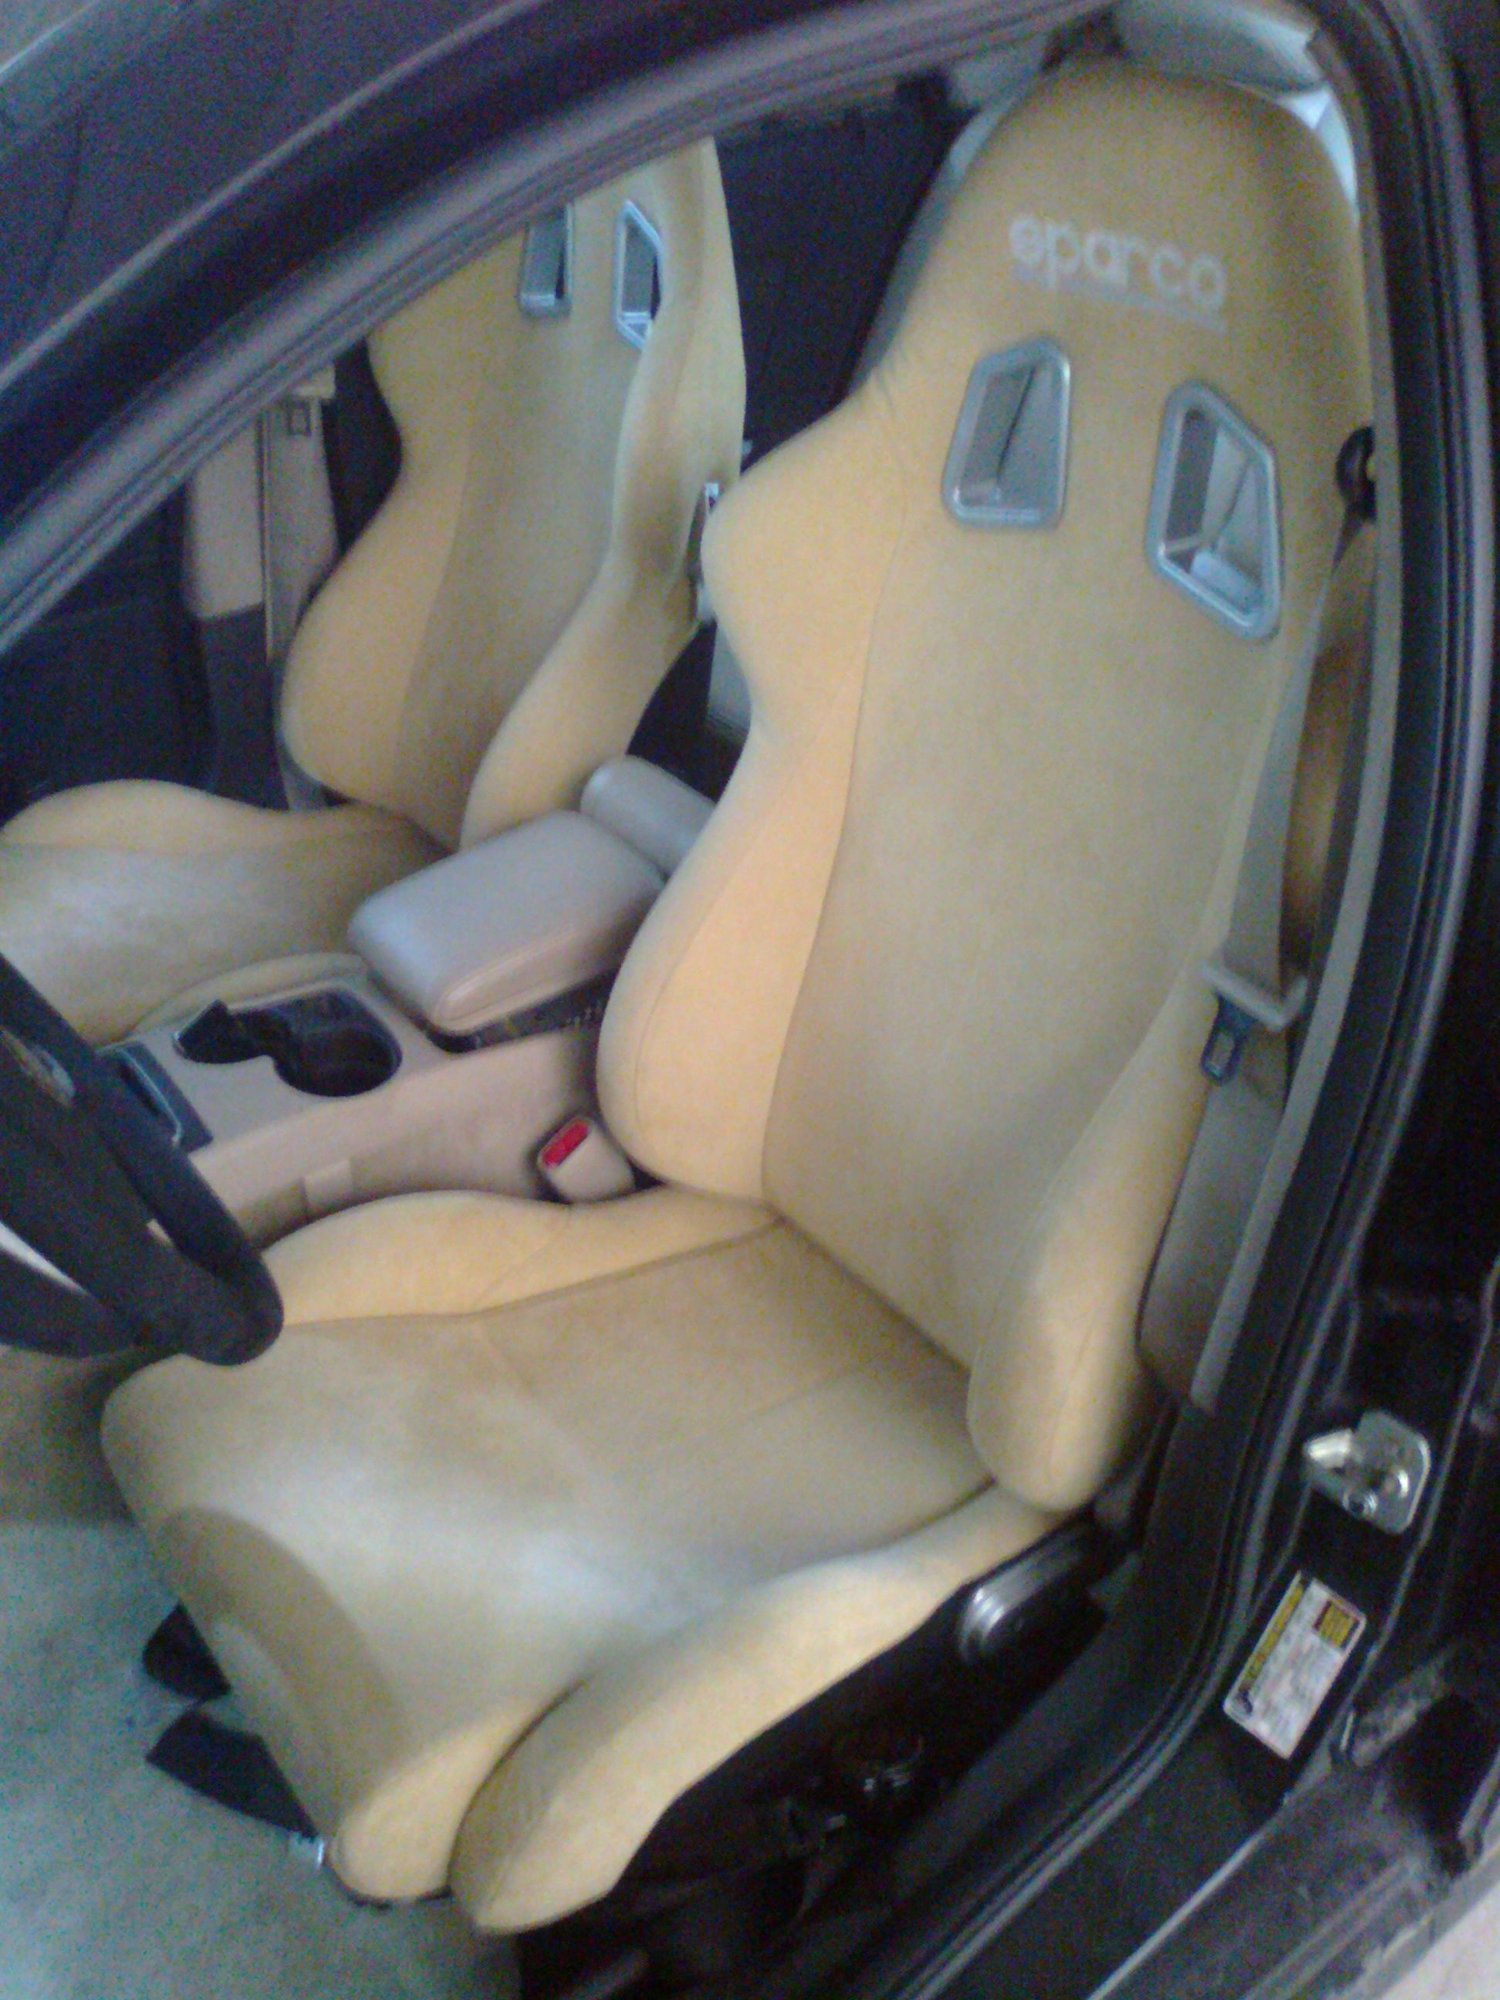
Looks good. But maybe one day I'll get a set of v2 Recaros we see what can be done.
Old 06-12-2015, 12:32 PM
  #143  
TECH Enthusiast
 
Sssnake's Avatar
 
Join Date: Jun 2012
Posts: 608
Likes: 0
Received 2 Likes on 2 Posts

Default

V2 Recaros = Mucho Denaro.

I'd love a pair myself but don't think I will spring for it in this car.

While I know this is NOWHERE the level of support you get from a pro level seat I have been using this http://www.cg-lock.com/ to keep my butt firmly planted in the seat. It sucks for daily driving as it is heavy and awkward. For spirited driving it actually helps enough for me not to regret the purchase.
Old 06-12-2015, 01:09 PM
  #144  
TECH Resident
 
Bio248's Avatar
 
Join Date: Feb 2014
Location: Milwaukee, WI
Posts: 860
Likes: 0
Received 2 Likes on 2 Posts
Default

i'm not understanding why you'd want to use V2 recaros in the first place when there's many, many more aftermarket choices out there that you could find a specific brand and style of seat that'd be better suited to your own body shape and size. there's no one fits all bucket seat.
Old 06-14-2015, 12:29 AM
  #145  
Naf
TECH Fanatic
Thread Starter
iTrader: (1)
 
Naf's Avatar
 
Join Date: Sep 2007
Location: Sandbox, Kuwait
Posts: 1,633
Received 18 Likes on 13 Posts

Default

Originally Posted by NIKDSC5
Been ducking that....
I havent been duckin that at all...

Originally Posted by NIKDSC5
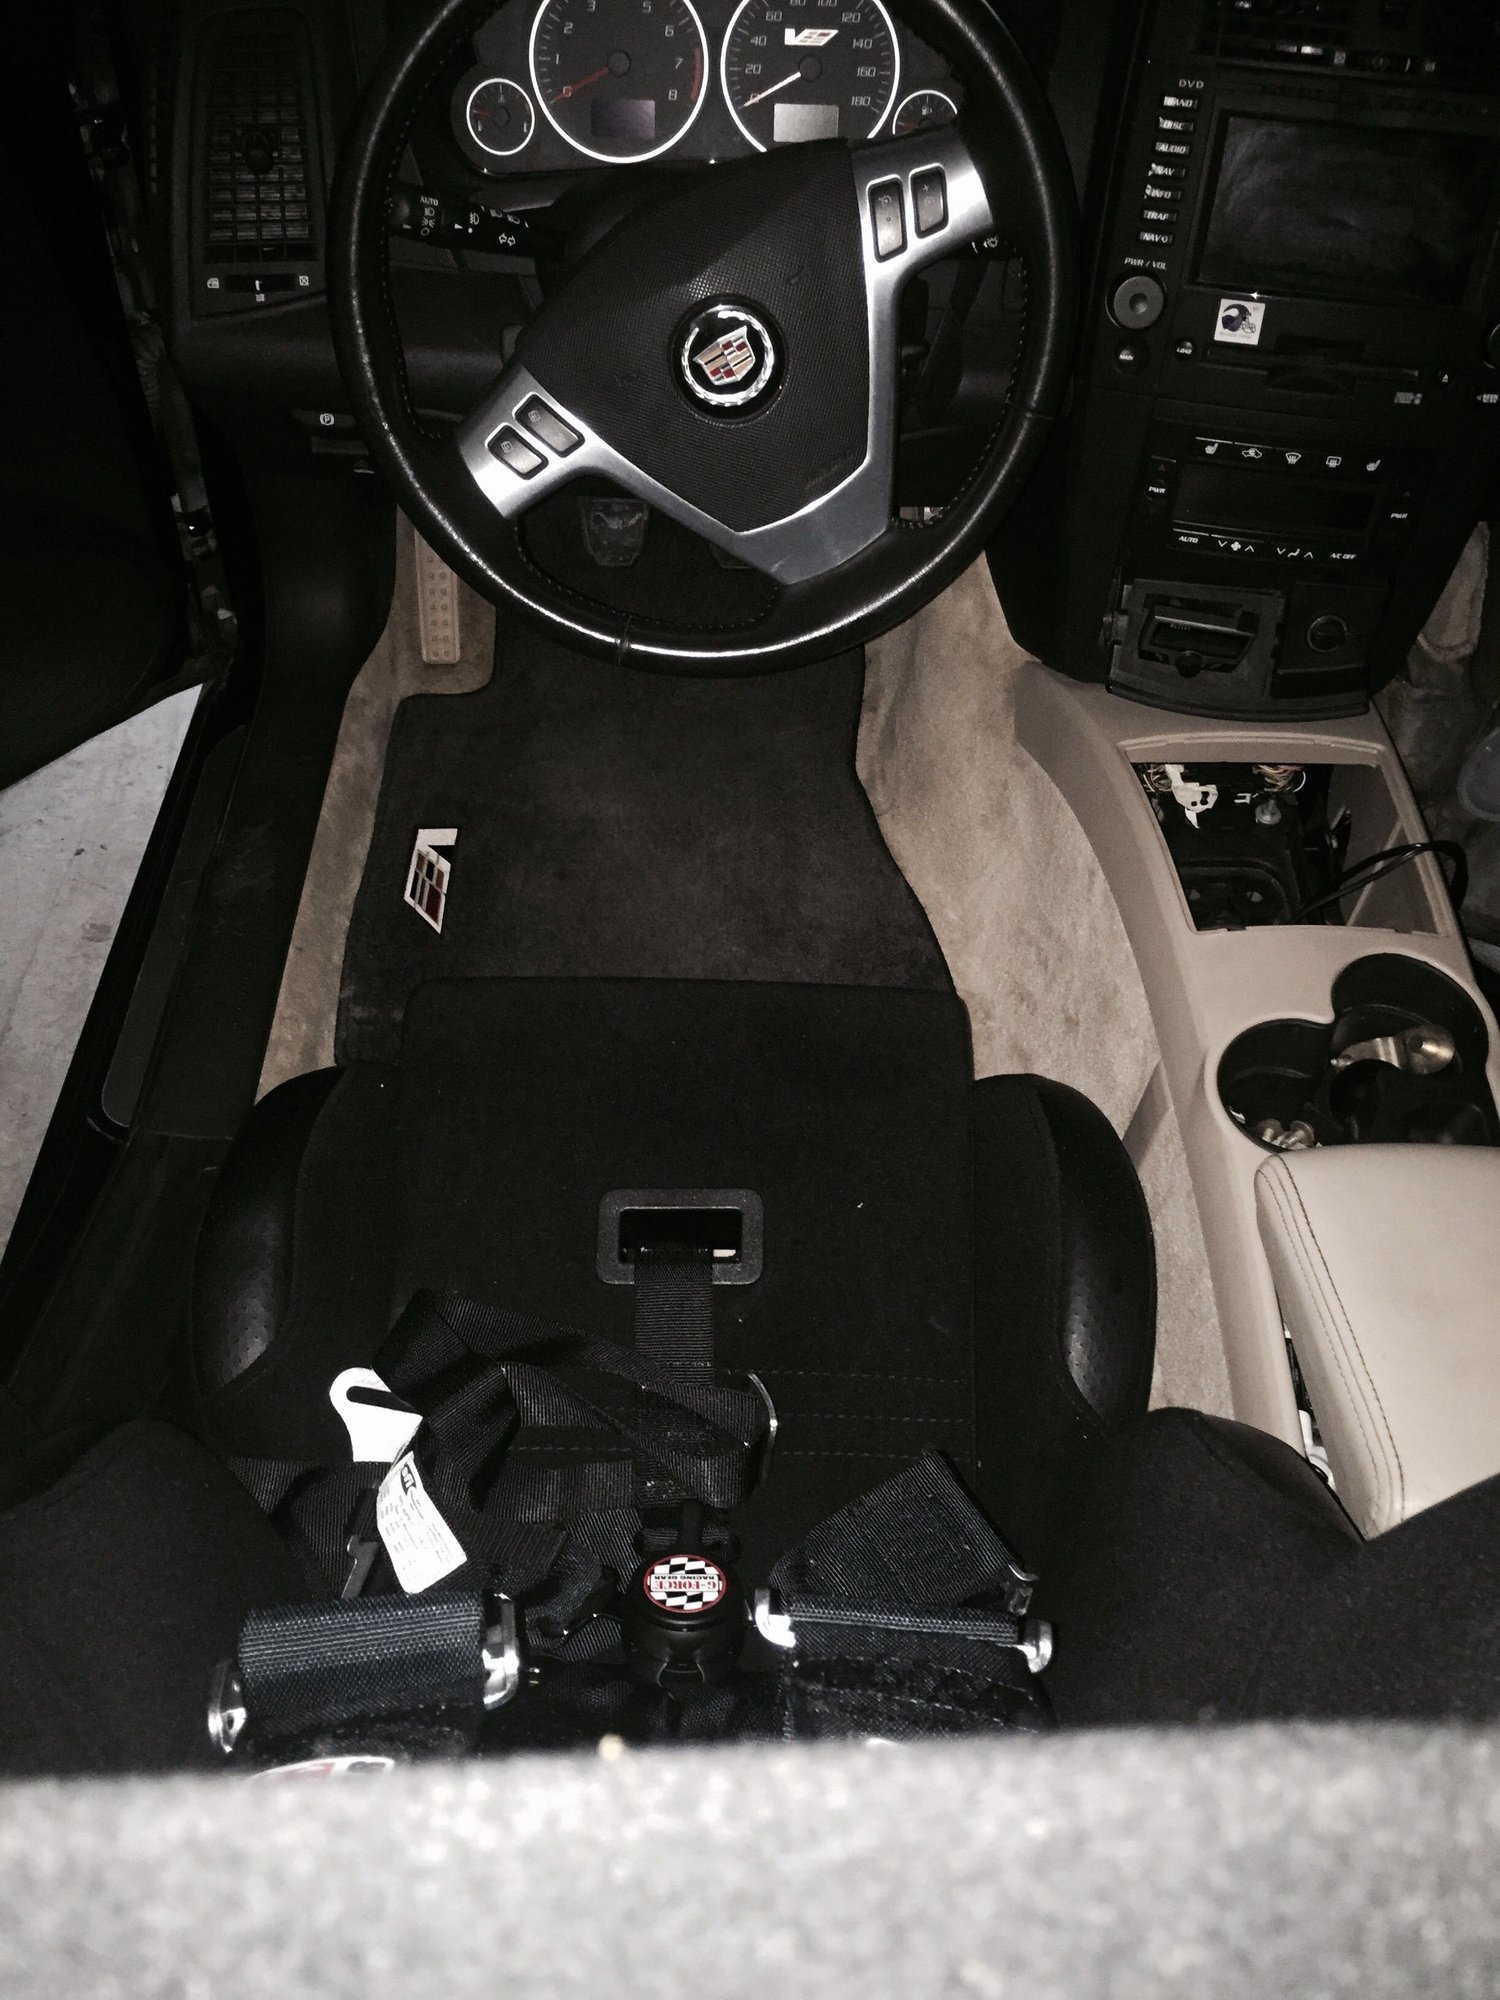
Meh, my seats are in. I'm just curious of the airbag light solution.

Maybe he isn't proud of the seat work. Or maybe he hasn't done the work? I see them in there....
Plug a 3.3ohms resister into the airbag socket and that will do the trick. Cadillac forum i posted all my pics. I will try and find them and repost here for you all...

Originally Posted by 54inches
you ducking posting photos too?
Tex i have been gone for one weekend, you're worse than my first ex GF who cheated on me with my best friend...
Old 06-14-2015, 12:35 AM
  #146  
Naf
TECH Fanatic
Thread Starter
iTrader: (1)
 
Naf's Avatar
 
Join Date: Sep 2007
Location: Sandbox, Kuwait
Posts: 1,633
Received 18 Likes on 13 Posts

Default


Old 06-14-2015, 11:28 AM
  #147  
On The Tree
iTrader: (2)
 
spin2nd's Avatar
 
Join Date: Aug 2005
Posts: 113
Likes: 0
Received 0 Likes on 0 Posts

Default

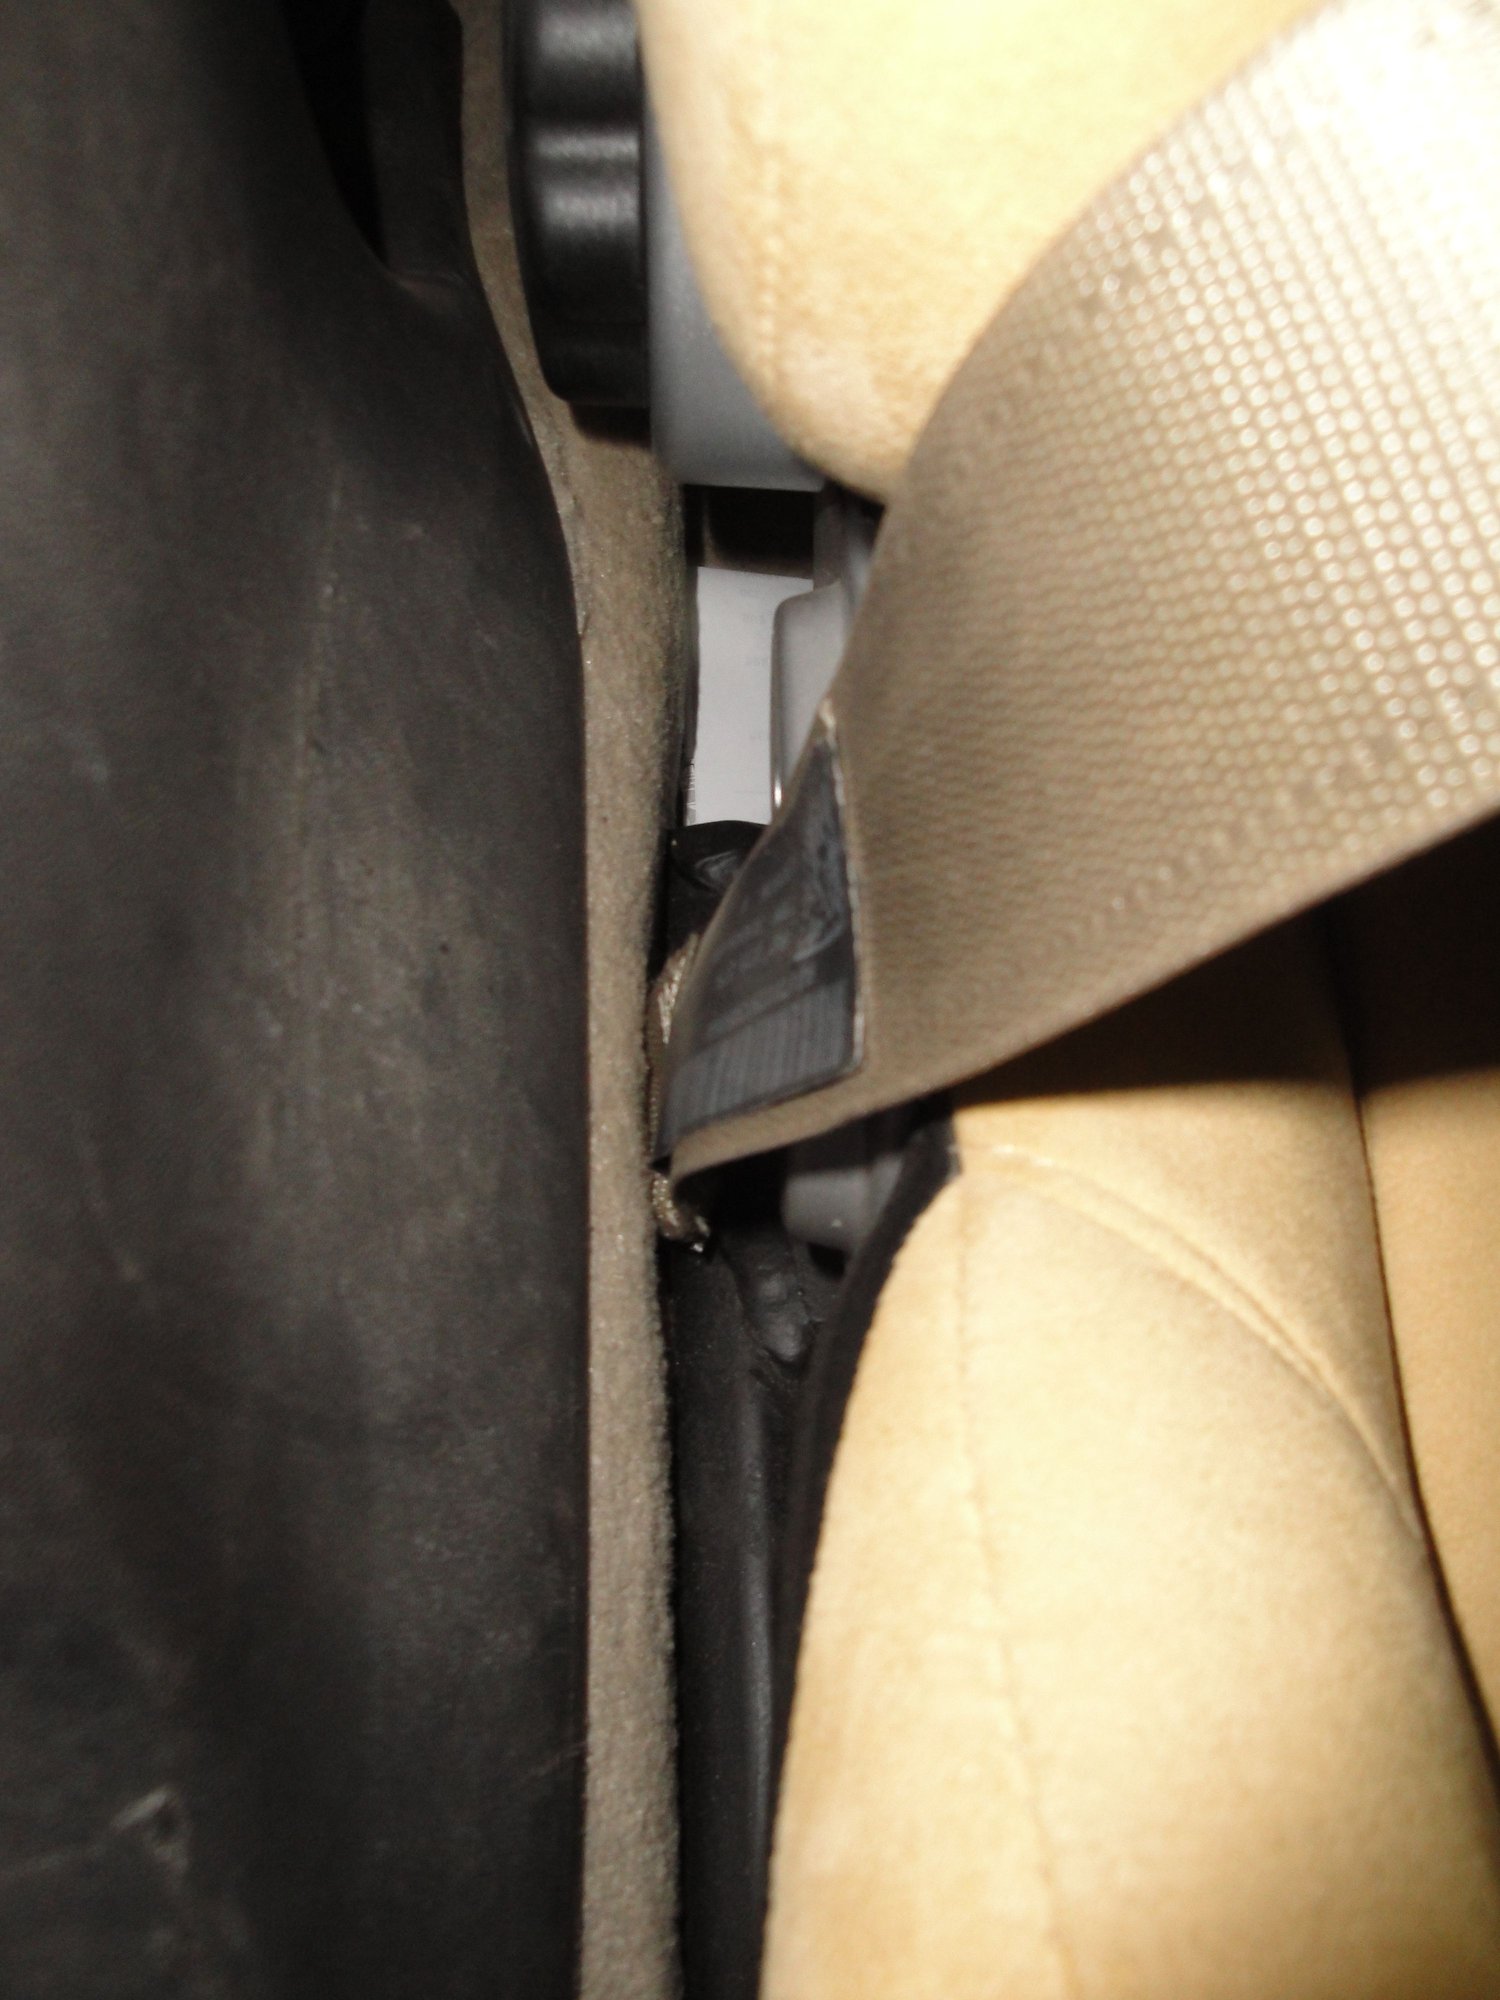
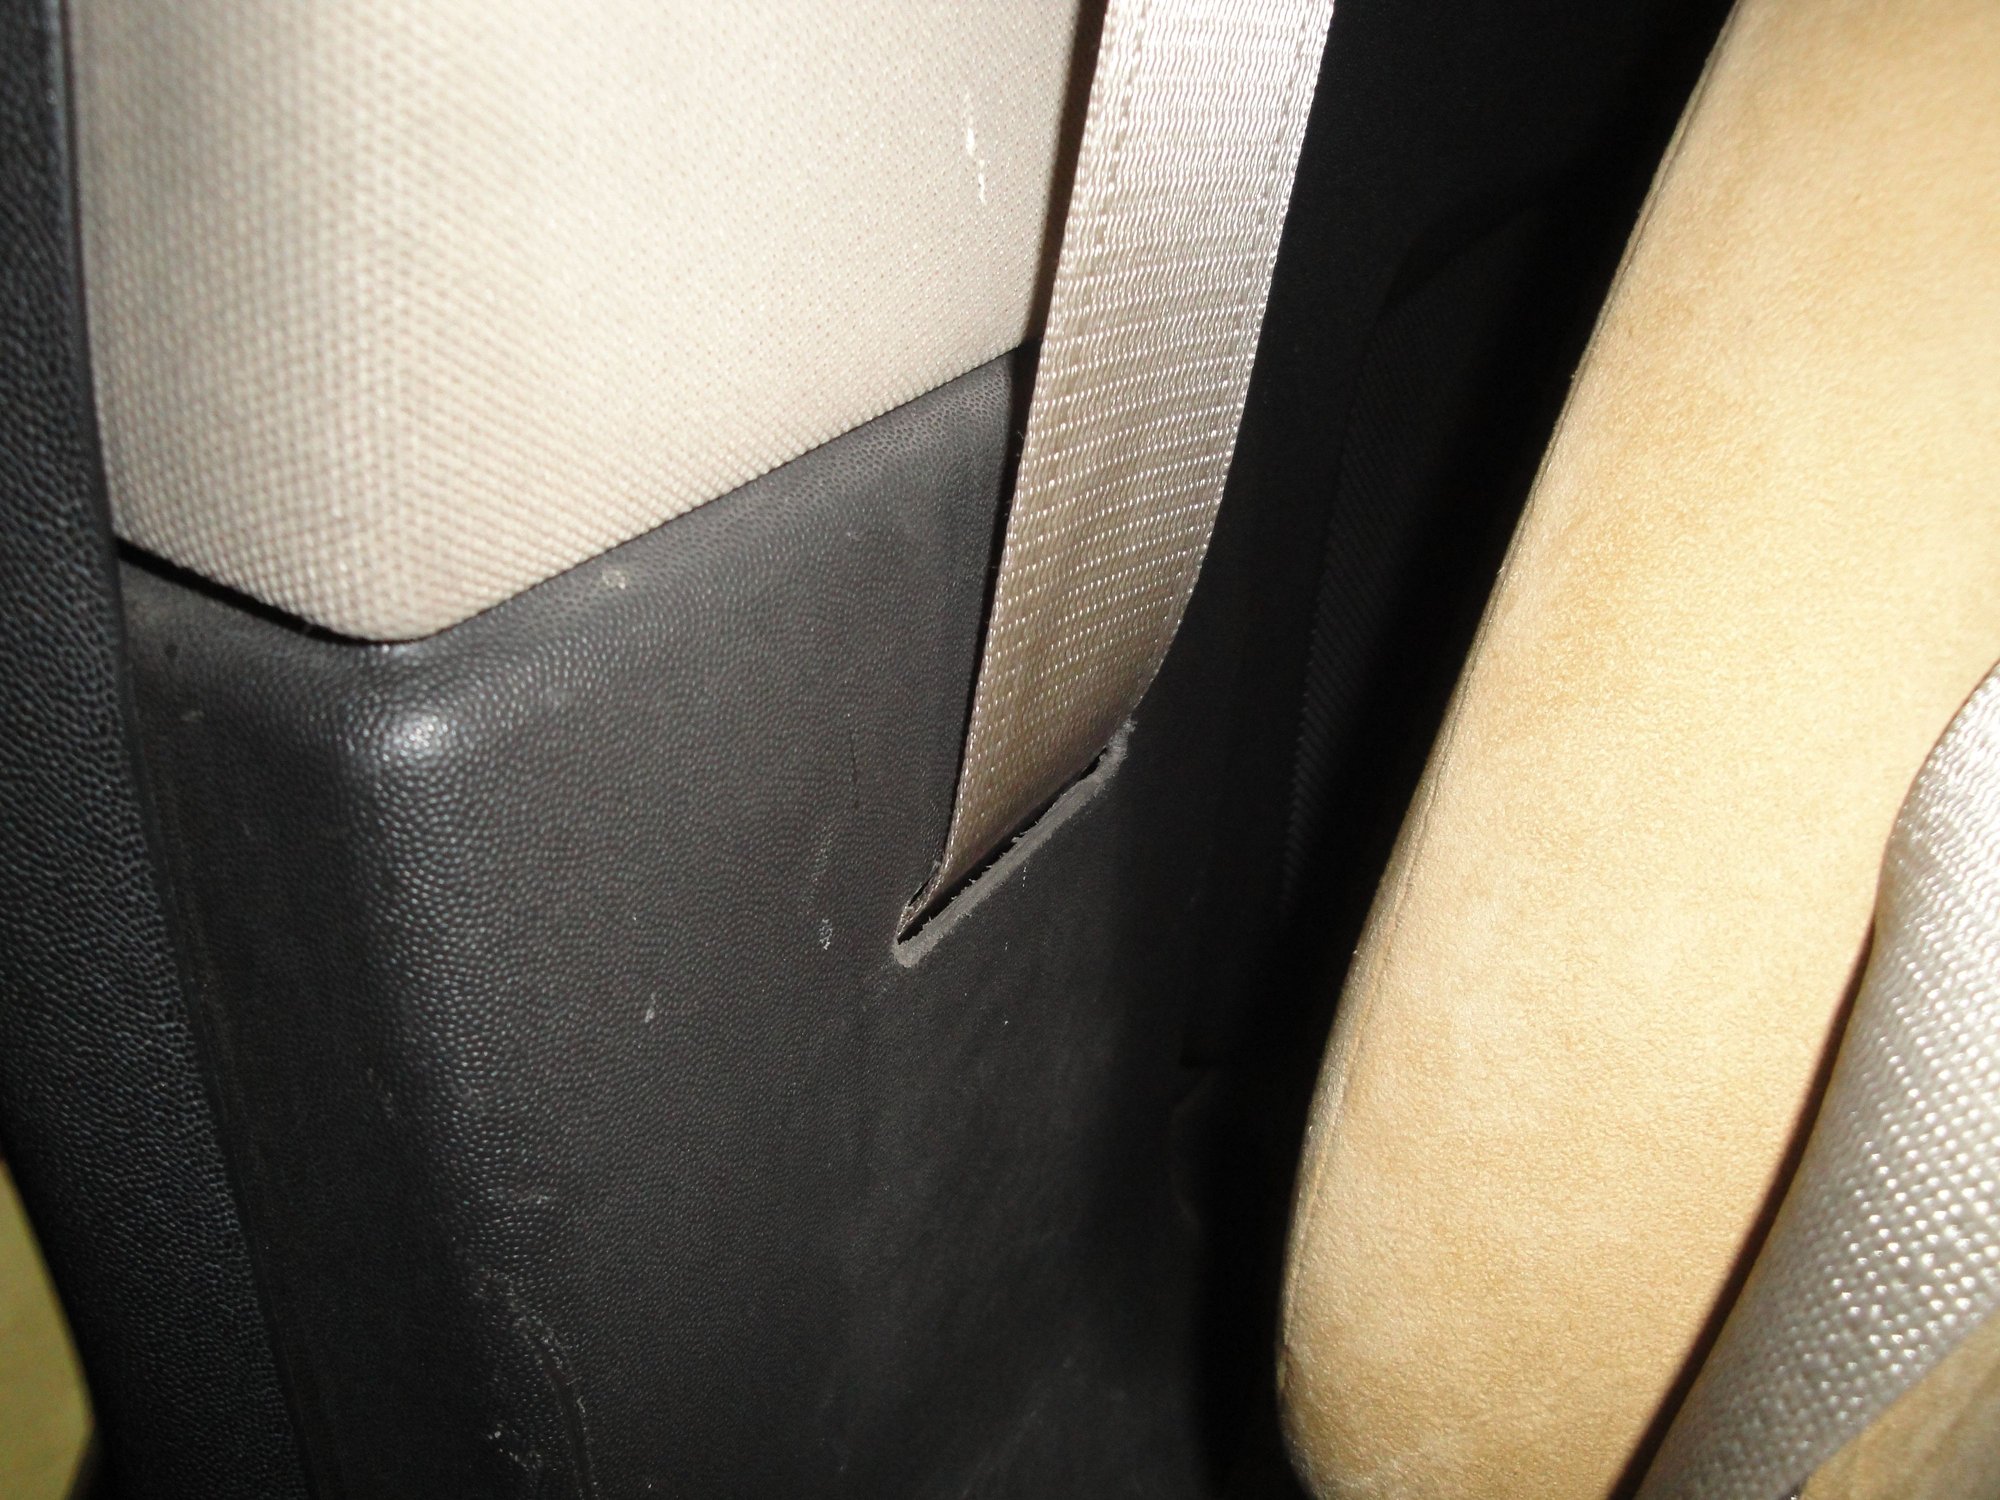
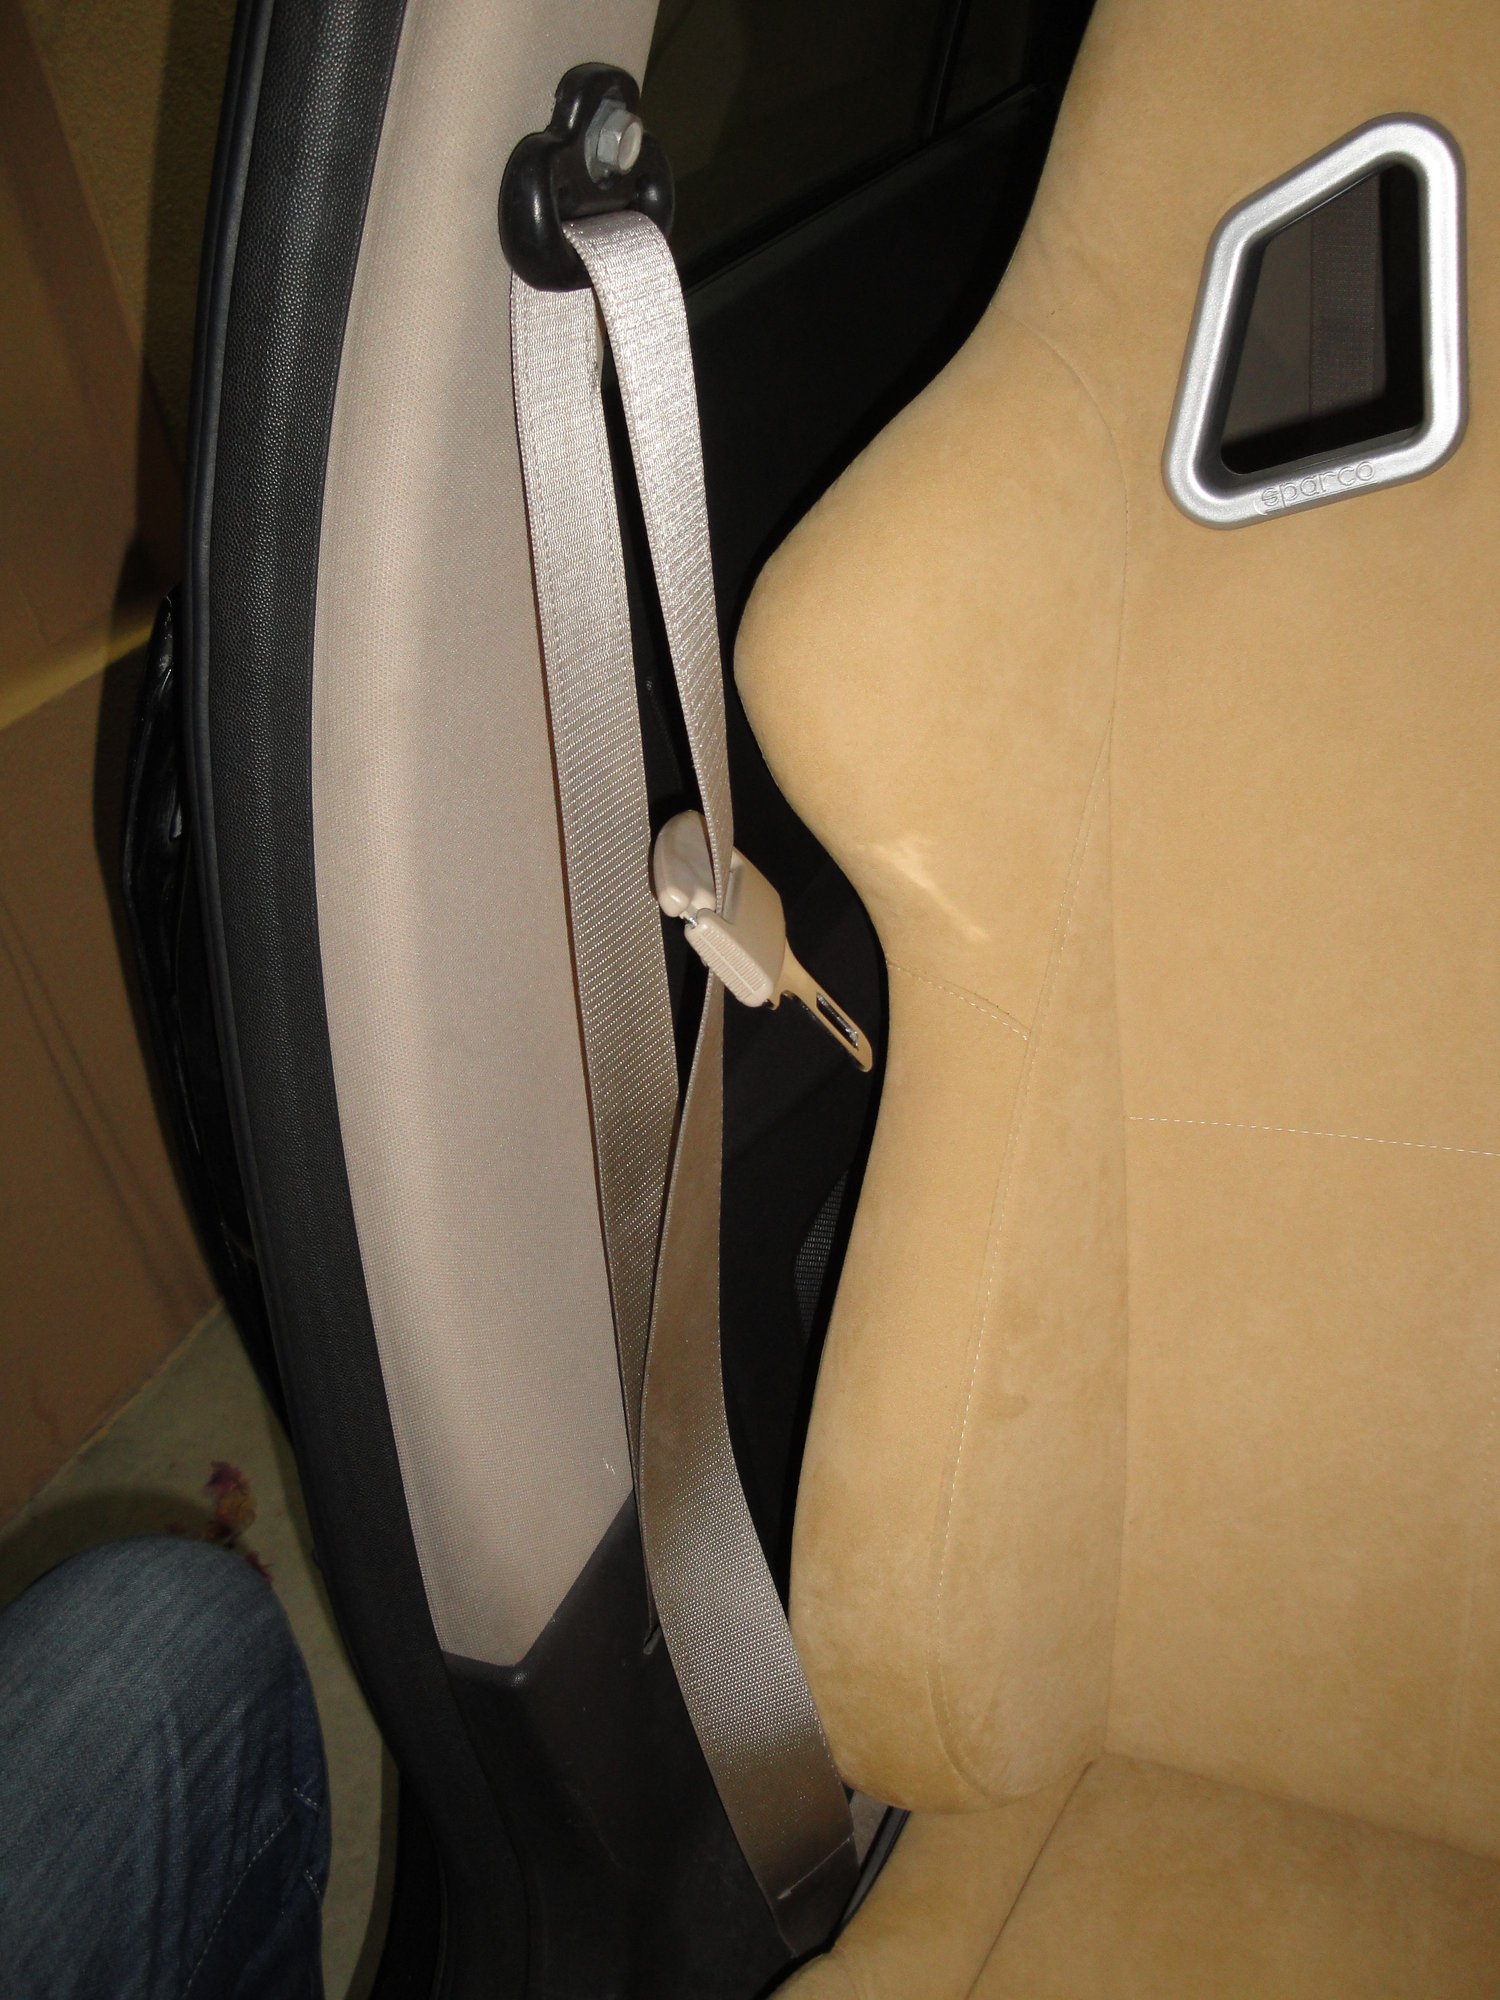
Is there an outline of how you did the 3pt seatbelts on the other forum? I've seen reference to welding a plate to the pillar, is that what you did? What car did you use the belts & retractors from. Its a damn clean install...
Old 06-14-2015, 01:36 PM
  #148  
TECH Addict
iTrader: (10)
 
NIKDSC5's Avatar
 
Join Date: Mar 2007
Location: DFW Area
Posts: 2,599
Received 22 Likes on 19 Posts

Default

Those look good! Def look for that thread, I'm mostly curious with the seat mounting and how you did it. I don't particularly like how mine are mounted.

And I mainly said you were ducking it so that if get a response = success
Old 06-14-2015, 07:46 PM
  #149  
TECH Enthusiast
 
UnsafeAtAnySpd's Avatar
 
Join Date: Aug 2007
Location: Wash., DC / Kabul, Afghanistan
Posts: 716
Likes: 0
Received 0 Likes on 0 Posts

Default

Good stuff! I need to pick up some resistors to get rid of the service air bag warnings.
Old 06-14-2015, 07:49 PM
  #150  
TECH Resident
 
Bio248's Avatar
 
Join Date: Feb 2014
Location: Milwaukee, WI
Posts: 860
Likes: 0
Received 2 Likes on 2 Posts
Default

those seats are beautiful. when are they going to get worn in?
Old 06-15-2015, 07:02 AM
  #151  
Naf
TECH Fanatic
Thread Starter
iTrader: (1)
 
Naf's Avatar
 
Join Date: Sep 2007
Location: Sandbox, Kuwait
Posts: 1,633
Received 18 Likes on 13 Posts

Default

Originally Posted by spin2nd
Is there an outline of how you did the 3pt seatbelts on the other forum? I've seen reference to welding a plate to the pillar, is that what you did? What car did you use the belts & retractors from. Its a damn clean install...
For you it would be from a Pontiac G8. I am goin to change the belt color to black so they look a little better, and add a sliding plate to the point where it comes out of the pillar...

Basically it was plug and play, nutting special...

Originally Posted by Bio248
those seats are beautiful. when are they going to get worn in?
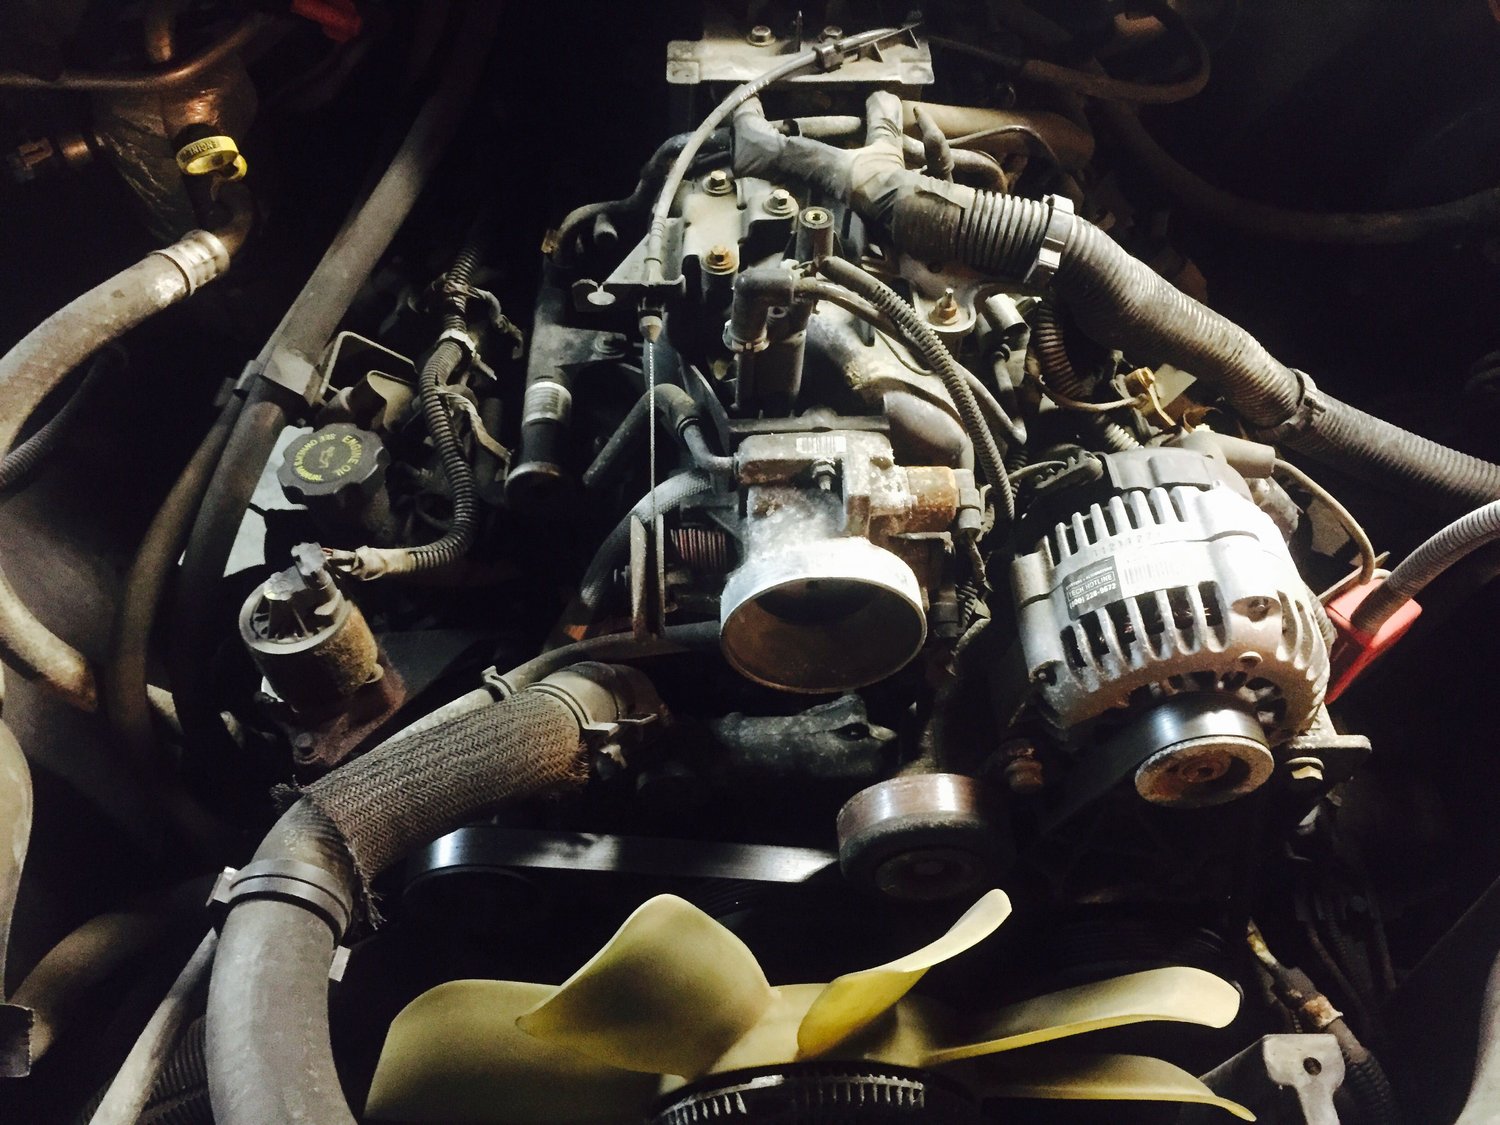
Once i get the E67 to talk with my PCM body, i am gonna yank the engine out one more time to upgrade the 24x to 58x on the crank and also upgrade the cam from 1x to a 4x sprocket...then its tune and run run run

Originally Posted by NIKDSC5
Those look good! Def look for that thread, I'm mostly curious with the seat mounting and how you did it. I don't particularly like how mine are mounted.

And I mainly said you were ducking it so that if get a response = success
Its been so long i forgot, i have to yank the seats out to clean the carpet, i will snap some pix for you then...
Old 06-15-2015, 11:05 AM
  #152  
TECH Addict
iTrader: (4)
 
54inches's Avatar
 
Join Date: Sep 2006
Location: Cove, Texas
Posts: 2,064
Received 14 Likes on 11 Posts

Default

Originally Posted by Naf
Tex i have been gone for one weekend, you're worse than my first ex GF who cheated on me with my best friend...
Sorry NAF, I was messing with my other ******** friend from Texas!
Old 06-15-2015, 01:30 PM
  #153  
Naf
TECH Fanatic
Thread Starter
iTrader: (1)
 
Naf's Avatar
 
Join Date: Sep 2007
Location: Sandbox, Kuwait
Posts: 1,633
Received 18 Likes on 13 Posts

Default

Originally Posted by 54inches
Sorry NAF, I was messing with my other ******** friend from Texas!
So...where the pix you promosed of 345s...
Old 06-17-2015, 12:20 AM
  #154  
Naf
TECH Fanatic
Thread Starter
iTrader: (1)
 
Naf's Avatar
 
Join Date: Sep 2007
Location: Sandbox, Kuwait
Posts: 1,633
Received 18 Likes on 13 Posts

Default

I went online to gmpp, and found the Camaro has upgraded lower suspension arms, pn 23484878, i am gonna ask Luke for one and see if it fits my car IF, IF IF IF IF IF IF, i can get the spring to fit on the shocks in the rear.

This way i get a more study control arm and ditch the rest of it...
Old 06-17-2015, 10:33 AM
  #155  
FormerVendor
 
Creative Steel's Avatar
 
Join Date: Nov 2013
Location: Oregon
Posts: 212
Likes: 0
Received 0 Likes on 0 Posts
Default

Originally Posted by Naf
I went online to gmpp, and found the Camaro has upgraded lower suspension arms, pn 23484878, i am gonna ask Luke for one and see if it fits my car IF, IF IF IF IF IF IF, i can get the spring to fit on the shocks in the rear.

This way i get a more study control arm and ditch the rest of it...
Quick, dirty tip, the camaro arms are 1" longer from hole to hole.
Old 06-17-2015, 12:09 PM
  #156  
Naf
TECH Fanatic
Thread Starter
iTrader: (1)
 
Naf's Avatar
 
Join Date: Sep 2007
Location: Sandbox, Kuwait
Posts: 1,633
Received 18 Likes on 13 Posts

Default Makin progress

An inch is too far for me...i will just fabricate one to the same spec
Old 06-28-2015, 11:31 PM
  #157  
Naf
TECH Fanatic
Thread Starter
iTrader: (1)
 
Naf's Avatar
 
Join Date: Sep 2007
Location: Sandbox, Kuwait
Posts: 1,633
Received 18 Likes on 13 Posts

Default Makin progress

Started to create body bracings for the rear subframe, the mid section will also be easy, but the front subframe will be a challenge. Headers are in the way. Most probably tomorro i will also be yankin the engine out to upgrade from 24x crank to 58x and cam from 1x to 4x.

There is a way to upgrade the pcm to ecm, but a hand full of wires have to be swapped around.
Old 06-28-2015, 11:34 PM
  #158  
Naf
TECH Fanatic
Thread Starter
iTrader: (1)
 
Naf's Avatar
 
Join Date: Sep 2007
Location: Sandbox, Kuwait
Posts: 1,633
Received 18 Likes on 13 Posts

Default Makin progress

Oh, almost forgot, my coil over setup works perfectly, just needed to push the wheels out 2mm to have 5mm of clearance between the spring and wheel.

Have to email Angelo and order another shock top, i had three but two went missing recently...
Old 06-29-2015, 05:58 AM
  #159  
TECH Addict
iTrader: (2)
 
ls1247's Avatar
 
Join Date: May 2013
Location: Greenville SC
Posts: 2,413
Received 7 Likes on 7 Posts

Default

Originally Posted by Naf
Started to create body bracings for the rear subframe, the mid section will also be easy, but the front subframe will be a challenge
Take a few pics if you don't mind and if you have pics of the bracing you did that is behind the front fenders, more pics if that would be appreciated.

Was there any noticeable improvement after you added that bracing?
Old 06-29-2015, 07:27 AM
  #160  
Naf
TECH Fanatic
Thread Starter
iTrader: (1)
 
Naf's Avatar
 
Join Date: Sep 2007
Location: Sandbox, Kuwait
Posts: 1,633
Received 18 Likes on 13 Posts

Default Makin progress

I dint know yet as the car is unable to start


Quick Reply: Makin progress


All times are GMT -5. The time now is 07:19 PM.