When you click on links to various merchants on this site and make a purchase, this can result in this site earning a commission. Affiliate programs and affiliations include, but are not limited to, the eBay Partner Network.
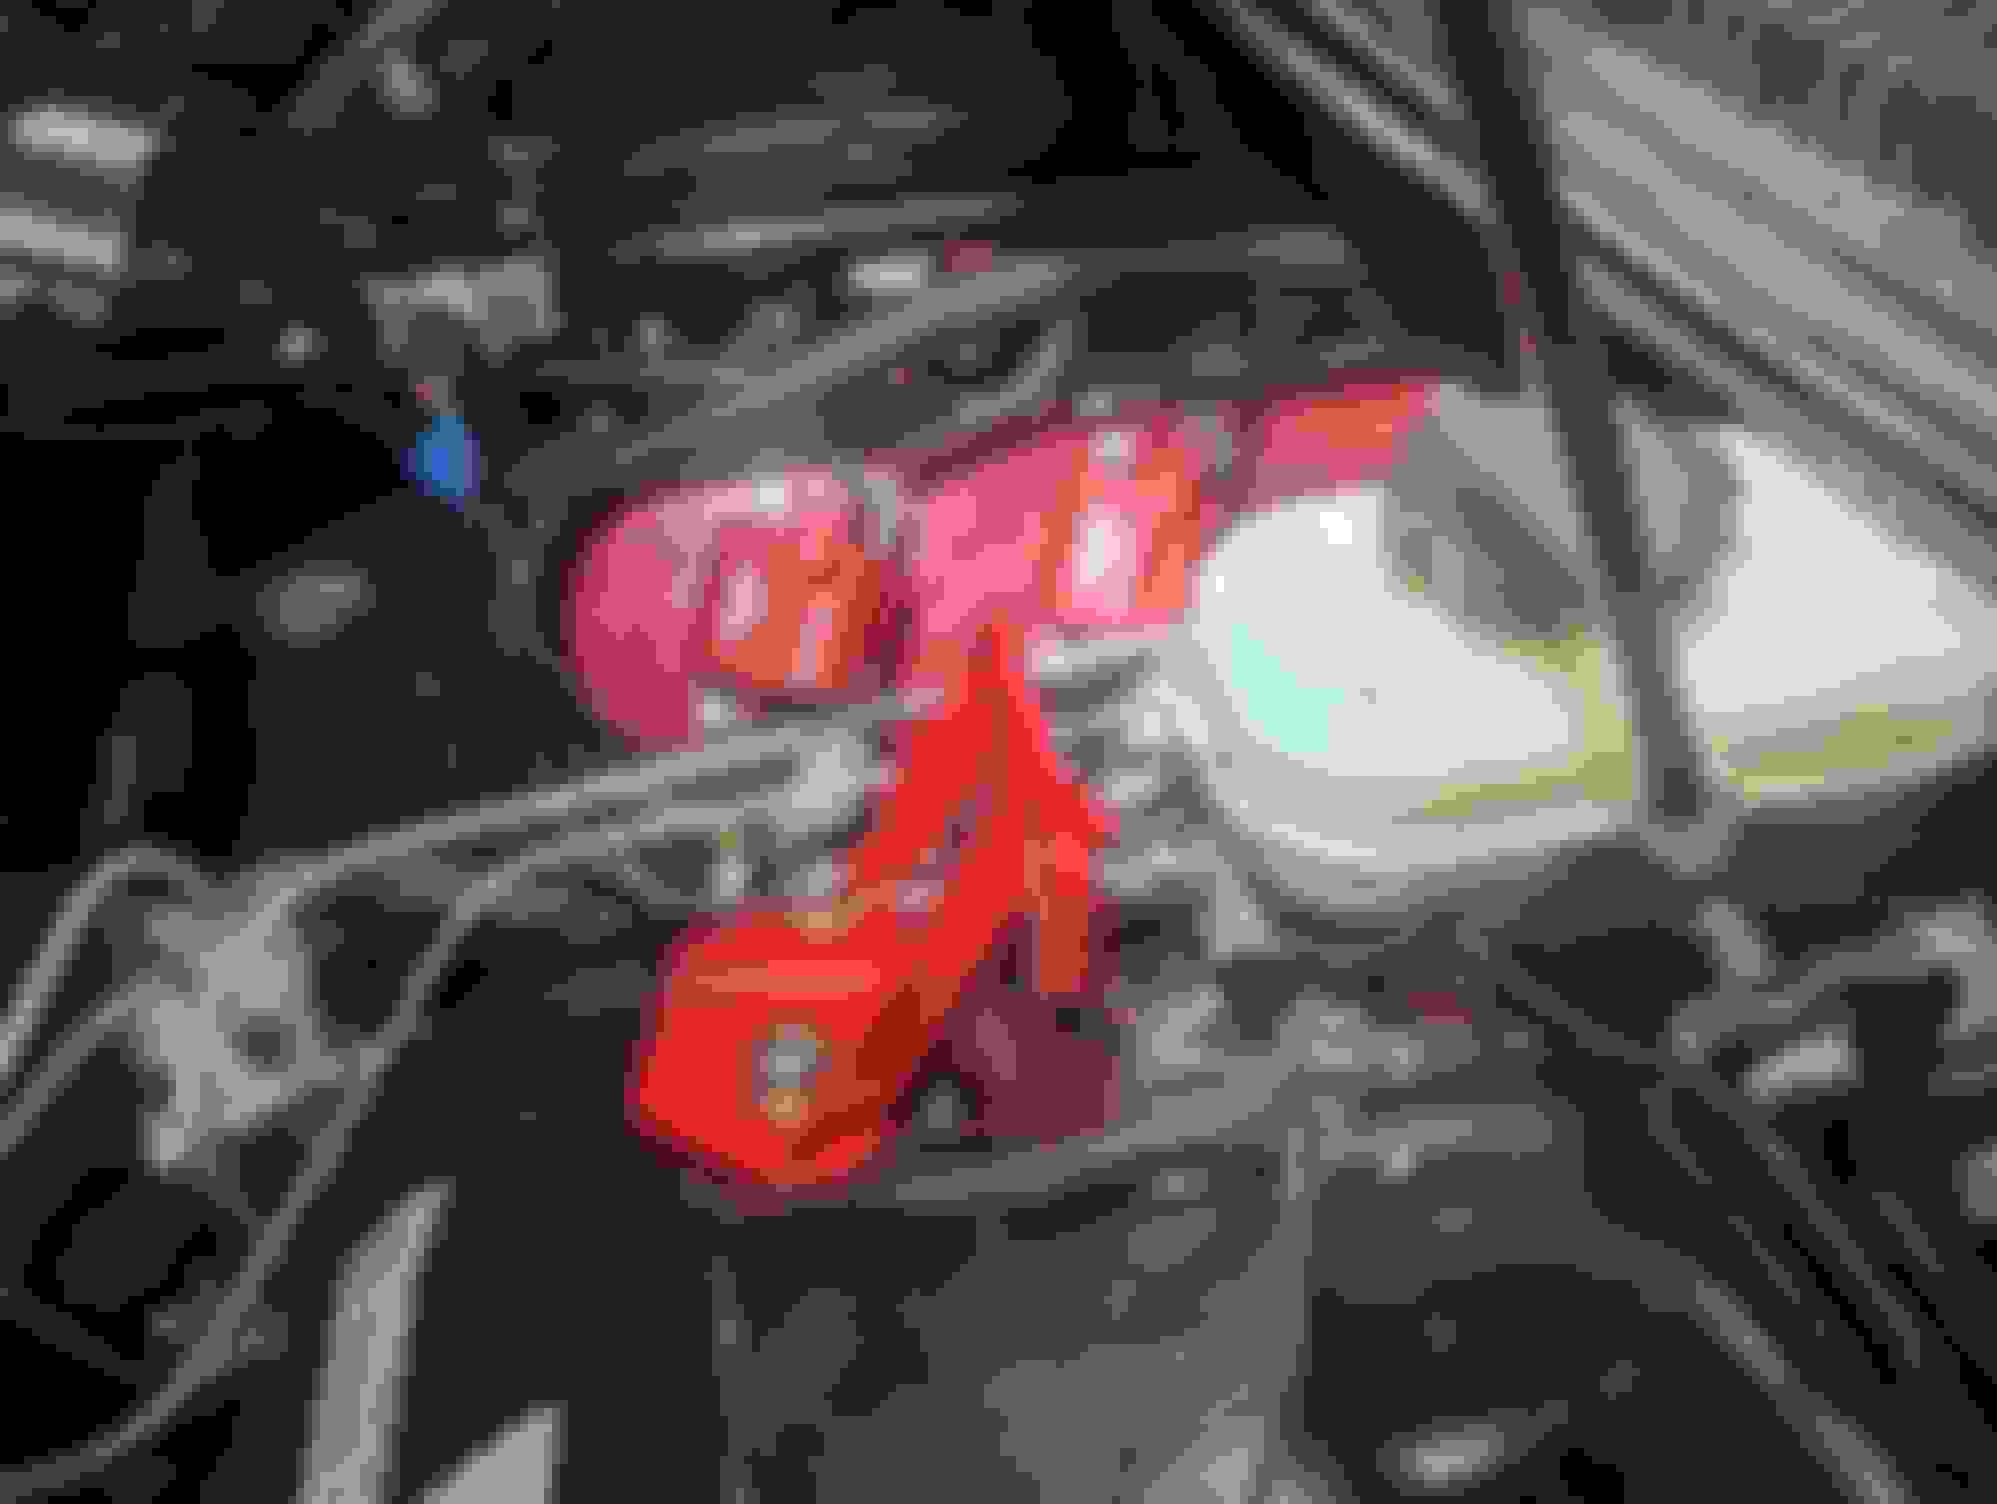
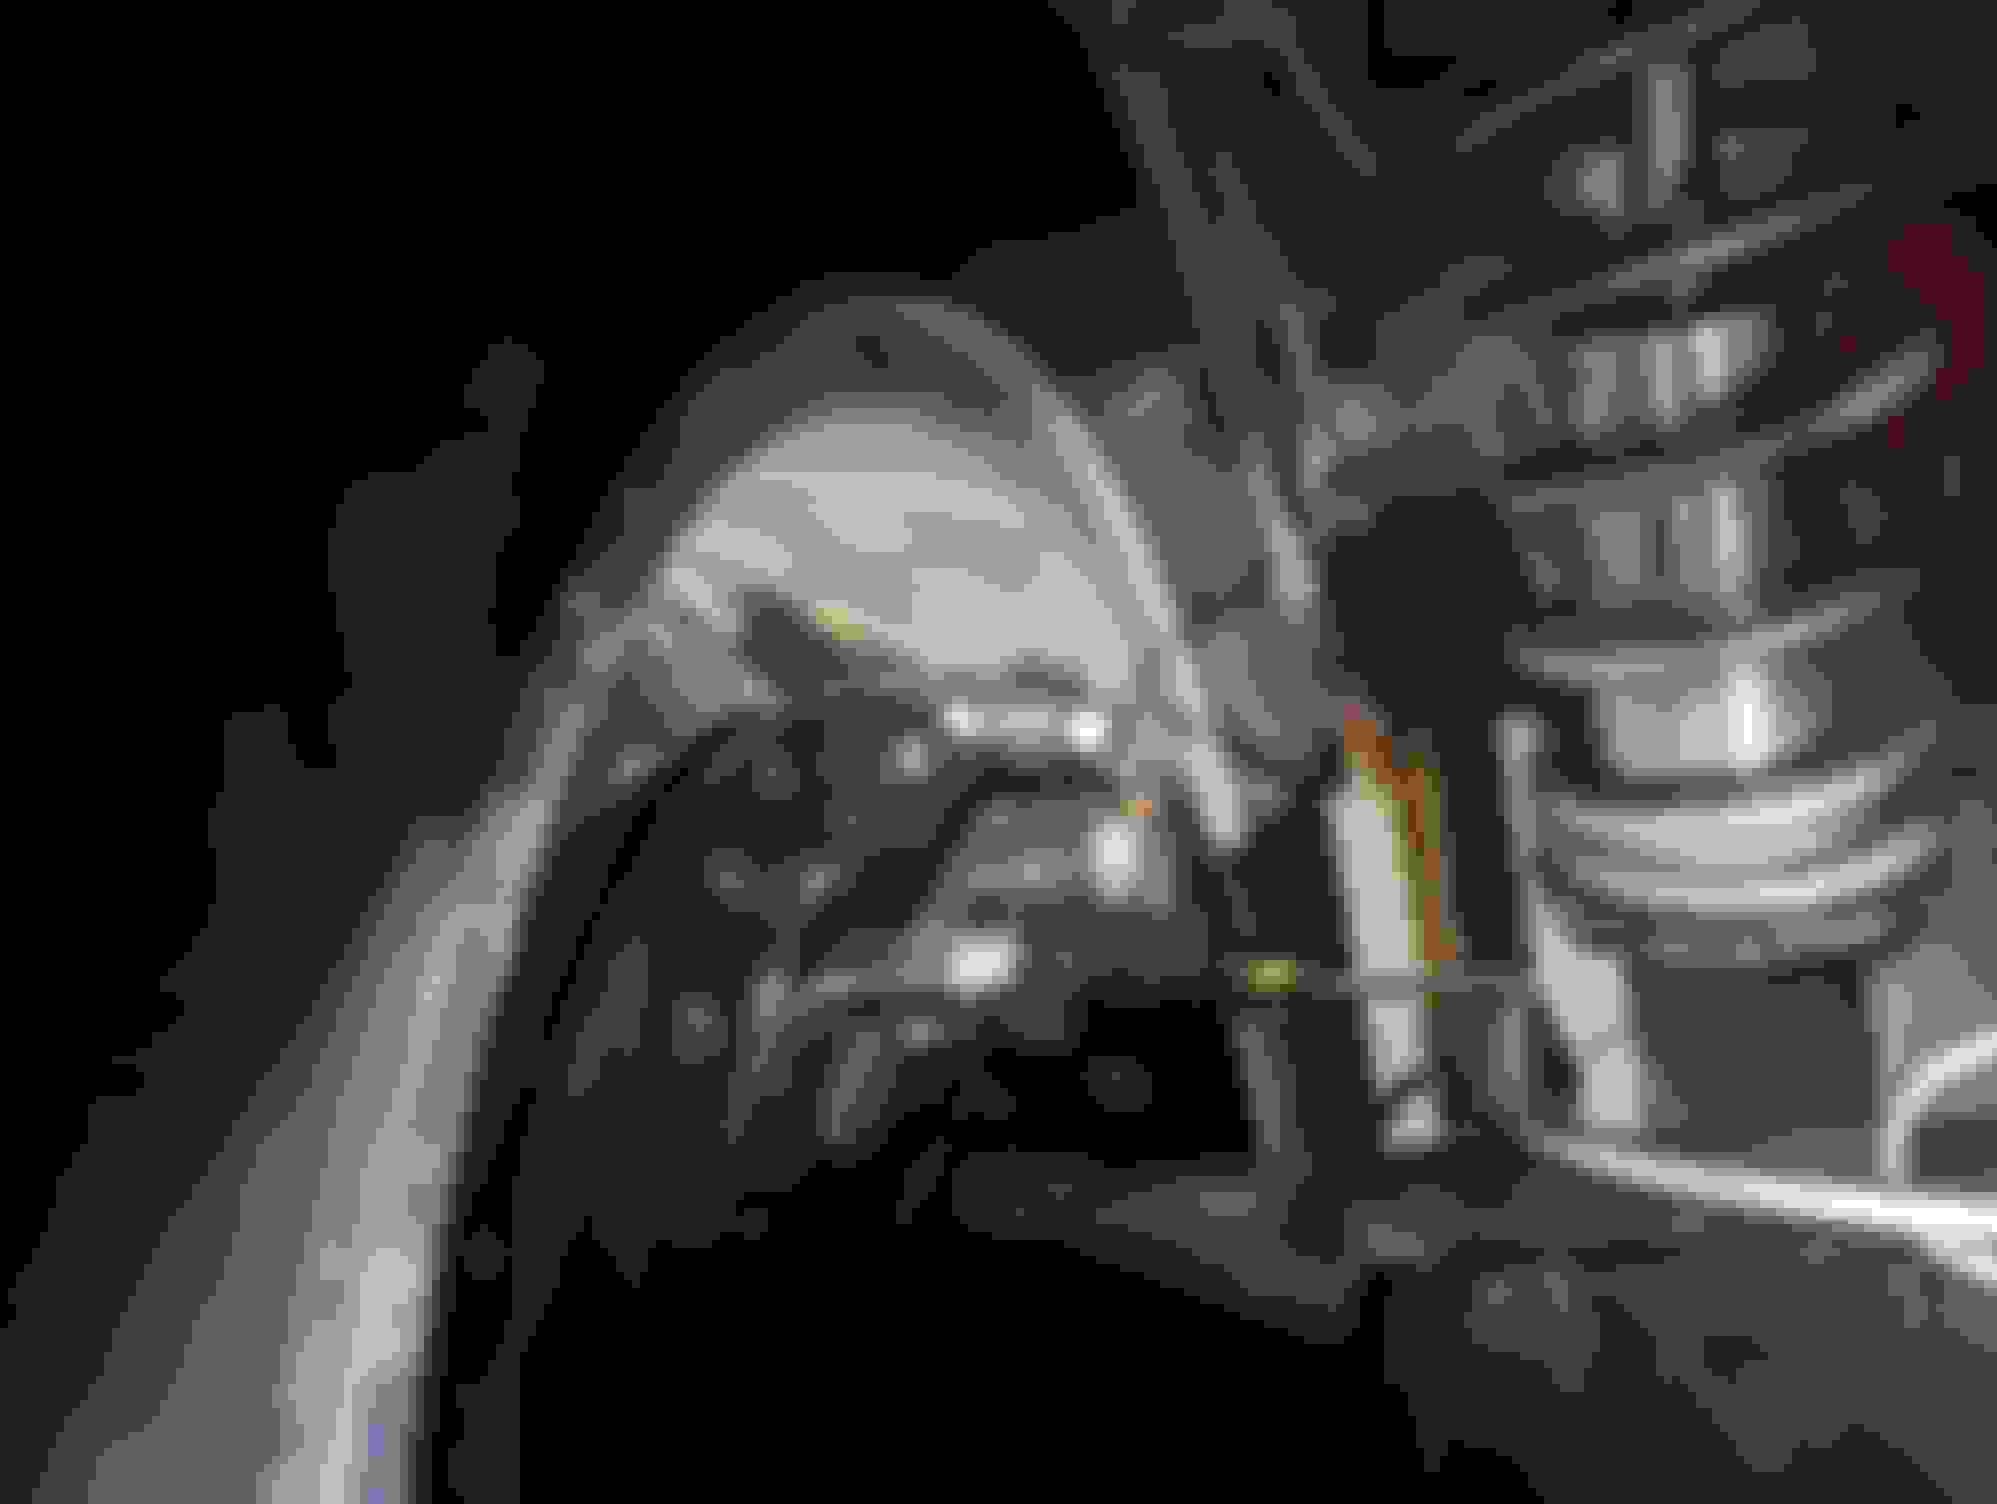
The break-in tune is loaded and everything hooked up. I discovered one small coolant leak at the steam port fitting (possible o-ring issue, new fitting ordered) and a fuel leak at the rail. For the fuel leak, I'm altering one of my -8 wrenches as it is under the cowl and there isnt much room. Just needs a little bit more of a turn.
Also wrapping up the wiring installation of the gauges. Main one I need is the fuel pressure since I have a manual regulator now.
Once these items are completed we will be good to start.
Last item is brake lines. Found out if i go All flexline i will soften the brakes. Therefore, went to NAPA and got some hard brake line. Waiting on the fittings to go from 1/8-27 NPT to the bubble flare fitting.
For the front, having to figure out a way to go from a smaller fitting on the proportioning valve side to the larger bubble flare fitting for the MC2 port. Maybe I can use an adapter or something, not sure yet.
Hoping this weekend I can finally turn the key.
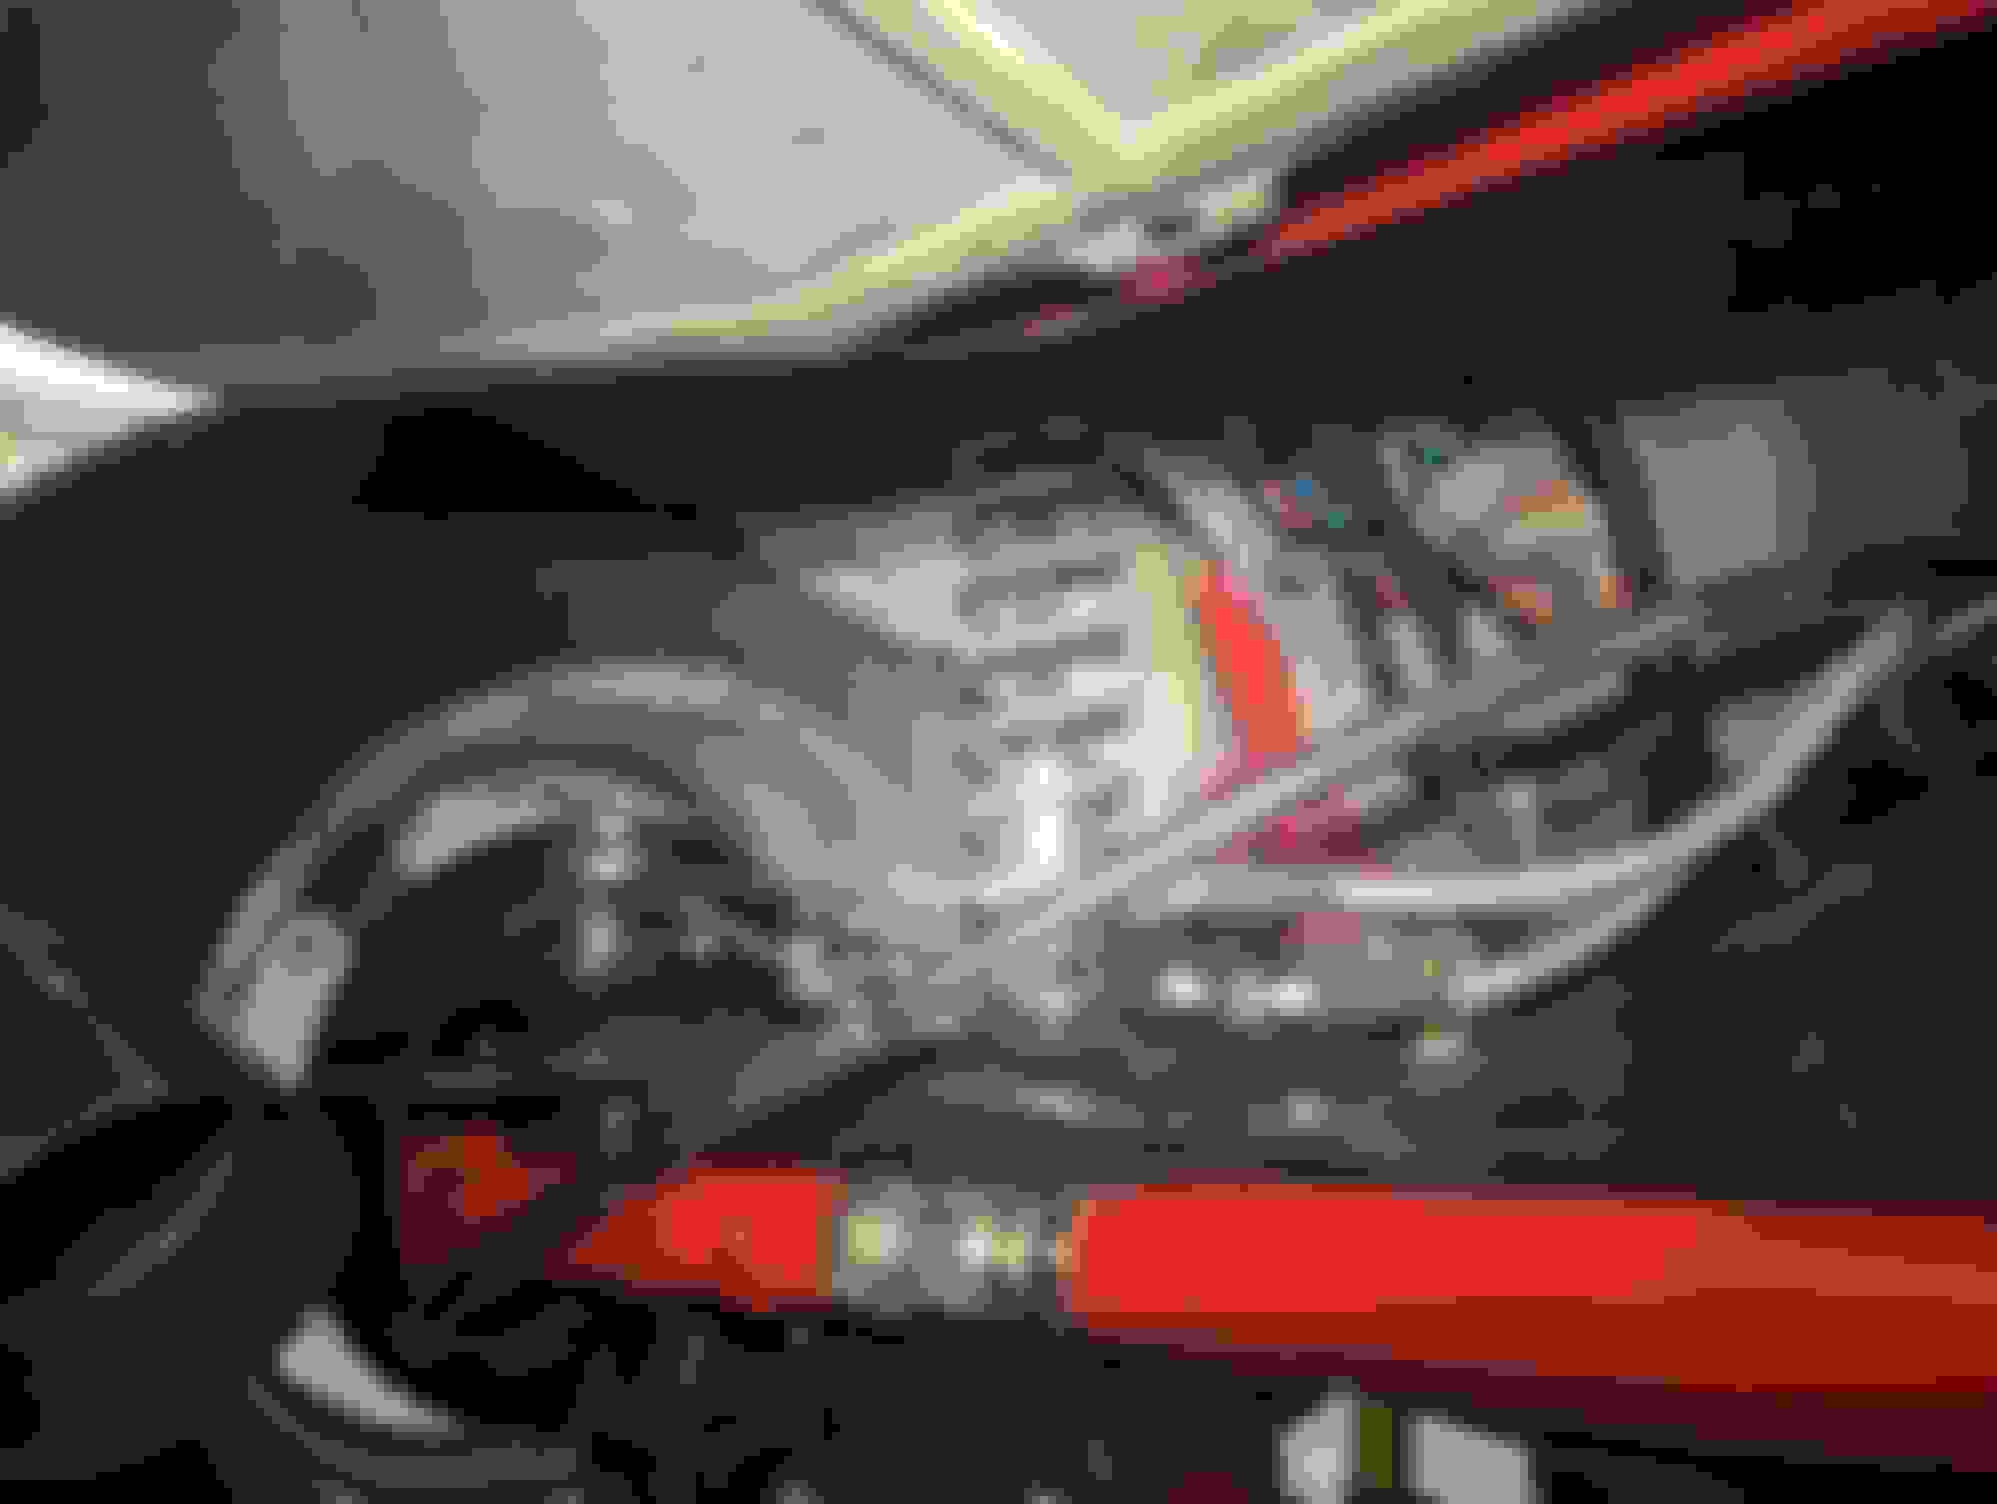
I had issues with the AN fittings on mine doing a y in the back of the rails.
My last iteration of it was getting away from that Y fitting and putting a T on the driver side rail, so one jumper from the T to the passenger rail. That way I could tighten that stuff up off engine and had a good shot at the lst fitting from my regulator to the T on the driver rail.
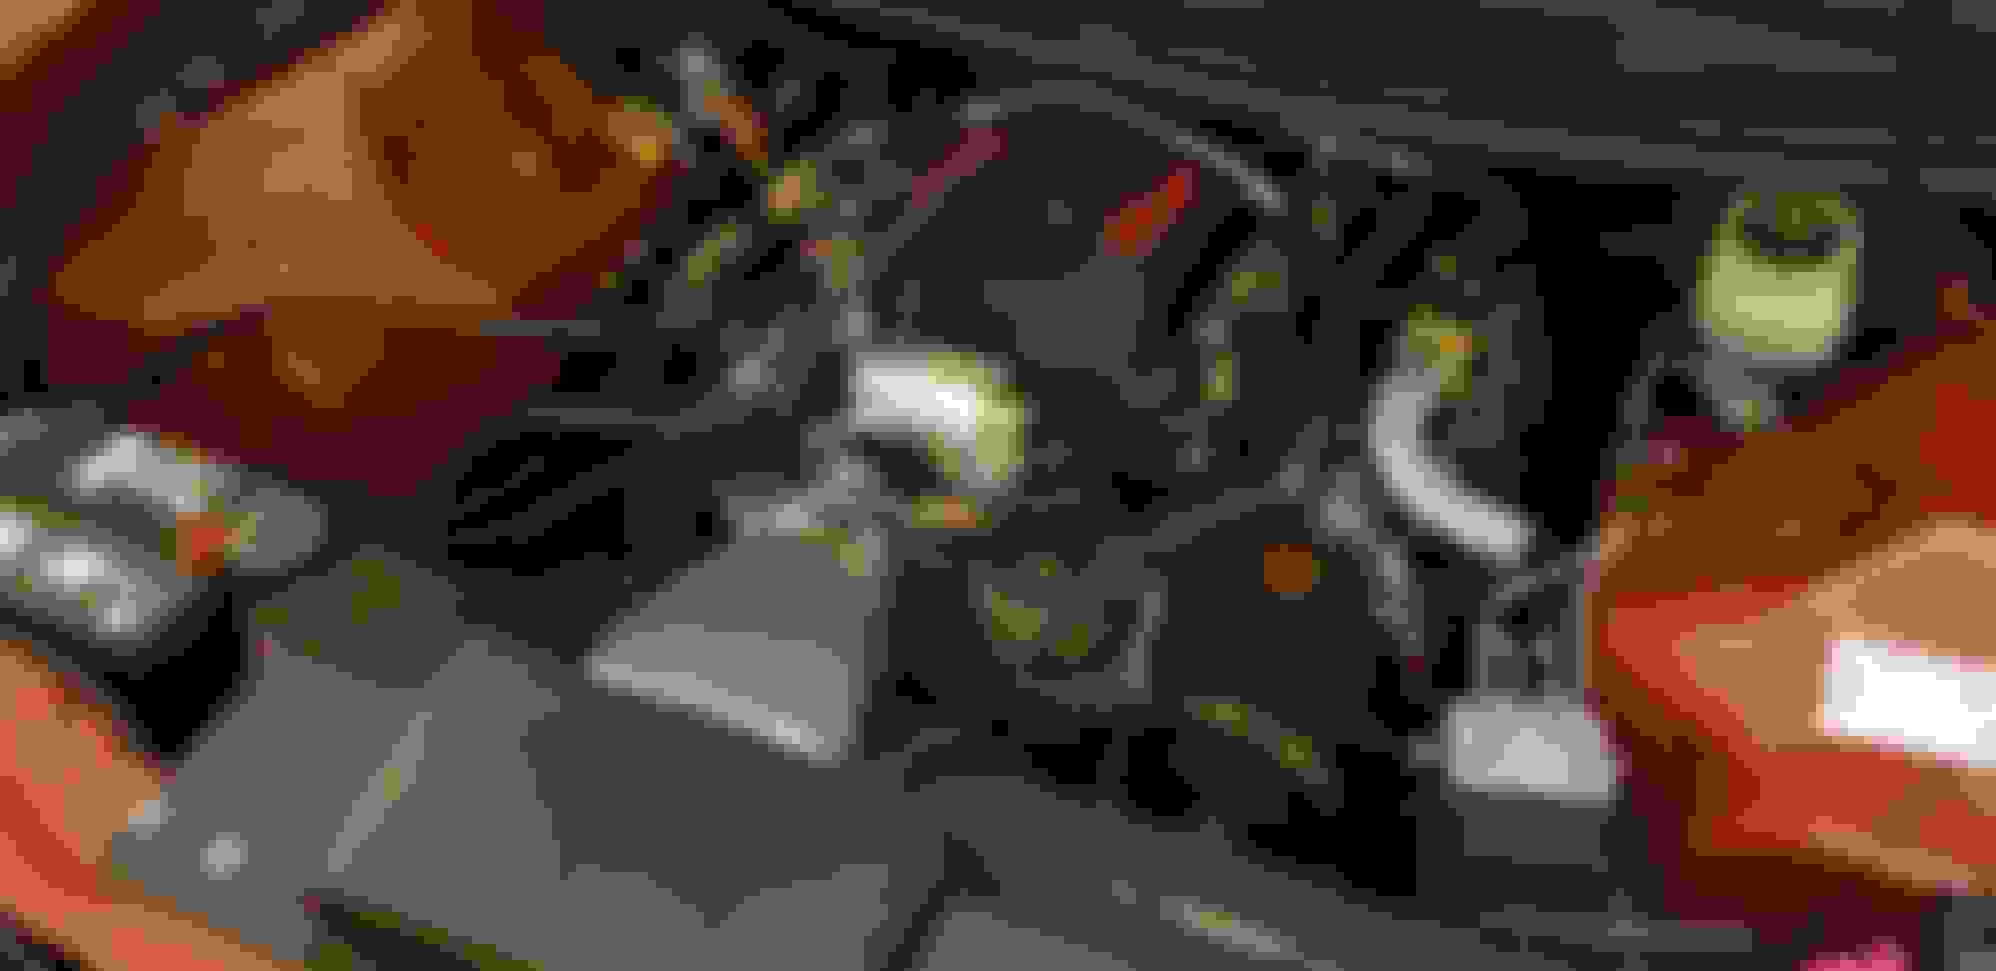
That makes sense. With it in the car, I'd probably work to locate it in a different spot (maybe in future) but for now it seems ok. Definitely driven by the lack of space to work on the stuff under the cowl...makes one really consider the cowl delete
Cranked over the engine but the battery needs replaced unfortunately. After sitting for a few years in the Texas heat not charging, it doesn't have enough juice. Last big thing is to bleed the clutch and slave cylinders. Fingers crossed.
Also worked on the rear brake lines and happy with how they came out. I'll post a picture tomorrow of how I ended up routing them.
Last night I was finally able to turn the key and turn the car on. Run time is short since it was 12:30am and didn't want to **** off neighbors too bad, but couldn't go to bed without knowing
Got HP tuners hooked up. Car idled at 500 rpm for good while then ramped up to 3000 rpm without me touching throttle so trying to figure that out. Also working on adjusting the IAC counts, etc. but we will get there.
Hadn't posted pictures of the rear brake lines yet. I used the stock bracket (shaved off the small tab on the side) to hold transition from hard to flex line. I mounted it to rear end with a self-tapping screw in the back bracing and made sure it cleared the panhard bars and fuel tank.
The stock heat shield has a tab that mounted to the stock upper panhard bar that had to be bent back for exhaust to clear. The BMR torque arm bracket had to be cut on the side, I needed to use the left set of holes. I'm curious if the bracket from UMI would mate up with the BMR torque arm. If this is the case, that would be the best combo as it would clear the 9" adapter from Trick Chassis without having to cut out anything. Food for thought.
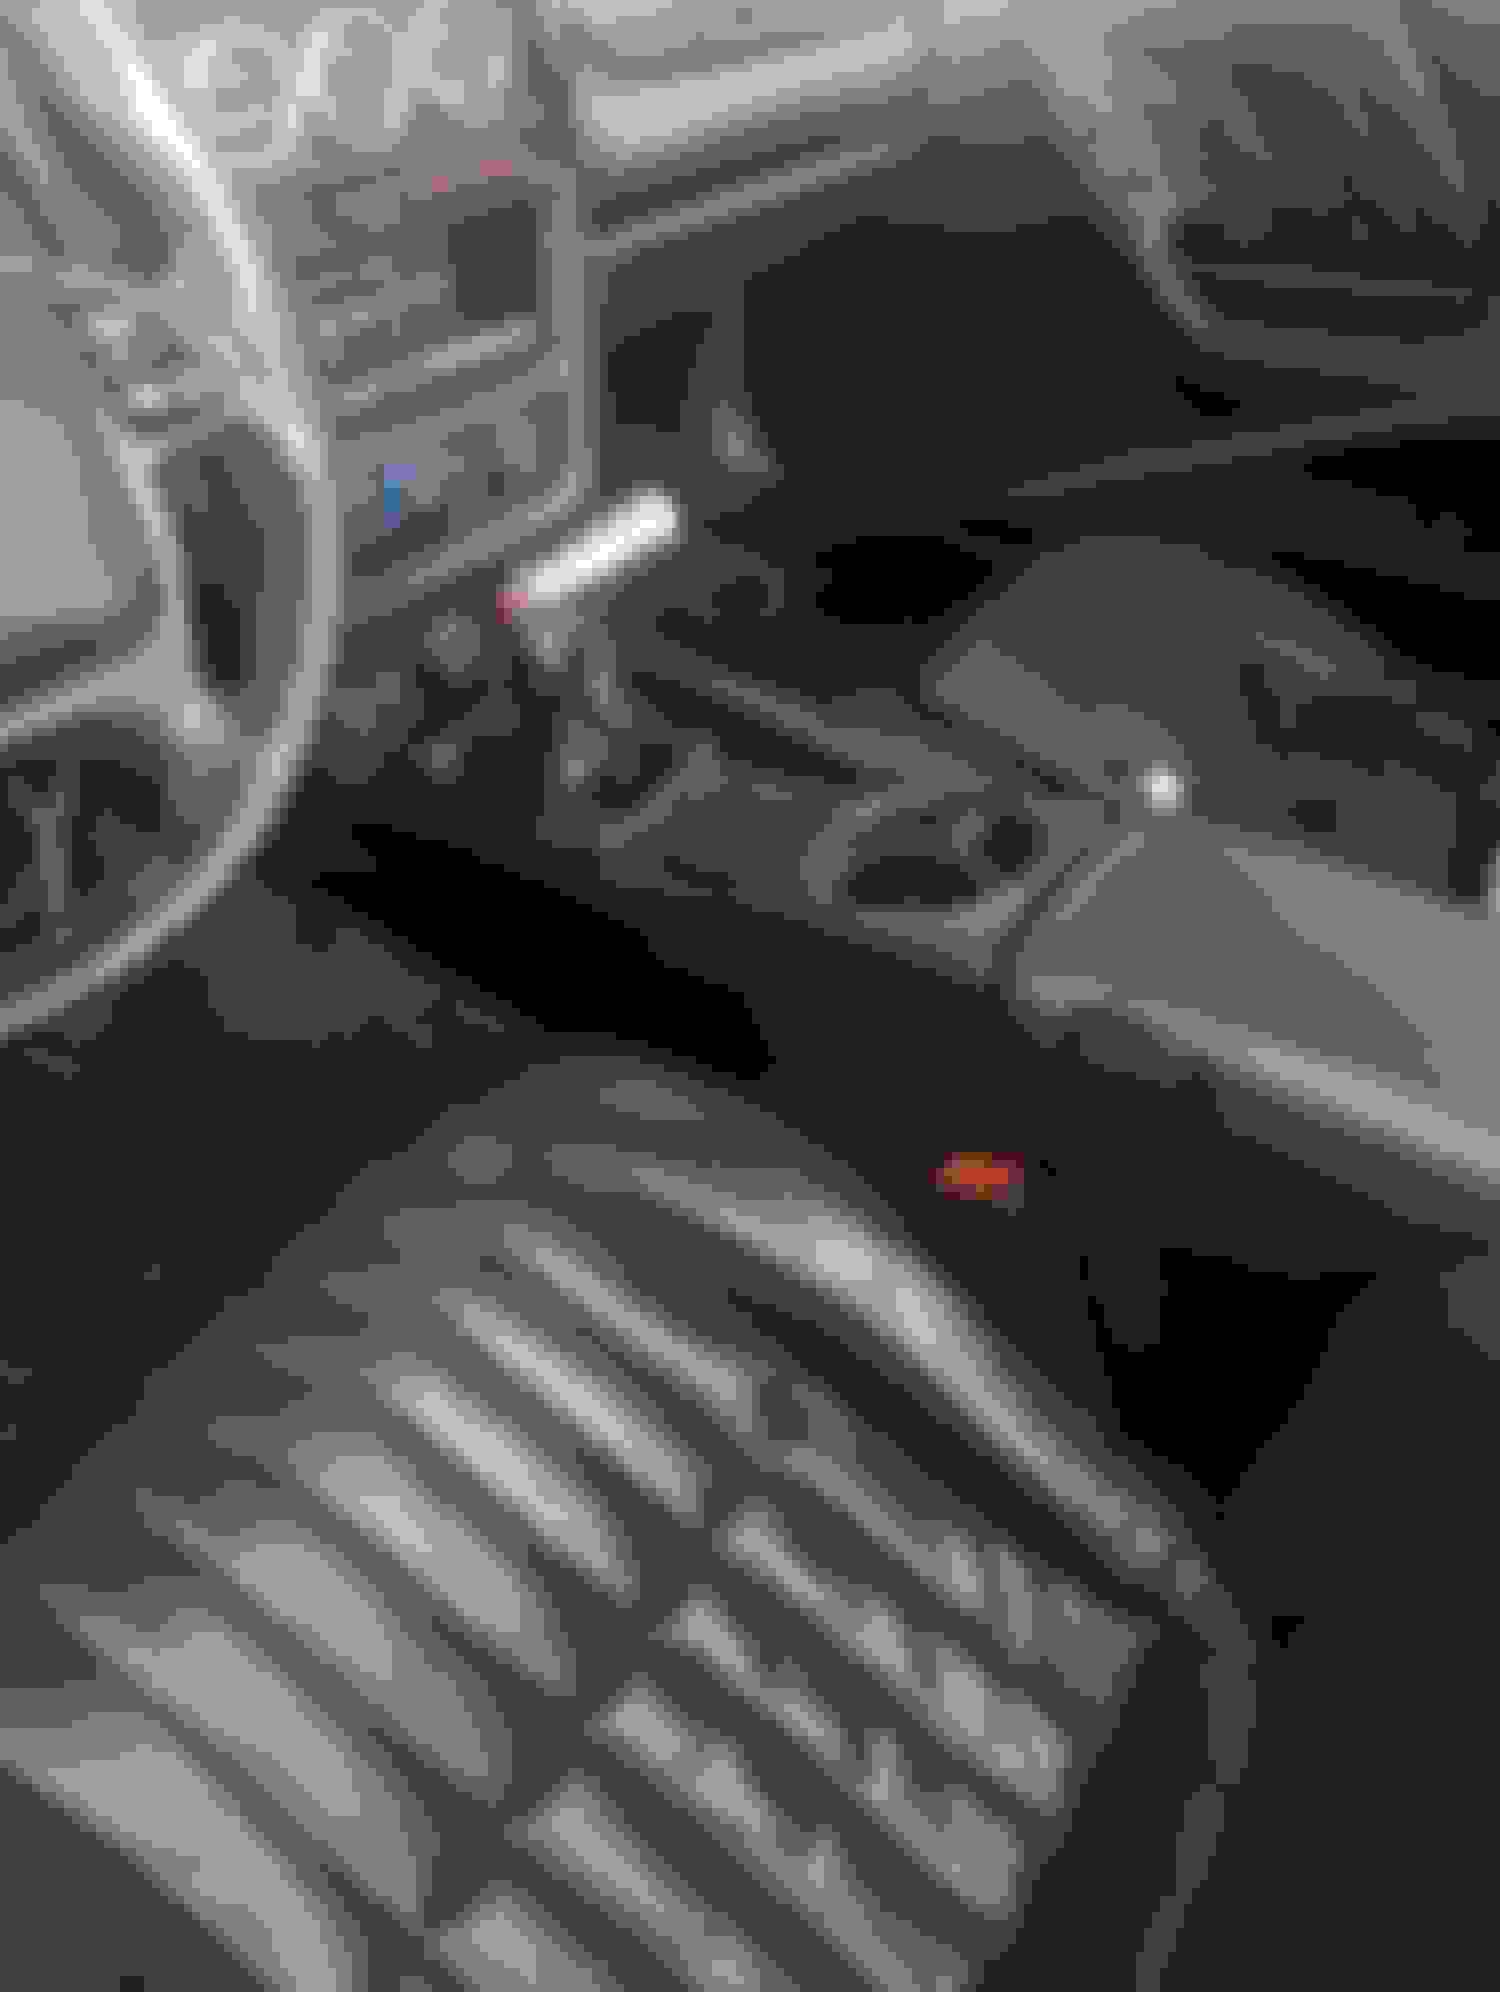
I ran the connector and wiring for the wideband in the console and down through the transmission shifter hole. This worked out perfectly. Shifter and console are now back in place.
This is done right! Makes me super excited to get rolling on mine now! Really hope my build thread is as documented as yours to help others as you have helped me with some ideas here.
I've never understood this. I wouldn't own a car without AC in it.
My a/c went straight in the dumpster.
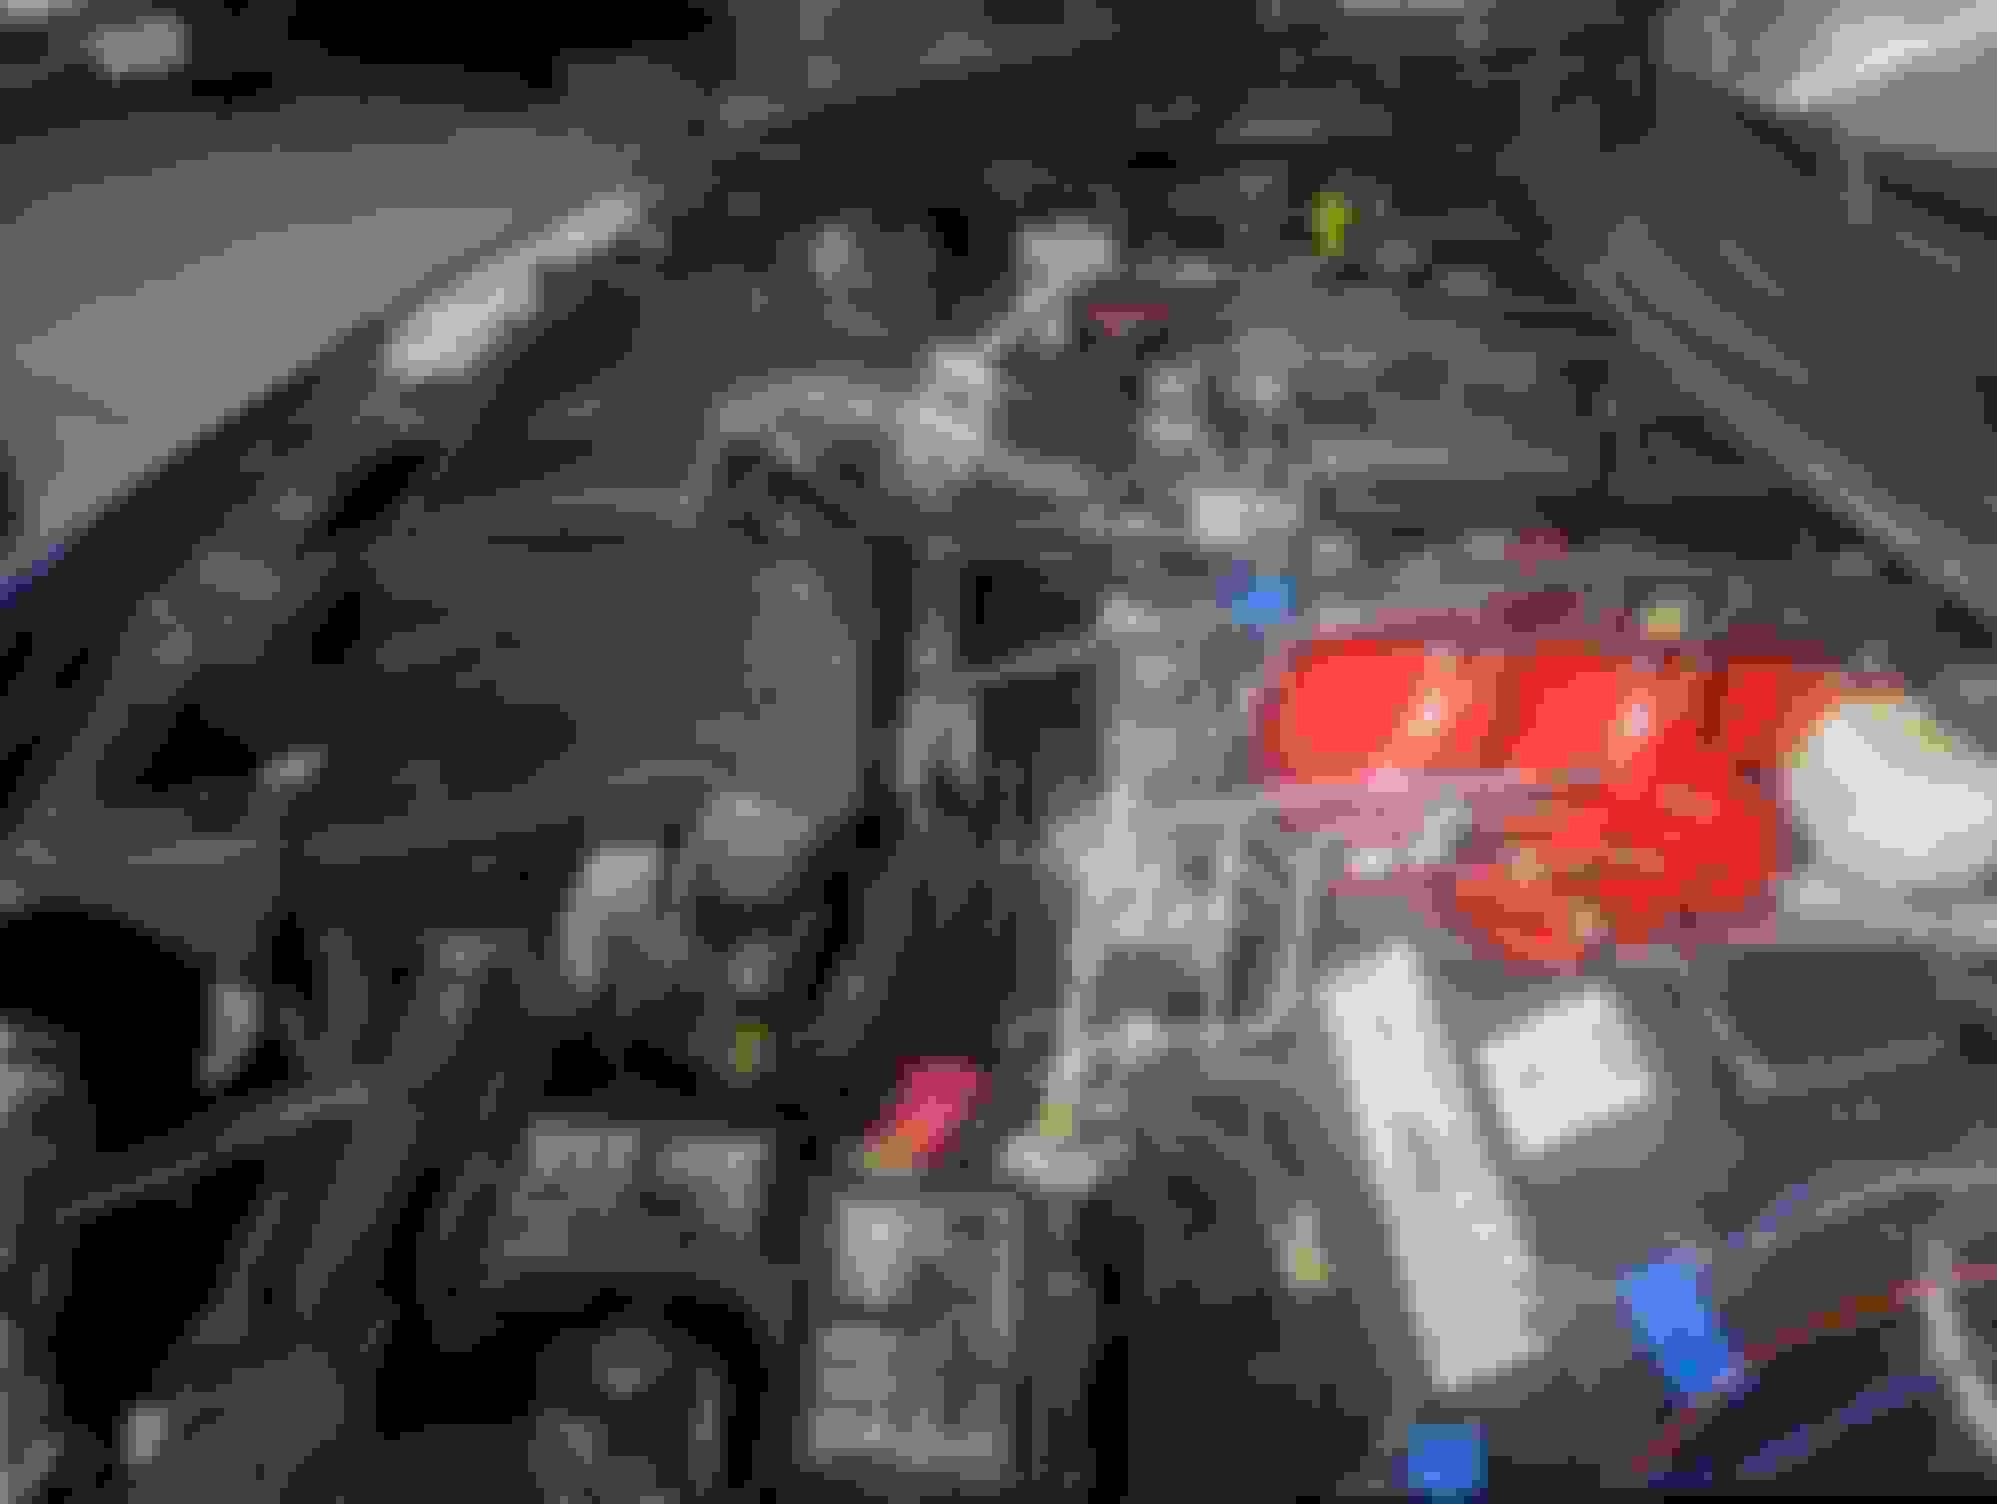
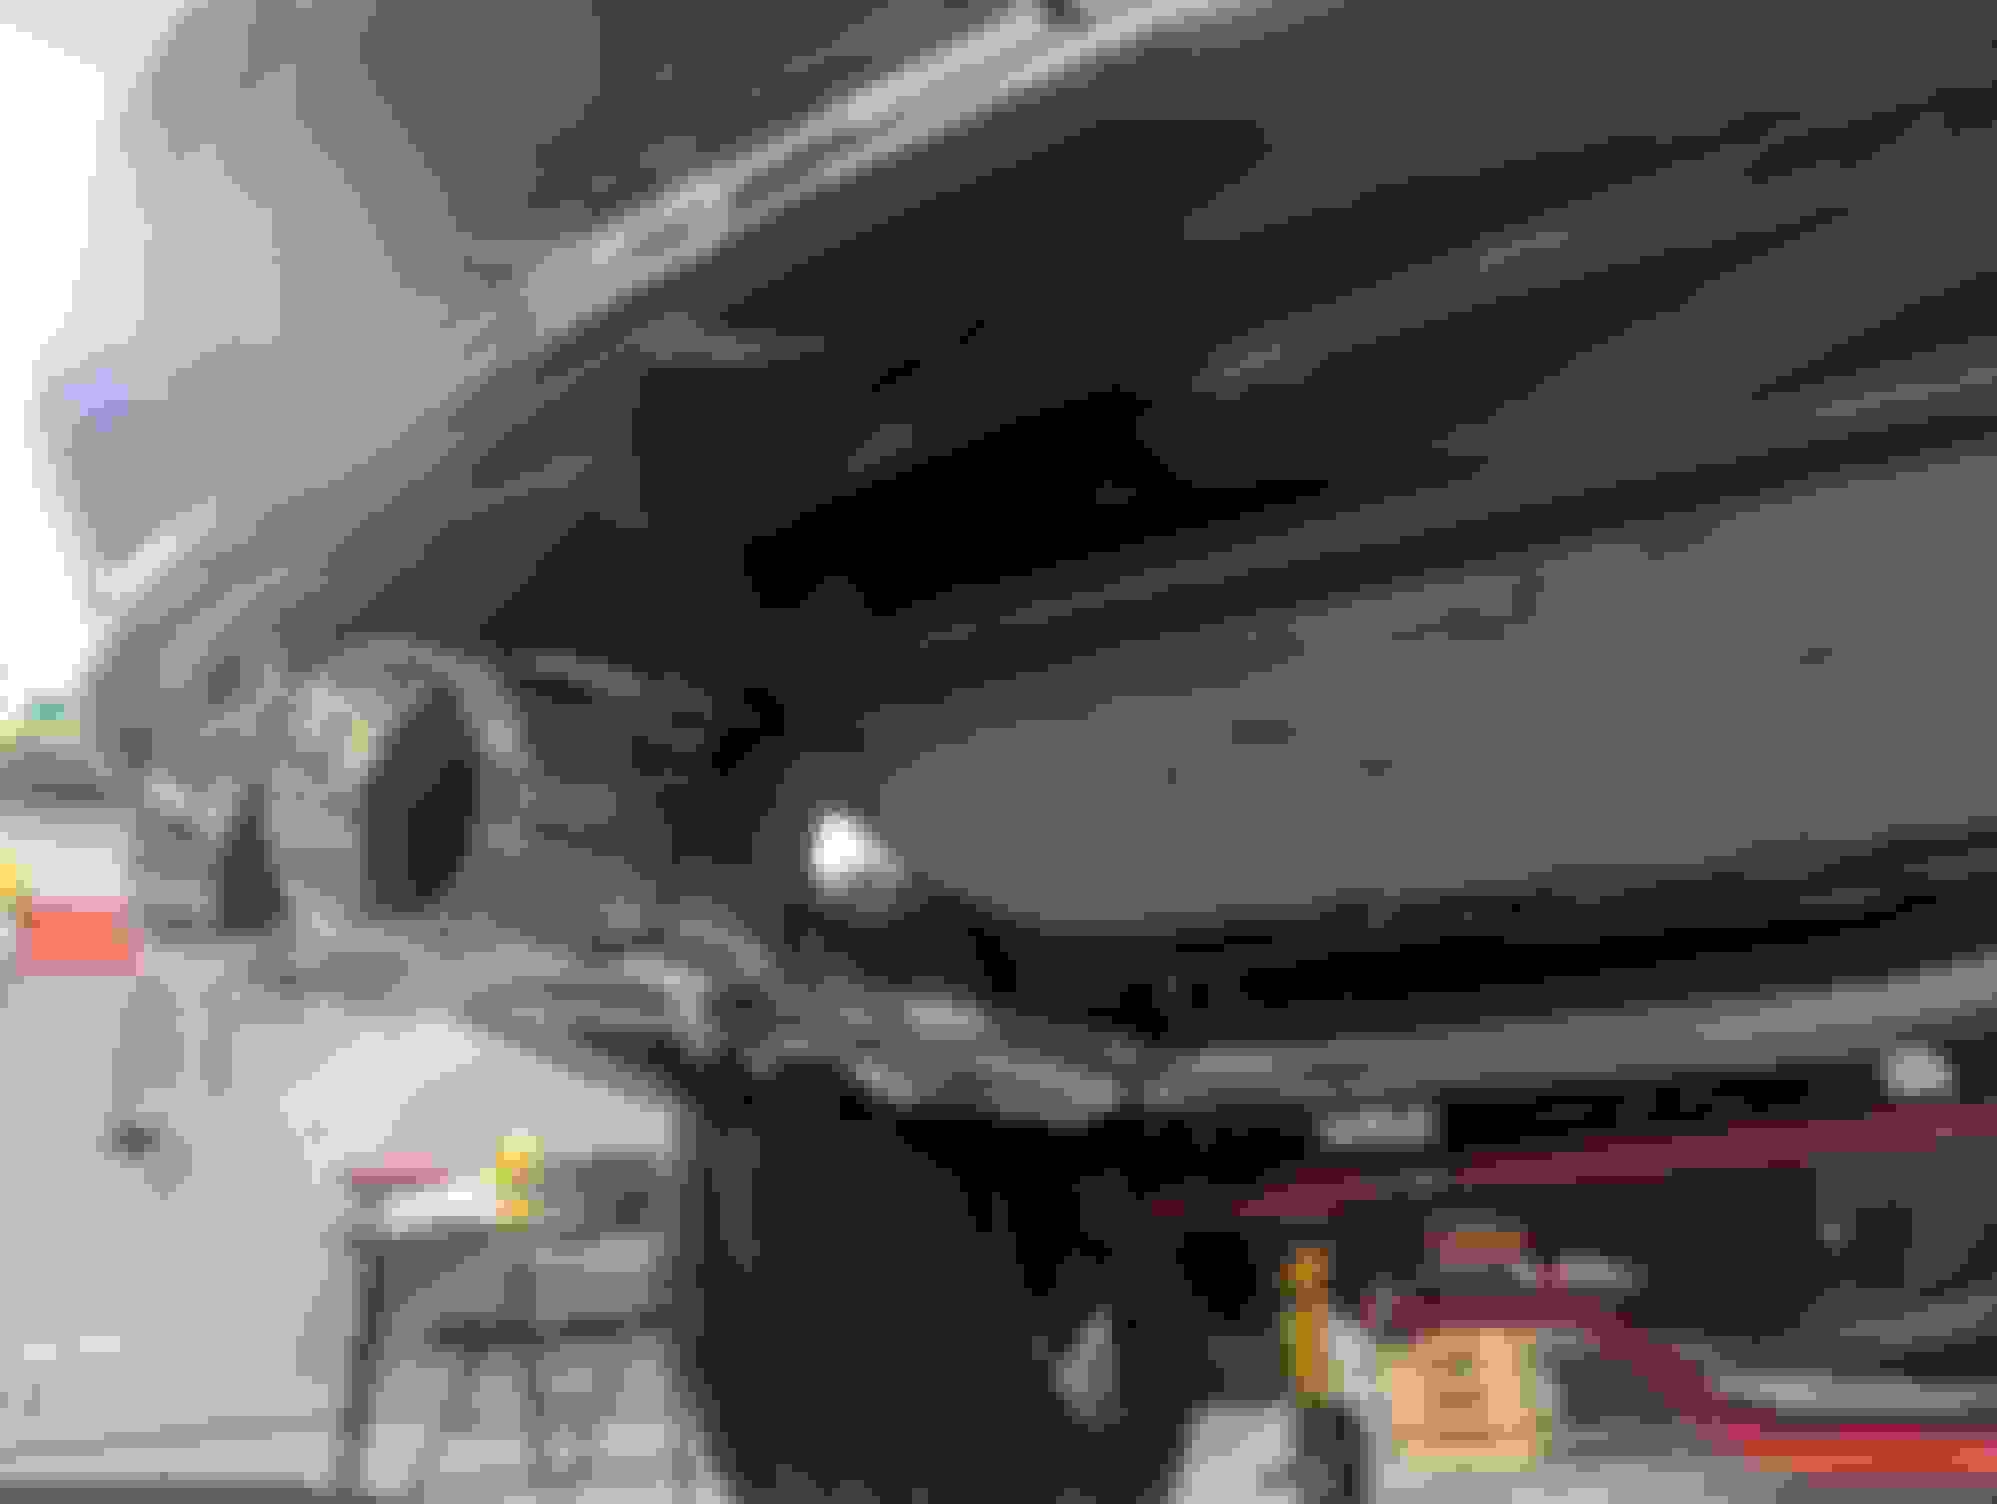
Cleans the engine bay up nice.
And if it's hot enough that you need a/c then the tops come off. If it's to hot with the tops off then it's to hot to drive cause the car is dog **** slow in the heat anyways.
And if it's hot enough that you need a/c then the tops come off. If it's to hot with the tops off then it's to hot to drive cause the car is dog **** slow in the heat anyways.
Where I'm at, its almost always too hot to drive without air conditioning. Having the tops out and the windows down makes it feel like you are in a convection oven. Outside of the winter and a few days for what passes for spring, I wouldn't drive a car without AC. Hell, even then I run the AC in the wintertime more often than not. I dislike temperatures above 70F.
You are right though. It does clean up the engine bay nicely.

 04-03-2023, 09:59 AM