

Frame Notching 67-69 Camaro Firebird 68-74 Nova
 11-01-2010, 12:41 PM
#1
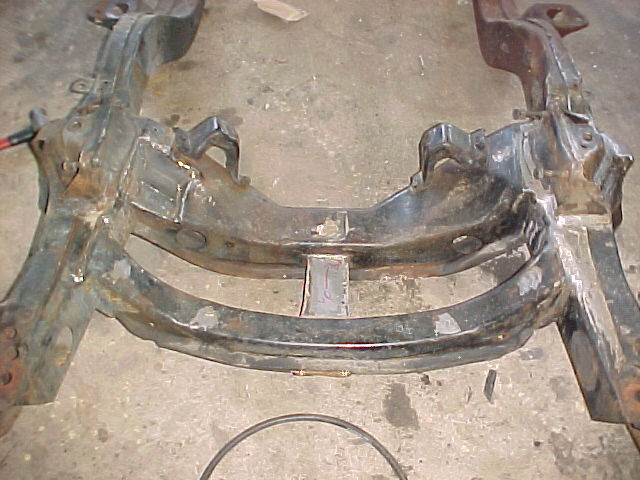
Please post up an pictures and links/info you have of notching your frame for clearance in a 1st gen Camaro/Firebird or 3rd gen Nova. Notch could be for an ac compressor, alternator, oilpan or ?
Here is one example of notching the frame to clear a low mount ac compressor:
http://mcspeed.homestead.com/69_Cama...urrection.html
Here is one example of notching the frame to clear a low mount ac compressor:
http://mcspeed.homestead.com/69_Cama...urrection.html
 11-01-2010, 01:22 PM
#2
Another example. Not sure, but you may have to be logged into lat-g for this to work.
http://www.pro-touring.com/forum/sho...a-LS1&p=610358

http://www.pro-touring.com/forum/sho...a-LS1&p=610358
Last edited by -TheBandit-; 11-01-2010 at 01:29 PM.
11-01-2010, 01:27 PM
#3
Good pictures here if you are a lat-g member
http://www.lateral-g.net/forums/atta...8&d=1236383265
http://www.lateral-g.net/forums/atta...0&d=1236383265
http://www.lateral-g.net/forums/atta...9&d=1236383265
You may have to be logged in to lateral-g.net for these to work:


http://www.lateral-g.net/forums/atta...8&d=1236383265
http://www.lateral-g.net/forums/atta...0&d=1236383265
http://www.lateral-g.net/forums/atta...9&d=1236383265
You may have to be logged in to lateral-g.net for these to work:
11-01-2010, 02:37 PM
#4

This is what I 'm waiting on my VA kit for,
I posted in my thread the my parts guy went to SEMA, so maybe next week, but the pic on lateral G may work where I dont need a bracket to do the compressor mock up, may just cut and weld,
Thanks for the pics!!!
I posted in my thread the my parts guy went to SEMA, so maybe next week, but the pic on lateral G may work where I dont need a bracket to do the compressor mock up, may just cut and weld,
Thanks for the pics!!!
11-01-2010, 03:49 PM
#5
On The Tree
iTrader: (1)
Join Date: Apr 2007
Location: Huntsville, TX
Posts: 136
Likes: 0
Received 0 Likes
on
0 Posts

Here is a picture of the BRP a/c frame notch kit.
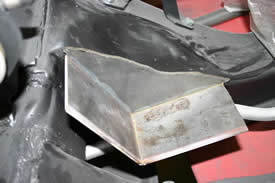
Price is $25.00 for the piece...you notch the frame and weld in.
http://www.brphotrods.com/mm5/mercha...gory_Code=CNV1
Price is $25.00 for the piece...you notch the frame and weld in.
http://www.brphotrods.com/mm5/mercha...gory_Code=CNV1
11-02-2010, 10:28 AM
#7
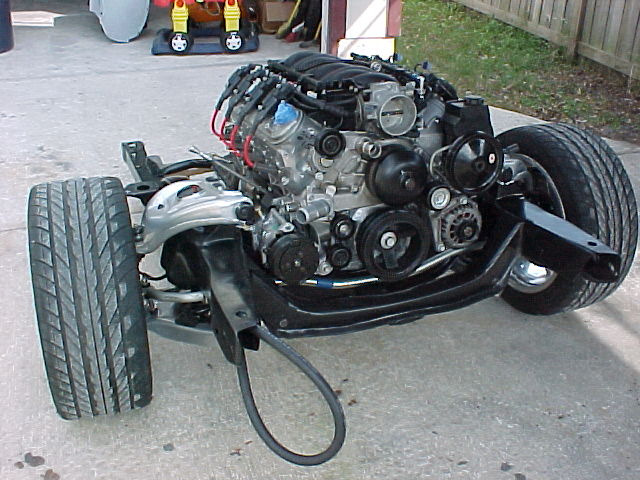
I contacted the builder from the above frame notch to get more info on his compressor mounting and here was his response. He sent some more pictures of his fabricated brackets which I am posting. This is great stuff!
The compressor is a Zexell
Zexell 504-524 1/H/11, TRU-58616
the idler pulleys are ITM 60288, Napa NBHT 42011, NTP 95216, CLOYES 95216
the belt is 6K938, Gates K060938, Goodyear 4060940
These will work if you are running the stock accessories from a camaro. my motor is from a 98 camaro. I had to move the compressor forward to run on the same belt as the other acccessories. If you need anything else at all let me know
Last edited by -TheBandit-; 10-27-2011 at 12:09 PM.
The following users liked this post:
Motown 454 (12-02-2021)
Trending Topics
11-02-2010, 03:00 PM
#9
When you say you are going to stick with the 2 belts, do you mean you plan to run the compressor off the 4 groove section of the crank? If so, are you sure putting the compressor that far back wont interfere with the motor mount? Are you using BRP's mounts?
11-02-2010, 04:04 PM
#10
You know I could be totally wrong, maybe teh VA kits moves everything foward and it runs off the main belt, I'll have to check the VA site,
Been 3 long day,s 12 hrs, up at 1am to work at 2am home at 3:30, I'll have to refresh my memory at the VA site,
Been 3 long day,s 12 hrs, up at 1am to work at 2am home at 3:30, I'll have to refresh my memory at the VA site,
11-03-2010, 02:58 PM
#11
If you want to use the oem AC compressor, You cannot use any of the standard or 1" set back type of plates.. (S&P, ATS, Edelbrock, Hooker, etc).. as the plate comes into contact with the AC Compressor. I have checked that out already. That is way many who use those type of plates have to go with Aftermarket AC kits and brackets. Relocating the Compressor up top.
You have to mount your engine with the way BRP does. Using Early BRP style of plates and relocating the Frame Stands. Notching is required also.
There new kit is suppose to be able to mount the OEM compressor also.
You have to mount your engine with the way BRP does. Using Early BRP style of plates and relocating the Frame Stands. Notching is required also.
There new kit is suppose to be able to mount the OEM compressor also.
 01-26-2012, 02:16 PM
#20
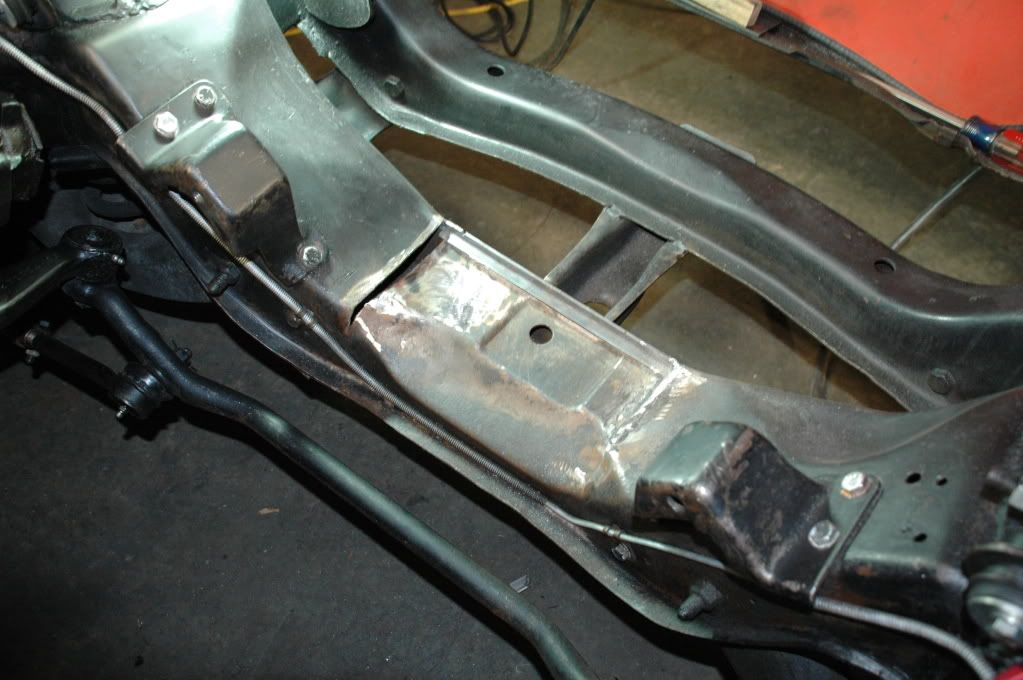
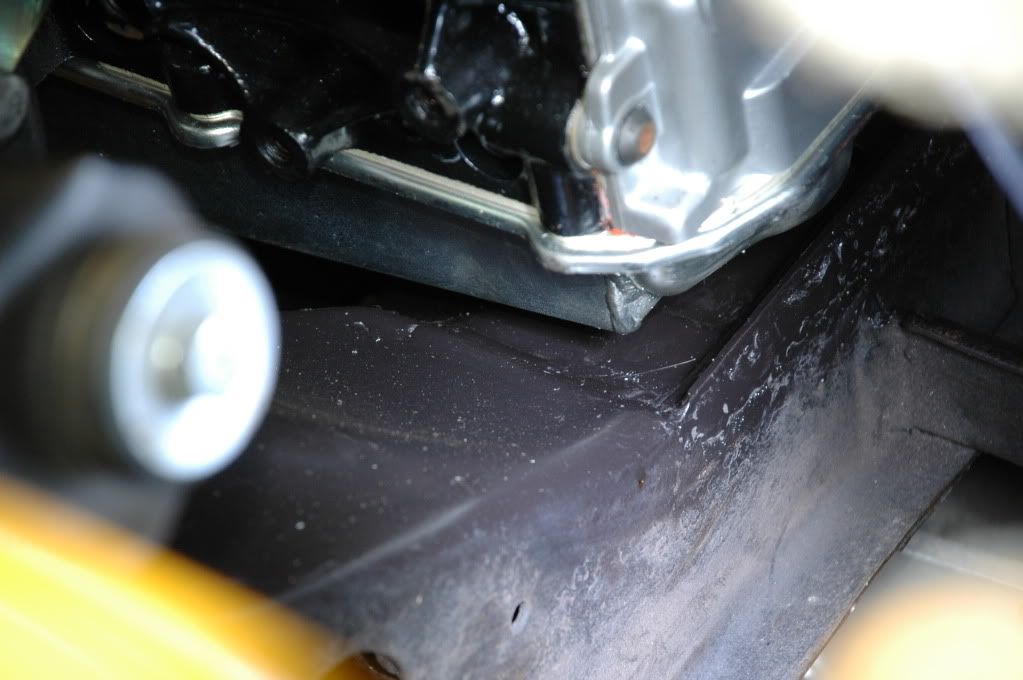
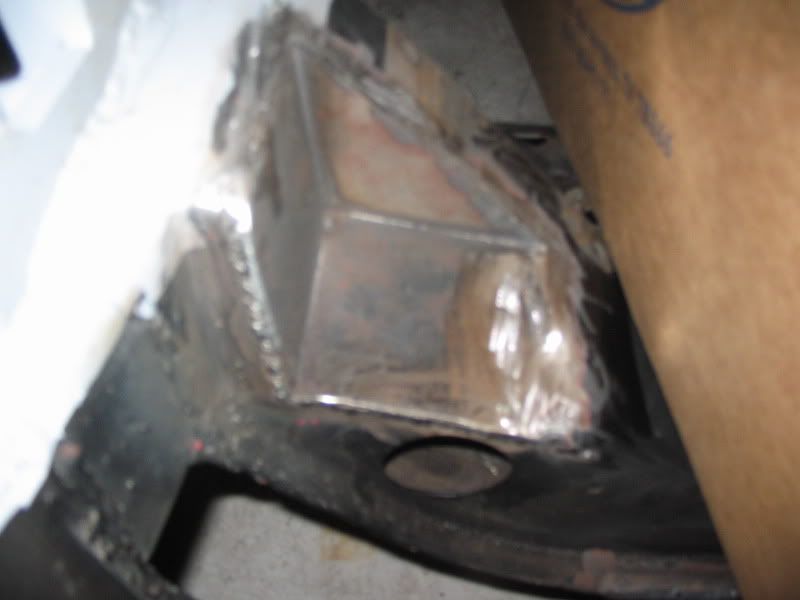
Here is a notch I did on the driver's side to low mount a large DR44 truck alternator. The bottom plate was radiused by bending it around a pole in my garage. It is 3-1/2" deep from the front face with a 3-1/2" radius and the lower surface is even with the top of the lower control arm bolt access hole.


Here is a shot of the interior to show how the rear plate connects down to the lower part of the frame.

Here is a shot of the interior to show how the rear plate connects down to the lower part of the frame.