
Project Volv8
 08-07-2012, 08:35 PM
#1
Teching In
Thread Starter

Join Date: Aug 2006
Location: NJ
Posts: 18
Likes: 0
Received 0 Likes
on
0 Posts
1994 Volvo 940 Wagon
05 LQ9/4l65
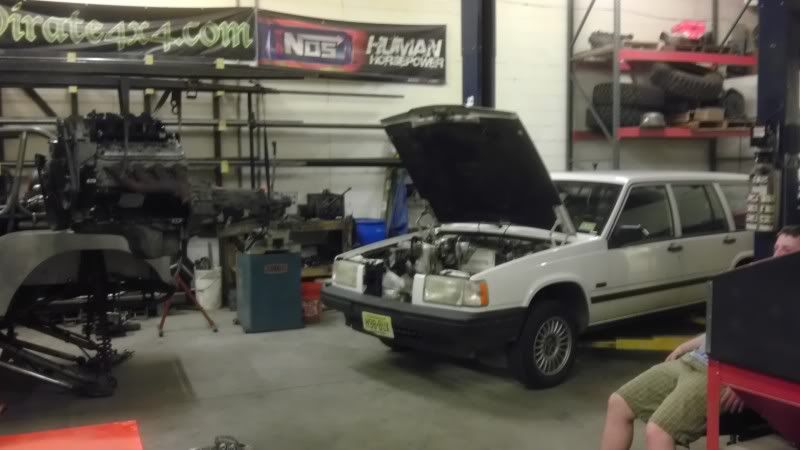
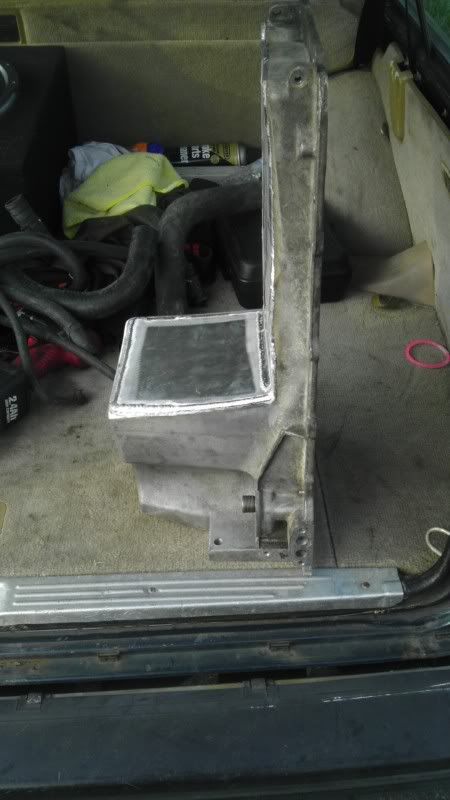
Tim at Liquid Iron Industries banged out the motor mounts and trans mount Sunday. Got it back to my house Sunday night. The stock truck pan is going to need a lot of cutting to work. Marked the pan and dropped it off to tim to get it cut. Hope to have it ready for a test fit in a day or 2.
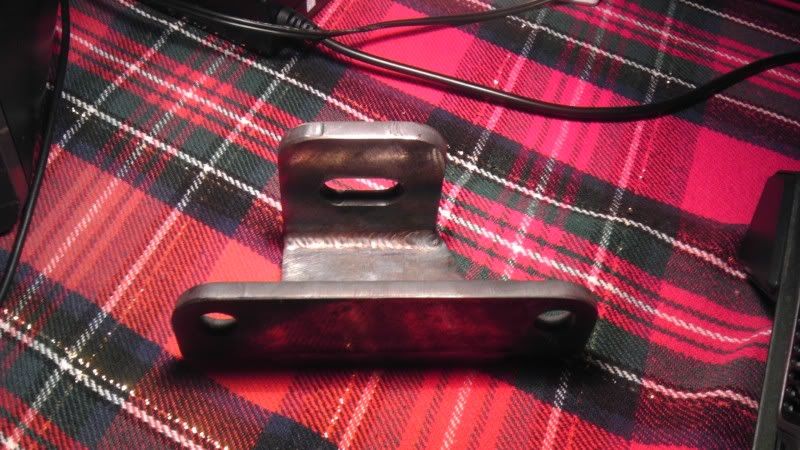
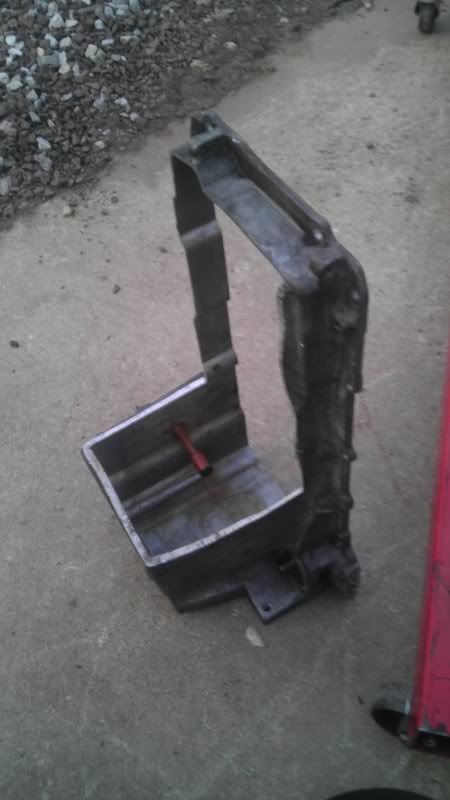
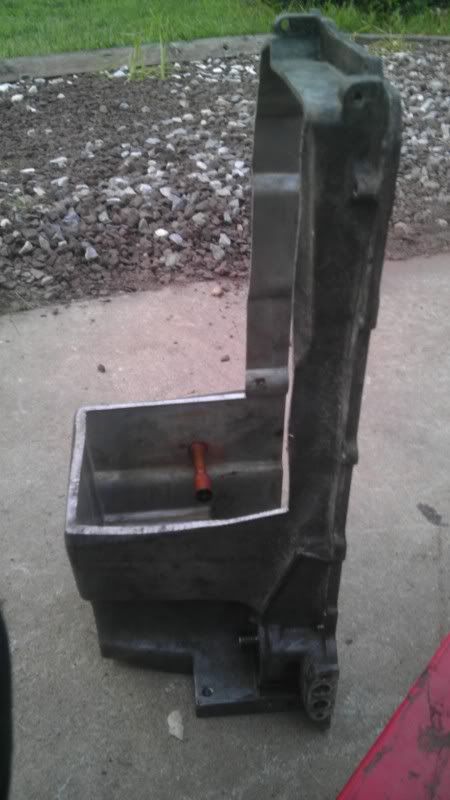
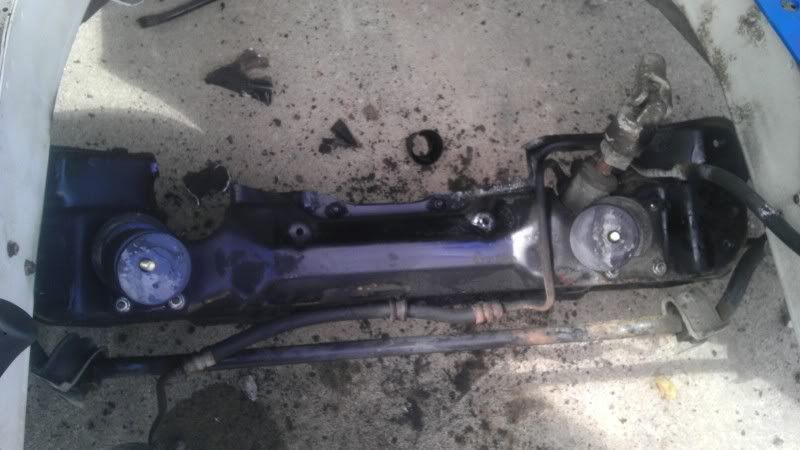
Trans mount. It still uses the factory rubber mount underneath of it.
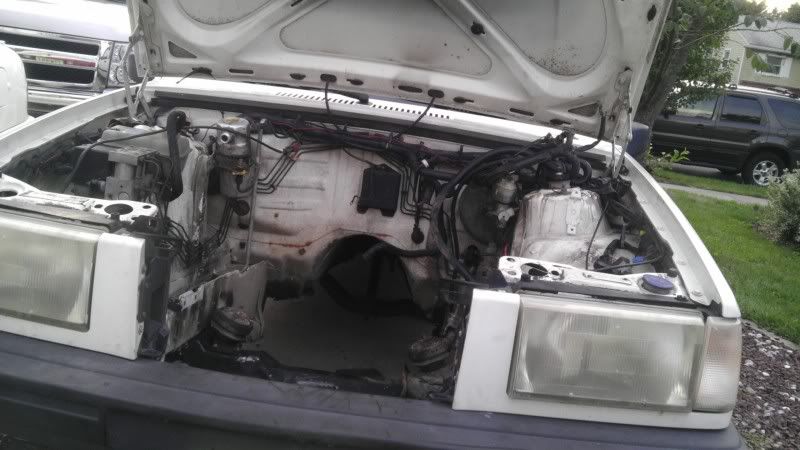
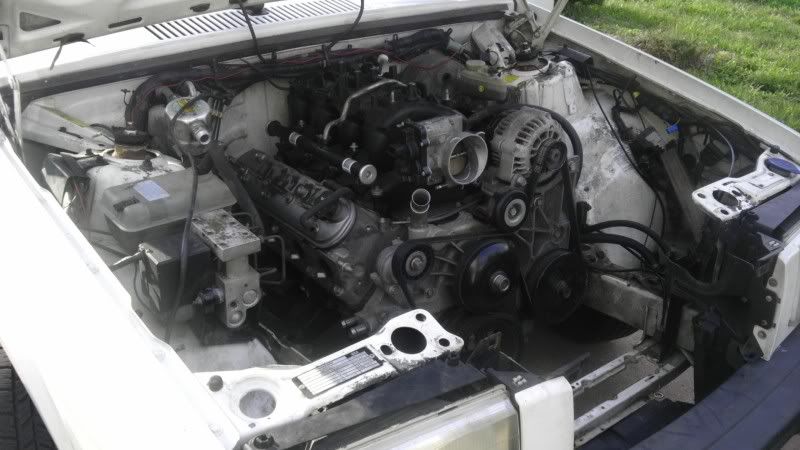
Empty engine bay. Pulled the motor out tonight to measure for pan clearance.
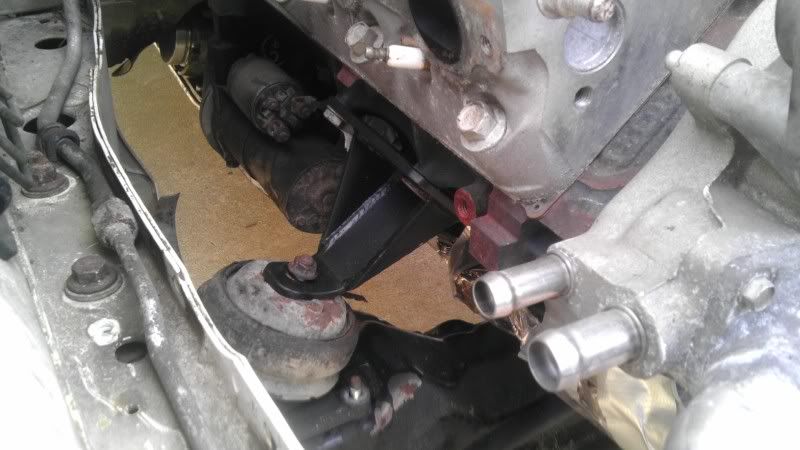
Motor mounts. Still uses the factory mount. I have been looking for 940 poly mounts but no luck. Thinking of making hockey puck mounts.
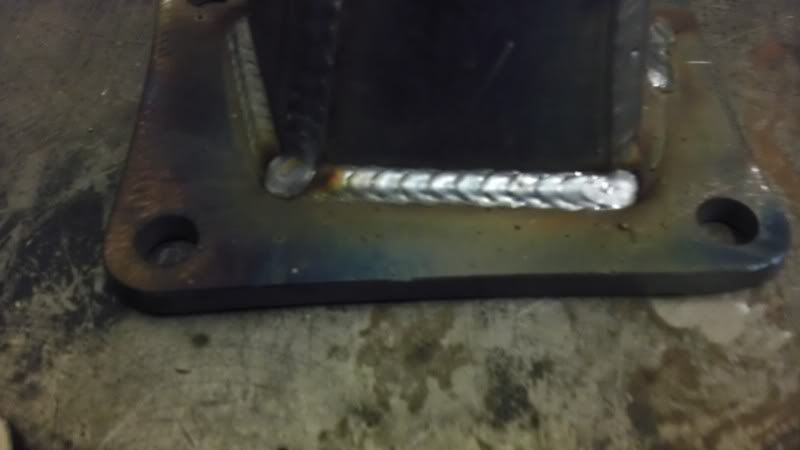
Look at those welds!
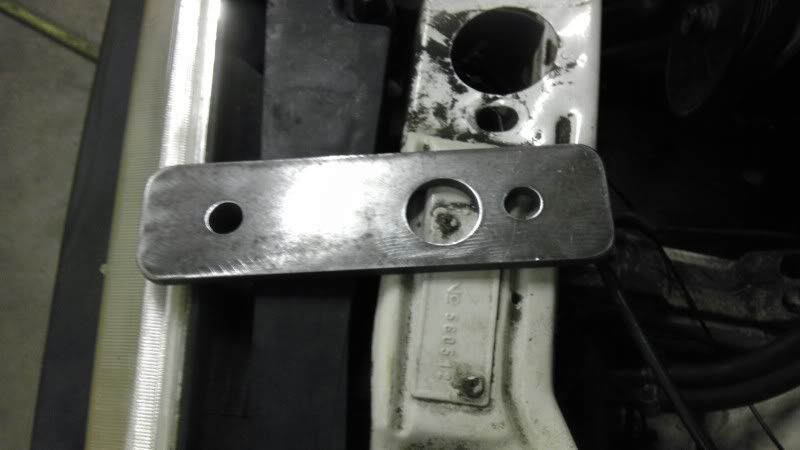
1/4 inch spacers used to drop the sub frame or more clearence
lots of work left to do. updates to come.
05 LQ9/4l65
Tim at Liquid Iron Industries banged out the motor mounts and trans mount Sunday. Got it back to my house Sunday night. The stock truck pan is going to need a lot of cutting to work. Marked the pan and dropped it off to tim to get it cut. Hope to have it ready for a test fit in a day or 2.
Trans mount. It still uses the factory rubber mount underneath of it.
Empty engine bay. Pulled the motor out tonight to measure for pan clearance.
Motor mounts. Still uses the factory mount. I have been looking for 940 poly mounts but no luck. Thinking of making hockey puck mounts.
Look at those welds!
1/4 inch spacers used to drop the sub frame or more clearence
lots of work left to do. updates to come.
 08-08-2012, 07:27 PM
#2


Gonna be a killer ride!
08-08-2012, 09:42 PM
#4
Teching In
Thread Starter
Join Date: Aug 2006
Location: NJ
Posts: 18
Likes: 0
Received 0 Likes
on
0 Posts
08-08-2012, 09:48 PM
#5
Teching In
Thread Starter
Join Date: Aug 2006
Location: NJ
Posts: 18
Likes: 0
Received 0 Likes
on
0 Posts
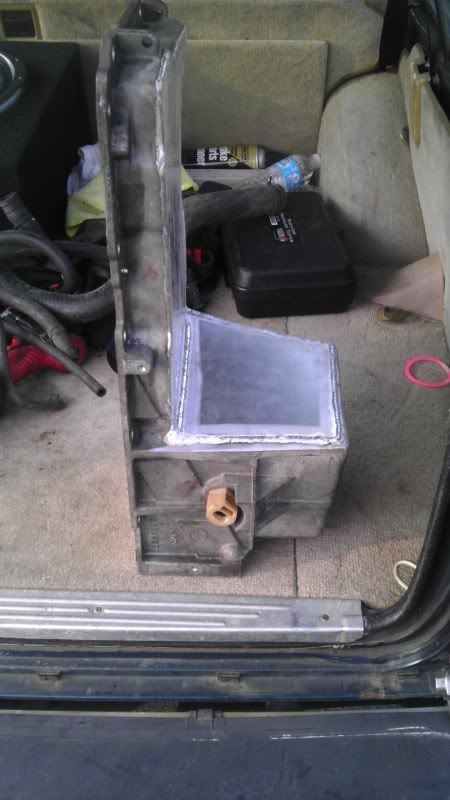
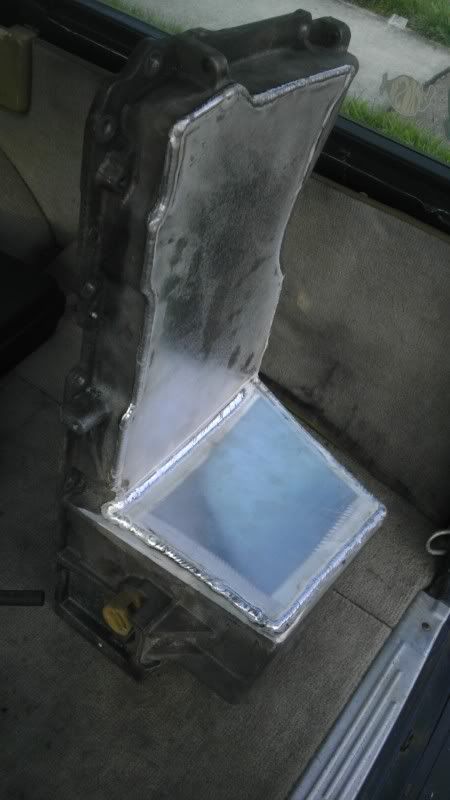
no turning back now! hope to have the pan welded up tomorow.
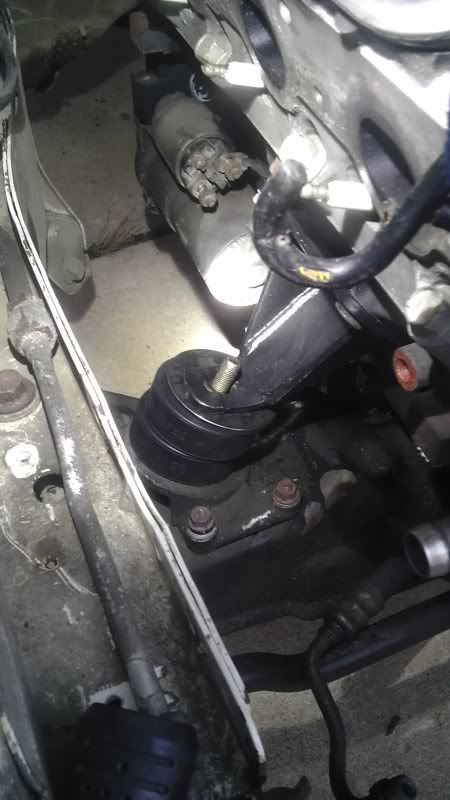
messing with the idea of hockey puck motor mounts. got 2 pucks in there now which is a bit shorter than the stock rubbers with the weight on them. i think 2.5 pucks will be the ticket. sitting on the top puck is a 3/16 piece of plate i had tim cut out for me on the torchmate.
08-09-2012, 06:00 PM
#7
TECH Resident
iTrader: (4)

Join Date: Feb 2009
Location: Ohio
Posts: 784
Likes: 0
Received 0 Likes
on
0 Posts
Why not go solid? I hear hockey pucks don't last but a year or two.
Get a bag of giant washers and stack until you hit your desired height. Then weld them together.
They list as out of stock, but perhaps Z31 poly mounts will work. They use a similar setup and appear to be close to the right height.
Merkur XR4Ti also used a similar mount to your stockers. MC2 Racing may have something for them.
Trending Topics
08-09-2012, 08:54 PM
#8
Teching In
Thread Starter
Join Date: Aug 2006
Location: NJ
Posts: 18
Likes: 0
Received 0 Likes
on
0 Posts
 08-12-2012, 08:42 PM
#13
Teching In
Thread Starter
Join Date: Aug 2006
Location: NJ
Posts: 18
Likes: 0
Received 0 Likes
on
0 Posts
benwb, if you contact tim@liquidironindustries.com im sure he can help you out.
got the motor and pan bolted up today. tried to drop the motor and trans in as one unit but you cant do it that way, the pan wont clear the cross member. and if you try to unbolt the pan and leave the trans bolted up, then you cant install the pan because the trans and the cross member get in the way.
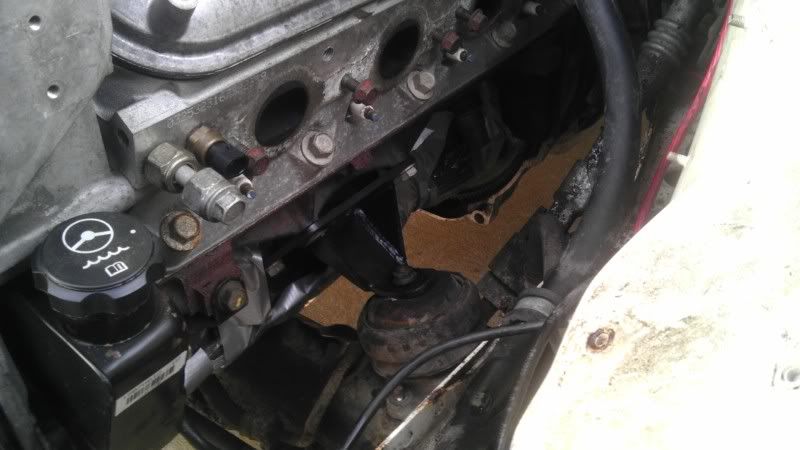
got the shortys bolted up but they are going to need some modication at the collector end.
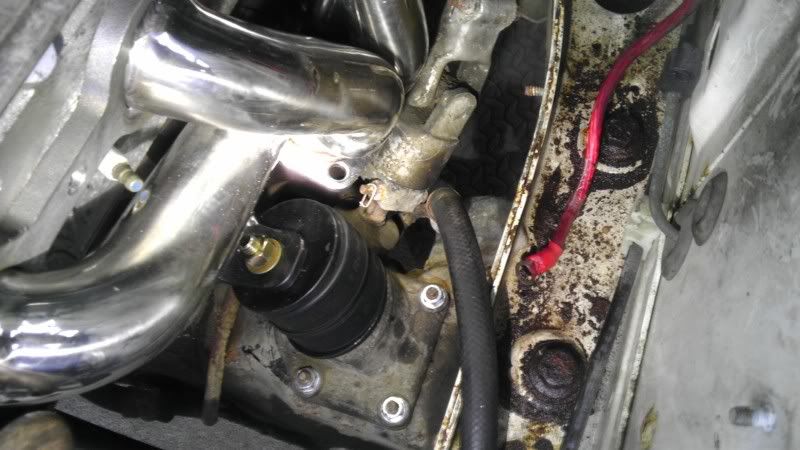
driver side
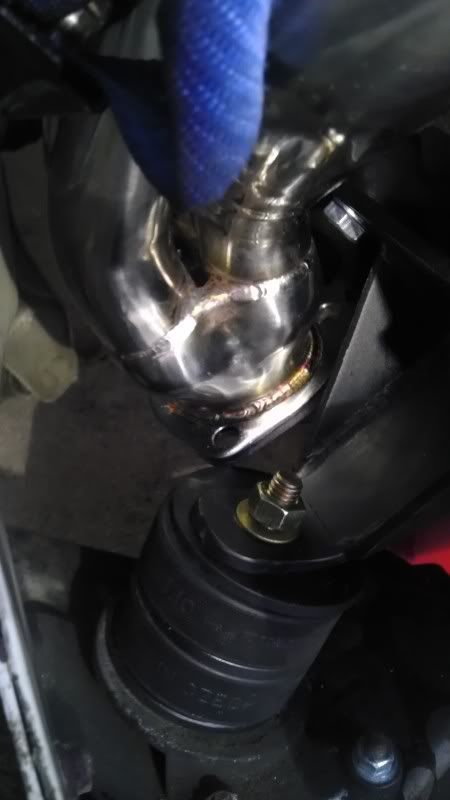
pass side

how are you supposed to get a plug wire on that without it burning through?
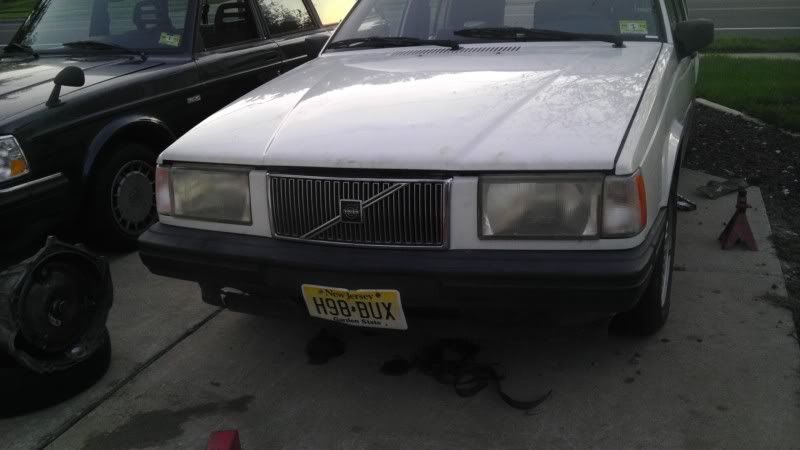
the hood almost closes. it hits at the throttle plate motor. ill have to add some washers to the hinges.
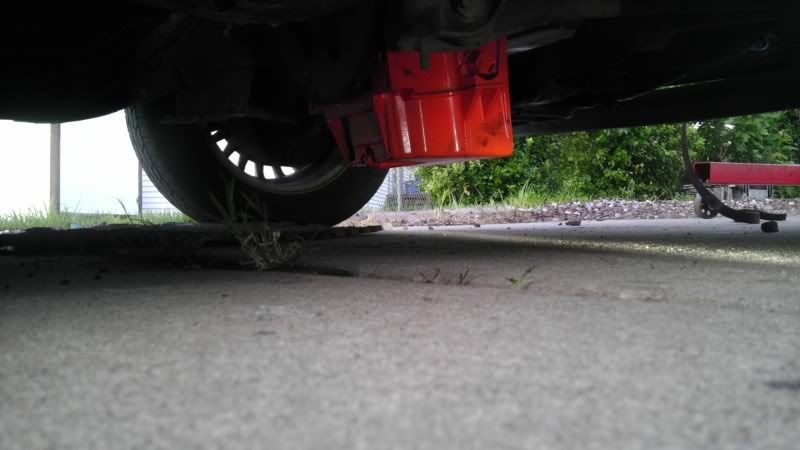
i only have 4.5 inches of ground clearance at the oil pan, going to need to get a skid plate for that.
 08-12-2012, 10:15 PM
#15
Teching In
Thread Starter
Join Date: Aug 2006
Location: NJ
Posts: 18
Likes: 0
Received 0 Likes
on
0 Posts
i haven't welded anything on this project. im not a very good welder and i dont want this thing to look like a hackjob swap. tim at liquid iron industries is doing all the welding for me.
08-23-2012, 07:38 PM
#17
Teching In
Thread Starter
Join Date: Aug 2006
Location: NJ
Posts: 18
Likes: 0
Received 0 Likes
on
0 Posts
mod wise? stock for now. eventually i want to cam/pushrods/springs and get a converter for it. there is a custom grind pred z cam that guant was running a while ago (dont know if he still is) that had an awesome torque curve, perfect for the street. going to need to address the rear end before any engine mods.
not many updates latley. chopped and flipped the tac pedal, in its stock form it was way to long and was hitting into the trans tunnel. got it tacked together right now, gotta weld it tomorrow. gonna use the stock bolt hole in the fire wall for the top mounting hole, nut and bolt the bottom one through the firewall, gonna have to pull some of the carpet up.

not many updates latley. chopped and flipped the tac pedal, in its stock form it was way to long and was hitting into the trans tunnel. got it tacked together right now, gotta weld it tomorrow. gonna use the stock bolt hole in the fire wall for the top mounting hole, nut and bolt the bottom one through the firewall, gonna have to pull some of the carpet up.
08-23-2012, 11:54 PM
#18
TECH Regular
iTrader: (5)
Join Date: Jun 2012
Location: Toronto
Posts: 499
Likes: 0
Received 0 Likes
on
0 Posts
Hey Mike,
Great build so far! Really killer stuff. If I could chime in on the spark plug wire dilemma. Have you considered header wrap? Also there are protective sleeves you can buy that go over the plug wires.
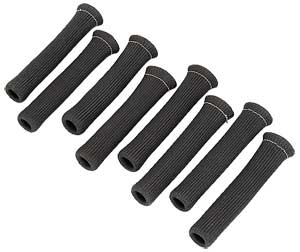
Hope this helps you out a bit.
Chris
edit: looked at the pic again and you may need to dimple the header a bit.
Great build so far! Really killer stuff. If I could chime in on the spark plug wire dilemma. Have you considered header wrap? Also there are protective sleeves you can buy that go over the plug wires.
Hope this helps you out a bit.
Chris
edit: looked at the pic again and you may need to dimple the header a bit.
Last edited by 97camaroguy; 08-24-2012 at 12:00 AM.
09-09-2012, 06:30 PM
#19
Teching In
Thread Starter
Join Date: Aug 2006
Location: NJ
Posts: 18
Likes: 0
Received 0 Likes
on
0 Posts
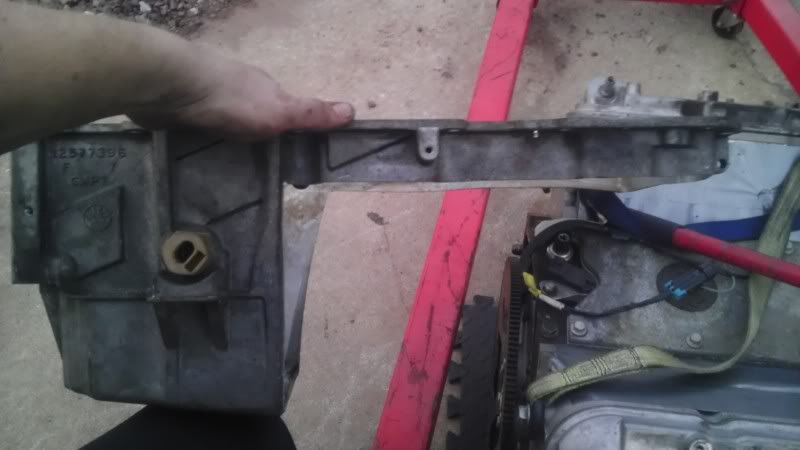
engine, oil pan, and trans are sitting in together for the first time! didn't get any pics of the new pan, but we didn't cut it up as much. mainly just the underside of it. i can acutally get all 4 bolts in on the baffle, on the old pan the front bolt holes were not even there. the pick up fit, but i had to chop the cross member a little to fit the pan. i am planning to add some bracing to the cross member to make up for the parts i cut out.
cross memeber pic after cutting. a little hard to see where i cut it.
i also had a harbor freight cut off wheel explode in my face today. luckily i had my glasses on. my friend who was standing about ten feet way got hit on his lip with a piece of the wheel. never going to use those wheels again.
ive been slacking on my picture taking lately. ordering coolers and exhaust pieces tonight. hopefully going to attack the wiring this week.
09-09-2012, 06:38 PM
#20
How about some shorty header plugs?