
My 1965 Buick Skylark L92/6L80 Swap
 08-13-2012, 03:48 PM
#1


Thought it was about time to post my thread. I have aquired most of the parts and I am in the process of prepping the car for the swap out. Currently it has a 225 Buick V6 with an automatic transmission.
Here is a picture of the car.

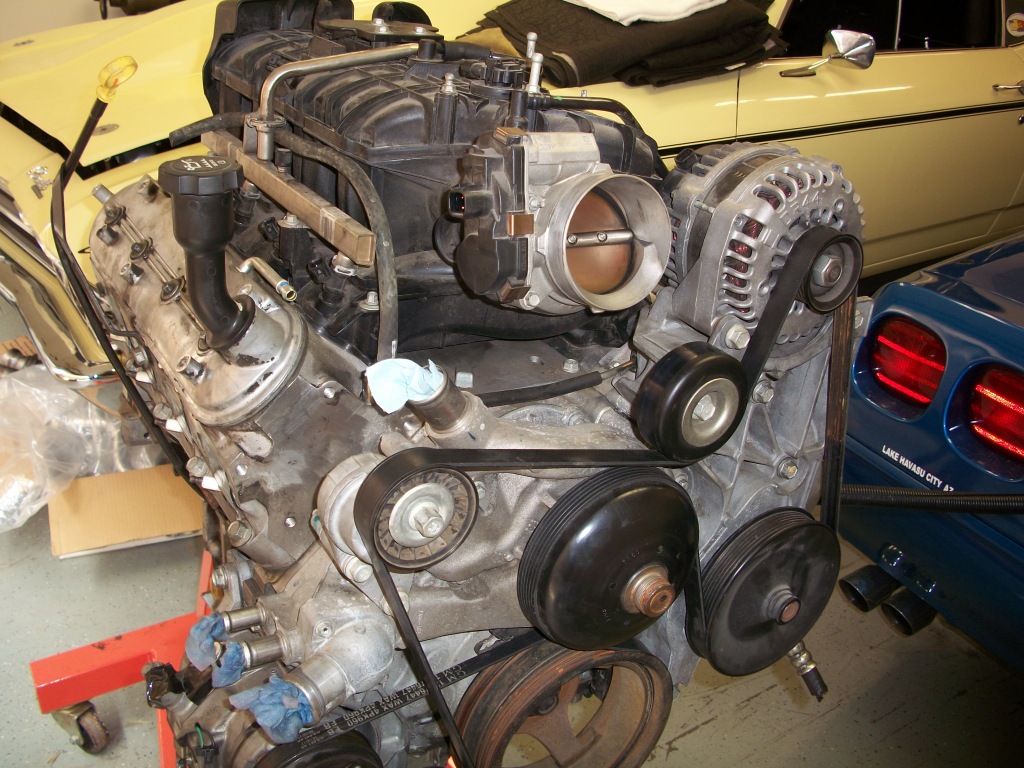
Here is a picture of the L92 Motor fresh from the junkyard.
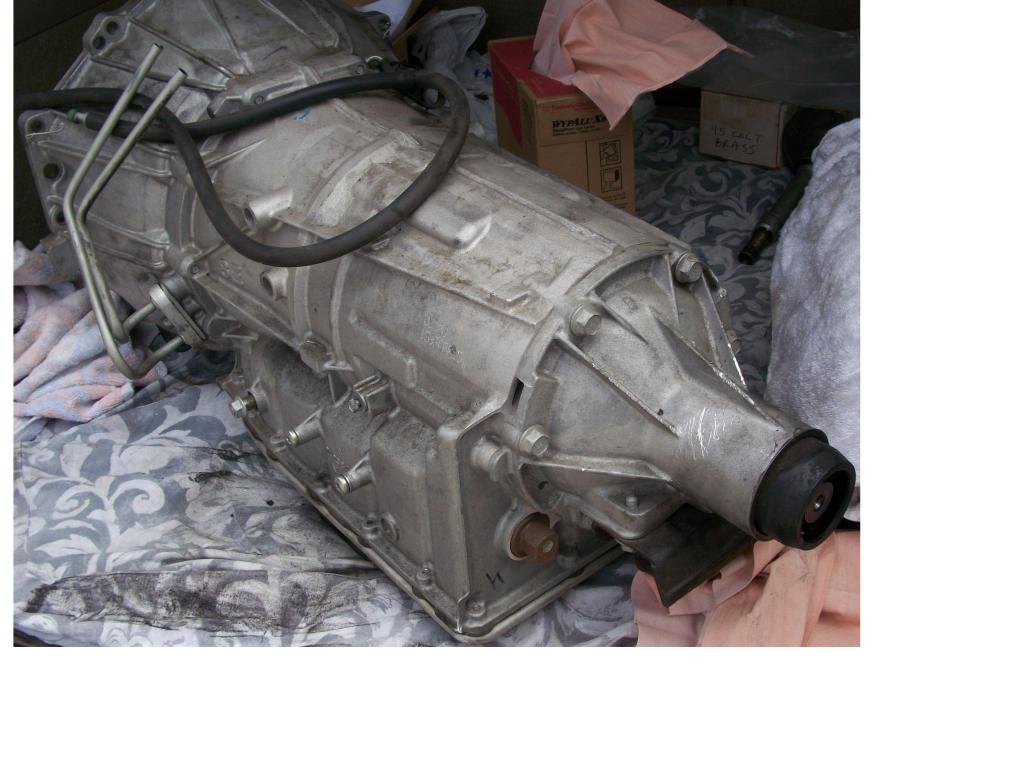
And the 6L80 Transmission
Here is a picture of the car.
Here is a picture of the L92 Motor fresh from the junkyard.
And the 6L80 Transmission
 08-13-2012, 04:00 PM
#2
Here are the plans.
1. L92 motor with TSP heads and cam kit. VVT-3 camshaft. PRC heads exhanged.
2. LS3 intake and "ported" throttle body.
3. Hedman stepped headers 1 3/4" to 1 7/8" with 3" collector.
4. Pypes 3" X-pipe system.
5. Magnaflow 3" mufflers? The longest that will fit.
6. TA Perfomance 3" tail pipes.
7. Yank SS3200 converter?
8. Homemade 4" cold air intake with card style MAF. The 4" aluminum tubing will have a thermal barrer coating inside and out to keep the air cool.
9. I am modifying the factory wiring harness which is from a 2009 Escalade.
10. Corporate 8.5" rear end with an Eaton positraction setup and 3.23:1 gear ratio.
11. Griffen dual pass radiator with Derale dual electric fans.
12. Tanks Inc PA-4 in tank fuel pump system.
13. Holley LS Swap oil pan.
14. Dirty Dingo slider motor mounts.
Last edited by 1989GTA; 10-28-2012 at 03:28 PM.

 08-13-2012, 05:54 PM
#6
Hahahaha. I have one foot in each world. This Skylark may be faster than my 1989 Trans Am. The Trans Am runs 11.5 and the Skylark may be in the lower 11's. These early A-body cars are fairly light in weight. I believe as pictured it weighs around 3100 pounds. By the time I am done it should be around 3400 pounds and potentially 50 more horsepower at the rear wheels.
08-17-2012, 01:00 PM
#7
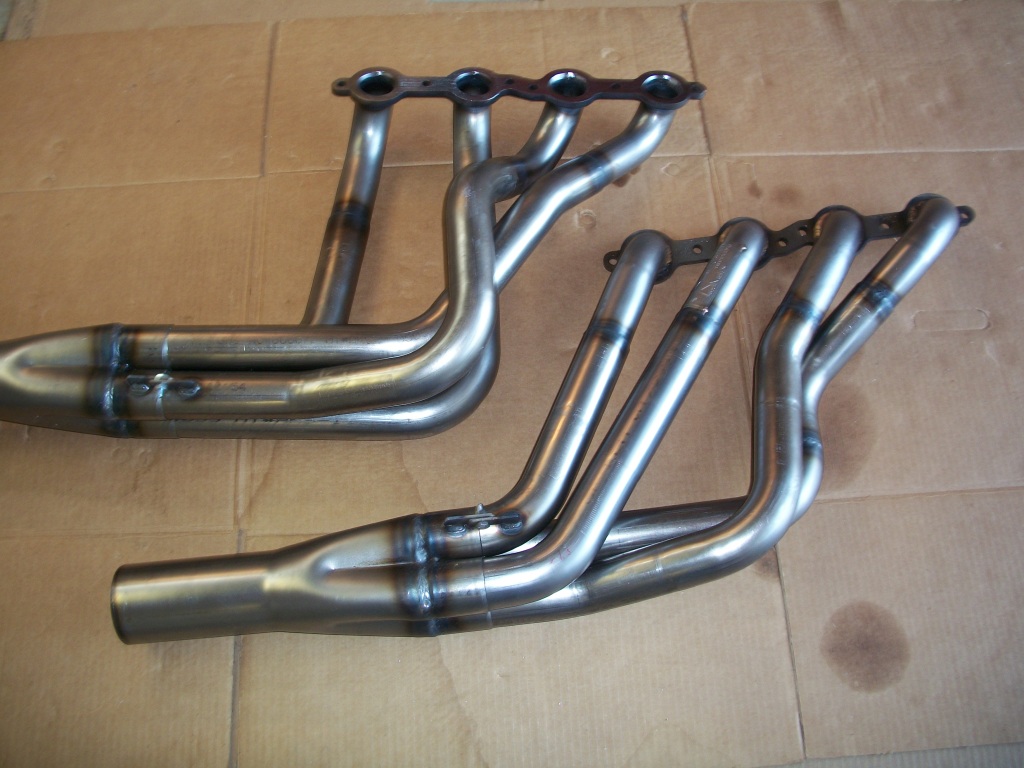
A little update. The Hedman Hustler headers came in today. They are of the stepped variety with 1 3/4" X 1 7/8" tubing. I thought I might have to do a little grinding to get rid of some burrs but the headers are nicely built and no grinding was necessary. I like how they de-burred the header entrance to make for a nice funnel entry.
I did not realize they were the slip on collector type when I bought them. That will make it alot easier if I decide to make them into a "merge" style with a 2.5" cone and then back up to 3". I bought them uncoated incase I have to make a change or two for them to fit. Once it is determined that everything fits OK I will have a thermal barrier coating applied inside and out. Here is a picture. By the way the price at Race-Mart is $534 plus shipping.
I did not realize they were the slip on collector type when I bought them. That will make it alot easier if I decide to make them into a "merge" style with a 2.5" cone and then back up to 3". I bought them uncoated incase I have to make a change or two for them to fit. Once it is determined that everything fits OK I will have a thermal barrier coating applied inside and out. Here is a picture. By the way the price at Race-Mart is $534 plus shipping.
Last edited by 1989GTA; 08-17-2012 at 11:03 PM.
Trending Topics
 08-17-2012, 04:52 PM
#10
"that l92 will be awesome, are you planning on any brake upgrades?"
It already has disc brakes up front. When we swap in the 8.5" corporate 10 bolt rear end we will install rear disc brakes at the same time.
"Will that 6 speed fit the tranny tunnel?"
We are going to open up the transmission tunnel. Going to make a big H incision and open it right up and fill back in as needed with sheet metal. As of now I will keep the column shift and probably use a Lokar cable from the column shift to the transmission shifter bracket. Maybe a floor shift with TU/TD capability later on.
08-17-2012, 06:34 PM
#11
TECH Resident
Join Date: Nov 2007
Location: Texas
Posts: 816
Likes: 0
Received 0 Likes
on
0 Posts
By the way the price at RaceMart is $534 plus
Last edited by rockytopper; 08-17-2012 at 06:42 PM.
08-17-2012, 07:01 PM
#12
"I need the price of a coated set already customized to fit our BOP A bodies"
The coated version of the header I bought is $778.99. The non-stepped version with 1 7/8" tubing and a 3" collector is 740.99. These are designed for the 1964 to 1967 BOP A-body cars. Having done some conversions over the years things don't always go according to plan fitmitt wise so I have back up plan B just in case. I will be using the Dirty Dingo motor mount sliders along with the tall and narrow motor mounts. Hopefully that will give me enough wiggle room for everything to fit. I have already bought the Kwik AC compressor relocate kit so that should not be an issue.
The coated version of the header I bought is $778.99. The non-stepped version with 1 7/8" tubing and a 3" collector is 740.99. These are designed for the 1964 to 1967 BOP A-body cars. Having done some conversions over the years things don't always go according to plan fitmitt wise so I have back up plan B just in case. I will be using the Dirty Dingo motor mount sliders along with the tall and narrow motor mounts. Hopefully that will give me enough wiggle room for everything to fit. I have already bought the Kwik AC compressor relocate kit so that should not be an issue.
08-17-2012, 08:21 PM
#13
Nice choice of car.
Unless you are going to cut some weight out of the car, you might figure about 3550 with that new engine and trans. I was stunned to to see how much more the LQ9 & TH200-4R weighed than the 300/300 combo that came in my car. I am betting that tranny weighs more than my Th200.
I am also interested to see how those headers fit.
 08-17-2012, 08:58 PM
#14
Nice choice of car.
Unless you are going to cut some weight out of the car, you might figure about 3550 with that new engine and trans. I was stunned to to see how much more the LQ9 & TH200-4R weighed than the 300/300 combo that came in my car. I am betting that tranny weighs more than my Th200.
I am also interested to see how those headers fit.
Unless you are going to cut some weight out of the car, you might figure about 3550 with that new engine and trans. I was stunned to to see how much more the LQ9 & TH200-4R weighed than the 300/300 combo that came in my car. I am betting that tranny weighs more than my Th200.
I am also interested to see how those headers fit.
I am curious on the headers myself and as I said I ordered them with no coating incase I have to make a change. Hopefully I can place the engine without having to mod the headers.
Last edited by 1989GTA; 08-17-2012 at 11:09 PM.
08-18-2012, 02:51 PM
#16
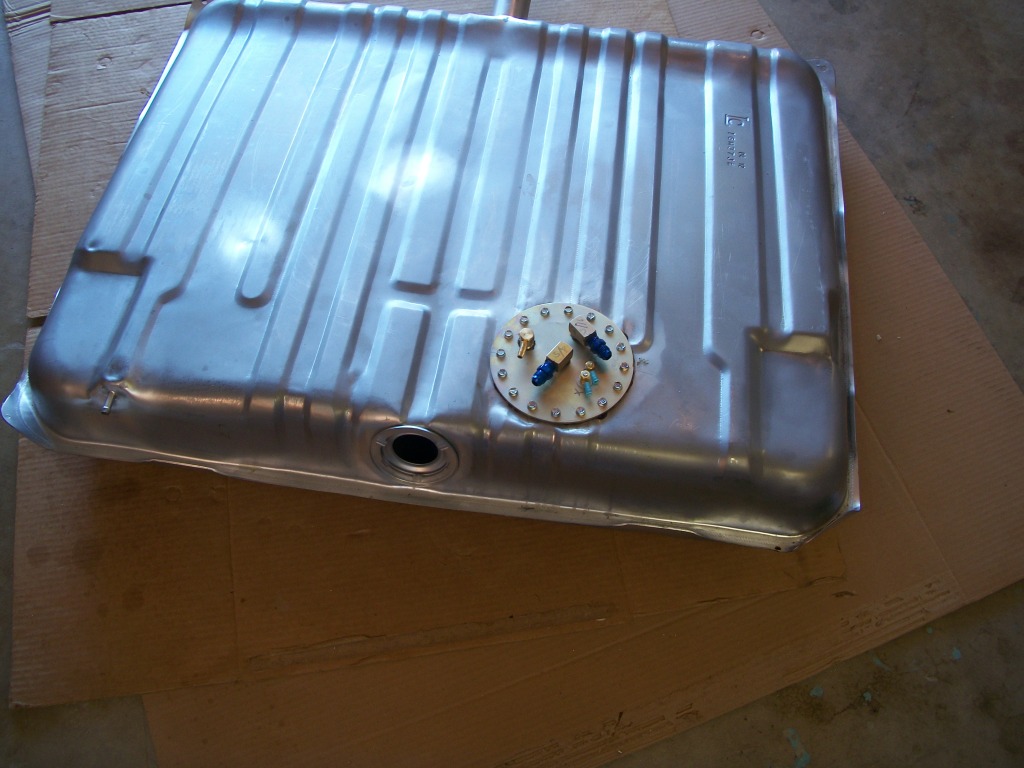
Some more progress being made today. I finished the install of the Tanks Inc PA-4 fuel pump. I purchased a new Buick fuel tank through them incase I decided to do any welding on the tank. The tank/bowl portion of the pump is facing the drivers side of the tank in this view. I will be using Aeroquip hose and the Corvette fuel filter/pressure regulator. Here is a picture of the install.
08-21-2012, 04:16 PM
#17
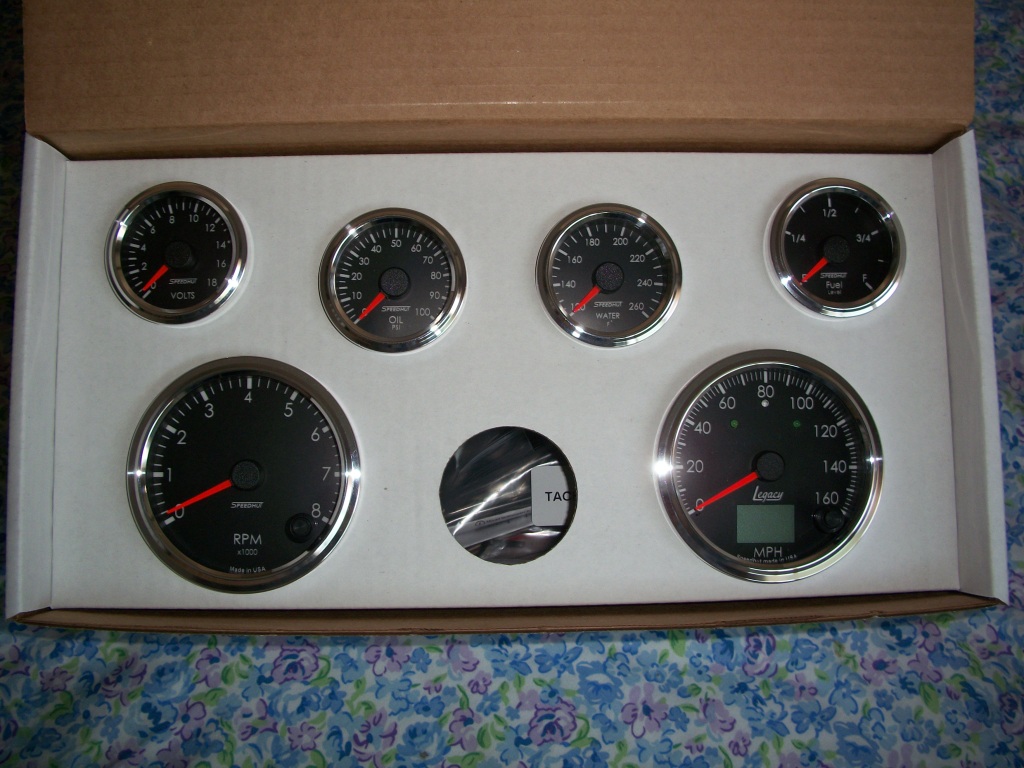
My Speedhut guages came in today. I am really pleased with how they look. I upgraded the speedometer to the Legacy version because it includes the turn signal lights and a high beam light. The numbers will light up blue at night. Here is a picture of the guages.
I also have been doing a mock up of how the guages are going to fit into the Skylark panel. I bought a used one off of Ebay for mocking up. Here is one concept I have come up with. Everything will be black except the chrome trim around the edges. That is why I order the chrome trim rings for the guages. The chrome also fits in with the rest of the dash. Here is a picture of the paper mock up.
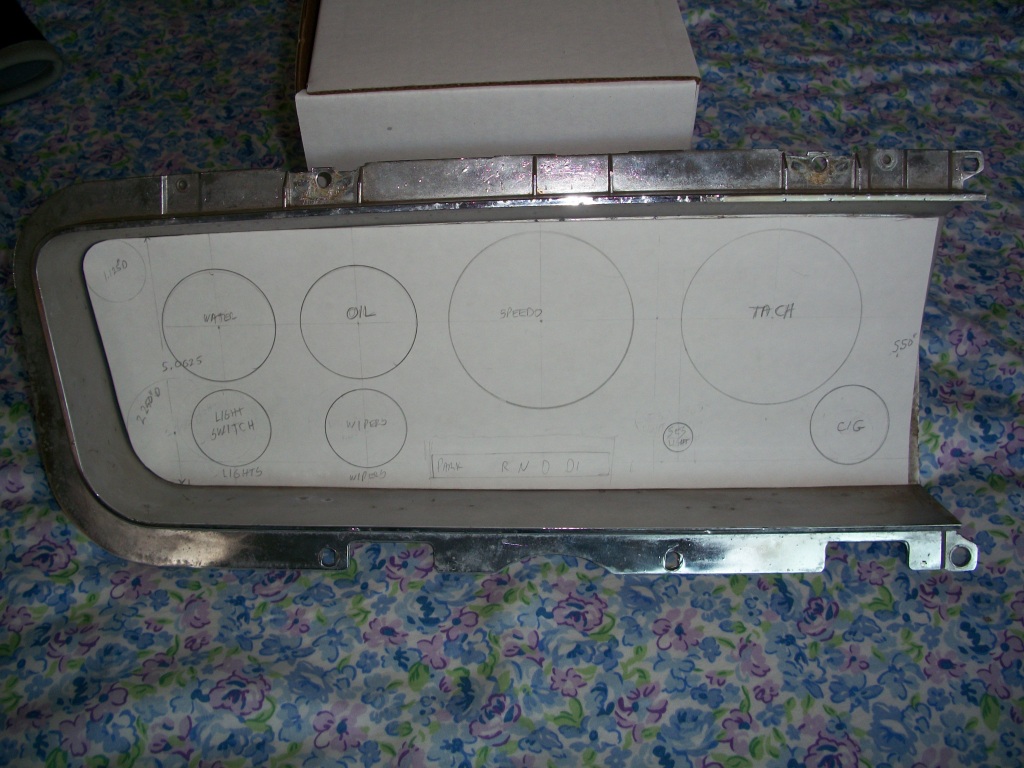
I also have been doing a mock up of how the guages are going to fit into the Skylark panel. I bought a used one off of Ebay for mocking up. Here is one concept I have come up with. Everything will be black except the chrome trim around the edges. That is why I order the chrome trim rings for the guages. The chrome also fits in with the rest of the dash. Here is a picture of the paper mock up.
08-21-2012, 04:34 PM
#18
The velocity stack for my cold air intake also came in today. Seeing I had the camera ready I took a picture of it. The OD is 6" with the ID being 4"(3.875"). It will accept a 6" air filter. I have not determined the length yet of the air filter but somewhere between 6.5" and 8" will work. I will have to see how much room I have when I get to that point.

Last edited by 1989GTA; 08-21-2012 at 05:58 PM.
08-22-2012, 12:47 PM
#20
Last edited by 1989GTA; 08-22-2012 at 12:53 PM.