
All Out Forgotten Budget Third gen LS Swap

 06-05-2016, 10:17 AM
#82
Got sooo much work done the past couple weeks now that I'm home, have some money, and haven't started my job yet! Haha.
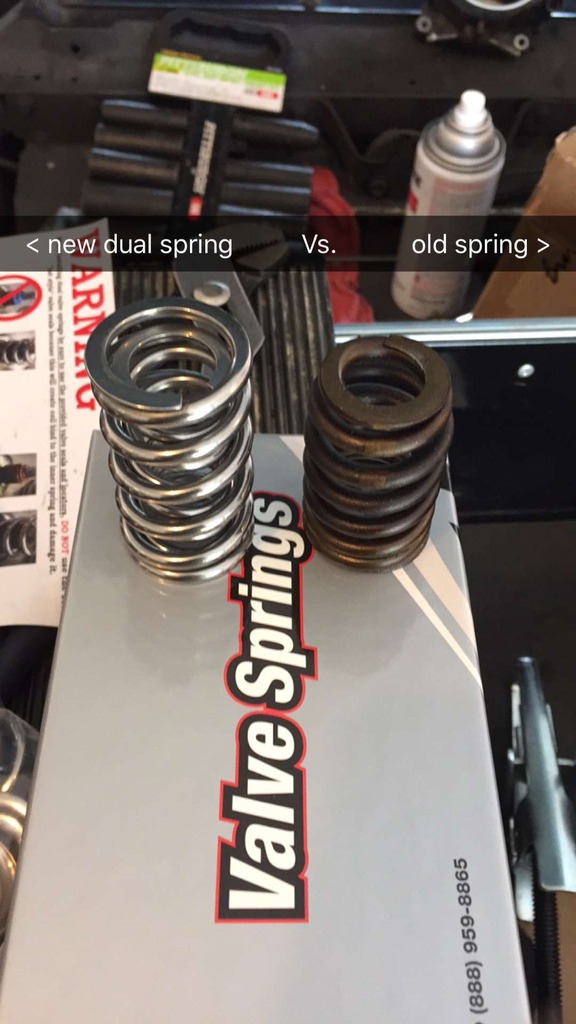
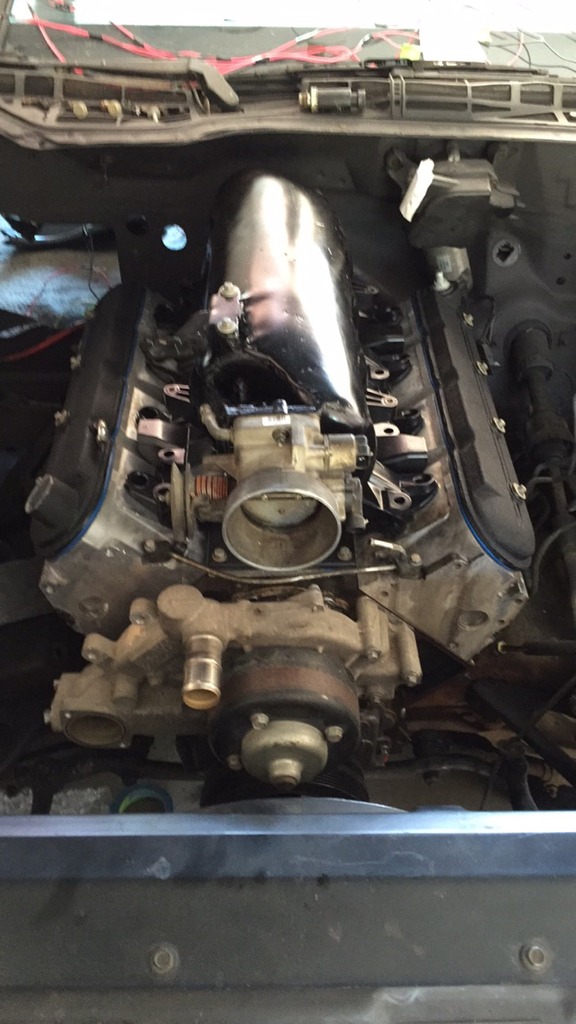
I got some new dual .660" BTR platinum valve springs with Titanium retainers which I'm pretty pumped about!
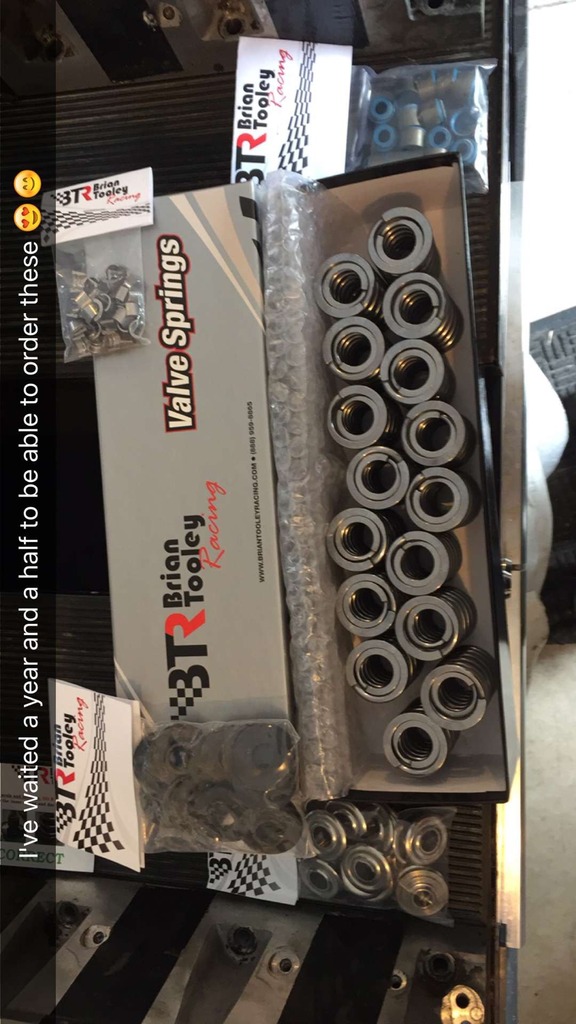
and it is just crazy how much beefier these things are compared to the stockers!
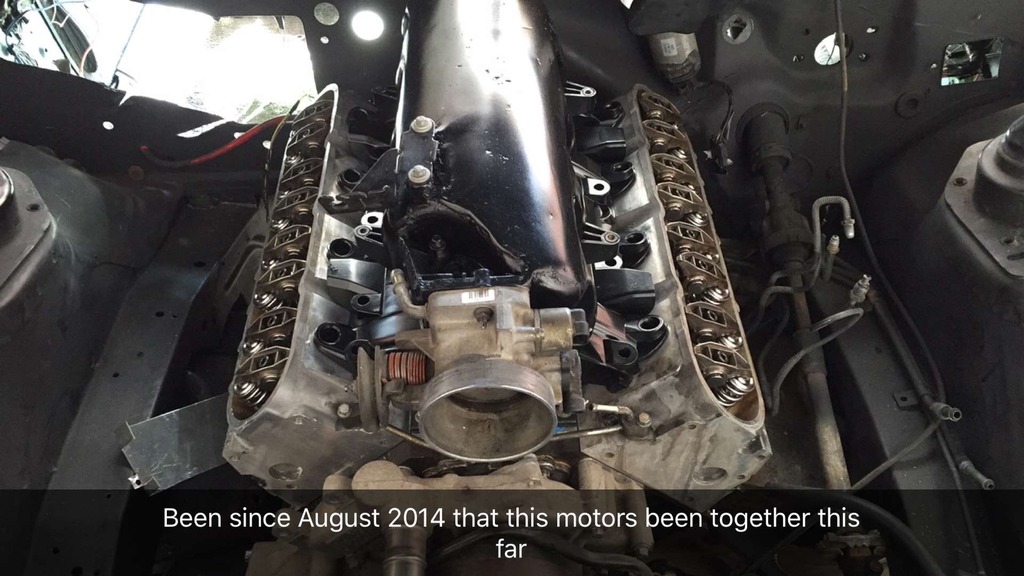
So I got all of the springs in and the heads back on the motor, then put the intake back on the motor and I love the new look so far
 06-05-2016, 10:20 AM
#83
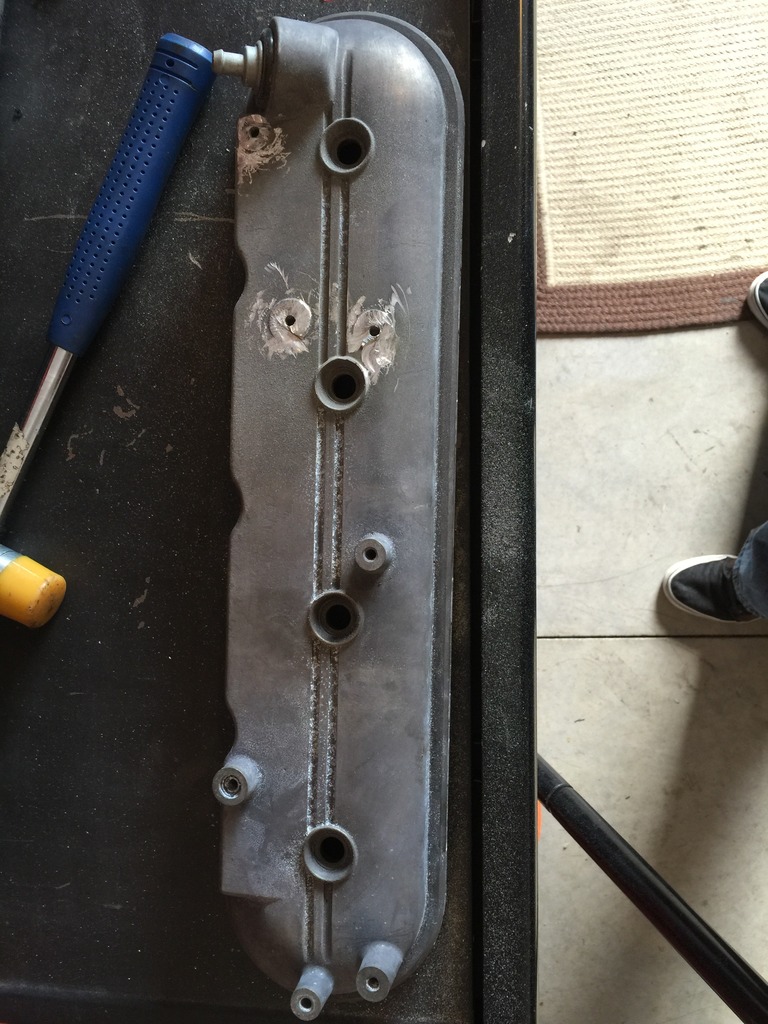
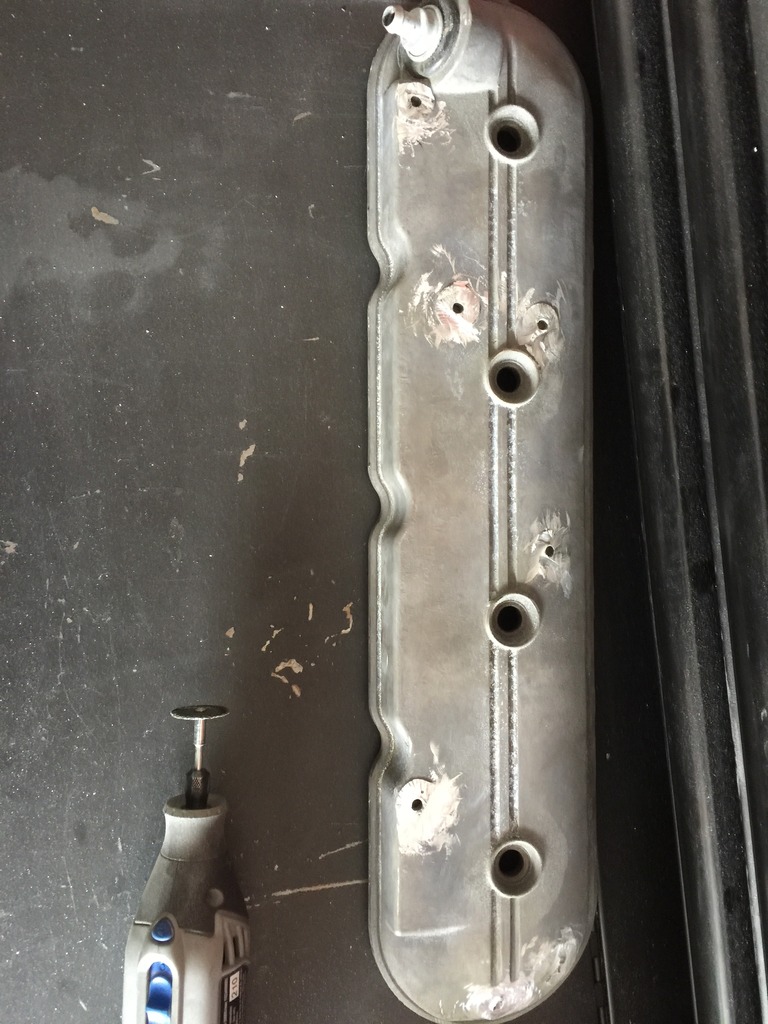
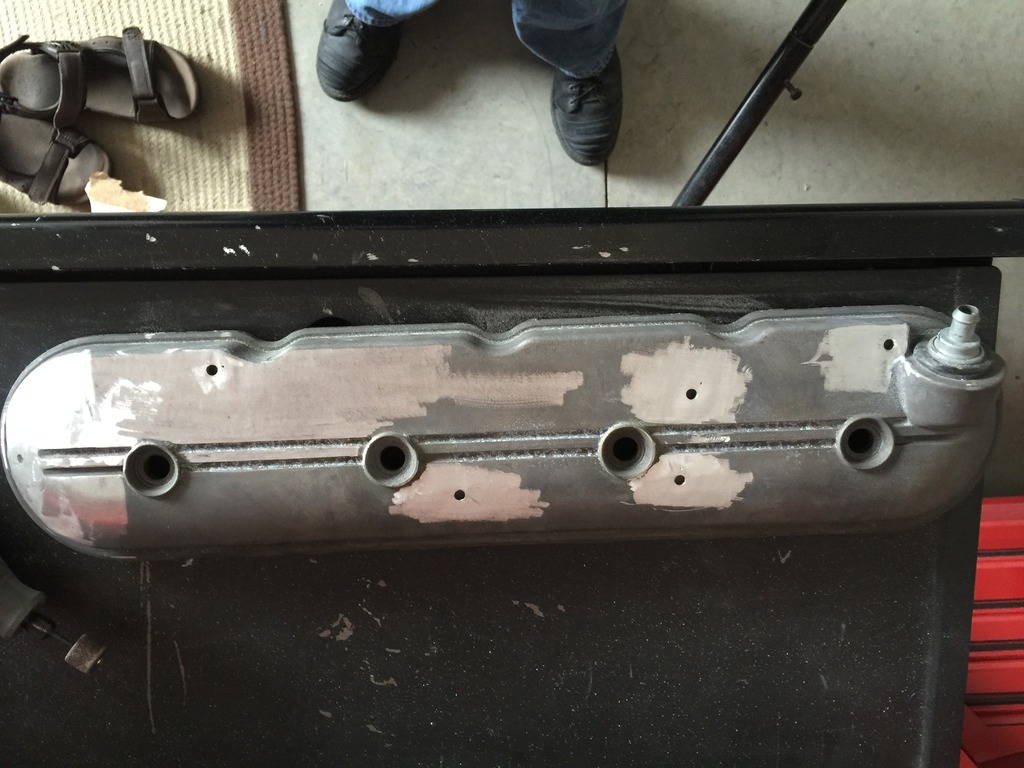
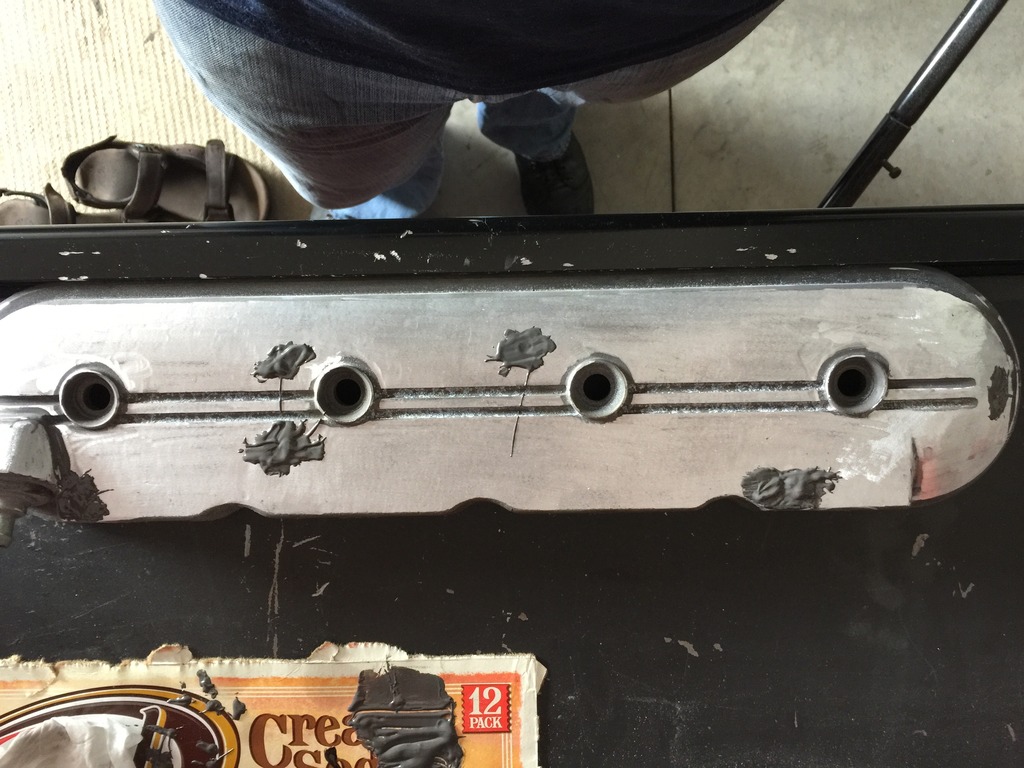
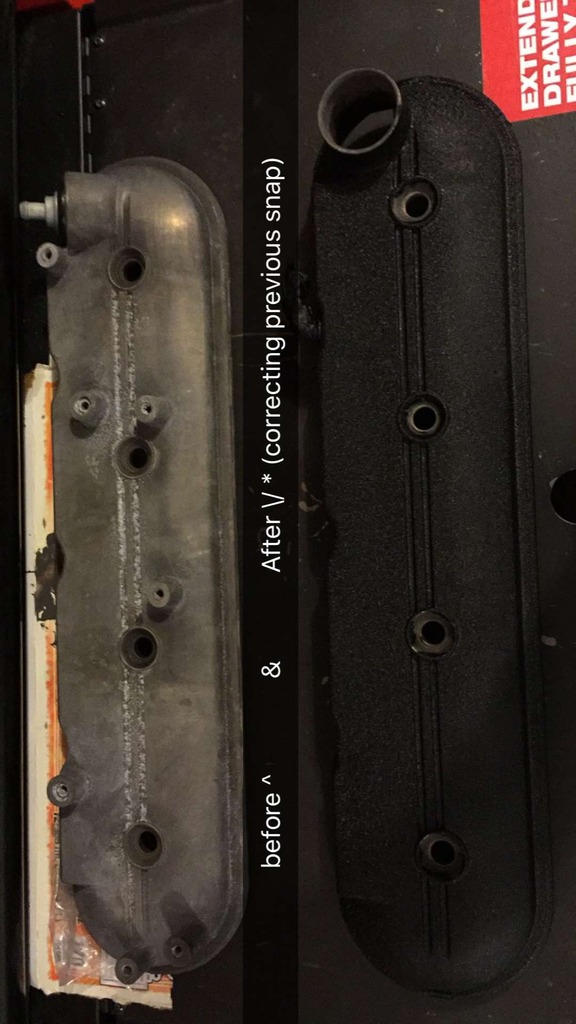
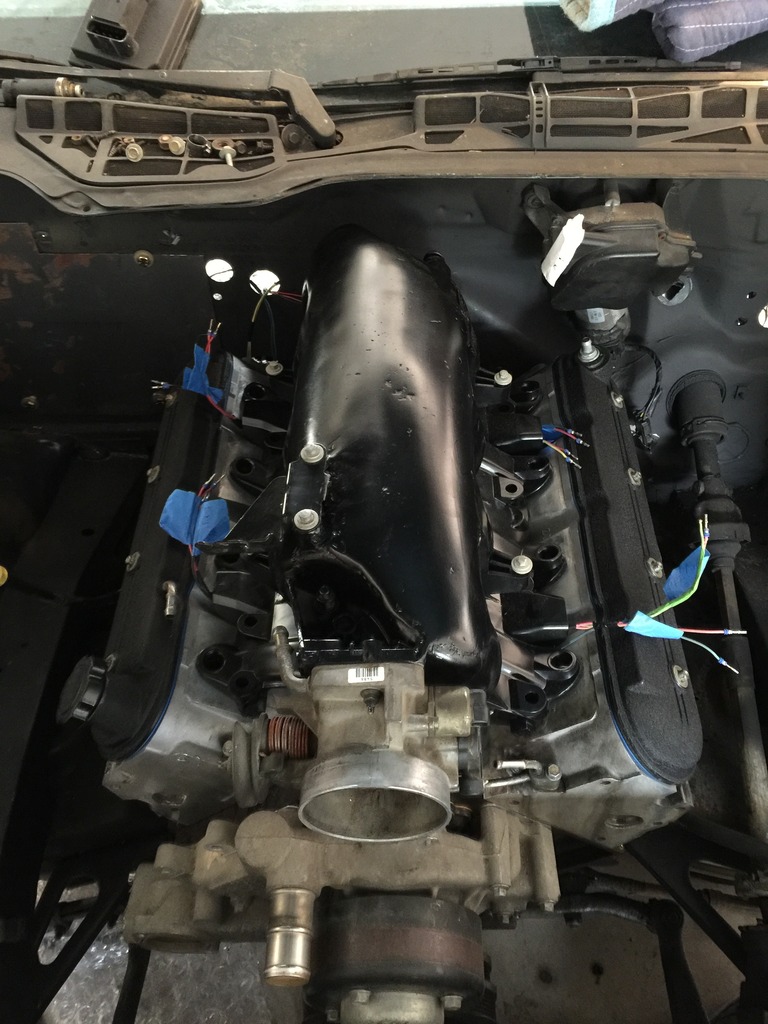
And I also redid my valve covers since I'll be running a custom-made coil relocation bracket on the "frame rails," i took all of the coil pack studs off of the valve covers and filled them in with JB Weld (lol) and then shaved it all down and painted them. Here's the process if anyone is interested. And if anybody wants me to make them a set, then I'm thinking of doing these for people that are interested for a small fee so let me know!


 06-07-2016, 12:18 PM
#86
Baron, I'll be working as a line member at the Toyota factory in Princeton, IN. Paid $17.35 an hour base guaranteed 50+ hours a week with obvious time and a half for anything over 40. And thanks man!
Nali, yeah I thought about welding it but I don't have that good of access to a welding machine of any sort so I thought JB Weld would be good enough! Haha.
Nali, yeah I thought about welding it but I don't have that good of access to a welding machine of any sort so I thought JB Weld would be good enough! Haha.
06-10-2016, 09:08 AM
#87
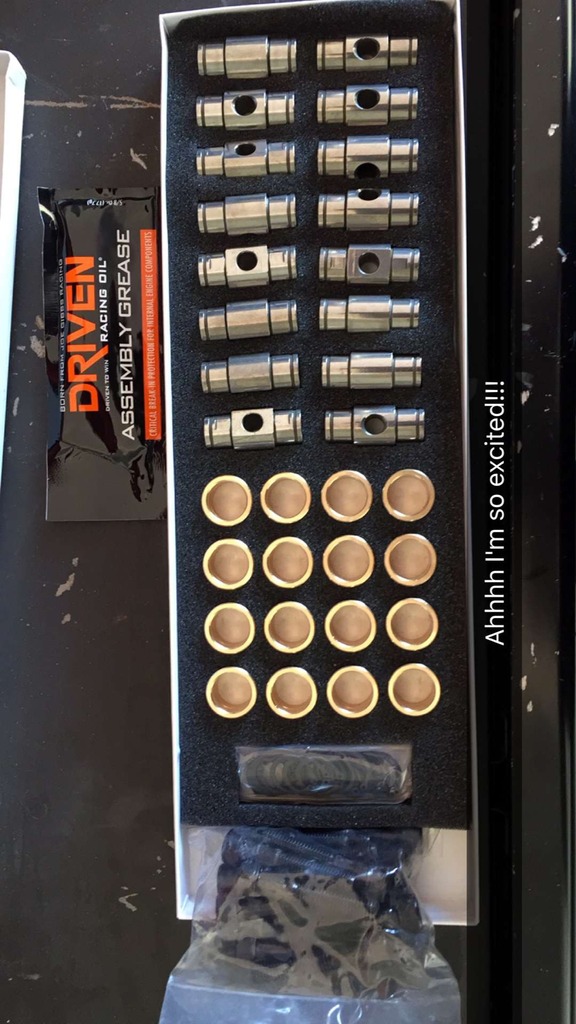
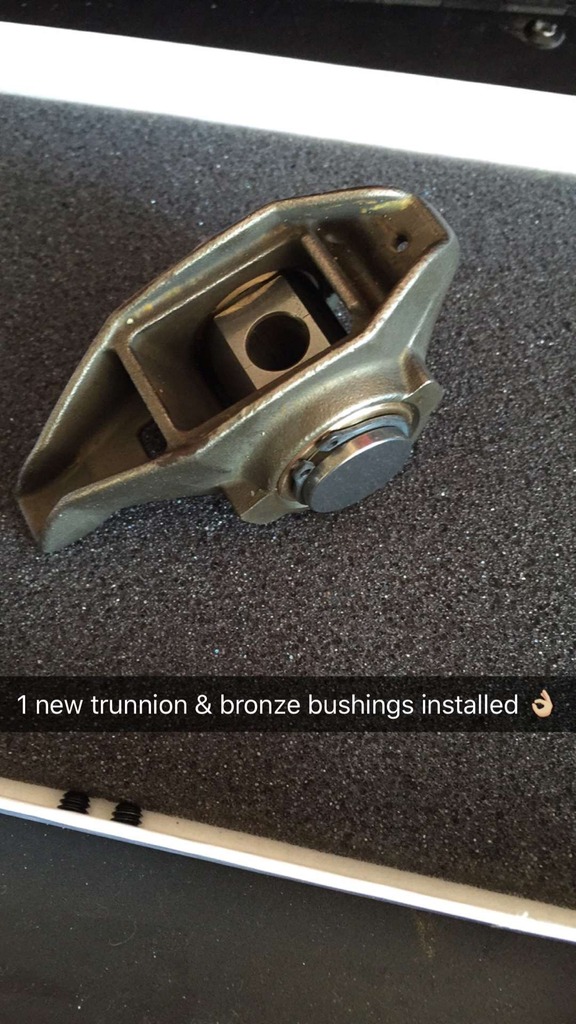
Got some more work done on the car! Probly the last parts I'll be buying for awhile since I haven't started my job yet! I got the Straub Technologies Trunnion upgrade/bushing kit and it looks really nice! Got it installed and the rockers and pushrods installed.


 08-13-2016, 05:58 PM
#88
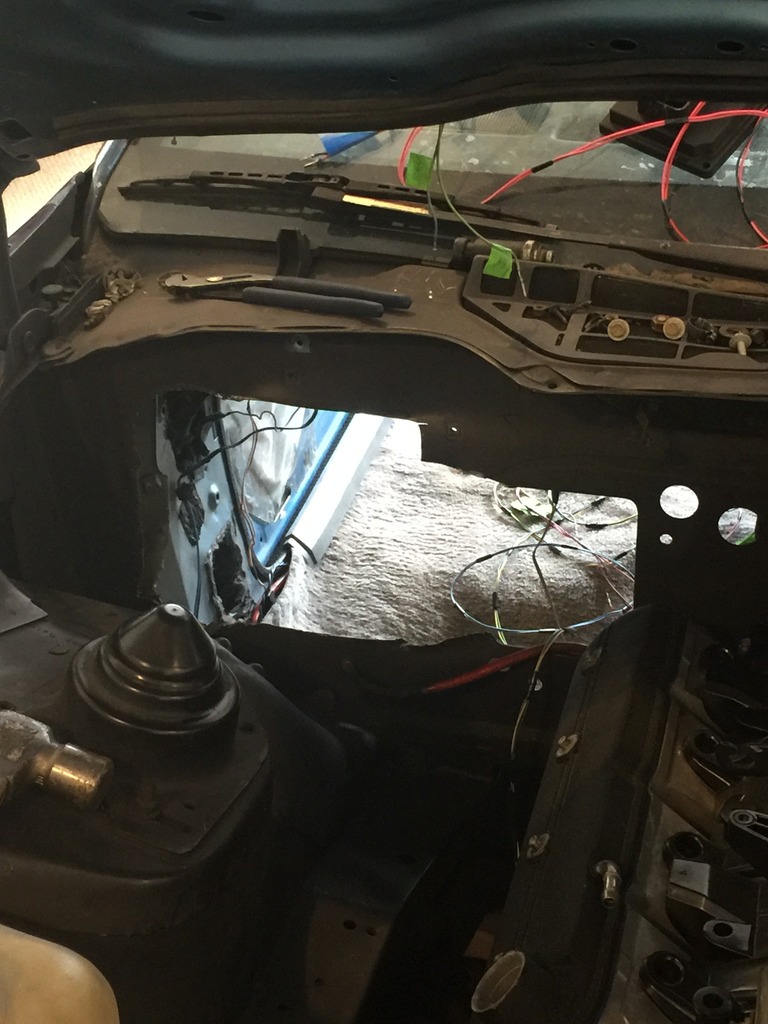
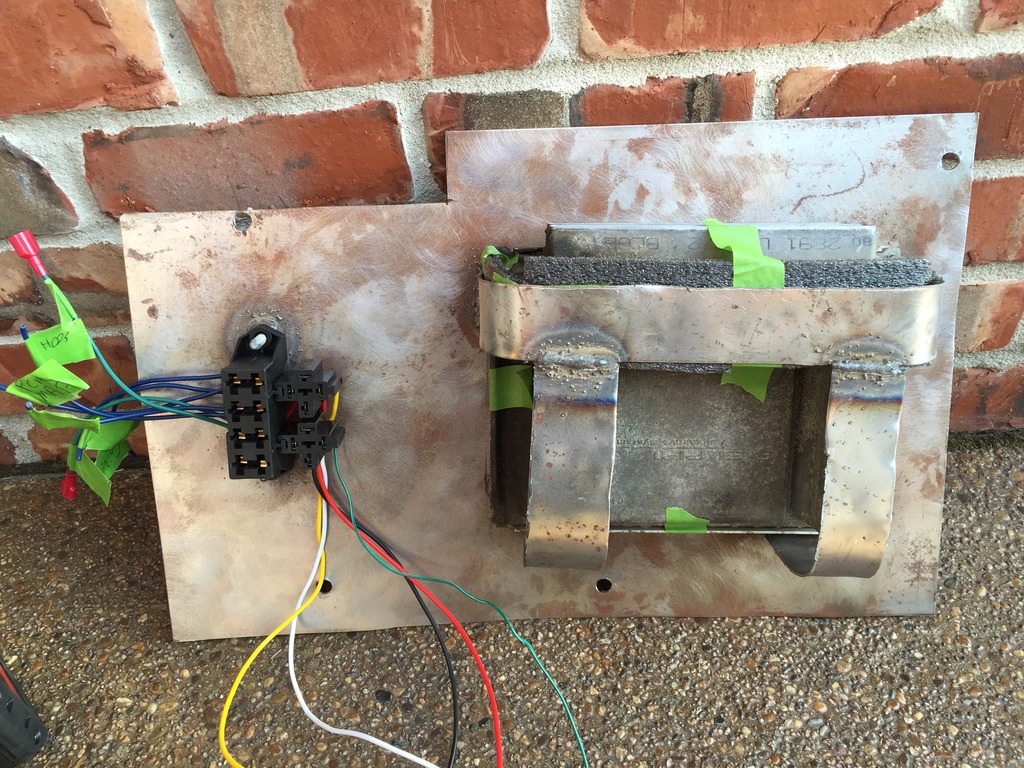
Alright so an update again finally! Cody and I widened up the hole in the passengers side firewall to have plenty of room to mount everything under the dash (PCM, fuse block, and headlight motor control module), and it looked like this after we were done.
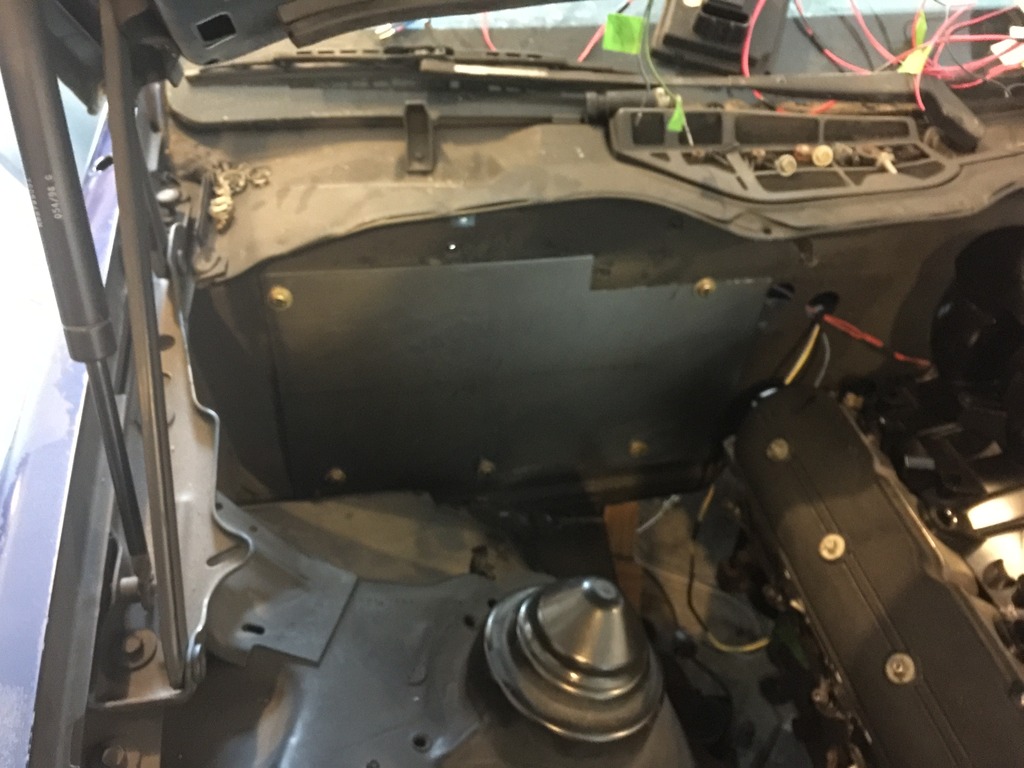
Then we made a rough cutout from a piece of paper thin sheet metal I had left over and then we made our measurements and cut out the block off plate out of 1/16" sheet metal and drilled the holes and went and got some bolts and nuts and bolted it in place and it looks better than I thought! I'll paint it after I make the PCM mount on the inside but here's what it looks like bolted in for now and it looks great!

Then we made a rough cutout from a piece of paper thin sheet metal I had left over and then we made our measurements and cut out the block off plate out of 1/16" sheet metal and drilled the holes and went and got some bolts and nuts and bolted it in place and it looks better than I thought! I'll paint it after I make the PCM mount on the inside but here's what it looks like bolted in for now and it looks great!
 08-13-2016, 06:01 PM
#89
Also forgot to add this in there but I accidentally rounded off 2 of the Allen headed bolts that I got with my Straub bushings and they sent them out for free so A+++ to Straub for great customer service but I put those in and I got my custom valve covers put on the motor!
 08-19-2016, 01:14 PM
#91
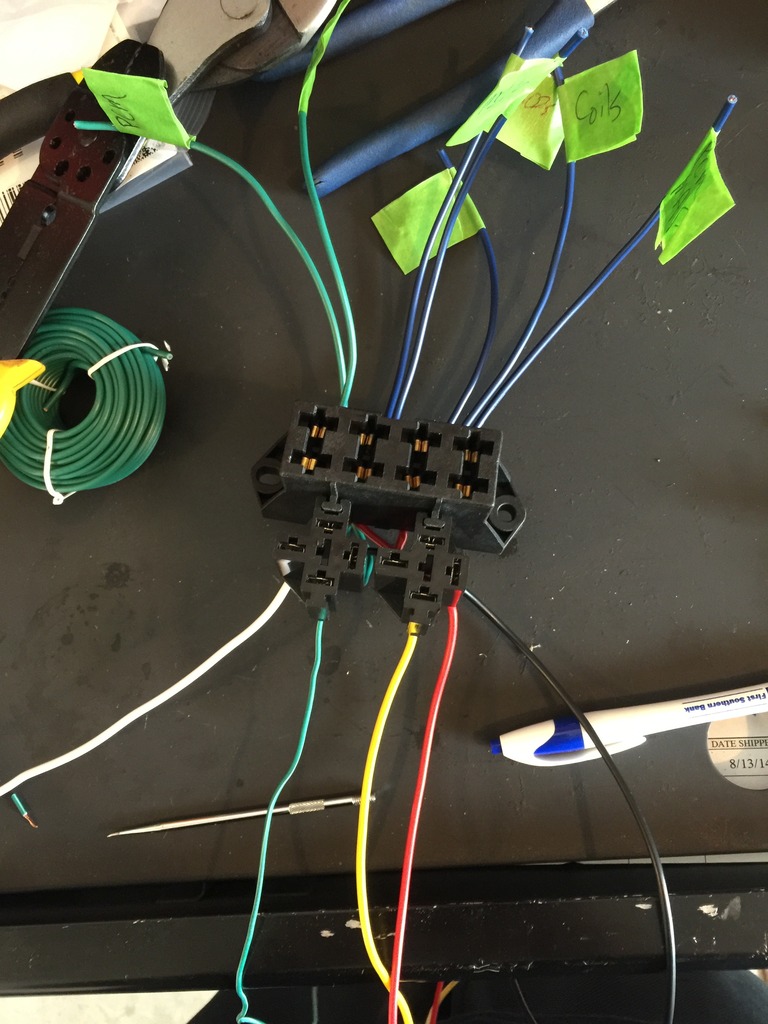
Got some wiring junk done cuz I'm trying to finish it. It's what I wanna do least but wanna have it done. Finally got my start date for work so I'm trying to get some projects done that I started before I get bogged down with work. Since I'm doing a complete wire tuck I am running the injector wires under the intake and I combined all 8 injector wires into one under the intake for the power side so there are only 9 wires leaving the engine instead of 16. Got the location roughly fixed up and taped and will wrap all of these with heat resistant wire cover before I put the connectors on.

Also finished my fuse/relay block and my obd2 port and hid the port in where a vent for the feet used to be

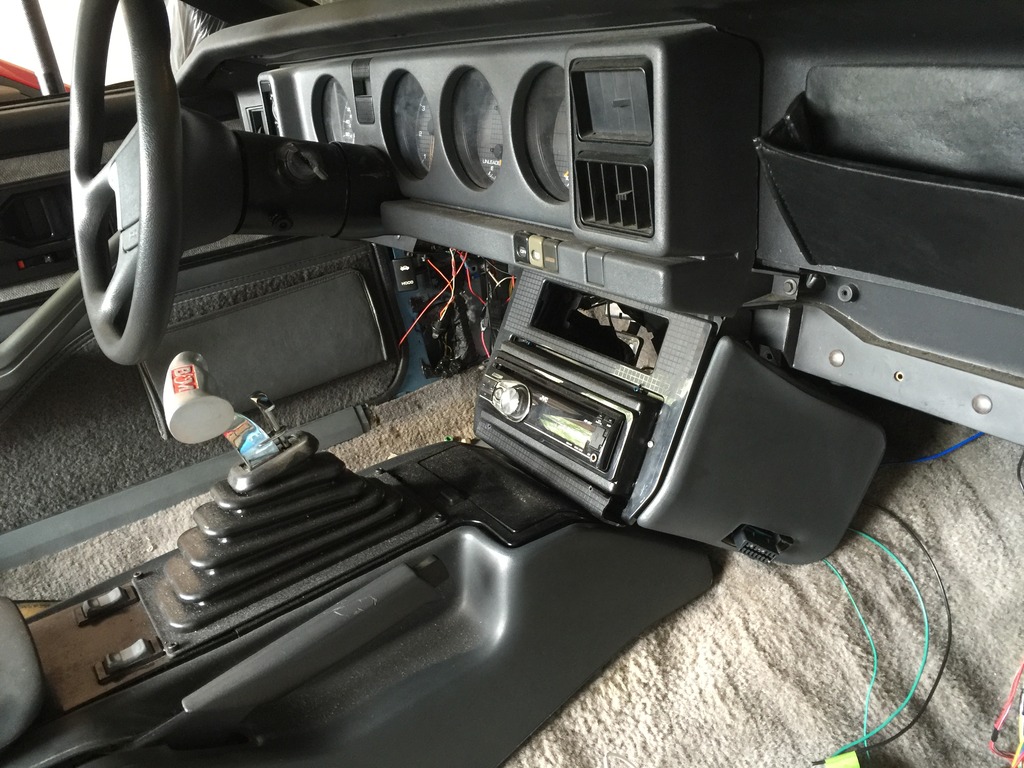


Also finished my fuse/relay block and my obd2 port and hid the port in where a vent for the feet used to be


Last edited by JCS94; 08-19-2016 at 04:56 PM. Reason: Phones autocorrect corrected "taped" to "raped" lol


 09-06-2016, 11:03 AM
#95
I bought quite literally the worst cheapest welder in history because no one had a welder that could be turned down low enough to weld that 1/16" steel so I got a flux core from Harbor Freight and then Cody and I finished fabbing up my PCM/fuse and relay block and made sure everything worked, clearance-wise.


 10-09-2016, 08:36 PM
#97
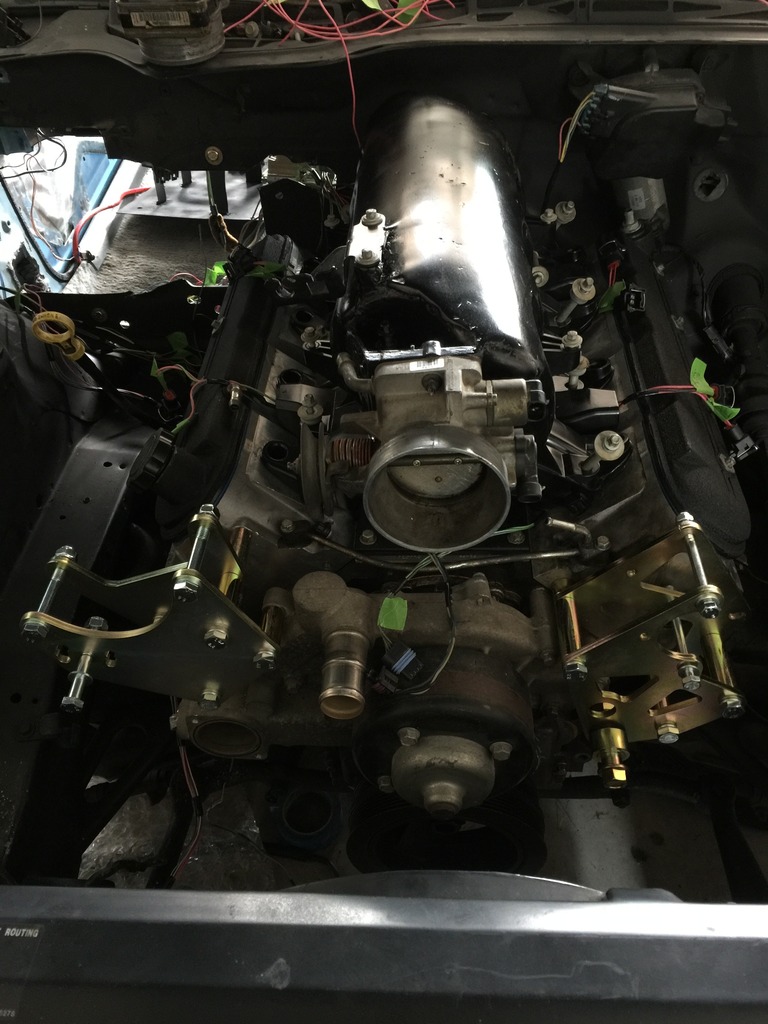
Hey guys finally got some stuff done! I got my GoatBuilt accessory brackets in and put those on!
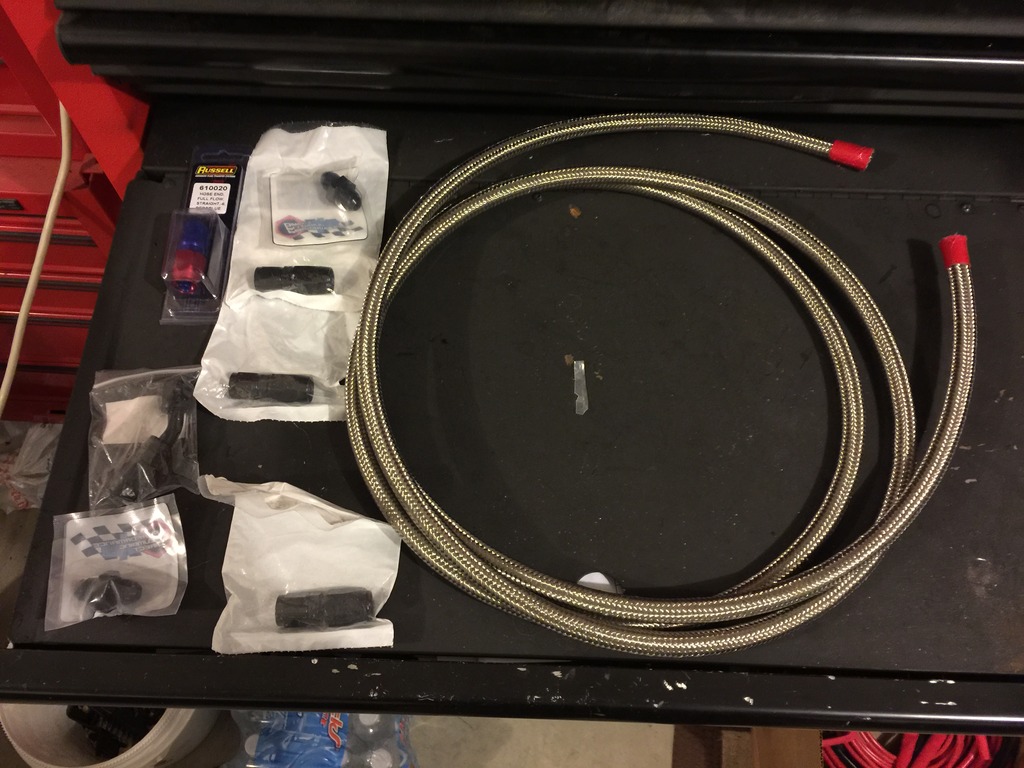
Also got 10' of Russell Stainless line with 6 -6an fittings off of a guy from Instagram for a third of the price that had it left over from his third gen turbo LS swap
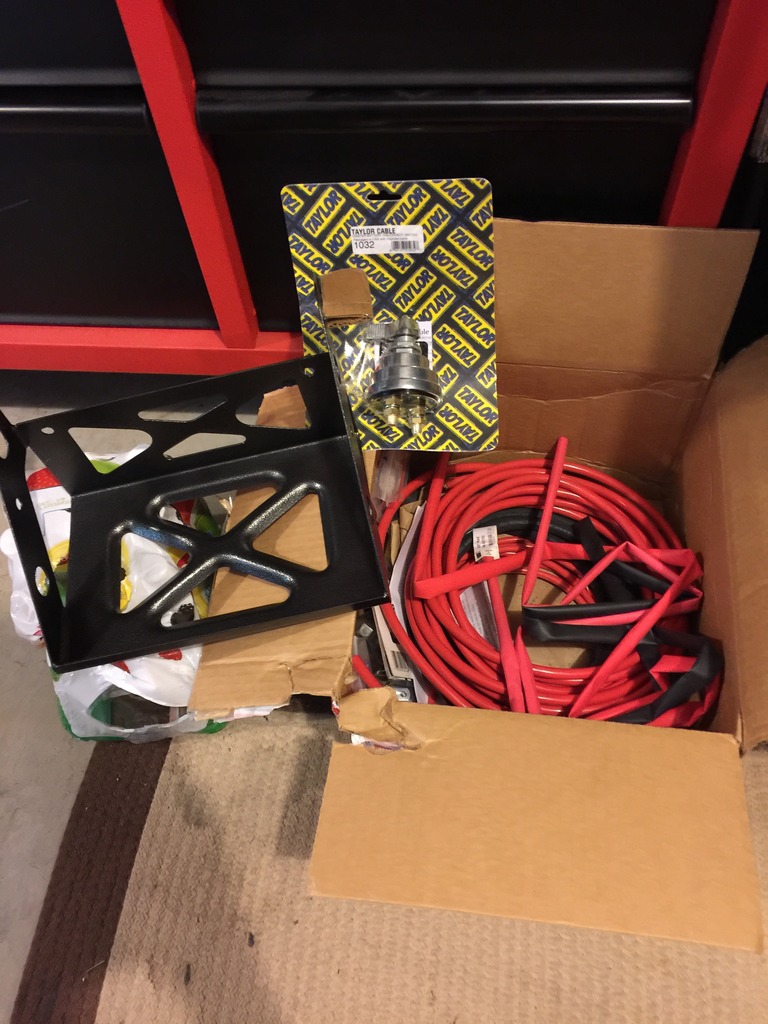
Thanks to Doobie52 on here I bought a full battery relocate with everything I'd need for less than half of the price of the full kit, all of it was brand new.
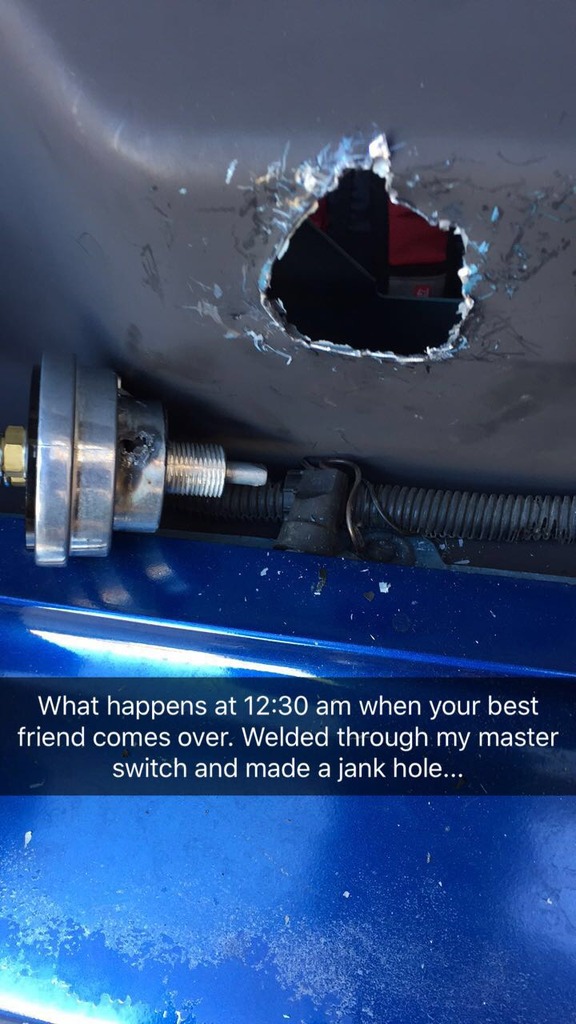
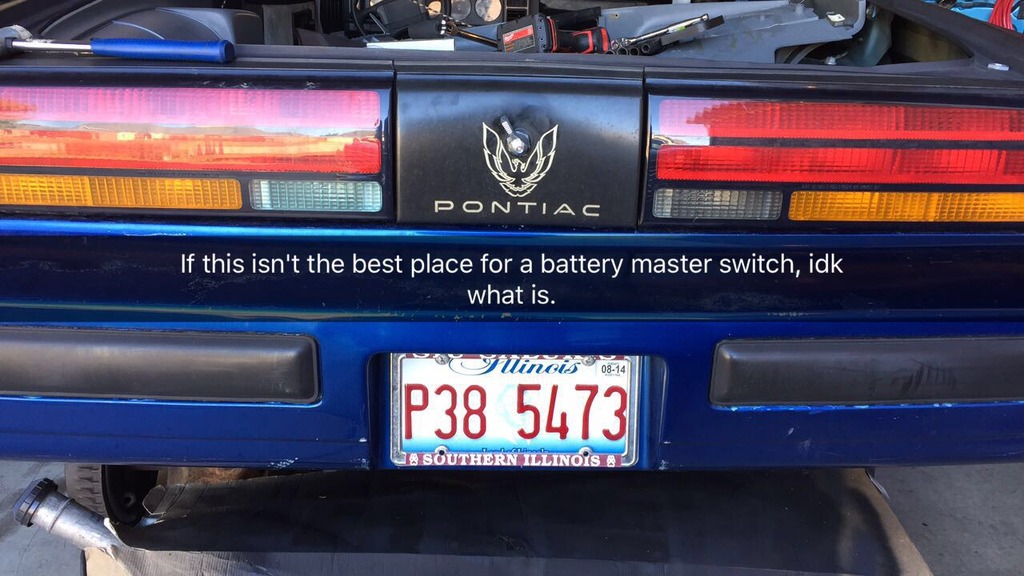
So after I went go karting with Cody and a couple of our other friends in French Lick, Cody came over around 9 pm and we had several drinks and tried to install the master switch and cut a hole for it to work so I could mount it where the hatch lock cylinder is because the previous owner detached it from everything and it was serving no purpose. After we made the hole too big we tried to weld some tabs to it... Blew a hole in it in about half a second so I'll have to get a new one, but we were able to mount it for mock up purposes. Doesn't look half bad!
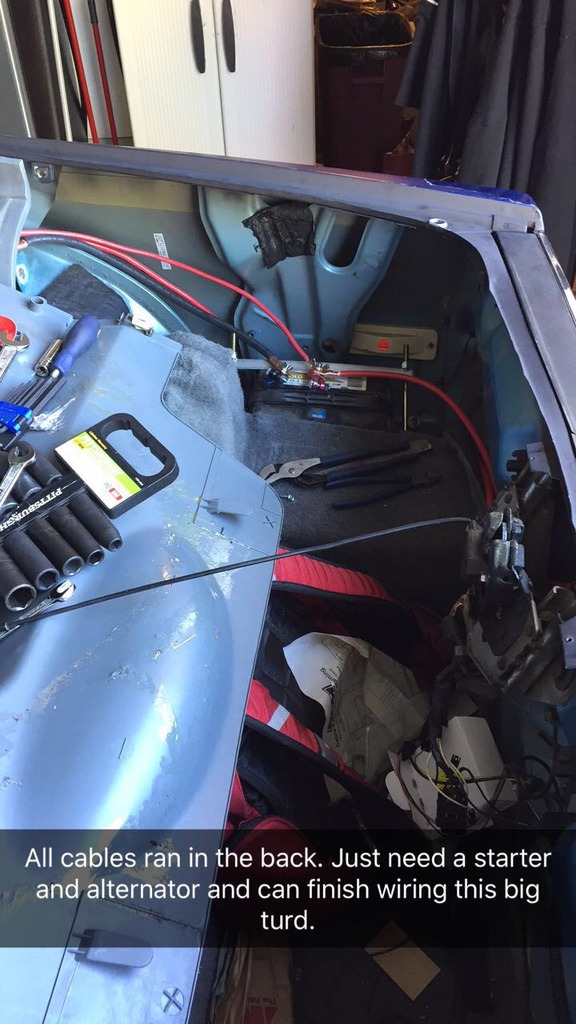
The following morning (this morning) I was able to "fab" most of the battery cables I would need, everything from the battery to the switch, from the battery from the alternator, and from the switch to the power distribution block, and also the battery ground. Actually didn't go half bad and I will hopefully get my Optima redtop battery soon (the current battery in there is the one that came with the car four years ago and I'm only using it for mock-up. Will use top-post eventually), my alternator, and starter so I can finish up all of the wiring on the whole car


Also got 10' of Russell Stainless line with 6 -6an fittings off of a guy from Instagram for a third of the price that had it left over from his third gen turbo LS swap

Thanks to Doobie52 on here I bought a full battery relocate with everything I'd need for less than half of the price of the full kit, all of it was brand new.

So after I went go karting with Cody and a couple of our other friends in French Lick, Cody came over around 9 pm and we had several drinks and tried to install the master switch and cut a hole for it to work so I could mount it where the hatch lock cylinder is because the previous owner detached it from everything and it was serving no purpose. After we made the hole too big we tried to weld some tabs to it... Blew a hole in it in about half a second so I'll have to get a new one, but we were able to mount it for mock up purposes. Doesn't look half bad!


The following morning (this morning) I was able to "fab" most of the battery cables I would need, everything from the battery to the switch, from the battery from the alternator, and from the switch to the power distribution block, and also the battery ground. Actually didn't go half bad and I will hopefully get my Optima redtop battery soon (the current battery in there is the one that came with the car four years ago and I'm only using it for mock-up. Will use top-post eventually), my alternator, and starter so I can finish up all of the wiring on the whole car

 10-18-2016, 09:57 PM
#98
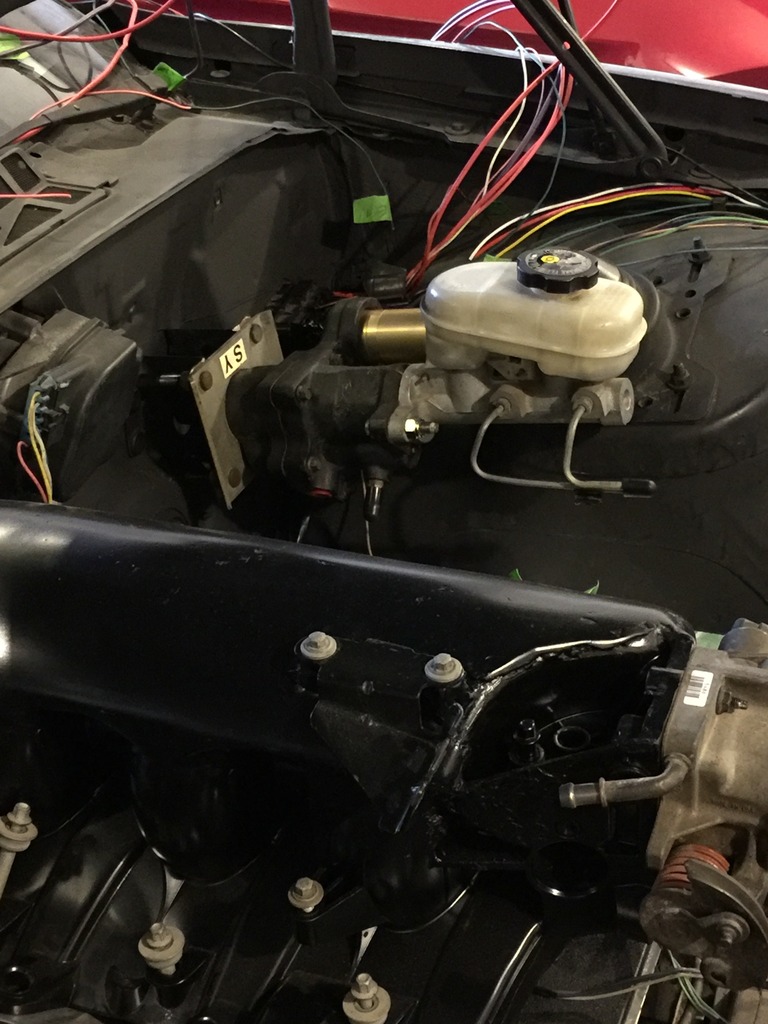
Got an update again! I went to the junk yard last weekend and bought a hydroboost unit from a 92 Safari van and got it installed. Couldn't have been easier. Drill out the rivets holding the bracket from the vac booster, use a chisel and hammer to finish knocking it off, and then the bracket from the vac booster bolts right onto the 4 studs that are on the hydroboost unit, then that obviously just bolts right into the firewall. I will be removing it maybe this weekend again to make the pushrod how I need it to, but here's how it looks installed! Also got my fourth gen master cylinder put on with it.

Last edited by JCS94; 10-20-2016 at 04:41 AM.
10-21-2016, 06:49 PM
#100
Staging Lane
iTrader: (23)
Join Date: Jun 2009
Location: Henderson, NV
Posts: 99
Likes: 0
Received 0 Likes
on
0 Posts

Just ran across your build. Had I known you were a fellow thirdgen owner, I would have given you a better deal on the battery relocation setup! Keep up the great work. Subscribed

