BMW + 427ci 7.0l + full-on build
#101
TECH Junkie
iTrader: (1)
Get your oil pressure gauge set up BEFORE priming - you can test it while priming. I put the ignition switch on and watched the car gauge read the same as the pressure I had in the priming can. Temp won’t tell you much until you’re tracking the car.
How will you prime? How are you managing a tune on the new, bigger motor?
How will you prime? How are you managing a tune on the new, bigger motor?
Last edited by Michael Yount; 05-14-2018 at 12:46 PM.
#102
On The Tree
Thread Starter
iTrader: (1)
Join Date: Apr 2017
Posts: 131
Likes: 0
Received 0 Likes
on
0 Posts
Get your oil pressure gauge set up BEFORE priming - you can test it while priming. I put the ignition switch on and watched the car gauge read the same as the pressure I had in the priming can. Temp wonít tell you much until youíre tracking the car.
How will you prime? How are you managing a tune on the new, bigger motor?
How will you prime? How are you managing a tune on the new, bigger motor?
It appears thatís the thing to do - AND I CERTAINLY LIKE THE IDEA OF HOOKING UP MY WIRES AND NEW OIL PRESSURE GAUGE prior to FILLING MOTOR WITH PRESSURIZED OIL AS STATED ABOVE!!!!!
A hot stock tip i can invest my time in to for sure.
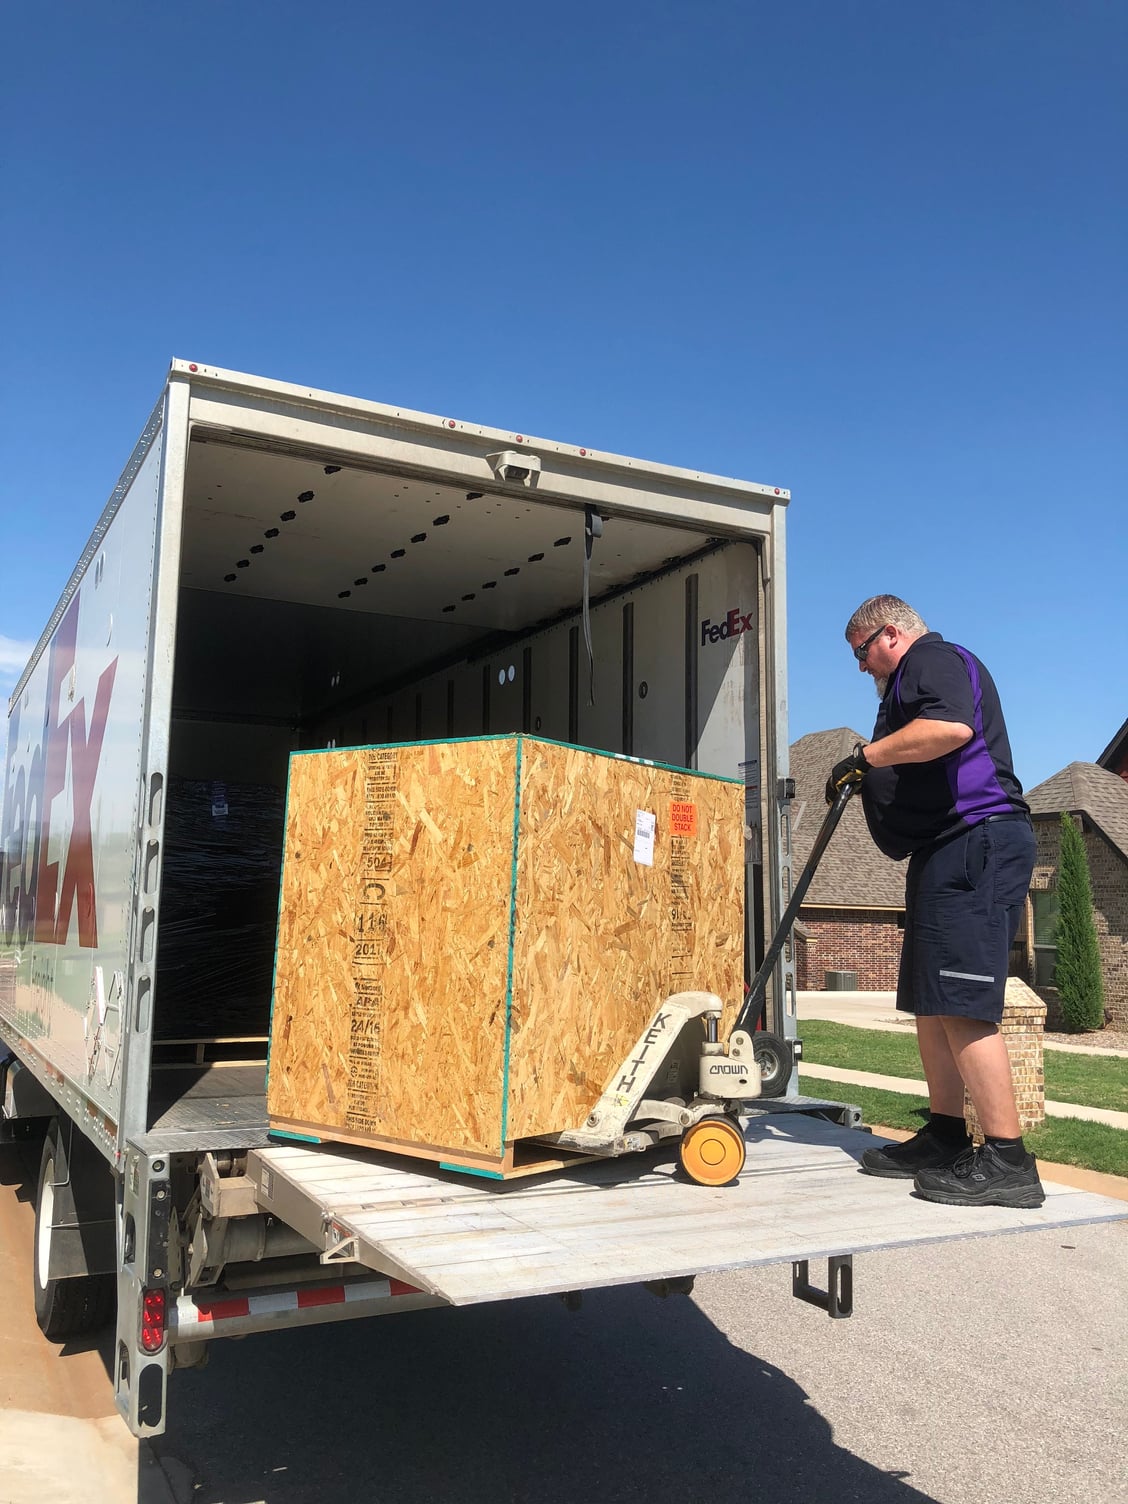
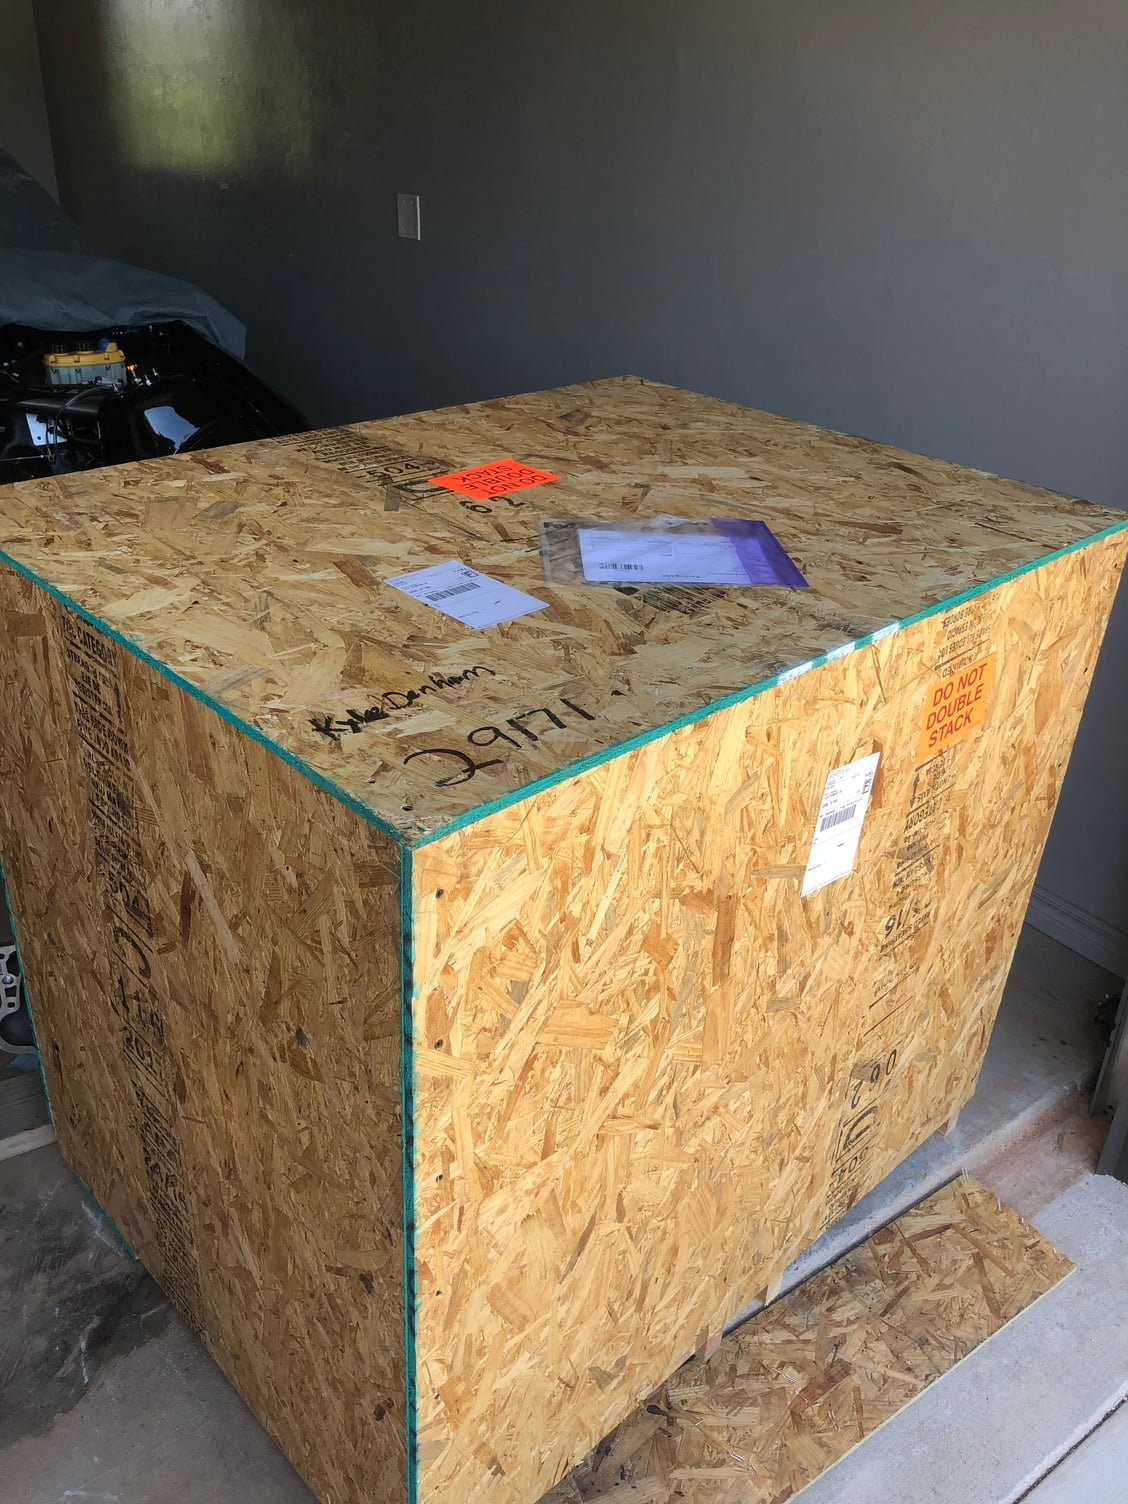
I just received by FexEx shipping info for my Pallet-O-427.
As for tuning it - uhhhhh... Iíll pop in new motor details to My FiTech and letíher rip tater chip. Iím sure I should pay a local to Edmond/Okc Okla Dyno house to run-in my motor on their dyno... and have professional eyes further tweak the tune (yes Iím aware I probably should have bought the Holley EFI set up :-(
I did also further upgrade my fuel system with a new Deatchwerks pump to handle up to 1,000hp...
My new driver side M3 pump assy feeds the return orifice of my newly modified M3 fuel pump housing which now contains that DW pumping pass side... which is my feed pump forward to my C5Z fuel filter / fuel pressure regulator... the unused fuel turns right back around and feeds on top inlet orifice of the driver side M3 fuel pump housing assy.
Last edited by MUL8NO1; 05-14-2018 at 01:24 PM. Reason: Typo
#103
TECH Junkie
iTrader: (1)
We primed at the same spot - think I used a 16mm x 1.5 X -6AN male fitting to attach my Motive tank to. Primed at about 20 psig. By the way, the ONLY way to test the o-ring seal on the pickup tube is by cranking it up. So having eyes on the oil pressure gauge during start up is critical.
They put on the pan/pick up tube -- or will you? Might want to consider one of these --- http://www.improvedracing.com/oil-pu...ductsearchusen
I use a DW in-tank pump in mine as well, with the Corvette style reg/filter at the back of the car so my return line is only about 18" long.
They put on the pan/pick up tube -- or will you? Might want to consider one of these --- http://www.improvedracing.com/oil-pu...ductsearchusen
I use a DW in-tank pump in mine as well, with the Corvette style reg/filter at the back of the car so my return line is only about 18" long.
#105
On The Tree
Thread Starter
iTrader: (1)
Join Date: Apr 2017
Posts: 131
Likes: 0
Received 0 Likes
on
0 Posts
We primed at the same spot - think I used a 16mm x 1.5 X -6AN male fitting to attach my Motive tank to. Primed at about 20 psig. By the way, the ONLY way to test the o-ring seal on the pickup tube is by cranking it up. So having eyes on the oil pressure gauge during start up is critical.
They put on the pan/pick up tube -- or will you? Might want to consider one of these --- http://www.improvedracing.com/oil-pu...ductsearchusen
I use a DW in-tank pump in mine as well, with the Corvette style reg/filter at the back of the car so my return line is only about 18" long.
They put on the pan/pick up tube -- or will you? Might want to consider one of these --- http://www.improvedracing.com/oil-pu...ductsearchusen
I use a DW in-tank pump in mine as well, with the Corvette style reg/filter at the back of the car so my return line is only about 18" long.
Oil pan has been installed at TSP, along with front of motor to include my ATI damper... etc
My job is to install:
flywheel
clutch assy
trans
valley cover
wiring
accessories
headers
etc
oh yeah... and my oil pressure and temp solution BEFORE I prime the oil pump!
intake/fuel/cooling etc
i did Ďtellí TSP to install that Improved Racing small bracket which adds more even pressure to oil pump pick-up tube o-ring. TSP felt like it was an unnecessary item given their build processes and attention - and that piece could only add a future potential for failure - justified or not, at least there was rationale to not using it.
#106
Looks great. I'm so glad you can remedy these solutions prior to mine getting installed in a month!
I did use the improve racing pickup tube brace on my ls3 build. I figured $30 is worth the money in the grand scheme of things. I have seen a few people run a tee off their oil pressure sender for a mechanical gauge. I haven't found a store-bought solution, may need to make something similar. https://www.ls2.com/forums/showthrea...1#post12802054
I did use the improve racing pickup tube brace on my ls3 build. I figured $30 is worth the money in the grand scheme of things. I have seen a few people run a tee off their oil pressure sender for a mechanical gauge. I haven't found a store-bought solution, may need to make something similar. https://www.ls2.com/forums/showthrea...1#post12802054
#107
TECH Junkie
iTrader: (1)
My temp gauge sender is mounted in the lower block galley on the driver's side above the oil filter -- remove 16mm x 1.5 plug and screw in VDO sender. My pressure gauge sender and idiot light (2 in 1) is mounted in one of my oil cooler fittings. I found it pretty interesting how much more quickly oil temps come up in this aluminum block than in the previous motor (cast iron block).
Pic of the oil temp sender -- right above the last crank main cap cross bolt....
Attachment 714175
Pic of the oil temp sender -- right above the last crank main cap cross bolt....
Attachment 714175
#109
On The Tree
Thread Starter
iTrader: (1)
Join Date: Apr 2017
Posts: 131
Likes: 0
Received 0 Likes
on
0 Posts
Please spread the word on my need to sell these parts:
https://ls1tech.com/forums/parts-cla...l#post19899936
https://ls1tech.com/forums/parts-cla...l#post19899936
#111
On The Tree
Thread Starter
iTrader: (1)
Join Date: Apr 2017
Posts: 131
Likes: 0
Received 0 Likes
on
0 Posts
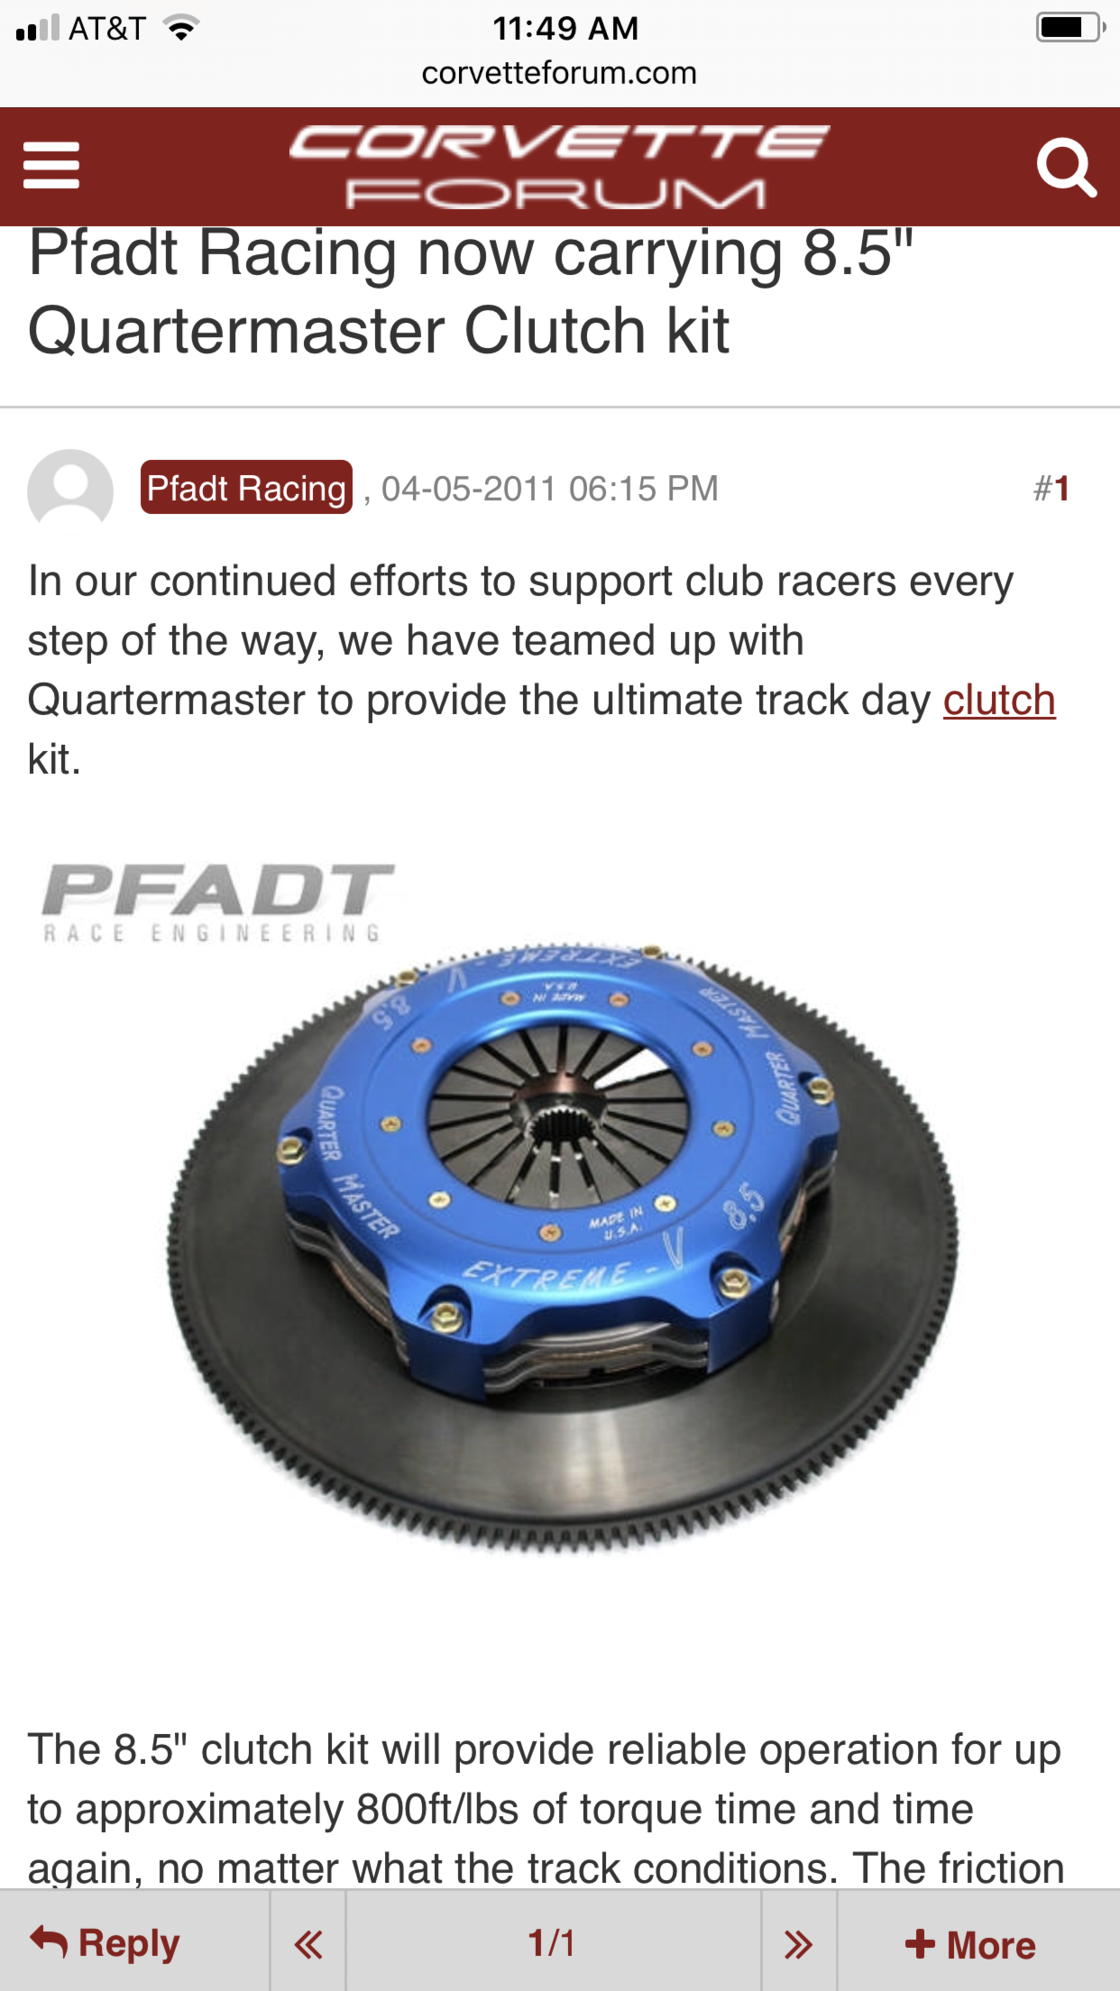
So my upgrade from the LS2 to the 427 requires me to rethink my Spec 3+ Clutch Assy and Spec Aluminum Flywheel... after muuuuuch comparison research, I forced myself to pick a company and call them.
Collectively, a direction was derived after much build details and usage considerations... Quarter Master recommendation was to use their not well advertised 8.5Ē twin-disk set up as its full road race but with enough mass to use it for pits/trailer/some street driving/etc... at 20lbs for QM 8.5Ē Clutch disks/flywheel-flexplate/Pressure plate assy this will be 50% lighter and smaller diameter than that Spec 3+ stuff I have now sitting awaiting a buyer.
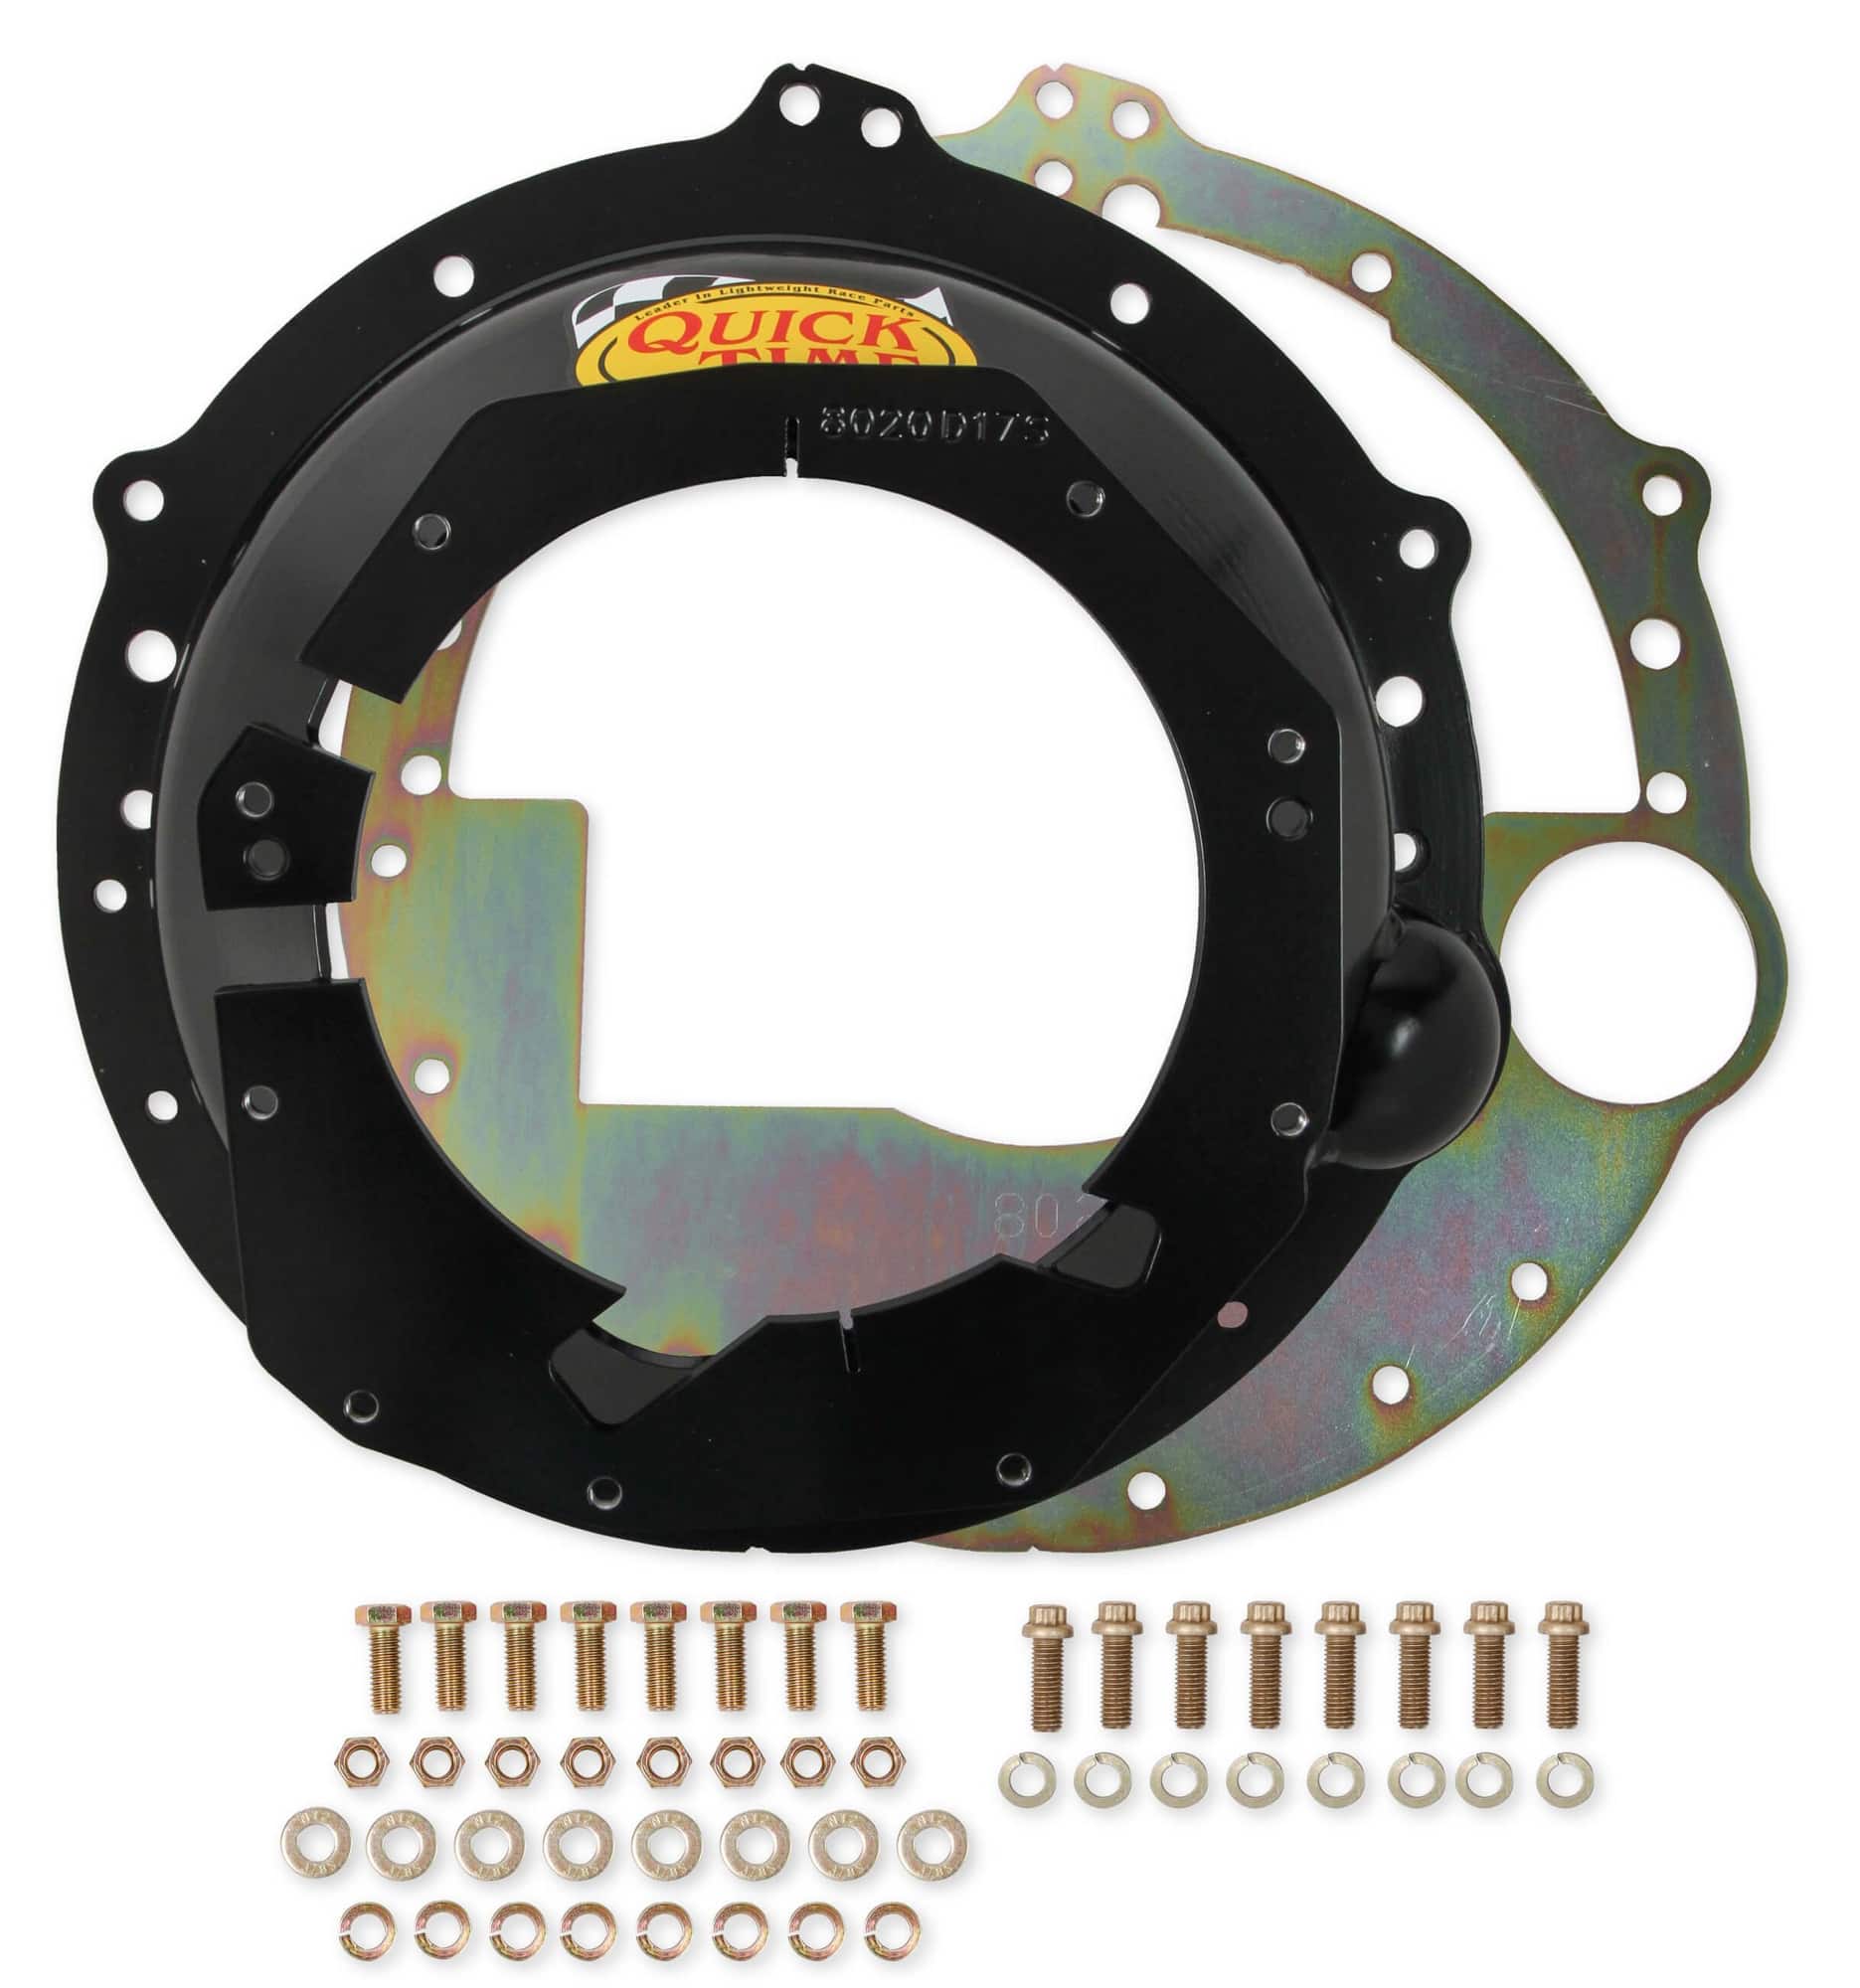
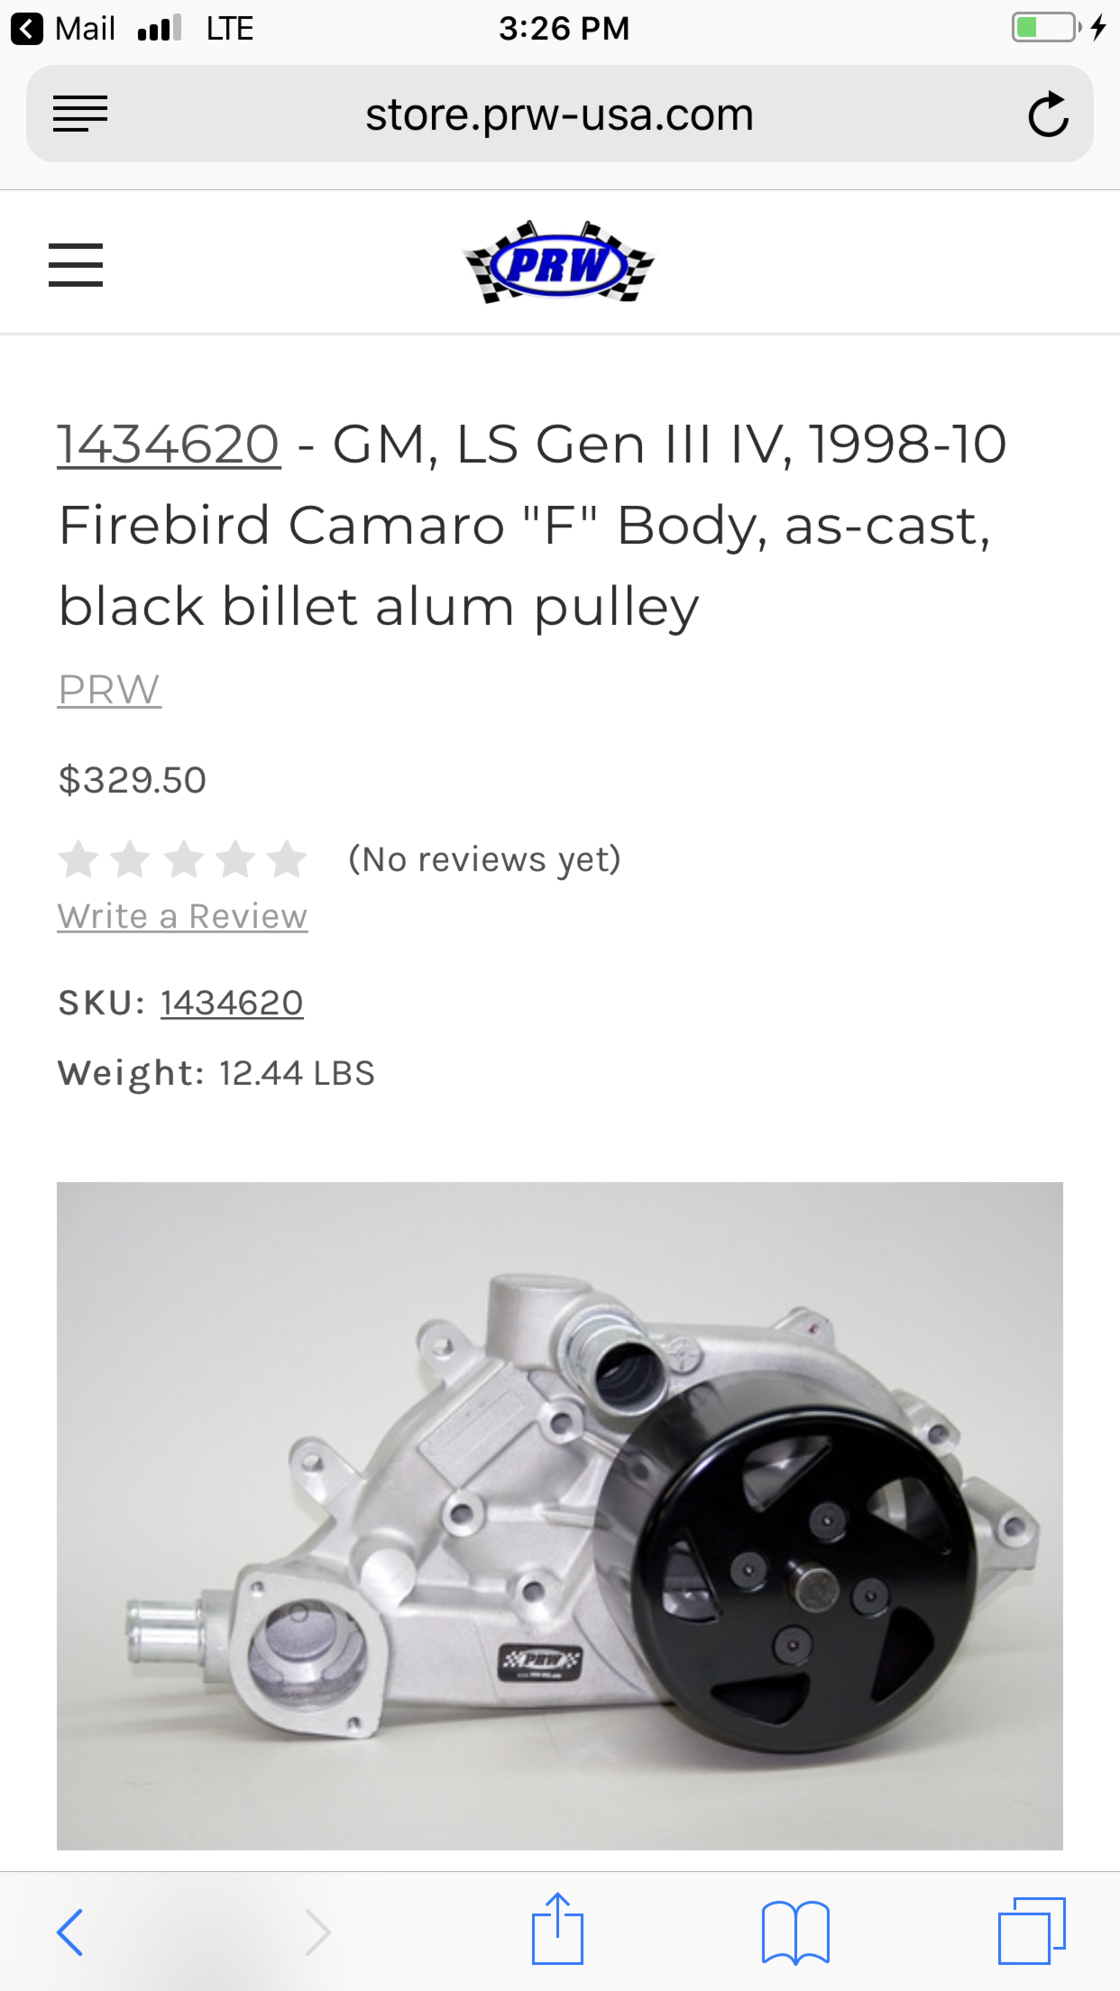
While chatting with QM, we discussed fancy hydraulic Throw-out Bearings... which led to fitment mods to OE Bellhousing for braided lines etc.. to which the Quick Time Bellhousing solution became known to me.... uhhh so I guess thatís on its way here by weeks end - as we are trying to do with Clutch Assy and upgraded PRW LS water pump to best my stock LS2 unit that would no handle duties.
Last edited by MUL8NO1; 05-21-2018 at 07:02 PM. Reason: 1 pic delete
#112
On The Tree
Thread Starter
iTrader: (1)
Join Date: Apr 2017
Posts: 131
Likes: 0
Received 0 Likes
on
0 Posts
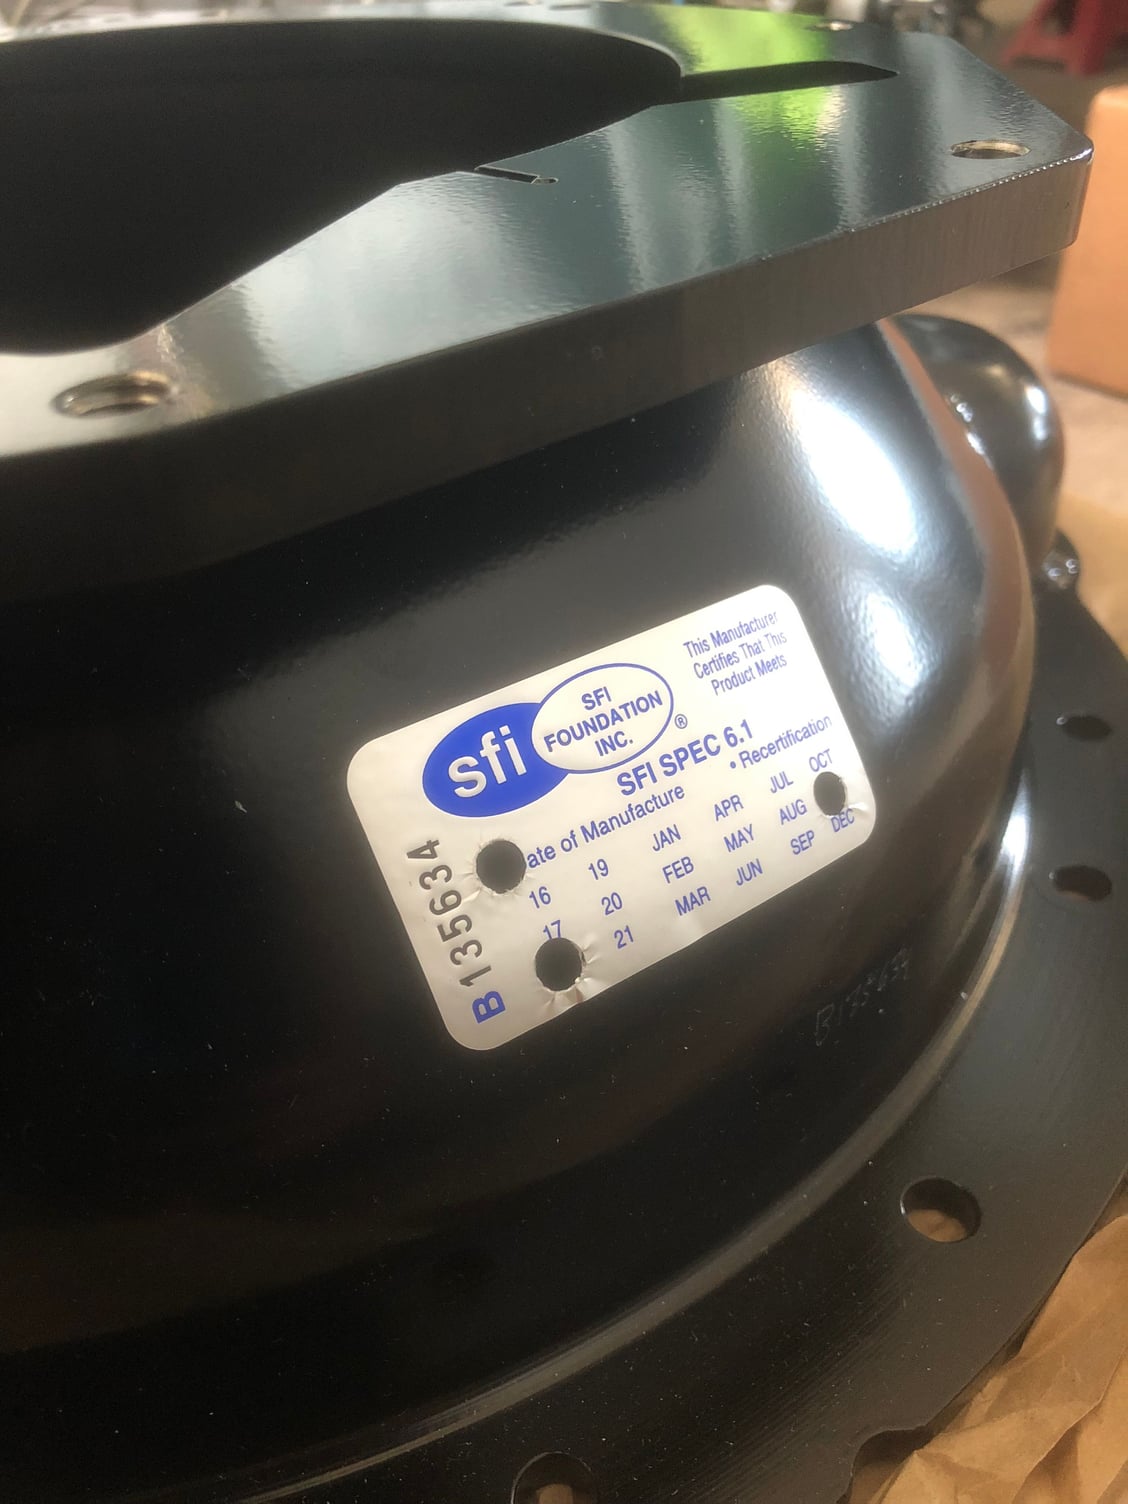
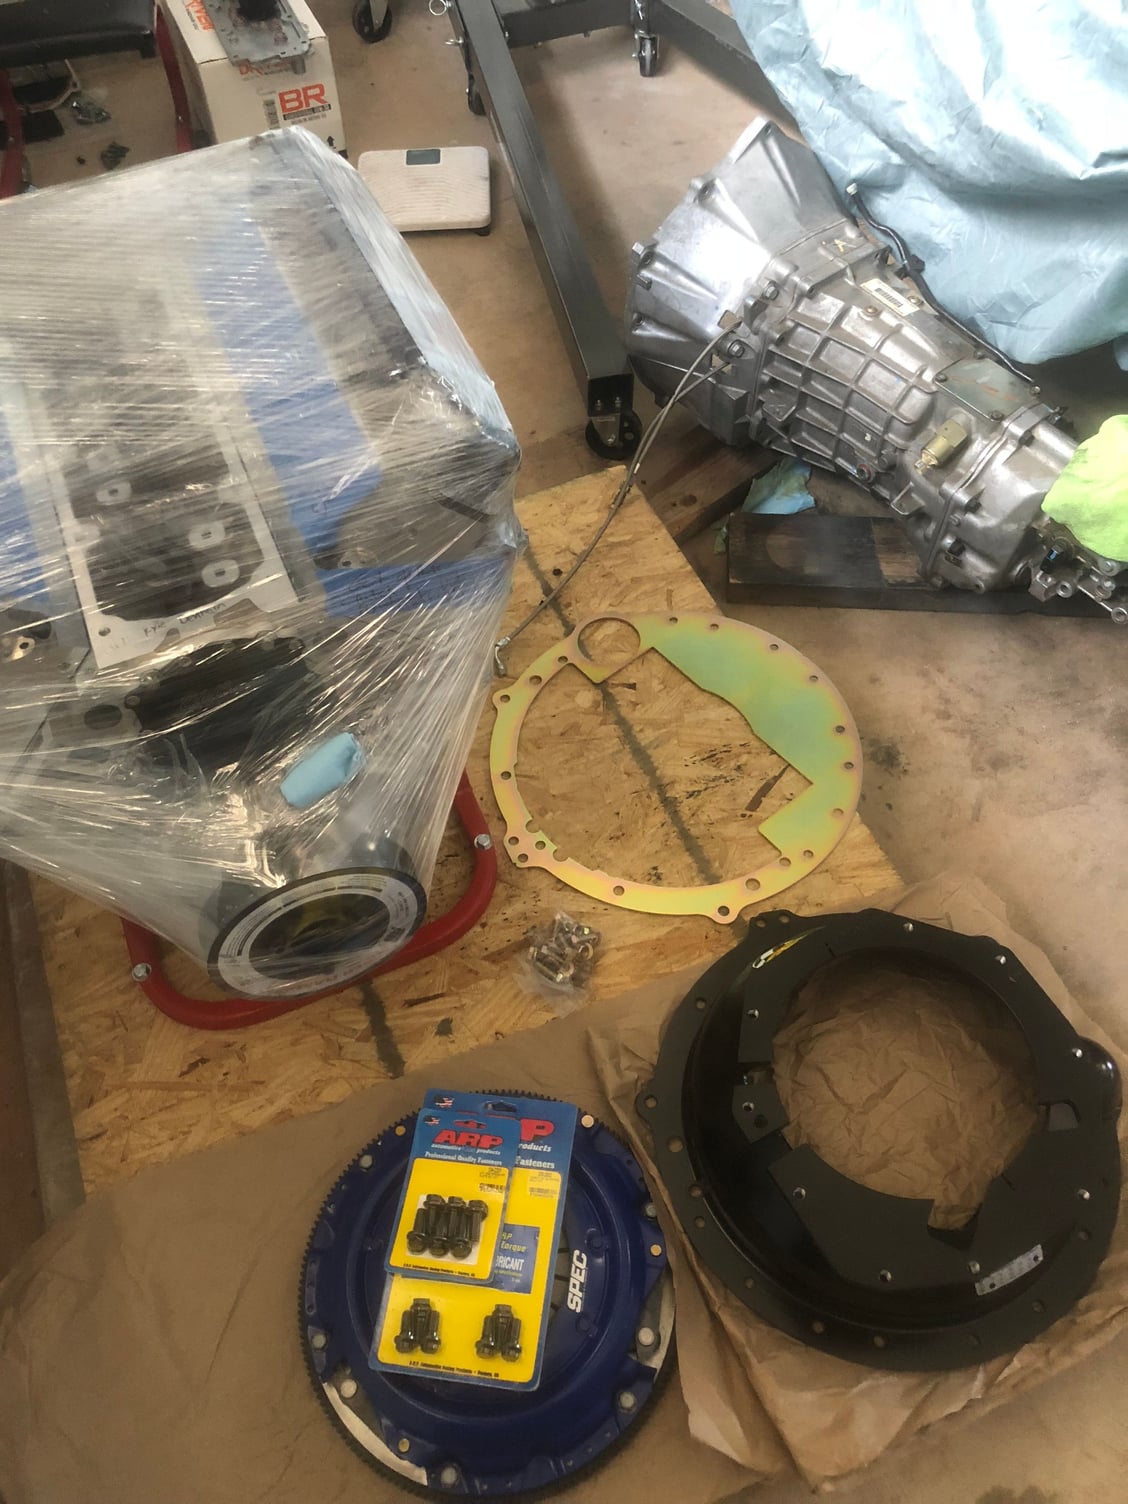
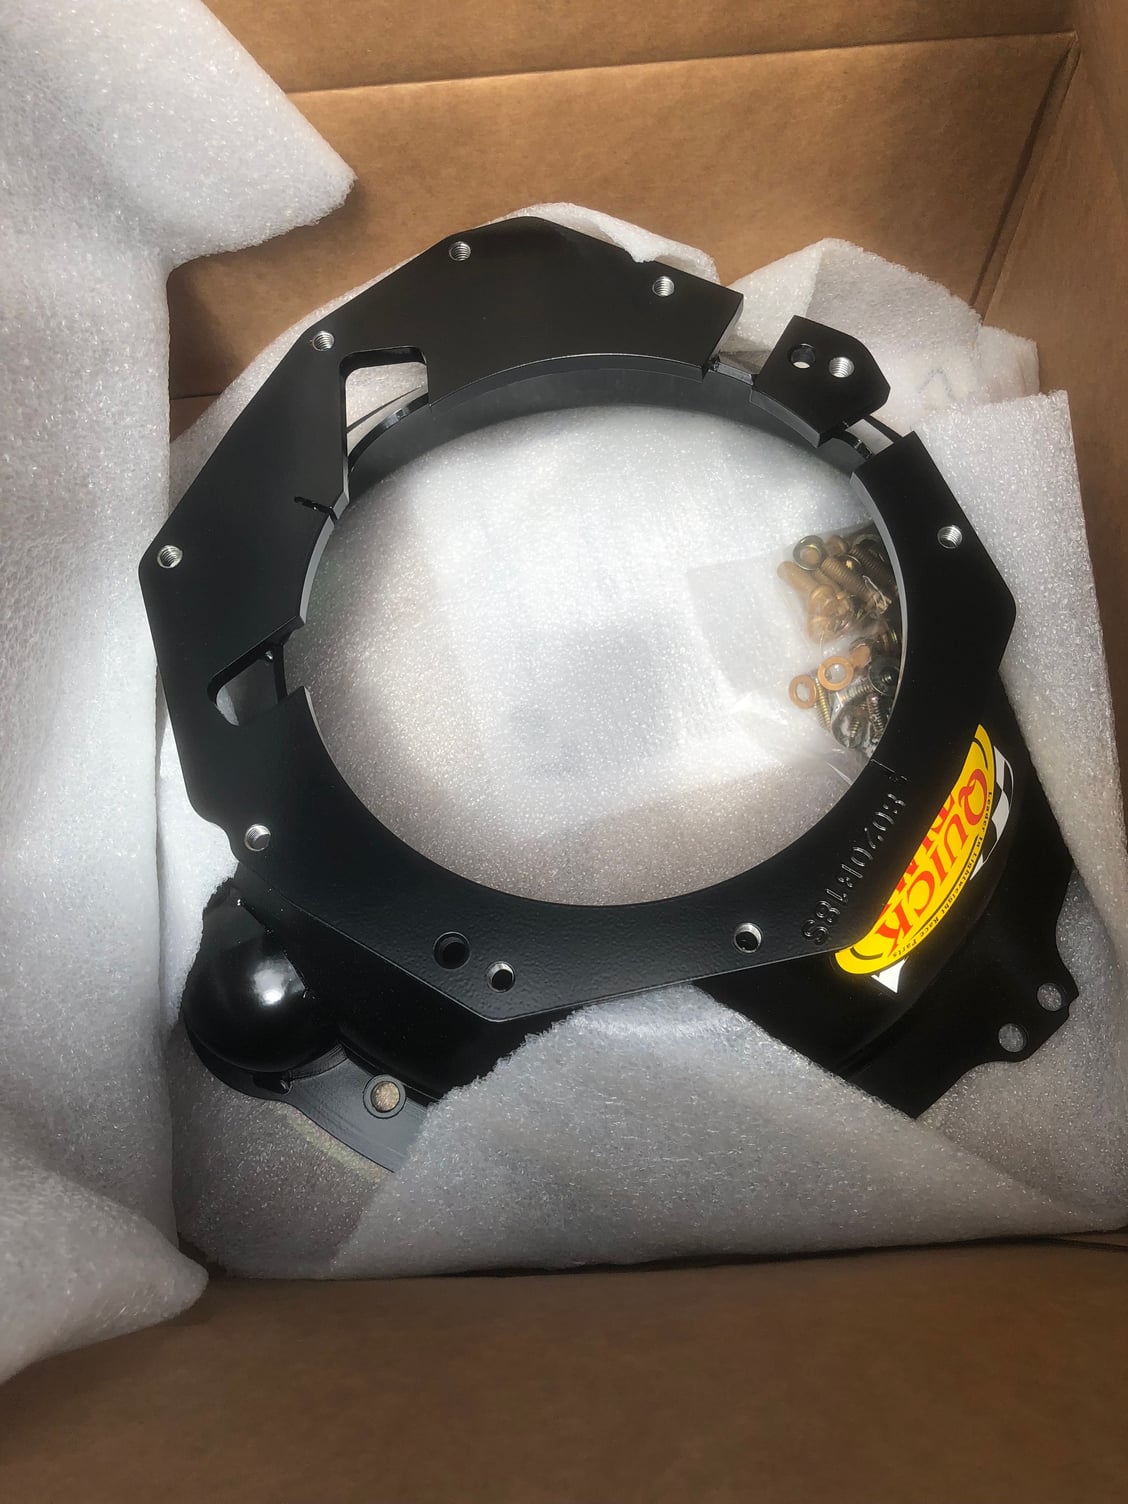
1. My Quick Time Bellhousing is here.
2. Awaiting the custom Quarter Master Twin-Disk 8.5Ē + Tri-Lite hydraulic bearing shipment. Should be here by next Wednesday.
3. My PRW LS water pump shipped from CA yesterday -
... biding my time through this weekend with planning and such...
Last edited by MUL8NO1; 05-24-2018 at 05:37 PM. Reason: Pics
#114
On The Tree
Thread Starter
iTrader: (1)
Join Date: Apr 2017
Posts: 131
Likes: 0
Received 0 Likes
on
0 Posts
Thank you for the experienced input - past two nights Iíve been watching vids and reading about how to measure for squareness etc... I gotta wait for my QM flywheel to bolt on and then begin the process... that Iíve never done before!!!
oh... and I have none of the proper tools for all this measuring - oh boy...
oh... and I have none of the proper tools for all this measuring - oh boy...
Last edited by MUL8NO1; 05-24-2018 at 07:07 PM. Reason: Added info
#115
TECH Junkie
iTrader: (1)
The tricks on mine (aluminum flywheel) were 1) making a little steel piece to bolt under two of the flywheel bolts so the magnetic stand had something to adhere to; 2) just rethinking how to put together the linkage holding the indicator to measure both runout (bell hole centered on crank) and face of bell parallel to flywheel (measuring that in the pic). I got really lucky -- on both for mine I never measured more than .001" out in any direction. Reach out by PM if you want to talk it through. For this purpose -- Harbor Freight magnetic stand and dial indicator will work just fine.
#116
On The Tree
Thread Starter
iTrader: (1)
Join Date: Apr 2017
Posts: 131
Likes: 0
Received 0 Likes
on
0 Posts
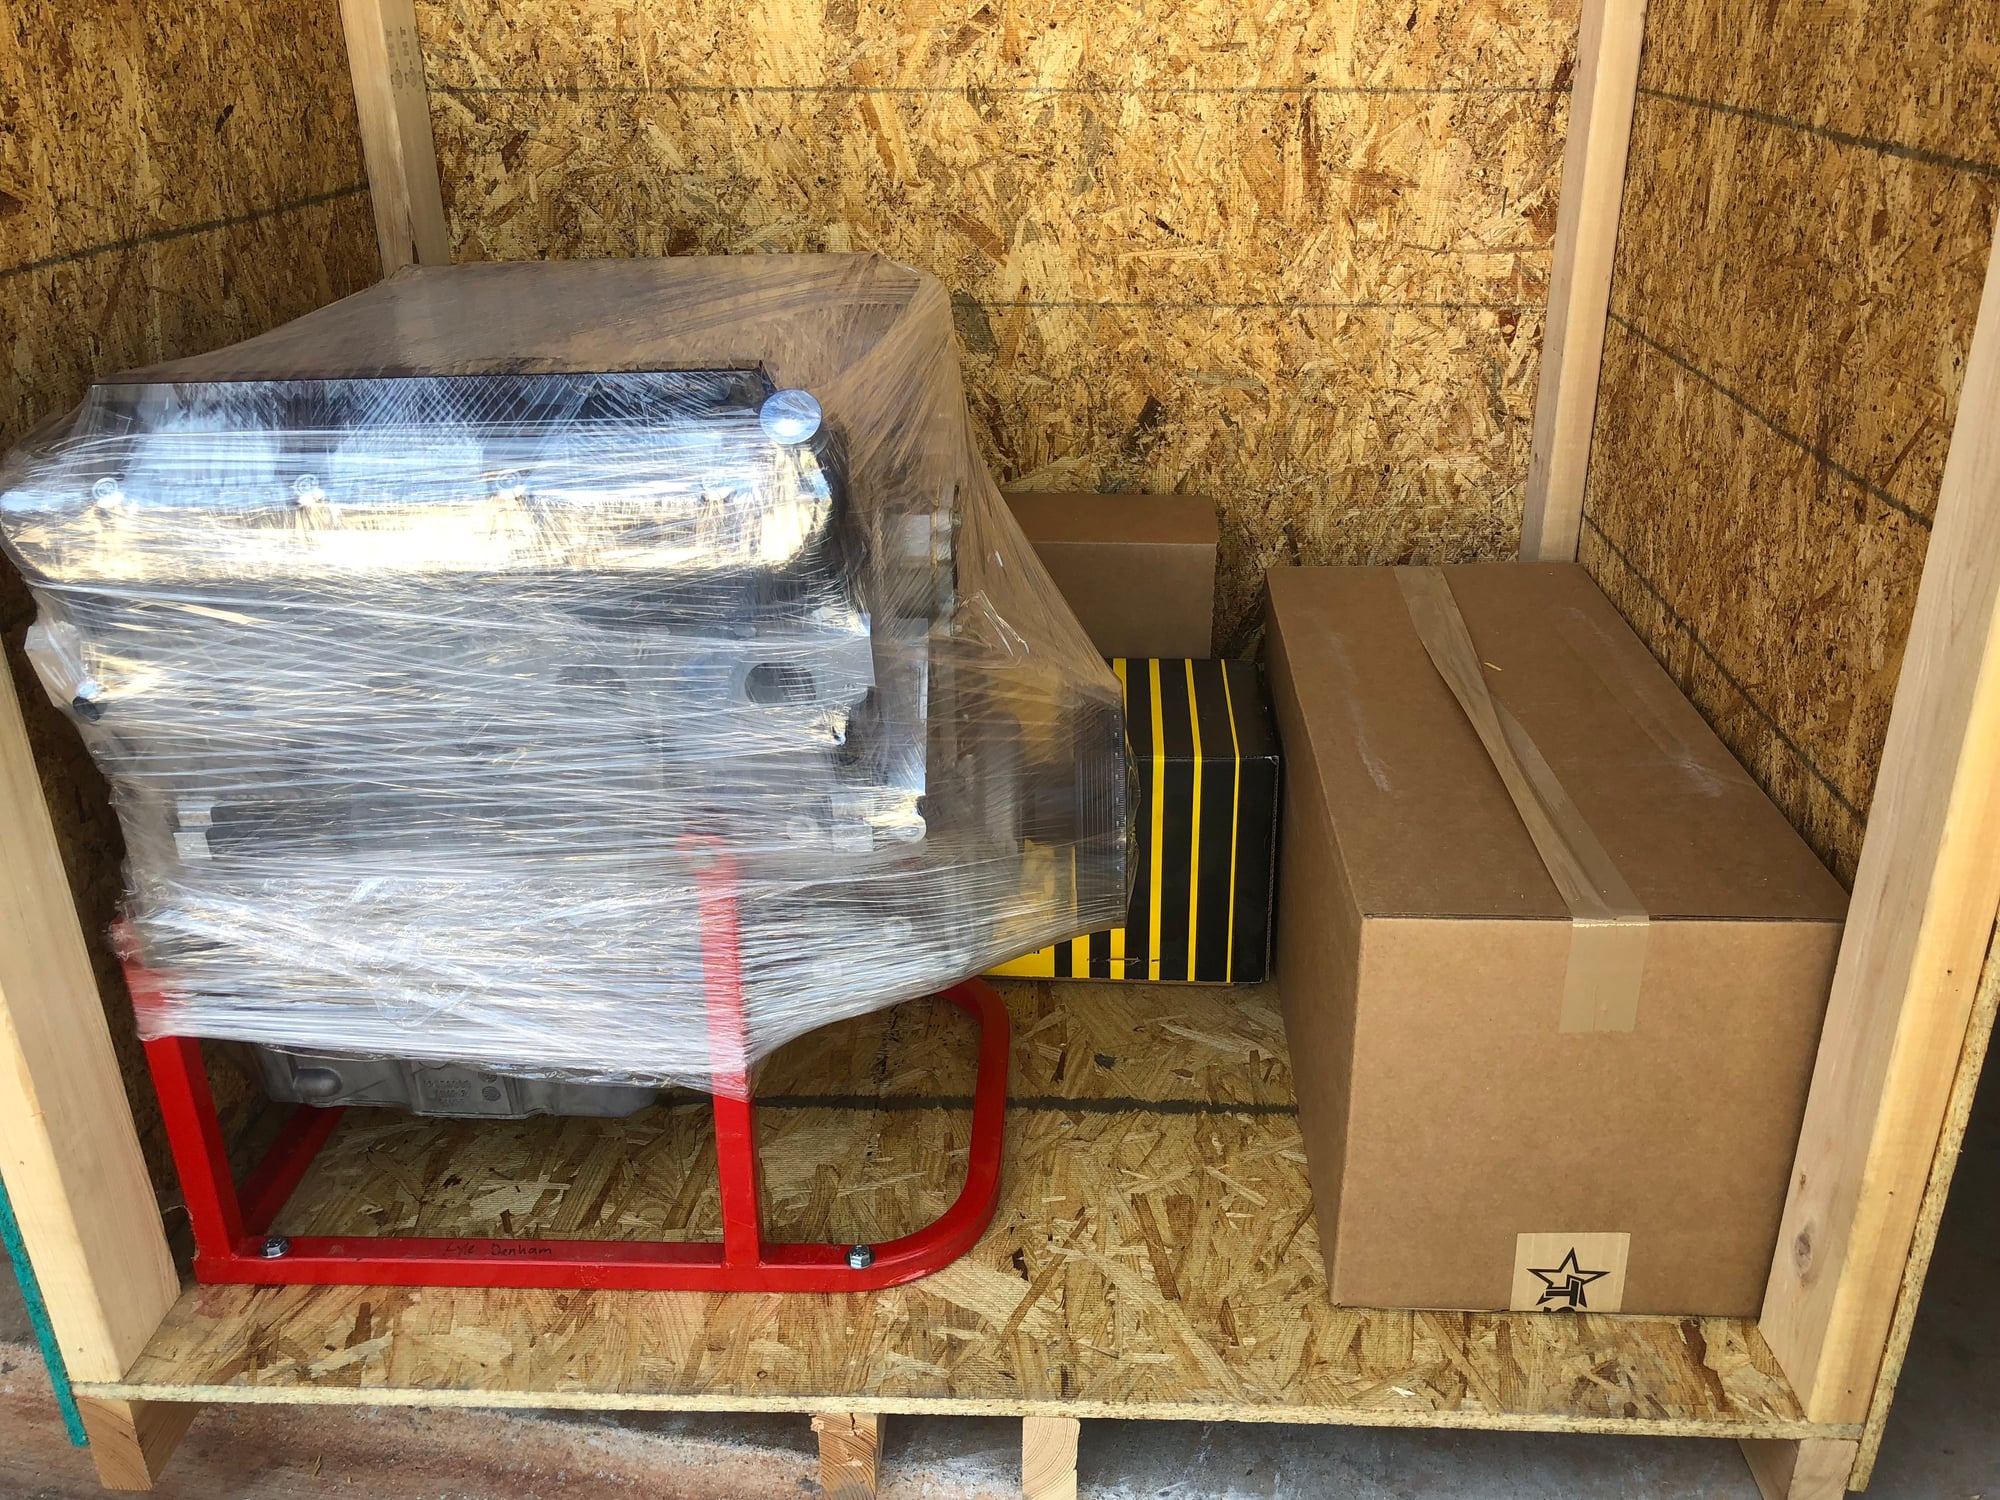
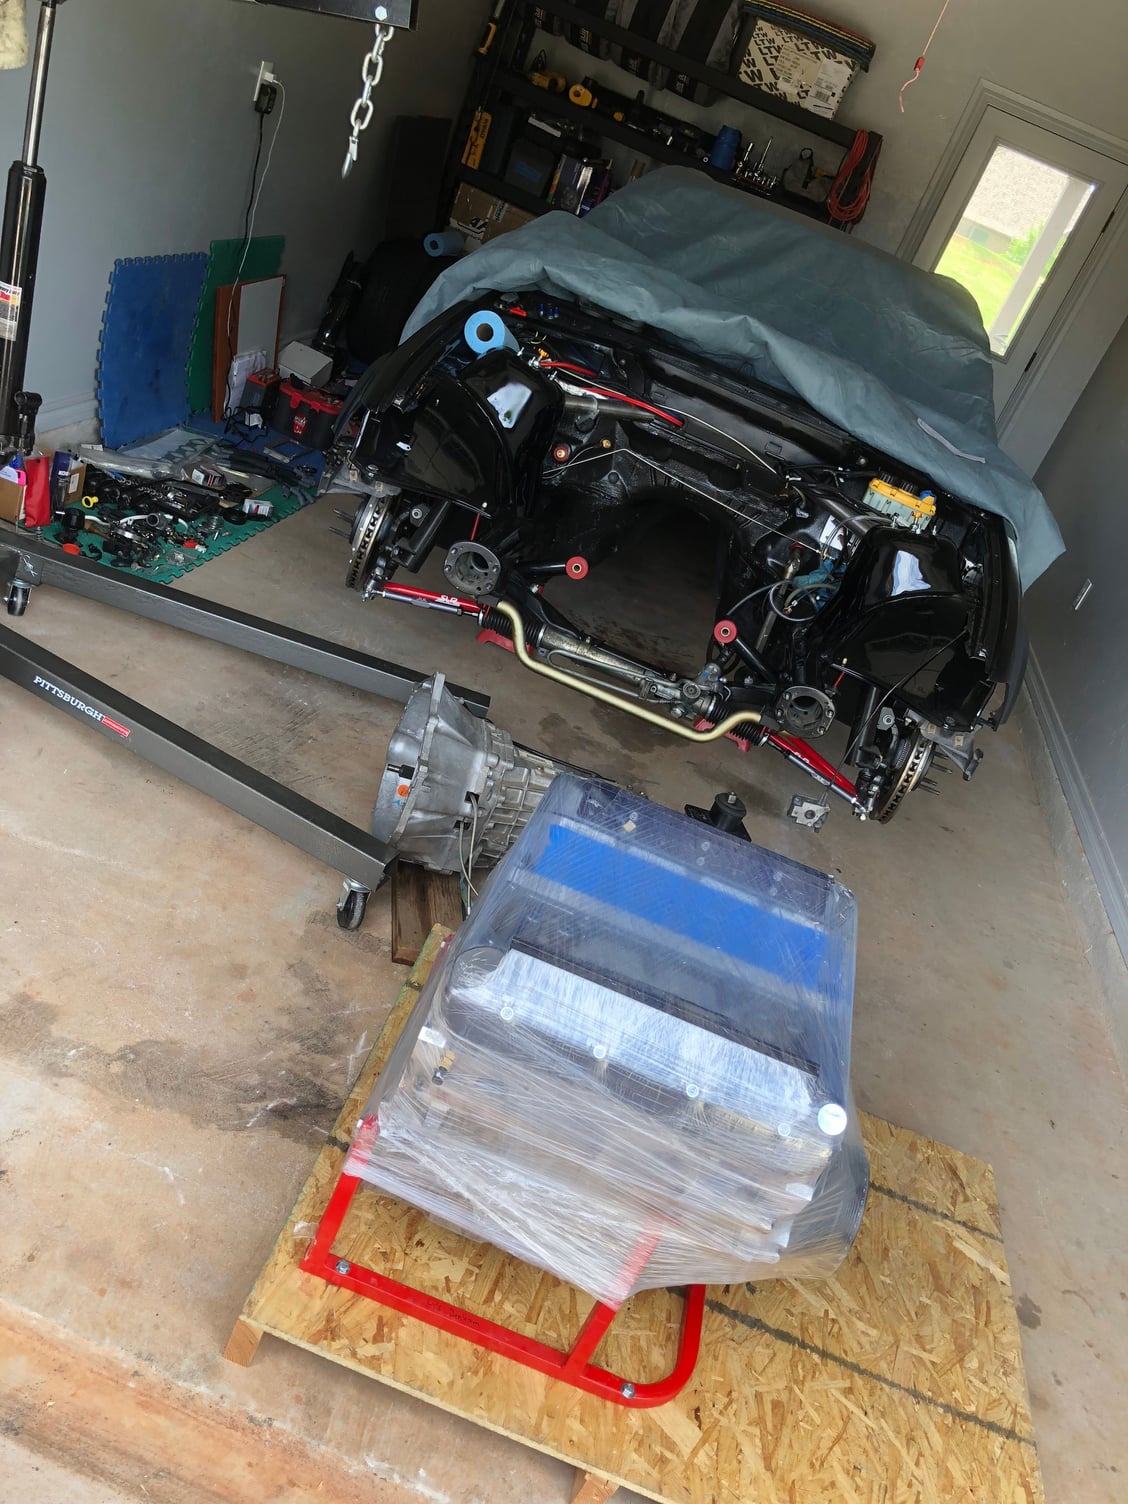
Based on valued input - it looks like I must get my new engine off of the TSP engine stand bolted to the shipping crate.
I suppose I could put the motor in given there is no front on car and it just two bolts once each motor mount plate is attached to engine.
I donít have an engine stand - so Iíd be doing all of these checks via a hanging 427 on a engine hoist.... uhhhhh
Yeah, I guess Iíll put motor in by self in the next day or two
#117
TECH Junkie
iTrader: (1)
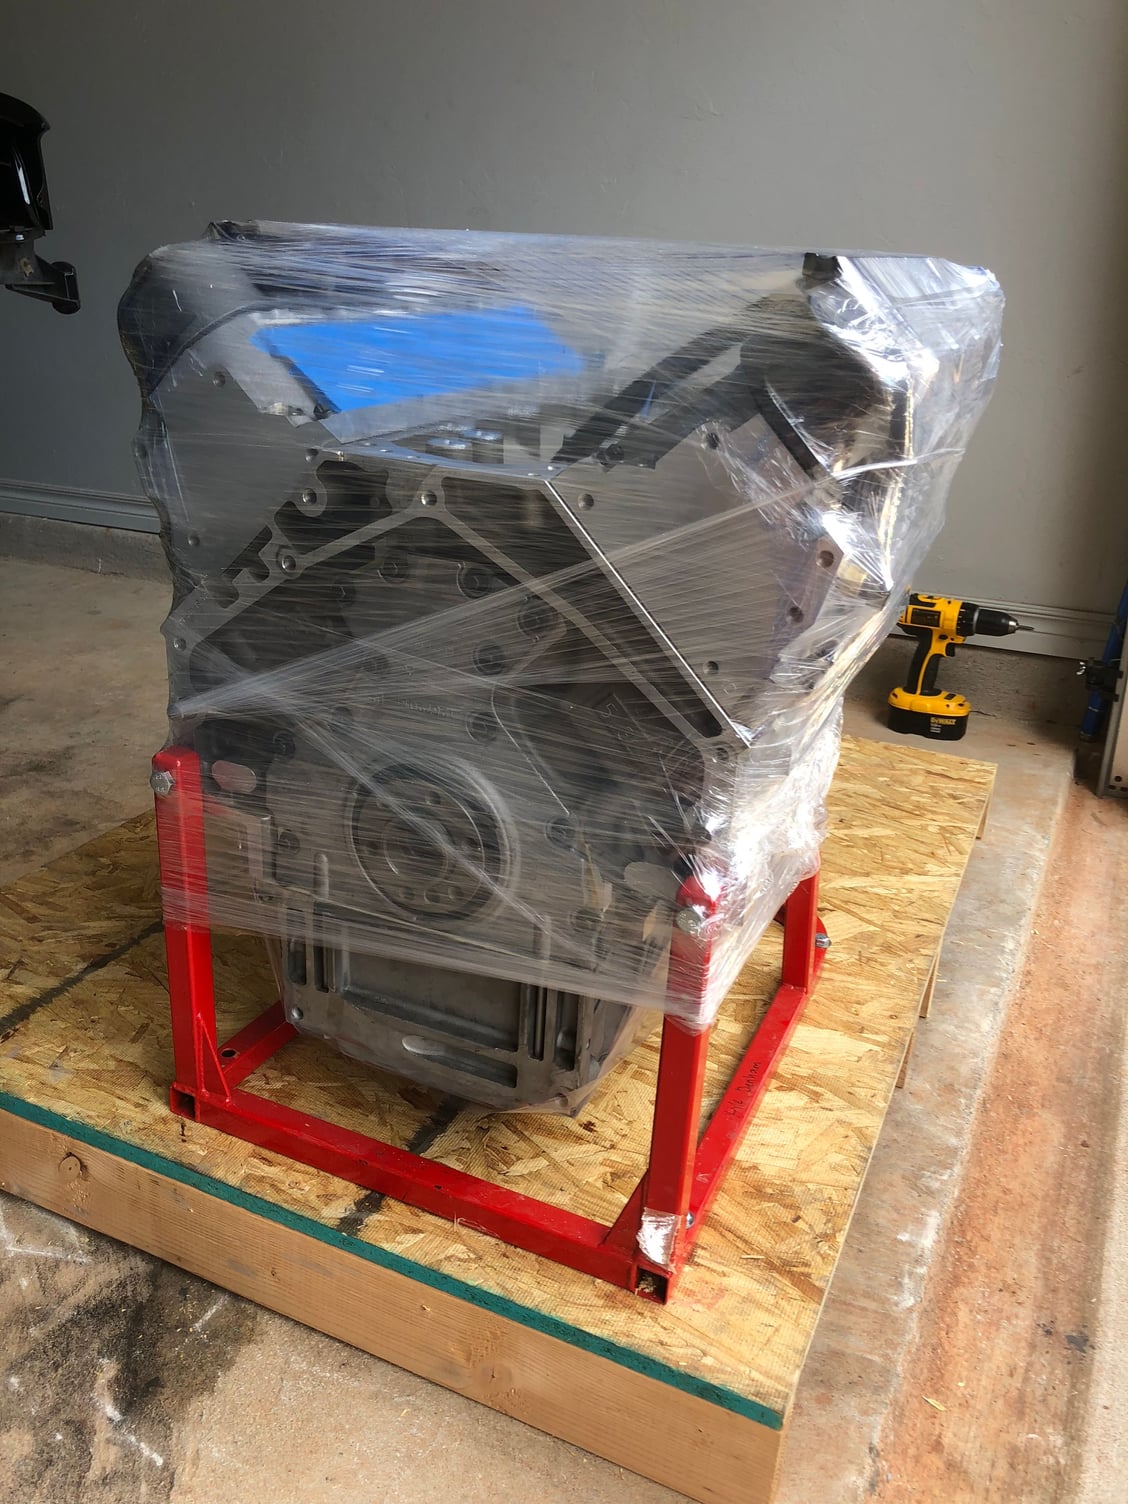
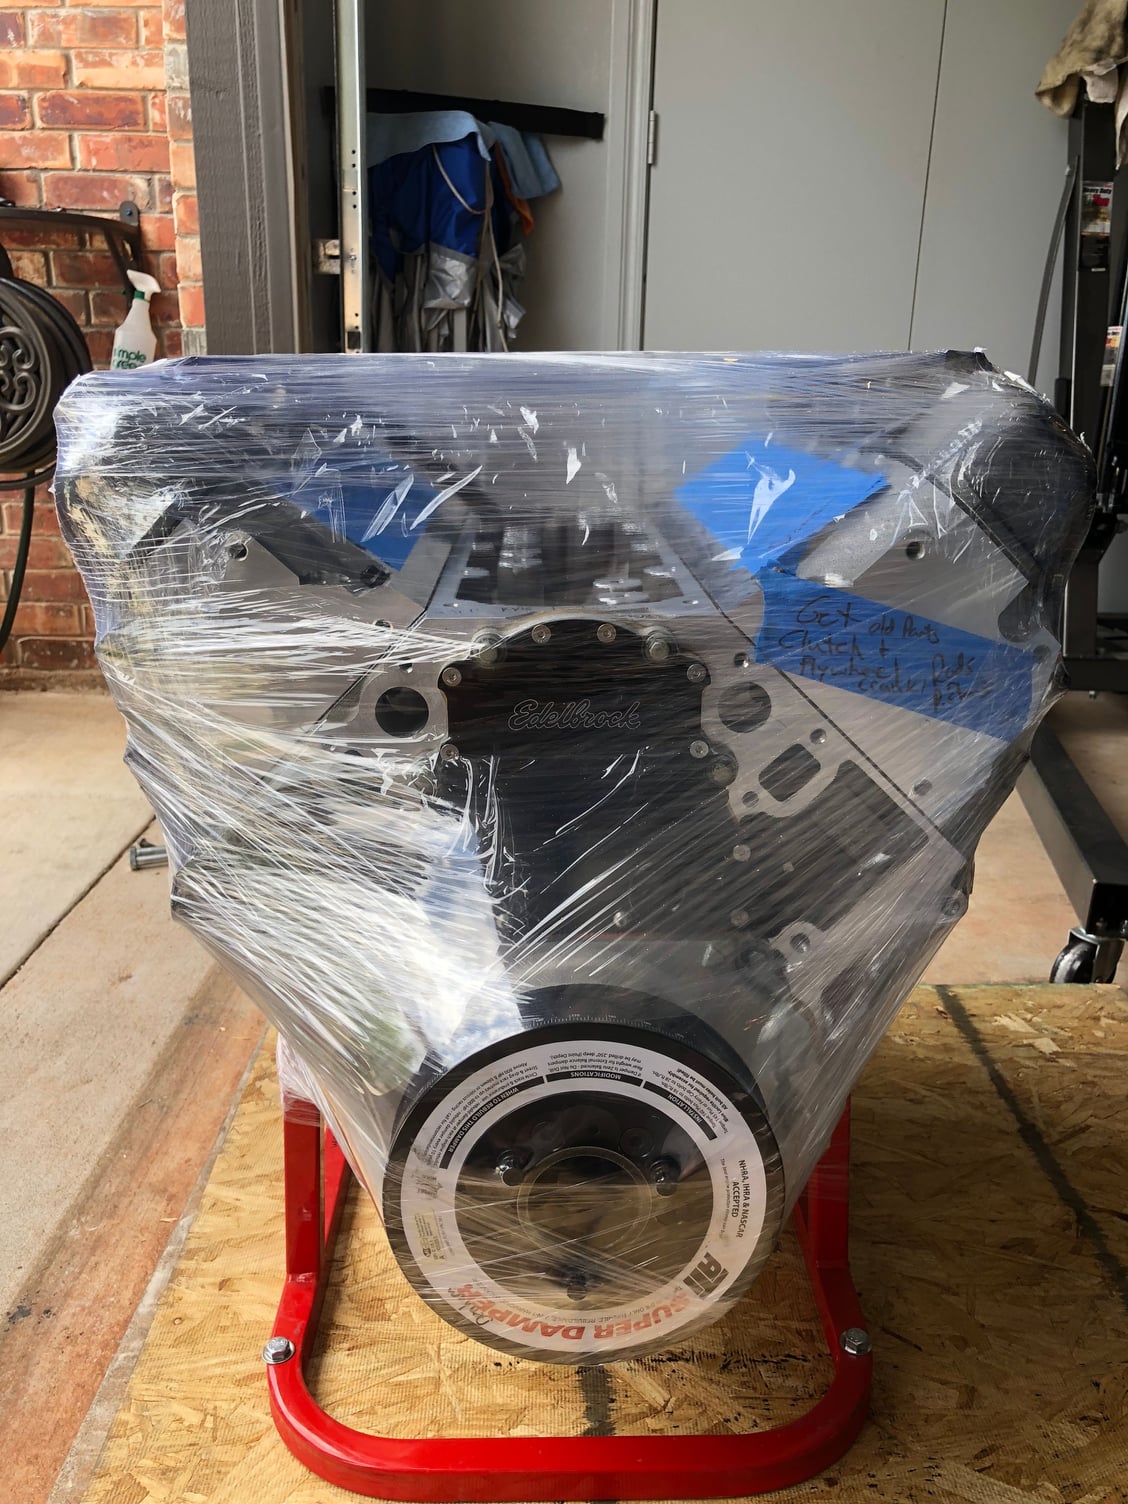
I did mine with the crate engine sitting in/on the wooden "crate" it came in. Hard to use a traditional stand - you need access to the back, of course, to bolt the bell on; and access to the front to rotate the motor with the crank pulley bolt. Looks to me like you can use the stand they shipped it on in the picture above.
#119
TECH Junkie
iTrader: (1)
See pics below -- real easy to cut a few pieces of 2x4, attach them to the plywood base as stands. Then cut the bell supports off the metal stand. LOTS easier than trying to take your measurements with the motor in and you under the car, I'd think.
Attachment 713690
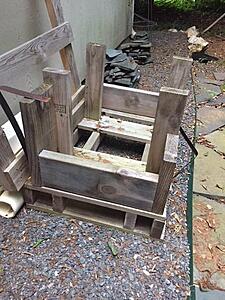
Attachment 713690

#120
TECH Junkie
iTrader: (1)
In fact, looking closer at your pictures, you may be able to just "shim" some wood under the back of the oil pan. However, you may also need to unbolt the stand from the plywood and put 2x4's under the rails to get a bit more height for the bell to clear the plywood OR slide the stand so that the back edge of the motor/bell can hang below the surface of the pallet. Lots of ways to get there with what I think is less effort than trying to do this in the car. Also, I got my wife to watch the dial indicator as I rotated the engine from the front end ---- just to be sure that it wasn't moving past .001" and returning in between those 90 degree measurements.


