When you click on links to various merchants on this site and make a purchase, this can result in this site earning a commission. Affiliate programs and affiliations include, but are not limited to, the eBay Partner Network.
The Pos Racing MaliBULL - 1966 Chevelle 4 door hardtop LM7 build thread IT RUNS! VID!
Hello everyone!
The MaliBULL is my 1966 Chevelle 4 door hardtop that I am swapping an LM7 into. The hardtop is a bit odd these days. They sometimes called them 4 door coupes, or "sport" sedans. Having no visible b pillars is something I find interesting, and I think this car was what sparked my preference for 4 doors/wagons. I prefer function over form, or when the form is created/altered by way of the function, as I like my cars to be practical on top of being fun to drive.
History:
This car has been in my family for about 20 years. The classic story of learning how to wrench on cars with my dad was with this car, and I learned how to drive a stick with it too. About 7 years ago it was willed to me. It was still basically stock (a.k.a boring and slow), and I had other vehicles/career to focus on so I didn�t really do much except store it.
This is the Malibu trim, but looking through the possible options, whomever originally bought this car checked only one option above complete base: the 283 2 barrel, which puts it in the Malibu trim. Otherwise it was manual brakes, manual steering, no A/C, manual windows, no radio, manual 3 spd on the column, front bench seat. Over the years a factory power steering and cheap cd player were added, along with a 4 barrel and headers since the factory cam had wiped a lobe when we bought it. It was Madeira maroon originally but the paint was wrecked, so the first thing we did all those years ago was a sweet Maaco paint job (I would have left it alone but it wasn�t my choice back then, and I don�t have any pics of it before painting).
Last spring (2017) I was going to take it around the block to shake it down, and to my surprise all the brake fluid had vanished! It still had the original 4 wheel drums with single master cylinder. I hate working on drum brakes so this was the perfect excuse to tear it all apart and do the upgrades I always wanted. It started with power discs all around, and since I had to pull the suspension apart for the brakes, it was a good time to upgrade that too. I got a deal on a muncie 4 speed to replace that annoying and constantly jamming 3 spd/linkage nightmare.
Ran 16.1 (2.7 60ft!) at 89 mph last year as a baseline with the 283/4 spd, with I believe a 2.90 or 3.05 gear and open diff.
Took it to one autocross late last year after all the susp/brakes, and it seemed to work well, but the gearing and open diff really held it back and made it a bit inconsistent at the limit.
With my current street tires THIS COULD NOT DO A BURNOUT without lots of water. Shameful, and had to change.
Goals:
- Fun as hell to drive
- Solid autocrossing ability with maybe an actual track day or two down the road
- Low 13's to high 12's in the 1/4 on the street tires its wearing
- Solidly reliable, the ability to hop in it whenever and drive wherever (this is always a rule of mine)
- Did I mention fun as hell to drive?
Engine:
- 2002 LM7 ~130k miles
- Cammotion titan 2 (221/226 @ .050", .595/.586, 112 LSA 110 ICL. I know LSA doesn't matter though!)
- Pac 1218s, 7.4 CM pushrods, BTR trunnions, new lifter trays, LS7 lifters
- ARP studs
- LS9 HGs
- Speed engineering 1 3/4 A body headers
- ICT billet adapter plates and anchor mounts
- Holley 302-3 oil pan (tried the F-body pan I had from the LTD, it was a no go and had to bite the bullet on the holley)
This engine came out of my LTD (thread here), which was a turbo setup. I am staying N/A so I swapped out the stock cam and put the titan 2 in for some fun without getting crazy
Drivetrain:
- I am keeping the 4 spd muncie with mechanical clutch linkage so I followed the thread here pretty close with 621 bell housing, BBC clutch, flywheel, ARP bolts. I was feeling lazy so I bought the Scoggin Dickey z bar pivot bracket
- Will be putting a 3.73 and posi in the stock rear soon after its up and running
Electronics/fuel/intake:
- Taking the Megasquirt Gold box from my LTD with harness
- Going to try and squeak by with the stock truck intake and injectors (may bump the fuel pressure a bit to give them some headroom)
- Going to save up for a drop in fuel tank most likely from Tanks Inc since I want an in-tank pump and the stock chevelle tank for this year is extremely shallow/has zero baffling
Suspension/chassis/brakes (all installed and driven on last year):
- 4 wheel power disc, stock style with drilled/slotted rotors
- UMI springs, shocks, front and rear sway bars. I had no sway bar in the back at all, and now the rear is larger than the stock front bar was!
- Jeep grand Cherokee steering box. These are the same as the original box, but with a quicker ratio, and less assist to give more feel to the driver
- 1 inch taller upper ball joints. These help fix the terrible camber curve of the older A bodies
- New tie rods, lower ball joints, urethane bushings
Wheels/tires are Cragar Soft 8's, 17x8 with Bridgestone Potenza RE 71R 245/45/17 all around. I like having all tires the same size so its easier to rotate and replace
Let the pictures begin!
This is basically how it looked all these years until I started tearing into it
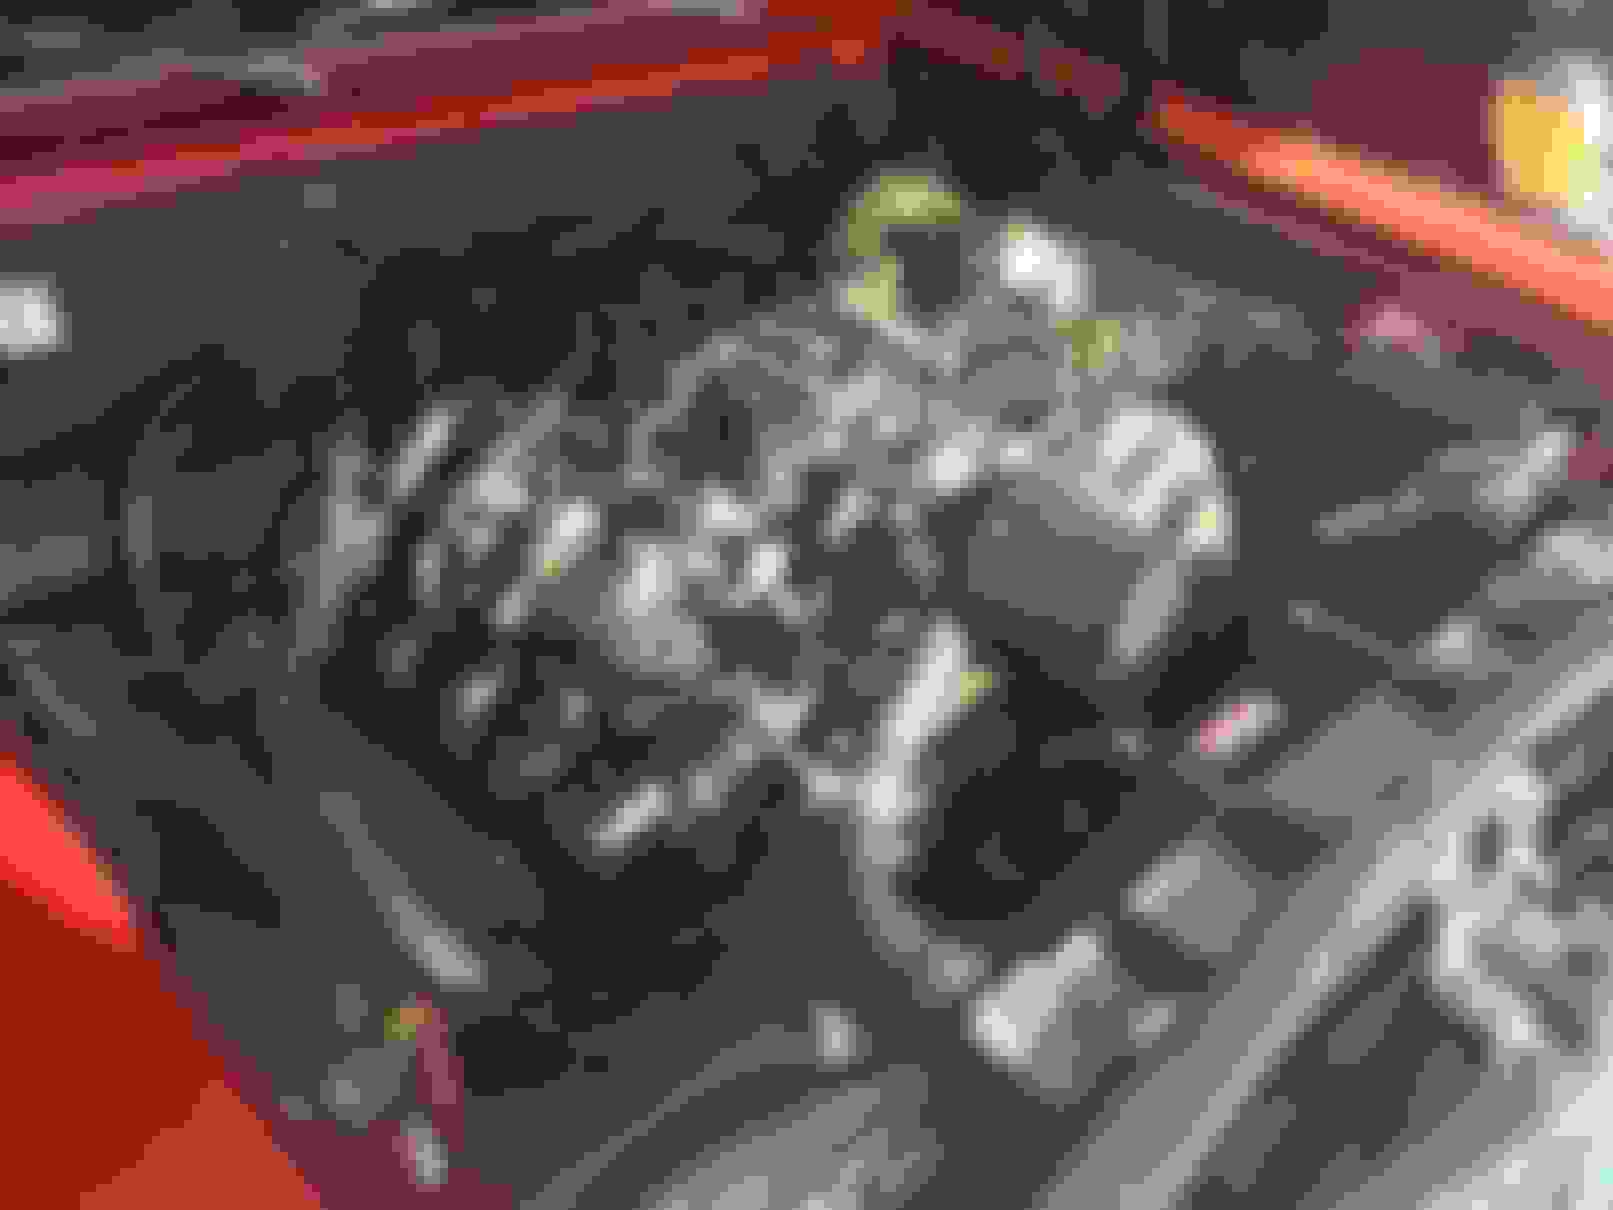
The old abused 283. Check out the sweet single master cylinder (suicide single!)
Interior is all business, no frills, just perfection
All the front suspension work can be seen in this pic
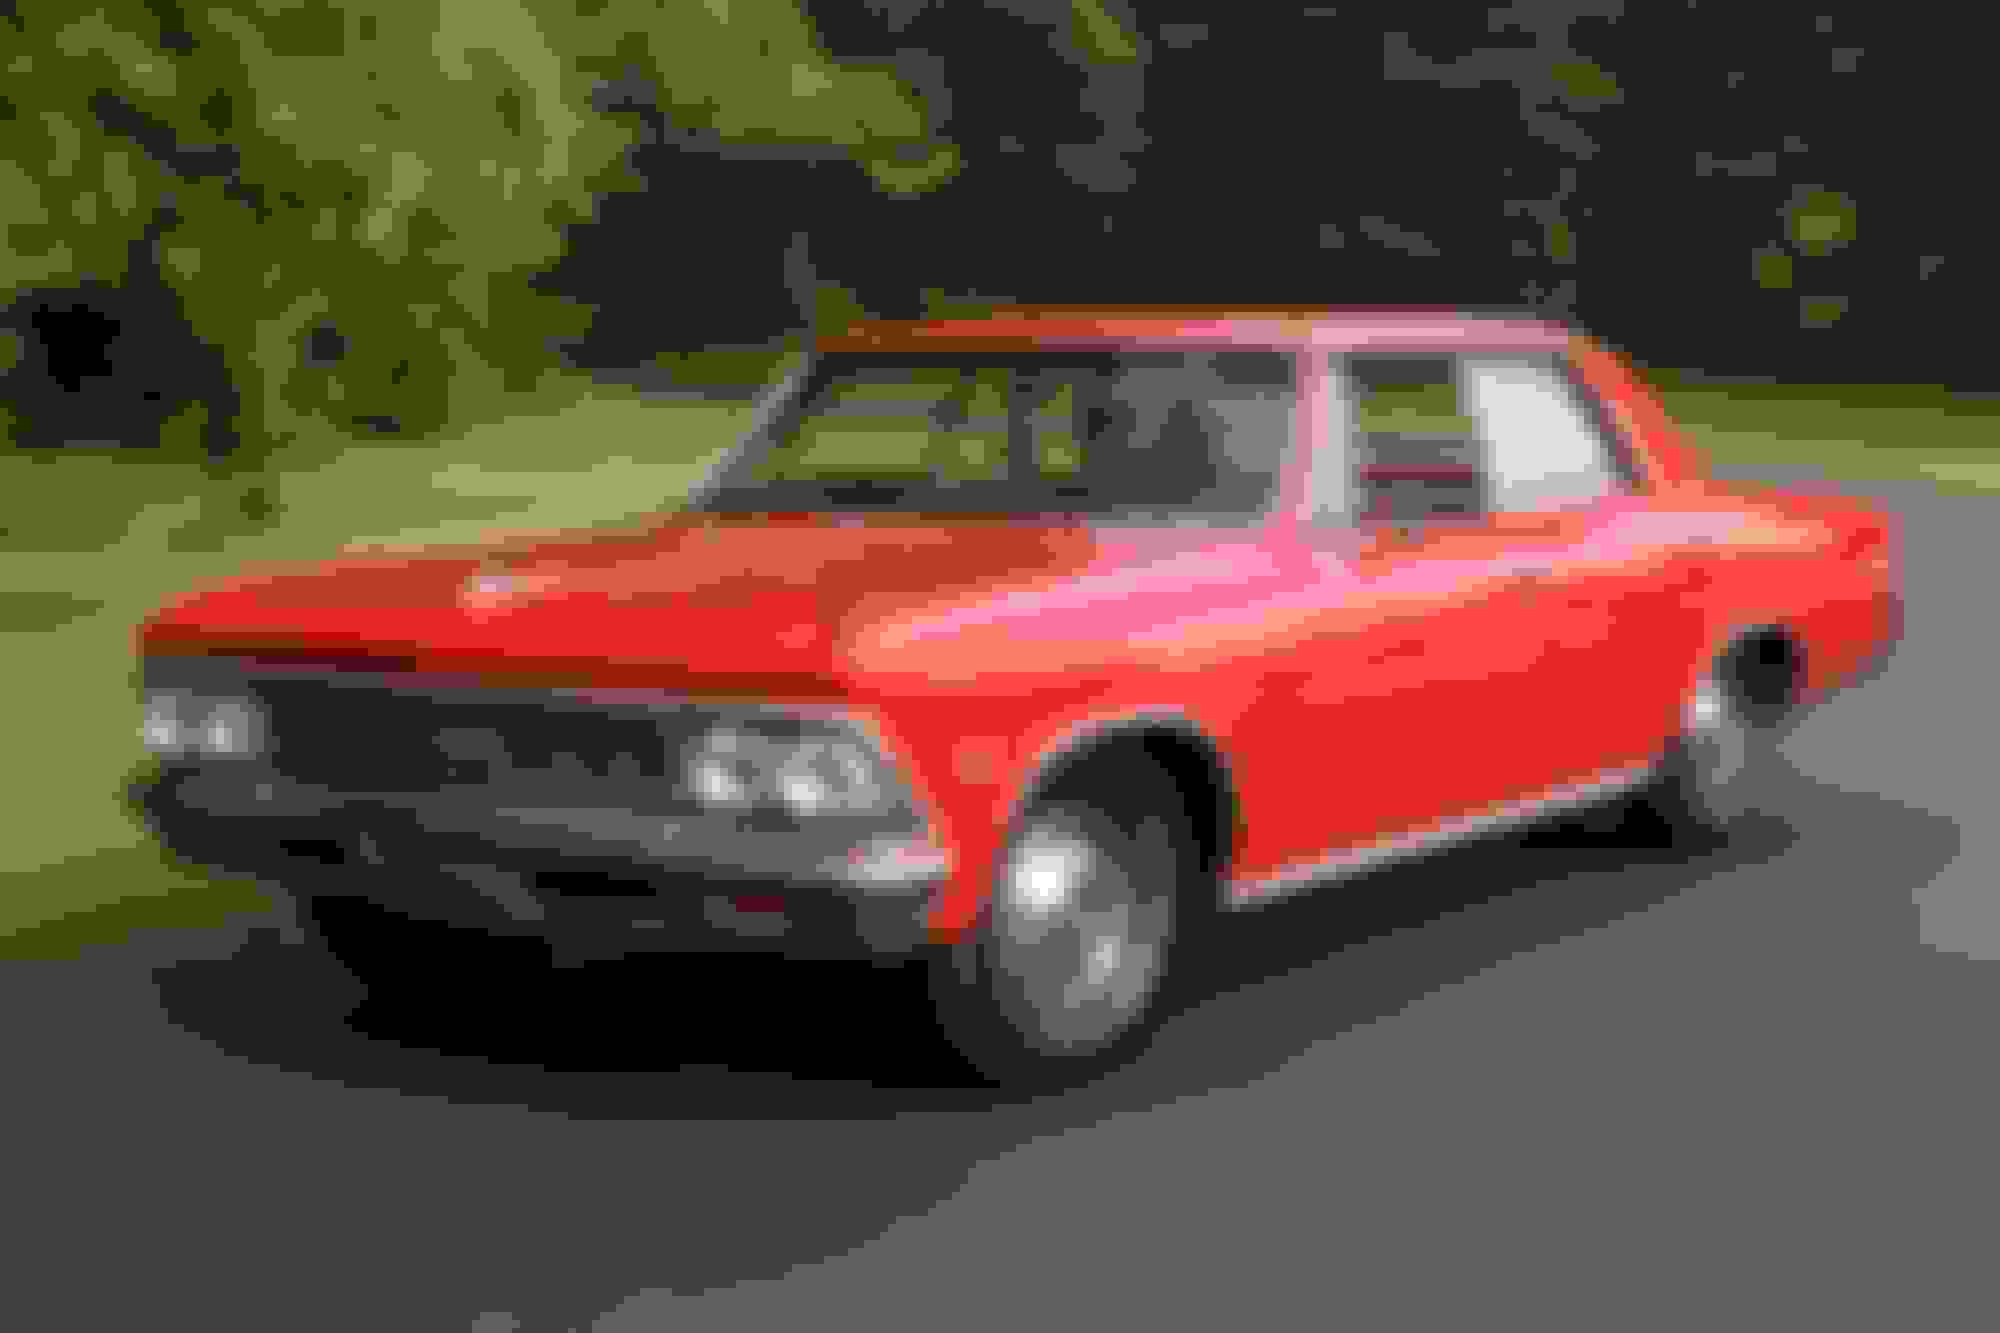
This is how is sat after all the suspension work. I think the stance is just about right and I like the black wheels offsetting the bright red
This is a PoS racing production, so it has been dubbed the "premium" edition seeing as how it�s a bit nicer car than my LTD
I have had this racing seat for years. For autocrossing it will go in, but otherwise the bench seat will be rocked
M20 muncie that has been with me or my father for the last 15 years. Its still going strong, and nothing seems to beat the tactile feeling of a muncie 4 spd with a hurst comp plus shifter
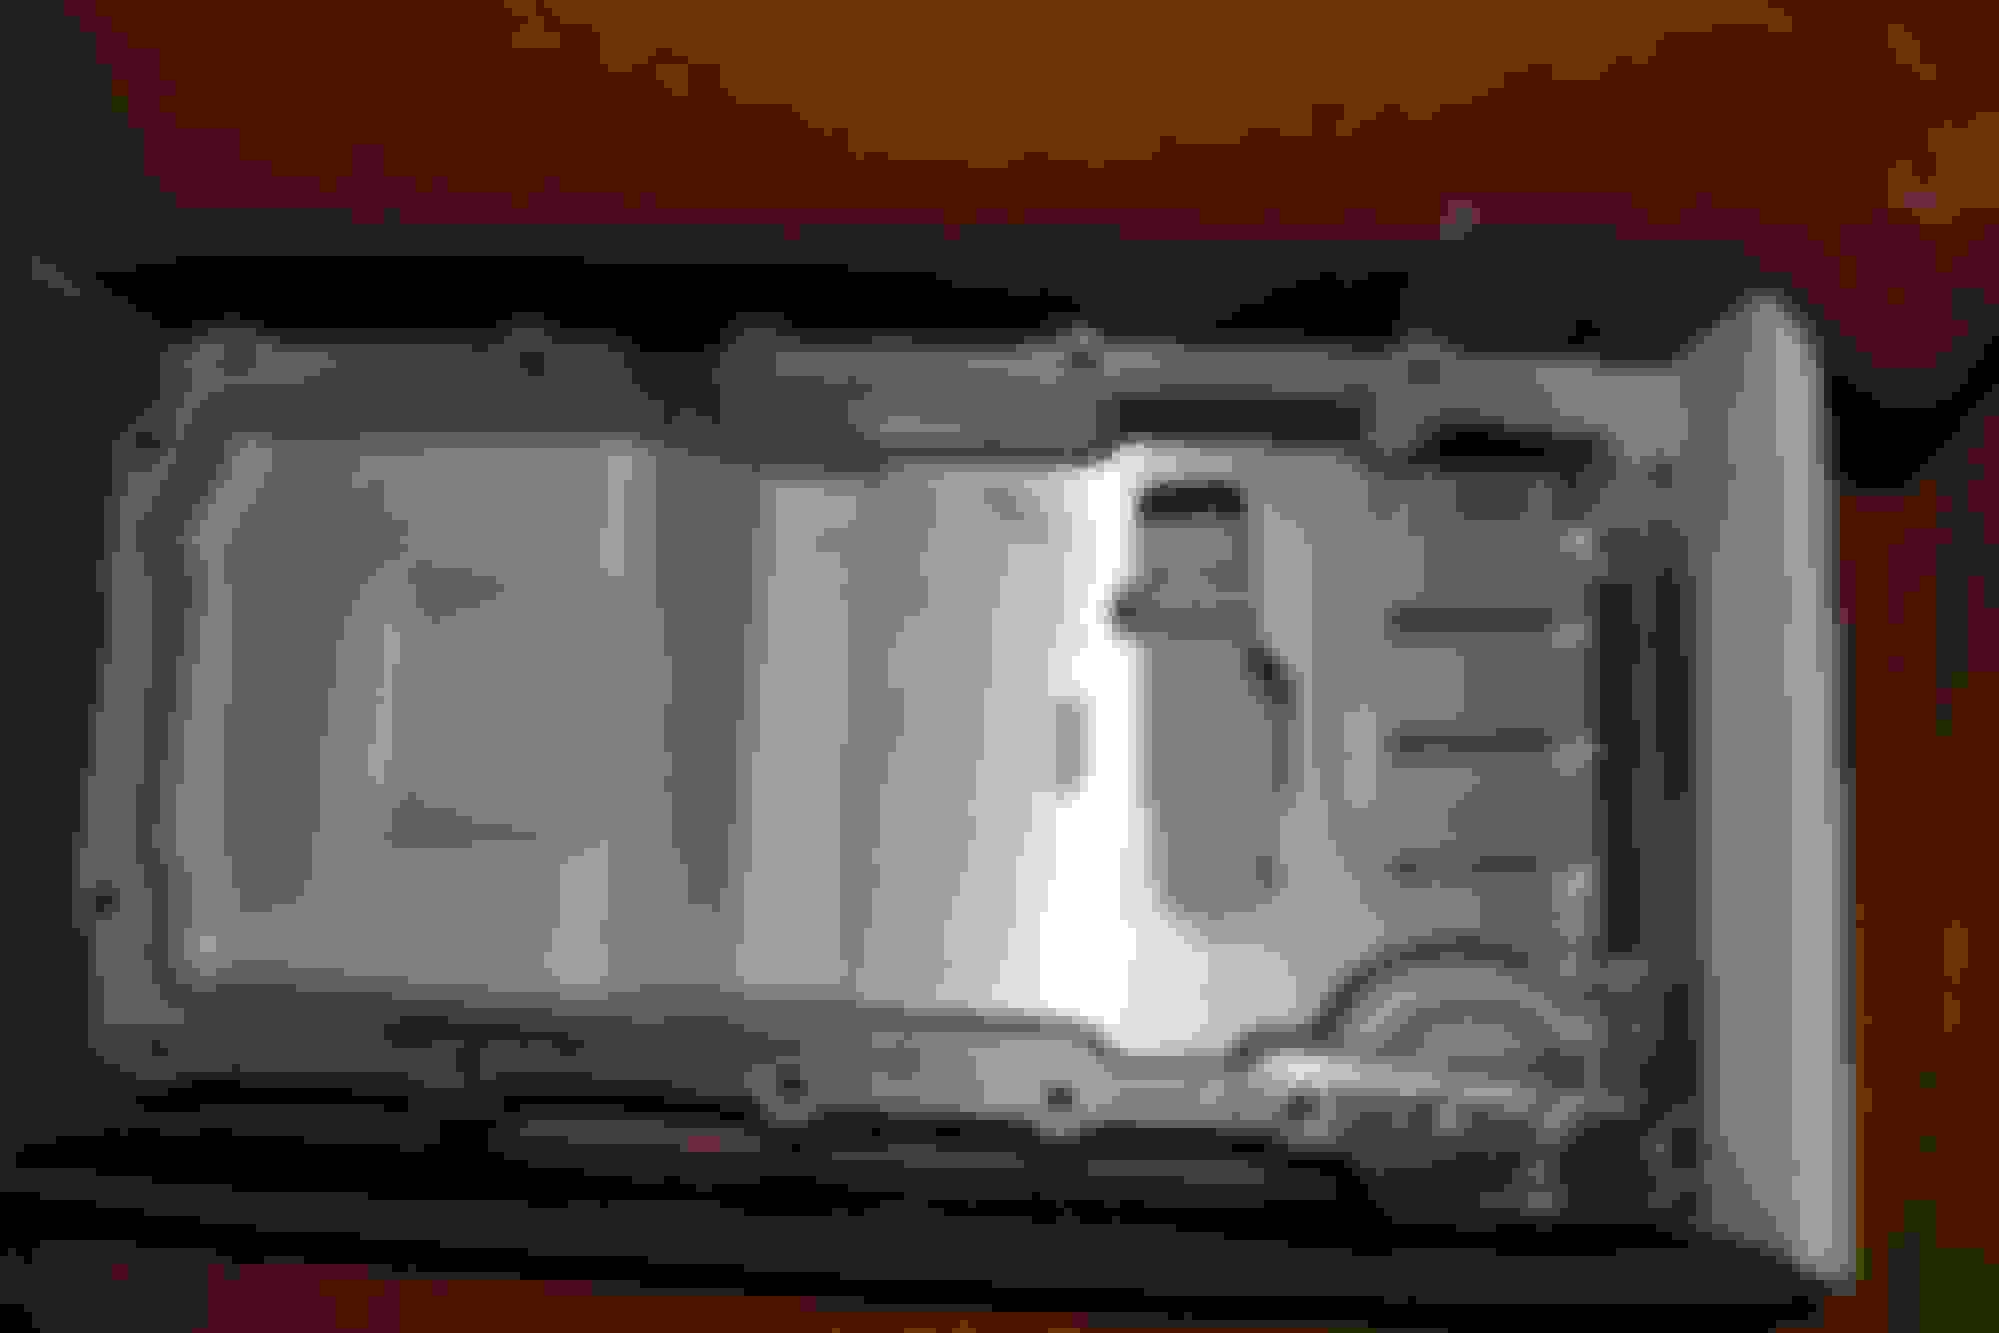
I wanted to see for myself how the F body oil pan would fit since it was already attached to the engine from my LTD swap. It let the engine drop in, but would not rotate at all before contacting the cross member
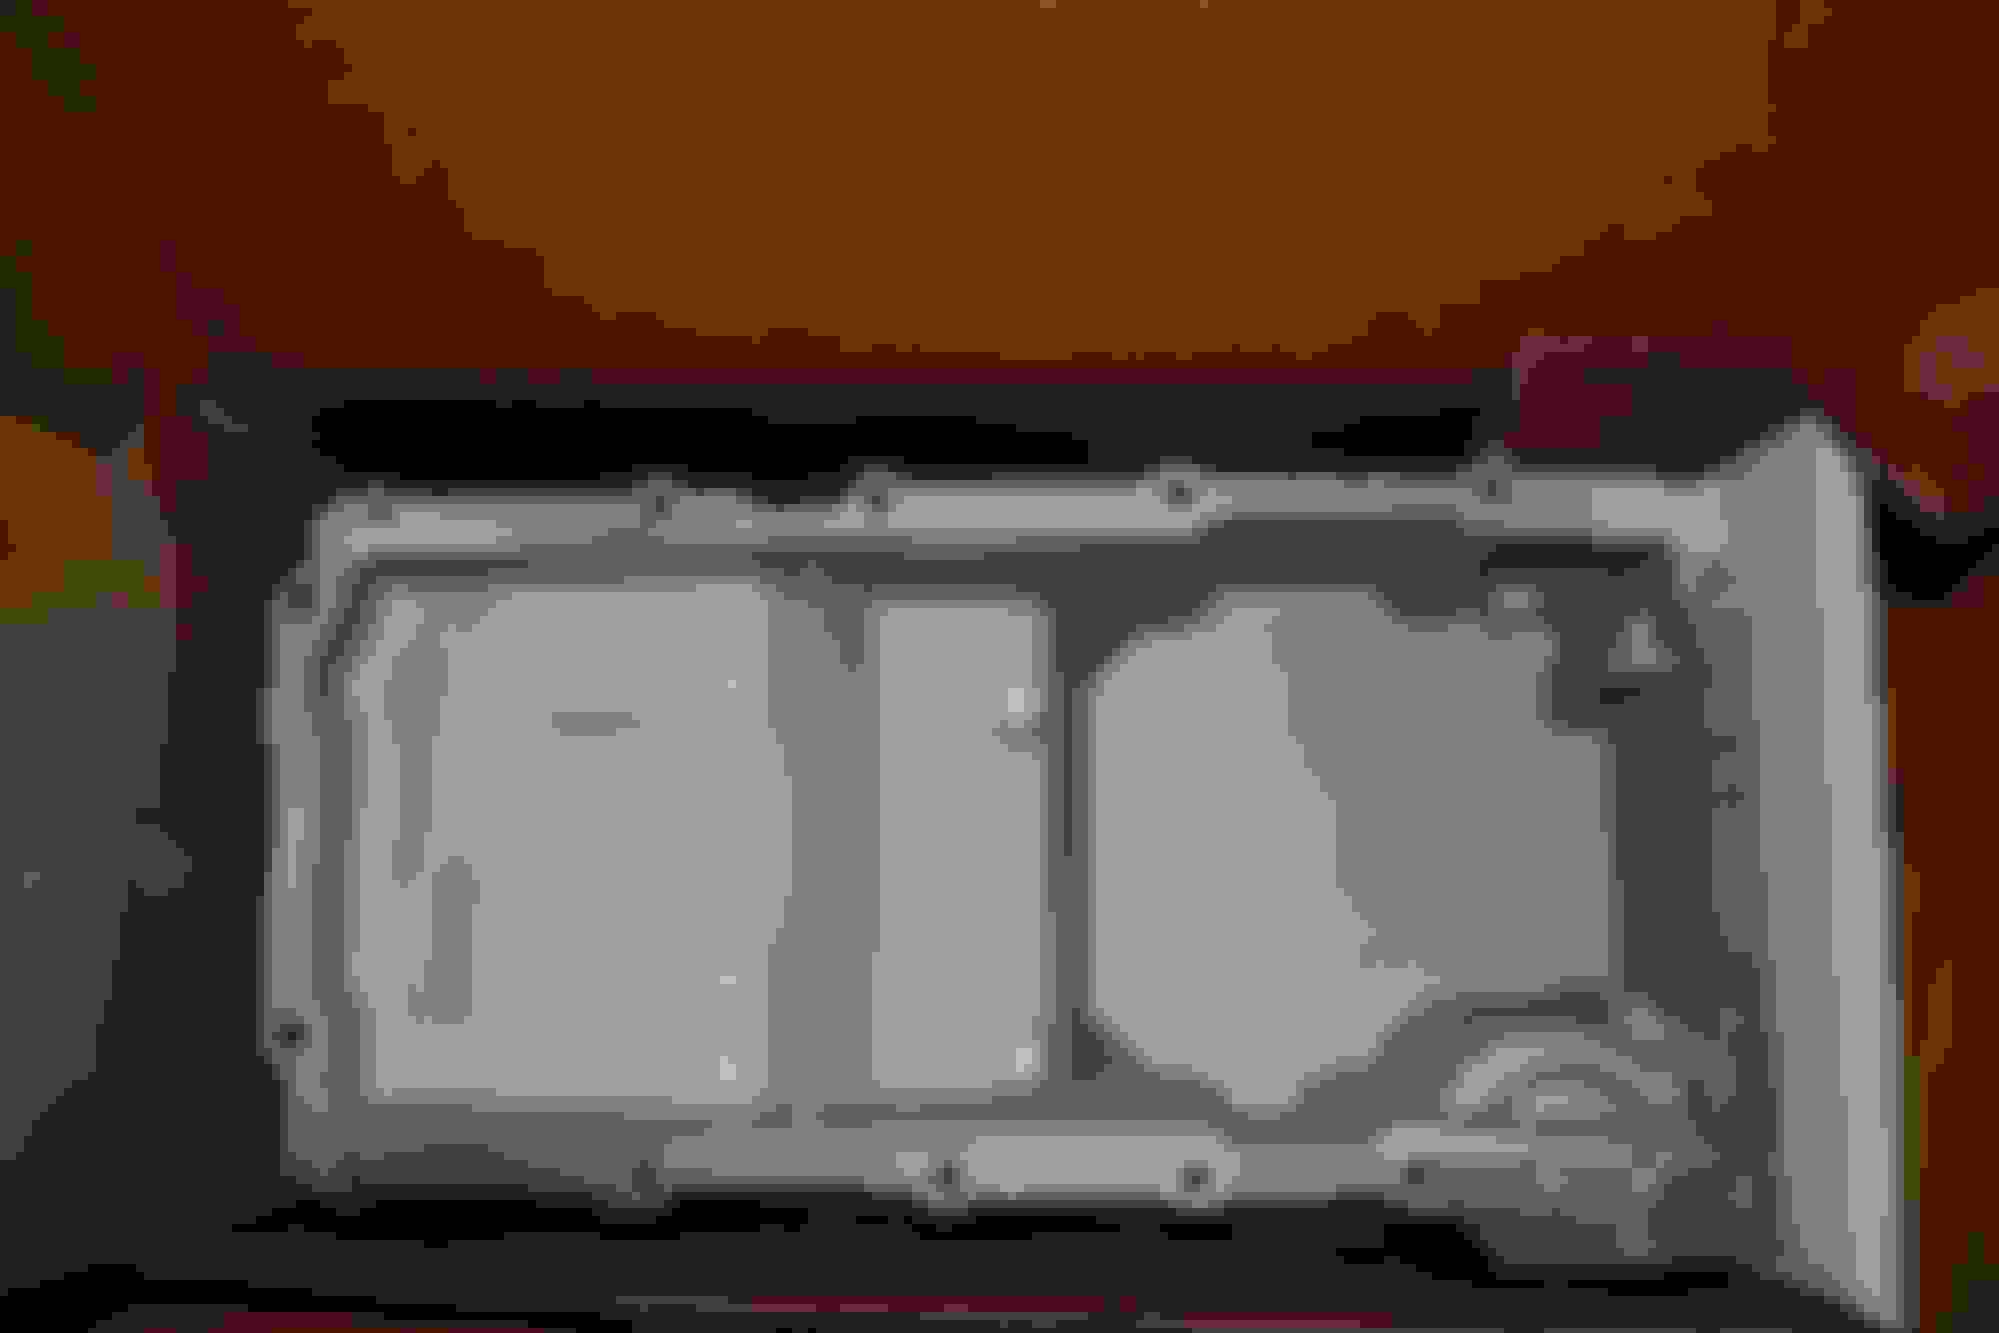
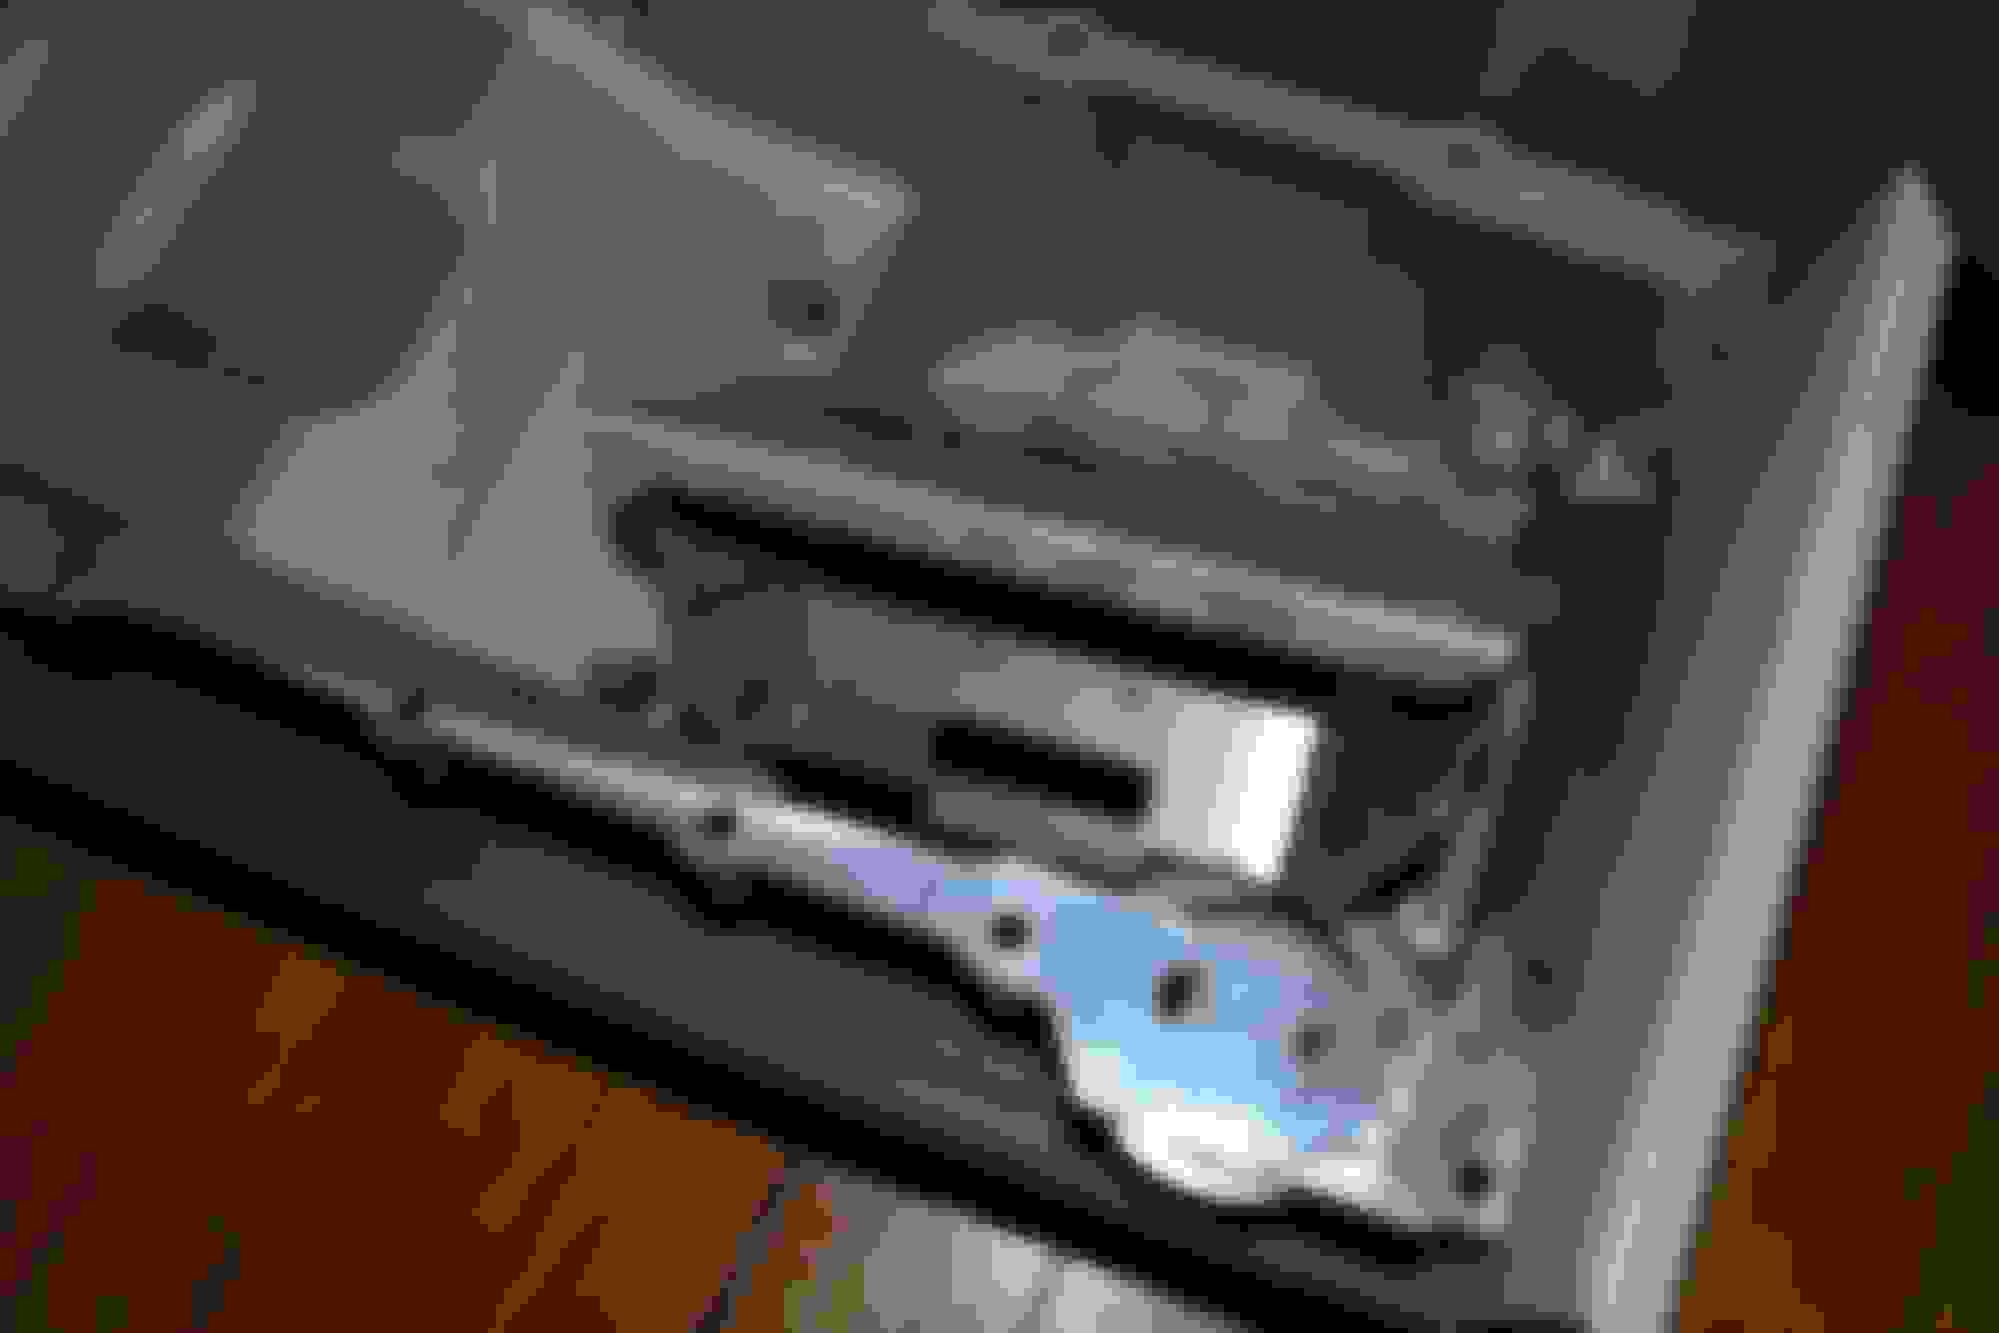
Holley 302-3 with the Improved racing baffle which needs a couple tweaks to work. Notice the indents in the front corners of the sump area as compared to the baffle
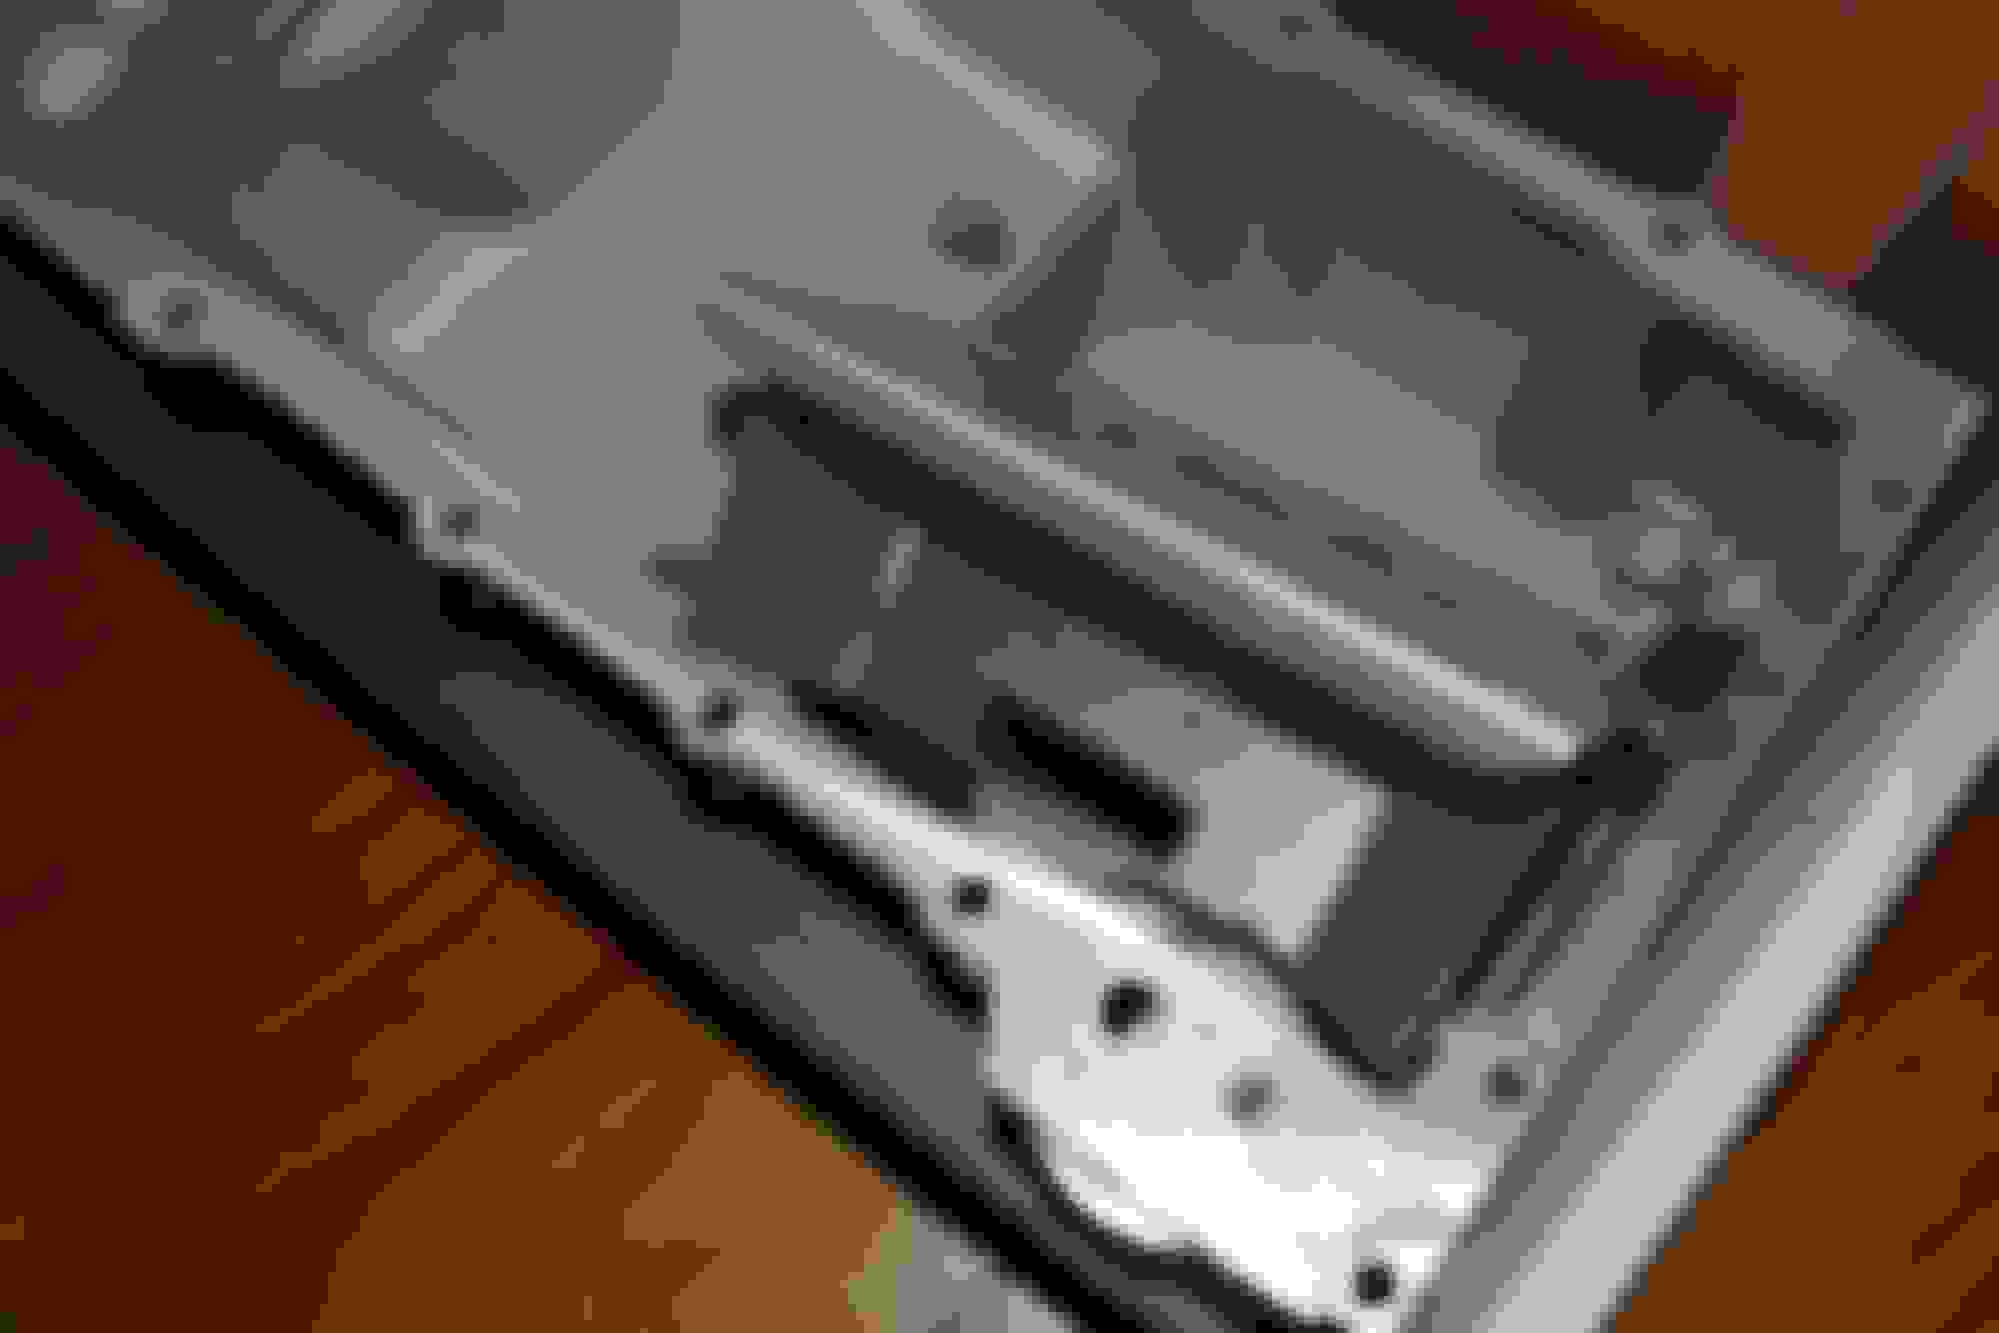
I skimmed off the corners of the baffle just enough to let it drop into the pan
While waiting for some parts to arrive I took my tach and GPS speedometer from the LTD and made a jankey looking mount on the steering column to keep it feeling old school (the old sunpro tach was mounted on the column forever)
Radiator was also taken from the LTD. I have since made brackets for it and the fan, along with the overflow bottle being mounted. The upper rad hose looks like it will work, but still no solution to the lower. I should be able to trim something up
Because I am using the old muncie, and keeping the clutch linkage, I had to clearance the block a bit as the pivot ball needs to occupy that space where the block has that square part jutting out at
That is up to current as I will be putting the trans in next so I can finally get the engine sitting at the correct angle. That will allow me to work on the front accessories, intake, wiring etc.
Though I don't own a four door or a wagon, I'd certainly love one if I did. The ease of getting into the back seat makes it all worth it. Nice job here and you have a great looking car.
Though I don't own a four door or a wagon, I'd certainly love one if I did. The ease of getting into the back seat makes it all worth it. Nice job here and you have a great looking car.
Rick
Exactly! The four door just makes life easier. Thanks!
Originally Posted by Bearing Muncher
This was Barbie's car.
I like what you are doing.
Thanks and you are correct, this was Barbie's Malibu. She drove it everywhere in southeast Michigan and had a big personality so its not surprising people recognize it. I want to keep the spirit of the car, but just make it something a little more fun to drive. Not looking to hack it up or dramatically change the appearance more than the wheels and the lower stance.
Update: I keep chipping away things, getting closer to start up. I got the muncie bolted up a couple weekends ago and since I was tired of rolling around on the ground I started doing the fun stuff under the hood.
I swapped out the truck injectors for some 2001 LS1 injectors. Denmah once again had the info ready about the bolts and spacers to put these injectors in. I went to these since my harness is already EV1, I have some 80lbs that I could drop in later if needed, and from what I have seen the LS1 injectors flow a couple LB/hr more than the LM7s, so I should have that headroom I wanted. I also plugged the EVAP solenoid hole by tapping the intake and finding a random bolt with the same thread (this engine needed some chrome bling )
I started on the front accessory drive, but I am waiting on a new power steering pump as I realized the one I planned on using was a big too far gone. I got a smaller PS pulley, 12607307 that is steel and looks like it will work.
Next was the throttle cable and pedal. These cars had mechanical throttle linkage originally. I really was not keen on spending a bunch of money on the Lokar pedal and cable, so I went with a stock 2001 chevy truck cable and a 69 camaro pedal. It seems to have gone in well. I had to tweak the pedal arm that holds the cable in order to get the correct sweep from idle to WOT, but the pedal bolts right to the stock firewall location.
I also finalized the location for the ECM and mounted it, along with punching a hole in the firewall and routing the ECM harness through. I wanted to keep my glovebox, and wanted the ECU to be readily accessible (this is a recurring theme), so its front and center, bolted to the bottom of the dash. The pic shows both the new pedal and the ECM mounting. Don't mind the stray wires, they will be cleaned up.
Thats everything so far, but I have a bunch of stuff in the mail to hopefully start knocking out these projects, including my favorite part: the wiring. I ordered some fuse/relay boxes, and have been planning out all the electrical needs this car will have.
How wide is your new power steering pump pulley? Looks like five inches???? I know that the more narrow the pulley, the faster it pumps fluid which can make steering a little twitchy. This does not harm the pump and a flow restrictor can be used which also causes no harm, I'm told. I have mounted a 5.5 inch S-10 truck pulley on my pump and the motor is not in yet but it is attached to the cherry picker. So I don't know if a 5.5. inch pulley will be narrow enough for my 70 El Camino. Soon . . . I will know.
Thanks for the tip on the throttle cable and I will follow your advice for my LM7 here.
Many thanks and great job!!
Rick
I'll have to double check but yes I think its around 5 in which is a decent amount smaller than stock. During my research it seemed quite common for the plastic pulleys that people use for clearing the steering box to fail, so I figured I would take the safe route with a steel one, even if its a bit smaller than preferred and spins the pump a bit quicker than optimal. Is your pulley from the S10 steel? I do have a Jeep steering box which dramatically reduces the twitchy feeling of the stock box, but could you get me some info on those flow restrictors? Any part numbers or links? I would like to keep the nice steering feel I got after putting the jeep box in.
Thanks for the feedback. I'll let you know if the pedal doesn't work out for some reason but it really bolted in nicely so I think it should take some abuse.
These are for use with the Saginaw style pump and steering gear. And this part is not very expensive or difficult to install.
Rick
Thanks Rick! I ended up going with the DSE restrictor that you linked. I swapped the pulleys and just got it all bolted in. I will say that even this smaller pulley is quite close to the steering box, about 3/4 in, hopefully under heavy braking and cornering there will still be enough room.
I ordered the Tanks Inc tank and pump assembly. It looks good, some decent baffling. I will say though, I really wish they clarified the importance of getting the supply line depth right in one try as I struggled for awhile with trying to get the line off. It all went like this: I carefully measured the depth and followed the instructions, but I also accounted for the gasket of about 1/8in (probably where it all went wrong). I trimmed the plastic line and pressed the pump in. Well the pump with nylon sleeve was not coming out of that line, but I had cut it a bit long thinking its a lot easier to trim again then it is to add back line. Since the side with the pump could no longer be trimmed, I had to pull the line off the plate itself. It was a real pain getting that plastic line off to trim it down a bit more, but I finally got it and all is well. the tank is not installed yet as I have to order up the fuel fittings and lines, but that is the last of the major parts to order!
I then got my lower rad hose figured out, I broke down and bought a little 1.5in aluminum pipe with rolled ends, cut the hose to size and all its needs are a few clamps.
Through out this, I have been chugging away with the wiring. I bought 2 fuse/relay boxes, a couple bus bars, and a few circuit breakers and got after it. This pic is not of the final product, but its close (there are covers not pictured). I have added a few more grounds and ran cables over to the battery. This is accessible, expandable, decently organized and there is still a ton of room under the hood (gotta love A bodies!). I already have some covers planned for the positive posts of the bus bar and breaker.
I've done a bunch of wiring under the dash, but no good pics there yet, its just a wiring mess right now. The basic gauge location and wiring is good to go though. In a totally random homage to the 283 that was in the car, I ended up using one of the valve cover breather grommets as a wiring grommet through the firewall.
One other note is that I will be adding some kind of throttle stop as I noticed the pedal doesn't reach the floor and only stops because the throttle body wont go any further. I'd like to not break my throttle cable or bend my pedal when I am slamming gears so I am thinking of a bolt through the floor with a couple nuts so it can be adjusted as necessary .
I also am seeing an issue with the O2 sensors, as the bungs on the headers put them into the floor. I figured this might be an issue as I have read others running into this, but I don't think a few light hammer taps are going to be enough. Hopefully I dont have to punch holes in the floor just for that.
Work has been slow on the car as I ran into a few unforseen issues. The biggest was the clutch linkage. Let me tell you about Chevy clutch linkage. For some reason, Chevy thought it would be great if they made a different Z bar for basically every car, and for every year of car. So the 67 chevelle SBC z bar has a very different look than my 66, even though a 66 and 67 chevelle are nearly identical cars. I ended up having to clearance the block behind the pivot ball mount bracket a bit more, then I had to cut and reweld the lower arm of the z bar (about 60 degrees it was moved) since it was heavily occupying the same space as the header. This required hacking up the linkage rod so short that I there is not much adjustability, but it is enough.
I did the Throttle stop as I mentioned. It is not pretty, but it works. Just a bolt with some large washers and two nuts through the floor.
I had to tweak the passenger side header a small amount to clear a bolt for the upper control arm, along with the side of the frame.
After a number of small things (fuel pump was wired backwards, serpentine belt was too long due to smaller PS pulley, new belt is K060905, on the short side but works) I finally had it together for initial start up testing. I will be doing a real intake along with cleaning up the wire routing a bit.
I was trying to initial start the car. It was cranking and cranking, but not even a hint of firing, so I figured either no fuel or no spark. Pulled a plug, and there was wet fuel, so it was looking like no spark. That is odd, since the entire ignition system/sensors/ECU came from my other working car. I start to check the computer and its saying SPARK CUT. Huh? I had already turned all that off (no overboost protection needed if there is no boost). I then happened to notice the MAP reading was 290 kpa. hmm, isn't that like 40+ psi (or 30+ with the vacuum side of the range taken into account)? It was then I realized the only sensor that was not the same after the swap was that I used the stock truck MAP instead of the old 3 bar. So the engine was thinking there was tons of boost in there while cranking. I quick change of the MAP sensor properties and the car fired right up! One thing to note with Megasquirt, just because you turn Overboost protection off, you still have to put the setting from Spark cut to None. Doesnt really make sense to me but no harm done.
The sheer power of the start up caused some drywall from the ceiling to fall on the car (not kidding).
Quick little vid of it idling and cruising. Its open headers, needs tuning, and the 2.90 rear paired with the M20 tall first gear is as brutal as ever:

 02-15-2018, 06:15 PM


 )
)