
LS power into 1980 Firebird


 02-21-2011, 10:55 PM
#143
Thanks, I'm still waiting on my order of por-15 to get here along with the brake lines. I will just get a replacement booster and master cylinder for disc/disc setup for now along with an adjustable proportining valve and a residual valve to reduce pressure to the drums in the rear. This will keep me from spending big bucks on an aftermarket setup and I can put it towards a fuel injection tank or wiring harness.
 02-22-2011, 06:54 PM
#145
 . After I'm done with the drivetrain/suspension and wiring I will need to move inside and start mocking up and fabbing for the 4th gen seats.
 02-24-2011, 10:34 PM
#146
Quick update. M por-15 came in Yesterday, but it got home too late to work on it so I went at it today. Since I had previously sanded the firewall, I had to lighltly sand it again because it was exposed to some moisture the past couple of days. The metal ready from por-15 did a really good job of keeping the flash rust off, it was minimal. Then one coat of gray por-15.
I also got a hold of a Iroc thats being parted out and I'm getting the quick ratio steering box instead of spending $500 on a new one. I'll get some pictures up in a bit.
I also got a hold of a Iroc thats being parted out and I'm getting the quick ratio steering box instead of spending $500 on a new one. I'll get some pictures up in a bit.
03-02-2011, 11:42 PM
#150
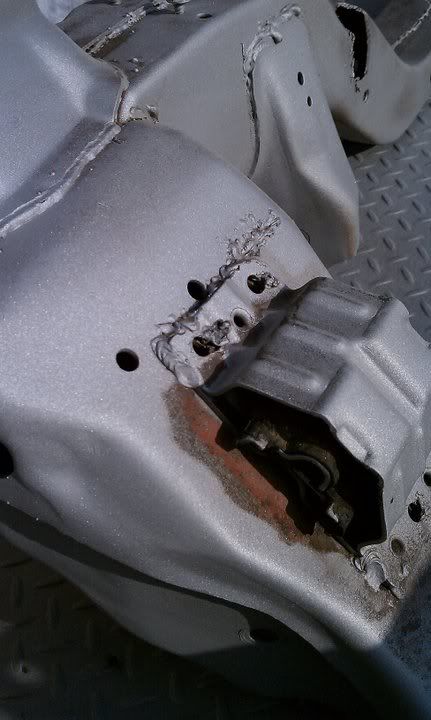
Alright, finally the car is back on all four, motor and all! Looks like its gon sit pretty low with a killer stance Spent about four hours today on applying one last coat of por-15 and moving the subframe with motor and tranny attached to under the car, not fun doing this by yourself on uneven ground, back is sore like a ****. I had to take the old Pacesetters off along with the y-pipe, the pacesetterswill need some slight modification to make them work between the subframe of the second gen. Tomorrow, I will get started on the inner fender wells, sand them down and paint them along with other front end parts.
Spent about four hours today on applying one last coat of por-15 and moving the subframe with motor and tranny attached to under the car, not fun doing this by yourself on uneven ground, back is sore like a ****. I had to take the old Pacesetters off along with the y-pipe, the pacesetterswill need some slight modification to make them work between the subframe of the second gen. Tomorrow, I will get started on the inner fender wells, sand them down and paint them along with other front end parts. 

.jpg)
 03-17-2011, 01:13 AM
#154
Launching!
iTrader: (1)
Join Date: Sep 2008
Location: Midland, TX
Posts: 205
Likes: 0
Received 0 Likes
on
0 Posts
Lol I have the carshop plates and some clamshells
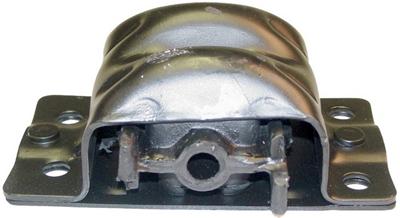
Guess I need to get some SBC frame mounts then.
Did you have to use different bolt holes for the frame mounts?
I read a few people having to drill new holes in the crossmember
Guess I need to get some SBC frame mounts then.
Did you have to use different bolt holes for the frame mounts?
I read a few people having to drill new holes in the crossmember
03-17-2011, 06:54 PM
#156

zamora7
Looking good. So does your pitman arm clear the alternator at full lock?
thanks,
JIm
Looking good. So does your pitman arm clear the alternator at full lock?
thanks,
JIm
03-17-2011, 07:11 PM
#157

 03-27-2011, 03:04 PM
#160
TECH Fanatic

After you get them lose, there should holes that should line up, but be sure to have the adapter plates facing the right way, or on the right side, because I was thinking they had the engine to far forward, but found I had them on the wrong side, and it lined up perfect!