
1973 RS Camaro LSX Swap


 12-08-2012, 08:56 PM
#843
I'm ready Tony.......but the car isn't. It's still a full nitrous kit away from anything like that. Hopefully she'll be packing and ready by spring. You gonna come up here and run the video camera for me when it goes down? Beers are on me!
12-28-2012, 07:25 PM
#846
Seems like the updates are few and far in between lately. But I spent the day in the garage today messing with a few new parts Santa brought me. No…..it wasn’t a nitrous kit, but it was a few of the supporting parts to get me started. I got a purge kit but the main thing I worked on today was mounting the fuel pressure gauge that I’ll use to monitor fuel pressure for the kit. It's a mechanical gauge that needs to be mounted outside of the passenger compartment so I decided to mount it under the cowl at the back of the hood.
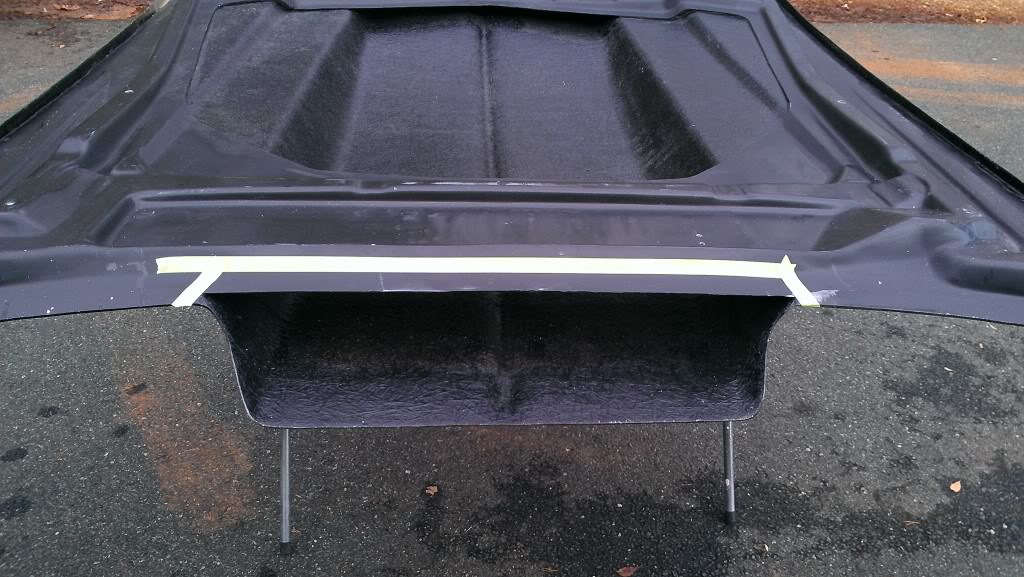
First I pulled the hood off and took it outside for a little trimming of the brace across the back of the hood. This really had nothing to do with mounting the gauge but I had been meaning to trim this part for a little more wiper clearance and this seemed like a good time to get it done. The tape line shows where I would make my cut.
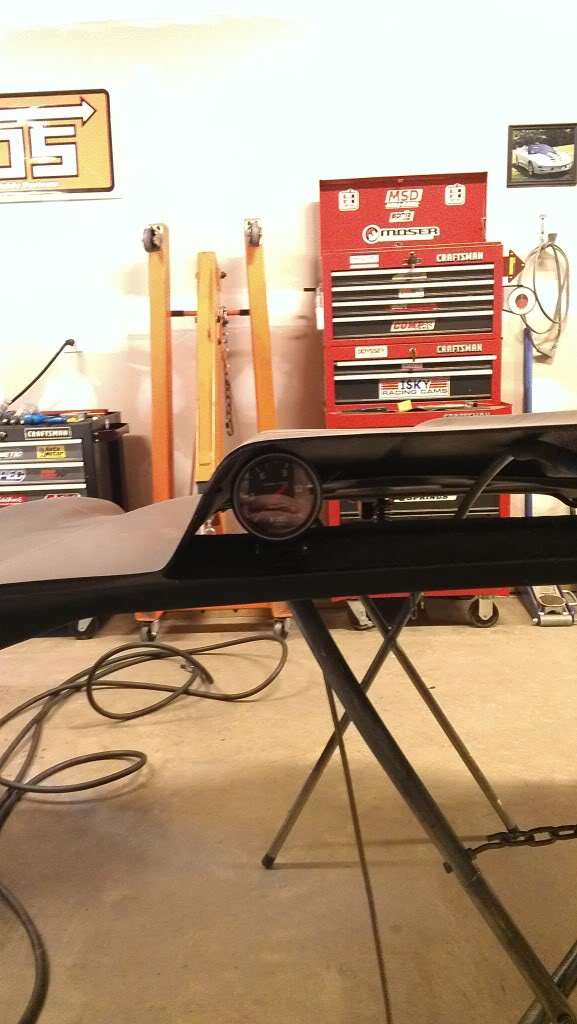
After making the cut and dressing it a little with a scotch brite disc, I brought the hood back inside and mocked up the gauge inside the cowl so I could mark and drill the holes for the mounting cup.
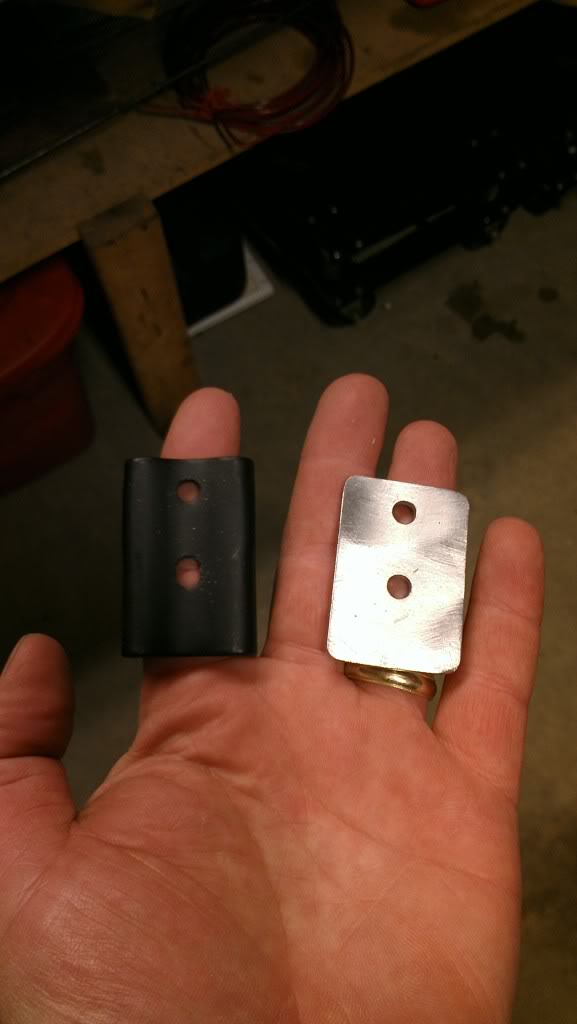
Next I wanted to make a backing plate for the underside of the cowl brace so I wasn’t just bolting the mounting cup base to thin fiberglass. I made this simple plate out of some scrap aluminum flat bar that will sandwich the fiberglass between it and the mounting cup base.
Once everything was bolted into place I had my wife help me bolt the hood back into place. Here’s the view of the gauge through my extremely dusty windshield.

Here’s a shot of the under hood connection. Since the purpose of this gauge is to monitor fuel pressure to my nitrous solenoid, it is plumbed to one of the outlets on my nitrous fuel pressure regulator. The other side of this regulator will feed my nitrous solenoid. I haven’t wired the light for the gauge yet as I figure I’ll do that when I’m under the hood and dash wiring everything related to the nitrous kit.

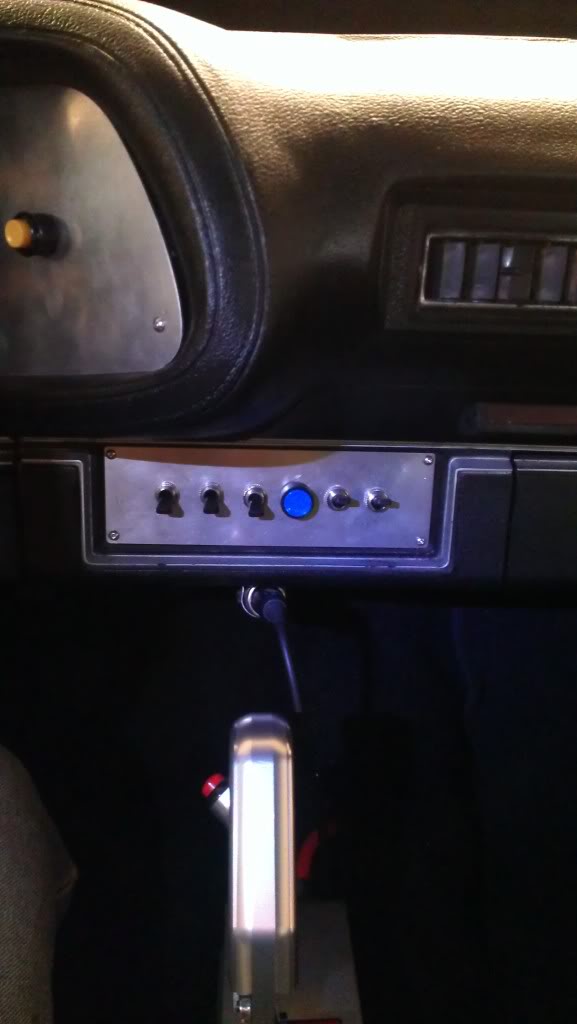
Speaking of things I didn’t wire……since I already have the purge kit on hand, I couldn’t resist installing the button in my switch panel.
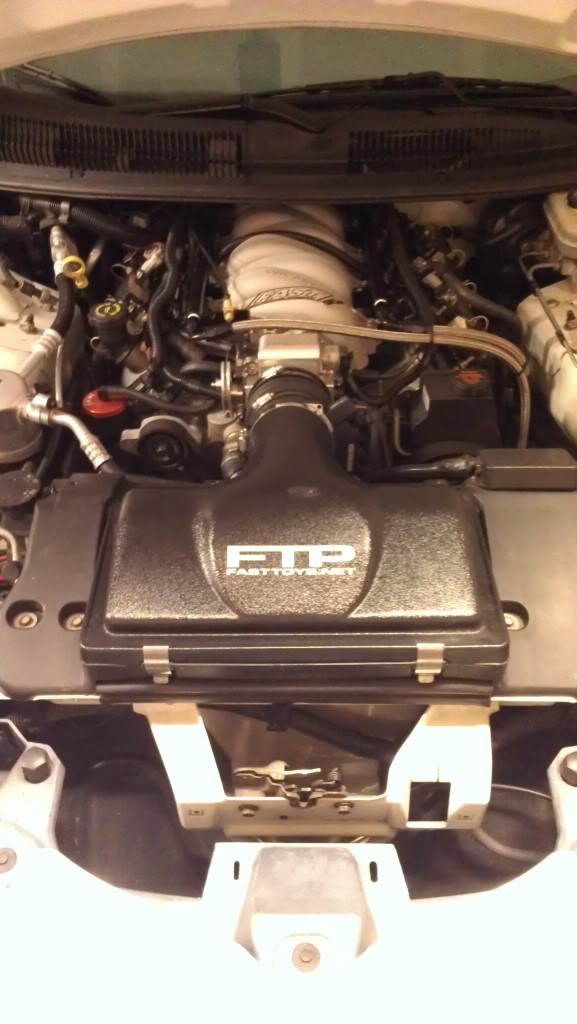
And just for fun, here’s an under hood shot of my Trans Am. My time was split between the two cars today. Ironically some of my time today was spent uninstalling the dry nitrous kit I’ve had on this car for years. Since I have the Camaro now, the TA is going back to comfortable street cruiser status rather than the street/strip brawler it's been in the past. But I don’t plan to make it into a complete old man car. The plan is to eventually install a Pro Charger and possibly a forged 370 bottom end. Now I just gotta win the lottery and I'll be all set.....
First I pulled the hood off and took it outside for a little trimming of the brace across the back of the hood. This really had nothing to do with mounting the gauge but I had been meaning to trim this part for a little more wiper clearance and this seemed like a good time to get it done. The tape line shows where I would make my cut.
After making the cut and dressing it a little with a scotch brite disc, I brought the hood back inside and mocked up the gauge inside the cowl so I could mark and drill the holes for the mounting cup.
Next I wanted to make a backing plate for the underside of the cowl brace so I wasn’t just bolting the mounting cup base to thin fiberglass. I made this simple plate out of some scrap aluminum flat bar that will sandwich the fiberglass between it and the mounting cup base.
Once everything was bolted into place I had my wife help me bolt the hood back into place. Here’s the view of the gauge through my extremely dusty windshield.
Here’s a shot of the under hood connection. Since the purpose of this gauge is to monitor fuel pressure to my nitrous solenoid, it is plumbed to one of the outlets on my nitrous fuel pressure regulator. The other side of this regulator will feed my nitrous solenoid. I haven’t wired the light for the gauge yet as I figure I’ll do that when I’m under the hood and dash wiring everything related to the nitrous kit.
Speaking of things I didn’t wire……since I already have the purge kit on hand, I couldn’t resist installing the button in my switch panel.
And just for fun, here’s an under hood shot of my Trans Am. My time was split between the two cars today. Ironically some of my time today was spent uninstalling the dry nitrous kit I’ve had on this car for years. Since I have the Camaro now, the TA is going back to comfortable street cruiser status rather than the street/strip brawler it's been in the past. But I don’t plan to make it into a complete old man car. The plan is to eventually install a Pro Charger and possibly a forged 370 bottom end. Now I just gotta win the lottery and I'll be all set.....
12-28-2012, 07:34 PM
#847
2 steps forward none back! The way I like it! Good placement for the gauge as it is virtually invisible from outside of the car. You gonna rotate the gauge so that the needle will point straight up at the proper fuel pressure? It might be easier to spot a fluctuation in pressure faster rather than trying to read the numbers. Just an idea.
12-28-2012, 08:08 PM
#848
2 steps forward none back! The way I like it! Good placement for the gauge as it is virtually invisible from outside of the car. You gonna rotate the gauge so that the needle will point straight up at the proper fuel pressure? It might be easier to spot a fluctuation in pressure faster rather than trying to read the numbers. Just an idea.
 01-03-2013, 10:14 PM
#854
On The Tree
iTrader: (6)
Join Date: Jan 2012
Location: Richmond MO
Posts: 132
Likes: 0
Received 0 Likes
on
0 Posts

Thank u very much i got the 71 small block stands and it has my engine angle at.5 1/2 degree where did you find the poly inserts pretty sure i can get the clams no problem
 01-05-2013, 08:09 PM
#859

 I aim to please Jim! Plus, it made the oil change easier anyway.