

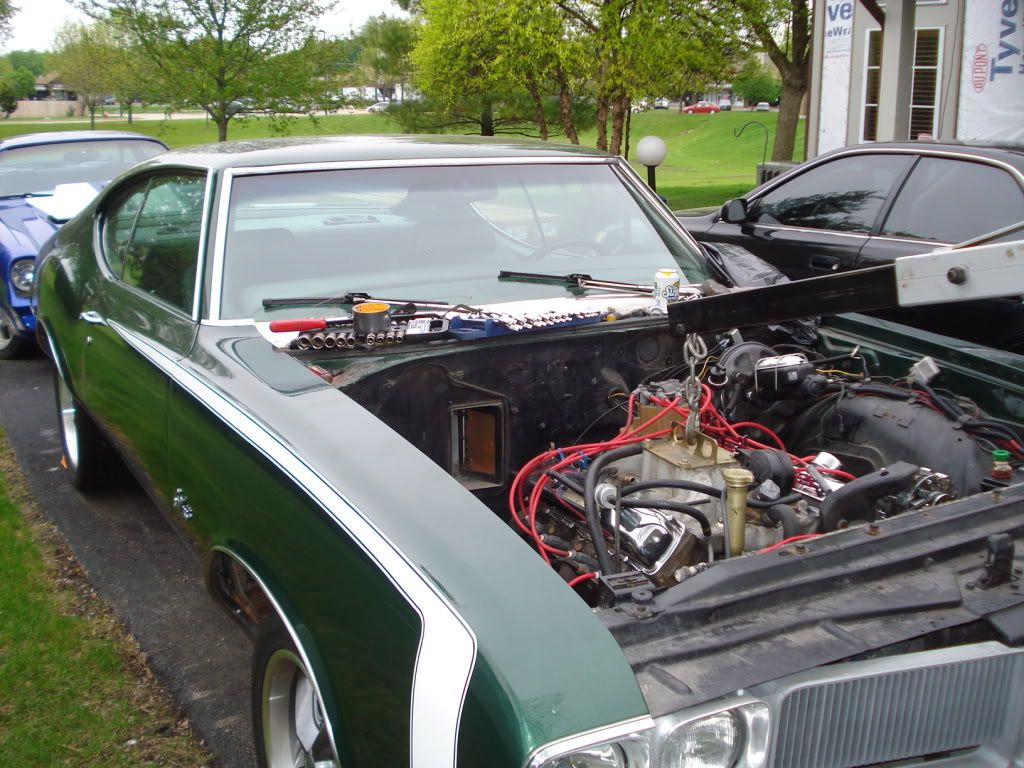
1970 Olds 442 clone gets Gen IV 6.0L & 6 speed manual
 07-20-2011 | 10:29 PM
#1

Thread Starter
Launching!

Joined: Jun 2005
Posts: 267
Likes: 0
From: Chicago Area
My Rocket 350 / TH350 sold 2 months ago or so, and I picked up a T-56
from Dallas Texas along with a 12 bolt Chevy rear end with 3.73's.
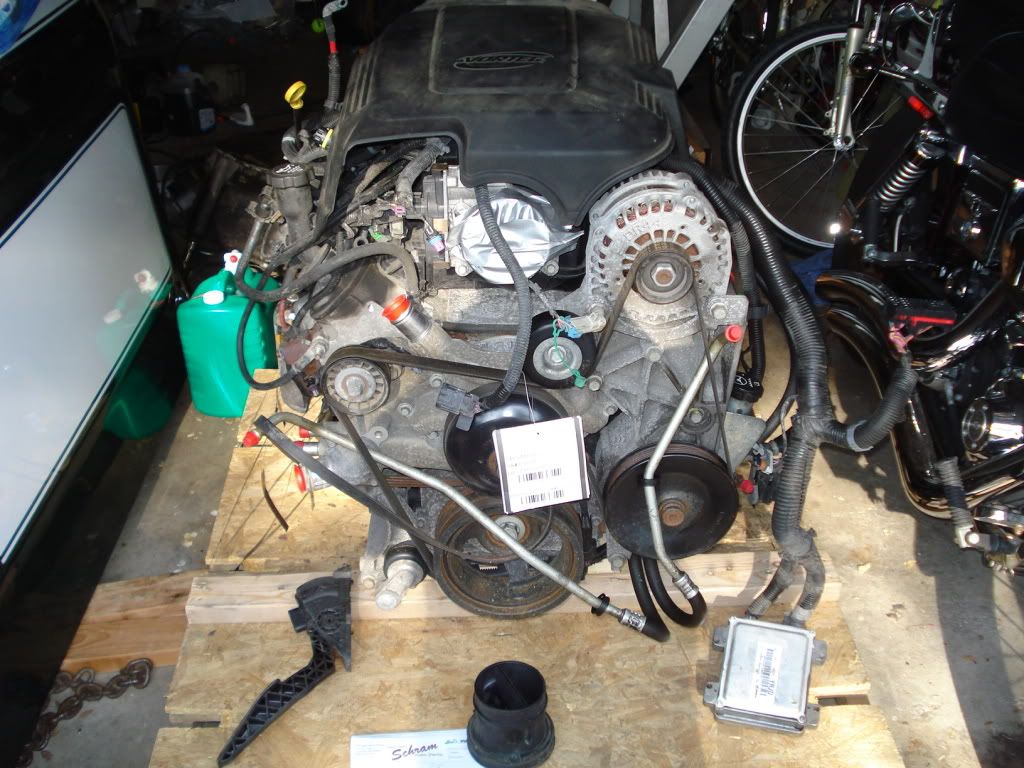
Then I just picked up a complete low mileage LY6 from a yard in Ohio.
Looking to have it done by the end of Summer hopefully.
There she is.....low mileage LY6 Gen IV 6.0L all dirty. Out of this donor 2008 GMC 2500HD
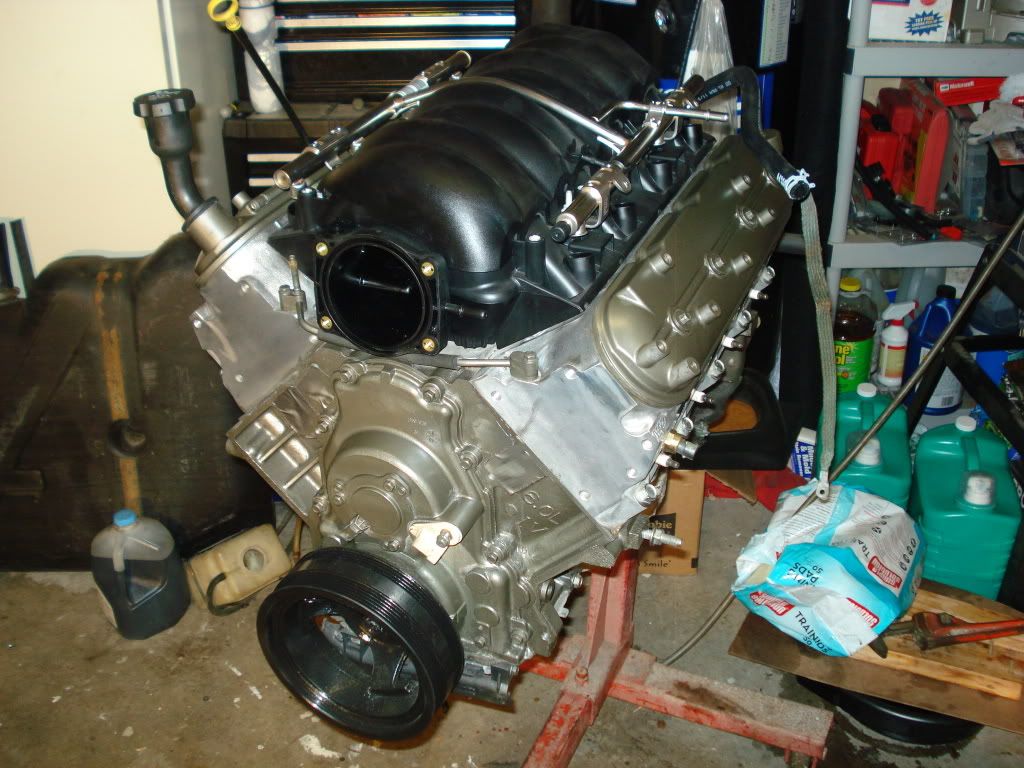
All grinded , wire wheeled, cleaned, and re-painted graphite with the LS3 intake.
from Dallas Texas along with a 12 bolt Chevy rear end with 3.73's.
Then I just picked up a complete low mileage LY6 from a yard in Ohio.
Looking to have it done by the end of Summer hopefully.
There she is.....low mileage LY6 Gen IV 6.0L all dirty. Out of this donor 2008 GMC 2500HD
All grinded , wire wheeled, cleaned, and re-painted graphite with the LS3 intake.
Last edited by Aceshigh; 07-20-2011 at 10:38 PM.
07-20-2011 | 10:42 PM
#2
Thread Starter
Launching!
Joined: Jun 2005
Posts: 267
Likes: 0
From: Chicago Area
LS7 Clutch and Flywheel installed.
Just an FYI to readers, I read up that the "LS7" title is really just marketing hype.
I was told the LS2's in Corvette's (Not GTO's) and all LS3's use this.
LS2 GTO's use the LS1/LS6 flywheel which is different.

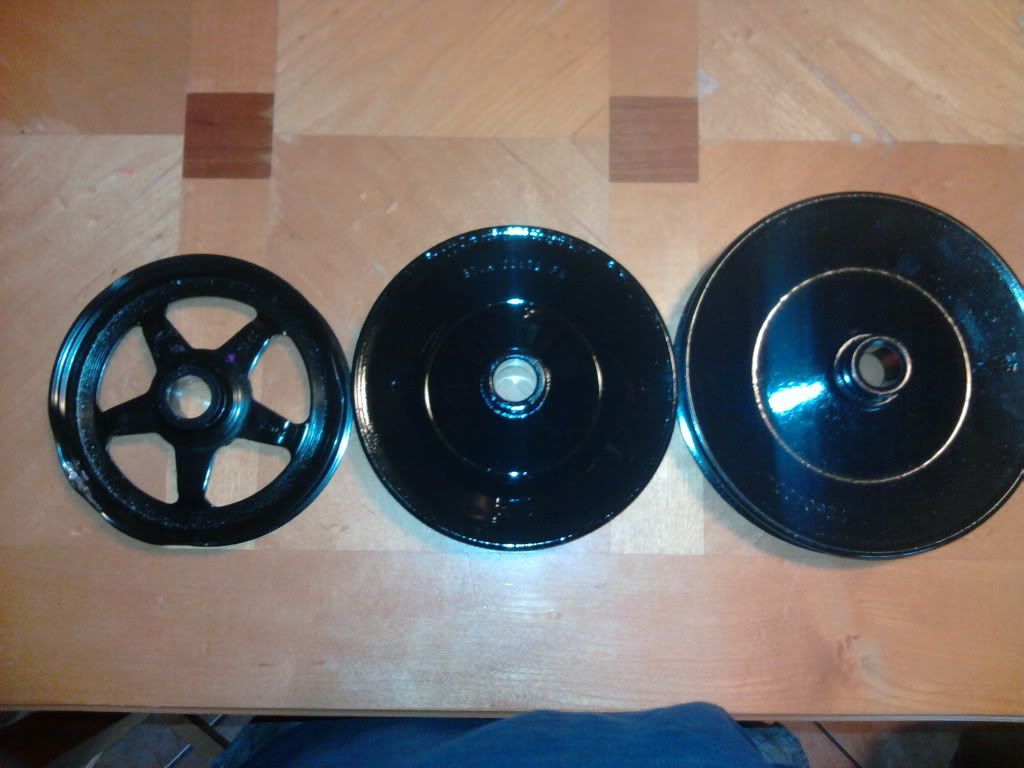
Ford PS Pulley mod done.
Posted up the differences against the Dorman 300-201 (far left), Ford pulley (Middle) and factory
Vortec pulley (far right) The Dorman or GM pulley doesn't work without going far past the shaft
and bottoming out coming up 1.5mm shy of lining up right. Some put washers behind the pump, but
that will cause the entire accessory bracket to tilt out at the bottom with that rear PS pump support
bracket there. This image link shows you the Dorman/GM pulley deficiency in depth/height.
Just an FYI to readers, I read up that the "LS7" title is really just marketing hype.
I was told the LS2's in Corvette's (Not GTO's) and all LS3's use this.
LS2 GTO's use the LS1/LS6 flywheel which is different.
Ford PS Pulley mod done.
Posted up the differences against the Dorman 300-201 (far left), Ford pulley (Middle) and factory
Vortec pulley (far right) The Dorman or GM pulley doesn't work without going far past the shaft
and bottoming out coming up 1.5mm shy of lining up right. Some put washers behind the pump, but
that will cause the entire accessory bracket to tilt out at the bottom with that rear PS pump support
bracket there. This image link shows you the Dorman/GM pulley deficiency in depth/height.
07-20-2011 | 11:08 PM
#3

Staging Lane
Joined: Apr 2007
Posts: 74
Likes: 0
Sweet! I'ma watchin!
As for the braided stainless...I used this:
http://www.summitracing.com/parts/AER-FCA0620/
And the matching fittings. Only needed two. I have a hard line attached to firewall that goes down near frame rail which is where the braided stainless starts and then it follows the frame rail back to the tank. I'm not using the corvette regulator since I have the 5th gen Camaro fuel module and vaporworx controller. Makes it easy to only run one line from the tank and that's it.
Best of luck!
 10-24-2011 | 11:55 PM
#5
Thread Starter
Launching!
Joined: Jun 2005
Posts: 267
Likes: 0
From: Chicago Area
Soooooo.....we've made progress.
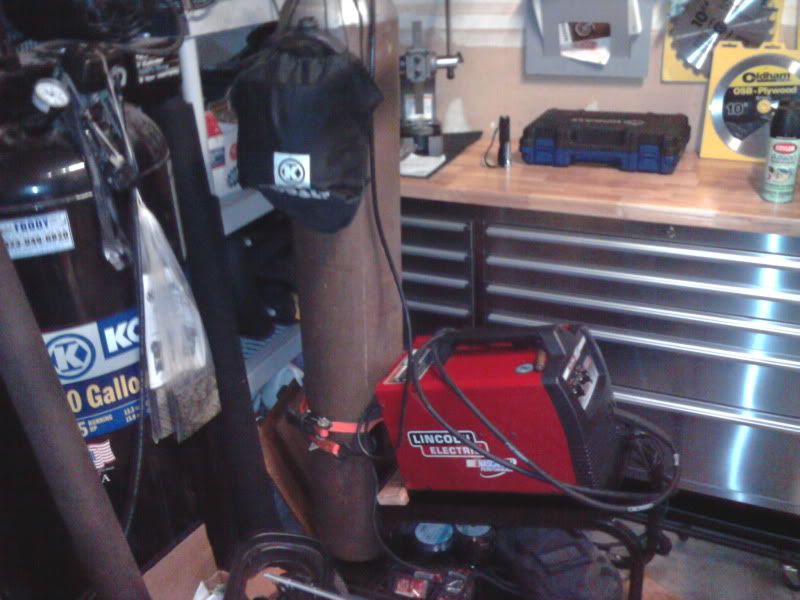
Bought a nice new 180T Lincoln off a Yellow Bullet member VERY cheap.
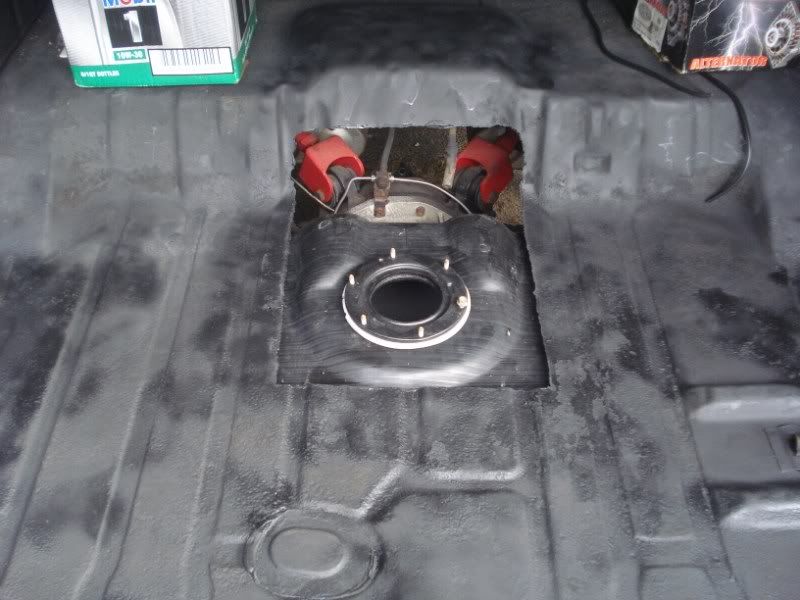
Bought a plasma cutter and cut out my access hole for the 90's B-body fuel tank that's 23 gallons. Installed the Walbro
255LPH and ran all nylon fuel lines with their connects. Very cheap BTW if anyone needs a reliable EASY to install fuel
system. Also made my own fuel tank straps out of 1" steel stock from Home Cheapo. Major pain in the ***......getting
the bends correct.
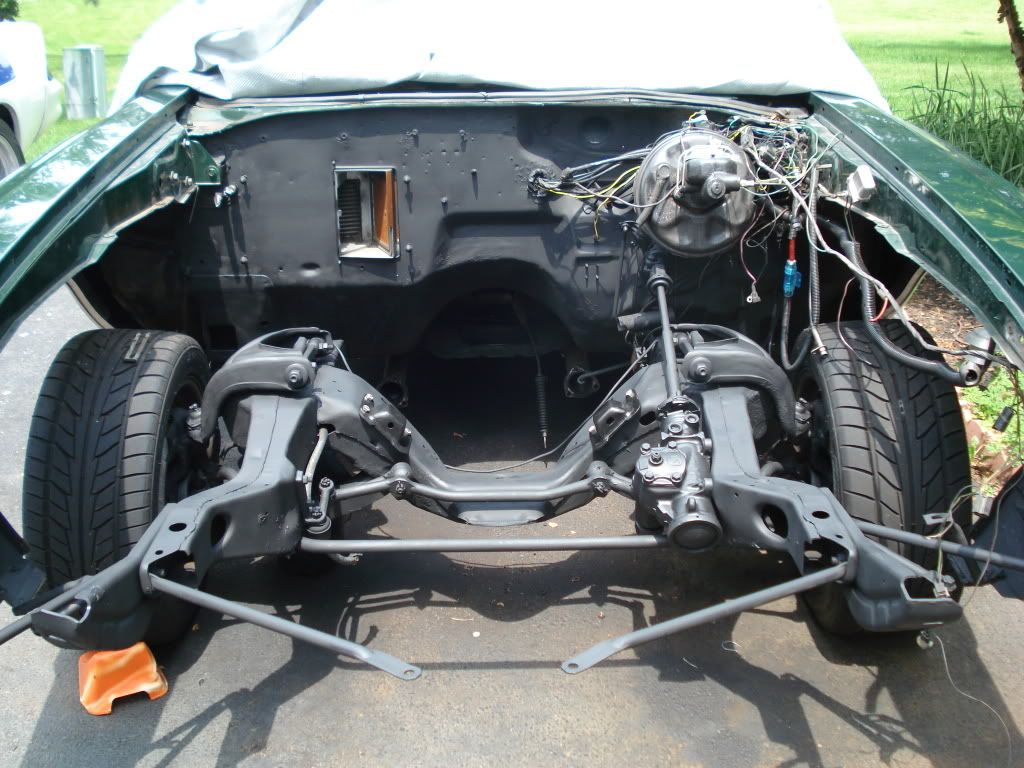
Next I plasma cut out my tunnel for the larger T-56 necessary space.
Test fitting my Chevelle motor mounts with the 1/4" aluminum spacers.
After about 5-6 times of putting the engine in and out we marked the final location for the mounts and drilled the new holes.

Bought a nice new 180T Lincoln off a Yellow Bullet member VERY cheap.
Bought a plasma cutter and cut out my access hole for the 90's B-body fuel tank that's 23 gallons. Installed the Walbro
255LPH and ran all nylon fuel lines with their connects. Very cheap BTW if anyone needs a reliable EASY to install fuel
system. Also made my own fuel tank straps out of 1" steel stock from Home Cheapo. Major pain in the ***......getting
the bends correct.
Next I plasma cut out my tunnel for the larger T-56 necessary space.
Test fitting my Chevelle motor mounts with the 1/4" aluminum spacers.
After about 5-6 times of putting the engine in and out we marked the final location for the mounts and drilled the new holes.
10-24-2011 | 11:56 PM
#6
Thread Starter
Launching!
Joined: Jun 2005
Posts: 267
Likes: 0
From: Chicago Area
Found out I had a bad slave cylinder for the clutch, so I had to buy a new one and rebleed it.
Bought from GM, didn't want to chance it with the Auto Parts stores stuff.
Local dealer that supplies Speed INC hooks it up.
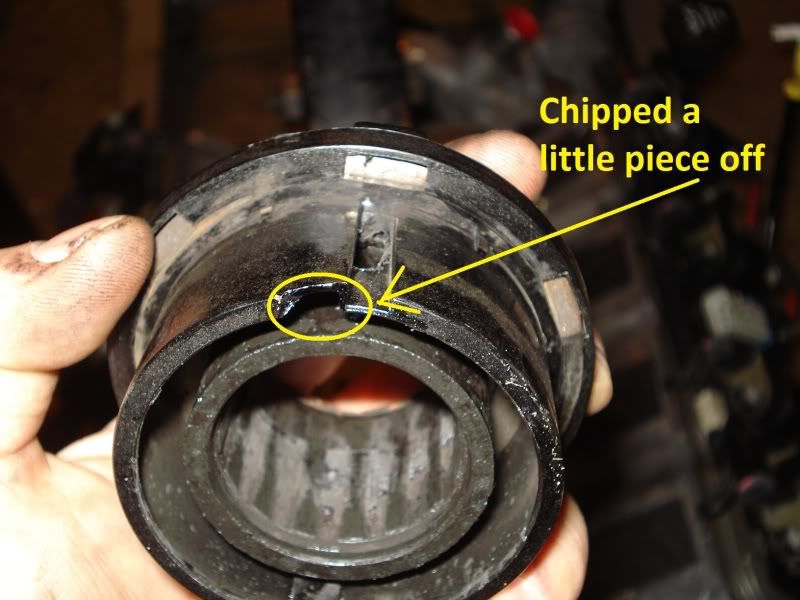
Then I discovered that my engine and trans wouldn't mate......my clutch was slightly misaligned.
Good thing I took it apart too, my 4 year old shoved a 6 in long intake bolt in there somehow.
This was last weekend......all ready to go.
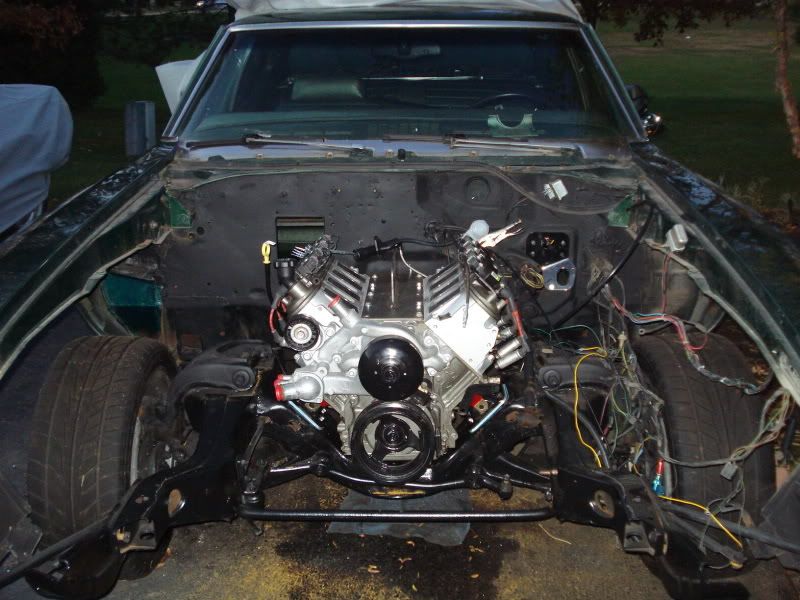
Engine and trans are now mated and in the car finally.
Just gotta get the degree finder from a store and measure my driveline angle and adjust.
The motor mounts took some time, but finally figured them out.
Used all stainless and superglued my nylon lock nuts to a washer to put it
in my ratcheting wrenches and get them on from inside the K-member.
Chevelle mounts with 1/4" aluminum spacers so I cleared the steering linkage.
I put the order on here that I installed each bolt. Pass side I made an access hole like this one too.

Engine is in the bay, straight, and perfectly balanced.
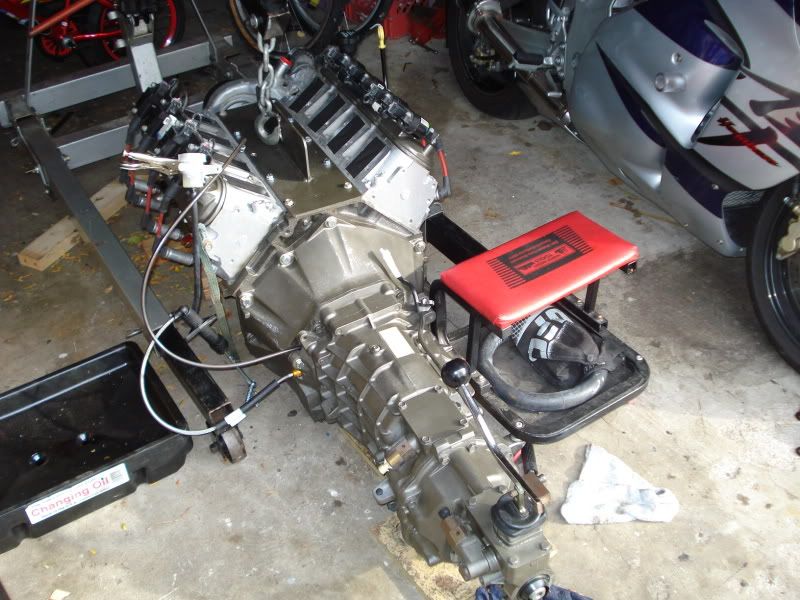
T-56 Tremec 6 speed is finally in it's place as well.
This part required the use of a 2x4 to lift the trans up and relocate the trans crossmember
backward about 6 inches or so. Had to disconnect the parking brake cable from the crossmember as well.
Now I just have to find the proper angle of the driveline and get a mount for it.
My core support, hinges, radiator cover all just got blasted and powdercoated semi-gloss black.
Radiator is here, and my LSX Harness rework is all done, so it's just a matter of time now.
Bought from GM, didn't want to chance it with the Auto Parts stores stuff.
Local dealer that supplies Speed INC hooks it up.
Then I discovered that my engine and trans wouldn't mate......my clutch was slightly misaligned.
Good thing I took it apart too, my 4 year old shoved a 6 in long intake bolt in there somehow.
This was last weekend......all ready to go.
Engine and trans are now mated and in the car finally.
Just gotta get the degree finder from a store and measure my driveline angle and adjust.
The motor mounts took some time, but finally figured them out.
Used all stainless and superglued my nylon lock nuts to a washer to put it
in my ratcheting wrenches and get them on from inside the K-member.
Chevelle mounts with 1/4" aluminum spacers so I cleared the steering linkage.
I put the order on here that I installed each bolt. Pass side I made an access hole like this one too.
Engine is in the bay, straight, and perfectly balanced.
T-56 Tremec 6 speed is finally in it's place as well.
This part required the use of a 2x4 to lift the trans up and relocate the trans crossmember
backward about 6 inches or so. Had to disconnect the parking brake cable from the crossmember as well.
Now I just have to find the proper angle of the driveline and get a mount for it.
My core support, hinges, radiator cover all just got blasted and powdercoated semi-gloss black.
Radiator is here, and my LSX Harness rework is all done, so it's just a matter of time now.
Last edited by Aceshigh; 10-25-2011 at 12:06 AM.
10-25-2011 | 03:31 AM
#7

That will be a sweet ride when it's finished. I hope you didn't get the Walbro pump off ebay. Almost all of them sold there are cheap Chinese knock offs and fail before they have many miles on them.
Trending Topics
10-25-2011 | 07:24 PM
#9

[QUOTE=Aceshigh;15176763]LS7 Clutch and Flywheel installed.
Just an FYI to readers, I read up that the "LS7" title is really just marketing hype.
I was told the LS2's in Corvette's (Not GTO's) and all LS3's use this.
LS2 GTO's use the LS1/LS6 flywheel which is different.
Just to clarify the 2004 GTO is a LS1 and the 2005-2006 GTO's are LS2 and the flywheels are different. I am sure of that, I am not sure of the other models you mentioned.
10-25-2011 | 09:56 PM
#10

Joined: Mar 2003
Posts: 10,222
Likes: 1,511
From: The City of Fountains
If the car is going to be lowered, you can safely install the transmission as high up as the floor will allow. The part that will hit first is the slip yoke where the u-joint is. You can also make the mount a little lower and then use shims to raise the trans if you have to.
Andrew
Andrew
 10-26-2011 | 03:31 PM
#12
Thread Starter
Launching!
Joined: Jun 2005
Posts: 267
Likes: 0
From: Chicago Area
If that proves to be too much of a pain in the ***, I'll put a whole new tunnel in from the gauge steel I need.
IIRc someone said it's 16 gauge.....but not sure.
10-27-2011 | 12:22 AM
#13

Nice looking car Aceshigh. I have a 1972 Cutlass S that I'm in the beginning stages of getting things together to swap in a 2000 Corvette LS1. Did you do any engine modifications other than the LS3 intake package? I plan on doing a cam but I haven't foud the right grind that will suit my needs.
11-02-2011 | 12:52 AM
#14
Thread Starter
Launching!
Joined: Jun 2005
Posts: 267
Likes: 0
From: Chicago Area
Negative.
I'm installing it as a stock motor to preclude troubleshooting extra issues initially.
I want to make the install as simple as possible.
After it's installed, I'm going to do a cam and spring swap in the near future.
Gonna play with it as is for a season.
I'm installing it as a stock motor to preclude troubleshooting extra issues initially.
I want to make the install as simple as possible.
After it's installed, I'm going to do a cam and spring swap in the near future.
Gonna play with it as is for a season.

 08-13-2013 | 01:26 AM
#20
Thread Starter
Launching!
Joined: Jun 2005
Posts: 267
Likes: 0
From: Chicago Area
Sorry guys, I have been so busy with my new house I moved into last summer.
An old friend just moved back from St Louis who has re-ignited my interest in completing the car finally.
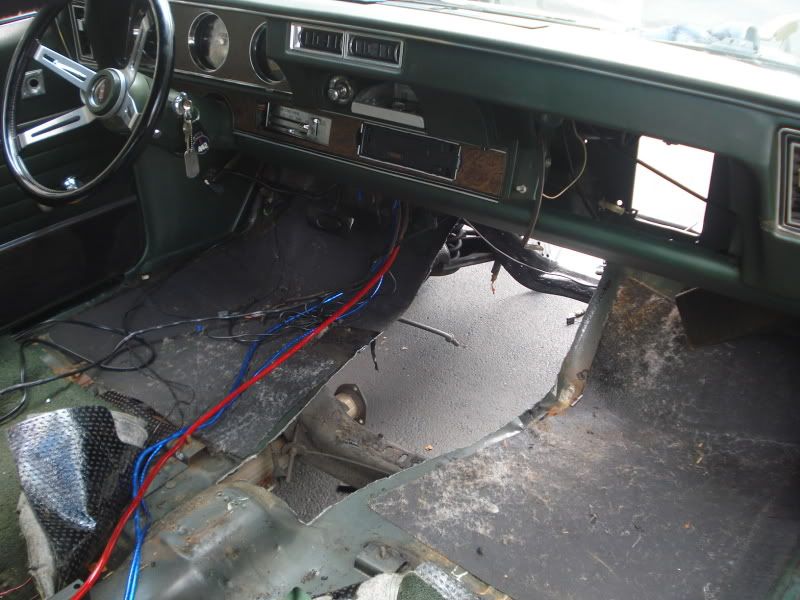
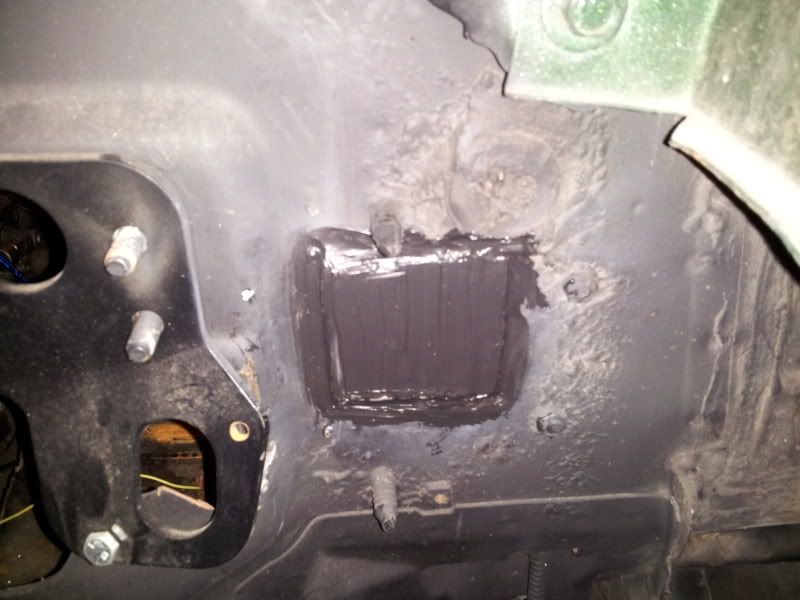
We took out the rest of the interior this weekend, and rear harness and started routing the new whole
car harness. I had to weld up the old fuse panel firewall hole, and I just ordered a sealed grommet set
off Ebay. I have my giant wire wheel hooked up to my DeWalt so I can wire brush down my whole
floorpan of the interior next. So I'm sure this next weekend some new progress will be posted up.
I can tell you this, my welding skills SUCK BALLZ now that I haven't done it in a year!!!!
I had a buttload of grinding to do with all the SNAFU spatter. I'm taking the car in to have the tunnel
fabbed. I sealed it over with a coat of RTV silicone. Didn't realize it's been 2 years since I started this....
What do you mean specifically ?
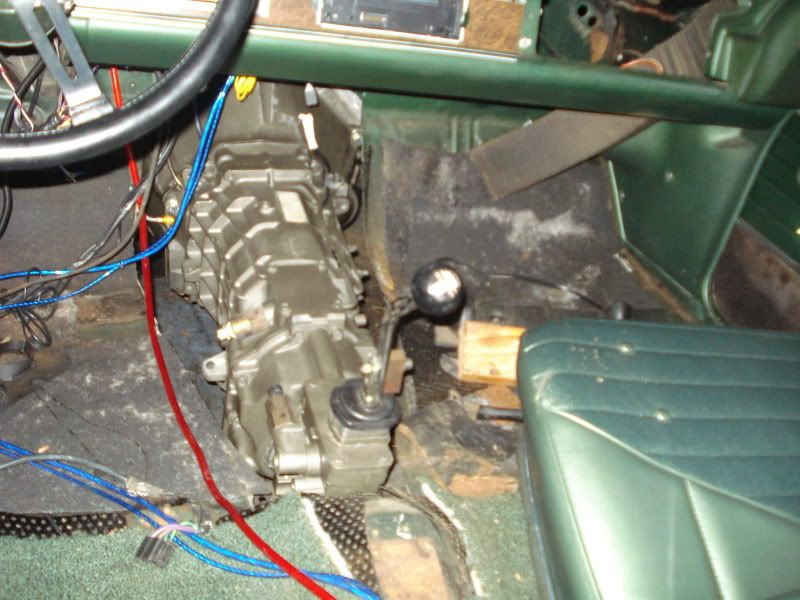
I ordered an OER clutch pedal assembly from one of the Oldsmobile parts vendors.
I've already installed it. Nothing major, but once I get the electrical done and I finalize
my fuel line I can begin testing the clutch linkage out. You can see the special powdercoated
clutch adaptor plate I purchased already sitting on there. They're only $30 off Ebay now.
They were $80 years ago when they first came out.
An old friend just moved back from St Louis who has re-ignited my interest in completing the car finally.
We took out the rest of the interior this weekend, and rear harness and started routing the new whole
car harness. I had to weld up the old fuse panel firewall hole, and I just ordered a sealed grommet set
off Ebay. I have my giant wire wheel hooked up to my DeWalt so I can wire brush down my whole
floorpan of the interior next. So I'm sure this next weekend some new progress will be posted up.
I can tell you this, my welding skills SUCK BALLZ now that I haven't done it in a year!!!!
I had a buttload of grinding to do with all the SNAFU spatter. I'm taking the car in to have the tunnel
fabbed. I sealed it over with a coat of RTV silicone. Didn't realize it's been 2 years since I started this....
What do you mean specifically ?
I ordered an OER clutch pedal assembly from one of the Oldsmobile parts vendors.
I've already installed it. Nothing major, but once I get the electrical done and I finalize
my fuel line I can begin testing the clutch linkage out. You can see the special powdercoated
clutch adaptor plate I purchased already sitting on there. They're only $30 off Ebay now.
They were $80 years ago when they first came out.
Last edited by Aceshigh; 08-14-2013 at 09:36 PM.