Foxbody Mustang Coupe and 6.0L Trick!!
#62
I used Purple Power in the white jug and a 3000 psi pressure washer. I used to use Castrol SuperClean but I think this stuff might be better.
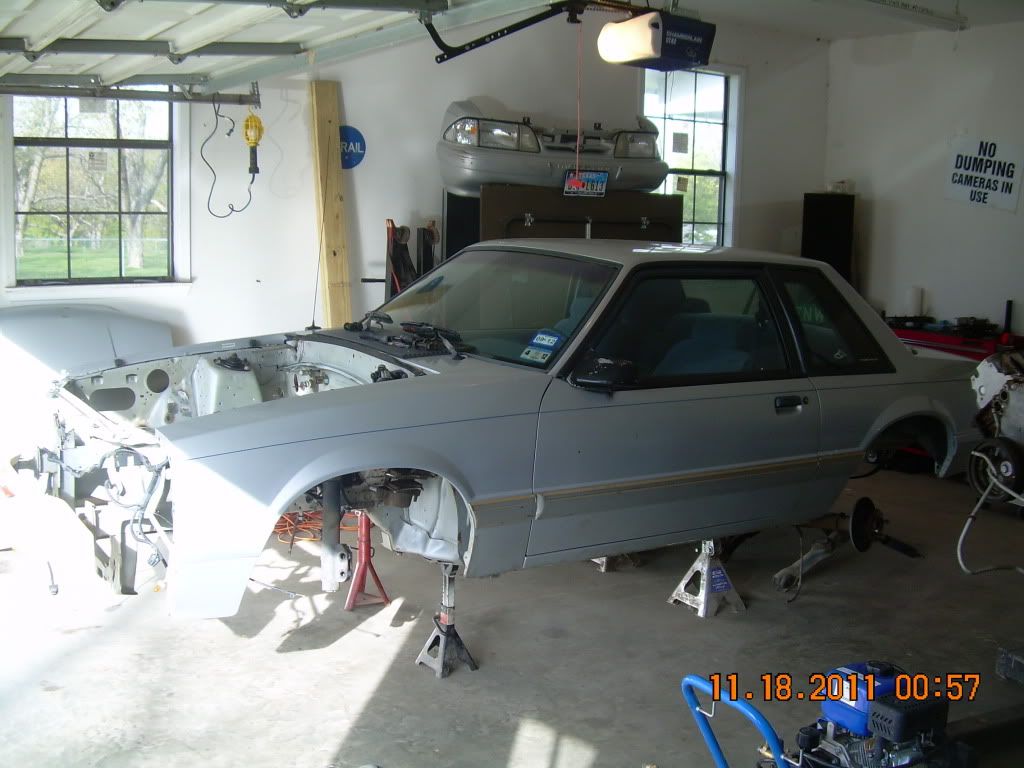
Also got the rear end and suspension pulled out today and pulled the K-member from the front. Now just gotta get the stupid struts out. Dont have an impact and the nuts just turn......cant find anything strong enuff to hold the slot on top while I turn the nut. Any ideas?
Also got the rear end and suspension pulled out today and pulled the K-member from the front. Now just gotta get the stupid struts out. Dont have an impact and the nuts just turn......cant find anything strong enuff to hold the slot on top while I turn the nut. Any ideas?
#63
Now just gotta get the stupid struts out. Dont have an impact and the nuts just turn......cant find anything strong enuff to hold the slot on top while I turn the nut. Any ideas?[/QUOTE]
Lock a pair of vise grips on the shaft of the strut from underneath, but damage will occur to the shaft.
Lock a pair of vise grips on the shaft of the strut from underneath, but damage will occur to the shaft.
#65
i have a texas speed , T3 CAM , .237/.239 .598/.643 , there 2.5 ls6 heads shaved .010 and i use a stock felpro .054 gasket i didnt have to flycut my pistons if i can remember correct i had about .090 clearence
#68
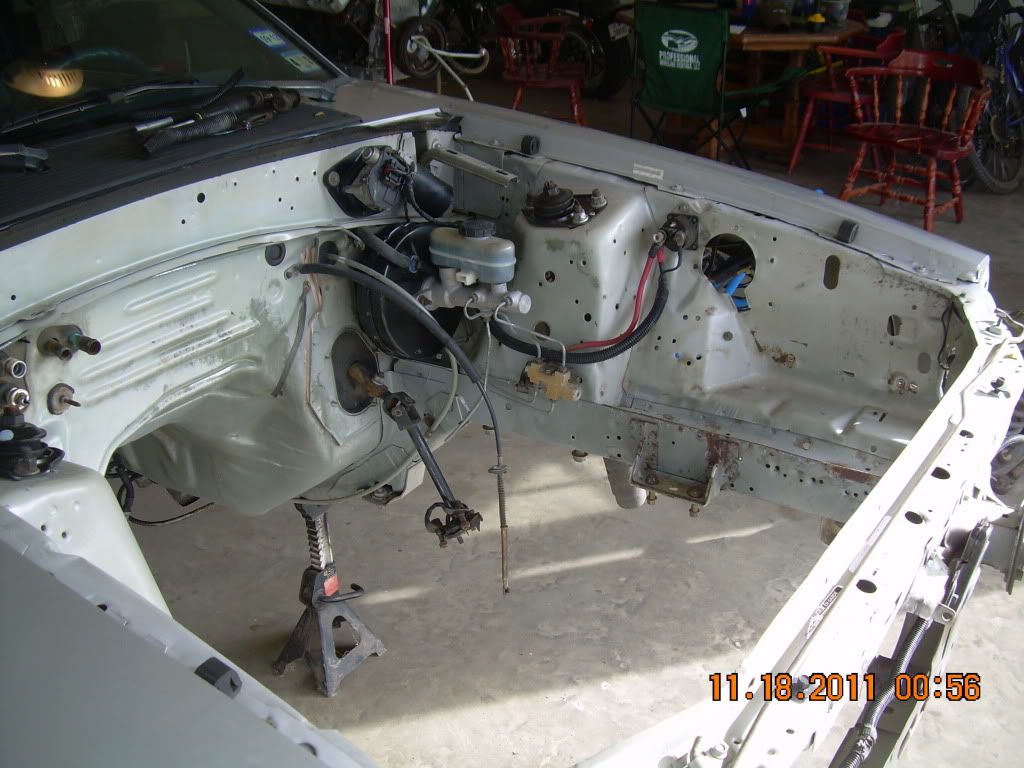
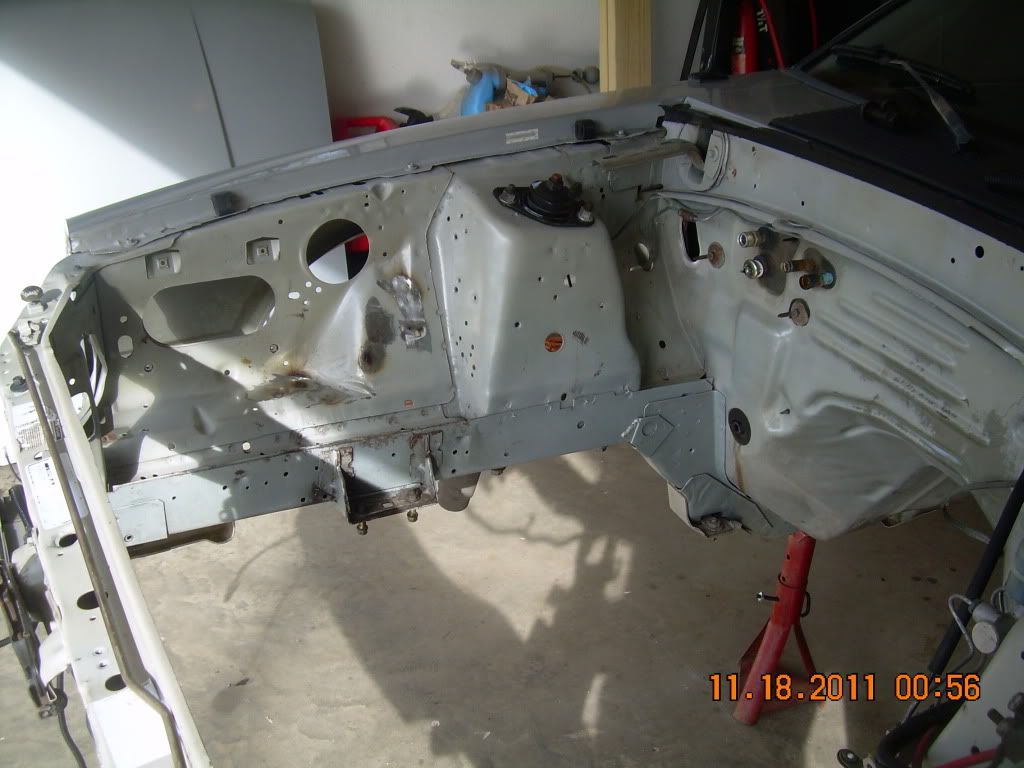
Got some more progress made the last couple of days. Took the nose off (not sure why, LOL) and re-routed all the wires on the driver side to under the fender. Still have to decide where Im gonna put the solenoid so gonna wait to secure the wires under there. Looks TONS better!
I attempted to fill in some holes on the pass side fenderwell....what a f-in PITA! Gonna order some rivet-in Scott Rod panels for the front aprons and be done with it. Up in the air on what color. Engine bay is a gray color now. Im kinda thinking some black ones would look good in there with some black on the motor. Or I can just get the natural alum color. Not gonna attempt to fill in every single hole in the engine bay. Not to mention Ive NEVER done body work and to be honest I dont wana learn.
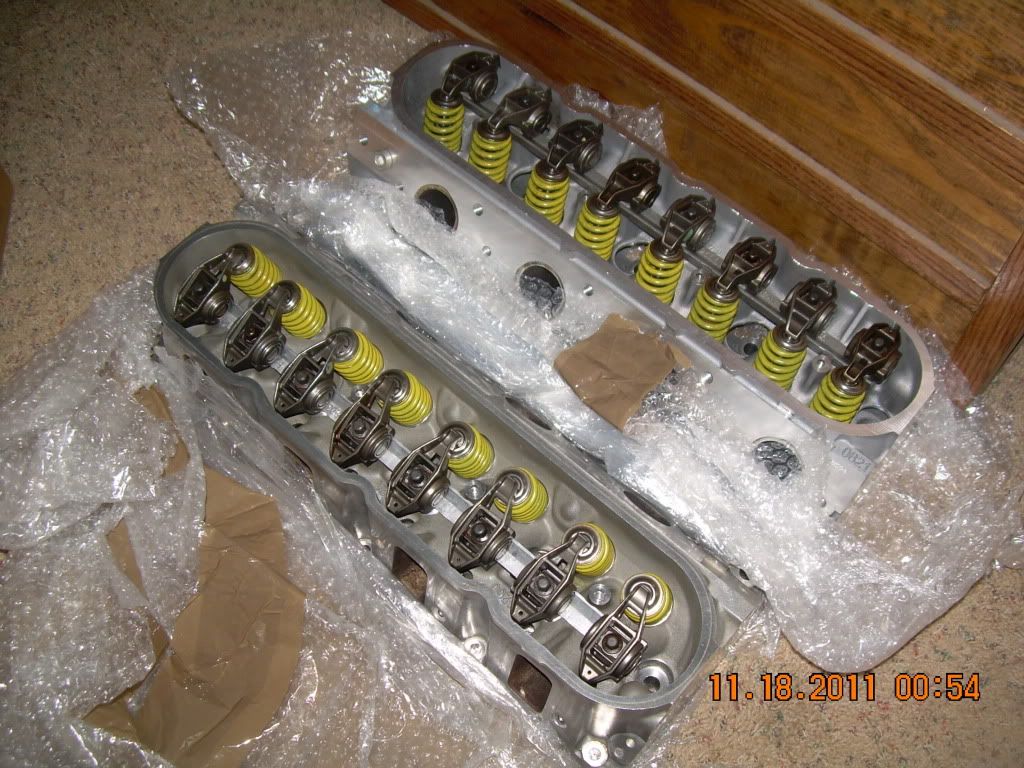
Got my other set of LS3 heads in today. 2nd set Ive had to get due to seller screw ups and not sure this set is any better! They were suppose to have 463 miles on them thus looking NEW. Well one does and one looks like its been around awhile. I just dont ****** get people. Pics dont show it really. Anyway heres the progress pics.
#70
No real updates lately. I get my Christmas bonus tomorrow so will be getting a pile of parts in. Decided to just run a mild steel 10 pt cage from Wolfe. I thought about getting the chromoly cage and buying my own TIG machine but dont want a learning curve involved in my safety. I can MIG pretty damn good and already have the machine to do it......plus cage is cheaper.
Any thoughts on Team Z rear suspension vs. Wolfe rear suspension? Wolfe is a bit cheaper due to there 20% off Christmas sale. Wolfe goes in stock upper holes on housing where TZ are relocated on housing and have a crossbrace and another brace that goes to pinion ears. Lowers look the same to me as does the ARB.
Any thoughts on Team Z rear suspension vs. Wolfe rear suspension? Wolfe is a bit cheaper due to there 20% off Christmas sale. Wolfe goes in stock upper holes on housing where TZ are relocated on housing and have a crossbrace and another brace that goes to pinion ears. Lowers look the same to me as does the ARB.
#71
UPDATE: Going chromoly 10 pt cage and getting a local guy to TIG it in for me. Ordered it up today from Wolfe along with there thru-floor subframe connectors and window net kit. Couldnt pass it up with the 20% off sale.
Ordered up full Team Z front suspension with Kmember/LSx mounts, 1" shorter A-arms, and Strange coilovers.
Rear suspension also from Team Z with relocated uppers and ARB. Decided to go ahead and minitub it while I have everything tore out of it.....why not? So with that got the mini-tub kit from TZ and there rear C/O mounting kit and will get Strange C/O's when the time comes. Ordered up my rearend from a guy with Strange ends installed, narrowed 2", tubes fully TIG welded, braced bottom side and front to pinion snout, sandblasted and painted and shipped to my door for a HELLUVA price! Gonna get it rolling first then off to the motor build.
#73
Wow first reply by someone in over a month.....lol. Not sure what thread your referring to but yeah it was a Mustang hatch with LQ4 and L92 heads.
Do a search for dmizzell
Do a search for dmizzell
#74
First of all great build. I have been a mustang guy since the '80s and even worked at Texas Turbo in the '90s. I was looking for a clean notch when I found my 300 and decided to do something different but I use a lot of mustang parts check out my build thread below.
Secondly as for filling the holes in the engine compartment. Instead of welding the small holes go to your local parts store and buy the fiberglass bondo filler. It has to be the fiberglass stuff that is green and has the fiberglass strands in it. Put some cardboard on the back side and wipe the engine side lightly covering the holes. Let it sit for about an hour and a da with 80 will cut it down nicely and make a smooth finish. Try to leave as big of a solid patch without going back down to metal. You can use regular filler to fill small pin holes you may have but the fiberglass will flex and hold and not crack off. For the sections with the large holes make a template out of cardboard (where the stock air box mounted) and weld in a thin sheet metal plate. That scottrod **** looks too race with the bead rolls. This is a lot easier than welding.
If you insist on welding put some thick aluminum plate behind the hole when welding and it will fill the hole and not weld the aluminum to the inside of the fender. Filling the hole with out backing it with aluminum or copper that wont weld to the sheet metal will usually just make bigger holes and you will spend more time grinding then you would with the fiberglass filler.
Buy yourself an electric 1/2" impact. You can get them for $50 to $75 and dont have to have a compressor.
Trz and wolfe are the leaders in the mustang world. Another great source is PA racing he is a board sponsor and used to work for AJE. His K-members give you the most clearance I have seen. I ordered a mild steel with chevy motor mounts and stock spring perches, lowered rack and had it at my door in 4 days for $430 shipping and all. This was not an on the shelf piece they had to build it.
You can remove the front and rear bumpers and have a good electrician bend some 3/4" emt and mig weld it to the body and its a great bumper support that will keep the cover from buckling in in the front and keep the back from caving in if someone leans against it. I did mine with one stick and the first try but I've been an electrician for 20 years. Basically I bent an 8 or 9" 90 at one end. Measured how far it was to the inside of the cover about onther 8 or 9" and bent another 90 to the left. Then I measured to the same spot on the other side of the car and 90ed back toward the body. Then 90ed back down towards the ground. Use some one whole straps and self tappers to hold it in place and test fit the cover. A good electrician should be able to do it in one shot and even tweak it for a good fit. Most will do it for a couple of cold ones. After it fits good weld it in place dont just leave the straps on it they arent very strong.
Sorry for being so long winded. Hope this helps.
OBTW have you ever herd of Texas Chassis Works? Ken the guy on pass time on speed is supposed to have a race car shop in Tyler Texas. When the z is done we are going to bring it to Dallas and hit some of the tracks up there.
Keep up the good work
#75
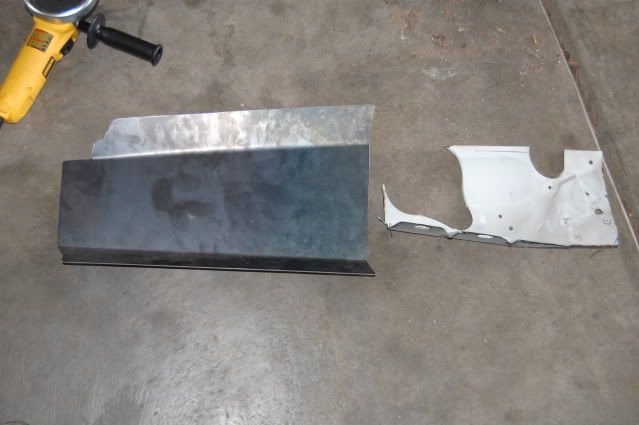
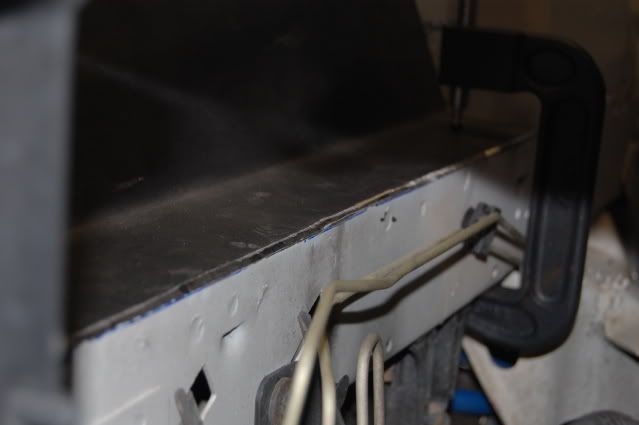
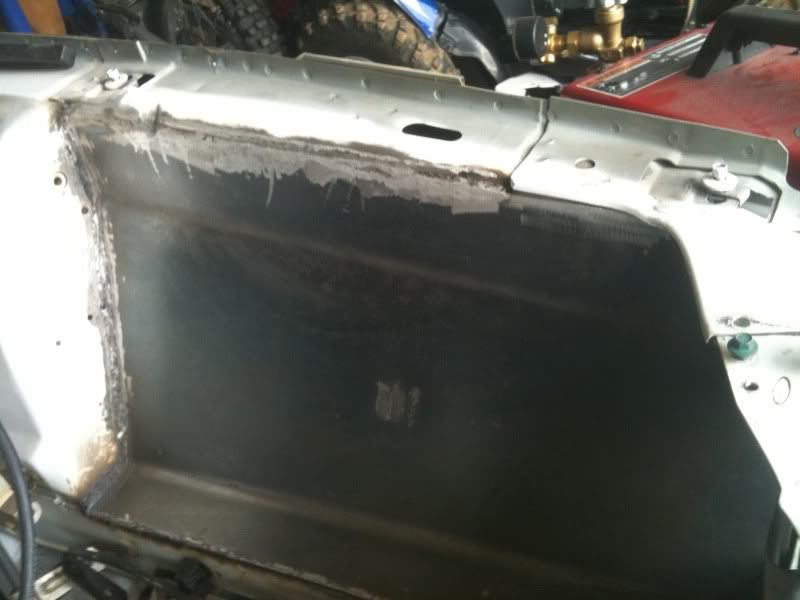
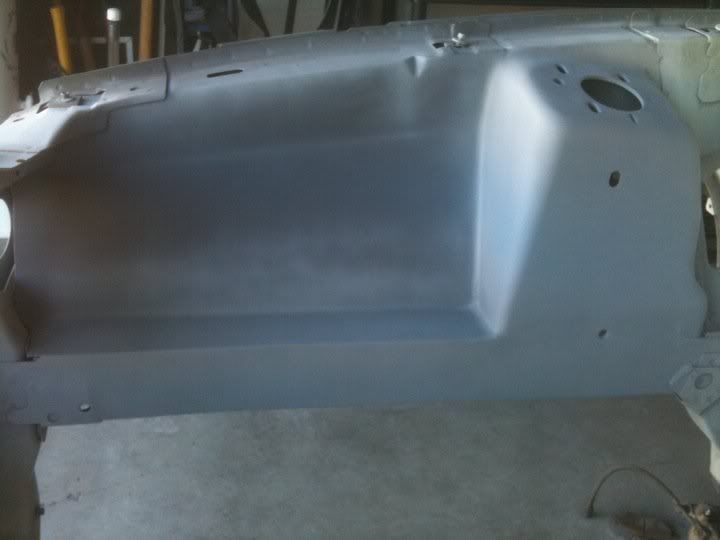
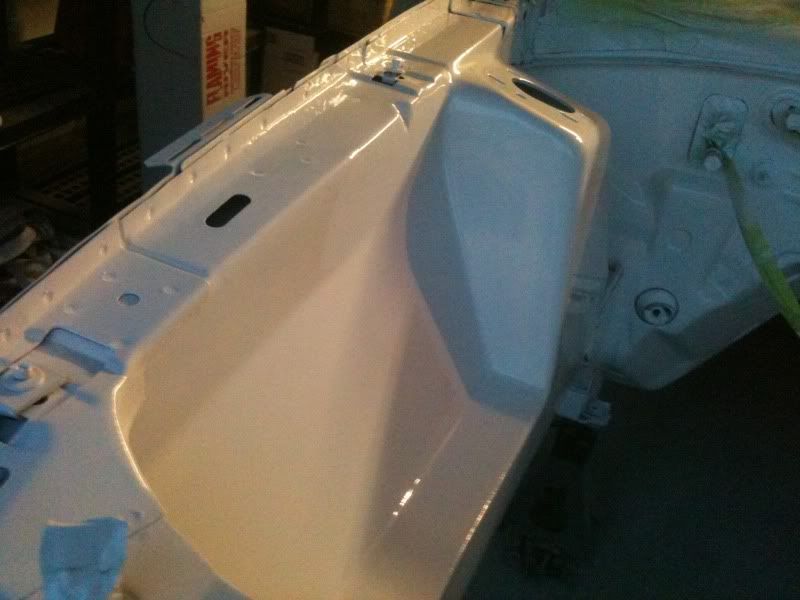
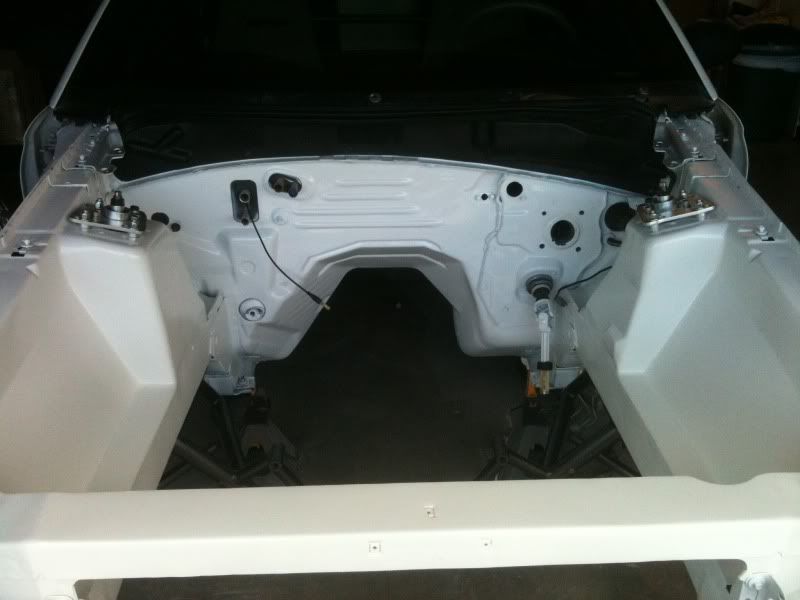
solid plan so far. keep it simple and it'll rock. i vote for cutting the panels out and welding new ones in. yes, it takes A LOT of work and patience, but it's well worth it in my opinion. also, once the engine bay looks so good, your attention to detail tends to carry out through the rest of the build. here's what i did, pretty basic. then ordered color code spray paint online and some clear coat. just rattle can and looks great.


#76
Looks nice! I just dont have patience for body work. NONE!! In the process of minitubbing it right now and hatin it. I cant stand welding on that thin crap. I ordered my 10pt cage from Wolfe over a month ago and still waiting on that. Also having a rear end housing narrowed 2" on each side, 9" ends welded on and everything gusseted up......once again waiting on that. At this rate it will be rolling my Summer....maybe.
#77
it'll be worth doin all that stuff now man. let me know if you have any qustions or want pics of that exact same stuff. i went through all that last year. mine's an sn95 but not much difference since yours is a notch.
#78
You can remove the front and rear bumpers and have a good electrician bend some 3/4" emt and mig weld it to the body and its a great bumper support that will keep the cover from buckling in in the front and keep the back from caving in if someone leans against it. I did mine with one stick and the first try but I've been an electrician for 20 years. Basically I bent an 8 or 9" 90 at one end. Measured how far it was to the inside of the cover about onther 8 or 9" and bent another 90 to the left. Then I measured to the same spot on the other side of the car and 90ed back toward the body. Then 90ed back down towards the ground. Use some one whole straps and self tappers to hold it in place and test fit the cover. A good electrician should be able to do it in one shot and even tweak it for a good fit. Most will do it for a couple of cold ones. After it fits good weld it in place dont just leave the straps on it they arent very strong.
Nice build, BTW tex. I will be peekin in to see your progress as you go. So, stick with it. The day you fire it up will make alll this work worth it.


