
71 Chevelle+LY6+T56,
 01-22-2014, 06:59 PM
#321
TECH Enthusiast
Thread Starter
iTrader: (4)

Join Date: Dec 2005
Posts: 502
Likes: 0
Received 0 Likes
on
0 Posts

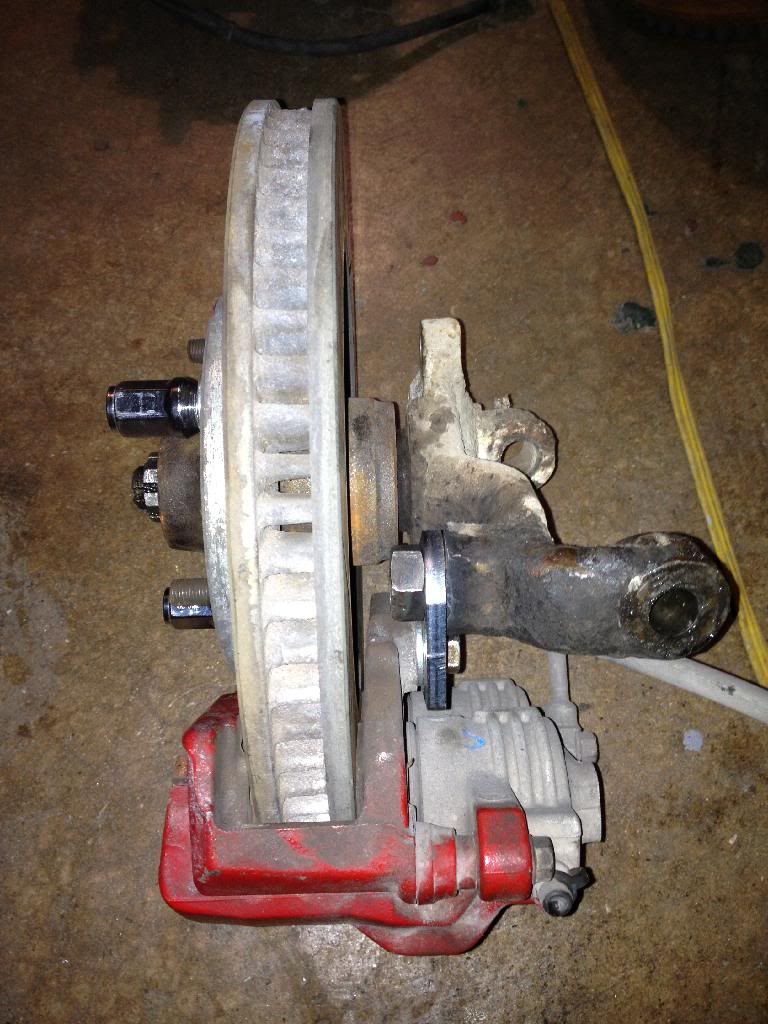
Picked up a set of new-ish caliper/rotors from a Trans am cheap. And got the brackets from a friend that had them laser cut. Started mock up.


Last edited by lownfast; 01-22-2014 at 07:16 PM.
 01-22-2014, 07:35 PM
#322
TECH Enthusiast
Thread Starter
iTrader: (4)
Join Date: Dec 2005
Posts: 502
Likes: 0
Received 0 Likes
on
0 Posts
Also started on my quarter panels, the previous owner did a few questionable repairs I plan to fix, and I want to shave the side markers.
Patches are cut. Still need a bit of fitting.
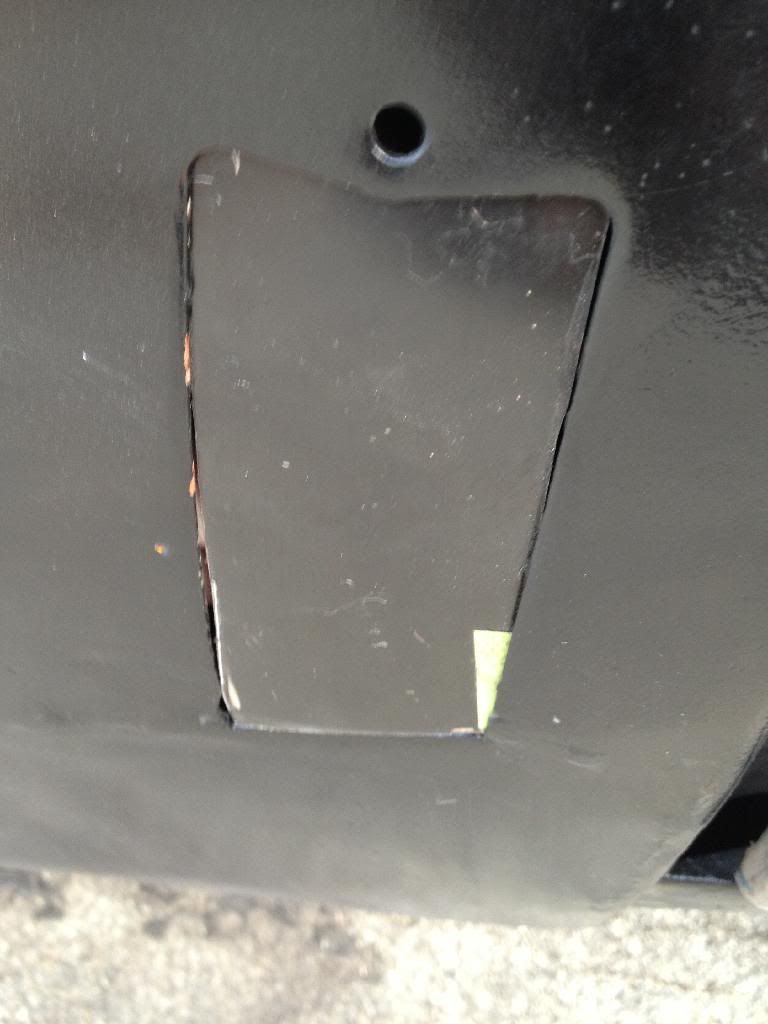
Patches are cut. Still need a bit of fitting.

 01-26-2014, 09:42 PM
#323
TECH Enthusiast
Thread Starter
iTrader: (4)
Join Date: Dec 2005
Posts: 502
Likes: 0
Received 0 Likes
on
0 Posts
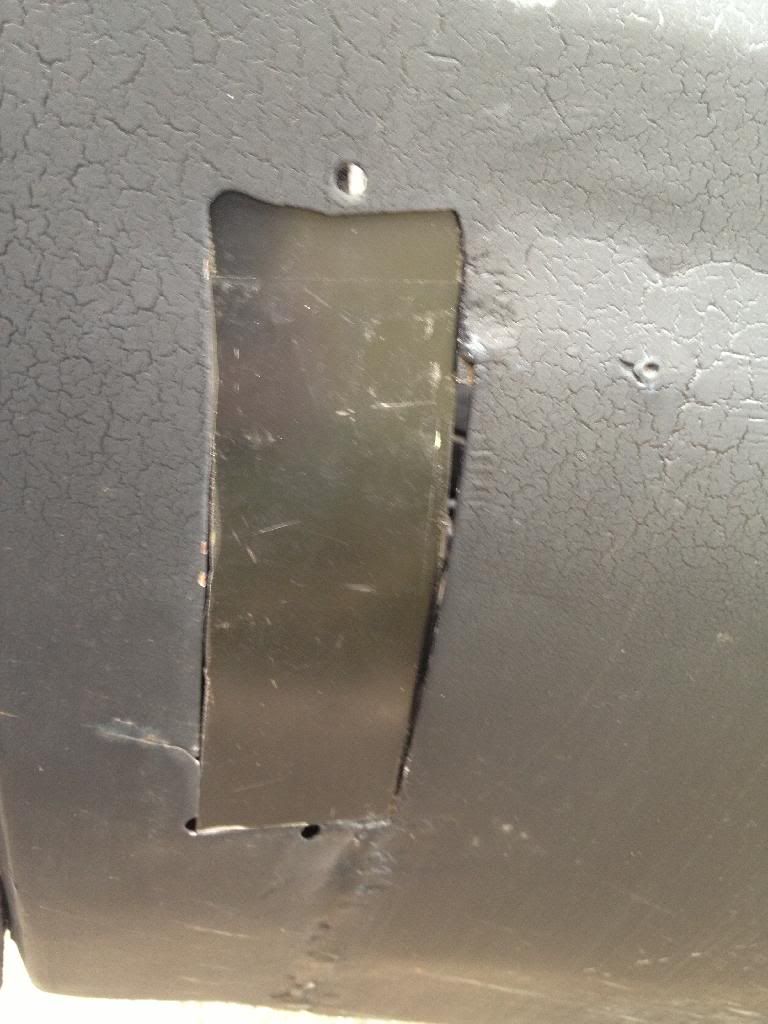
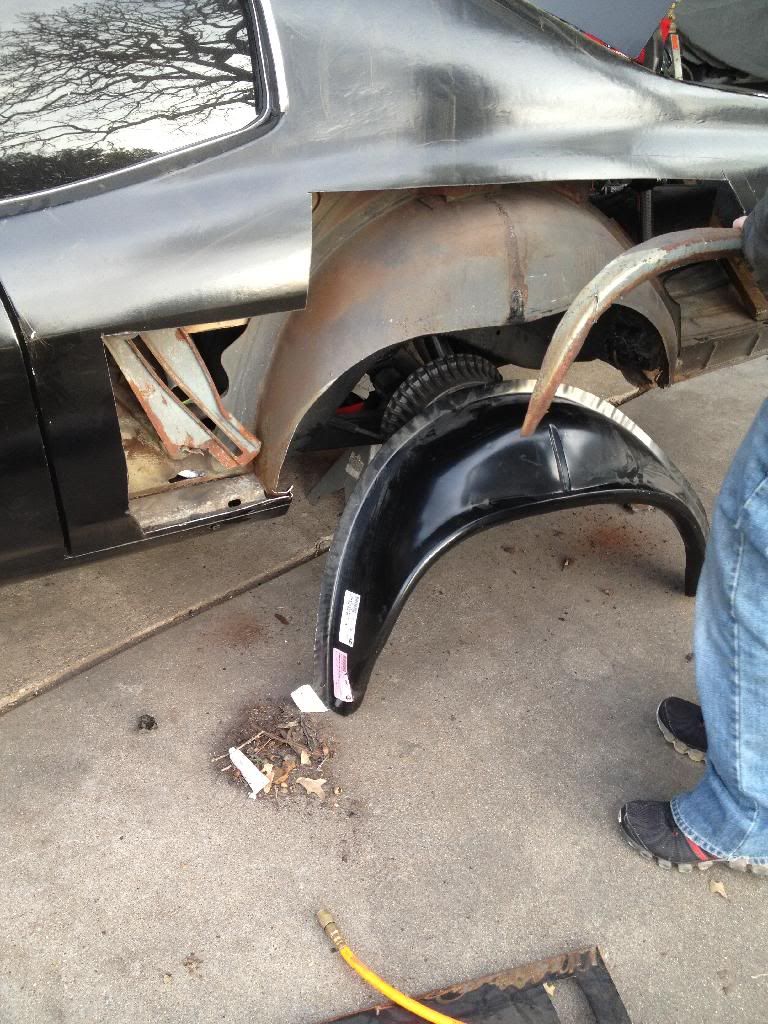
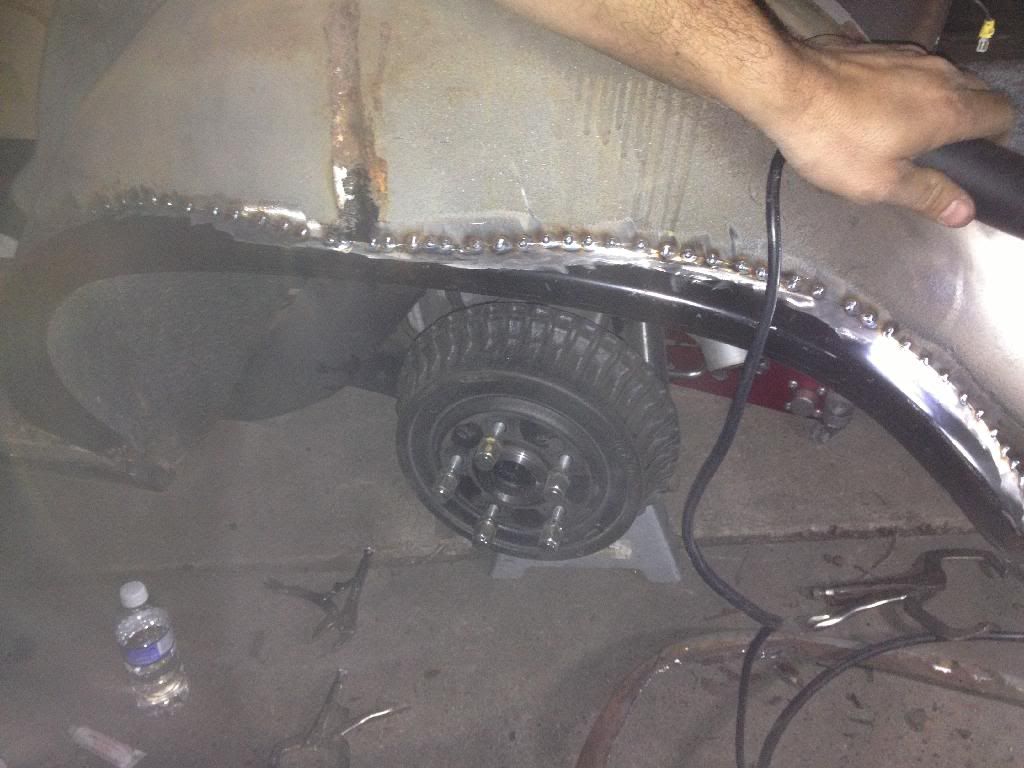
Well the patch idea snow balled into a full quarter on the driver side, I tacked my patch in, then noticed the previous owners work was worse than I thought. So I cut out the bad repair and got to work. I had the outer wheel house already, have to order a quarter on Monday. And thx to a few good friends we are planing on mini tubs while we are there.


 01-30-2014, 11:13 AM
#327
11 Second Club
iTrader: (8)
Join Date: Jan 2010
Location: Southern Idaho
Posts: 502
Likes: 0
Received 0 Likes
on
0 Posts
Great build and well documented, just read through the whole thing. That's great to see you have been putting a lot of miles on it and enjoying the fruits of all your labor. I would like to know how you decided to mount your vintage air box under the dash though? Didn't see that in the thread. And keep us posted on the mini-tubs! 
01-30-2014, 02:06 PM
#328
TECH Enthusiast
Thread Starter
iTrader: (4)
Join Date: Dec 2005
Posts: 502
Likes: 0
Received 0 Likes
on
0 Posts
Great build and well documented, just read through the whole thing. That's great to see you have been putting a lot of miles on it and enjoying the fruits of all your labor. I would like to know how you decided to mount your vintage air box under the dash though? Didn't see that in the thread. And keep us posted on the mini-tubs!
Thank you sir. It's been a lot of fun. I kinda regret doing quarters... But only because I want to be driving the car! But it's all good, it will be back on the road soon enough.
I used the brackets provided in the vintage air kit. They allow you to use factory holes. In my case, I marked and drilled holes after shaving the firewall for the bracket to mount securely. Most people never notice the car has a/c, look closely and you can see 4 stainless Allen head bolts on the firewall.
 01-31-2014, 07:45 AM
#330
TECH Enthusiast
Thread Starter
iTrader: (4)
Join Date: Dec 2005
Posts: 502
Likes: 0
Received 0 Likes
on
0 Posts
I like a clean look aswell. I almost considered welding threaded studs inside the firewall to slide the bracket on and have no hardware on the engine side showing. But after a few beers... I talked myself out of that hassle. I ended up using riv-nuts in the bracket (its a bitch to get to after the evaporator is installed) to make it easy to remove/install the hardware from the engine side.
The hardware provided from vintage air will "work" but is ugly and requires some one with really small hands to hold the nut/bolts under the dash.
01-31-2014, 12:36 PM
#332
Forgive my abstract description but what is that little box the heater hoses are running trough by the passenger side fender? Is that part of the Vintage Air sure-fit gen 4 system?
02-02-2014, 10:31 PM
#333
TECH Enthusiast
Thread Starter
iTrader: (4)
Join Date: Dec 2005
Posts: 502
Likes: 0
Received 0 Likes
on
0 Posts
Yes it's a valve that limits/stops hot water from flowing thru the evaporator when the cold air is activated. I would like to hide it in the fender but on the other hand don't want it to be hard to get to if it goes out.
02-02-2014, 10:38 PM
#334
TECH Enthusiast
Thread Starter
iTrader: (4)
Join Date: Dec 2005
Posts: 502
Likes: 0
Received 0 Likes
on
0 Posts
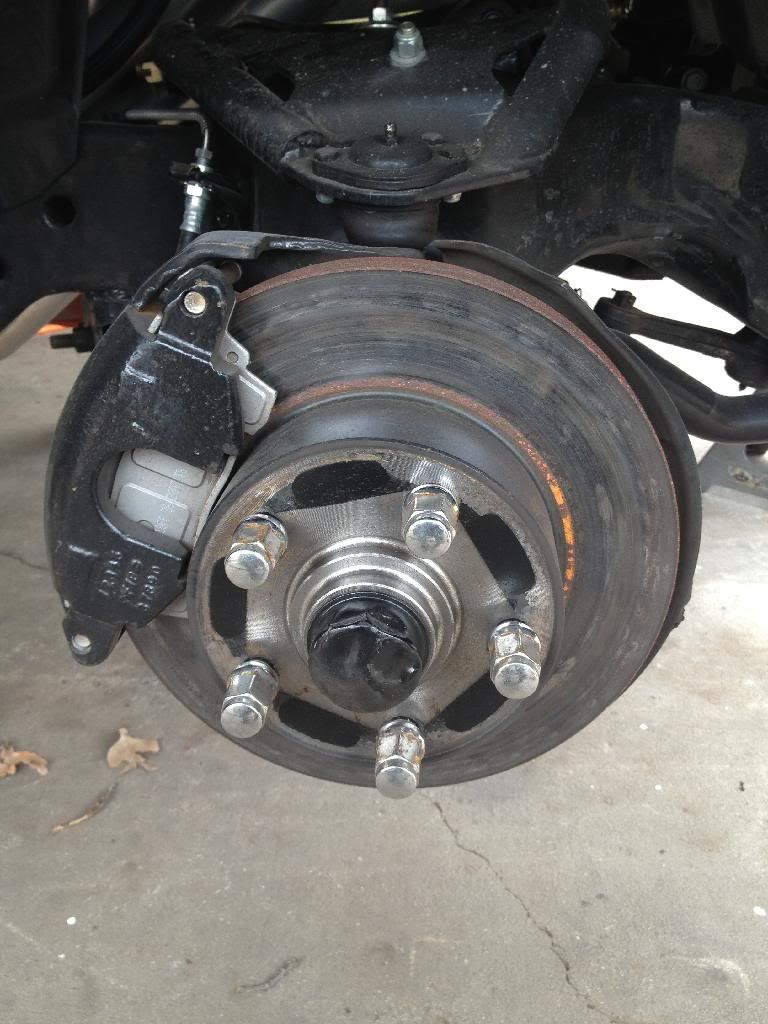
So I've had some people ask why I want to upgrade my brakes when my car is factory disk. This is just under 10k miles of mostly highway use, no auto cross or track time. You can see how bad the rotors look. The factory disk are simply inadequate for a heavy Chevy.


 02-03-2014, 08:15 PM
#339
02-04-2014, 06:00 PM
#340
TECH Enthusiast
Thread Starter
iTrader: (4)
Join Date: Dec 2005
Posts: 502
Likes: 0
Received 0 Likes
on
0 Posts
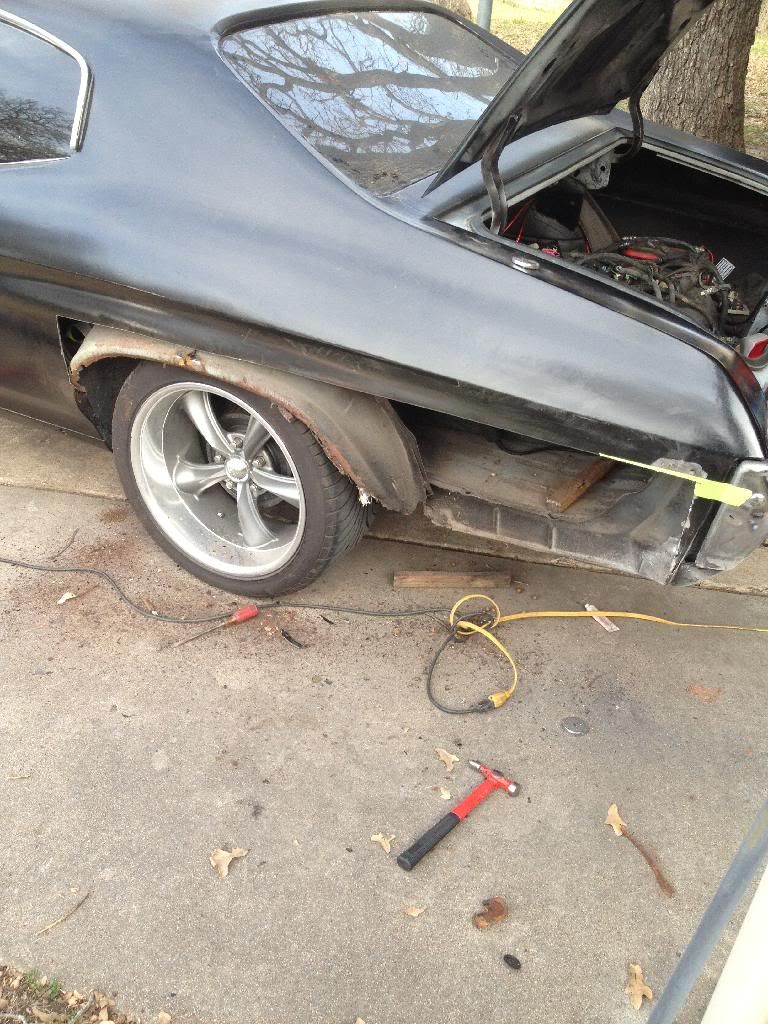
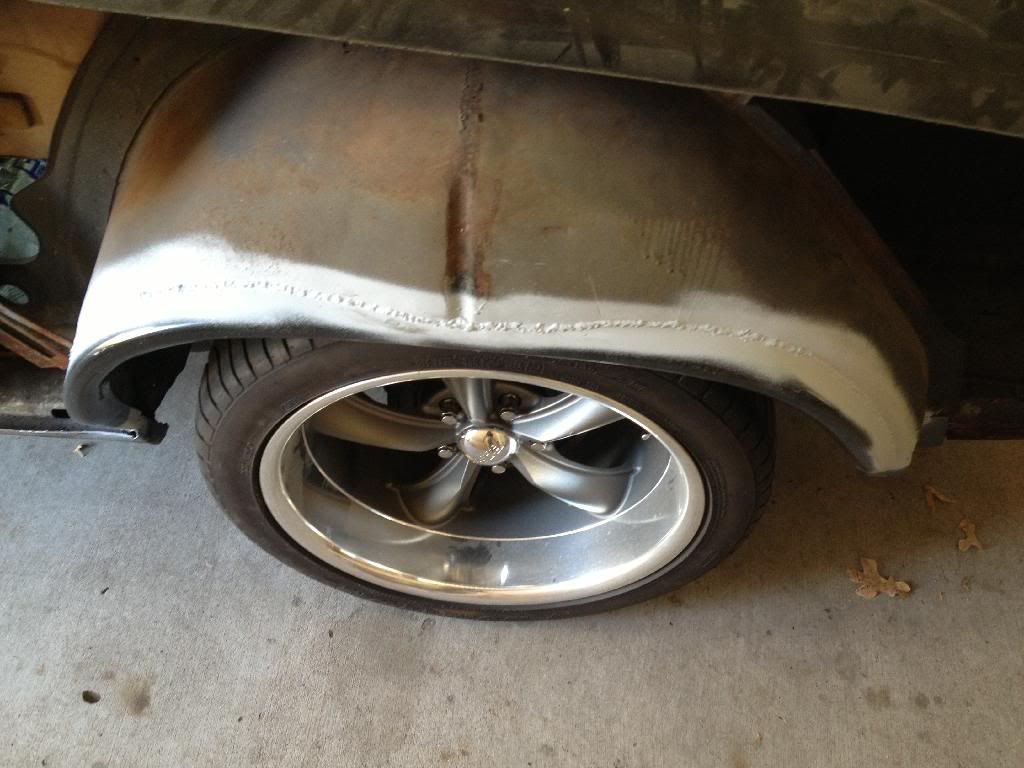
I bought full qtr for the driver side. After seeing how it came. I'm going to try to save my original qtr and patch a lower section. These repops are junk.

It's hard to see but there is a crease the runs thru the style line above the wheel well
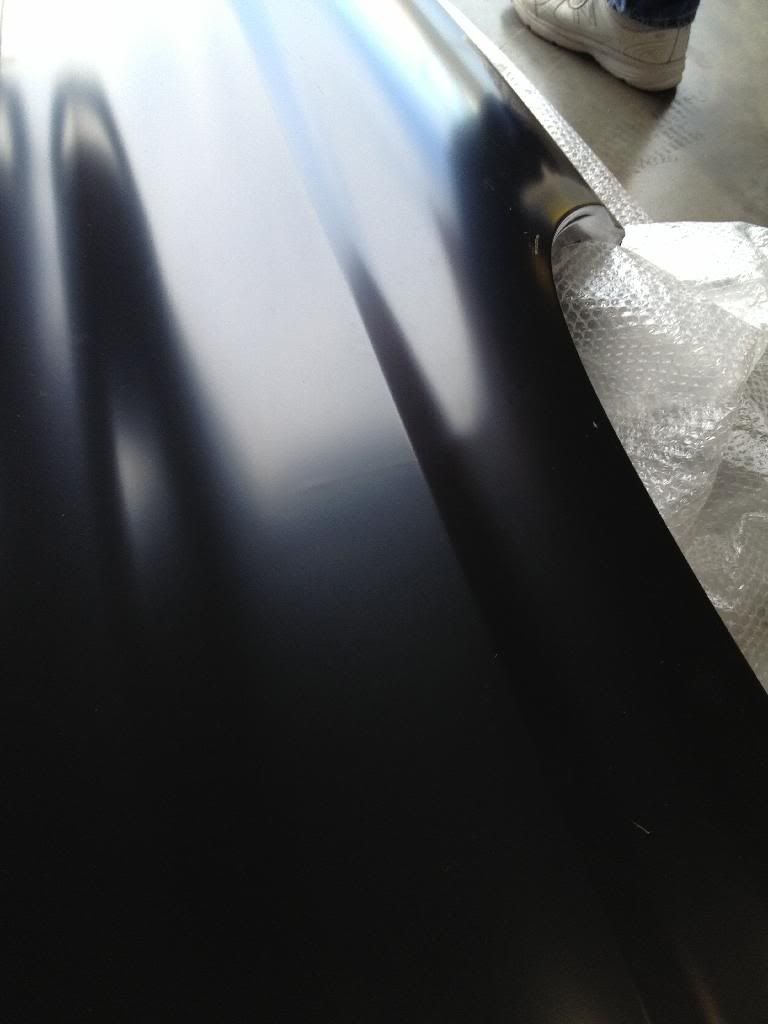

It's hard to see but there is a crease the runs thru the style line above the wheel well
