

Project-89 Coupe LSX Re-swap, now going turbo
 08-14-2012, 08:01 PM
#1
Launching!
Thread Starter
iTrader: (8)

Join Date: Oct 2007
Posts: 229
Likes: 0
Received 0 Likes
on
0 Posts

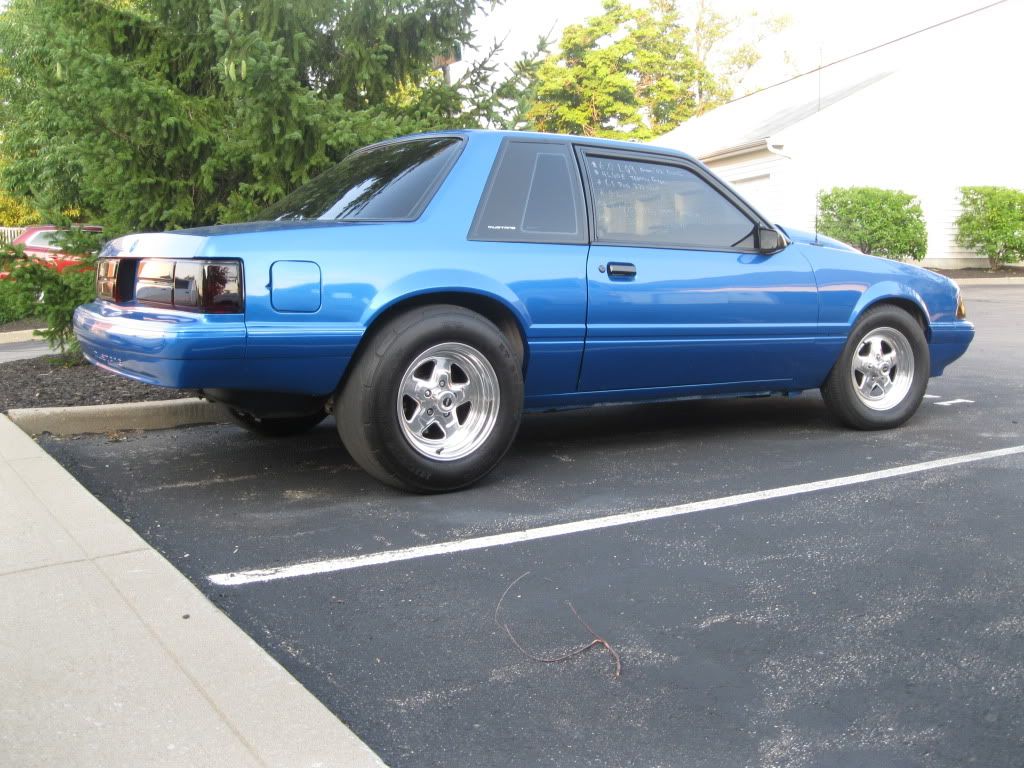
I bought this car probably about 2 months ago and I am just getting started on it. A little bit about the car-02 LQ9 with 4L60E out of a Denali, 5 lug conversion, newer paint, cowl hood, sub-frame connectors, moroso rear drag springs, and 3.73 gears. Motor and trans are bone stock.
I knew the car needed somethings on the swap re-done and that didn't bother me, plus I was going to mod the motor but I was not expecting this. The guy I bought the car off of did a pretty shitty job on the swap, basically hacked up a ton of **** on it! The further and further we got into tearing it apart, the more and more aggrevated I got! I couldn't believe someone would actually do the stupid *** things this guy did on the swap! Oh well, I had planned on pulling the motor to build it some so now I get the chance to re-do the swap the right way.
The car will be getting the following
Parts I already have-
Cartek 4x heads
RPM level 5 t56
Custom made stainless steel headers
Built 8.8 rearend (4.10s, spool, 35 spline axles, 9in ends, 5/8in upgraded studs)
Flaming river steering rack
Lakewood 50/50 rear shocks
Weight jackers & double adjustable control arms
Parts I still need
Front shocks
42lb injectors
Intake manifold (undecided on which one)
Fuel rails
90m TB
Custom cam (undecided on exact specs)
Clutch
Drive shaft
AJE K-member
And probably some misc parts along the way
Now on to pics!

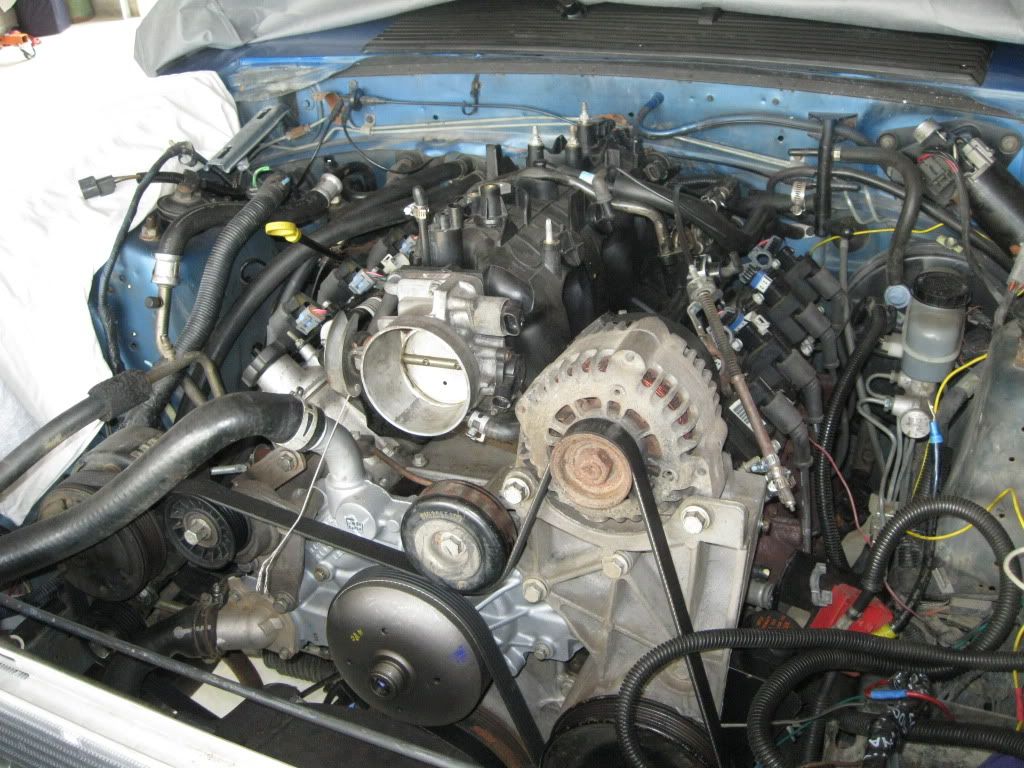
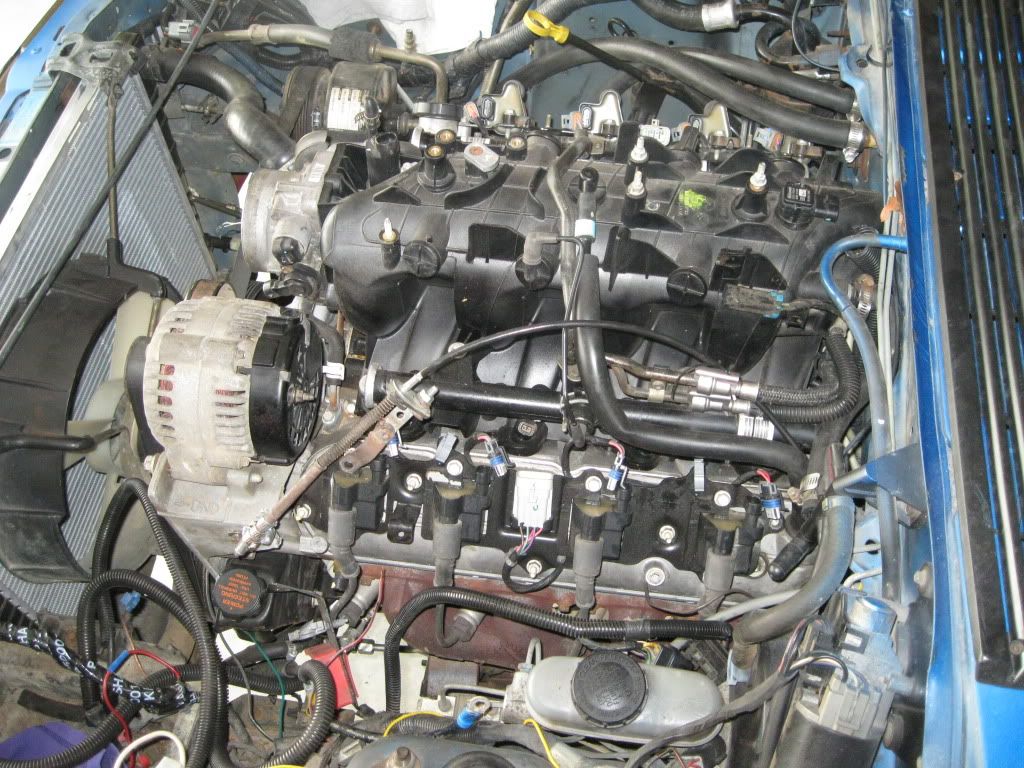
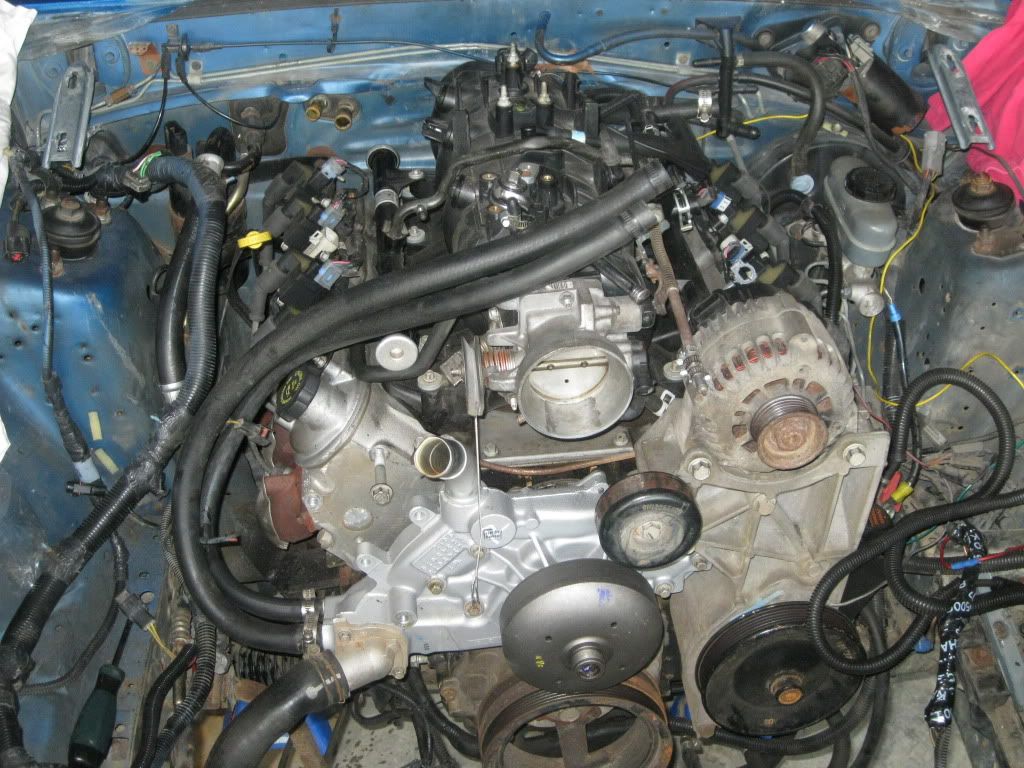
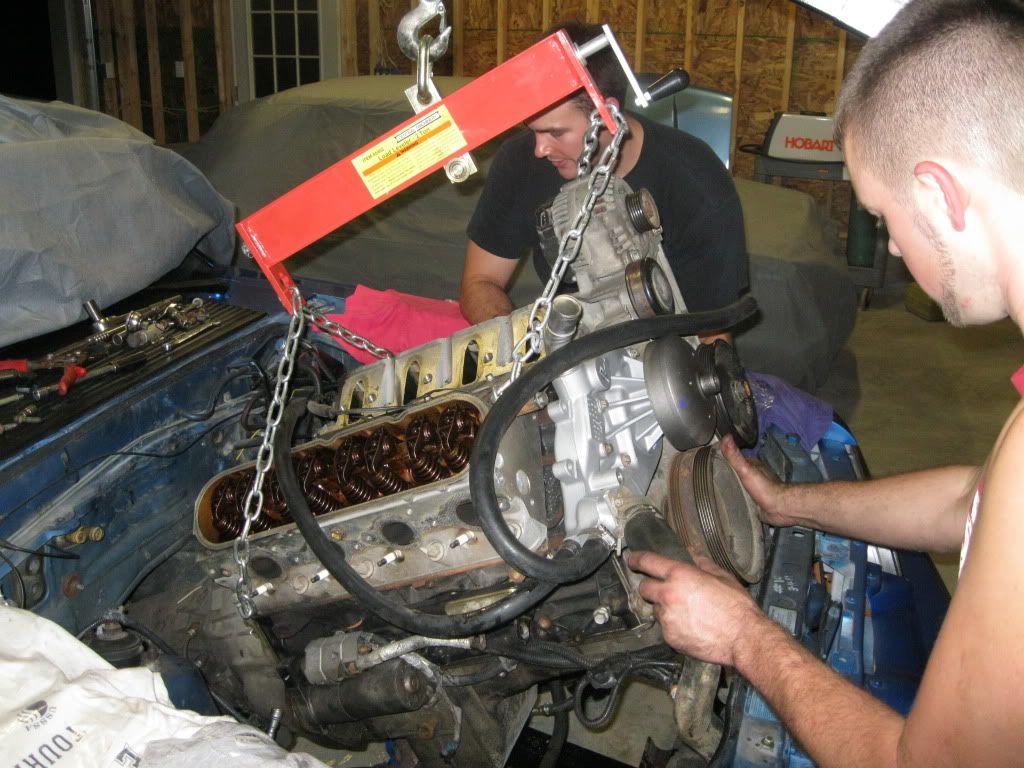
These pics are of the engine after a few things were taken off (vortec intake cover, intake that belongs on a moped). The dumbasas had both the full Denali and 4cyl mustang harness still in the car!
The "custom" exhaust made for the car WELDED directly to the exhaust manifolds!

Motor on the way out!

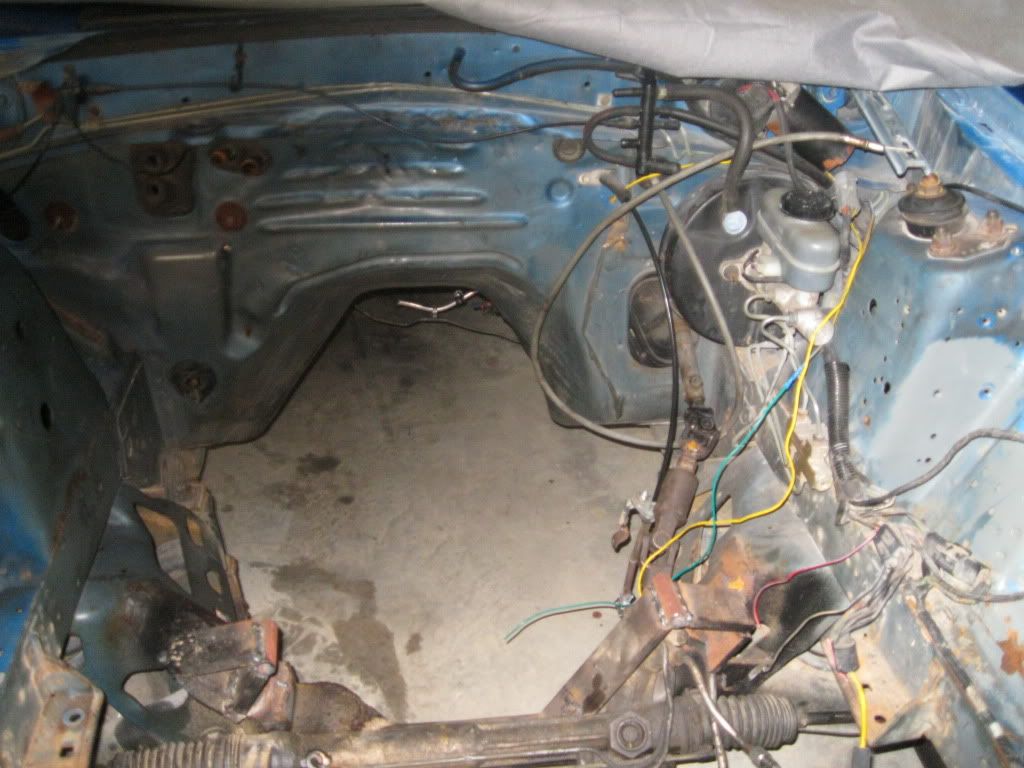
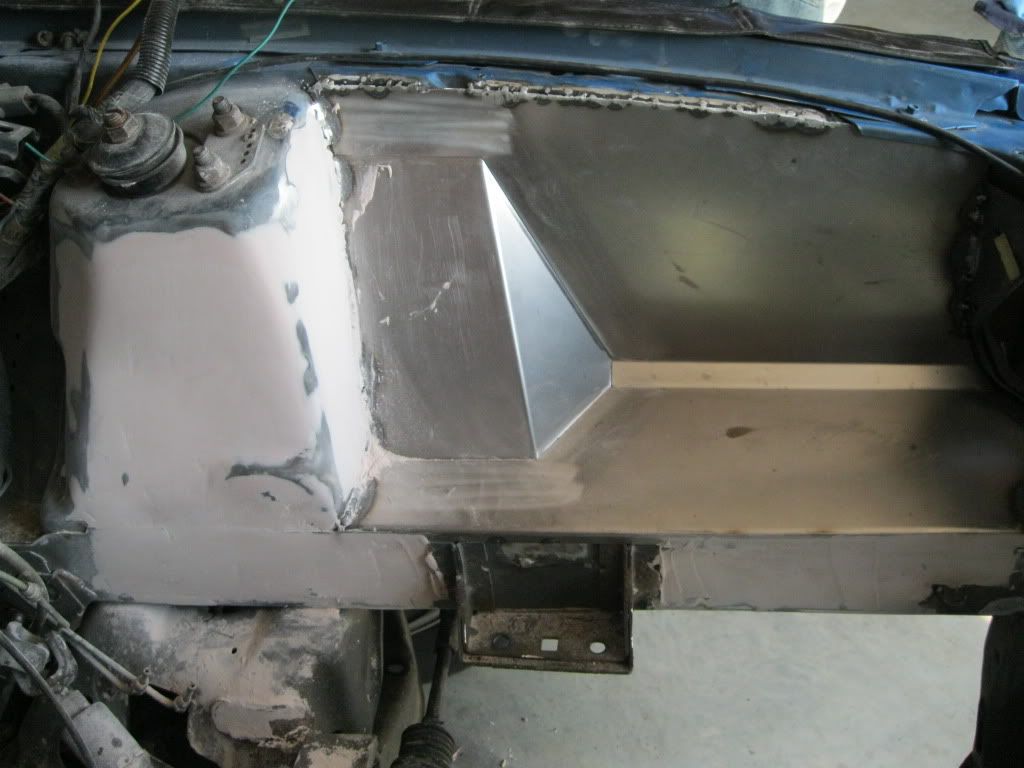
Engine bay empty, cleaned and ready to be smoothed!
I knew the car needed somethings on the swap re-done and that didn't bother me, plus I was going to mod the motor but I was not expecting this. The guy I bought the car off of did a pretty shitty job on the swap, basically hacked up a ton of **** on it! The further and further we got into tearing it apart, the more and more aggrevated I got! I couldn't believe someone would actually do the stupid *** things this guy did on the swap! Oh well, I had planned on pulling the motor to build it some so now I get the chance to re-do the swap the right way.
The car will be getting the following
Parts I already have-
Cartek 4x heads
RPM level 5 t56
Custom made stainless steel headers
Built 8.8 rearend (4.10s, spool, 35 spline axles, 9in ends, 5/8in upgraded studs)
Flaming river steering rack
Lakewood 50/50 rear shocks
Weight jackers & double adjustable control arms
Parts I still need
Front shocks
42lb injectors
Intake manifold (undecided on which one)
Fuel rails
90m TB
Custom cam (undecided on exact specs)
Clutch
Drive shaft
AJE K-member
And probably some misc parts along the way
Now on to pics!
These pics are of the engine after a few things were taken off (vortec intake cover, intake that belongs on a moped). The dumbasas had both the full Denali and 4cyl mustang harness still in the car!
The "custom" exhaust made for the car WELDED directly to the exhaust manifolds!
Motor on the way out!
Engine bay empty, cleaned and ready to be smoothed!
Last edited by 95civic2005; 03-01-2013 at 06:38 AM.


 08-15-2012, 06:28 AM
#4
Launching!
Thread Starter
iTrader: (8)
Join Date: Oct 2007
Posts: 229
Likes: 0
Received 0 Likes
on
0 Posts
Thanks, and now I'm sort of wishing I would have just drove my truck home with an empty trailer but oh well, too late now. It will be done right this time for sure.
Trending Topics
08-16-2012, 08:09 PM
#12
Launching!
Thread Starter
iTrader: (8)
Join Date: Oct 2007
Posts: 229
Likes: 0
Received 0 Likes
on
0 Posts
Haha, No doubt and I agree 100%! Hoping to have some updated pics Sunday of the engine bay. Hoping to have quite a bit of it welded up and ready to go. I only get over to work on it once a week so the progress will probably be slow on it unfortunately.
08-16-2012, 08:15 PM
#13
Trying my best to determine what I can delete on this stupid harness and what I need to keep. Don't suppose you know what the computer under the passenger side dash is do you? Looks like I have an ECU in the engine compartment and one under the passenger dash. That one looks like it might be a bit of a pain to get to with the cage where it is at.
08-16-2012, 10:52 PM
#14
Launching!
Thread Starter
iTrader: (8)
Join Date: Oct 2007
Posts: 229
Likes: 0
Received 0 Likes
on
0 Posts
Trying my best to determine what I can delete on this stupid harness and what I need to keep. Don't suppose you know what the computer under the passenger side dash is do you? Looks like I have an ECU in the engine compartment and one under the passenger dash. That one looks like it might be a bit of a pain to get to with the cage where it is at.
08-17-2012, 07:15 AM
#15
Very clean car. Shame it was hacked together. Cant wait to see some updated pics.
Jon
PSI
Jon
PSI
__________________

Your Source for LSX Conversion Parts!
www.psiconversion.com
Ebay Store
Facebook/psiconversion
Instagram/psiconversion
'Dont Let EFI Pass You By!'
Your Source for LSX Conversion Parts!
www.psiconversion.com
Ebay Store
Facebook/psiconversion
Instagram/psiconversion
'Dont Let EFI Pass You By!'
08-18-2012, 03:16 PM
#16
On The Tree

Join Date: Jul 2012
Location: Bowling Green, Missouri
Posts: 120
Likes: 0
Received 0 Likes
on
0 Posts
I am in the process of stripping my harness as well. Just going with a bare bones setup. Headlights, brakes, turn signals, ignition to fuel pump, and power locks. It is definately a rats nest. The mustang harness is located under the dash and ties into the interrior harness at the green plug. Otherwise the harness is completly isolated.
08-18-2012, 03:50 PM
#17
Launching!
Thread Starter
iTrader: (8)
Join Date: Oct 2007
Posts: 229
Likes: 0
Received 0 Likes
on
0 Posts
I am in the process of stripping my harness as well. Just going with a bare bones setup. Headlights, brakes, turn signals, ignition to fuel pump, and power locks. It is definately a rats nest. The mustang harness is located under the dash and ties into the interrior harness at the green plug. Otherwise the harness is completly isolated.
 08-27-2012, 12:19 PM
#19
Launching!
Thread Starter
iTrader: (8)
Join Date: Oct 2007
Posts: 229
Likes: 0
Received 0 Likes
on
0 Posts
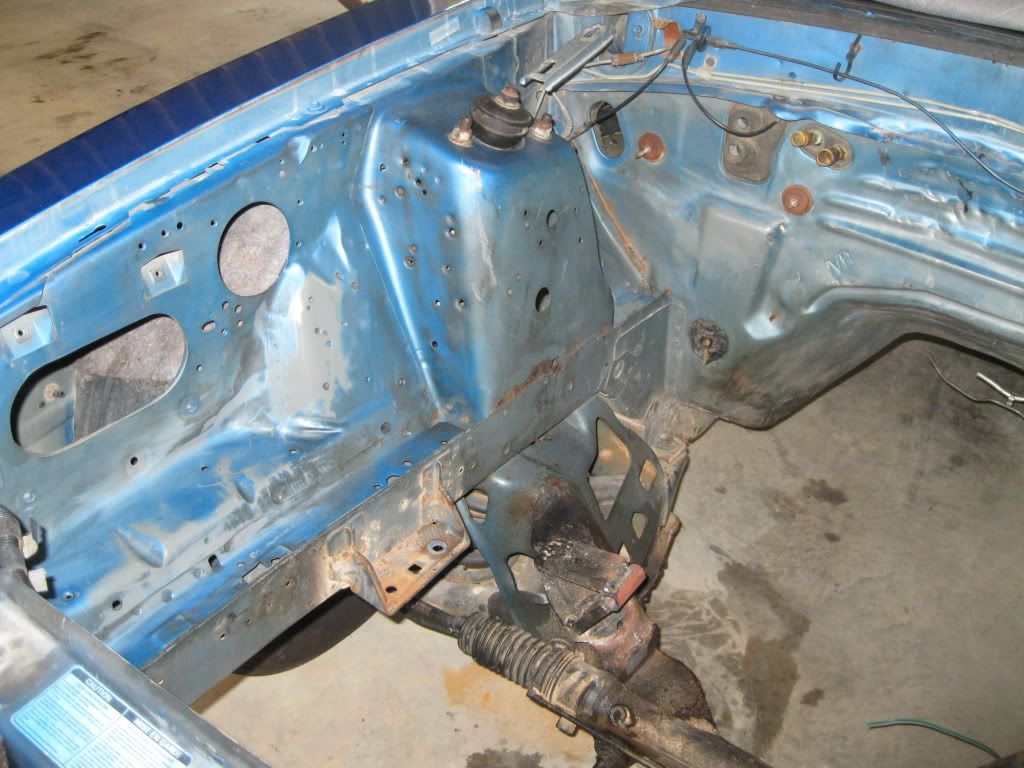
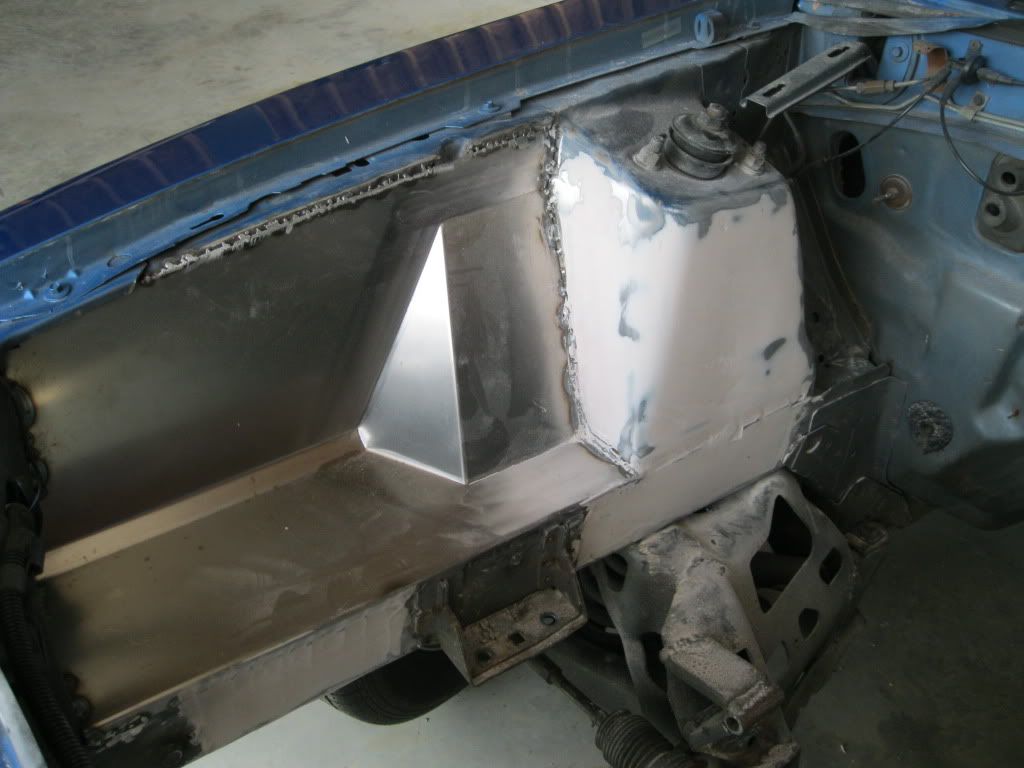
Made a little progress on the engine bay this weekend. Gotta get the sway bar mounts off, which I don't think is gonna be easy, and finish smoothing around the weld-in panels and frame rails. Probably going to take 3 coats on everything. Hoping to finish it this weekend and get it to the painter to finish it so I can get the motor back in and get this thing done!
08-27-2012, 01:13 PM
#20
TECH Enthusiast
iTrader: (5)

Join Date: Oct 2008
Location: Houston, Tx
Posts: 650
Likes: 0
Received 0 Likes
on
0 Posts
Those sway bar mounts are a BITCH!
I tried drilling the spot welds out but that didnt work. Best way is to sawzall them off then smooth the frame rail with a grinder, thats what I ended up doing.
I tried drilling the spot welds out but that didnt work. Best way is to sawzall them off then smooth the frame rail with a grinder, thats what I ended up doing.