When you click on links to various merchants on this site and make a purchase, this can result in this site earning a commission. Affiliate programs and affiliations include, but are not limited to, the eBay Partner Network.
So I've finished up the AC lines and other than some hose clamps the cooling system is good to go as well.
Mostly out of the way, and not too cluttered (I think) I'm super pumped I can build these things myself
I also got the gauges installed and wired up. What a pain that was, but I'm pretty happy with how the wiring came out. I think they look pretty at home in the dash This is easily the nicest wiring I've ever done on a gauge pod, I'm really proud of it This is going to be so cool once its in the car!
I also finalized the duct work hookups on the back of the dash. The hoses kept slipping off the ABS fittings, so I had to make little triangles to glue onto them to work like barbs. Now the hoses don't fall off and it should work pretty good for the long term with a zip tie holding them on. 3 main vents and the defrost ducts are in the car already
I wired up a main switch for the line lock and a momentary shifter button as well as a tow/haul button I'll program to turn on performance shift. Pieces in, pieces out, it feels like it takes forever to finish
I also finished the hydroboost and power steering lines/reservoir.
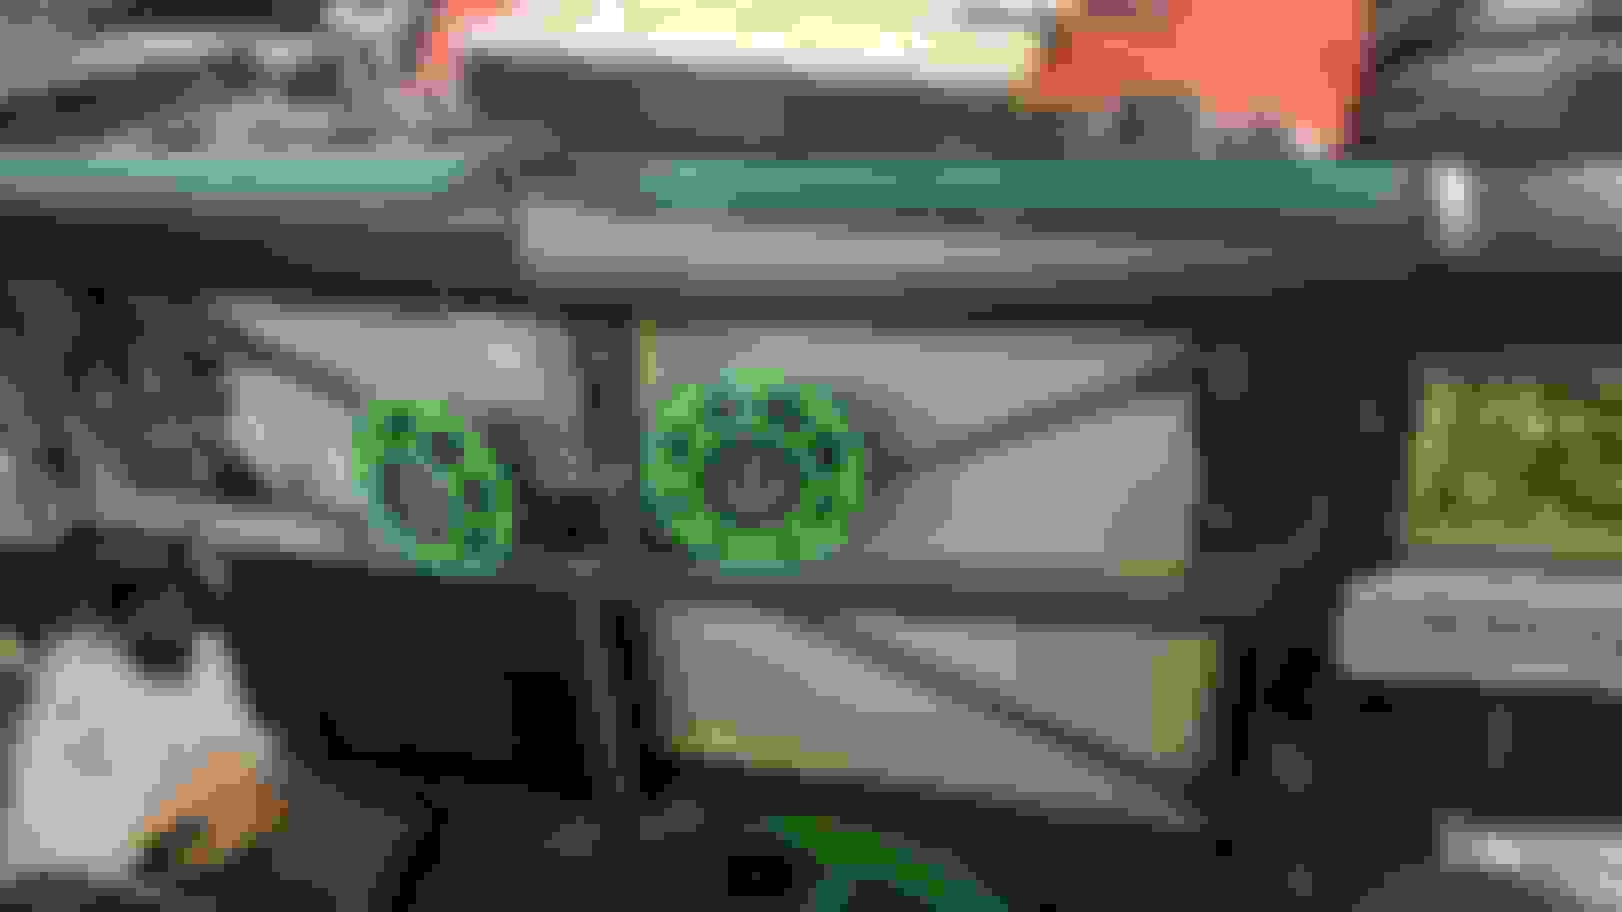
Last I started the amp rack to mount in the cubby next to the battery. It looks like a transformer according to my dad, and I'm ok with that sub and speaker amps with a capacitor on the back all tucked in a nice little package
Next up will be doing more sheet metal work on the inner fenders and then I'll paint those.
I'm still on track:
Have the interior "done" this year
Wiring finished
Have all the plumbing done this year
All sheet metal and paint done this summer (besides the exterior color)
Exhaust done this winter
Still moving forward, but now we've got wild fires. So between the ash and smoke I'm not heading into the garage much. Hopefully they don't expand the evacuation area and the fires get contained. Hopefully everyone stays safe and we can all get back to the normal car work soon.
Got the last brackets made and pieces in that mount to the fenders so I started to finish up the metal work. Installed the rest of the carpet in the cubby and mounted the amps and battery tray. The interior is almost all assembled. The dash top plastics and the A pillars are really the only things that need modification. The fenders looked pretty decent in just metal after grinding and sanding, but needed some filler Not a ton of filler, but enough to just smooth out some of the transitions I also installed the firewall panel, cowl extension, and trim. These are the front tubs I ended up building for the bagged dually. They started life as 4 trailer fenders. They went from 9" wide to 15" and I added 14" into the center so they were longer and not interfere with the tires when they turned.
I had planned to make a post after I finished sanding and painting the inner fenders, but with the ash its really not worth all my time to paint them (I'd just end up sanding them down later to redo). The plan is still to get the inner fenders painted this summer and put the truck back together. I need to figure out the E-brake cable for the F-body brakes, and run transmission cooler lines up to the radiator and an aux cooler.
I managed to dodge rain, wildfire ash, and cold foggy weather to get these things painted!
The underside of the inner fenders is coated in Raptor Liner, just like the bottom of the car.
The hardest part was leaving them alone for a few days/week to cure completely.
I'm working on the cooling lines to the transmission now. My plan so far is hard lines from the transmission up past the headers and then convert to a small section of soft line so they aren't going to be flexing on the hard section.
I did order a plate style cooler, but it barely (well really doesn't fit) and I may not want to cut things, so the project has sort of stalled. I did work on the steering shaft, and thats all done now
As usual real life is getting in the way of this project but I'm hopeful I can get it to where I want it this year.
Jessica
Finished the transmission cooler lines and installed the cooler that is arguably way too large. I also kind of attached the bumper and the front spoiler and I'm going to work on my ram-air snorkel thing next, as well as the E-brake cables under the car. Then I put the car down on its wheels for the first time in years. Its on some completely bald and stretched junk tires I took off my S10 but its so cool to see it on the ground. Its amazing how low it is, compared to being up on the rollers. I had to trim the fiberglass to fit this thing, so now there is an endless supply of dust everywhere. Pretty simple setup, its going to flow through the radiator cooler and the external, but if I need to change that in the future I should be able to just move the lines. Kind of a tight fit for everything, but its all pretty easy to service. I ran hard lines to the transmission, and just used a small section of flex lines to keep things from fatiguing.
I had to hit the transmission tunnel with a hammer to make room for the fittings (mostly so they could be serviceable).
I also had a 4L65 failure in my daily driver Silverado SS. So I'm in the process of installing a 4L80 and changing things around to work with that. Its been down for a couple weeks now and I'm maybe going to get it put back together this next weekend, but its definitely put a wrench in the works. One positive is that I need to change out the driveshafts when going to a 4L80 and now I have a pretty beefy factory aluminum drive shaft I can have cut down to work in the El Camino. I'm trying to think of the positives haha
Definitely weird looking on those little 225 tires, but its back on its feet!
Thanks! Its been like 5 years so even though I know I need to get it back up in the air to pull the transmission and build the exhaust I just don't want to
I wish there was more to post, but I have gotten some progress made. The front end is back on the car, and I'm finalizing the wiring! The transmission is coming out in January to get built and somehow I think I'm on track to get the exhaust made this winter still.
I had the 4L65 go out on my Silverado SS and I ended up putting a 4L80e in that. The dually and Fiero have been pretty well behaved but they kind of suck as daily drivers so its nice to finally have my SS back on the road.
Jessica
Happy New Year!
Progress! The cold and wet have kind of slowed me down more than usual this year, but I made some changes in the garage and I've been able to get some stuff done. making my own X pipe Hopefully these sound as good on this car as they do on my Fiero Well I can actually melt things together using the TIG, and I'm actually getting better at controlling my puddle and everything New lower profile oil pan, I figured on the stove was where a new pan should sit Wiring loomed and almost all done Not a fan of jack stands, so I built these instead Everything is so clean and new under here
I measured for a new driveshaft and I should have that ordered this week. I'm going to get the exhaust done, then pull the transmission to have it gone through. I found a local guy that not only can build the 4L80, he wants the 4L65 from my SS as a core and to see how it failed.
I've got a pretty short list of things to do under the car: transmission, exhaust, parking brake cables, and driveshaft. Then I'll put it back on the ground and pull the engine to rebuild. The plan is to have it at least moving under its own power this year.
Jessica
Don't see people using cribbing that often but that stuff is super strong. Had to use them when I was doing work on my lifted k5. Jacks and jackstands don't always reach.
Keep up the good work
I didn't like the idea of having it on 6 ton jack stands fully extended, so here we are. Its about 2 feet of clearance below the frame rails, so I'll be able to comfortably remove the transmission and build the exhaust.
Jessica
TIG welding is by far the hardest thing I've tried to learn on this build, but I figured the super budget F body headers I bought would be the best place to start after getting just the barest minimum practice
Anyways I've managed to booger a V-band onto the passenger header and an extra O2 bung for a wide band. Next up will be somehow getting the drivers side header out and welding an O2 onto that too.
The rational is that I'm not just burning through consumables practicing (like the first gas bottle and set of tungstens I went through). I get some progress made, and its unlikely anyone will see the mess besides myself...plus its an exhaust and I can grind down the worst of it if I think I need to.
Once I get some welds that look decent for more than a fraction of an inch I'll post the pictures I have of my progression
So the exhaust has begun, what a pain. Work has been getting really busy, so I've been slowing down too.
This is where I started with the TIG welding, it was sad, but we all have to start somewhere.
This is the exhaust system in a nutshell, I'll have some turndowns in front of the axle or kick it out to the side in front of the rear tires.
The welding is actually going better now, yes its not perfect, yes I still had to grind a few spots and redo them, but I'm open to constructive advice. My thought process is that the exhaust will be under the car and its a great place to get better at what I'm doing.
So thats it! I'm thinking I might have it finished in the next weekend or two if I don't have to go into the office. Then I'll hook up the e-brake cables and pull the transmission.
Post the settings you are using and maybe we can help your setup.
What shielding gas are you using and what flow rate?
What tungsten at what stick out and is it clean and sharp?
How many amps?
What filler rod type and diameter? and is it clean?
Also make sure polarity is correct, clean material with acetone to remove manufacturing oils inside and out then sand/grind to shiny metal then clean again with acetone. Use separate abrasives for different materials to prevent contamination.
Great progress Jessica. You have a nice looking Alky
I agree on sharing your settings. Once that�s dialed in, you can work on torch angle and burn some filler. Takes time typically. Try a tig finger to keep comfortable. This should help a lot. If you have any old woven spark plug boots, that should work
I'm sitting at my desk at work, but I can probably remember most of these things, as I've been playing around with it for a few days now.
I'm using a D/C Everlast multi process machine
100% Argon and I have been moving it between 25-30cfm flow depending on the cup size I'm using.
With the size 10 gas lens cup I'm at around 20-25 flow rate.
The tungsten is the purple kind 3/32" I believe and 1/2" stick out, ground to a point on a dedicated flapper disc/grinder and cleaned with acetone
I've been switching between the 1/16 and 3/32 308L filler rods (I believe), but I find for the V bands and O2 bung the thicker stuff worked better
On the pipe itself I've been running the machine at 55amps but I'm not maxing it out with the foot pedal. On the flanges I bumped that up to 70 so I could put more heat into it if I needed to
I've been cleaning the filler and the tungsten and the material with acetone before I weld, I ground or wire brushed the parts most of the time (but I did forget a couple times and had to come back with the wire brush after it was tacked up)
I have burned my fingers a few times already so I should get one of those sleeves!
Try using the smaller filler and less overall heat input. Make sure the filler is added to the puddle and not being melted by the torch. Aim to have your welds the same width as the manufactured ones on the headers, you might be holding the torch too far away from the material.
^^^^^^*
this is very true. Smaller tungsten, and filler helps. Find what brand of tungsten you like best. HTP has a nice house brand as Cyberweld.com does too. I really like the tungsten sharpener from HTP. I believe there might be better deals on sharpeners now though.
if you checkout YouTube, there are a lot of good channels to refresh your memory (if you go long periods of time between) on settings, tricks and tips
Thank you all for the advice! I've been watching a lot more youtube and its been helping too.
I'm going to try the smaller tungsten and filler rod next, I had wanted to use the larger stuff initially to fill a couple gaps from less than ideal cuts I'd made.
Now that I've welded a bit more I think I can handle the smaller stuff, it was a little bit tricky when I first tried it.
I'm going to add a flex section to each pipe between the headers and the crossover, its just a bit too fiddly and tight to install easily. Plus that will take some strain off the headers and things shouldn't crack if what I read online has any merit to it.

 07-13-2020, 01:03 AM