
88 Fiero Formula LS4/F40 6 speed swap
 03-17-2024, 08:31 PM
#521
Launching!

That's a fair bit of beef in the front. You one any weight checks on this? Curious where you're at.
 03-17-2024, 09:07 PM
#522


LF 608 RF 609 = 1217 Front
LR 794 RR 796 = 1590 Rear
Since then, the wheels/tires were upgraded, and now the turbo setup and subwoofer. Really wanted to keep the weight in the 2900 to 2950 lbs, but I need to scale it once it is back together to see how I did.
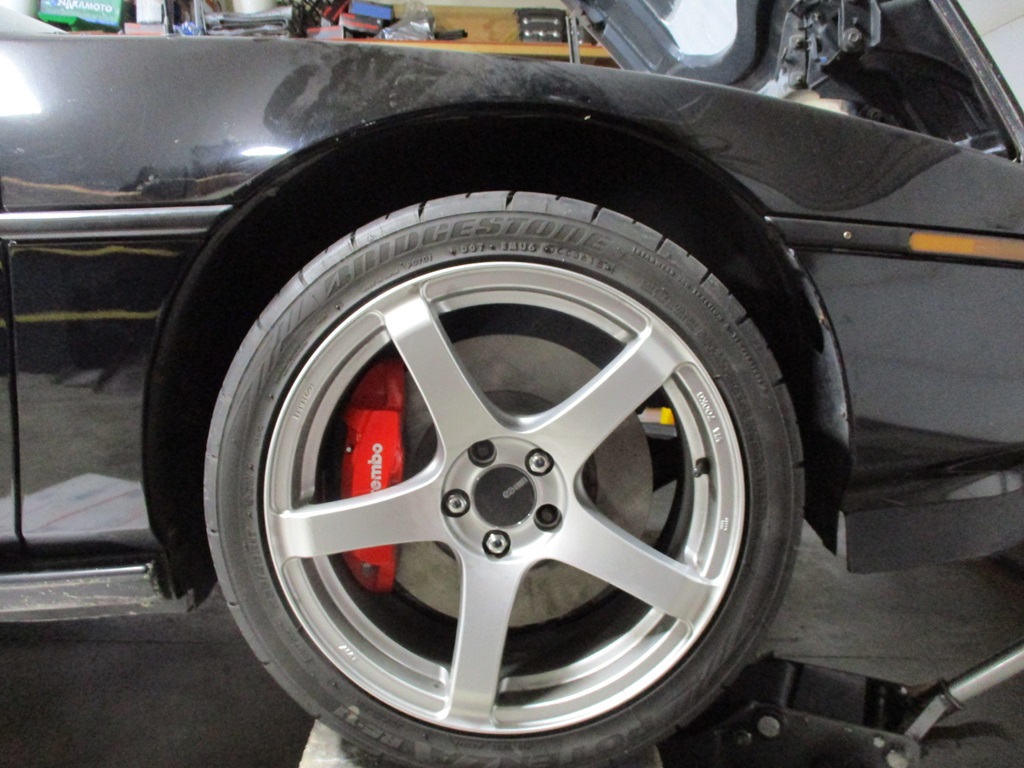
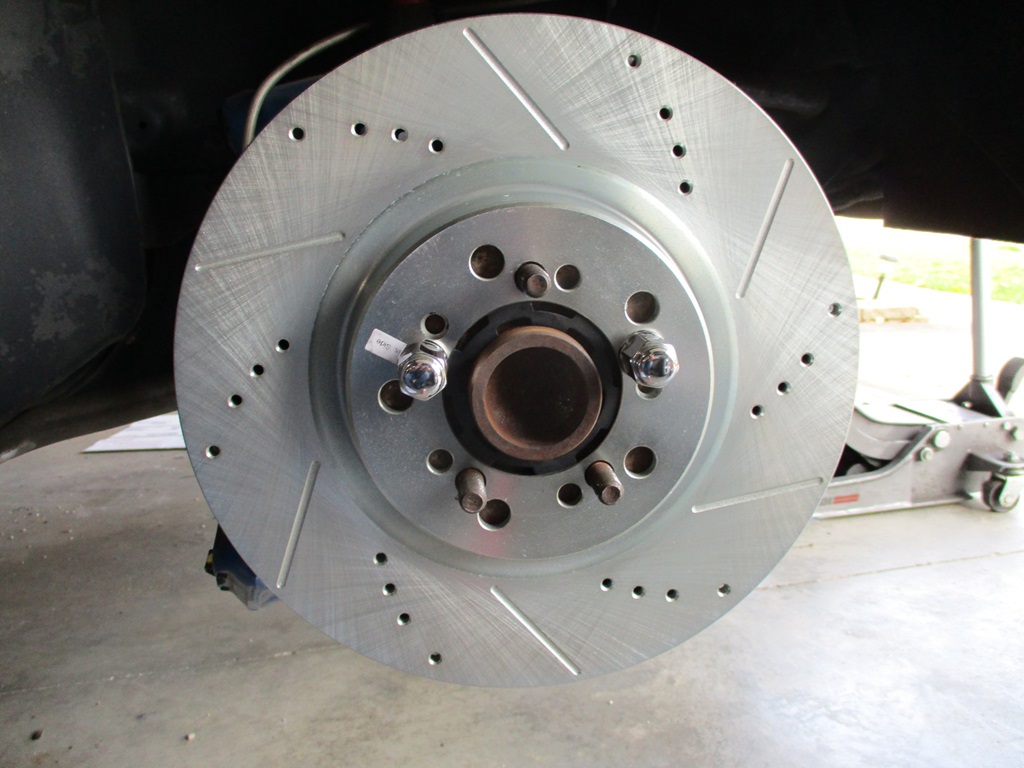
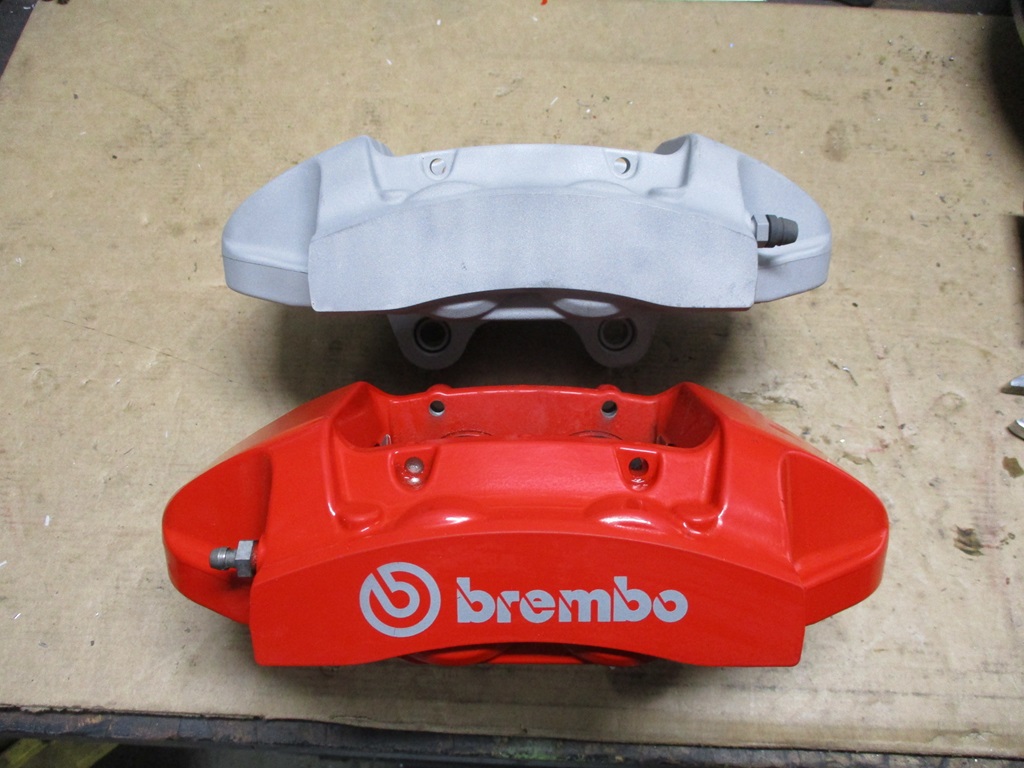
I designed the current brake kit on my car. It reuses all the stock 88 Fiero calipers and parking brake, but the rotors go from 10 1/4 to 13" and results in a 30% increase in braking front/rear while keeping the brake bias stock. The Brembos I am using are some of the smaller ones as they are a hydraulic match to the stock Fiero calipers. So they will look awesome, but not change the overall bias of the current brakes.
The following users liked this post:
JoshHefnerX (03-17-2024)
03-17-2024, 10:09 PM
#523
Launching!
Be interesting to see how that turns out. Hydraulically they should give good feel and bias. Adding almost 30% more diameter/torque may affect it. But lots of things go into that, weight bias transfer ect. But, you know all that. Should definitely help with heat.
Been a good build, watching you run into obstacles and overcome them creativity.
Been a good build, watching you run into obstacles and overcome them creativity.
03-31-2024, 05:27 PM
#524
Finished with adding the sound deadening to the drivers side, installing both carpets, installing both seats, tightening down the steering wheel and connecting the horn so it works.
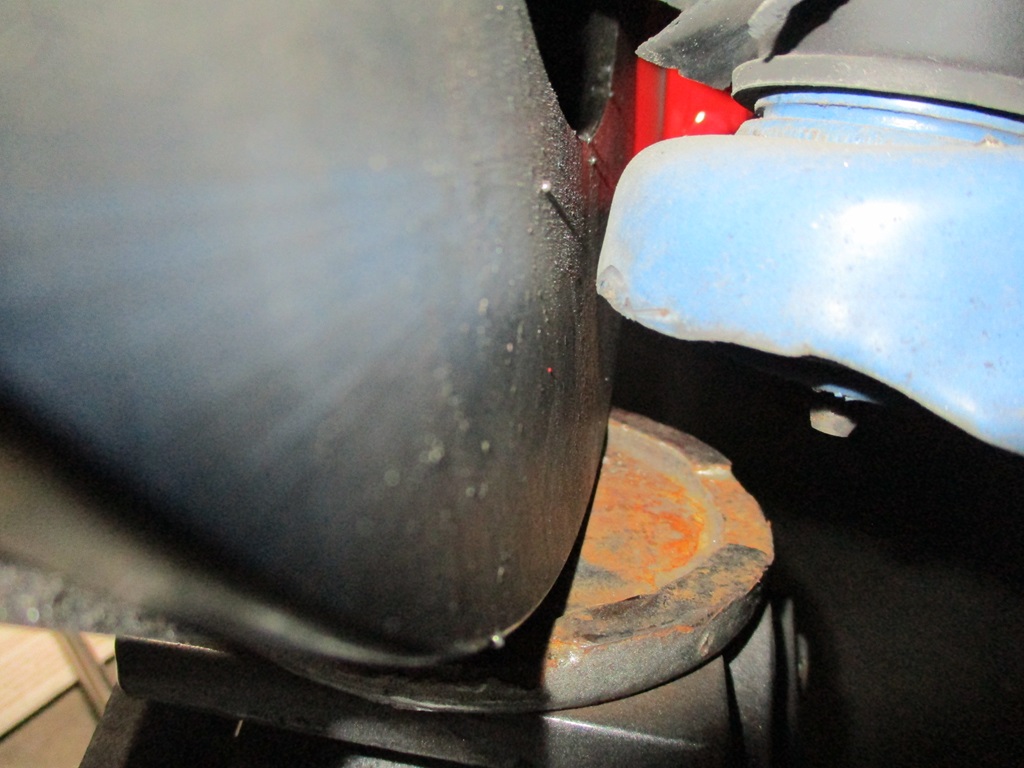
Then I played with the Brembo caliper. Test fit of the rotor on my car and the nose of the a-arm clears the rotor by about 0.10" so that works.
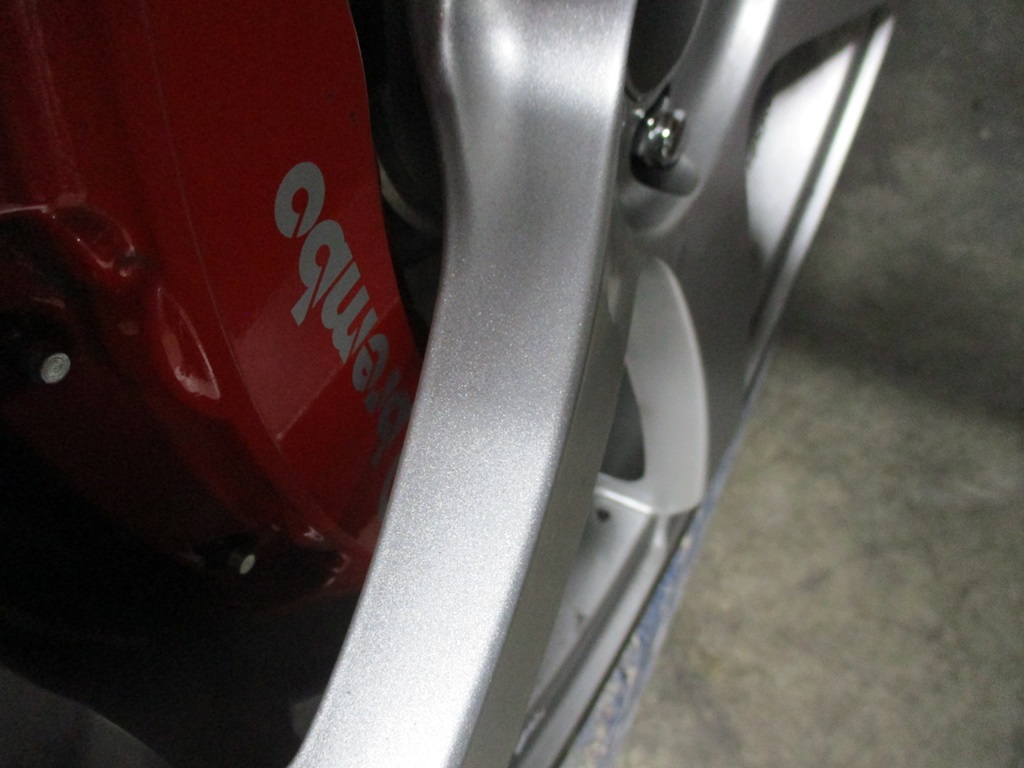
Installed the caliper and bracket with the caliper clocked upward and checked clearance to the upper a-arm - everything cleared with over 1/4" of room to spare.
Checked clearance between the Brembo caliper and my wheels - cleared by about 3/16".
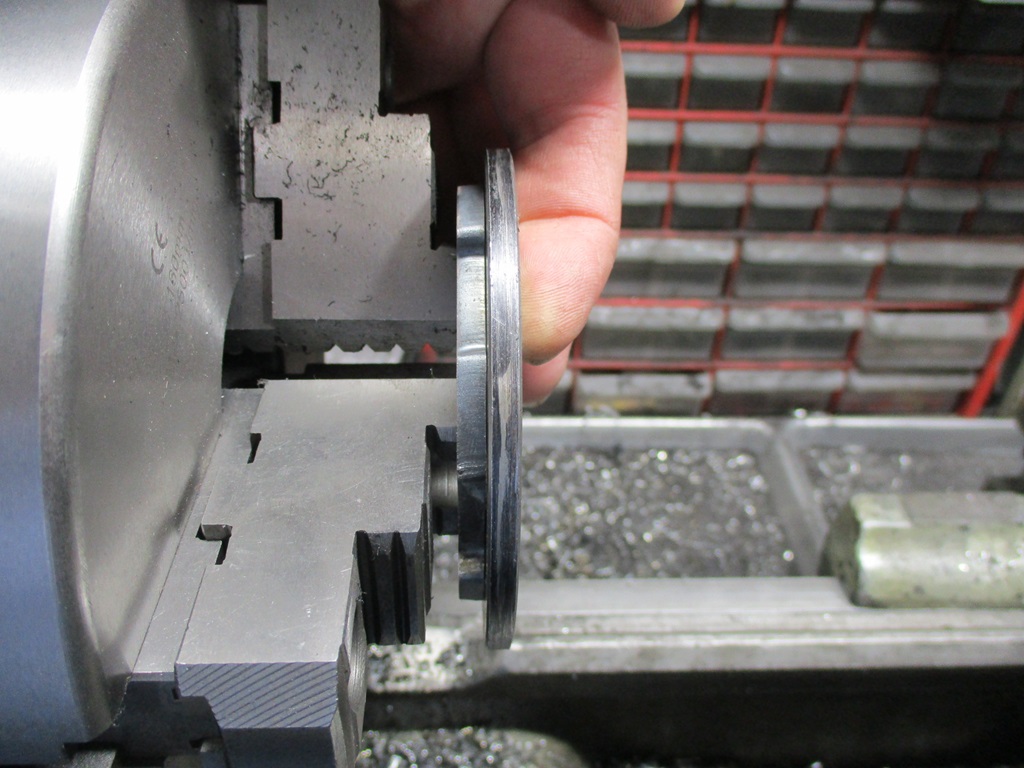
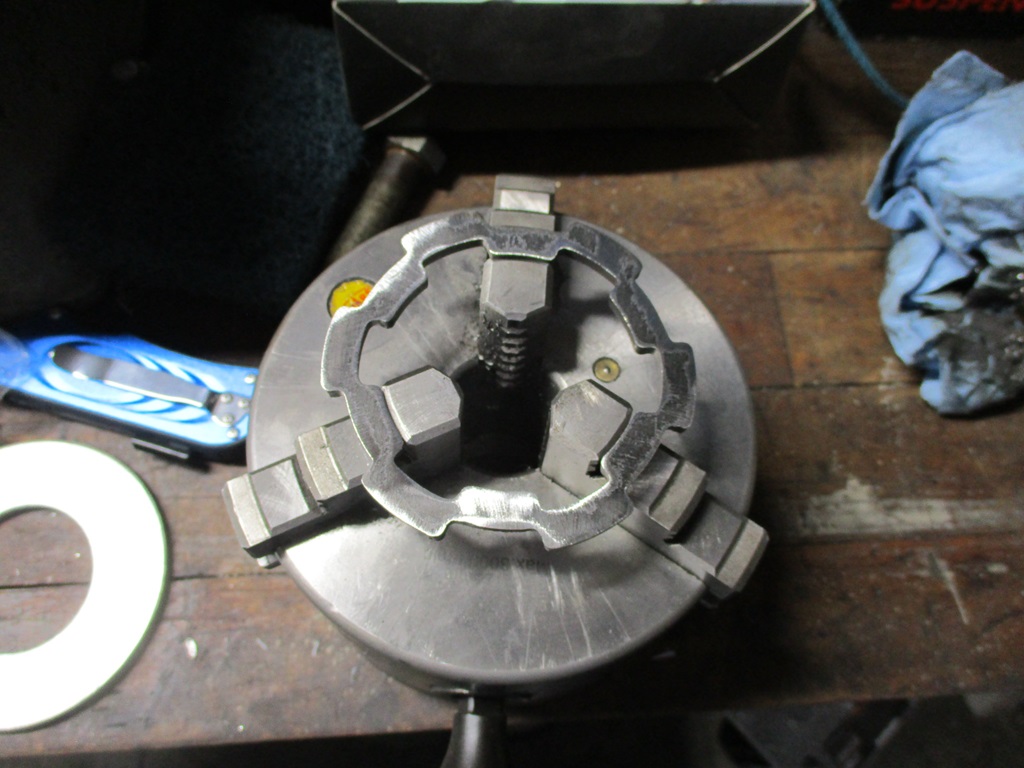
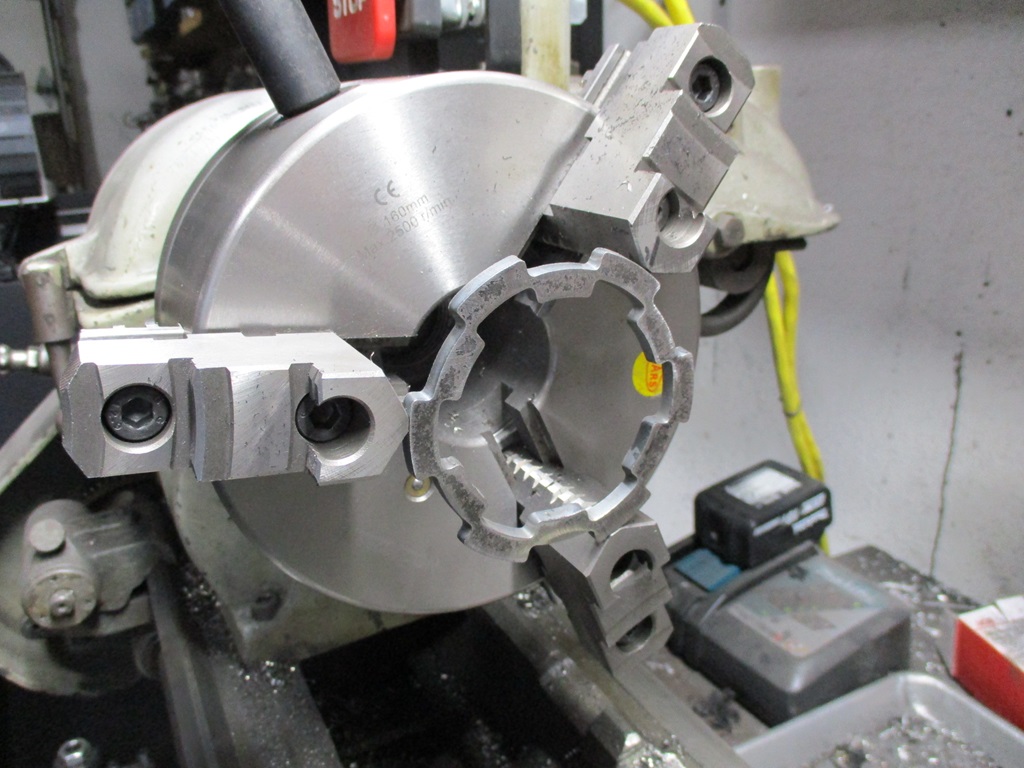
I wasn't having any luck with an off-the-shelf concentric ring, so I made some on the plasma and trued up the ID and OD on the lathe.
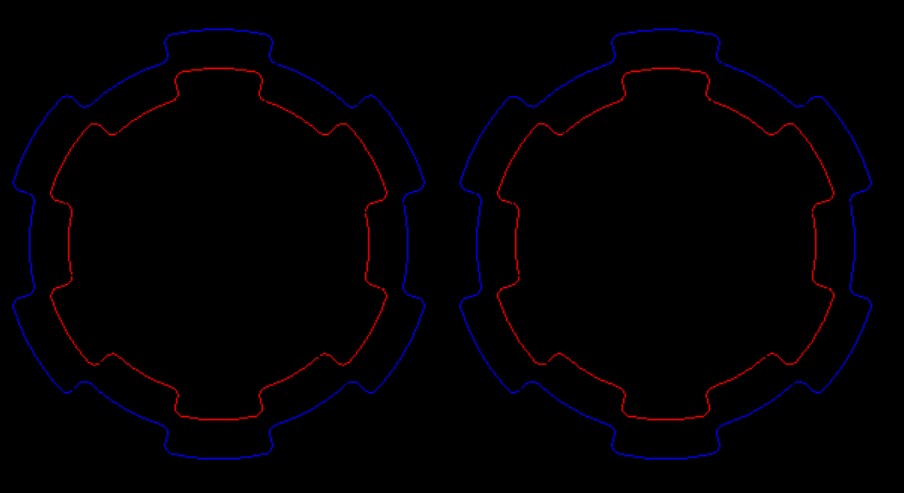
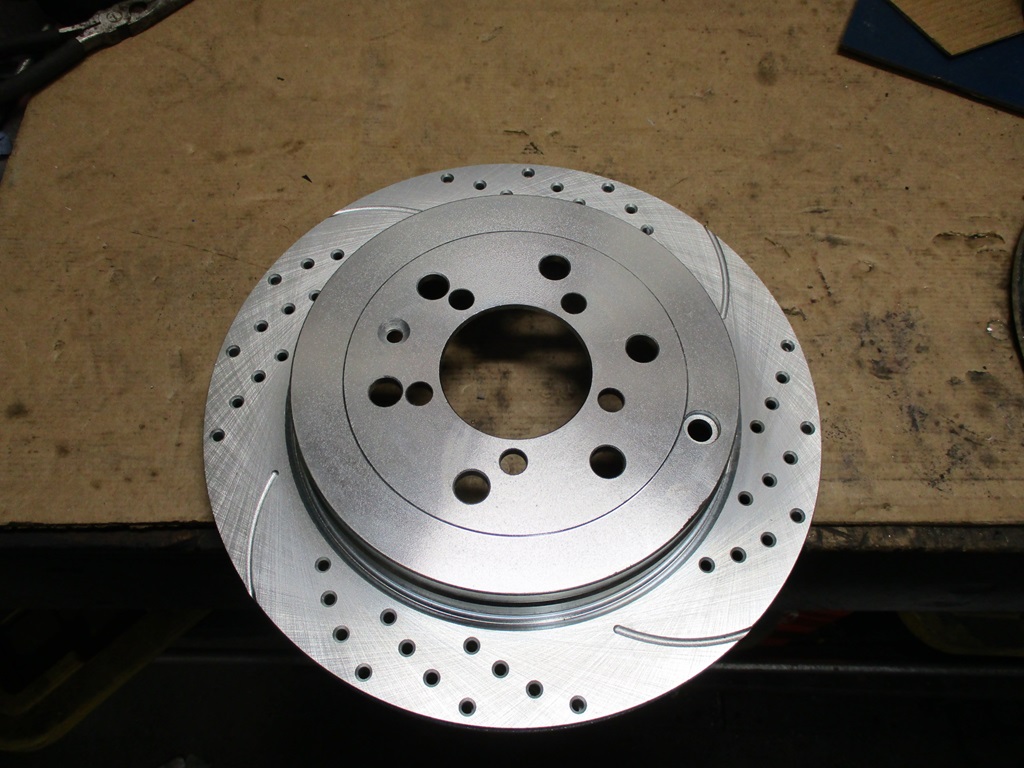
I made 4 of them and used 1 for the drill guide for the 5x100 pattern and then drilled the new rotors. In a month I will have the 2 piece rotors - but I want the car back on the road by the end of next weekend. So these will do for now. Old 13" rotors from 2013 were removed and the new 13" rotors installed.
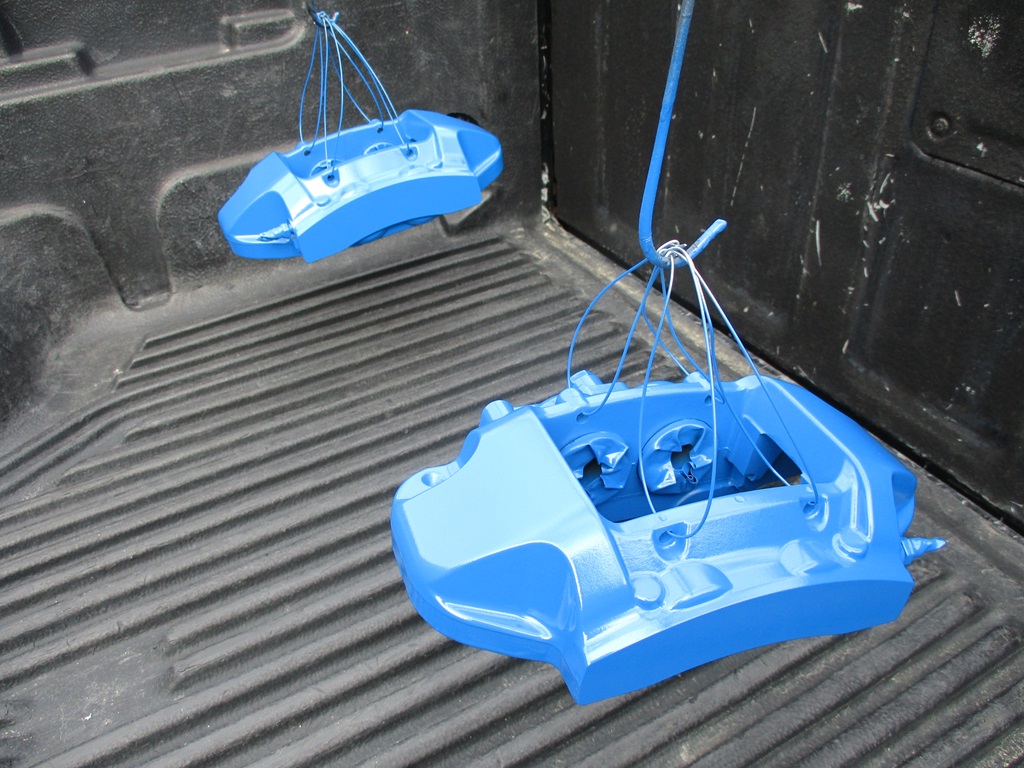
No more red on the Brembos:
Ordered:
Russel DOT brake lines - the ones on the car had been there since 2013.
Hawk Performance pads for front and rear. Between the two caliper designs, I was able to find 2 compounds with very similar coefficient graph. The front are also a low dust compound, which would be a nice change.
The car won't be done by next weekend, but I want to start driving it and most of the remaining items are interior related, so I can do them while putting miles on the car.
Then I played with the Brembo caliper. Test fit of the rotor on my car and the nose of the a-arm clears the rotor by about 0.10" so that works.
Installed the caliper and bracket with the caliper clocked upward and checked clearance to the upper a-arm - everything cleared with over 1/4" of room to spare.
Checked clearance between the Brembo caliper and my wheels - cleared by about 3/16".
I wasn't having any luck with an off-the-shelf concentric ring, so I made some on the plasma and trued up the ID and OD on the lathe.
I made 4 of them and used 1 for the drill guide for the 5x100 pattern and then drilled the new rotors. In a month I will have the 2 piece rotors - but I want the car back on the road by the end of next weekend. So these will do for now. Old 13" rotors from 2013 were removed and the new 13" rotors installed.
No more red on the Brembos:
Ordered:
Russel DOT brake lines - the ones on the car had been there since 2013.
Hawk Performance pads for front and rear. Between the two caliper designs, I was able to find 2 compounds with very similar coefficient graph. The front are also a low dust compound, which would be a nice change.
The car won't be done by next weekend, but I want to start driving it and most of the remaining items are interior related, so I can do them while putting miles on the car.
Last edited by fieroguru; 03-31-2024 at 05:34 PM.
The following 3 users liked this post by fieroguru:
04-01-2024, 07:54 AM
#525
TECH Fanatic
iTrader: (27)

Could you show the fixture that you used to chuck the concentric rings into the lathe? The biggest thing I have trouble with is making sure that after I chuck something up that its square.
The following 4 users liked this post by fieroguru:
BFromTheD (04-02-2024), G Atsma (04-01-2024), Project GatTagO (04-01-2024), ryeguy2006a (04-02-2024)
04-07-2024, 06:58 PM
#528
This weekend was pretty short as we were in Indy to see Hadestown on Saturday and we got back around 10 AM today.
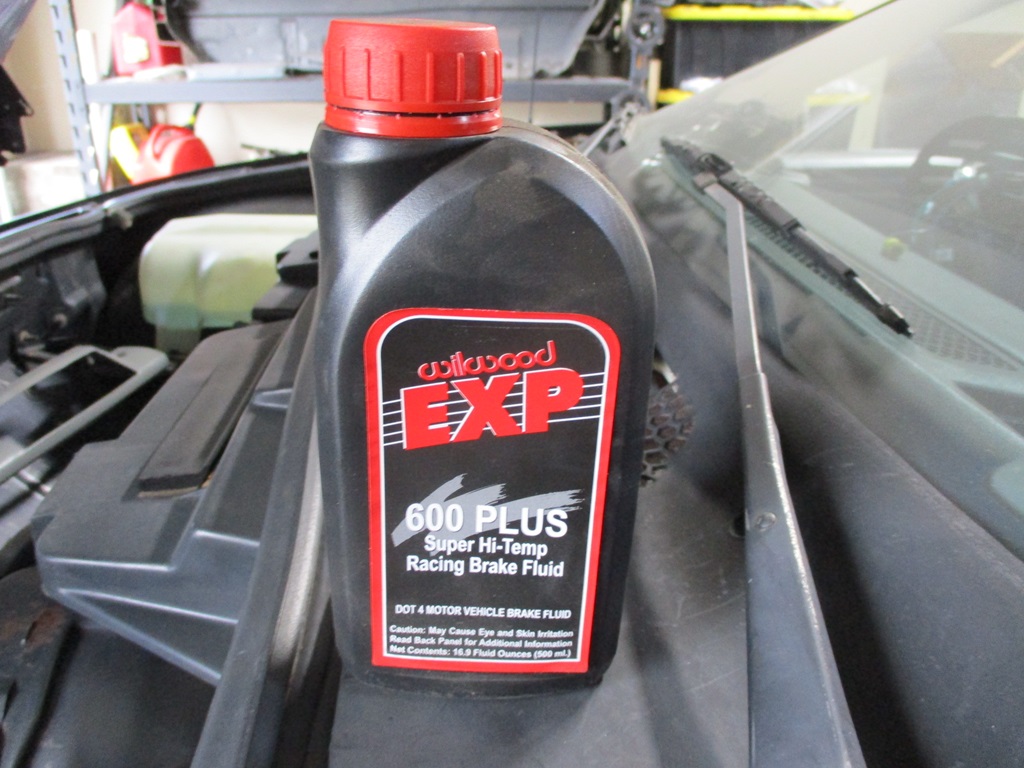
I got the front brakes nearly complete. Trimmed some M6 stainless bolts and lock washers to work for pad pins, pads installed, modified the new brake lines to clock the hose connection so it clears the upper a-arm, flushed the brake fluid, installed the hoses, did a gravity bleed on all 4 bleeders, and installed the Brembo stickers. A final bleed full brake system bleed will be completed once I am done with the rears.

Then I switched my focus to the rears. Jacked the rear of the car up, removed the rear caliper bridges, pads, and rotors and drilled new rotors for 5x100 pattern, and flushed the rear brake system.
Then I got bogged down making the hawks pads for a Wilwood caliper work with an 88 Fiero caliper. The two mods that are needed are:
1. Use a belt sander on the edges to bring the width down from 100.6mm to 100.0mm.
2. Drill out the holes for the pad retaining pin. Since I will be using 6mm stainless bolts for the pins, I drilled them out to 6mm which is slightly smaller than the split roll pin the 88 Fiero calipers use.
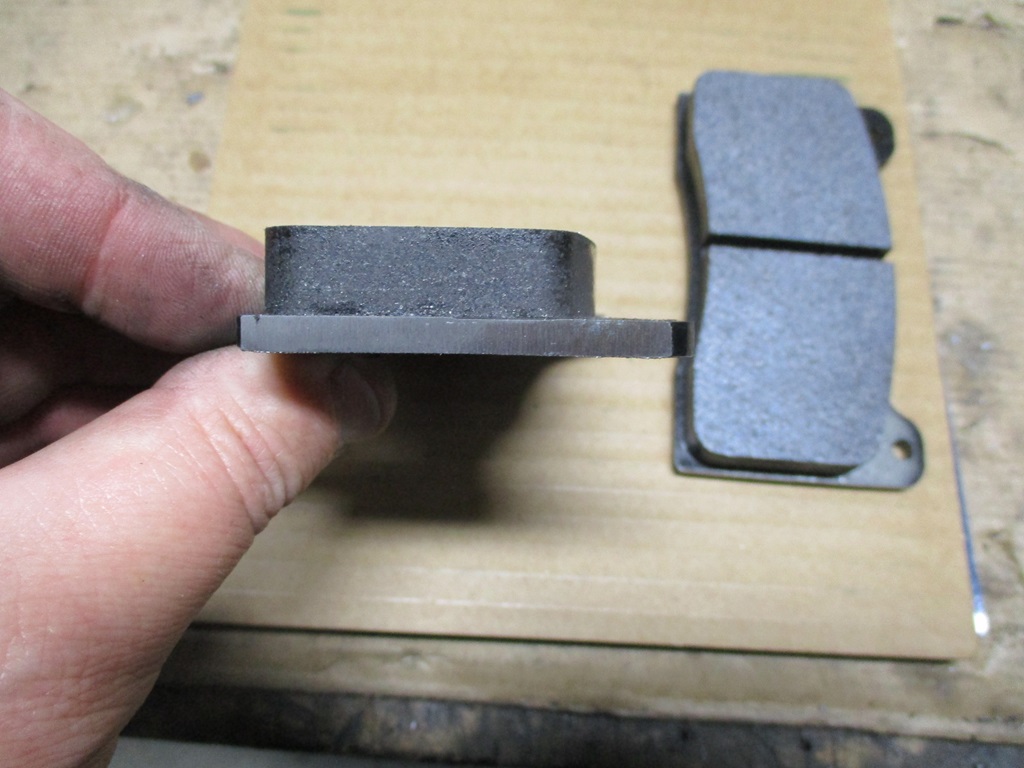
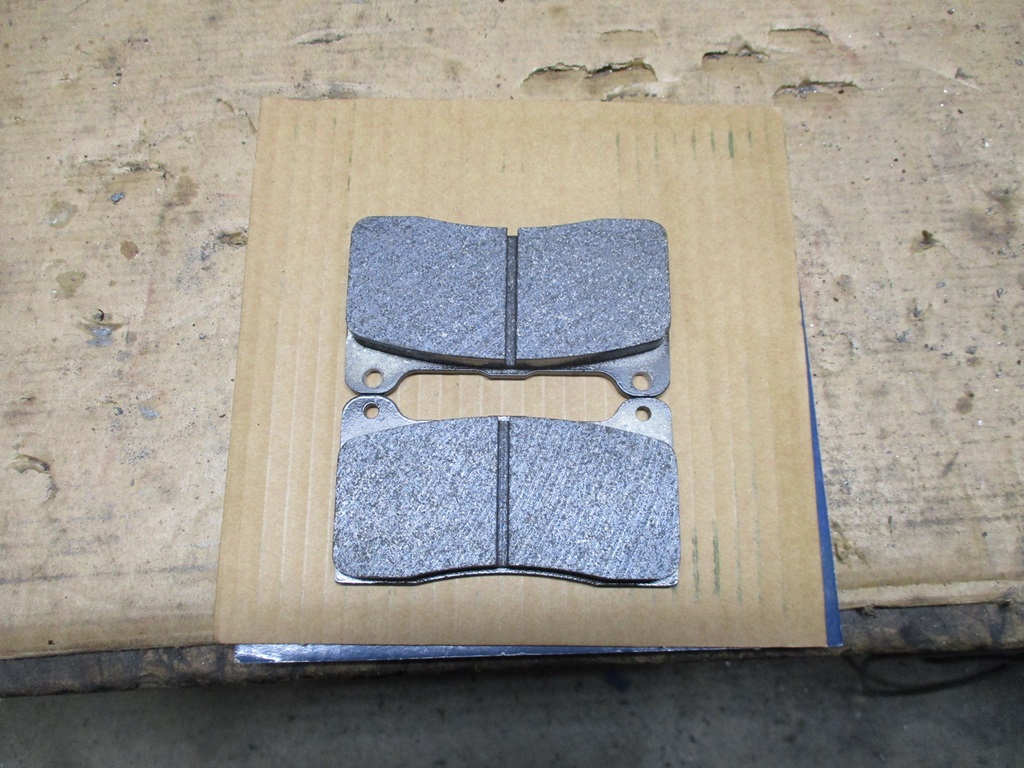
Now I am waiting for the 6mm bolts to arrive (the Fiero calipers need to be 10mm shorter than the Brembos). With the switch to bolts vs. split roll pins, I will be able to install the pad with the bridge installed, so while waiting, I will get the rotor and bridge installed and check to see if I need to make a spacer for the bridge (these pads could be a little too thick).
I got the front brakes nearly complete. Trimmed some M6 stainless bolts and lock washers to work for pad pins, pads installed, modified the new brake lines to clock the hose connection so it clears the upper a-arm, flushed the brake fluid, installed the hoses, did a gravity bleed on all 4 bleeders, and installed the Brembo stickers. A final bleed full brake system bleed will be completed once I am done with the rears.
Then I switched my focus to the rears. Jacked the rear of the car up, removed the rear caliper bridges, pads, and rotors and drilled new rotors for 5x100 pattern, and flushed the rear brake system.
Then I got bogged down making the hawks pads for a Wilwood caliper work with an 88 Fiero caliper. The two mods that are needed are:
1. Use a belt sander on the edges to bring the width down from 100.6mm to 100.0mm.
2. Drill out the holes for the pad retaining pin. Since I will be using 6mm stainless bolts for the pins, I drilled them out to 6mm which is slightly smaller than the split roll pin the 88 Fiero calipers use.
Now I am waiting for the 6mm bolts to arrive (the Fiero calipers need to be 10mm shorter than the Brembos). With the switch to bolts vs. split roll pins, I will be able to install the pad with the bridge installed, so while waiting, I will get the rotor and bridge installed and check to see if I need to make a spacer for the bridge (these pads could be a little too thick).
The following users liked this post:
ryeguy2006a (04-08-2024)