


E36 M3 - LS3/TR6060 Swap
It seems with any swap there is lots and lots of research. Actually one part that I really like. The LS3 AC compressor has the line exit direct into the frame rail so that wasn't going to work. I happen to have a truck bracket and come to find the LS3 has the same belt spacing as the trucks....
Tried a couple different truck compressors, no go... lines again exit directly into the frame rail.
Thought about using the stock s50 compressor and make a bracket. It would be nice to use the stock lines. It does "fit" but sits about 2" further back than stock so the lines really wouldn't work anyway.
A couple pictures of how it fits.

Belt lined up


I really wasn't too happy with that so started digging. I use google images a lot to find things...seems to work the best for me and is the fastest.
I found a bracket to use a sanden compressor on the LSx.....like this. I THINK the lines will clear the frame rail from all my measurements. If not there are different sanden compressors with the lines that come out the back.


Some more digging and I found that the trailblazer/enovy has a different AC compressor than the other trucks with the LSx engine.
The compressor has the outputs more on the TOP..... looking like this might work.
I have a compressor coming tomorrow to see if that will fit. Looks like the bracket can be bought new from GM for around $25.
A few pictures of that setup...these are not mine.


Tried a couple different truck compressors, no go... lines again exit directly into the frame rail.
Thought about using the stock s50 compressor and make a bracket. It would be nice to use the stock lines. It does "fit" but sits about 2" further back than stock so the lines really wouldn't work anyway.
A couple pictures of how it fits.
Belt lined up
I really wasn't too happy with that so started digging. I use google images a lot to find things...seems to work the best for me and is the fastest.
I found a bracket to use a sanden compressor on the LSx.....like this. I THINK the lines will clear the frame rail from all my measurements. If not there are different sanden compressors with the lines that come out the back.
Some more digging and I found that the trailblazer/enovy has a different AC compressor than the other trucks with the LSx engine.
The compressor has the outputs more on the TOP..... looking like this might work.
I have a compressor coming tomorrow to see if that will fit. Looks like the bracket can be bought new from GM for around $25.
A few pictures of that setup...these are not mine.
Picked up a trailblazer compressor...
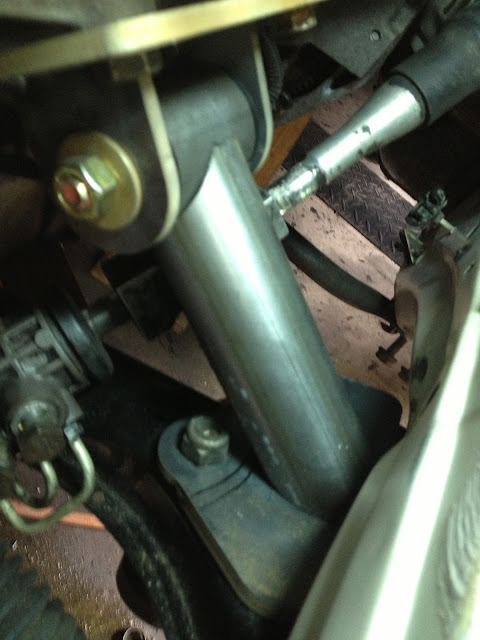
It fits great. I'm not sure if I will keep this exact compressor as it is painted black. New rebuilt from the parts store but just looks out of place not matching the engine. Gotta see what else I can find. But this type works for sure with the LS3 belt spacing or truck for that matter.
Line location

Clearance to rail

From the front...uses a truck tensioner

Here is the bracket.
LS3, truck, trailblazer. I will have to drill a hole or weld an ear to the back for the lower hole as the LS3 mounting is a little different. Top bolts are the same and everything lines up tho. There is even a cut out on the back of the trailblazer bracket where a hold could be.

It fits great. I'm not sure if I will keep this exact compressor as it is painted black. New rebuilt from the parts store but just looks out of place not matching the engine. Gotta see what else I can find. But this type works for sure with the LS3 belt spacing or truck for that matter.
Line location
Clearance to rail
From the front...uses a truck tensioner
Here is the bracket.
LS3, truck, trailblazer. I will have to drill a hole or weld an ear to the back for the lower hole as the LS3 mounting is a little different. Top bolts are the same and everything lines up tho. There is even a cut out on the back of the trailblazer bracket where a hold could be.
I was hoping to make the trans mount and start on headers today but I come to find that there is no rubber mount on the tr6060. drat! I have a rubber mount on the way.
Either way...lots of other things to work on.
Brake and fuel lines....powder coated...calipers will be coated to match


Clean tank ready to go back in

Straps with new pads

Tank is back in

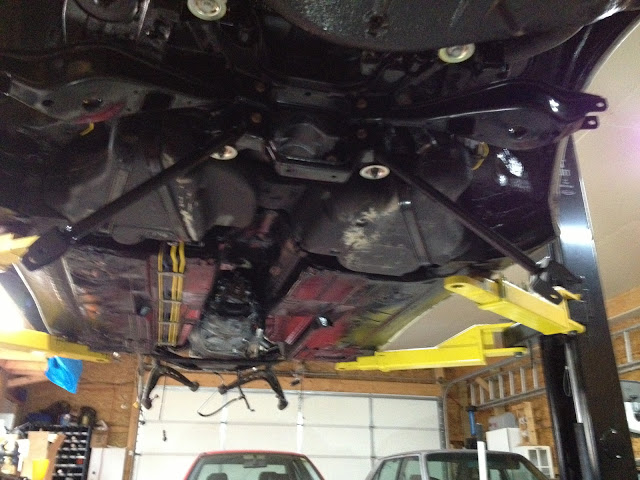
Just some random pictures now that it is raised up.


Either way...lots of other things to work on.
Brake and fuel lines....powder coated...calipers will be coated to match
Clean tank ready to go back in
Straps with new pads
Tank is back in
Just some random pictures now that it is raised up.
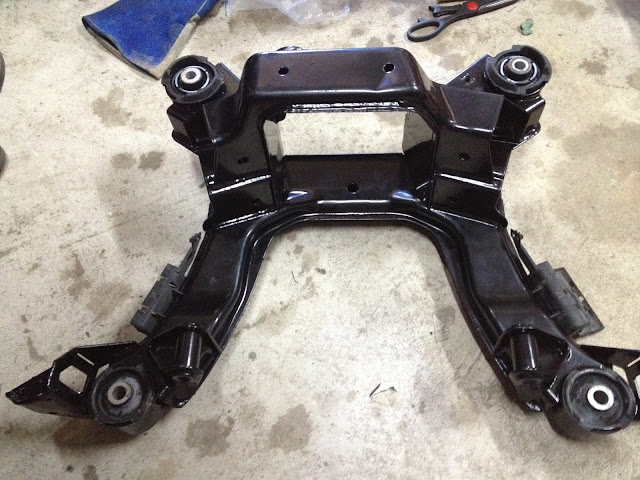
New bushings in the rear subframe just about ready to go in
Coilovers

Front of the diff reinforcement
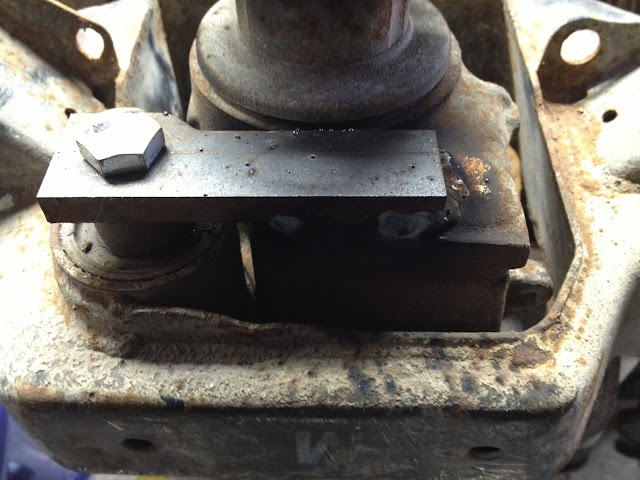
Got the rubber trans mount so the plan was to make the trans mount. Looking like I need to figure out the shifter situation before that can happen tho. This is a tr6060 so the shifter uses a linkage unlike on the t56. Trans has to be a little lower to give room for the linkage...

Thinking of using the camaro shifter holder and modifying it a bit.
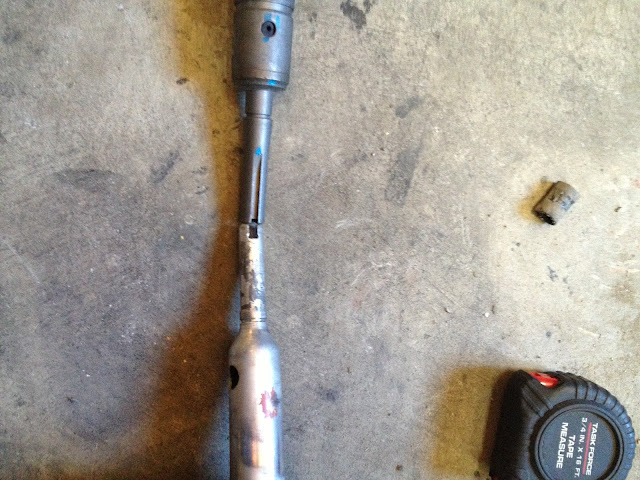
BMW compared to the camaro shifter
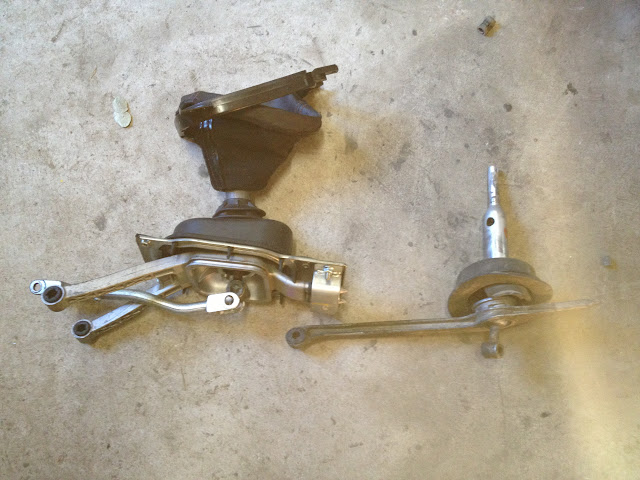
The shaft diameter is just about the same so I am thinking a BMW **** will fit.
Camaro shifter pulled apart
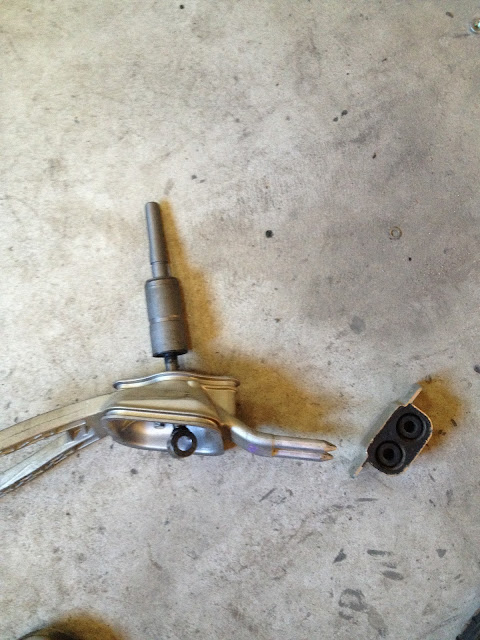
What I am thinking is cut the arms that go to the trans off (where the ratchet is in the pic below). Then mount the camaro rear carrier to the bottom of the e36. Then weld the mounting location from the front (cut off) back a bit further to mount to the trans. Finally shortened the shifter linkage.

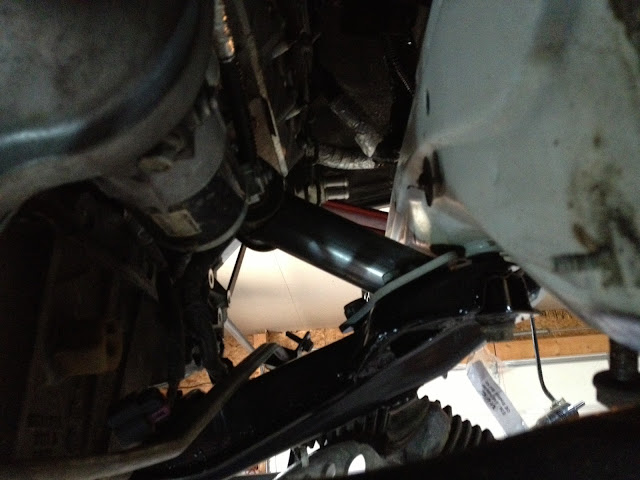
By lowering the back of the trans the space between the brake booster and valve cover it REALLLLLY tight. I will probally change the engine mounts so it sits a little lower and gives more clearance at the brake booster. I have about 3/4" between the pan and the subframe right now so there is some room to go a bit lower.
Coilovers
Front of the diff reinforcement
Got the rubber trans mount so the plan was to make the trans mount. Looking like I need to figure out the shifter situation before that can happen tho. This is a tr6060 so the shifter uses a linkage unlike on the t56. Trans has to be a little lower to give room for the linkage...
Thinking of using the camaro shifter holder and modifying it a bit.
BMW compared to the camaro shifter
The shaft diameter is just about the same so I am thinking a BMW **** will fit.
Camaro shifter pulled apart
What I am thinking is cut the arms that go to the trans off (where the ratchet is in the pic below). Then mount the camaro rear carrier to the bottom of the e36. Then weld the mounting location from the front (cut off) back a bit further to mount to the trans. Finally shortened the shifter linkage.
By lowering the back of the trans the space between the brake booster and valve cover it REALLLLLY tight. I will probally change the engine mounts so it sits a little lower and gives more clearance at the brake booster. I have about 3/4" between the pan and the subframe right now so there is some room to go a bit lower.
LS1 Tech Stories
The Best V8 Stories One Small Block at Time

Gas Monkey Built a 6-Wheel Ferrari Testarossa With a Corvette LT4 Engine
Verdad Gallardo
7 Most Reliable High-Performance Engines GM Has Ever Built
Verdad Gallardo
Amazing '71 Camaro Restomod Is Modern Muscle Car Under the Skin
Verdad Gallardo
6 Common C5 Corvette Failures and What's Involved In Repairing Them
Pouria Savadkouei
Retro Modern Bandit Pontiac Trans AM Comes With Burt Reynolds' Autograph
Verdad Gallardo
Top 10 Greatest Cadillac V Series Performance Models Ever, Ranked
Pouria Savadkouei
Top 10 Most Powerful Chevy Trucks Ever Made!

Hennessey's New Supercharged Silverado ZR2 Has 700 HP
Verdad Gallardo
Coachbuilt N2A Anteros Is an LS2-Powered C6 Corvette In Italian Clothes
Verdad Gallardo A little more progress on a shifter option. I am looking at a couple different options but right now I am planning on making a new carrier that would mount directly to the trans. It would use the camaro shifter or an aftermarket short shifter.
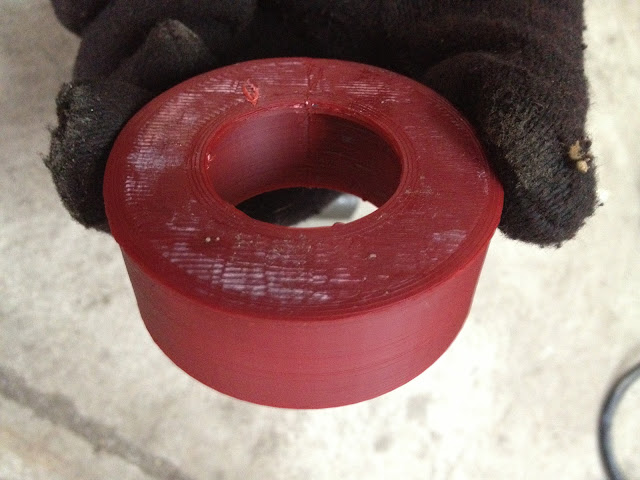
Drew up a test in Alibre (3d Cad) and printed out a test in ABS Plastic.
On the printer.
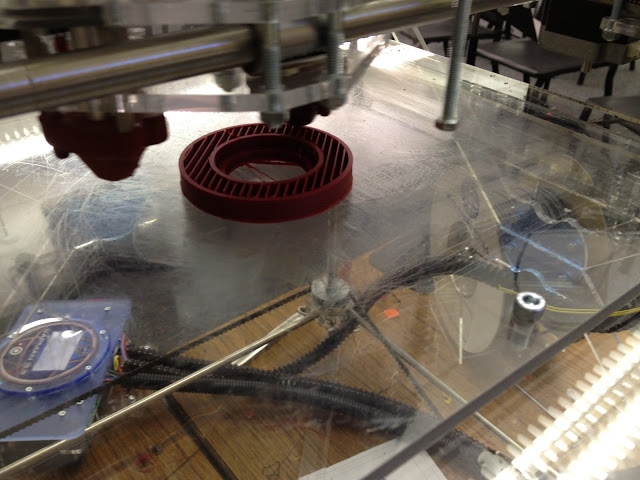
You can see there is a little ledge down in there.
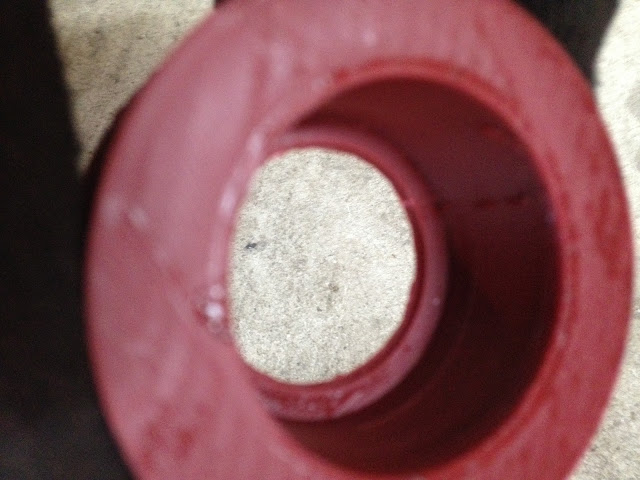
The camaro shifter uses a plastic bushing similar to how BMW does.
[img]https://lh6.googleusercontent.com/-d5lyTptKMI8/UVoWNJuvxOI/AAAAAAAAF-4/8LBdC1UGFZM/s640/IMAGE_51426B44-E276-4DFA-9539-69E9393043E2.JPGp/img]
It uses a little locking plate to hold it in.

Up in the car...
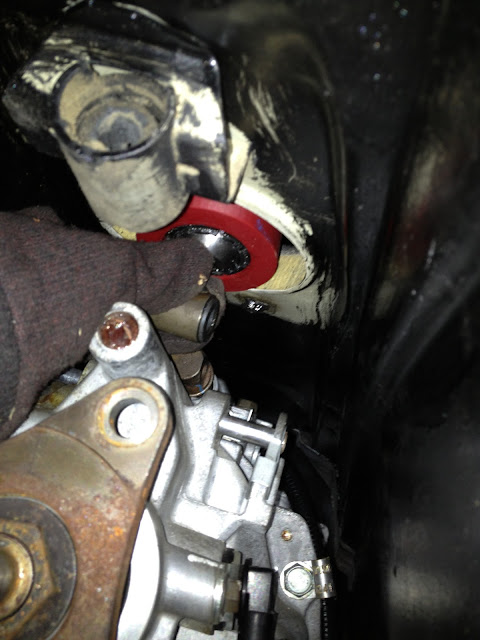
The idea right now is to make the piece I made out of plastic out of metal. Then make some supports from the carrier ring down to the mounts on the trans.
Then also make a new selector rod that will go between the shifter and trans.
Drew up a test in Alibre (3d Cad) and printed out a test in ABS Plastic.
On the printer.
You can see there is a little ledge down in there.
The camaro shifter uses a plastic bushing similar to how BMW does.
[img]https://lh6.googleusercontent.com/-d5lyTptKMI8/UVoWNJuvxOI/AAAAAAAAF-4/8LBdC1UGFZM/s640/IMAGE_51426B44-E276-4DFA-9539-69E9393043E2.JPGp/img]
It uses a little locking plate to hold it in.
Up in the car...
The idea right now is to make the piece I made out of plastic out of metal. Then make some supports from the carrier ring down to the mounts on the trans.
Then also make a new selector rod that will go between the shifter and trans.

On The Tree

Joined: Sep 2012
Posts: 199
Likes: 4
Hold da phone!Did you print that out on a 3D printer?Is that the final product or mach up for a future machined piece?Very cool and interesting.I always wanted a 3D printer but the cost makes them impractical for me.
Yup...that's printed on a 3d printer from ABS plastic. Pretty awesome stuff!
No that is not the finished piece. I will have something made from steel on a CNC lathe and then weld supports to it that will connect to the trans.
No that is not the finished piece. I will have something made from steel on a CNC lathe and then weld supports to it that will connect to the trans.
thanks! It is a nice little touch
Then made out of metal.... The stock camaro carrier has the shifter coming from the bottom up. This design has it from the top down. That way if the shifter ever needed to be replaced it would be MUCH easier. It also will make getting the entire assembly in and out of the car a lot easier.

There will be a plate thin plate on the top to hole it all together.

You can just see the small lip down in there

The circle might get squared off on two of the sides to make welding a bracket to go to the trans easier.
Then made out of metal.... The stock camaro carrier has the shifter coming from the bottom up. This design has it from the top down. That way if the shifter ever needed to be replaced it would be MUCH easier. It also will make getting the entire assembly in and out of the car a lot easier.
There will be a plate thin plate on the top to hole it all together.
You can just see the small lip down in there
The circle might get squared off on two of the sides to make welding a bracket to go to the trans easier.
Broke apart the rear axles. They will get cleaned...painted...new grease and boots.

old grease


First clean...everything will get cleaned again before going back together

New boots
outer

inner

old grease
First clean...everything will get cleaned again before going back together
New boots
outer
inner
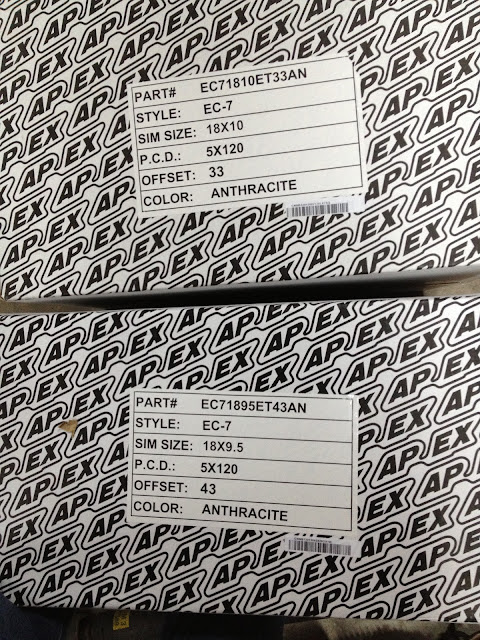
Wheels showed up today! Tires will be 265/30/18 in the front and a 285/30/18 in the rear. To fit a tire that wide it with get e46 fender flares grafted in.
Just pics of one of the rears and specs on front and back.
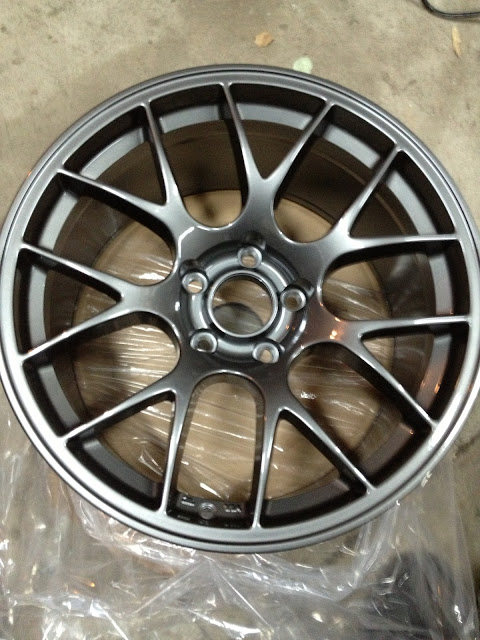
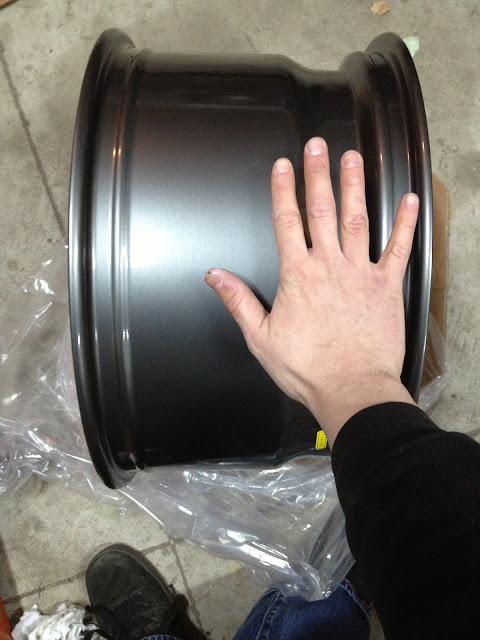
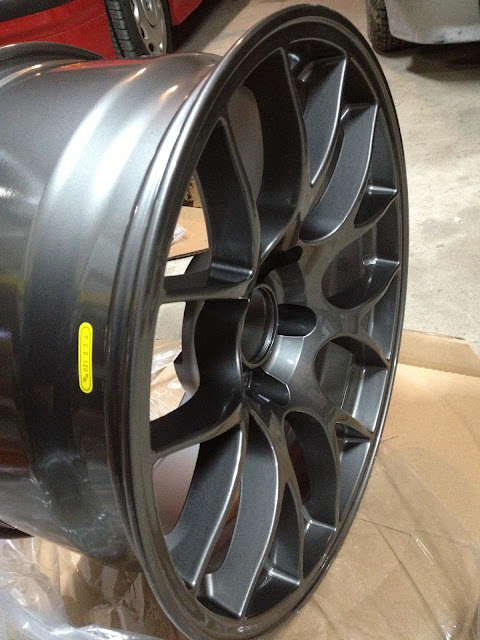
Will run a 15mm spacer in the front.
Just pics of one of the rears and specs on front and back.
Will run a 15mm spacer in the front.
What brand wheels are those?
EDIT - found their website. Do they only make 5 x 120 wheels? Looking for some good/cheap/light track wheels for the Panoz, but it uses Mustang bolt spacing.
EDIT - found their website. Do they only make 5 x 120 wheels? Looking for some good/cheap/light track wheels for the Panoz, but it uses Mustang bolt spacing.
New rear suspension going in.
not a very good picture...

New grease in the axles


Two fresh axles ready to go in

Engine is coming back out tomorrow to make the new shifter carrier. I will probably also hang the rear trailing arms too.
not a very good picture...
New grease in the axles
Two fresh axles ready to go in
Engine is coming back out tomorrow to make the new shifter carrier. I will probably also hang the rear trailing arms too.