

67 Camaro swap, project "belly button"
 04-14-2014 | 12:59 PM
#101
Thread Starter
TECH Apprentice

Joined: Aug 2010
Posts: 304
Likes: 2
From: Sunny Sothern California
Thank you for the response guys. Those convo pros might work Clint, I will let you know. As for the 17" steel wheels, those are probably going to be really heavy. Not sure what the weight difference will be between the 17" billet aluminum vs. steelies but I will look into it. Luckily there is a shop close by that manufactures the 17" steel wheels so I can probably stop by and test fit IF that is the route I decide on. If not, then I will likely go with the Rocket Racing boosters in 18" front and rear, assuming the backspacing works well for my car.
This upcoming weekend my brother and I plan to keep working on the patch panels for the trunk. Driver's side is almost finished but now we need to cut the passenger side and fit the patch panel in as discretely as possible. We are thinking about going with .023 wire in the mig as opposed to the 0.030 that is in there now in the hopes that it will help reduce burn through on the butt welds. I will take pics and keep you all posted.
This upcoming weekend my brother and I plan to keep working on the patch panels for the trunk. Driver's side is almost finished but now we need to cut the passenger side and fit the patch panel in as discretely as possible. We are thinking about going with .023 wire in the mig as opposed to the 0.030 that is in there now in the hopes that it will help reduce burn through on the butt welds. I will take pics and keep you all posted.
04-15-2014 | 11:52 AM
#102
This will make a big difference! Go pick up an 0.023 spool and some extra tips. It will cost you less than $15 and works a lot better. Also remember fit-up is very important for sheet metal; keep a consistent and small (or no) gap. Make sure you clean very well in the area you are welding. You can use a copper spoon to back areas if you have a big gap to fill, though I have never tried this method. Some people make them by cutting up copper pipe, hammering it flat, and turning it into a spoon.
04-15-2014 | 01:05 PM
#103
Thread Starter
TECH Apprentice
Joined: Aug 2010
Posts: 304
Likes: 2
From: Sunny Sothern California
Thanks Clint. I am going to run by the welding supply shop on my way home to pick up that wire and tips. Welding on thin metal is tough! Even if I clean and grind everything it still seems to burn right through. I will hope that the thinner wire will help solve this issue. Keep you all posted.
04-15-2014 | 01:09 PM
#104
It will help a ton. You wont regret it. I made the swap while welding a quarter panel a few years ago and it helped a lot. Make sure you set adjust your wire tension appropriately too so you don't birdnest.
04-17-2014 | 12:30 AM
#105
Glad to see you are back at it Daniel. If I burn through thin metal I try to pull my gun away from the spot I am trying to weld. Also, try using short, quick bursts to keep heat from building up.
06-01-2014 | 01:29 PM
#106
Thread Starter
TECH Apprentice
Joined: Aug 2010
Posts: 304
Likes: 2
From: Sunny Sothern California
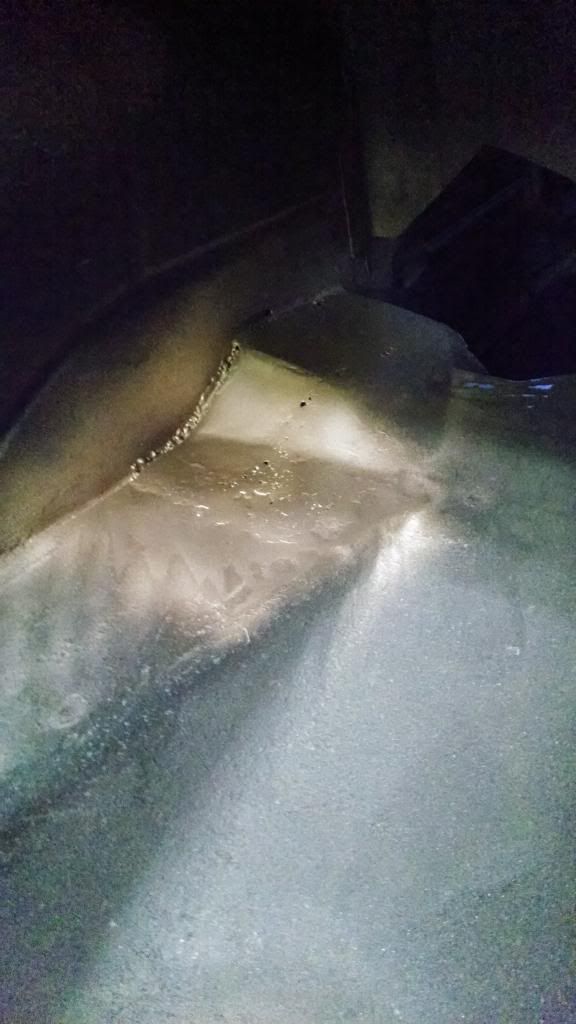
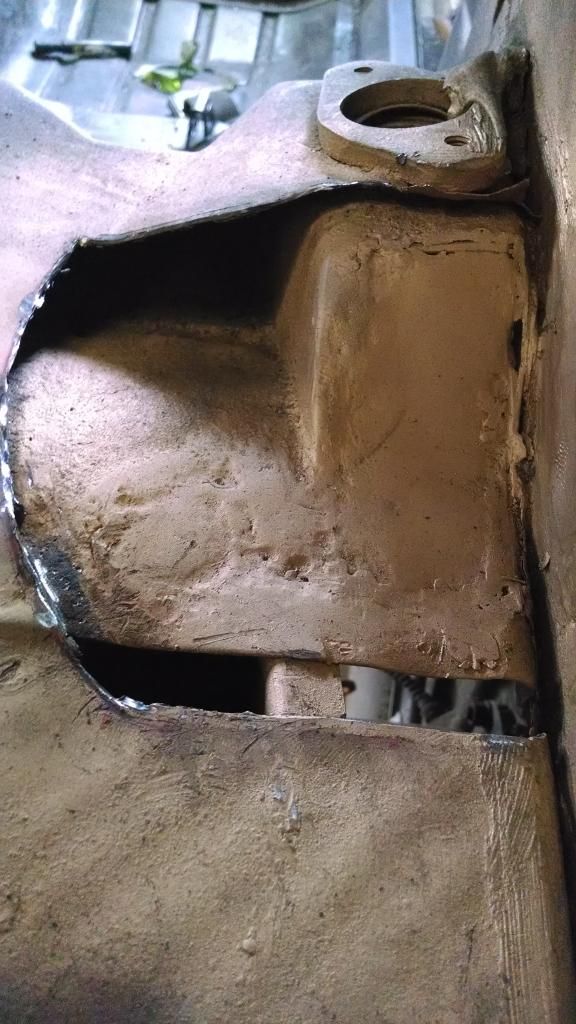
Well my brother and I have been making progress on the trunk patch panels. It has been really therapeutic for the both of us. My welding skills still need improvement but they have improved. Thinner wire, lower heat, moving gun away from burn areas have all helped. I chased some really bad burn through and I think I am almost finished with that. Now we have moved on to the passenger side and welded a couple patch panels on the lower layer. That leaves me with cutting the final patch panel for the trunk on that side.
Starting the day: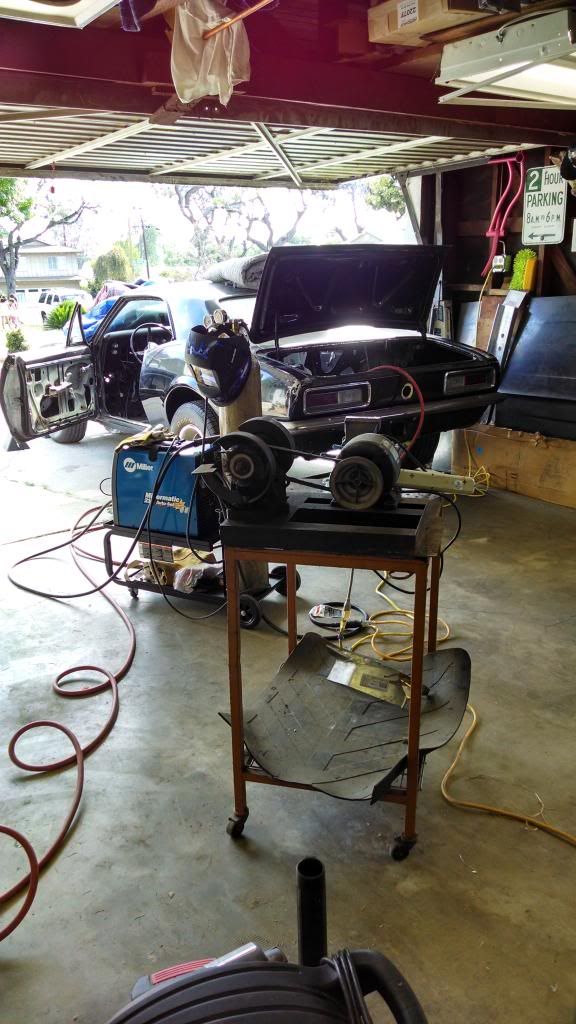
Circle patch needed:
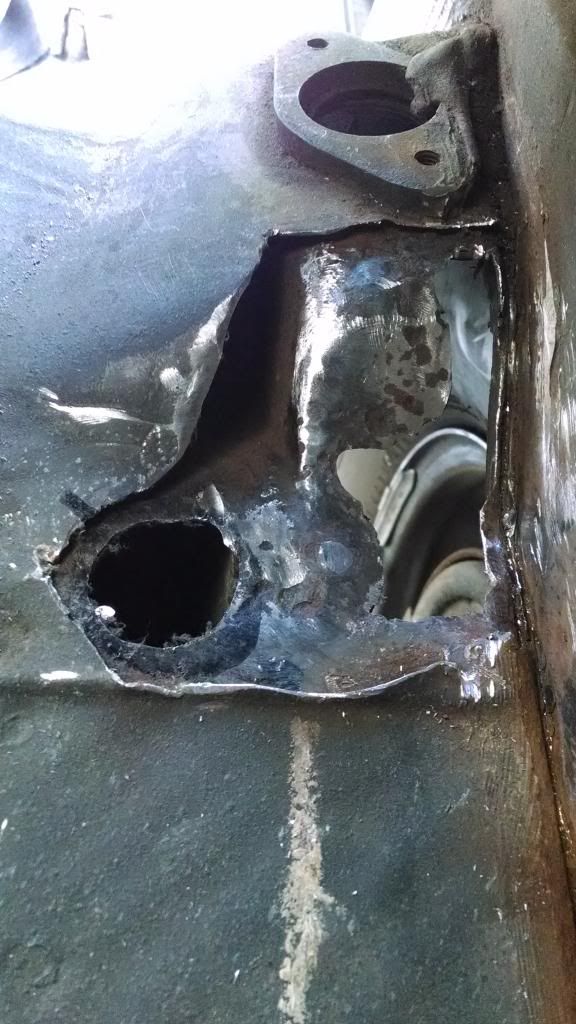
Fitting:
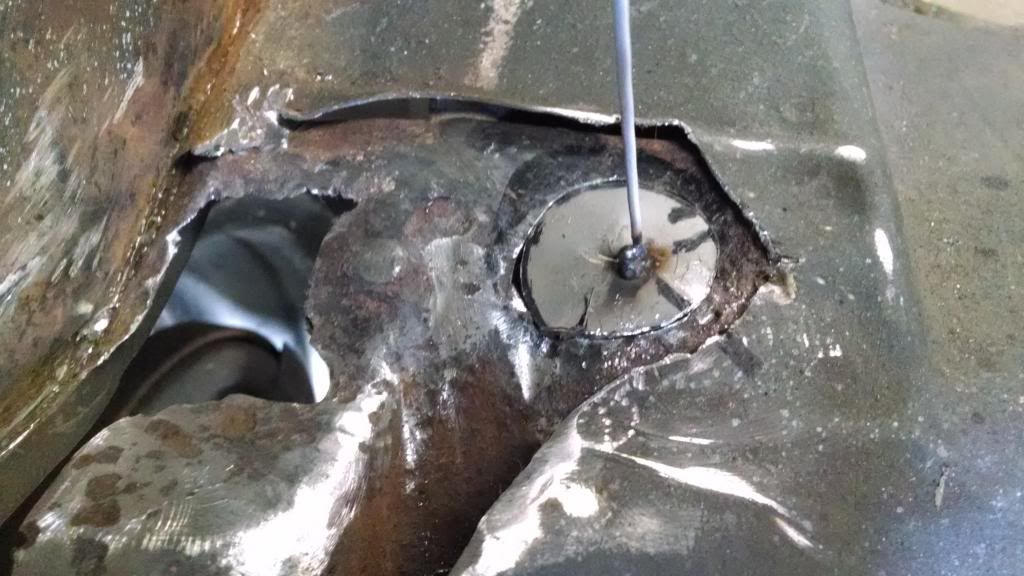
Tacked:
Square patch opening cut:
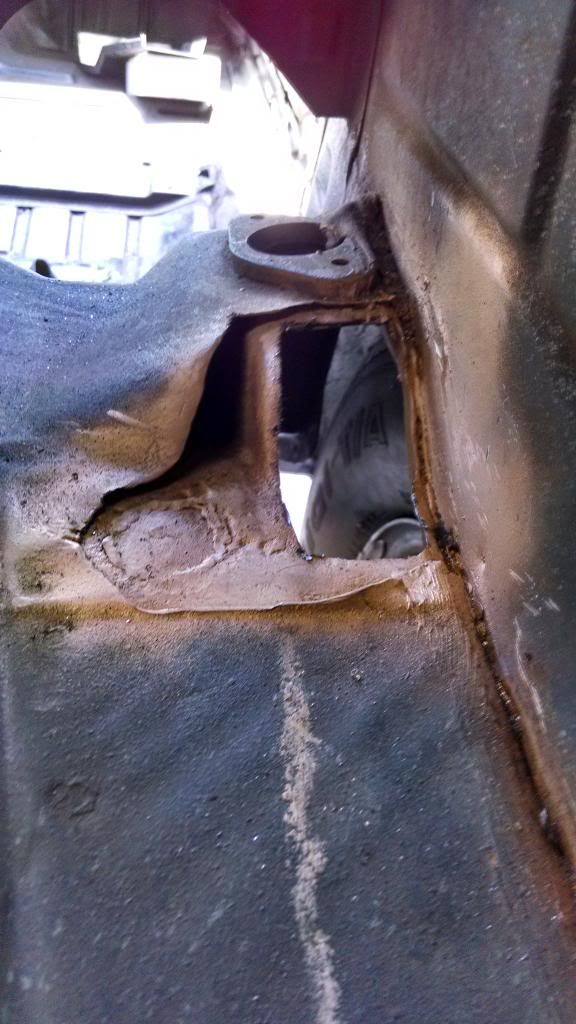
Fit:
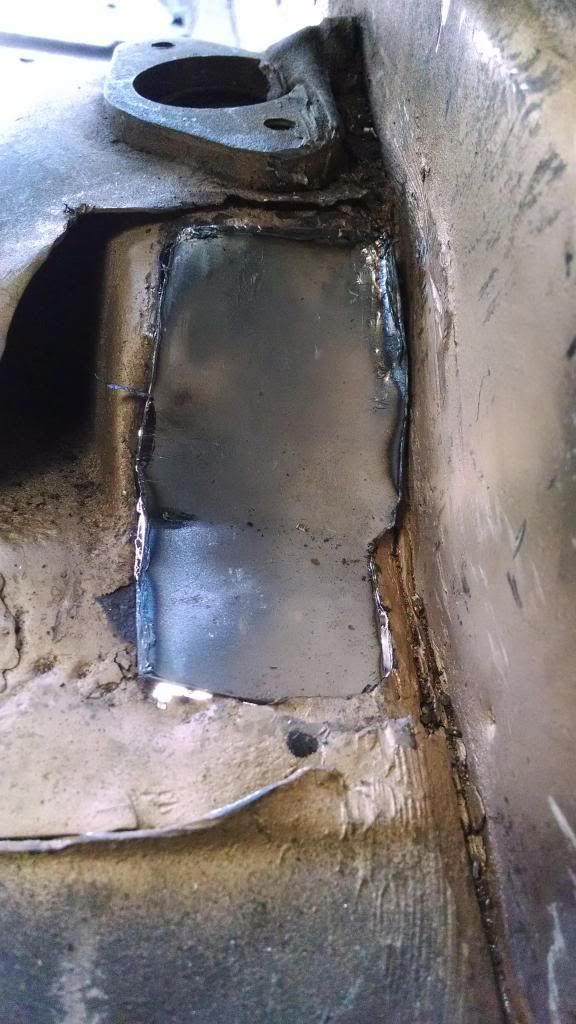
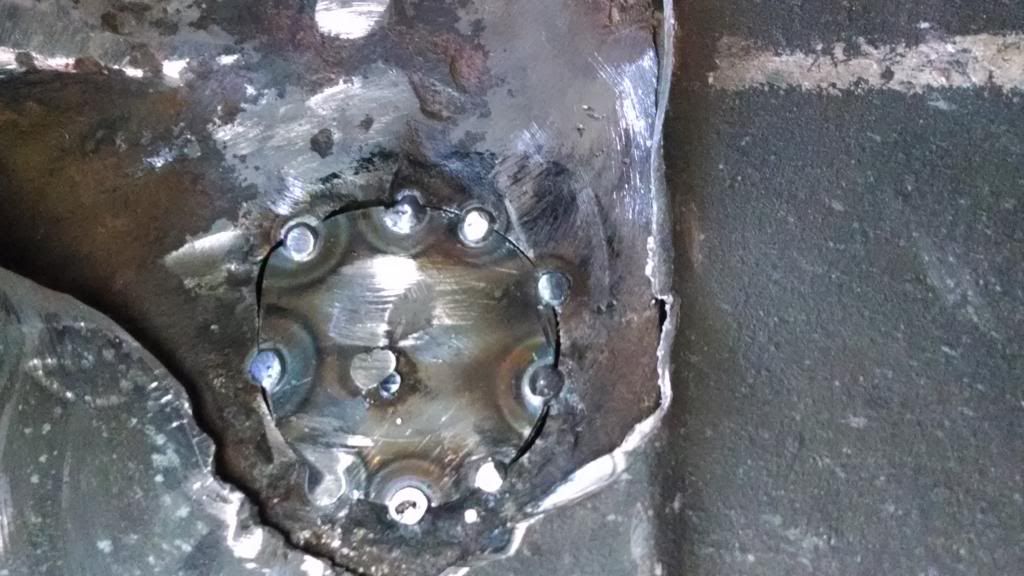
Tack:
Done:
Drivers side welding and burning:
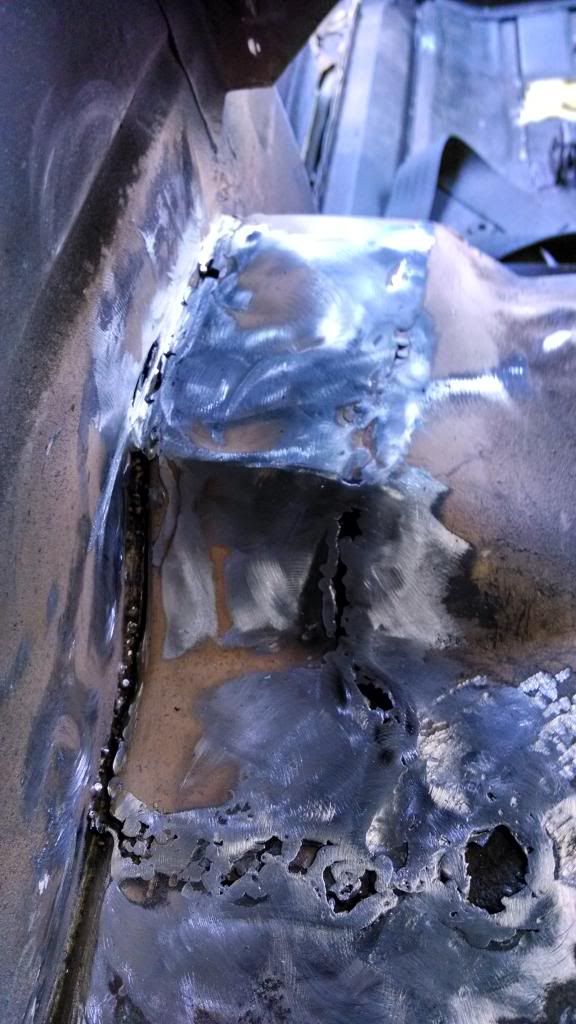
Fill the burn:
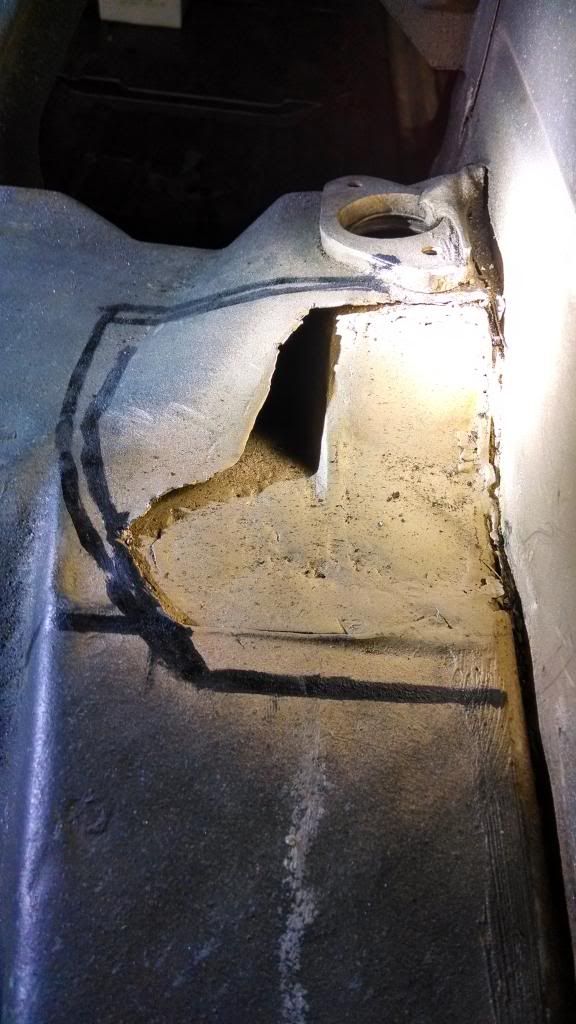
Next patch, still deciding how much original metal to cut. I don't want to chase burn through so I might cut a little more into good metal. Let me know your thoughts...
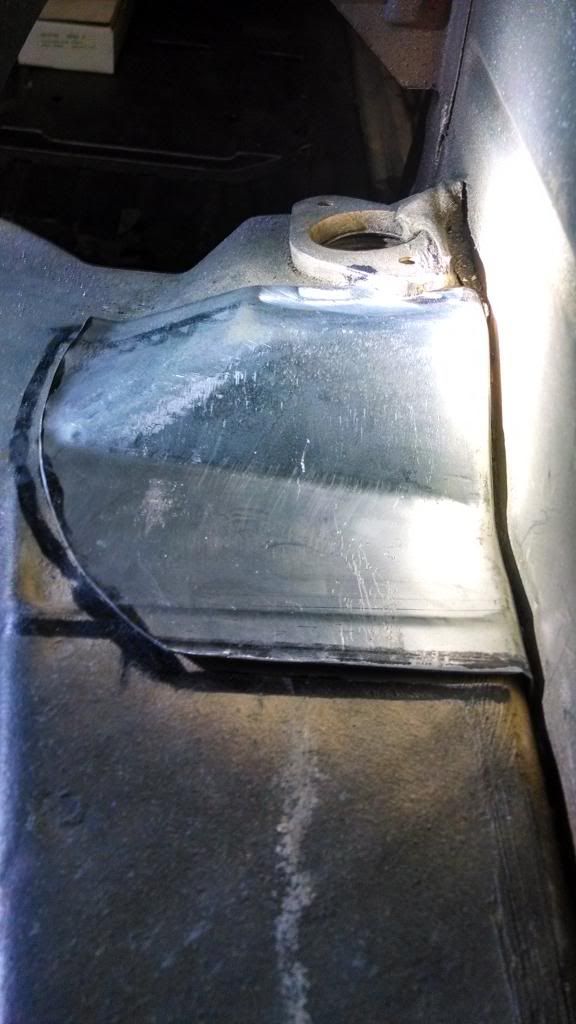
Patch (still fitting)
That is where we are today. I ordered up copper nickle tubing and end nuts to run brake lines. Once the metal work is finished I plan to get the 4th gen brakes on the Moser and install the rear end and Hotchkis leafs. Progress feels great and my brother and I spend down time talking about road trips we are going to take in this car for dad...
Starting the day:

Circle patch needed:

Fitting:

Tacked:

Square patch opening cut:

Fit:

Tack:

Done:

Drivers side welding and burning:

Fill the burn:

Next patch, still deciding how much original metal to cut. I don't want to chase burn through so I might cut a little more into good metal. Let me know your thoughts...

Patch (still fitting)

That is where we are today. I ordered up copper nickle tubing and end nuts to run brake lines. Once the metal work is finished I plan to get the 4th gen brakes on the Moser and install the rear end and Hotchkis leafs. Progress feels great and my brother and I spend down time talking about road trips we are going to take in this car for dad...
06-03-2014 | 12:27 PM
#107
Thread Starter
TECH Apprentice
Joined: Aug 2010
Posts: 304
Likes: 2
From: Sunny Sothern California
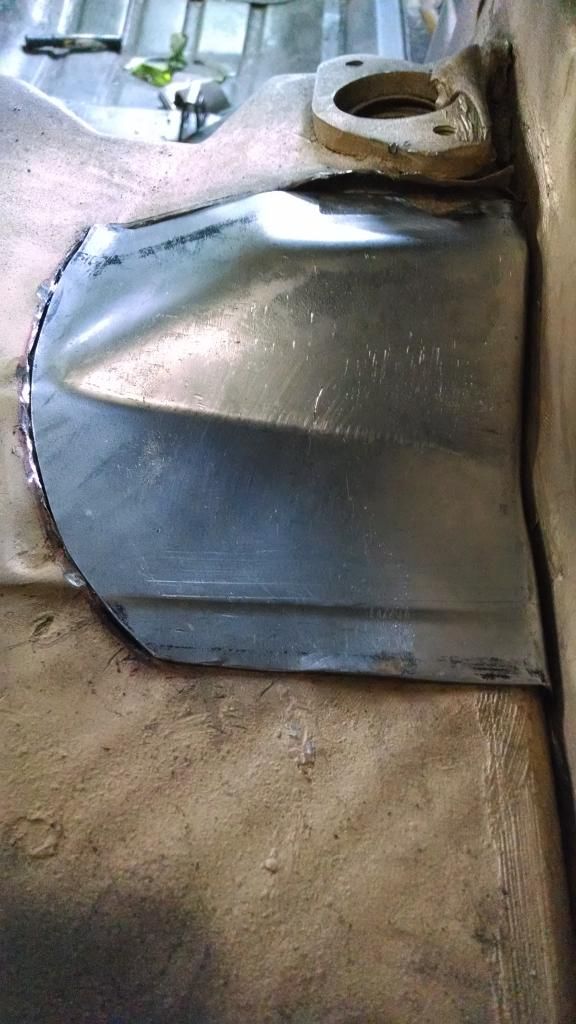
Updates from yesterday. I had a few extra hours to kill in the afternoon so I went to the garage to work on the car. Here are a couple more pics with the panel fit a little better. This prep takes SO much time to get right. I am really trying to avoid any gaps in panel fitment in order to minimize burn through. While this is not perfect, it is the best I was able to work out. I still have to fine tune and tack but I am getting closer.
Cut floor:
Panel Fit:
Once this is done I am going to have my brother prep the trunk for paint while I get the 4th gen brakes fitted on the rear end. I just need more free time to do all of this!!! I will take any progress I can get...
Cut floor:

Panel Fit:

Once this is done I am going to have my brother prep the trunk for paint while I get the 4th gen brakes fitted on the rear end. I just need more free time to do all of this!!!
I will take any progress I can get...
06-03-2014 | 10:26 PM
#108

You're getting a lot more done than most of us......especially myself. Keep plugging away at it and you'll be enjoying the car soon. I'm sure that it will get easier the more you do as well.
 06-04-2014 | 11:17 AM
#110
Thread Starter
TECH Apprentice
Joined: Aug 2010
Posts: 304
Likes: 2
From: Sunny Sothern California
Thanks for the response guys. I hope to have the patch job finished this weekend. Pics of the final product will be posted. My brake lines and tube nuts are on their way. I plan to fab up my own lines rather than purchase pre-bent. We'll see how it goes 
06-04-2014 | 01:32 PM
#111
Do you have a high quality flaring tool? That is my #1 requirement for safety critical lines like brakes and fuel. No Harbor Freight tools allowed!
I do not envy you doing all this patch work - that is by far the worst part of dealing with an old car. The fitting and welding is such a huge pain. Dad would be proud of your patience I'm sure!
I do not envy you doing all this patch work - that is by far the worst part of dealing with an old car. The fitting and welding is such a huge pain. Dad would be proud of your patience I'm sure!
06-05-2014 | 05:48 PM
#112

Launching!
Joined: Jun 2010
Posts: 231
Likes: 0
Good work man. I see you moving along. I have a Ridgid double flaring tool that you can barrow if you need it. Its a real good quality tool and I have no leaks what so ever on my car. I bent and flared every brake line on my car. It will not work on stainless if you are thinking about ss lines. Hit me up if you want to swing by and pick it up.
06-05-2014 | 06:39 PM
#113
Thread Starter
TECH Apprentice
Joined: Aug 2010
Posts: 304
Likes: 2
From: Sunny Sothern California
Good work man. I see you moving along. I have a Ridgid double flaring tool that you can barrow if you need it. Its a real good quality tool and I have no leaks what so ever on my car. I bent and flared every brake line on my car. It will not work on stainless if you are thinking about ss lines. Hit me up if you want to swing by and pick it up.

 09-11-2014 | 12:47 PM
#118
Thread Starter
TECH Apprentice
Joined: Aug 2010
Posts: 304
Likes: 2
From: Sunny Sothern California
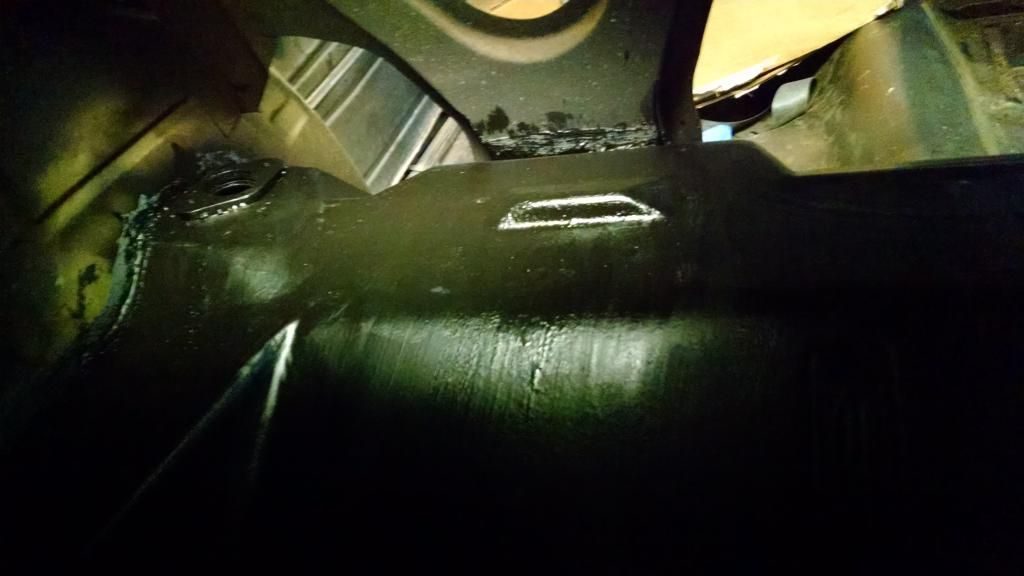
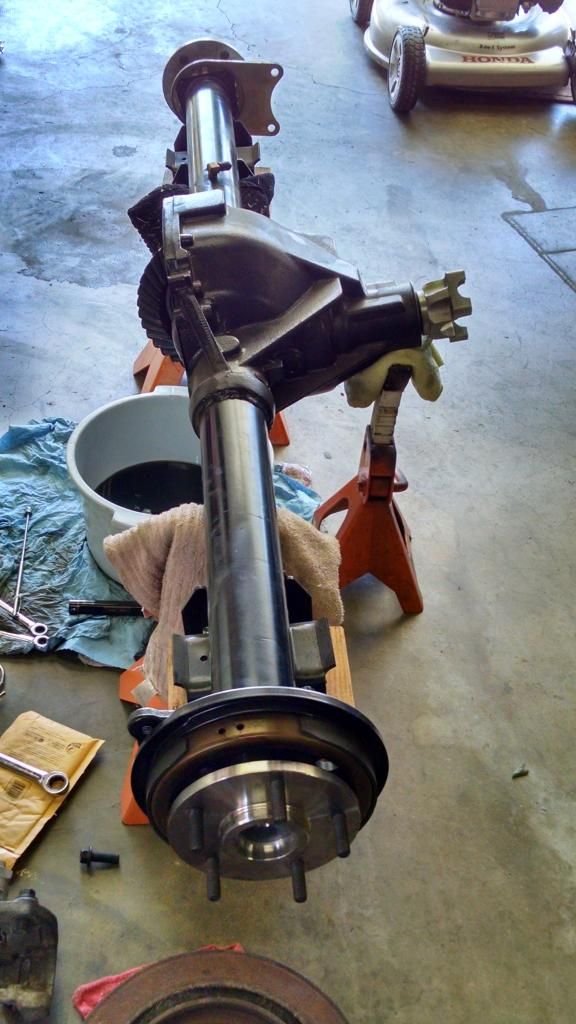
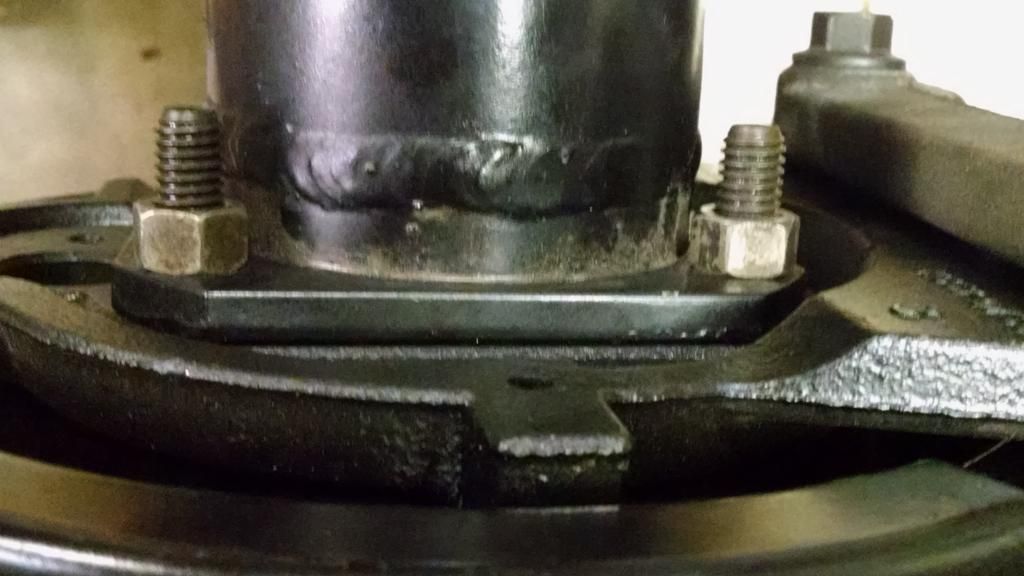
Finally I get to post some updates on the car. We finished welding in the patch panels in the trunk and even welded up some of the rust pitting/holes in the center of the trunk pan. I considered replacing the entire pan but I really don't have the courage to tackle that at the moment. Besides, the trunk is not that rotted out. We threw some knock off POR15 on everything and called it done. I also had time to get started on the 4th gen, a.k.a. LS1, brakes. I am still fighting to find the right spacers to center the rotor in the caliper abutment but it is VERY close to perfect. Oddly, I have a .135" spacer on the right side but no spacer on the left. This got everything close but not perfect. Should work okay though. Here are some pictures to show where we left off...
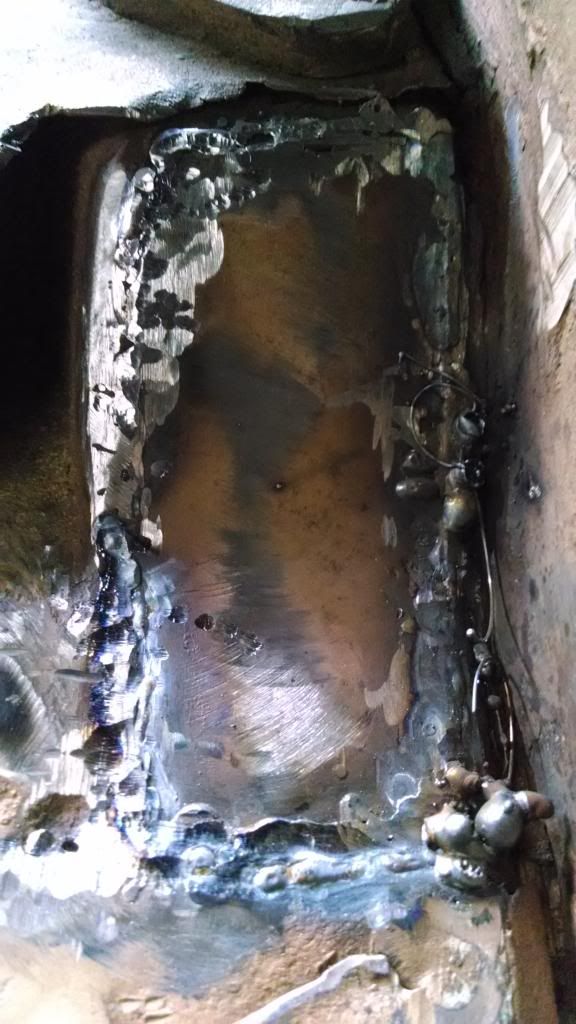
Final welds:
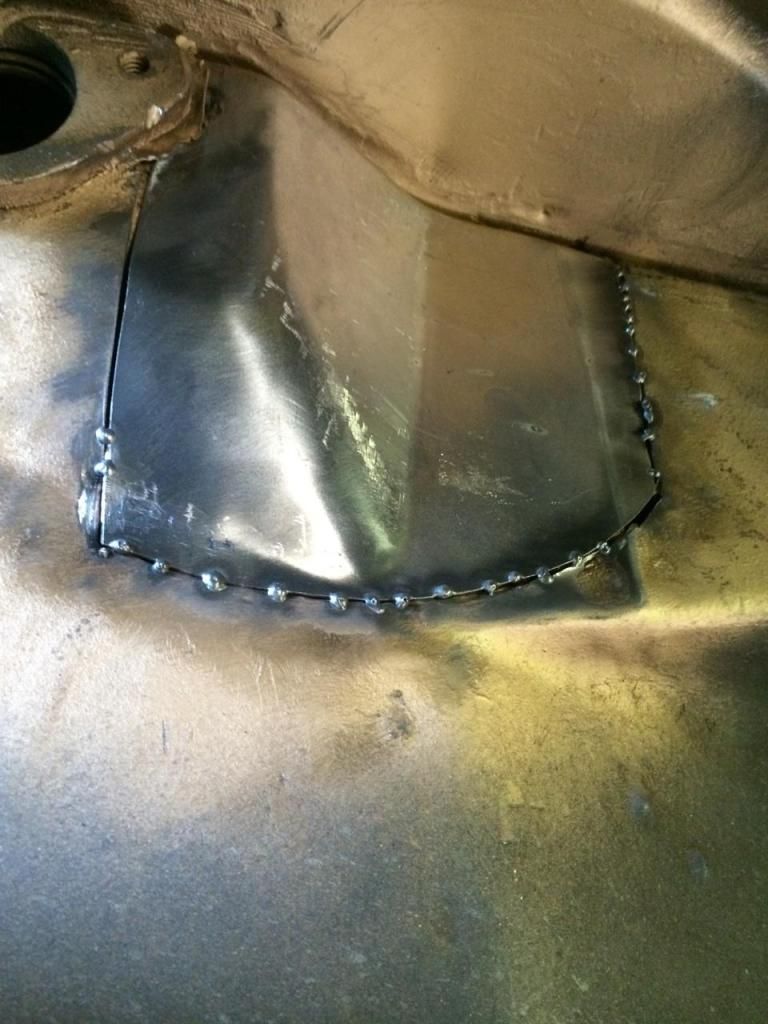
(I filled in the burn through with patches of metal, no body filler used)
Filled small holes in trunk pan:
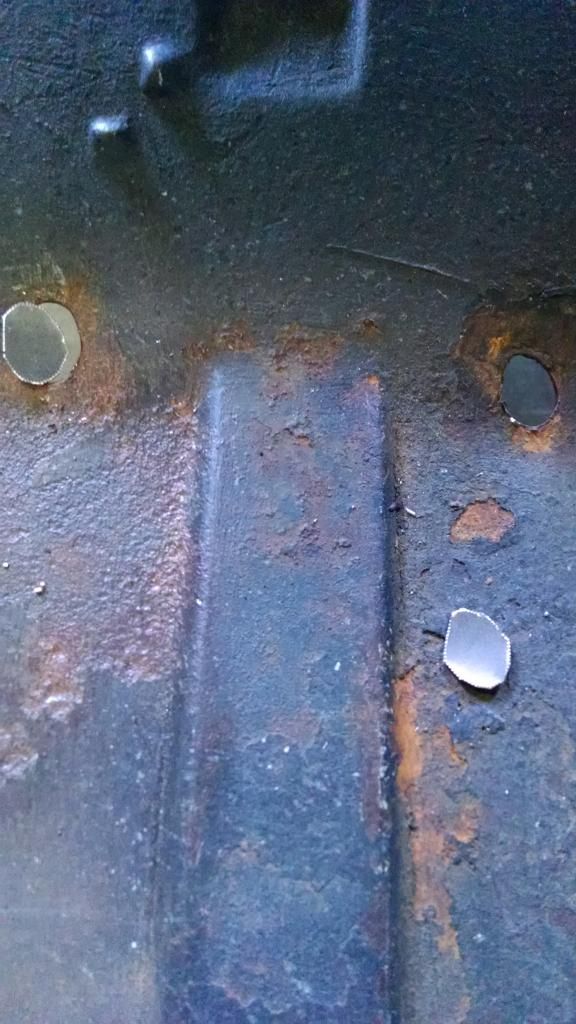
Drilled out tiny pits to be filled with weld:

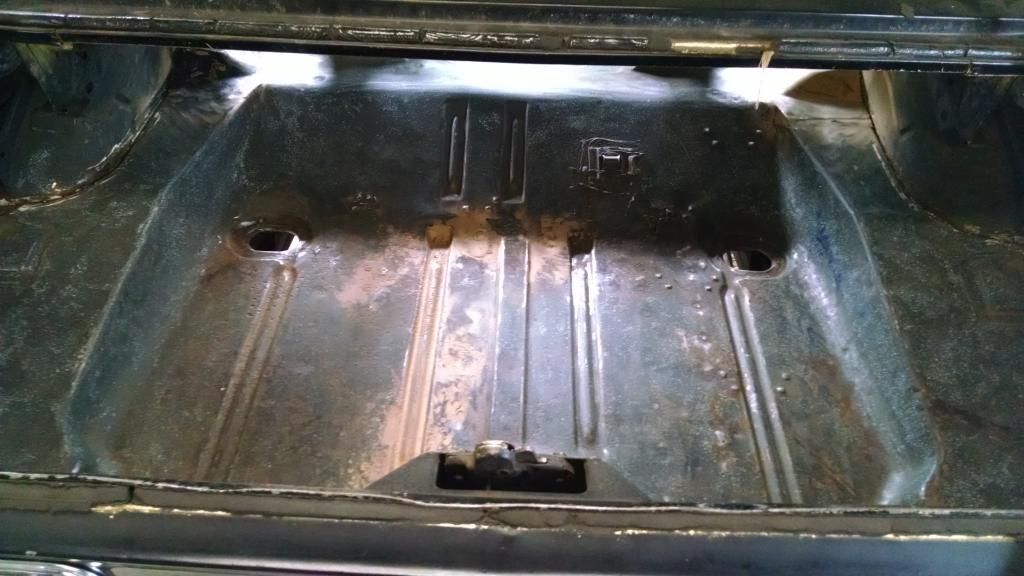
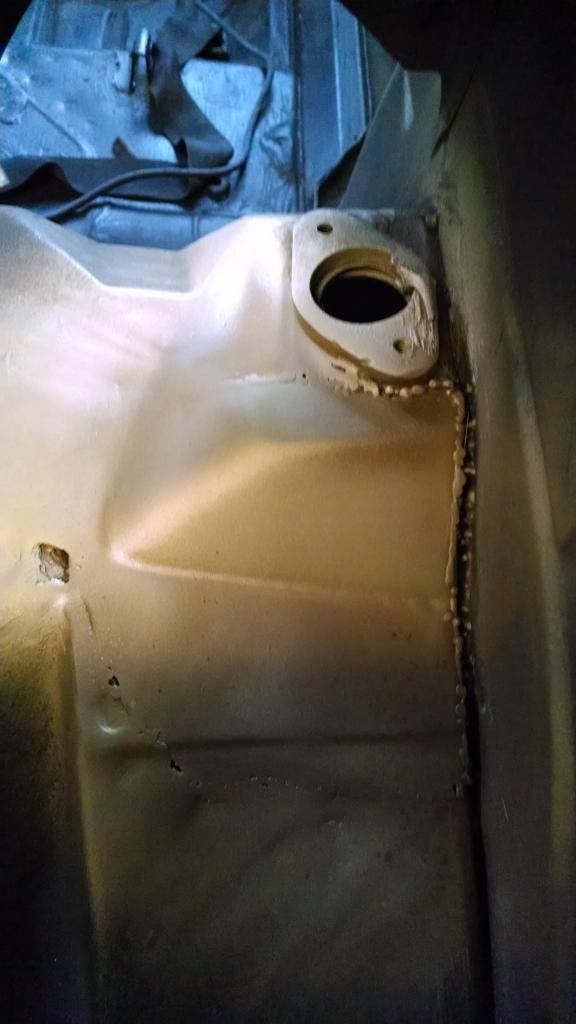
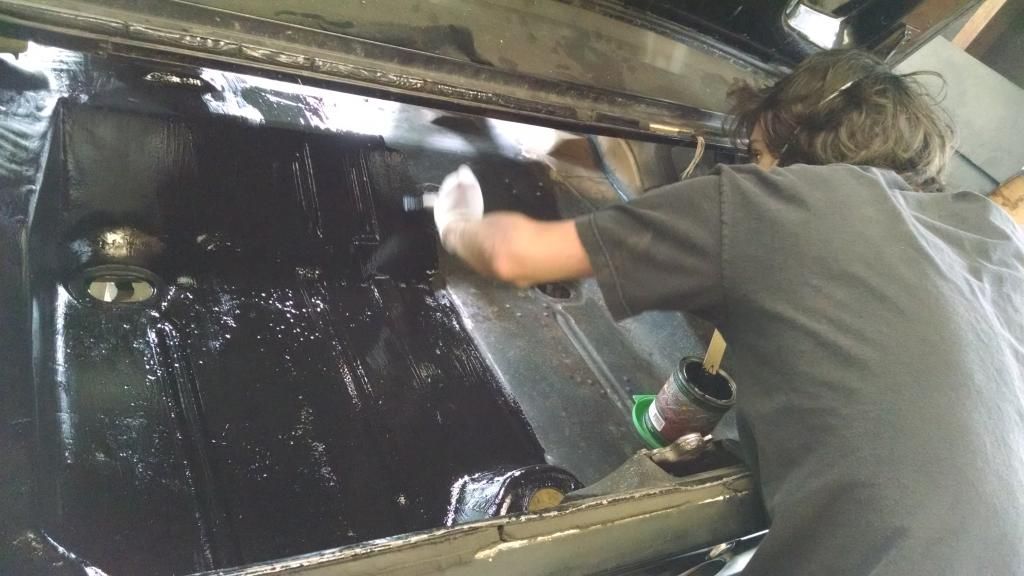
Bro painting "Zero Rust" in trunk:
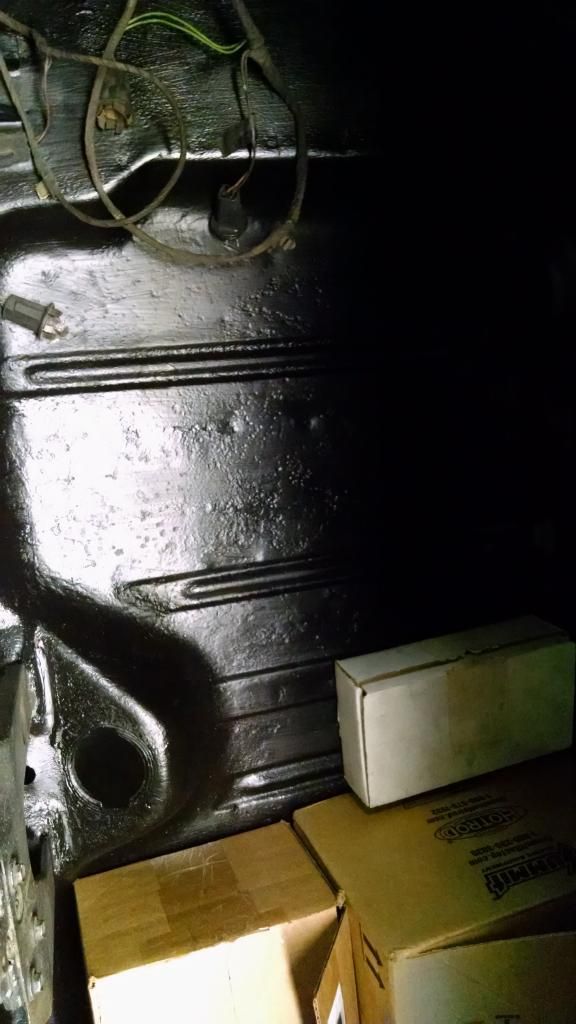
Paint Dry seams all sealed up:
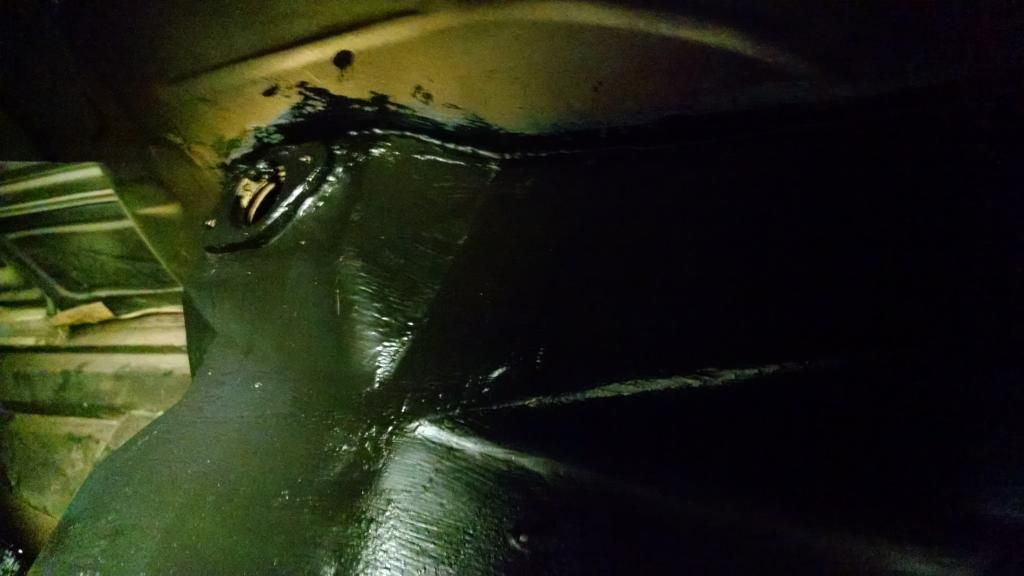
Moser 12 bolt ready for brakes:
Spacer on right side:
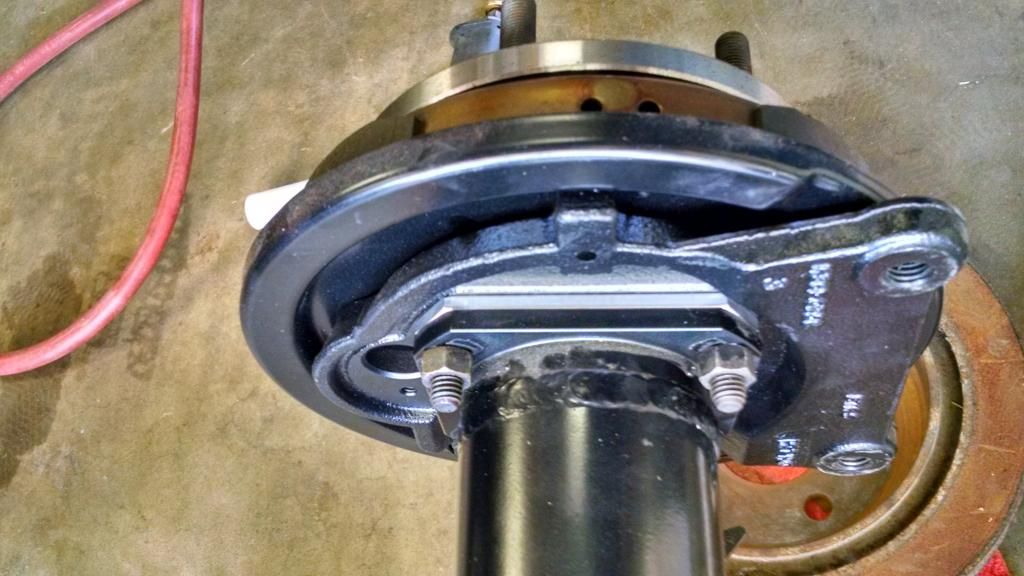
No spacer on L:
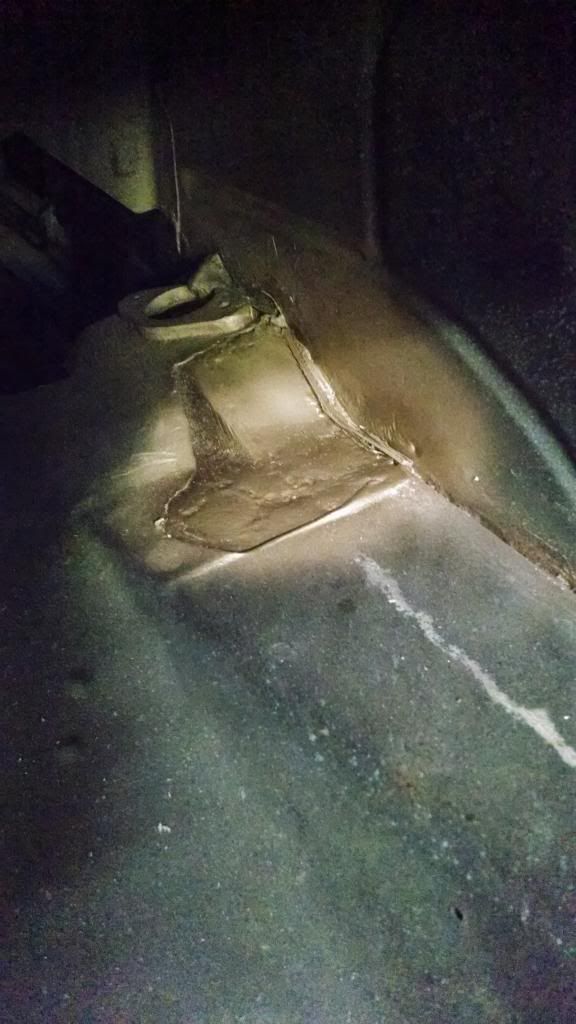
All buttoned up for now:
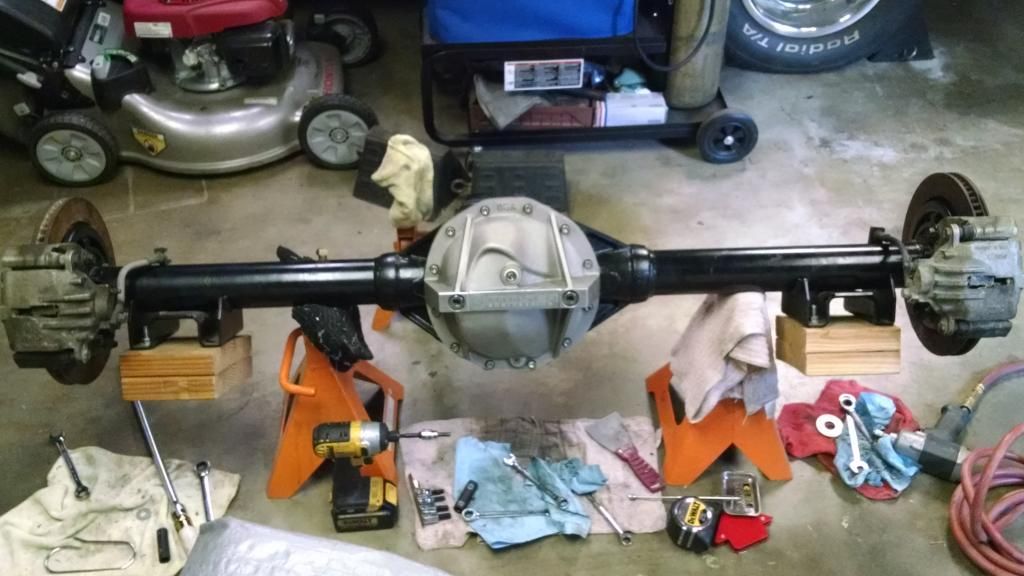
Next I plan on finishing the brackets for the parking brake made from angle iron and I plan to install the rear end in the car with hotchkis 3" drop leafs. From there I hope to install the fuel tank, run fuel and brake lines etc. Should be fun!
Final welds:


(I filled in the burn through with patches of metal, no body filler used)
Filled small holes in trunk pan:

Drilled out tiny pits to be filled with weld:


Bro painting "Zero Rust" in trunk:

Paint Dry seams all sealed up:


Moser 12 bolt ready for brakes:

Spacer on right side:

No spacer on L:

All buttoned up for now:

Next I plan on finishing the brackets for the parking brake made from angle iron and I plan to install the rear end in the car with hotchkis 3" drop leafs. From there I hope to install the fuel tank, run fuel and brake lines etc. Should be fun!
09-11-2014 | 02:02 PM
#120
Thread Starter
TECH Apprentice
Joined: Aug 2010
Posts: 304
Likes: 2
From: Sunny Sothern California
Thanks Clint. Those are my lowering blocks, j/k... We added those to the rear end so it would not roll around the back of my truck when I bought it. Now they work for the dolly that the housing sits on so I can roll it around my garage. BTW, congratulations on the new home! Upgrading the house is not quite as fun as the car but its very rewarding just the same. Like the cars, the house is never done. Enjoy the journey my friend...