
Hacksters 68 F100 LQ4/S475/4l80E


 01-01-2014, 10:40 PM
#62
Launching!
Thread Starter

Join Date: Mar 2012
Posts: 214
Likes: 0
Received 0 Likes
on
0 Posts
Well, somehow I managed to feel better long enough to spend a good part of the day out in the shop.
Got a bunch of stuff done around the shop, cleaning up and organizing some crap.
Then I actually worked on the truck again.
Made lots and lots of measurements and then finally took the plunge and drilled a 6" hole in the bottom of the bed, hoping that it all lines up.
Trimmed up some stuff from underneath to get the bed to fit and had my buddy Brian come down to help me lift the bed on again.
Hot damn it fits and the filler was right where it should be.
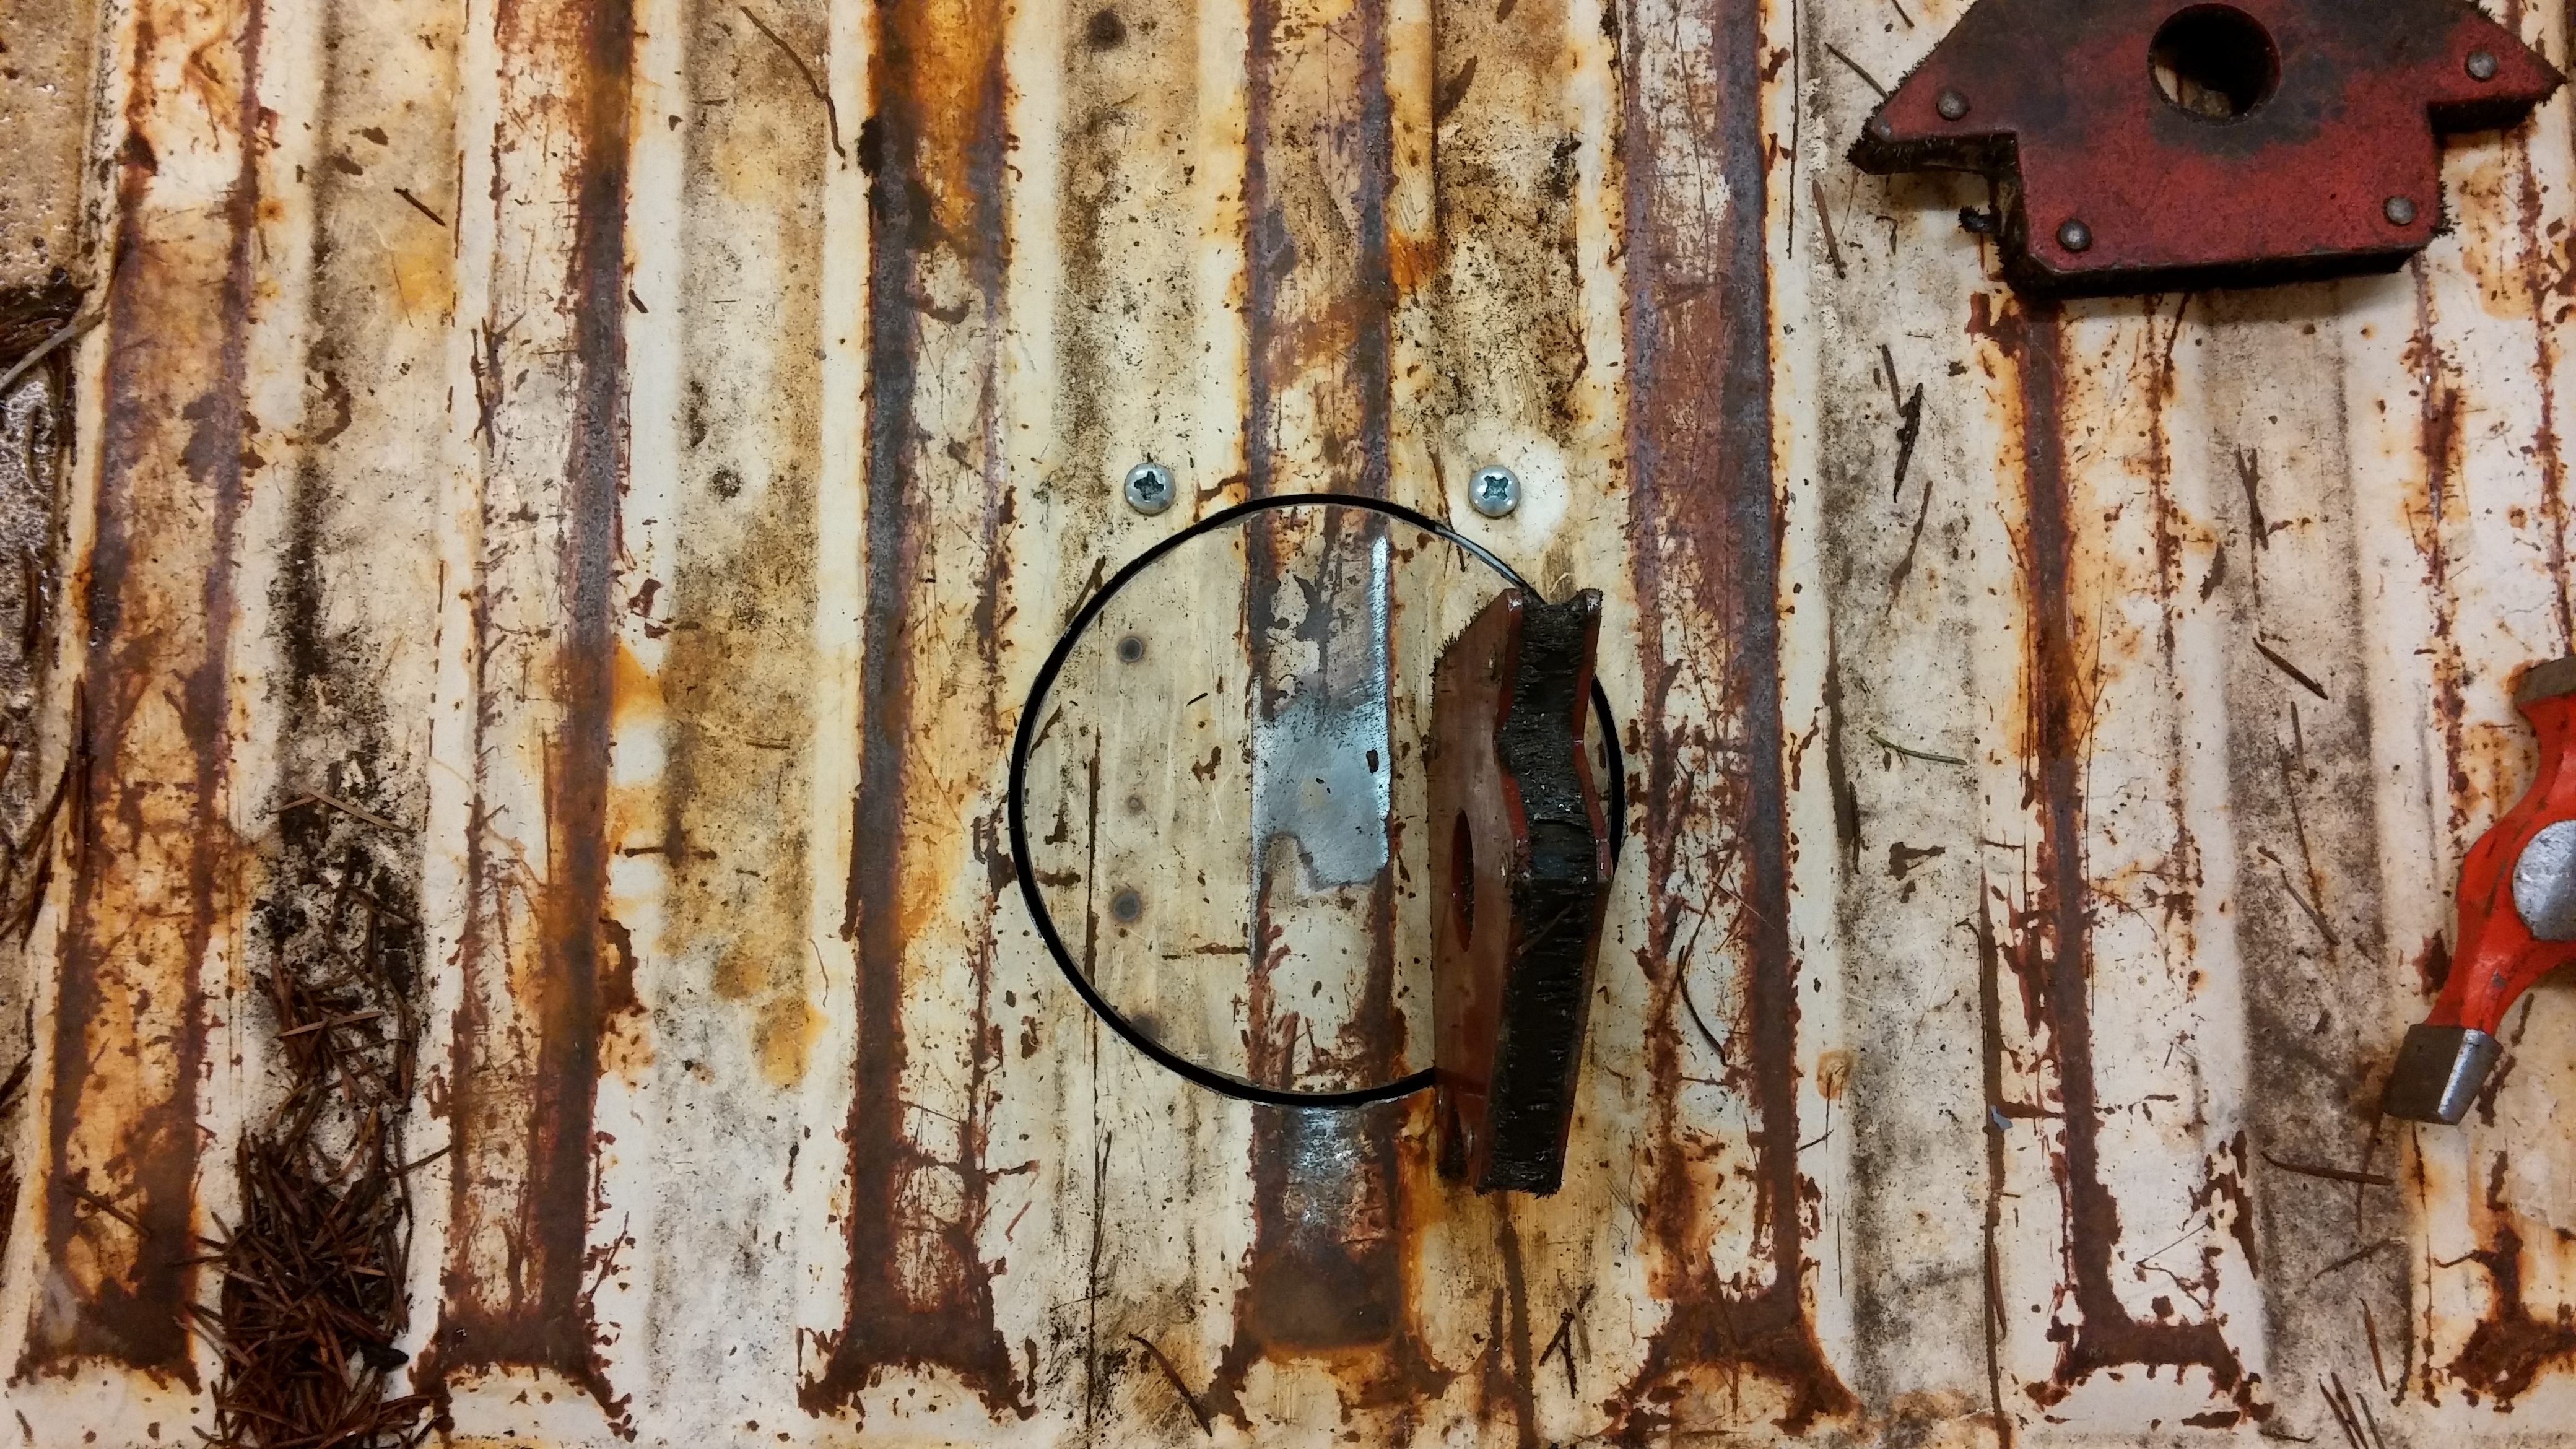
Chopped up more GM parts being a gas filler door from a 2000 c/k pickup and made it work for what I wanted.
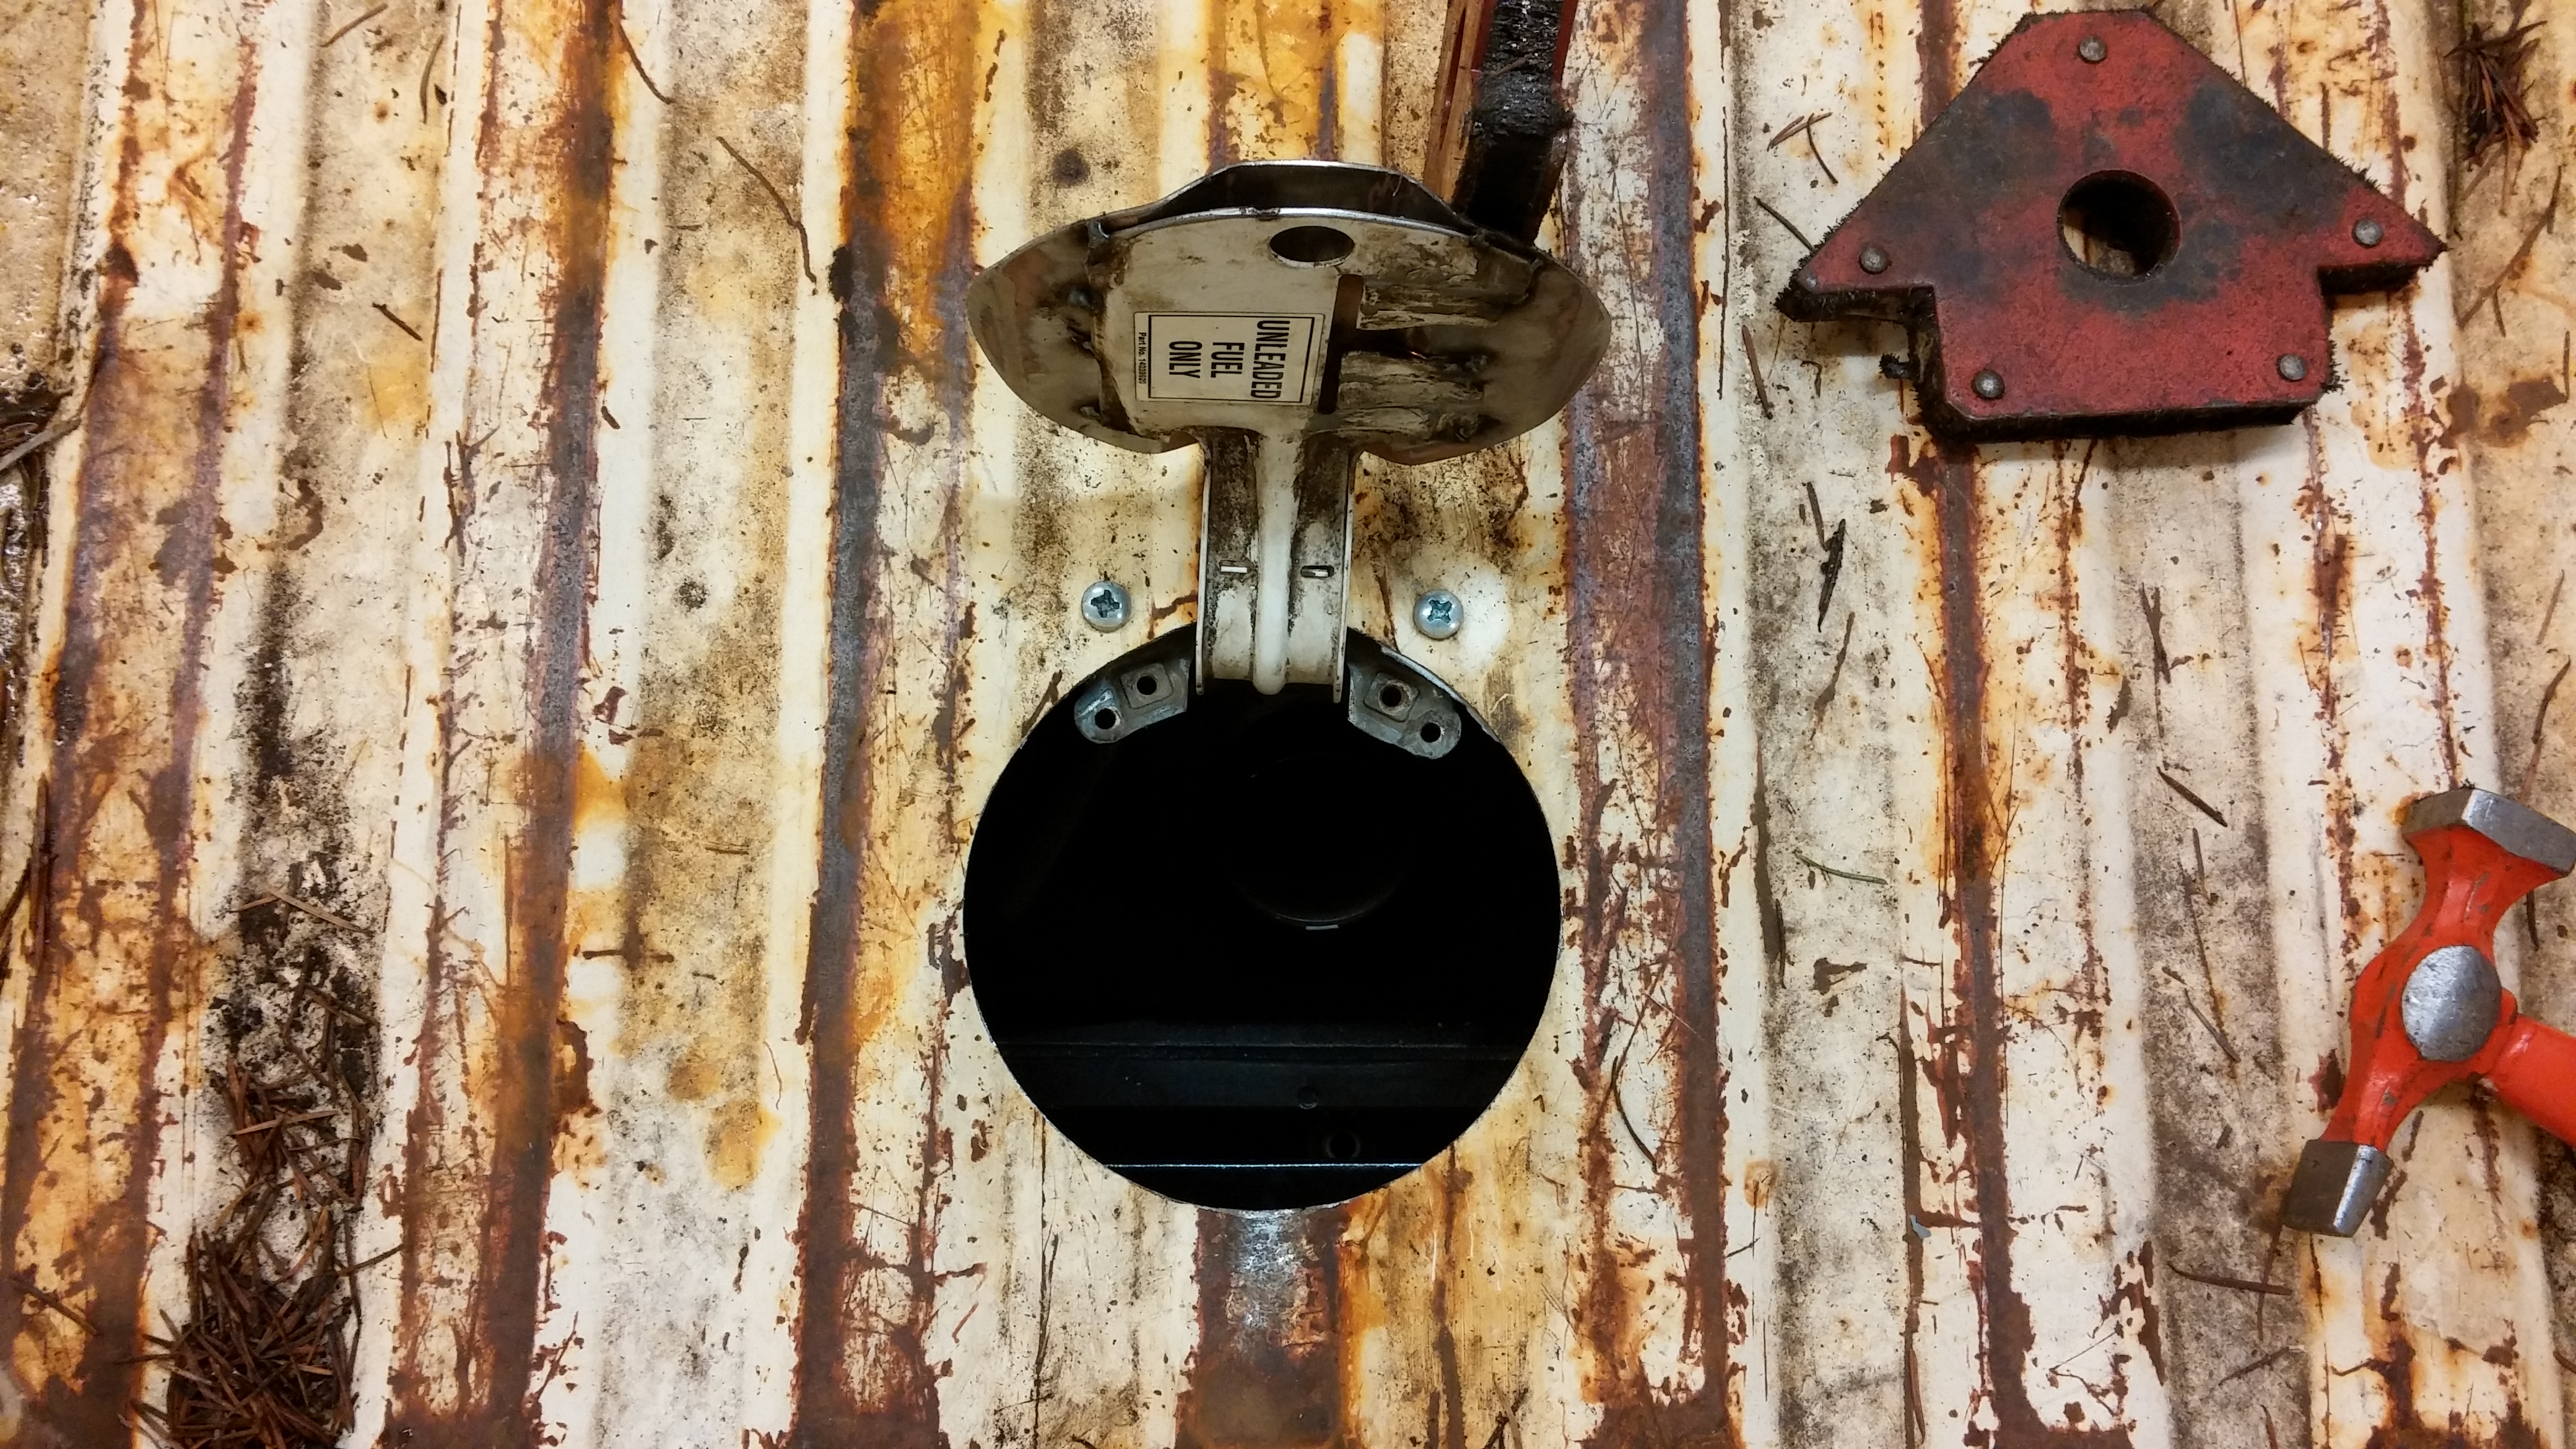
Turned out pretty good, reused the chopped out bed floor on a modified hinge and put a small indention/ finger grab in the bed floor. Need to add some little tabs to keep it flush with the bed floor when its down and weld on a couple studs to get rid of the screws but it works.
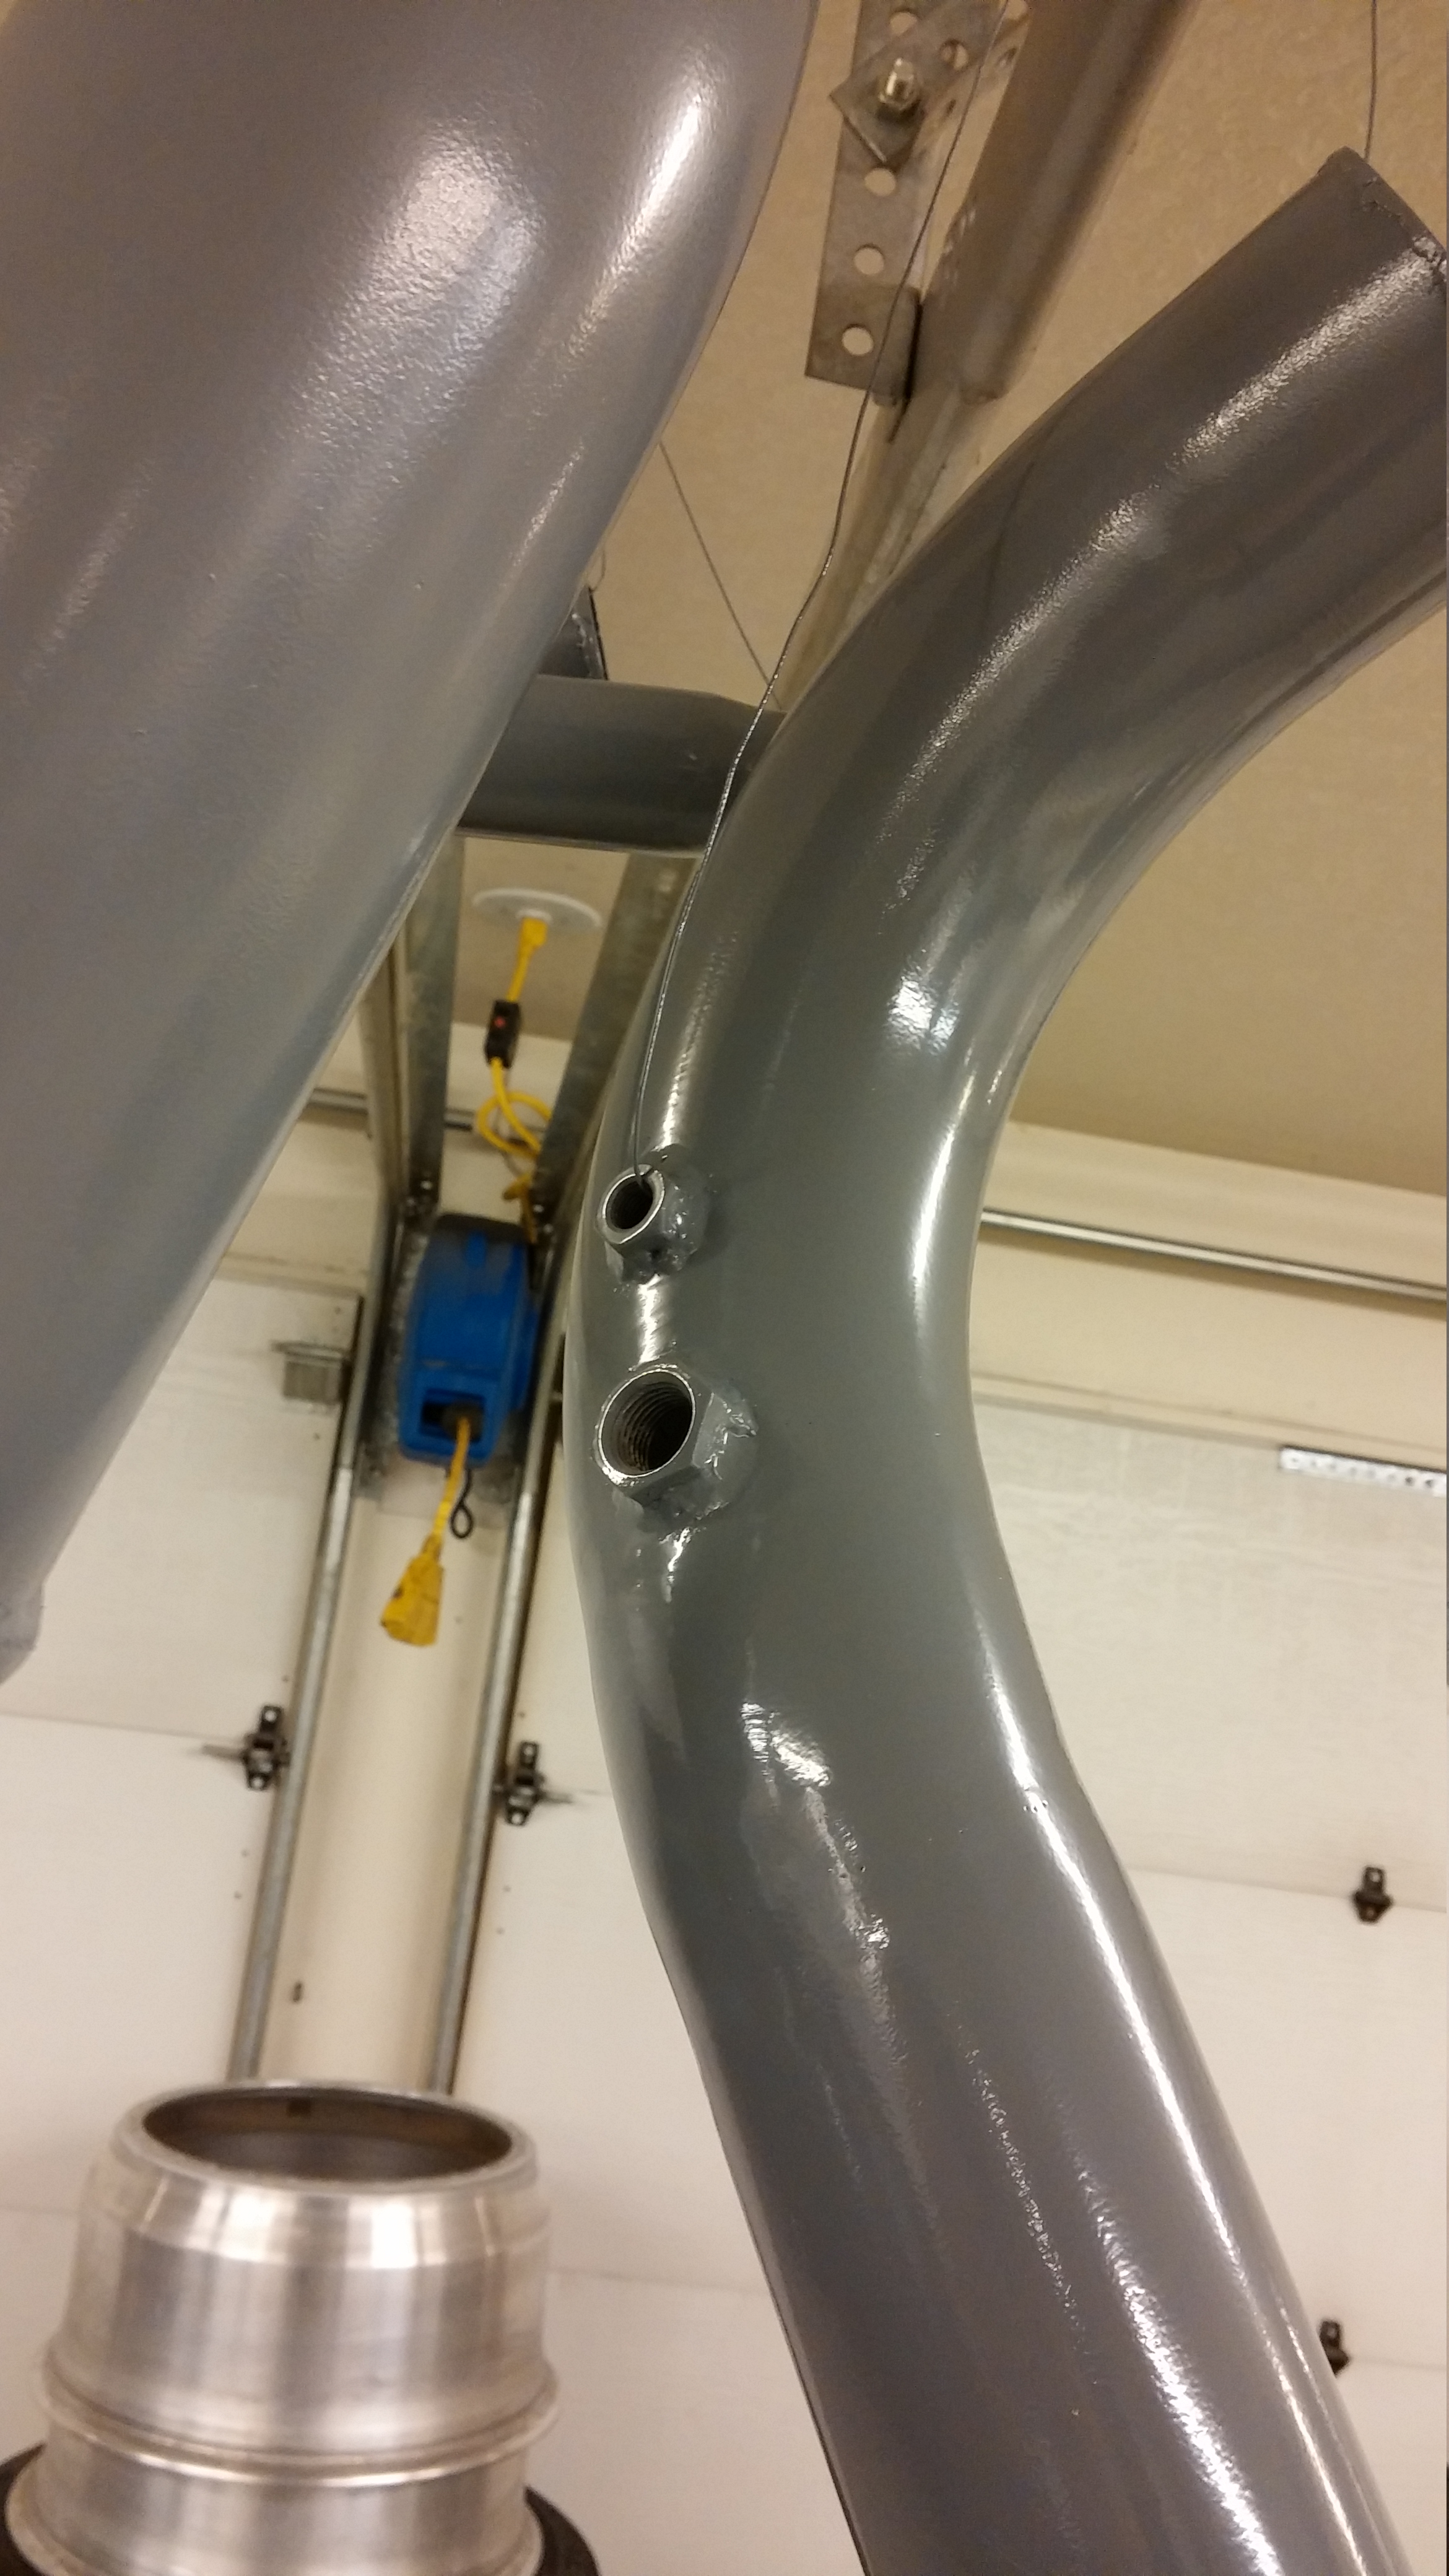
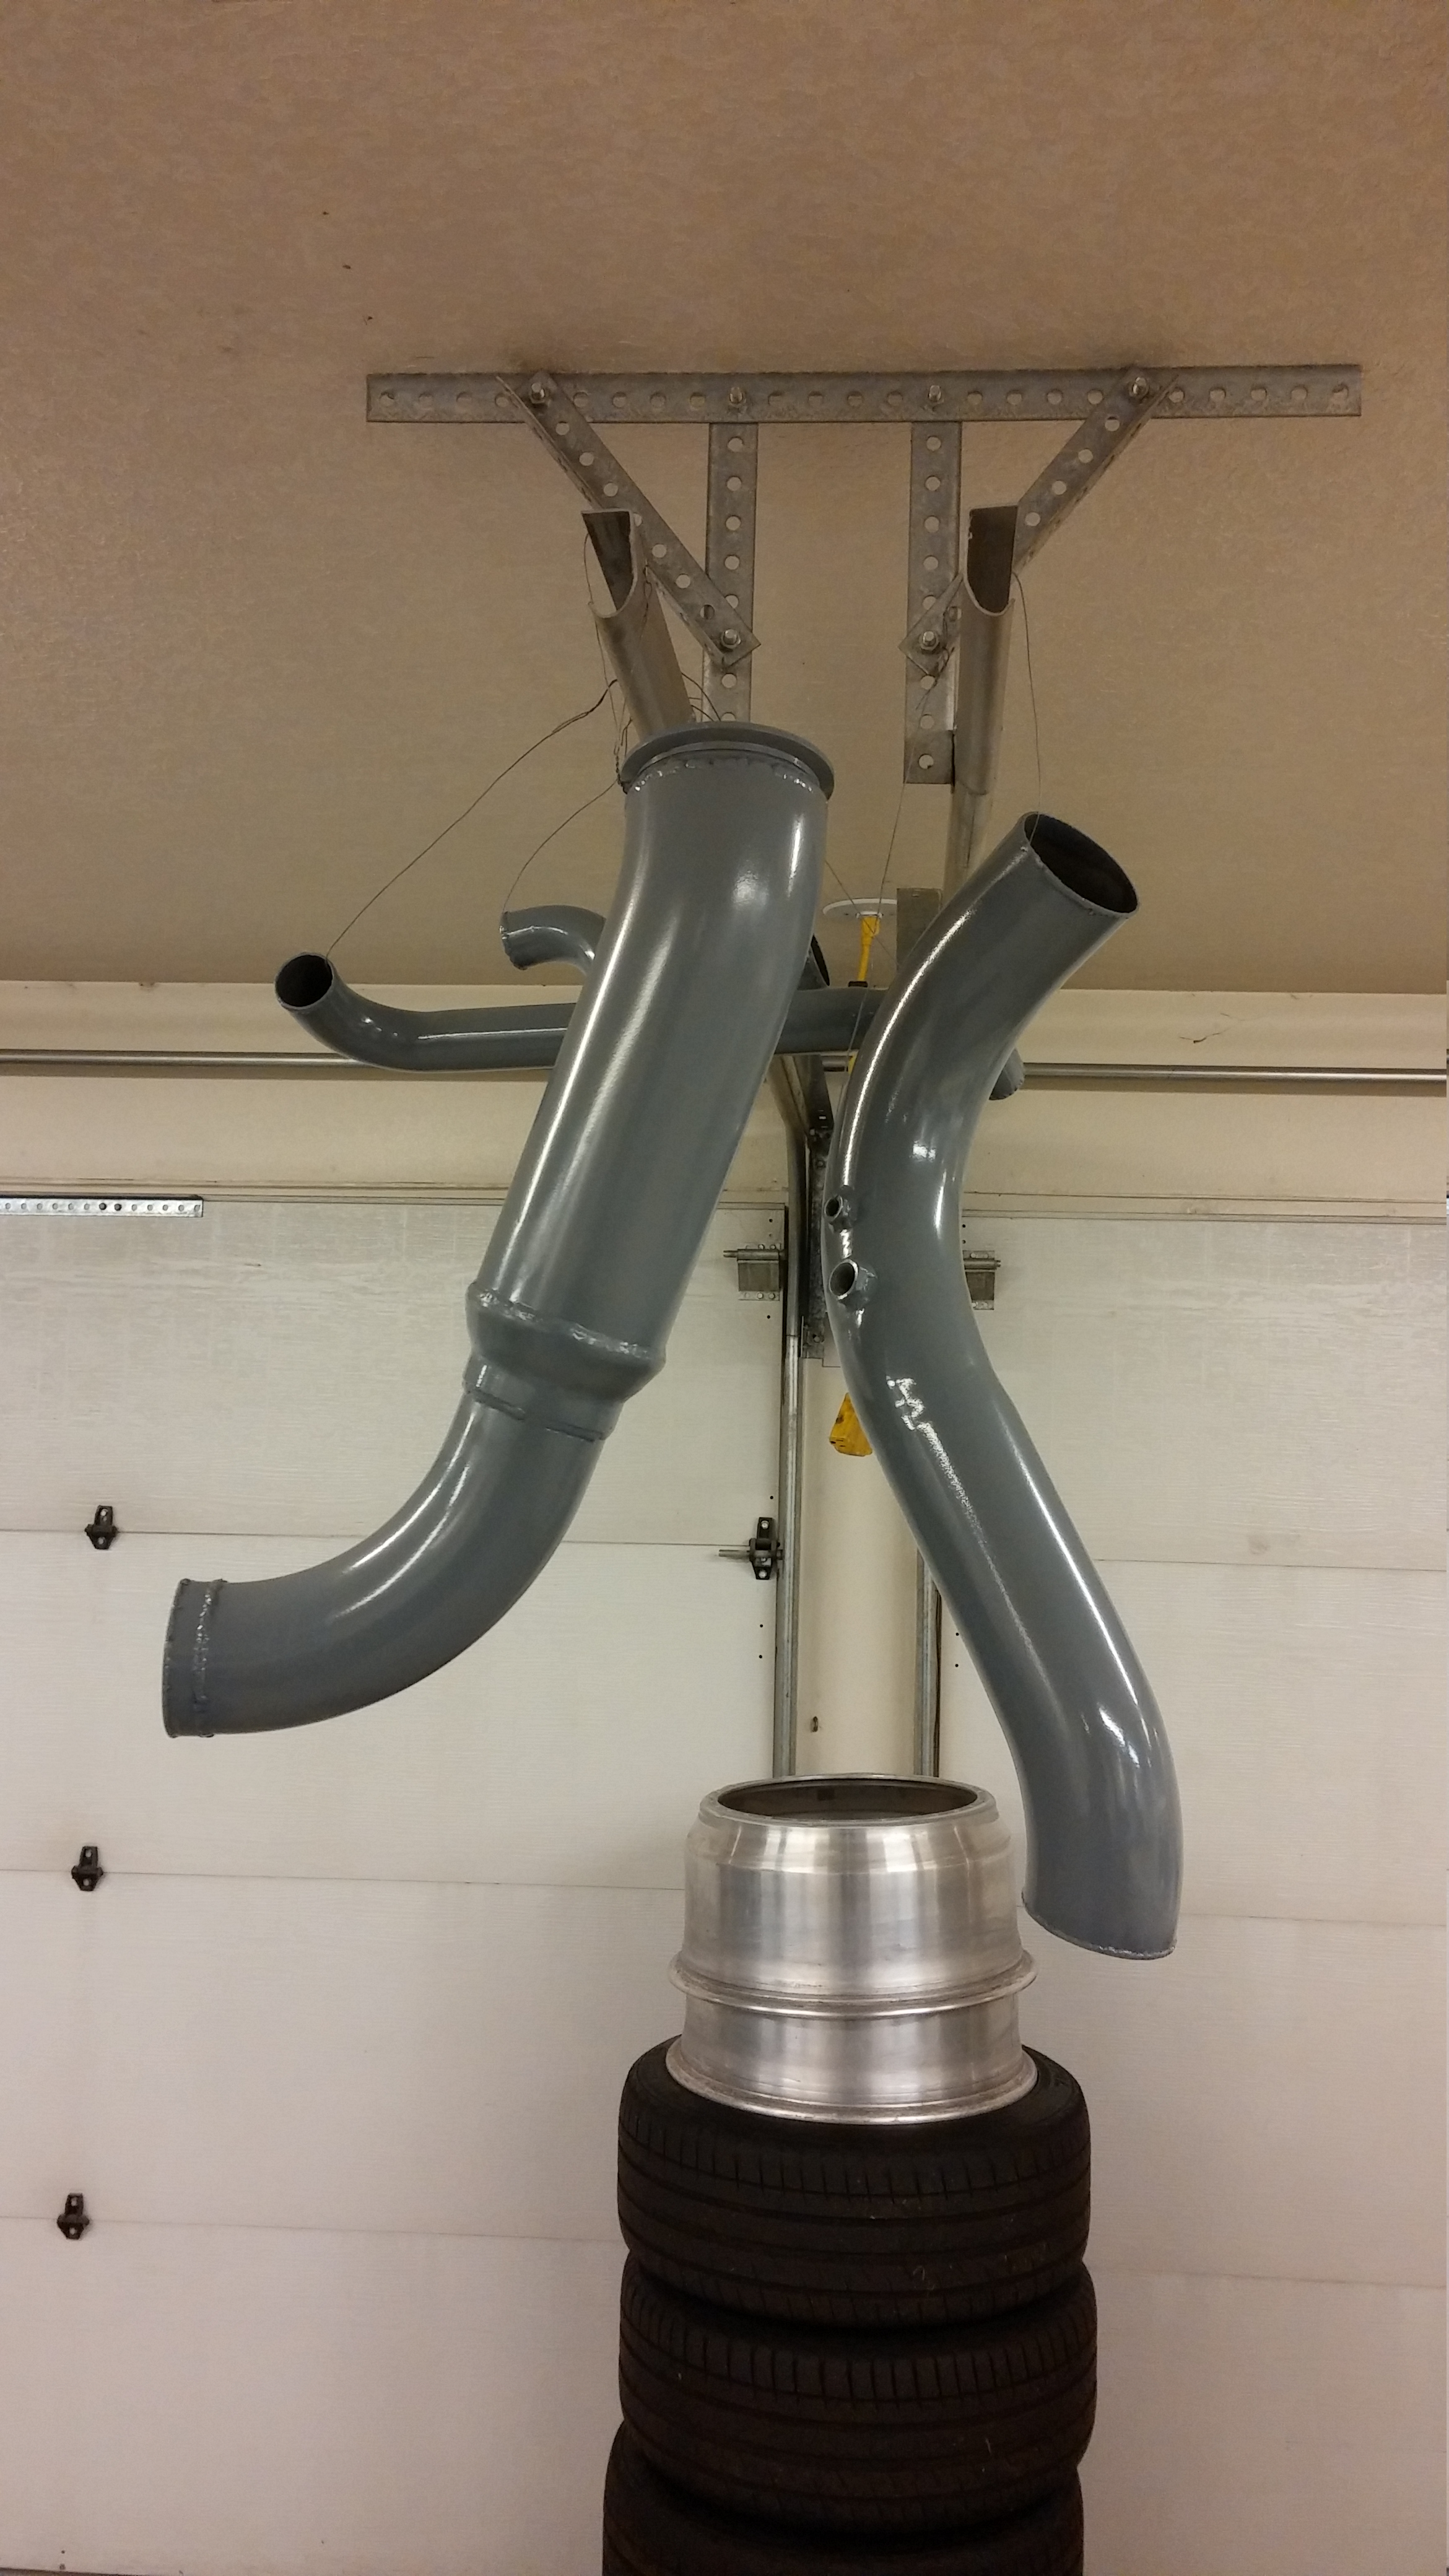
Welded in the bungs for the threaded intake air temp sensor and the spray nozzle for the meth injection in the intake piping.
Cleaned and prepped and primed all the stuff including the upper panel on the radiator. Should be able to scuff and sand tomorrow and get some paint on them.
Back onto some progress now. Trying to get it running in a few weeks.
Sean
Got a bunch of stuff done around the shop, cleaning up and organizing some crap.
Then I actually worked on the truck again.
Made lots and lots of measurements and then finally took the plunge and drilled a 6" hole in the bottom of the bed, hoping that it all lines up.
Trimmed up some stuff from underneath to get the bed to fit and had my buddy Brian come down to help me lift the bed on again.
Hot damn it fits and the filler was right where it should be.

Chopped up more GM parts being a gas filler door from a 2000 c/k pickup and made it work for what I wanted.

Turned out pretty good, reused the chopped out bed floor on a modified hinge and put a small indention/ finger grab in the bed floor. Need to add some little tabs to keep it flush with the bed floor when its down and weld on a couple studs to get rid of the screws but it works.
Welded in the bungs for the threaded intake air temp sensor and the spray nozzle for the meth injection in the intake piping.

Cleaned and prepped and primed all the stuff including the upper panel on the radiator. Should be able to scuff and sand tomorrow and get some paint on them.

Back onto some progress now. Trying to get it running in a few weeks.
Sean
01-03-2014, 09:38 AM
#63
Launching!
Thread Starter
Join Date: Mar 2012
Posts: 214
Likes: 0
Received 0 Likes
on
0 Posts
Paint on the intercooler pipes turned out good, couple runs though I gotta figure out how to deal with that, never had to cut buff and polish before.
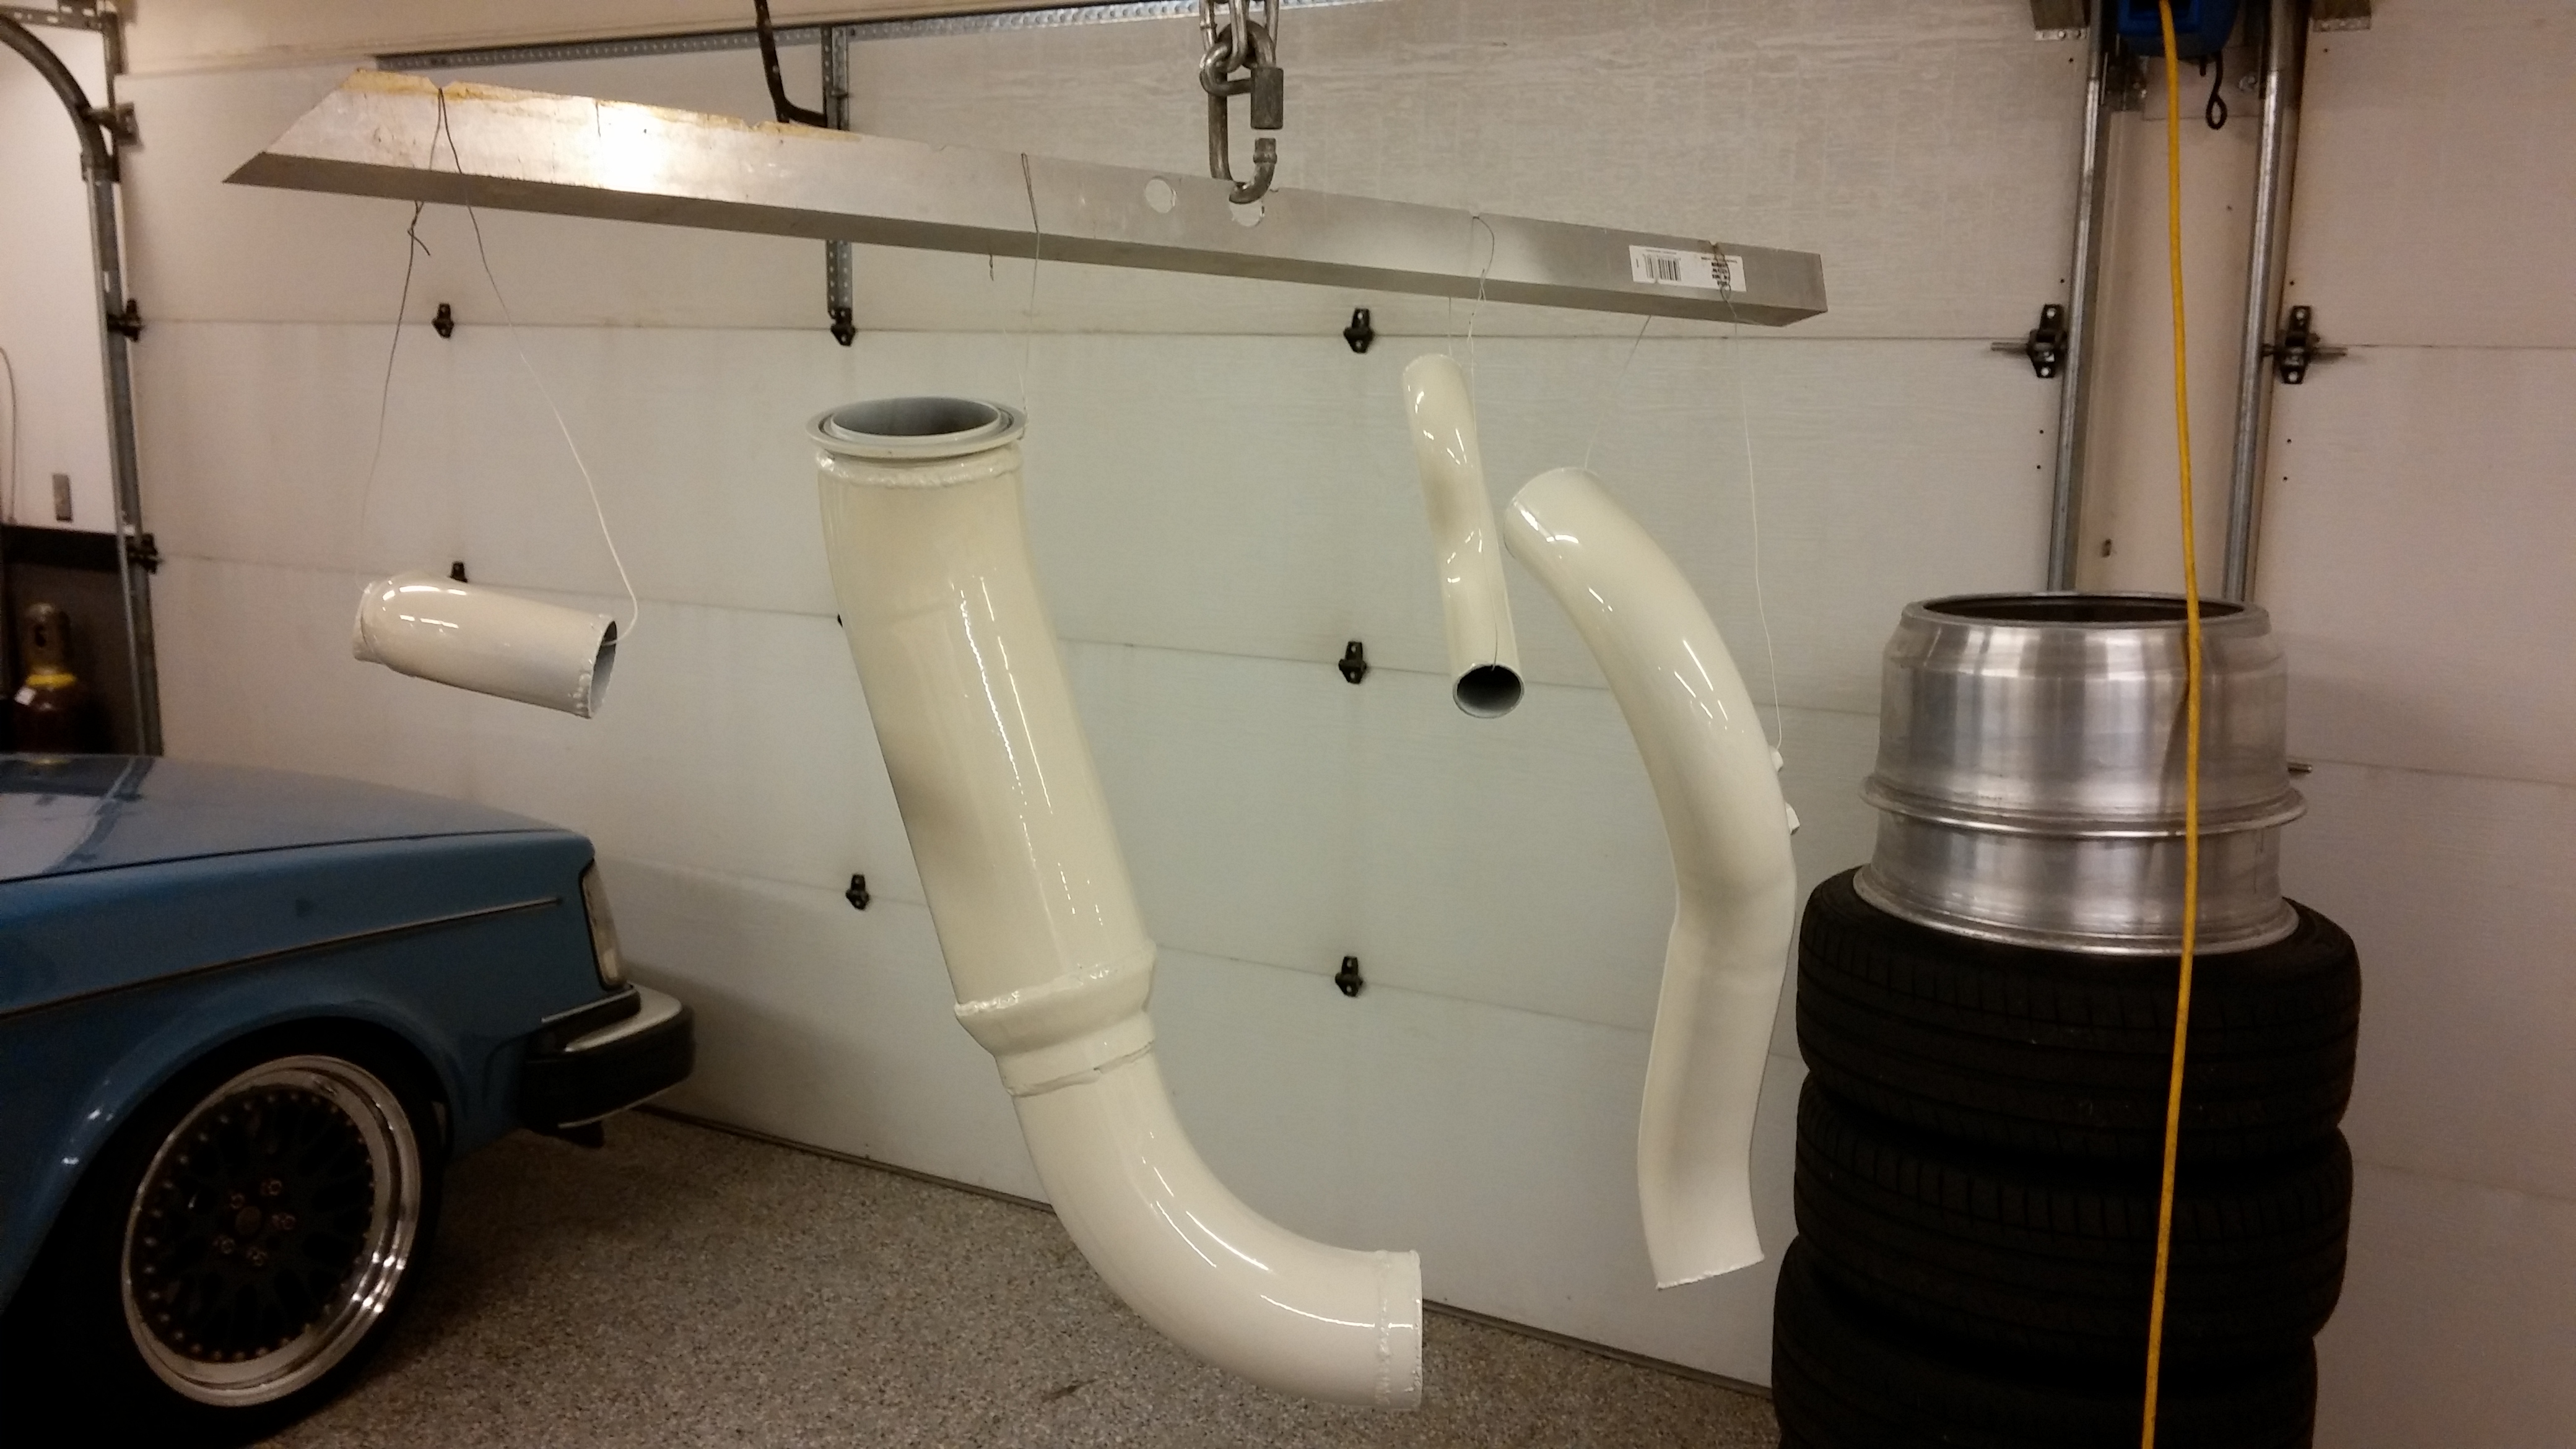
This panel might need a little touch up, but it will probably be just fine for what I am doing with it.
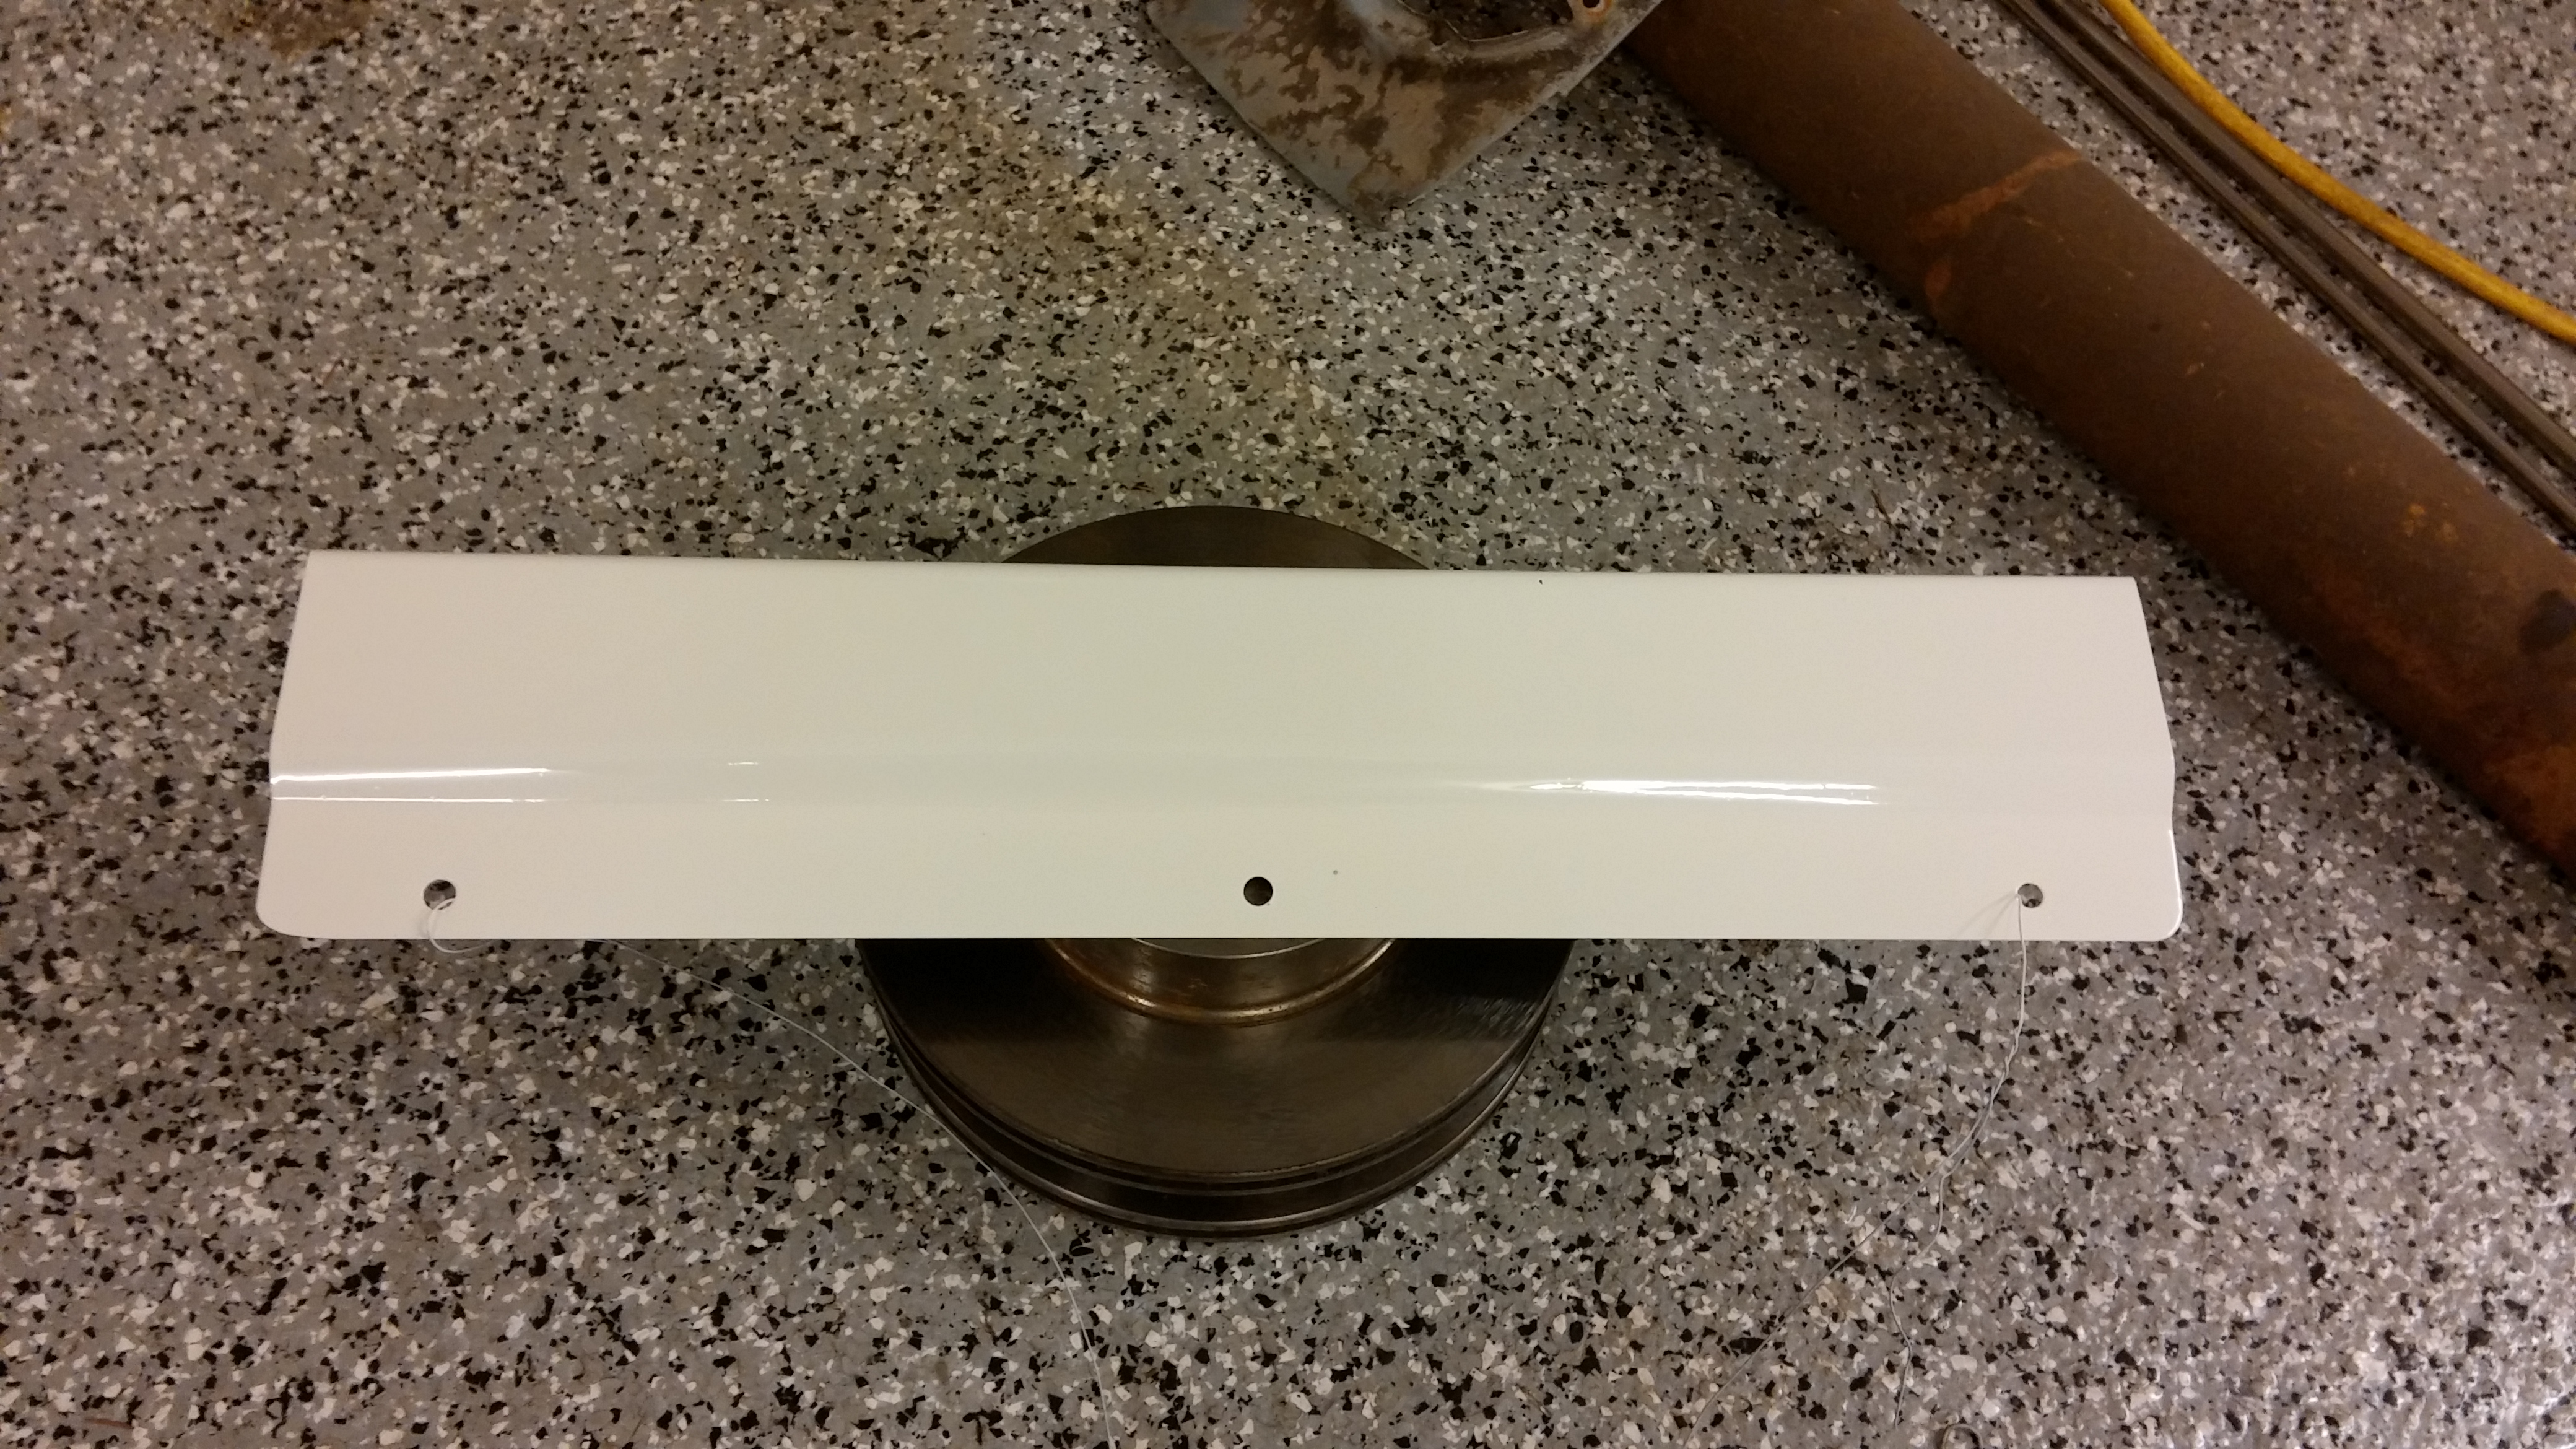
Sean

This panel might need a little touch up, but it will probably be just fine for what I am doing with it.

Sean

 Hackster! Still updating this thread?
 02-03-2014, 12:45 PM
#66
Launching!
Thread Starter
Join Date: Mar 2012
Posts: 214
Likes: 0
Received 0 Likes
on
0 Posts
I would be updating it if I were making any progress....
Going to get back on it this week if I can make some time. Not very motivated lately. Need to get the wiring started and plumbing finished up.
Might have had a little change of direction for this spring though. I might get the truck put back together with the rusty beat up body and go cruise around a little bit before tearing it apart for full paint.
Thinking about some 20" steelies for it with some pretty meaty tires to get not so pro touring look.
Hope to get the ball rolling again but yes, I will keep this going.
Sean
02-03-2014, 01:13 PM
#67
Registered User

Join Date: Nov 2013
Location: Canada
Posts: 14
Likes: 0
Received 0 Likes
on
0 Posts
Great Build.
My father had a 68 Mercury truck and I was a sad boy when he sold that truck. I loved that style and wish I could find another. Love what you are doing with the truck.
My father had a 68 Mercury truck and I was a sad boy when he sold that truck. I loved that style and wish I could find another. Love what you are doing with the truck.

 02-11-2014, 04:34 PM
#71
Launching!
Thread Starter
Join Date: Mar 2012
Posts: 214
Likes: 0
Received 0 Likes
on
0 Posts
http://detroitsteelwheel.com/70-chevy/
Thinking about doing something like this on the truck. Going to try and get the gas filler door buttoned up this week and start on the wiring.
Ordered a battery Box to get mounted onto the frame. Picked up some stock ls1 injectors in hopes of getting it running on those and work out any bugs, then get the big injectors in there and do some tuning.
Whatever wheels I end up with on it, hoping that I can do 20x8 and 20x10's.
Should be fun. Might even consider 18's.
Sean
02-13-2014, 01:24 PM
#75
Launching!
Thread Starter
Join Date: Mar 2012
Posts: 214
Likes: 0
Received 0 Likes
on
0 Posts
Yeah, I agree on both. Thinking traction is going to be an issue. If it needs to hook up, I am thinking a set of Welds with some sticky tires would make for some fun passes.
Battery Box showed up today, gotta part out a car this weekend, but after that, its game on with this project.
Sean
Battery Box showed up today, gotta part out a car this weekend, but after that, its game on with this project.
Sean
02-21-2014, 01:04 PM
#76
Launching!
Thread Starter
Join Date: Mar 2012
Posts: 214
Likes: 0
Received 0 Likes
on
0 Posts
Believe it or not, I actually got some work done on this, little steps getting back going on it again.
Got plugs gapped and installed, pulled manifolds and got gaskets and all the bolts on, tightened up and stuff.
Purchased and installed both O2 sensors and iat sensor in charge piping.
Pulled harness out of the box and stripped all the corrugated tubing off of it and started figuring what to put where and were all this stuff is going to go. Picked up $100.00 worth of sheathing and heat shrink to make the harness look good.
Need to figure out what I am going to do about the coil packs as there is no way they are going to fit in the stock location.
How are you guys mounting them behind the heads? Details? Links?
Picked up the hopefully the last of what I believe I will need for plumbing fitting and hose for the fuel rail turbo drain and fuel system. I hope I am close to done cause this fuel system is ridiculously expensive.
Wife is gone all weekend so I am hoping to have some pretty good progress on it the next few days.
Sean
 02-23-2014, 03:37 AM
#78
Launching!
Thread Starter
Join Date: Mar 2012
Posts: 214
Likes: 0
Received 0 Likes
on
0 Posts
Thank you...
Made a little progress today. Started the day by building the oil drain line from braided stainless and nickle plated aluminum Aeroquip -10 fittings
Measured out for the oil feed line and pulled the fittings from the tranny.
Headed down to the local line shop and got some stuff made.
Came home, installed the new oil feed line and did some more work on the fuel lines under the car. I am as finished as I can be without pulling the bed.
Got out the gas pedal and mocked it up. Did some pie cuts and welded it back together to get it at the right height with the right travel and position. Its pretty dialed in mounted it up on the firewall too.
Drilled a hole in the firewall for the harness to pass through as well.
Pulled the harness through the firewall and got to sorting it out.
Also rebuilt the coil pack mounts and got them mounted up....they are now on the frame rails tucked way out of sight and out of harms way.
Ill shoot some pics tomorrow but I should be able to darn near get the harness all buttoned up. Keeping the Engine harness and other items in separate openings.
Sean
02-23-2014, 10:05 AM
#79

I really dig the fuel filler mod. I don't think it could turn out better once you weld in the studs. Great job on the whole truck!!!
02-23-2014, 03:36 PM
#80
Launching!
Thread Starter
Join Date: Mar 2012
Posts: 214
Likes: 0
Received 0 Likes
on
0 Posts
Thank you, I hope that it just kind of dissapears when its all put together.
Making some progress on the wiring this morning and finally getting somewhere.
Onto some photos...
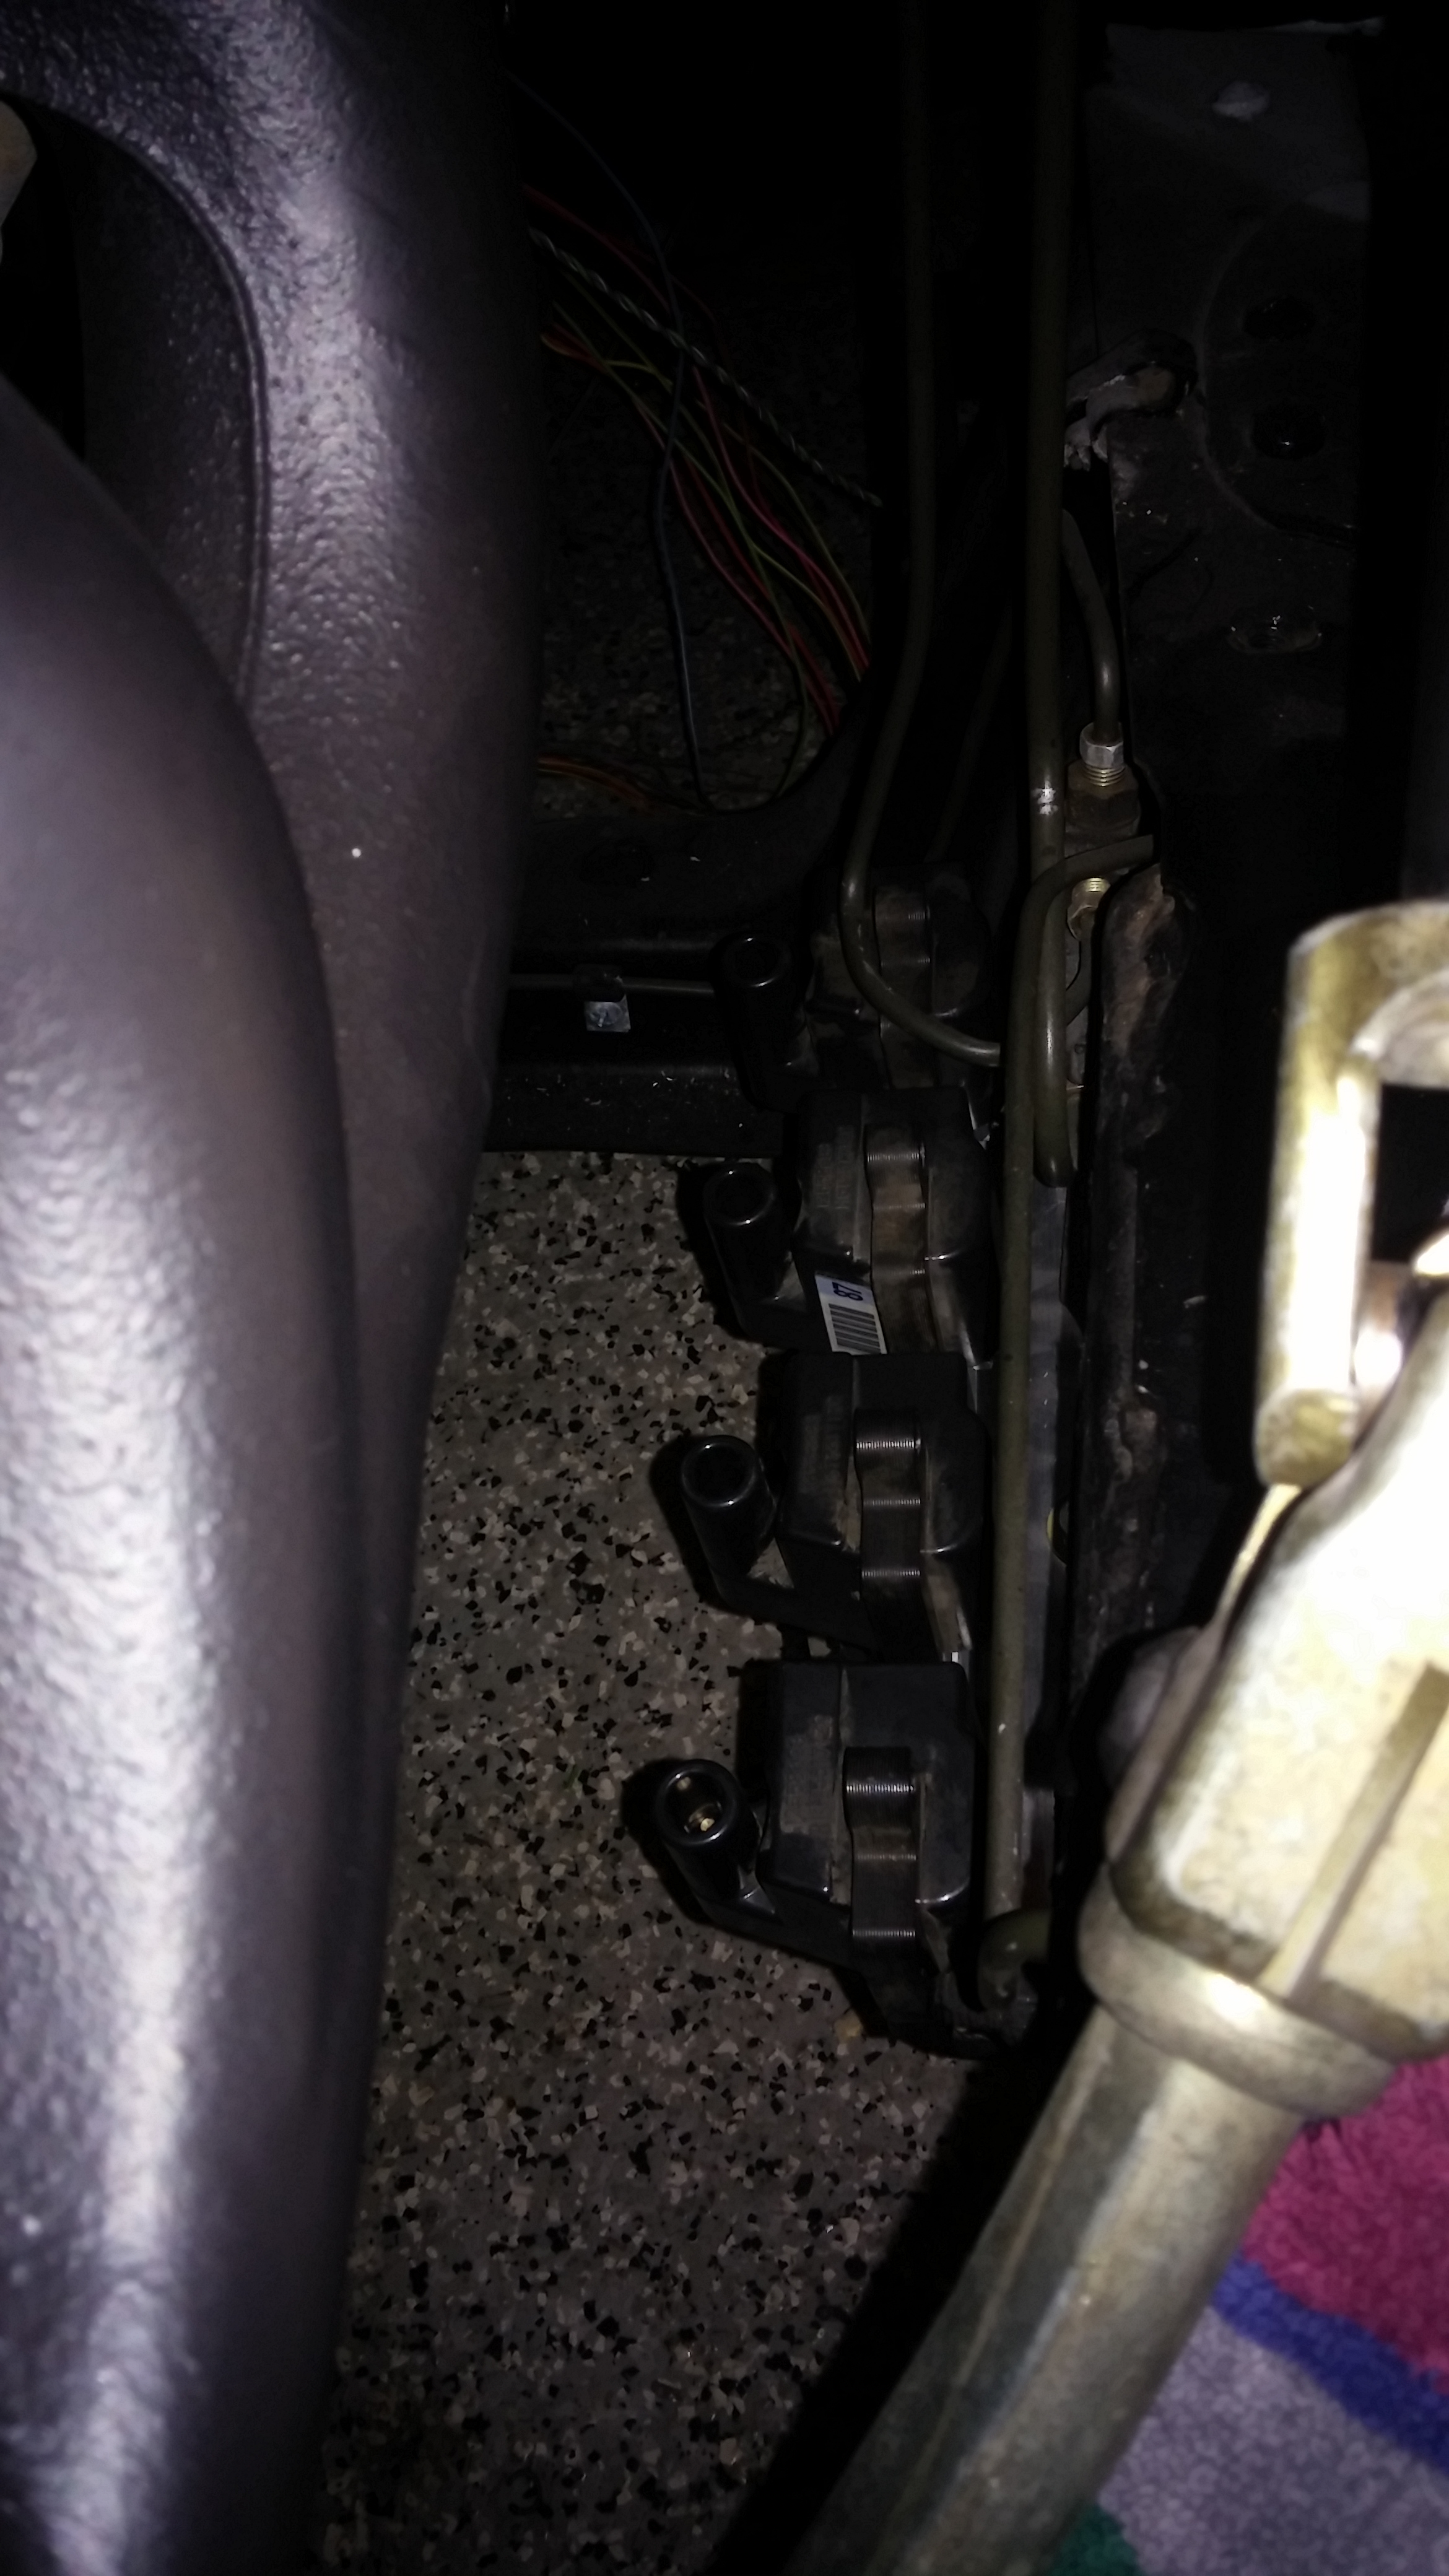
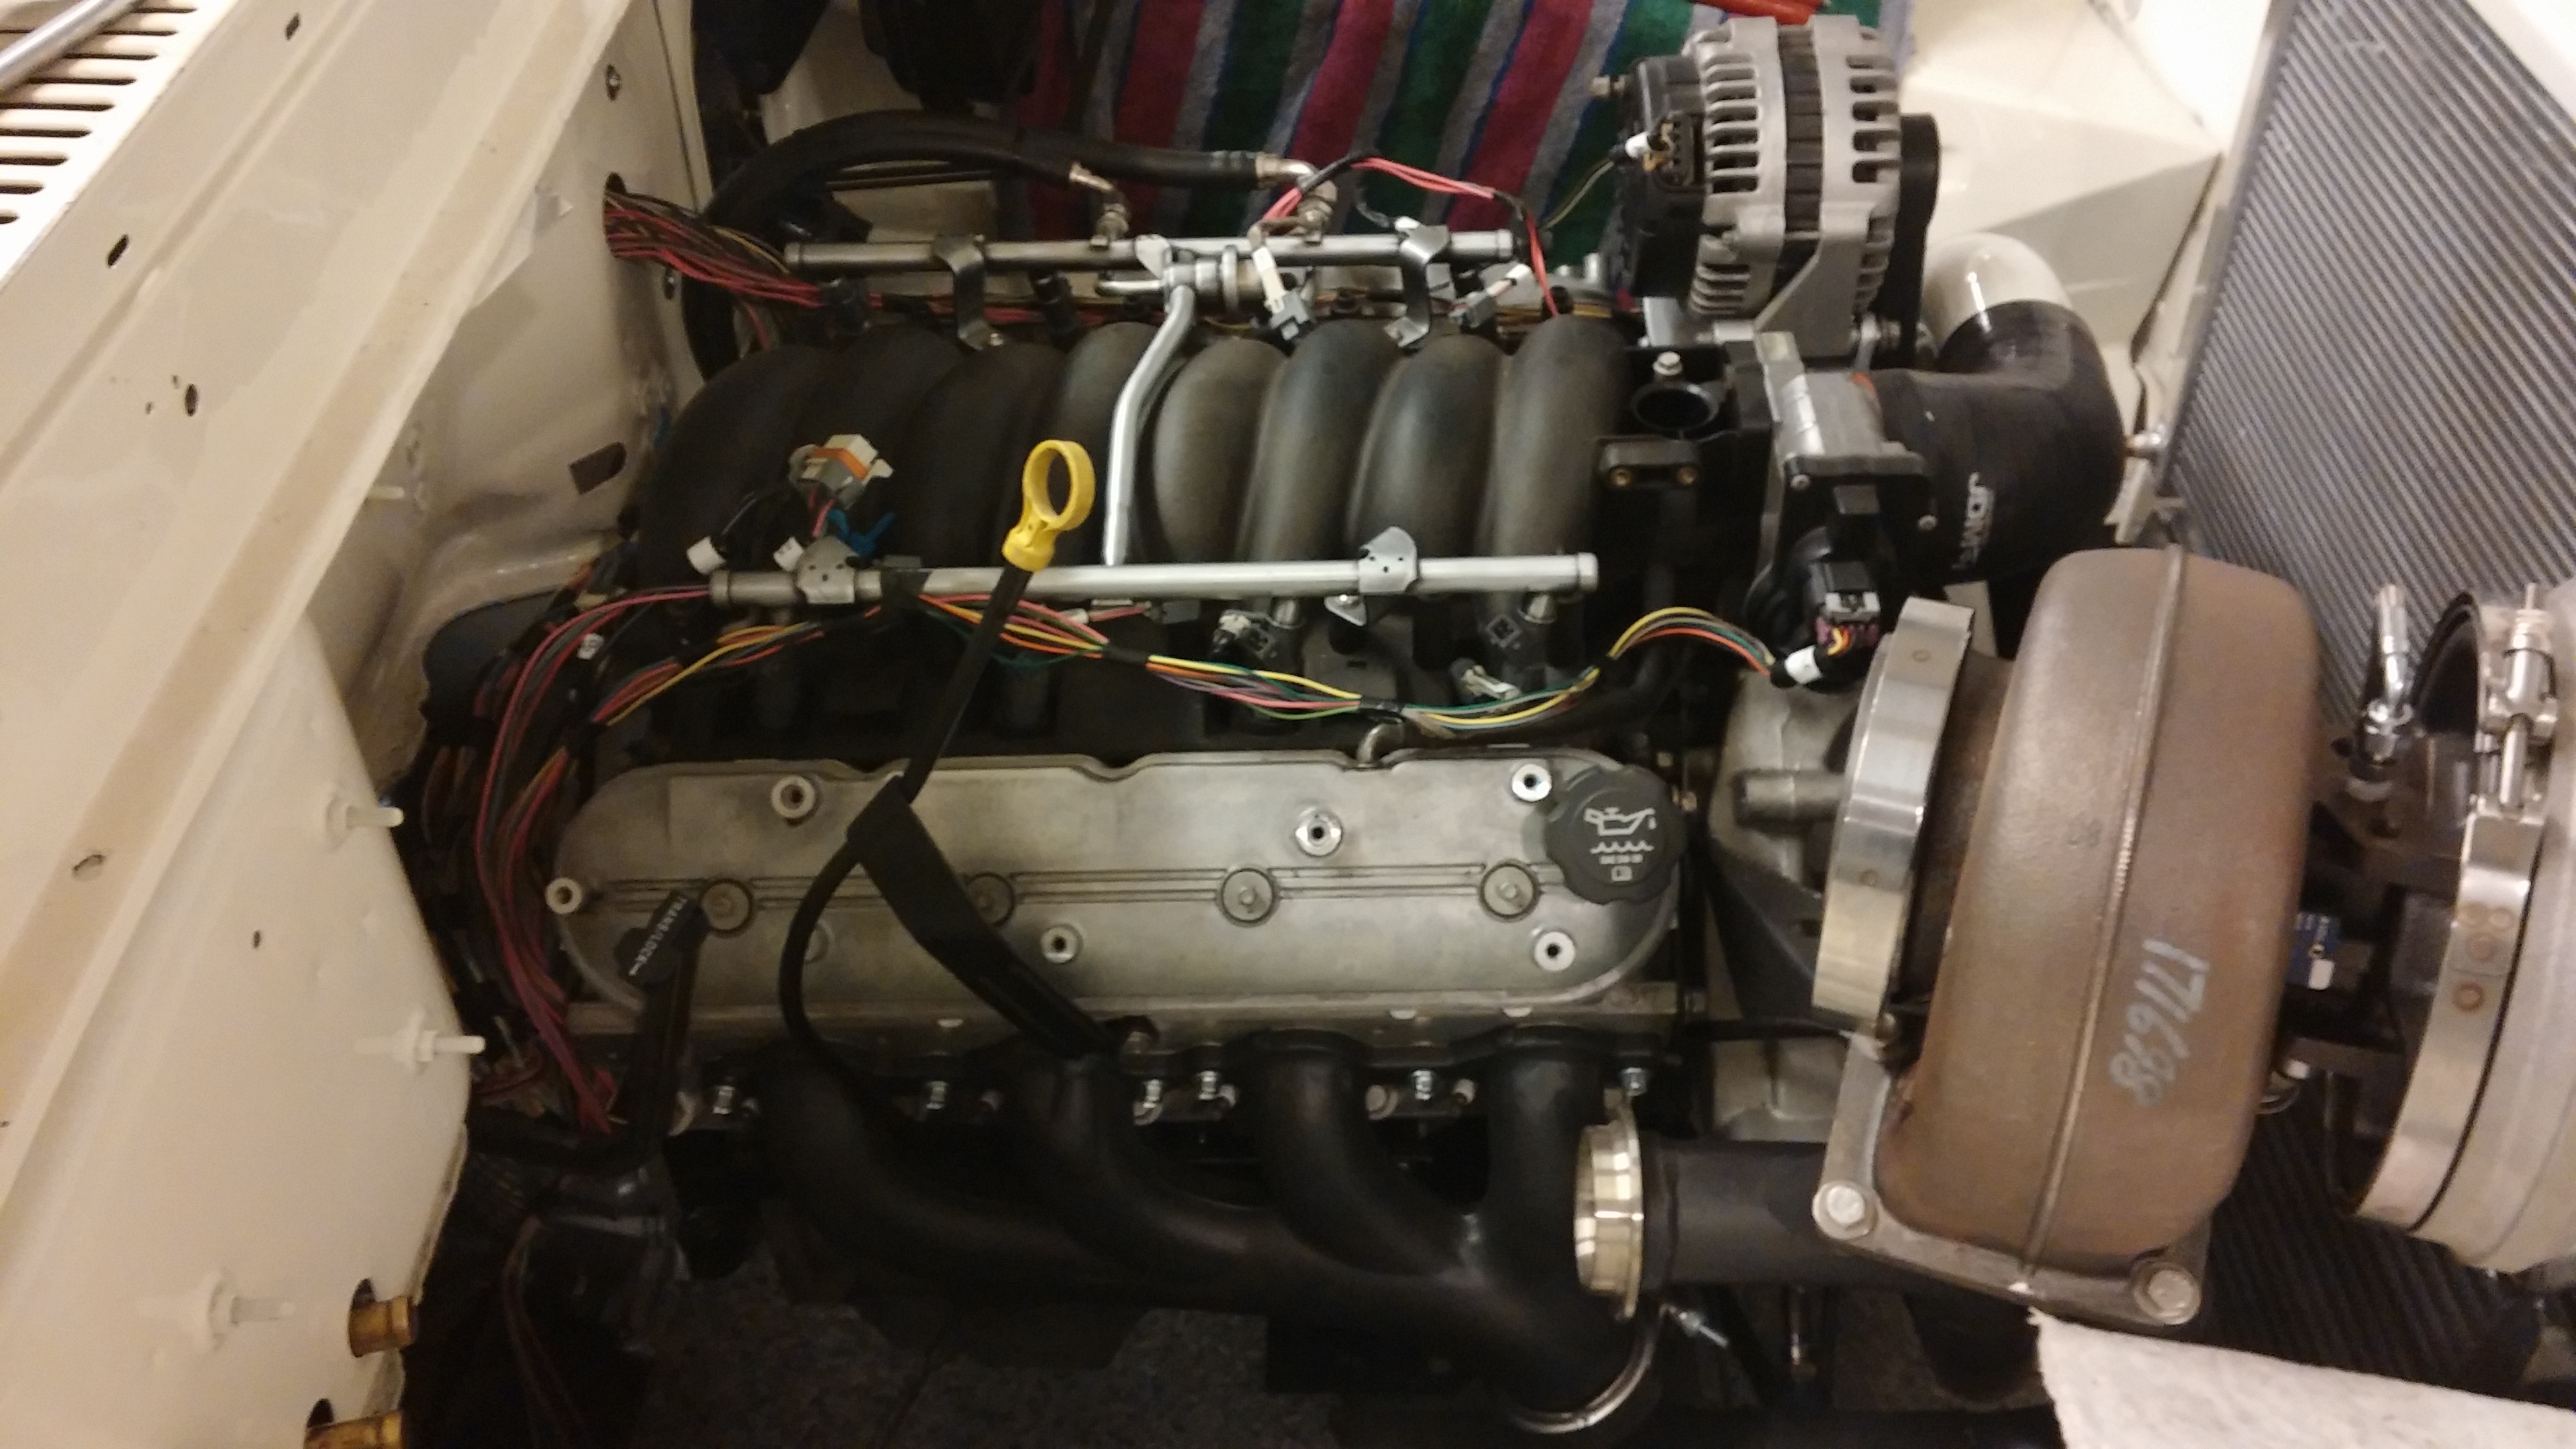
Coil packs relocated and harnesses extended to reach in their new location. They were a pain in the rear to find a spot. These truck coil packs are much bigger than the ls ones. They were nowhere near fitting behind the heads or on the valve covers, they got a little bracket and bolted to the bottom of the frame. They clear everything that was in their way.
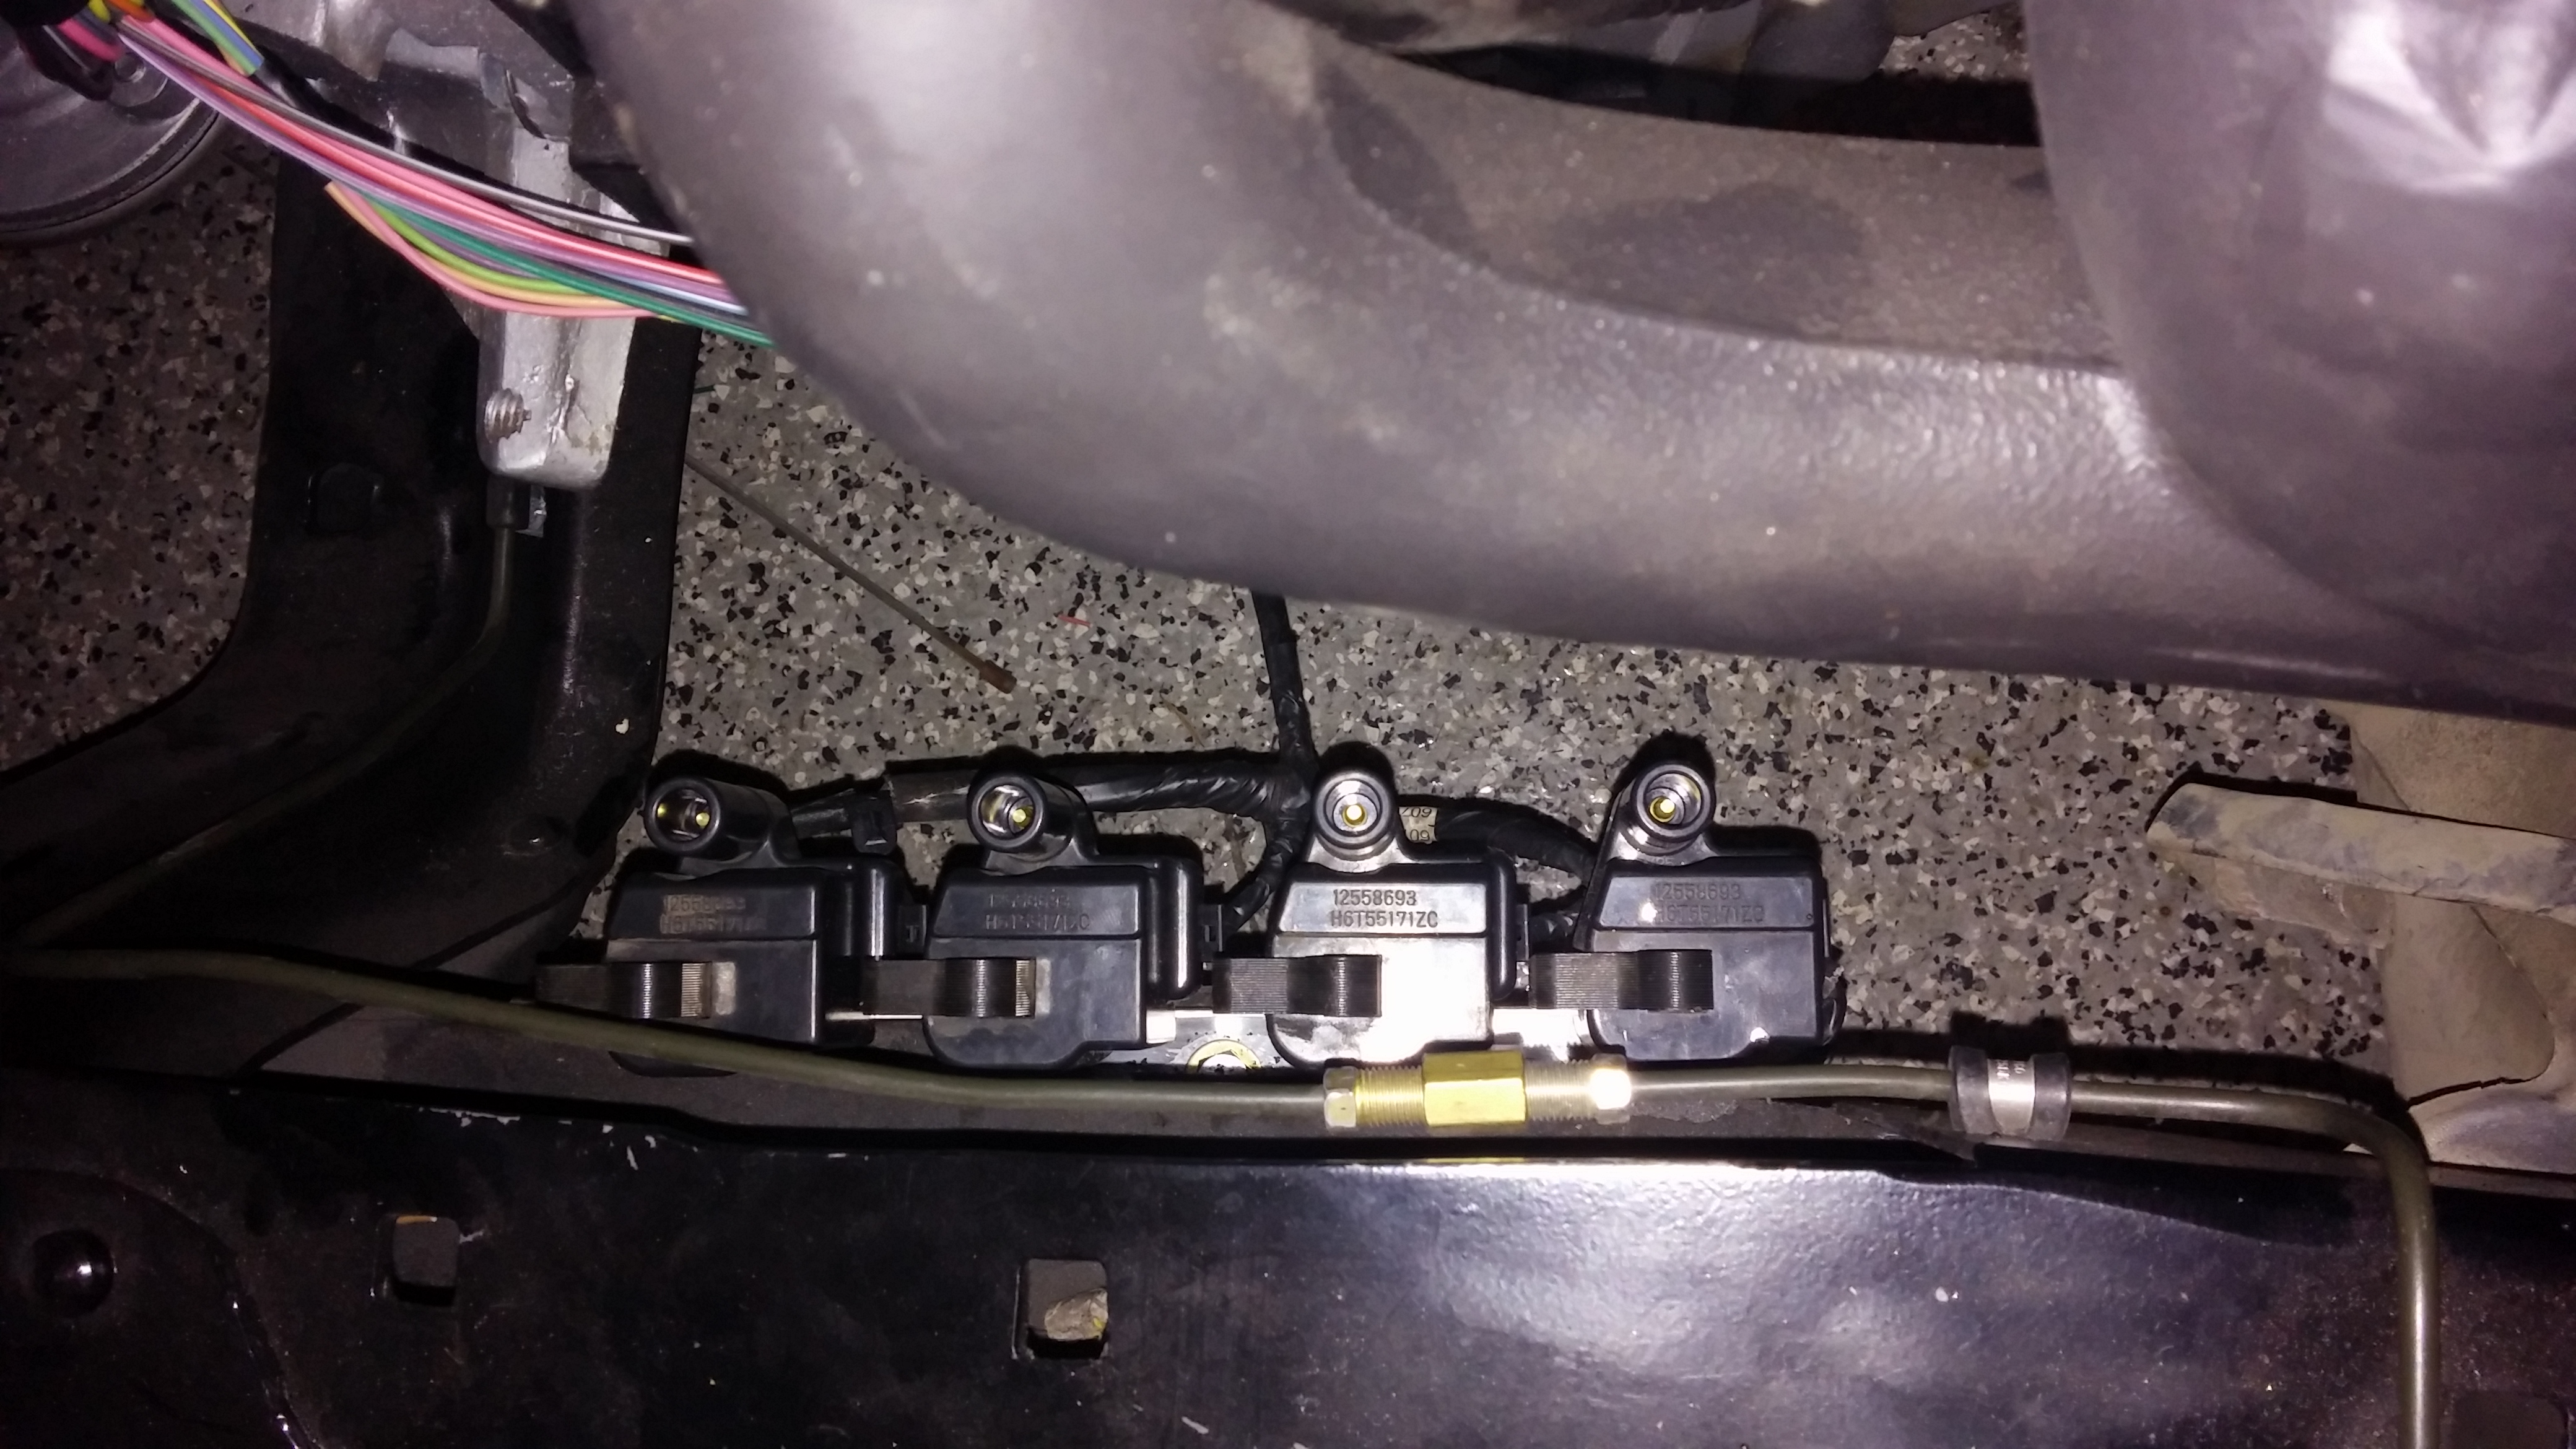
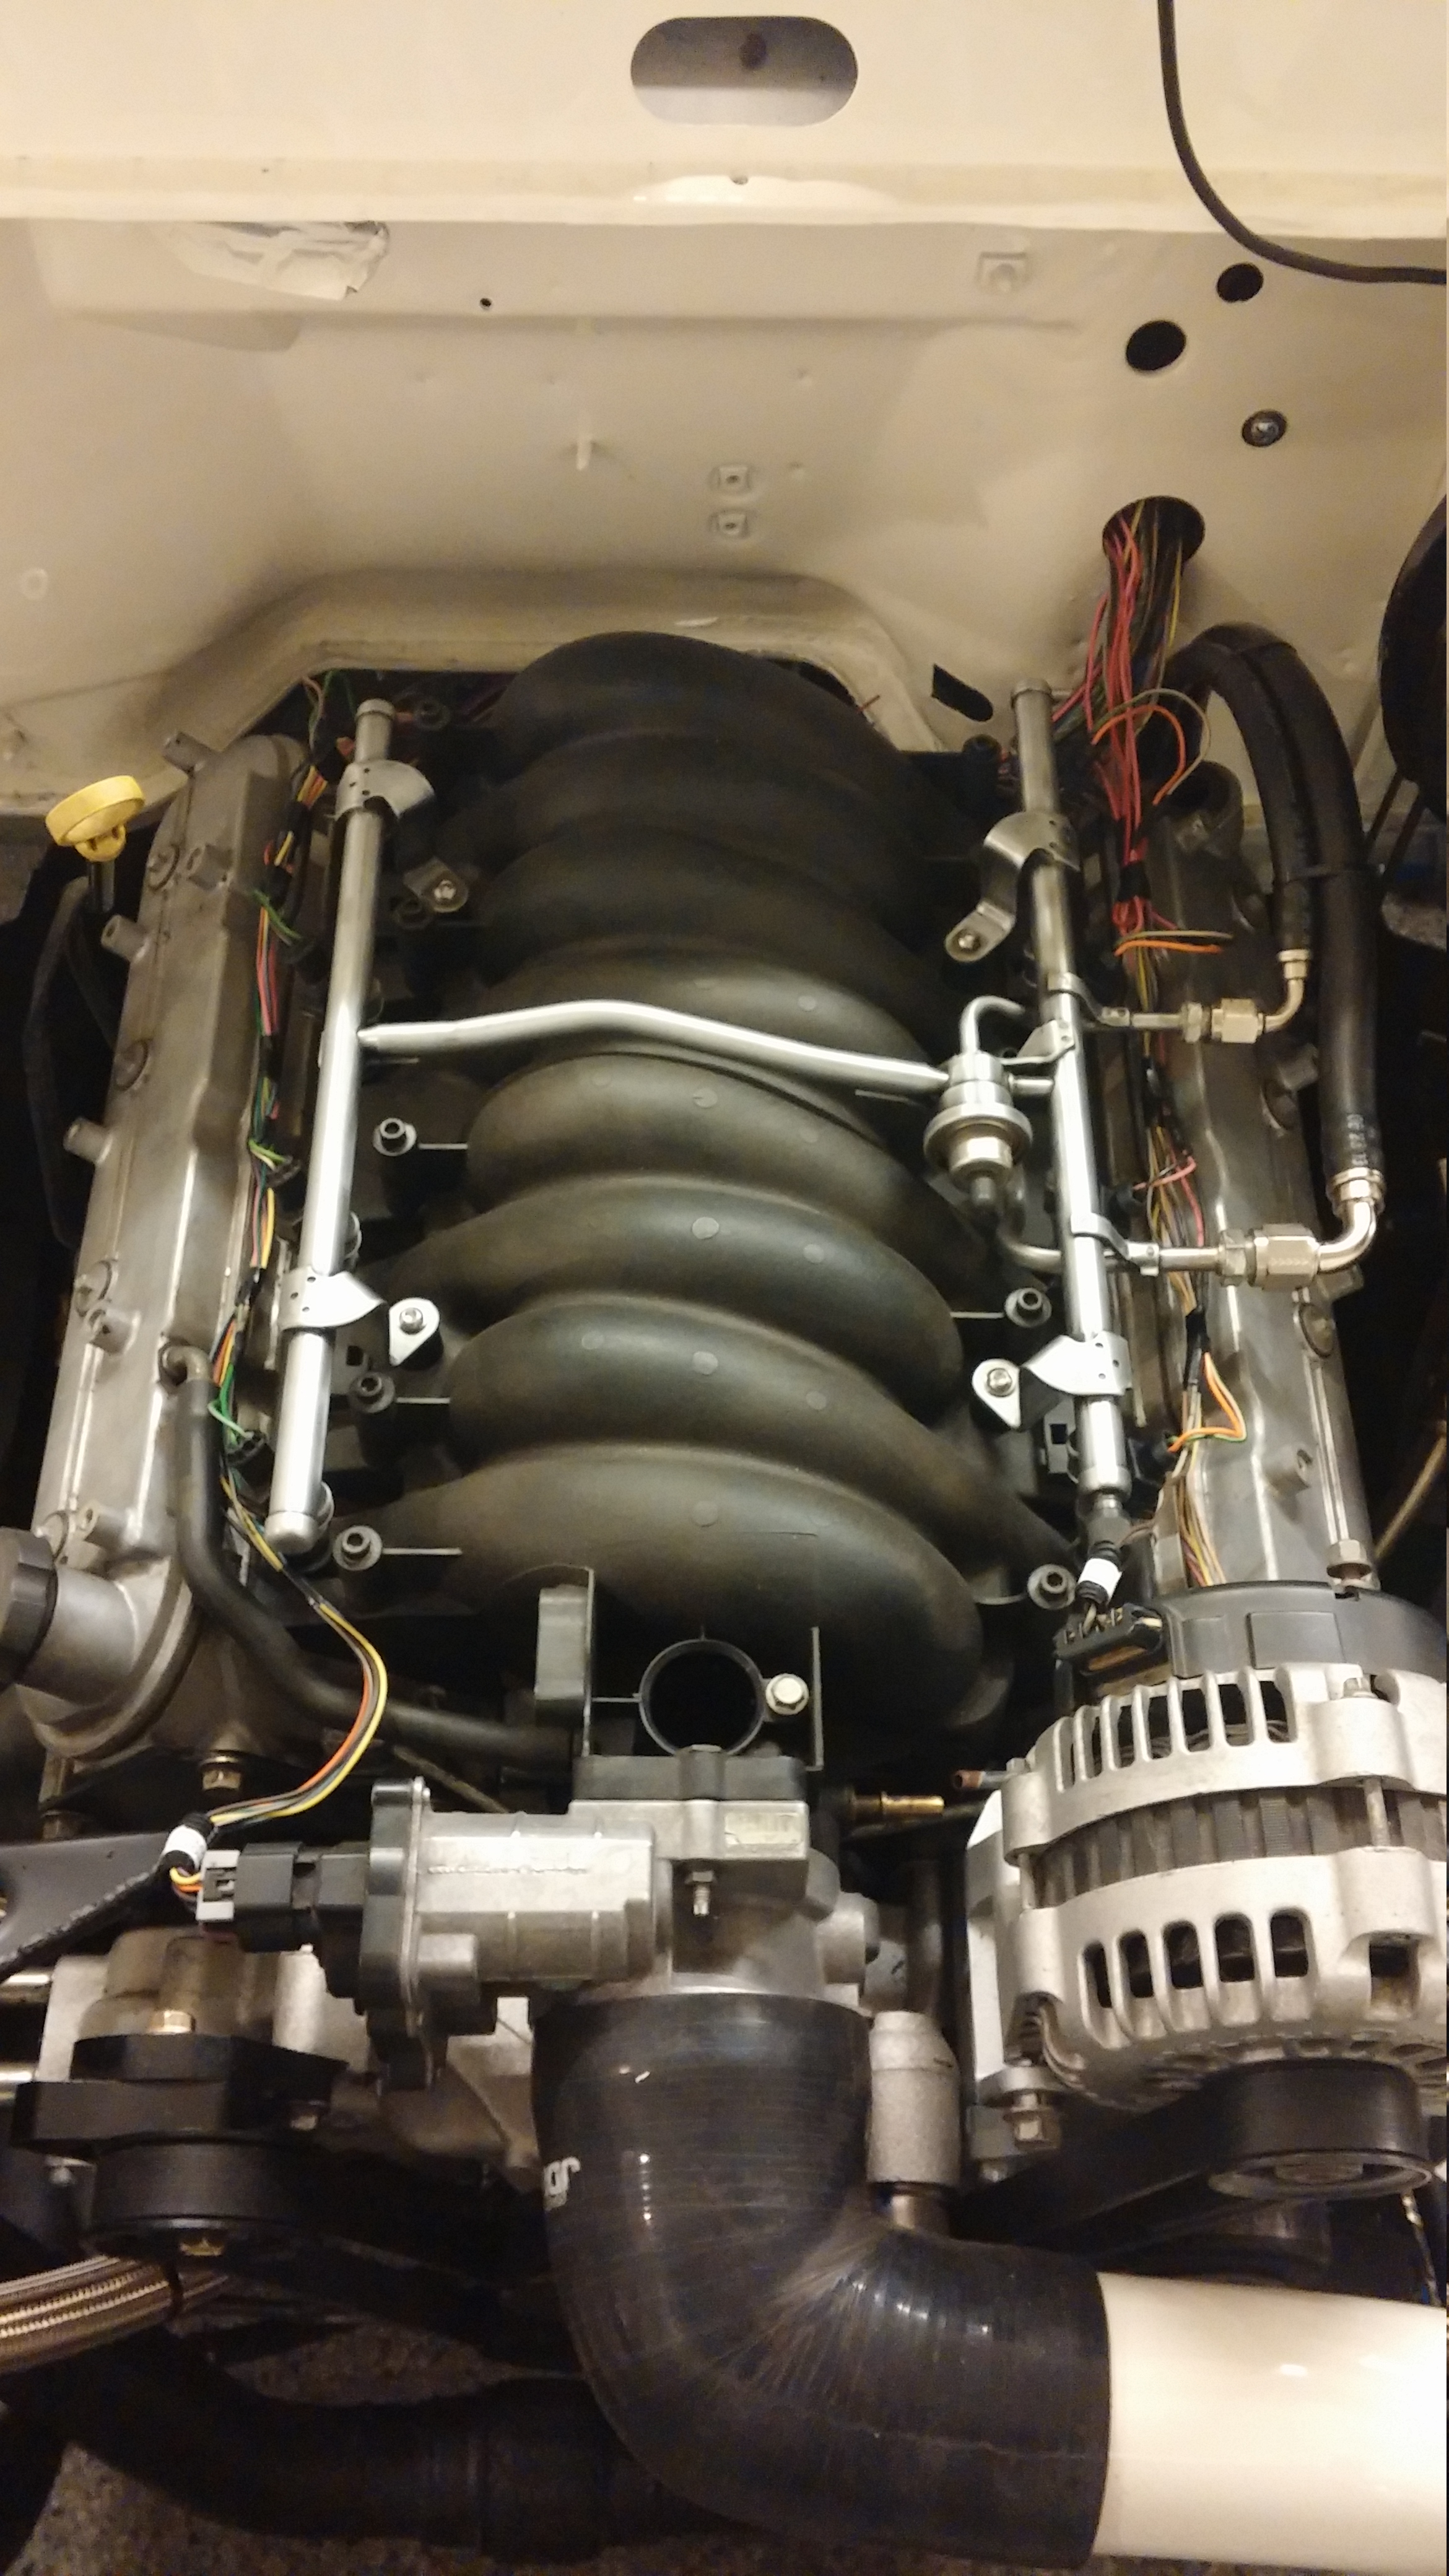
Onto some wiring fun. Pulled off the stock truck injector plugs and installed EV1 connectors...from a volvo =)
This is all the wiring that you will see on the engine, everything else will be tucked away. Will get loomed early this week.
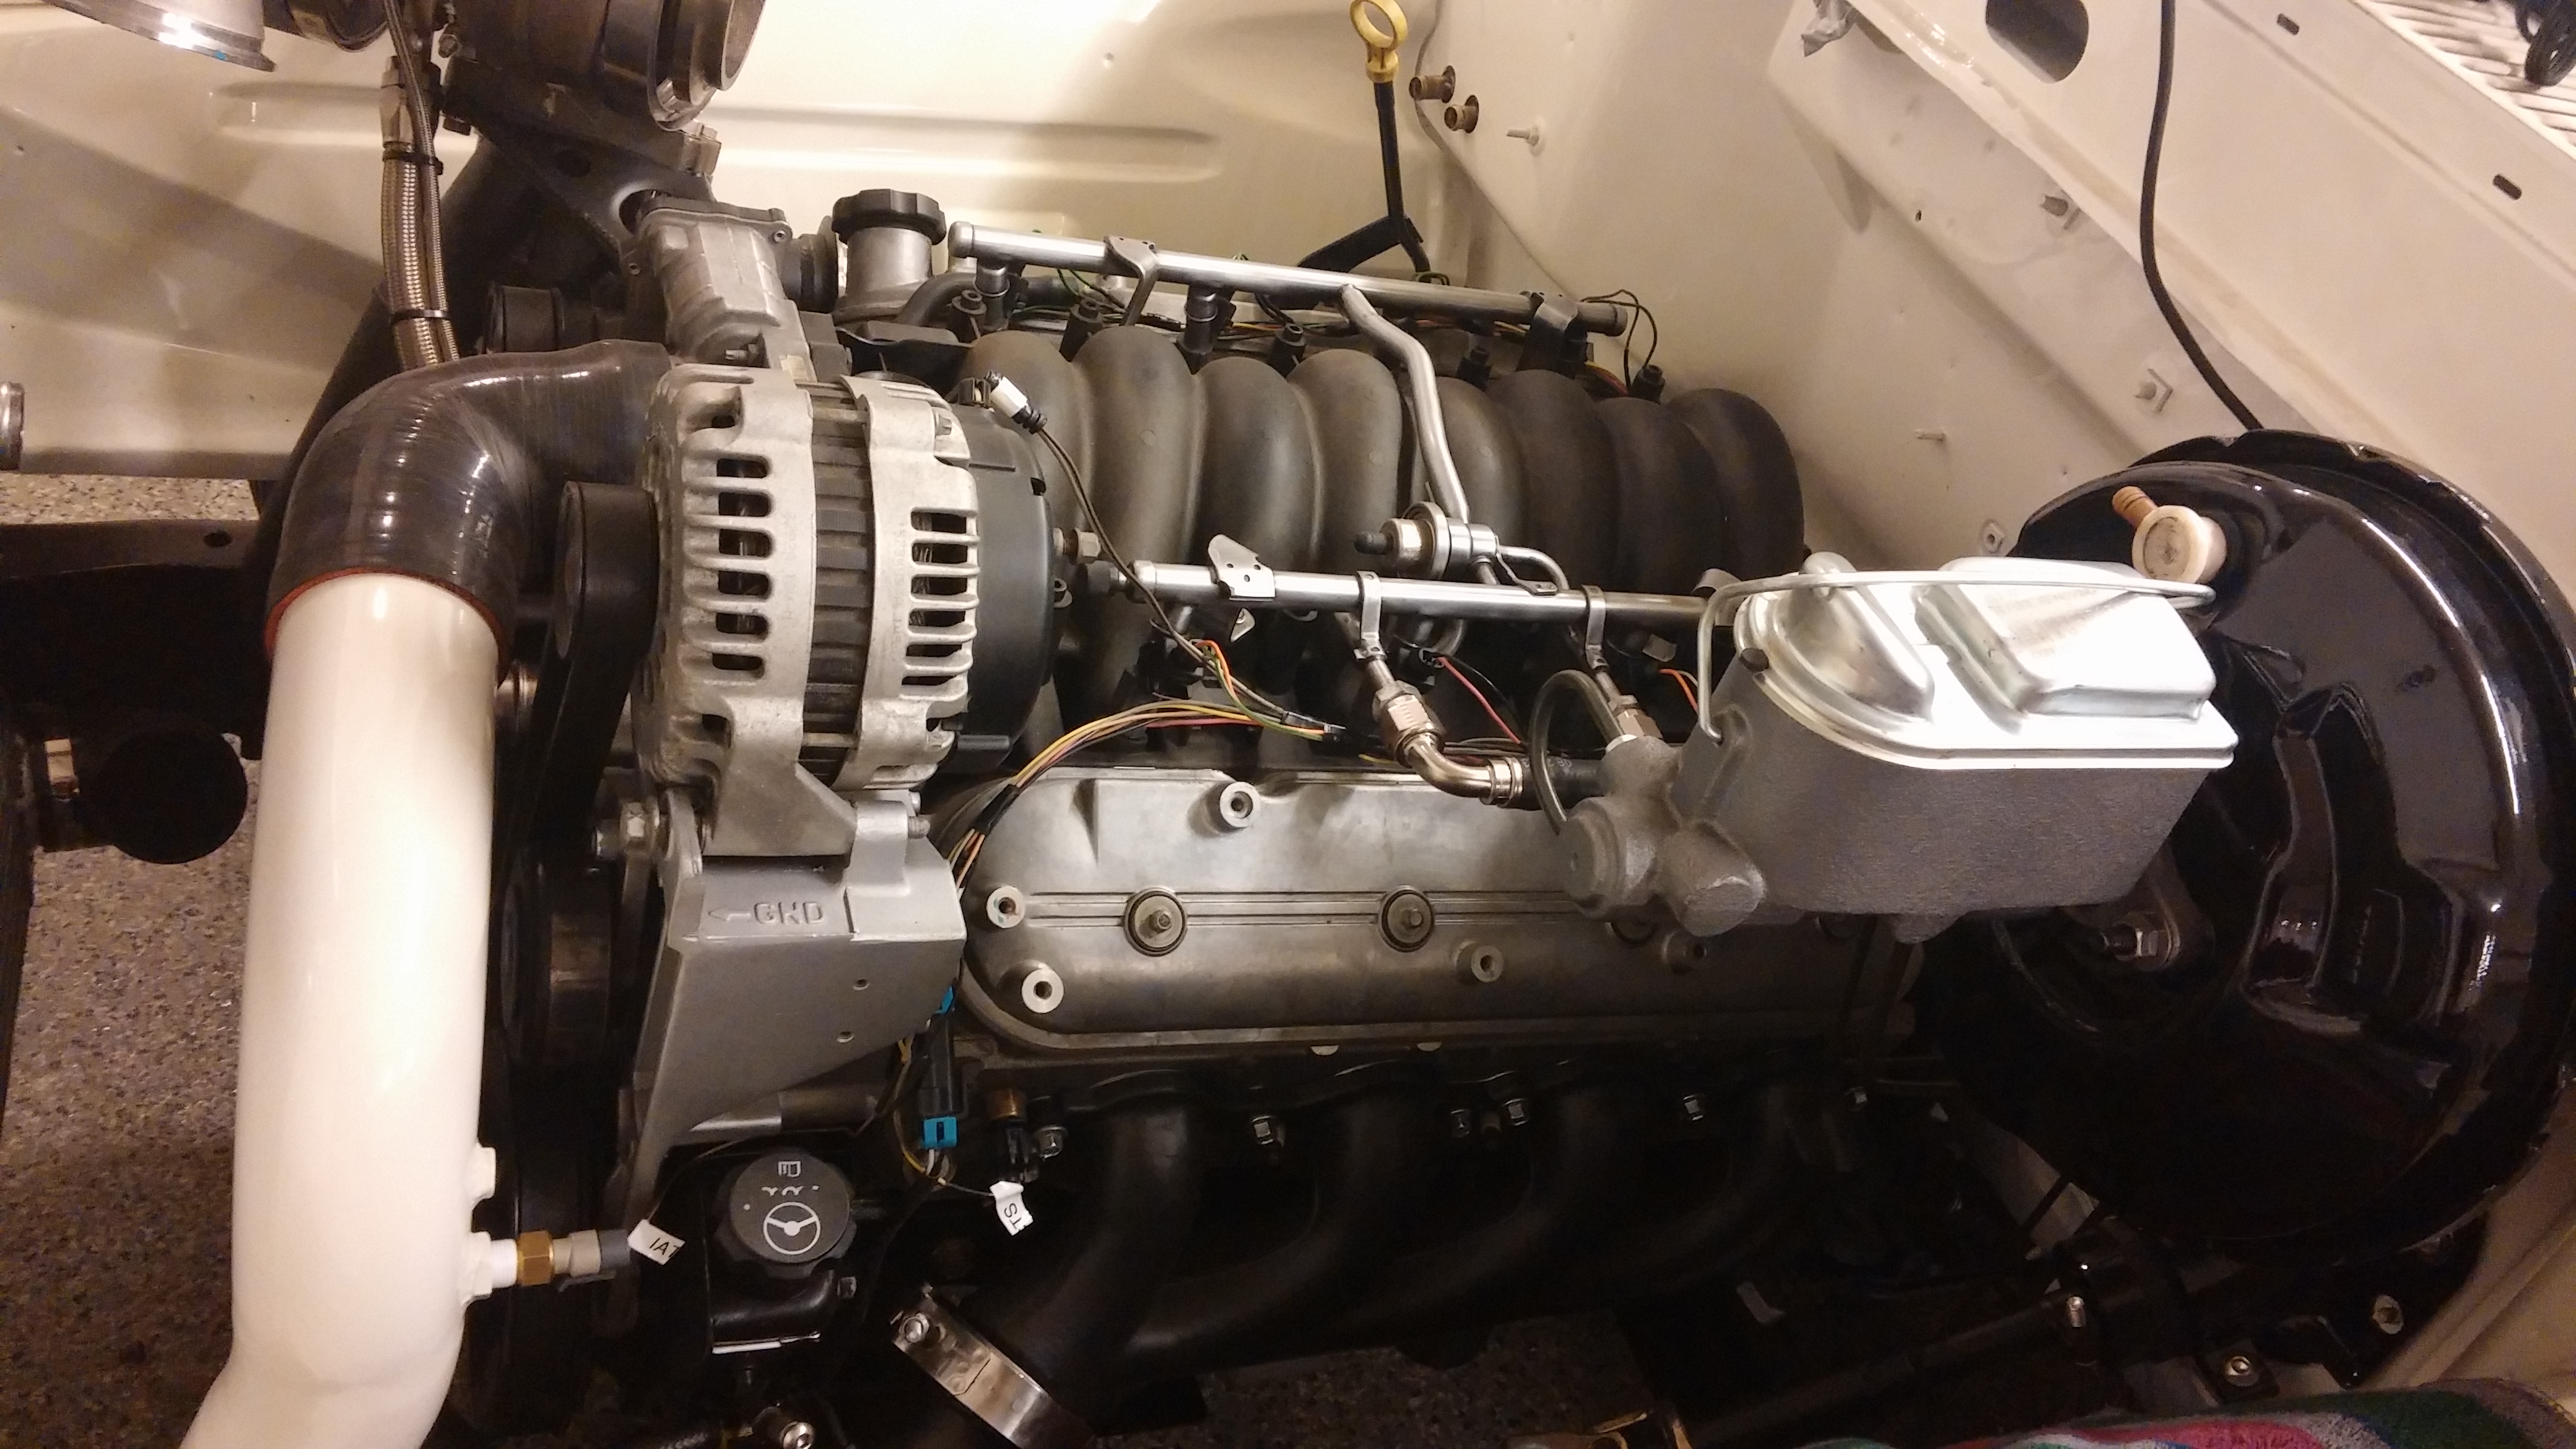
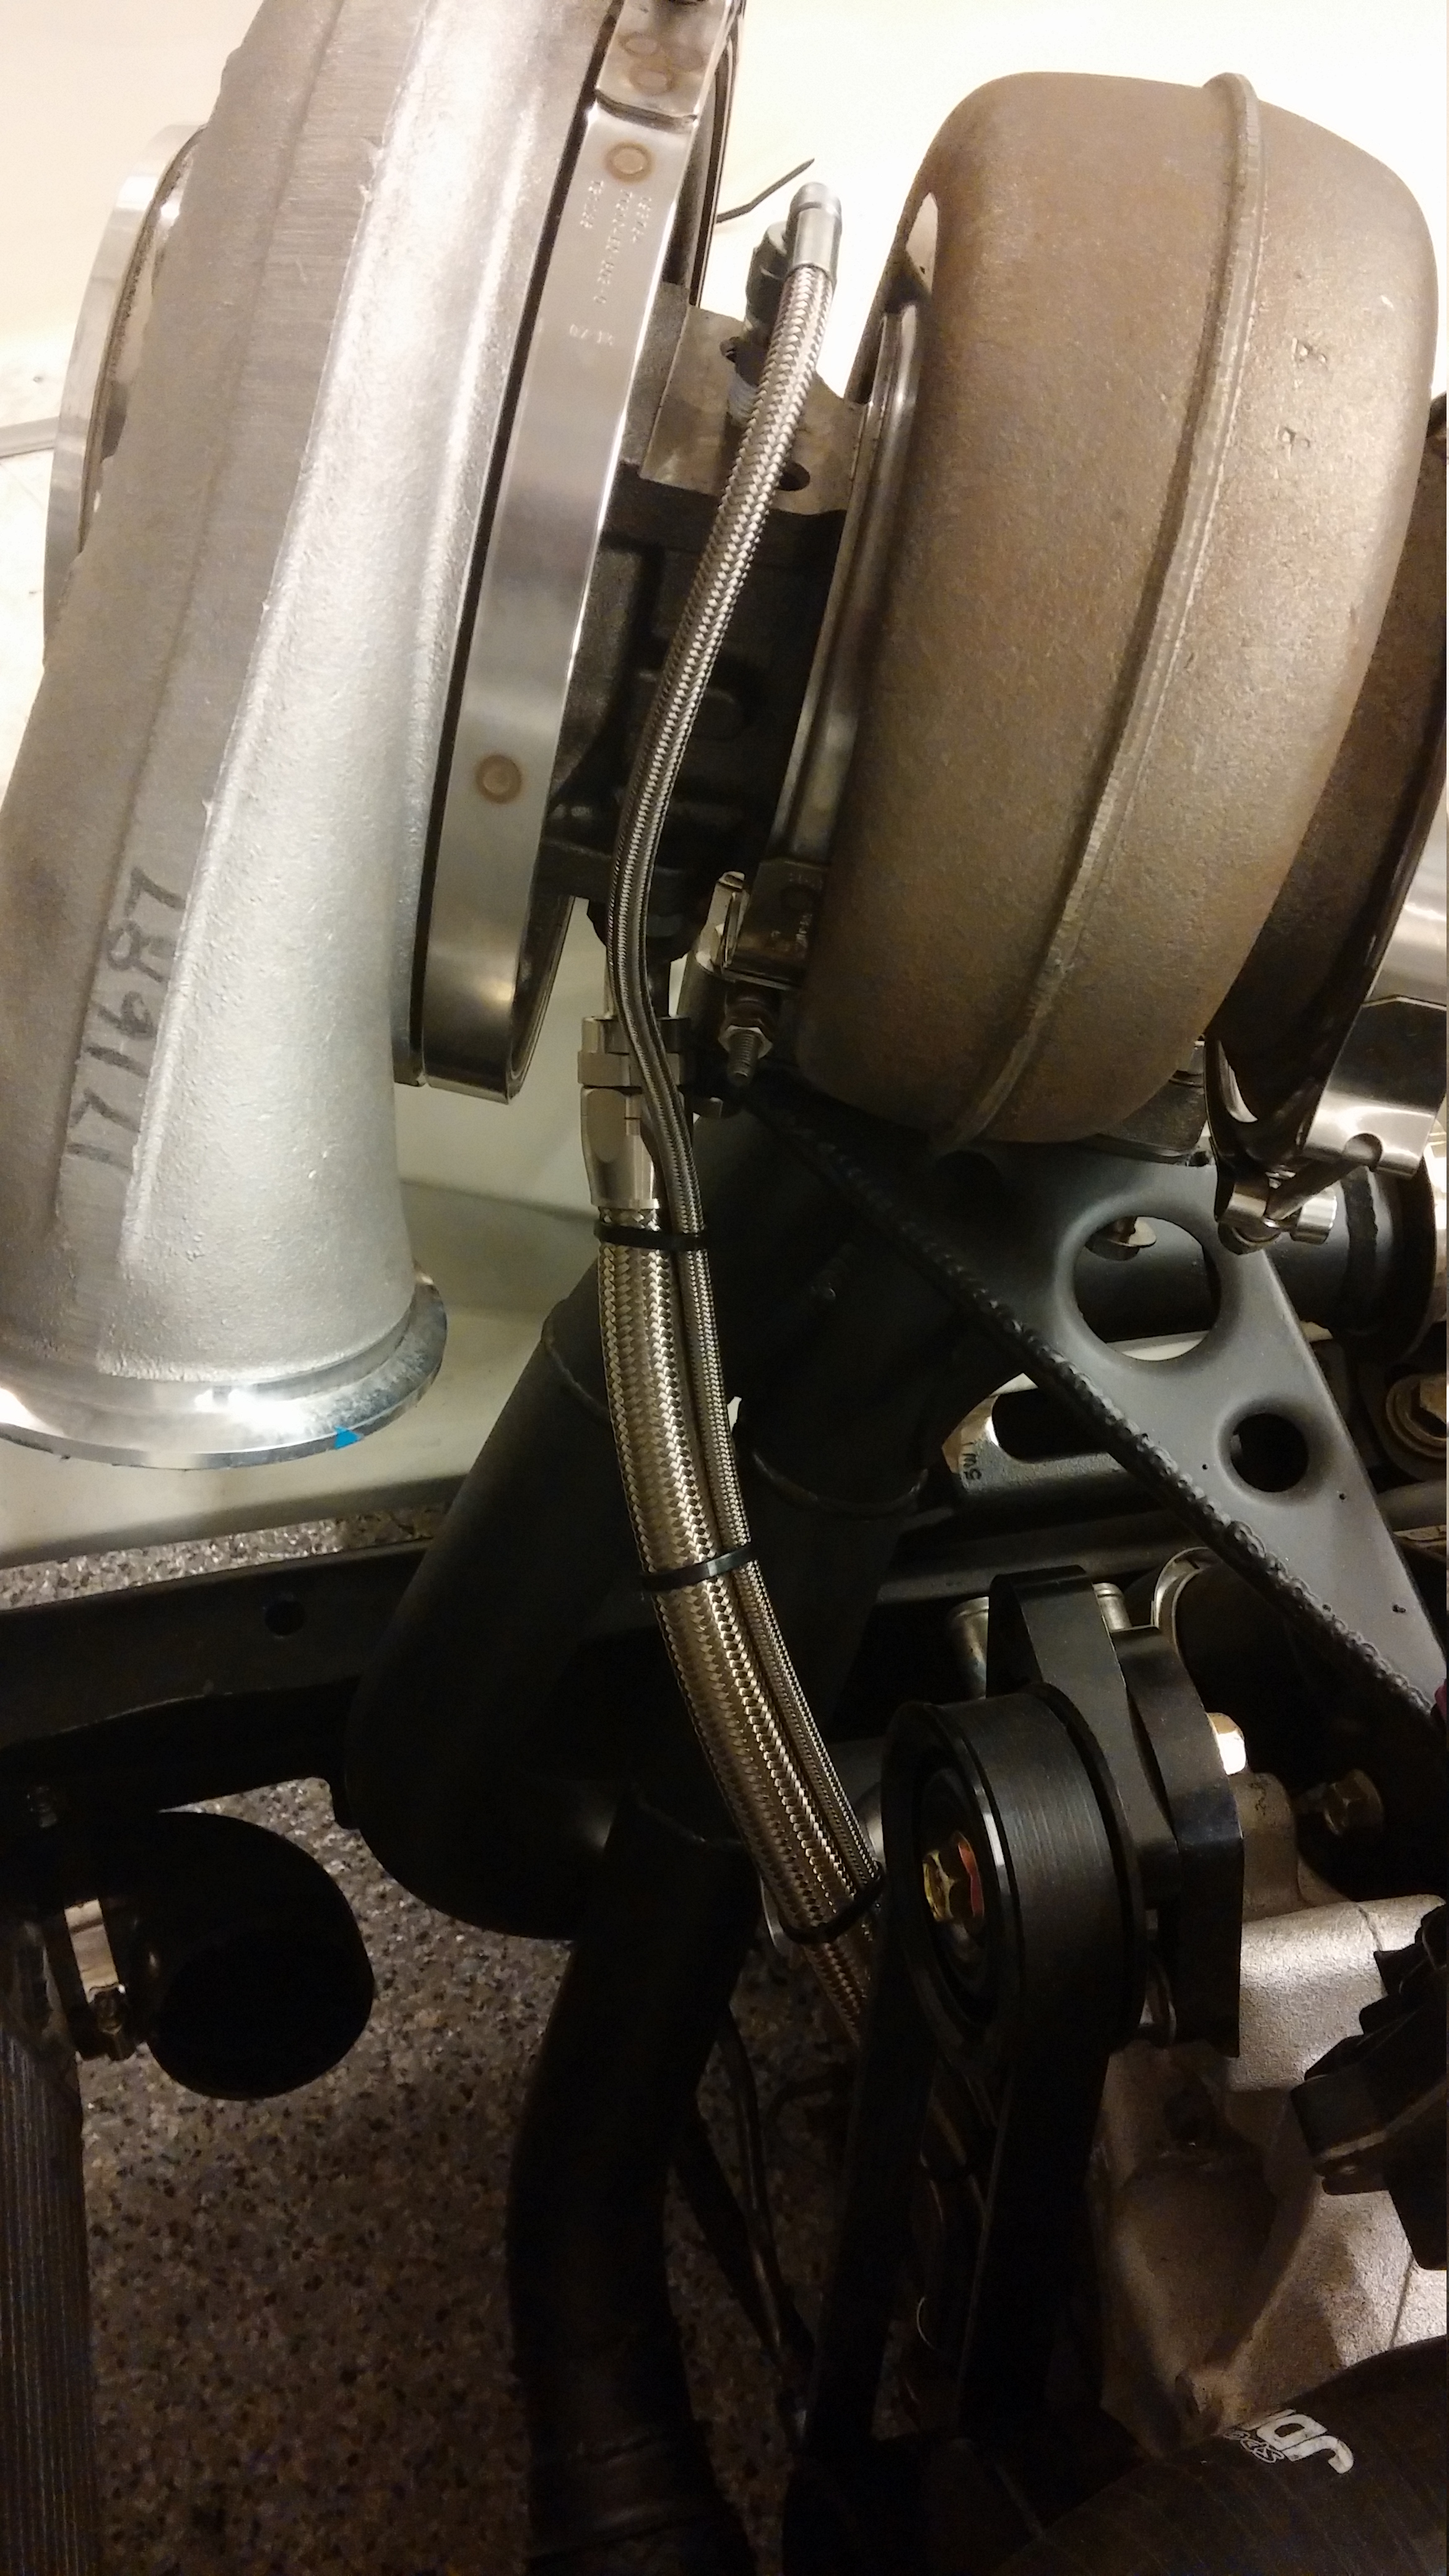
You can get an idea of the oil feed and drain lines. Not terrible to build, but terrible to get that fitting on the bottom of the turbo....its still not tight.
Pretty sure in one of those you can get a visual on the fuel supply and return lines as well. Brushed Nickel finish push lock -8 supply and -6 return.
Need to pull the bed off with some help so I can get some of the underbed stuff finished up.
Nice little lunch break, now back to the shop.
Sean
Making some progress on the wiring this morning and finally getting somewhere.
Onto some photos...
Coil packs relocated and harnesses extended to reach in their new location. They were a pain in the rear to find a spot. These truck coil packs are much bigger than the ls ones. They were nowhere near fitting behind the heads or on the valve covers, they got a little bracket and bolted to the bottom of the frame. They clear everything that was in their way.


Onto some wiring fun. Pulled off the stock truck injector plugs and installed EV1 connectors...from a volvo =)
This is all the wiring that you will see on the engine, everything else will be tucked away. Will get loomed early this week.


You can get an idea of the oil feed and drain lines. Not terrible to build, but terrible to get that fitting on the bottom of the turbo....its still not tight.

Pretty sure in one of those you can get a visual on the fuel supply and return lines as well. Brushed Nickel finish push lock -8 supply and -6 return.
Need to pull the bed off with some help so I can get some of the underbed stuff finished up.
Nice little lunch break, now back to the shop.
Sean