When you click on links to various merchants on this site and make a purchase, this can result in this site earning a commission. Affiliate programs and affiliations include, but are not limited to, the eBay Partner Network.
I'll look into that thread, others have mentioned this concern to me before. I spoke with mast motorsports the manufacturers of the oil pan and they say it will be fine. They have several motors running high volume oil pumps on high HP engines and have had no issues. Still me worries though...
if you are leaving the DOD intact here is some food for thought
the relief valve in the original oil pan is to maintain press less than 56 psi
(prevents over pressure of dod lifters me thinks)
capacity - for f-body pan is about 5.5 gals and if I remember right the G8 pan
was 9 gals. (or 7 memory shot and i don't have my notes with me)
so the worry about the pump cavitating.
if dod removed than may not be as big a concern
Finally getting a chance to finish uploading some pics
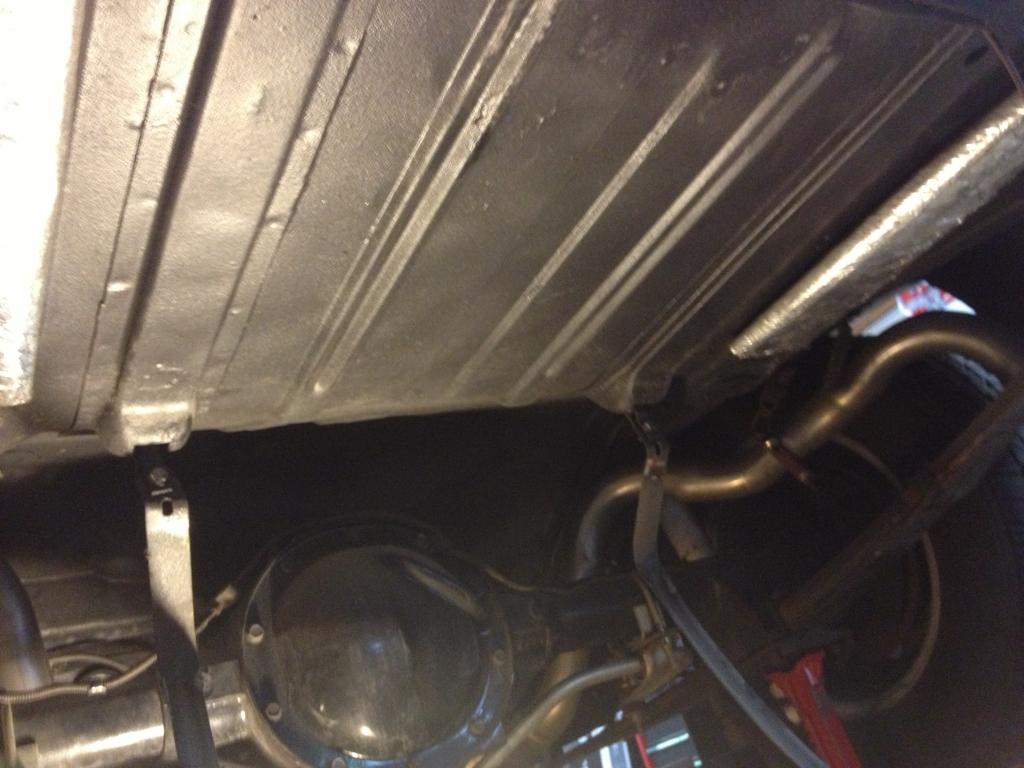
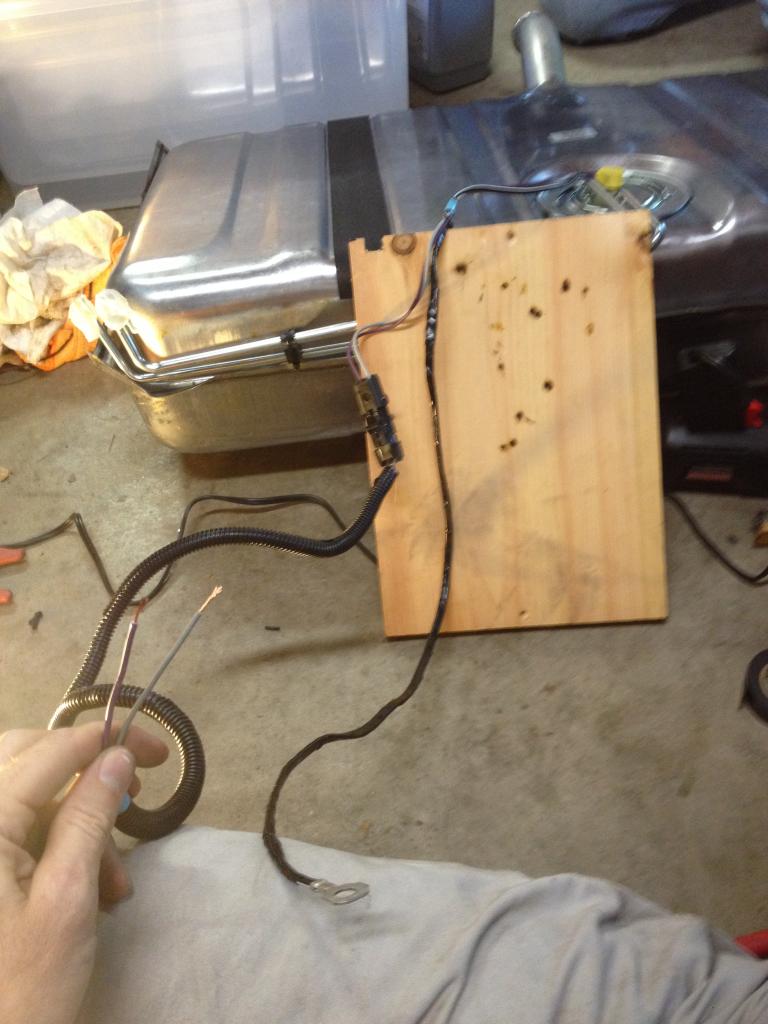
Old tank out, still looks good from the resto 13+ years ago
Had to extend the ground for the tank in order to utilize the old tank ground location
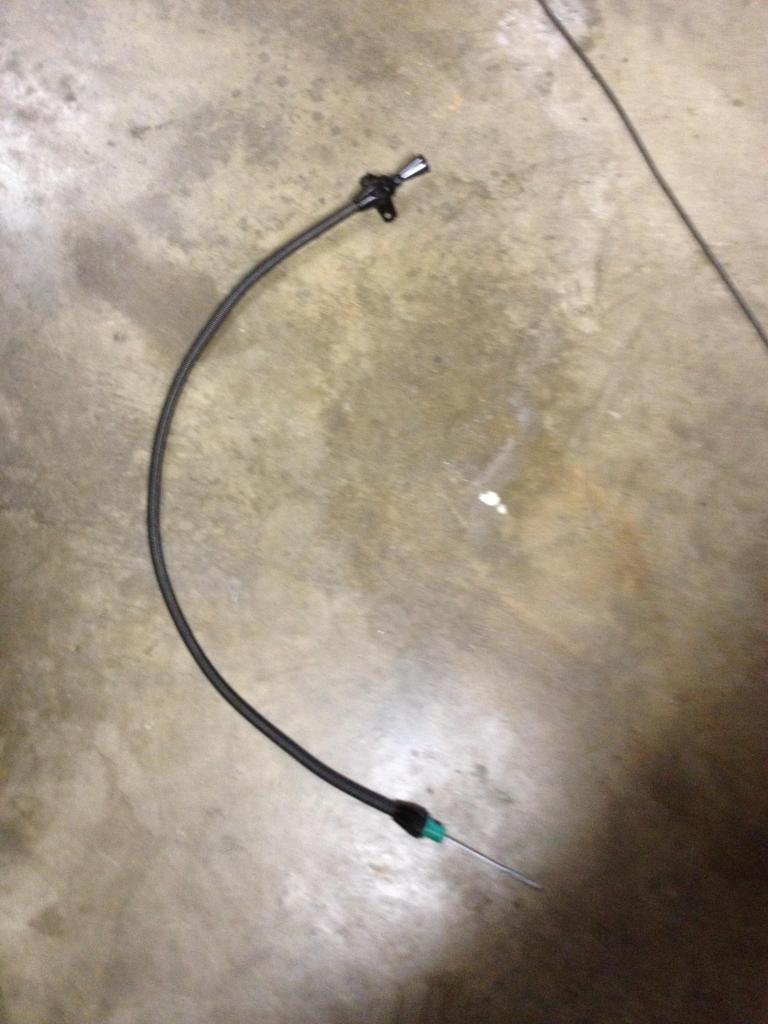
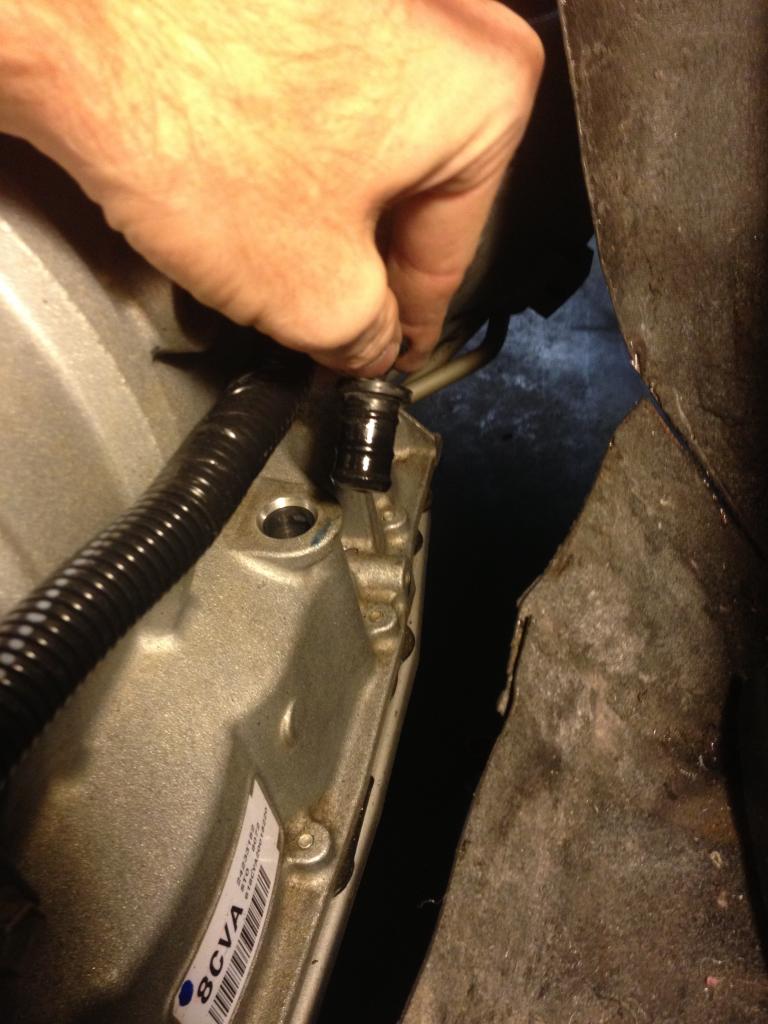
Lokar 24" tranny dip stick for the 6L80e, the 36" was too long.
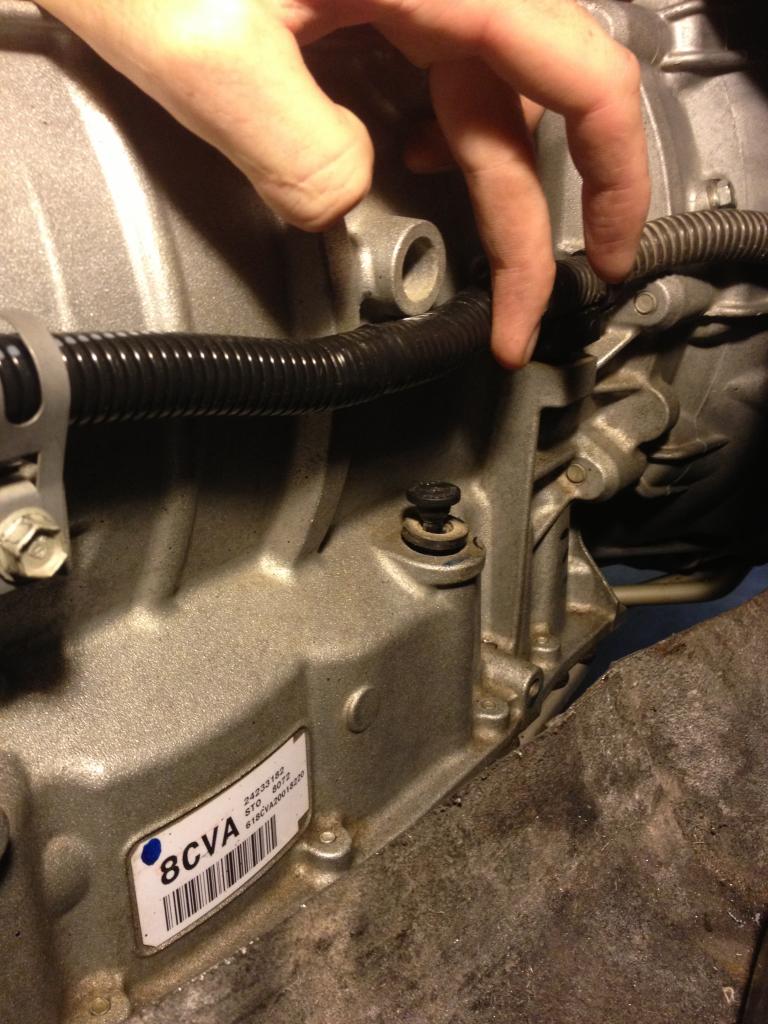
Plug where the dip stick will go
Plug out
Dip stick in, I plan to build a little bracket to hold it in place. If fits snug and probably doesnt need it but what the heck.
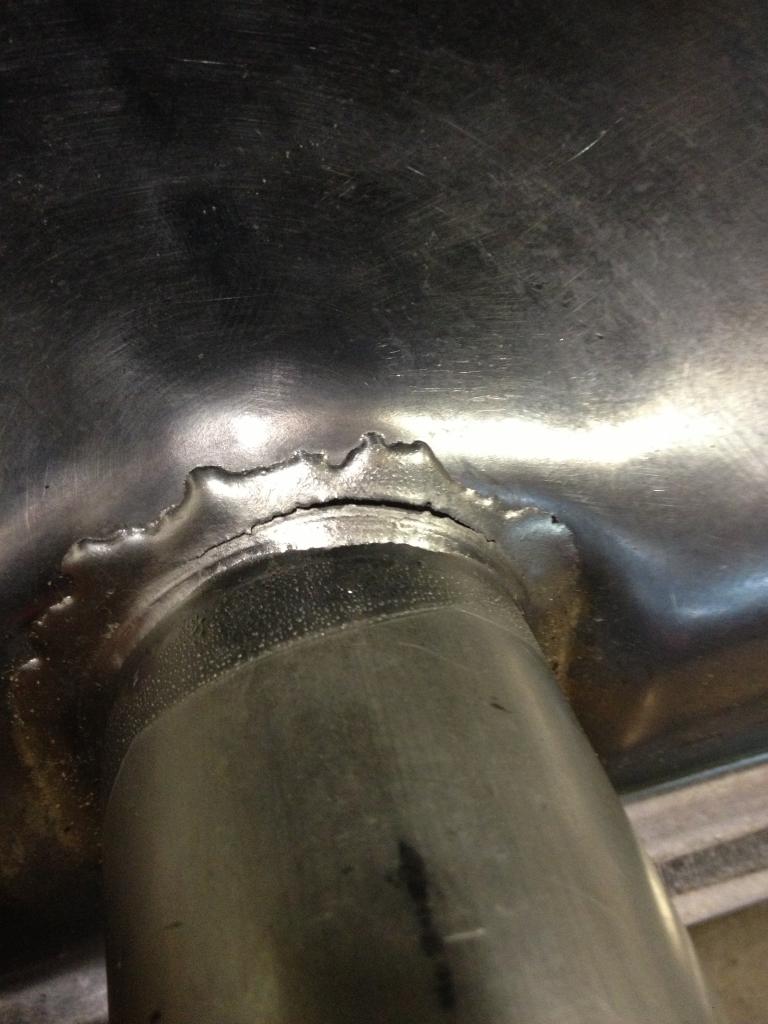
We had some issues getting the tank in, due to the tank strap length and shape. Glad it didnt go in the first time because when we came back the next day we realized the tank was damaged at the filler neck intersection with the tank. We also had to get longer bolts to use temporarily to get the straps to reach and allowed to be tightened up and reshaped during the process. Original tank strap bolts should then be able to be reinstalled. Original straps should work if this works as planned. This hasn't been done yet though, keep ya posted...
Not sure how it happened, maybe during shipping. Radiator shop fixed it for us.
Back to the fuel tank for a moment. Is there anything in the way of baffles around the fuel pickup? Just wondering about going around corners and getting fuel starvation with a low tank.
That was one of the things I wanted to look at while I had the tank open. I somehow forgot so.....I am not sure...sorry. I'm disappointed in myself. I was in a hurry because I was only home for a few days to work on the car. Slipped my mind
I have the same tank in my Firebird. According to Spectra, they have updated the fuel bowl to prevent the starvation problem that was occurring when the fuel level in the tank was low. They didn't give specifics, but in my emails with them, they have been pretty responsive. That being said, it did take a little probing with their tech to finally figure out that the fuel pump that was included was basically a Chinese knock-off of the Delco pump. I purchased the Delco unit and had it swapped in. The one that came with it will be a back up pump.
What did you do to vent the tank, vent cap or did you add a vent some other way?
That was one of the things I wanted to look at while I had the tank open. I somehow forgot so.....I am not sure...sorry. I'm disappointed in myself. I was in a hurry because I was only home for a few days to work on the car. Slipped my mind
Vent cap. Stant, can't remember p/n, but it's in my FB sig.
Looking great man. I used the same style on my radiator mounts as well. I used the fan shroud bushings out of a 80's S10 and fabbed up some aluminum arms to hold it. Worked out great.
Unfortunately no, the guy doing the swap for us put mine on the back burner while he did his own ls swap in a chevelle wagon he was doing for Power tour this year. He's back now and should be getting back on our car. It's been frustrating with the lack of progress. This swap started 17 months ago.... I'm moving 3 hours away from home in August and will be back home more often to ensure this thing gets done soon!!
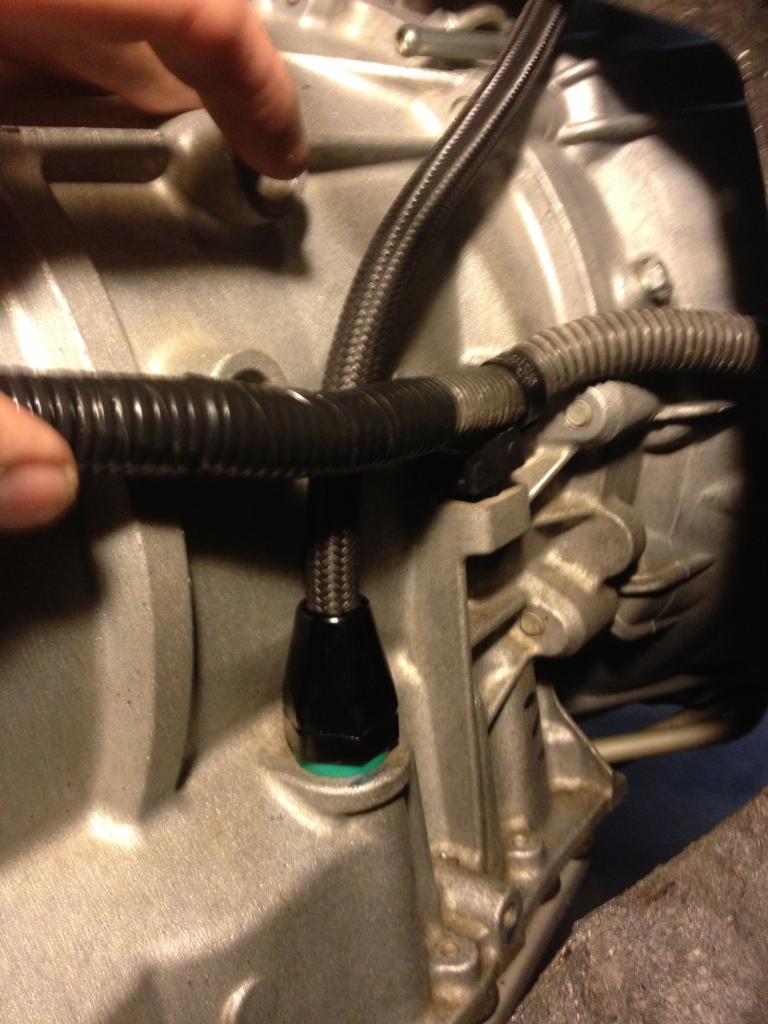
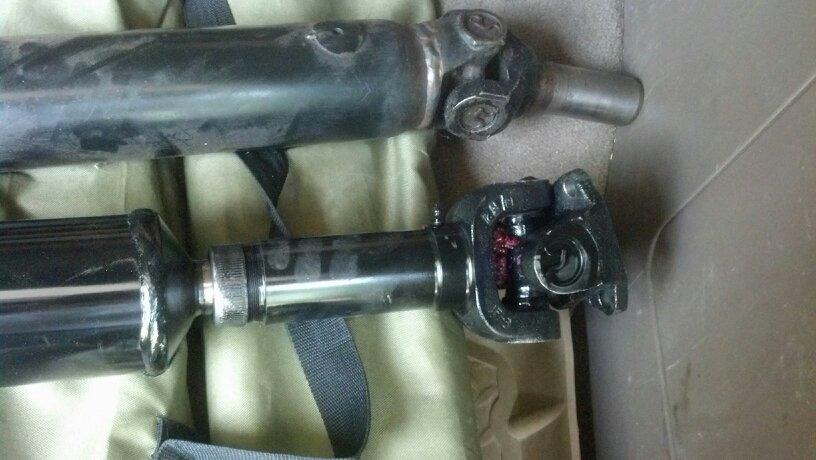
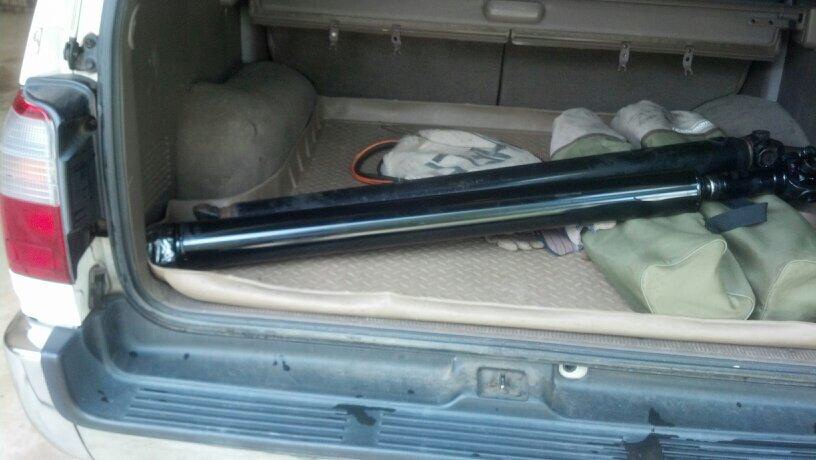
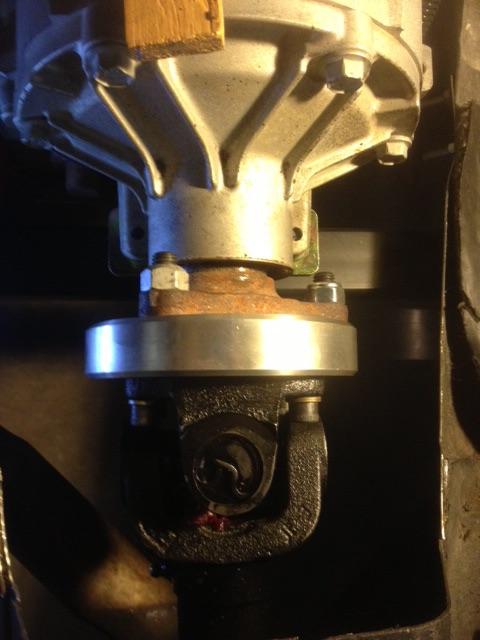
Some progress has been made on the car. The fuel system is done, ended up running new steel braided line for the fuel supply with AN fittings. The exhaust is hooked up temporarily. We had a new 3.5" driveshaft made with the inline slip yoke and adapters
These pics are of the new driveshaft next to the one we had for the 700R4 tranny. The car is really close to being ready to fire up for the first time. Hopefully in a week or two. Keep the thread updated with progress
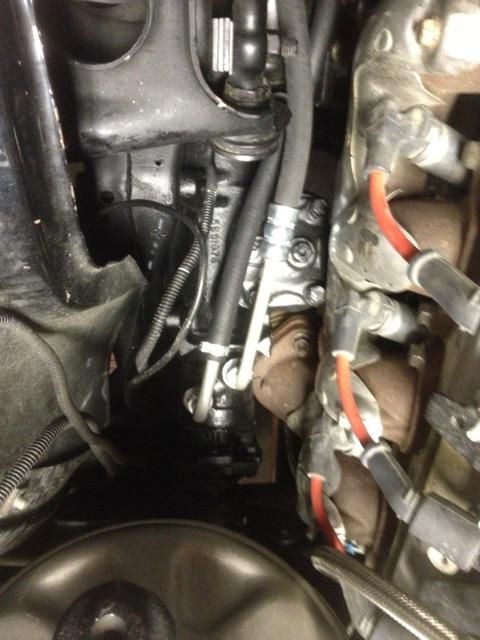
Finally getting a chance to post up some pics of the progressa as of late. Decided to swap out the gear box due to a leaking lower seal. We were unable to find the seal or a seal kit for the gear box on the car. We went with a Classic Performance gear box from Summit CP50004. Note to self it would have been a good idea to d othe gear box before putting the motor in, ran into some clearance issues. Nothing like having to grind on a brand new gear box....also swapped the motor side bolts with a rounded head bolt. Got everything to clear but wish we would not have had to do it this way, is what it is.
For the power steering high pressure line we went with a new one for a 70 Chevelle, for the low pressure line we used a stock replacement one for a 69 Camaro shortened a bit.
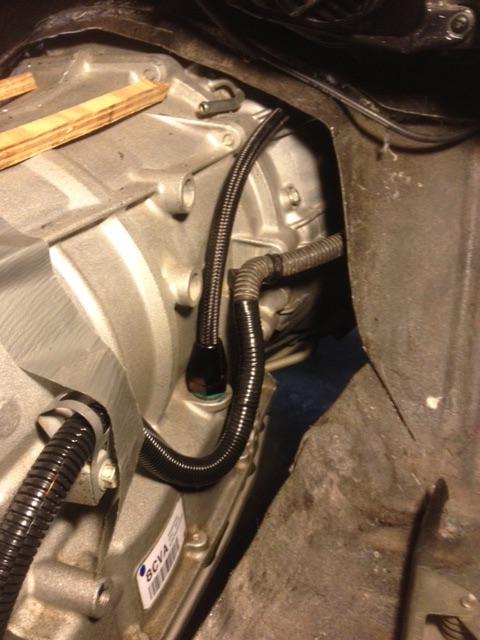
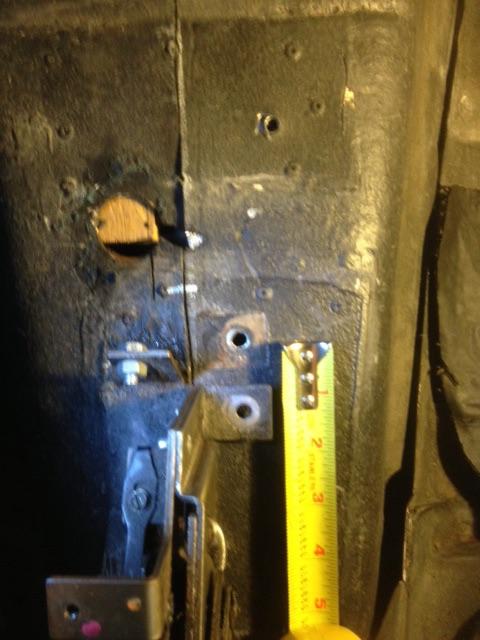
Side shot of the front of the tunnel on the passenger side
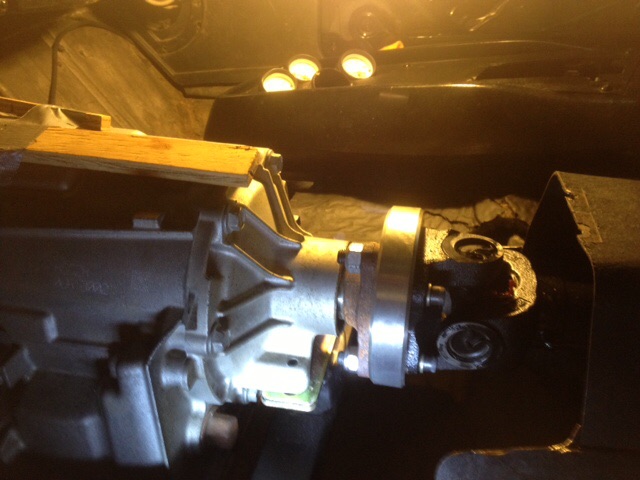
Driveshaft adapter and tunnel
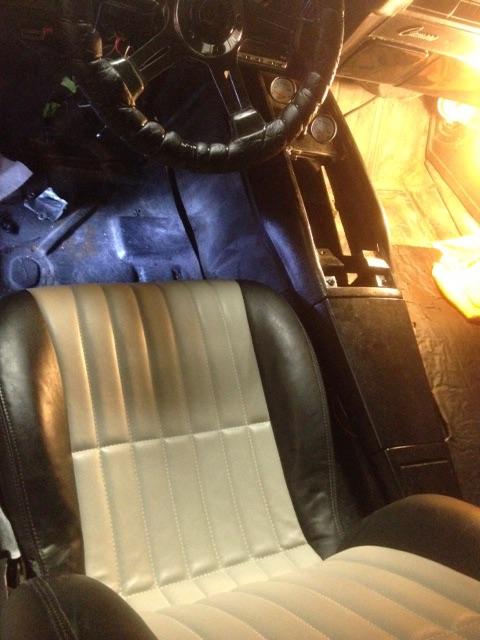
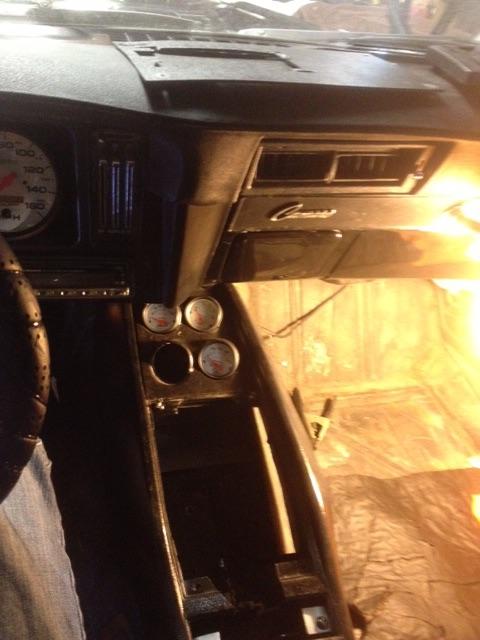
Tunnel, seat and console set in place to check clearances
Shifter and console will need to be moved back about 1"
Lokar 24" 6L80E Dip stick mounting position, used a 3D printer to make a spacer to get the clearance we needed off the firewall to not conflict with the other wiring
Got the car cranked last week! Sounded great, ran good, has a good note to it. Had a few minor leaks that we were able to correct quickly. Check it out, it's gonna be loud!!

 05-05-2014, 08:51 PM