

Bob's S13 LS1 Drift Build
 02-26-2014 | 10:52 AM
#1
Thread Starter
Teching In
Joined: Nov 2013
Posts: 14
Likes: 0
From: St. Louis, MO
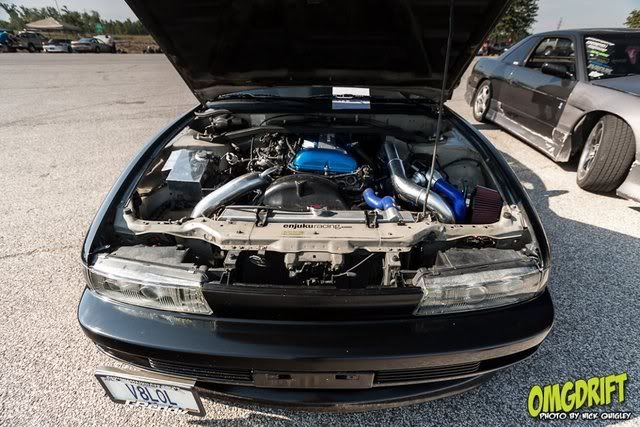
Well at the last drift event (Midnight Madness) at Gateway Raceway in 2013, my SR decided to give up from what I suspect to be a spun rod bearing. I ran this SR for 3 years and never gave me many problems.. But instead of rebuilding I decided to make the switch over to a new platform for the 2014 season..
My SR setup was your basic GT2871.64 setup, made great power and absolutely loved it, in a way I am sad to see it go..


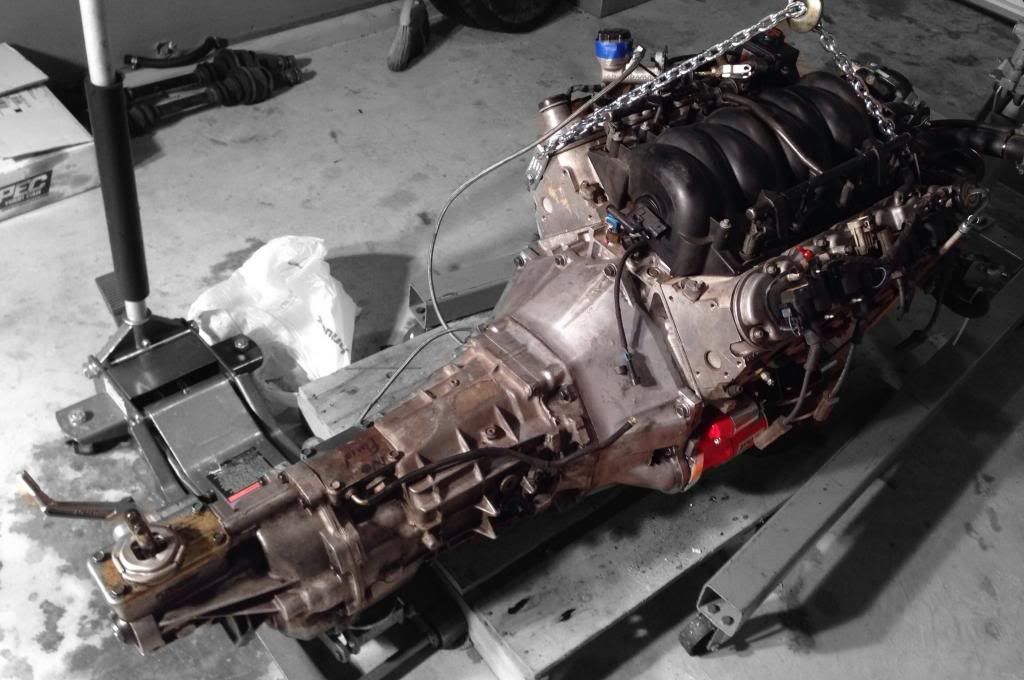
So I pulled the SR and began my part out
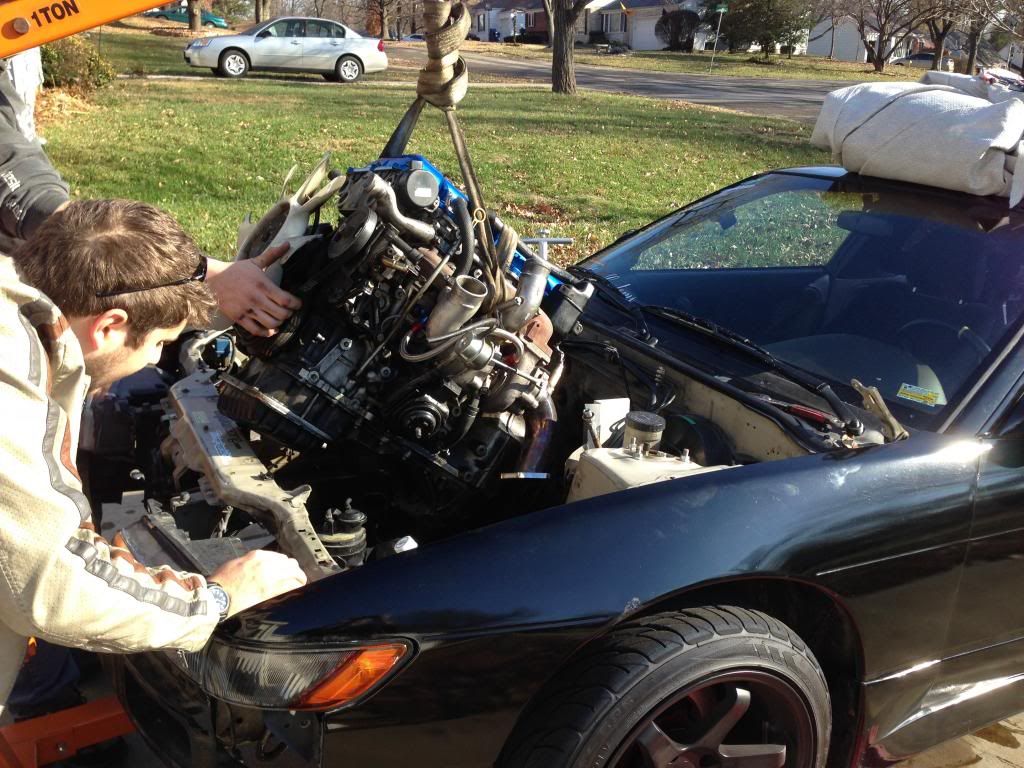
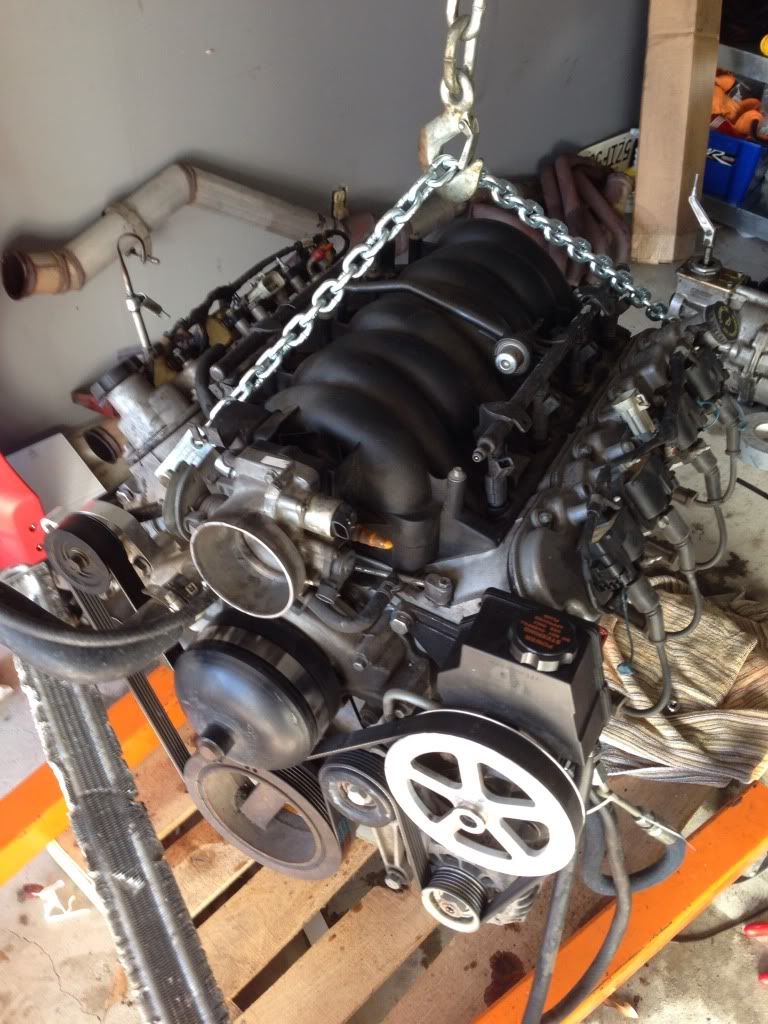
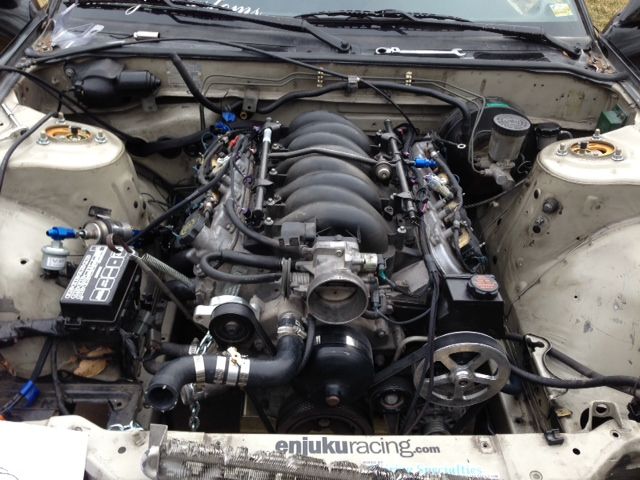
I picked up my F Body LS from a good friend, and is already built, but I decided to freshen up a few things before the season starts.
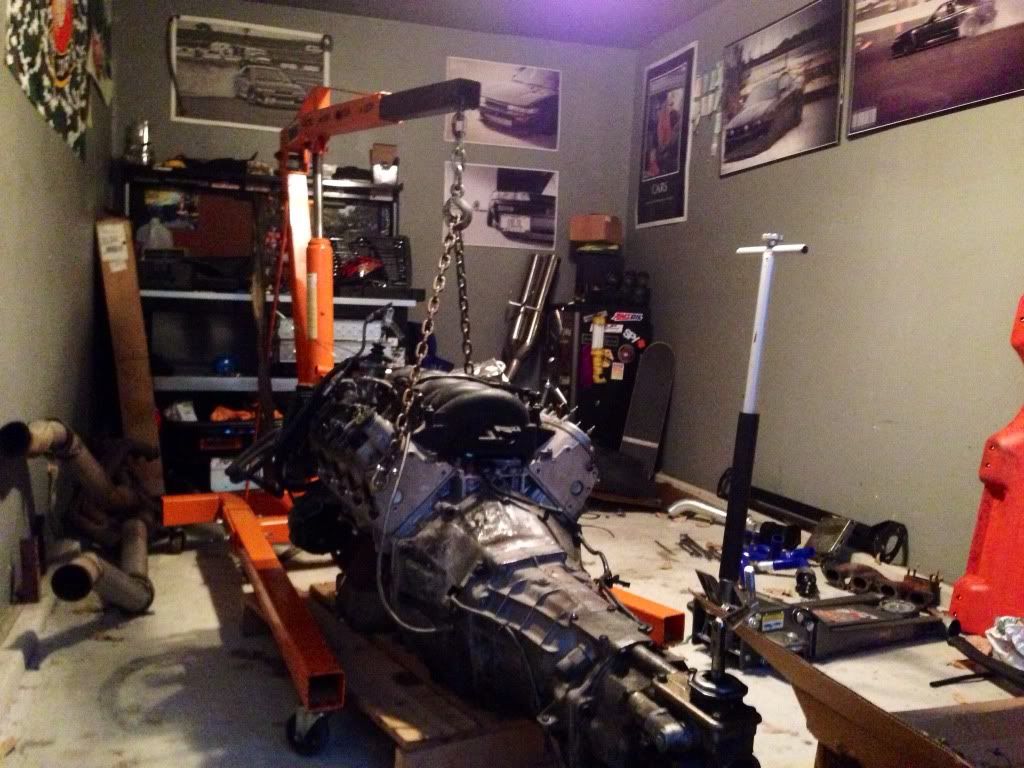
Engine Specs.
MS4 Camshaft
Texas Speed Valve train (springs, pushrods etc)
Speed pro forged pistons
LS6 Intake manifold
ARP everything haha..
Fidanza Lightweight flywheel
Sikky Trans mount
Sikky Driveshaft
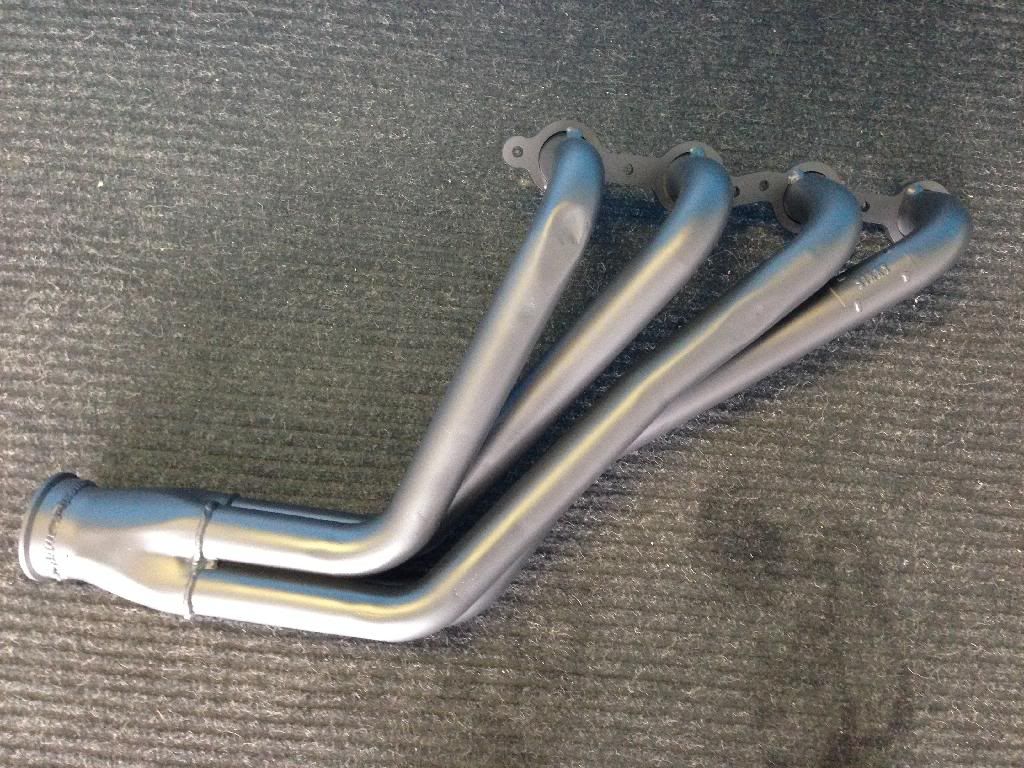
Sikky Headers
Canton Racing Oil pan
Custom engine mounts
Tuned ECU
and a fully built T56
I decided to purchase..
Wiring Specialties Pro wiring harness
Spec stage 3 clutch
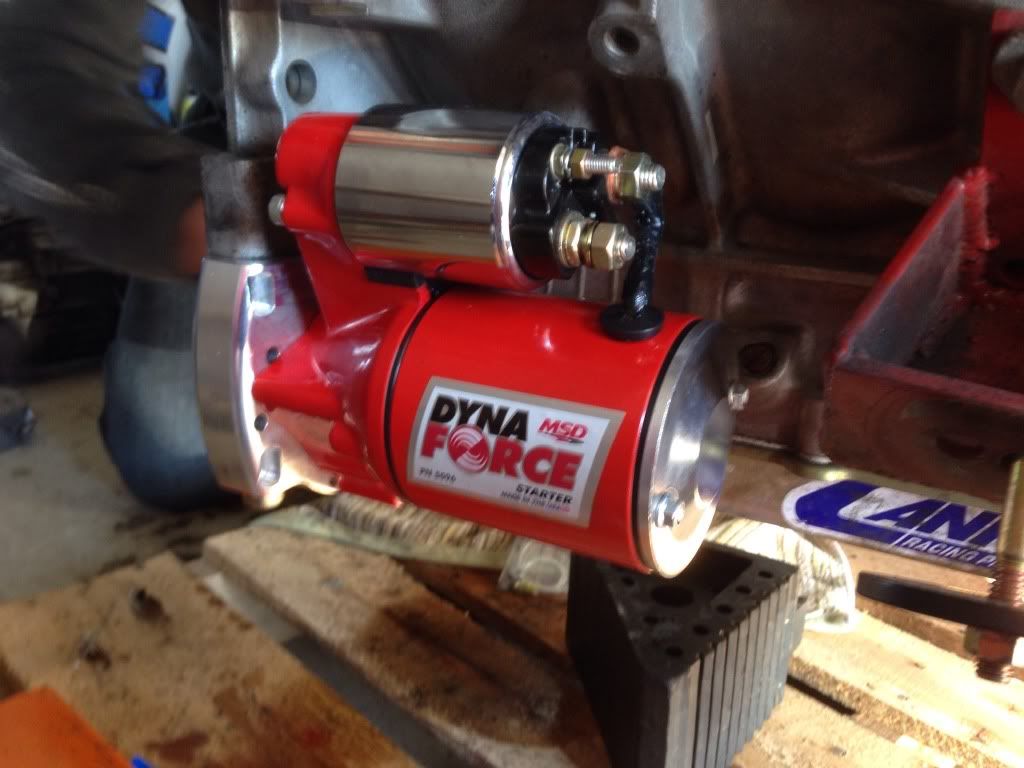
MSD starter
Sikky Fuel filter kit
Mishimoto radiator/fan shroud kit
Fidanza replacement friction plate
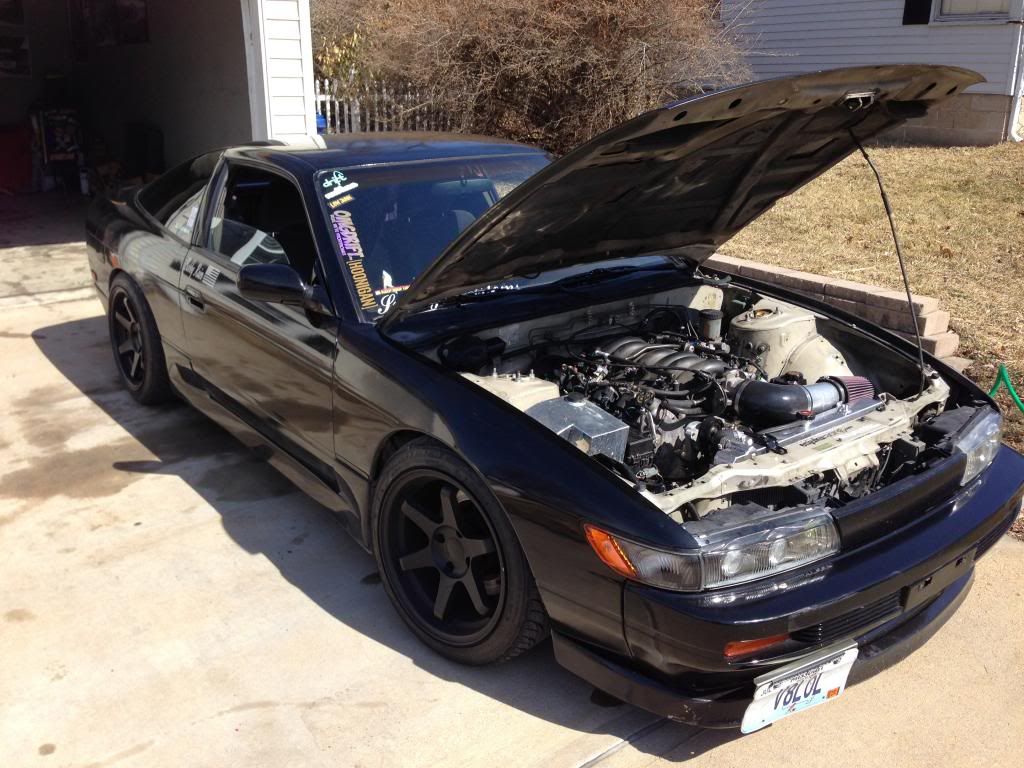
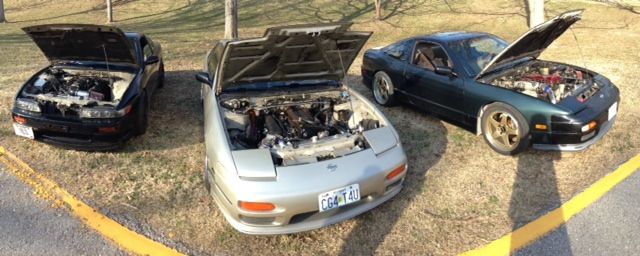
and a few pics..


and the current chassis setup..
Tein Super Street Coilovers
Tein Pillowball Upper Mounts
Energy Suspension Master bushing Kit (All bushings replaced)
Energy Suspension Polyurethane Subframe Bushings
ISIS Toe Arms
ISIS Traction Arms
Adjustable Rear Upper Control Arms
Adjustable Tension Rods
Wilwood 12.2� 4POT Front Brake kit (Arizona Z Car)
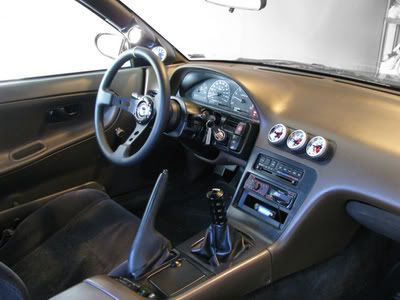
STRI Electronic Oil Press Gauge
STRI Electronic Fuel Press Gauge
STRI Electronic Water Temp Gauge


I picked up some ARP Flywheel bolts
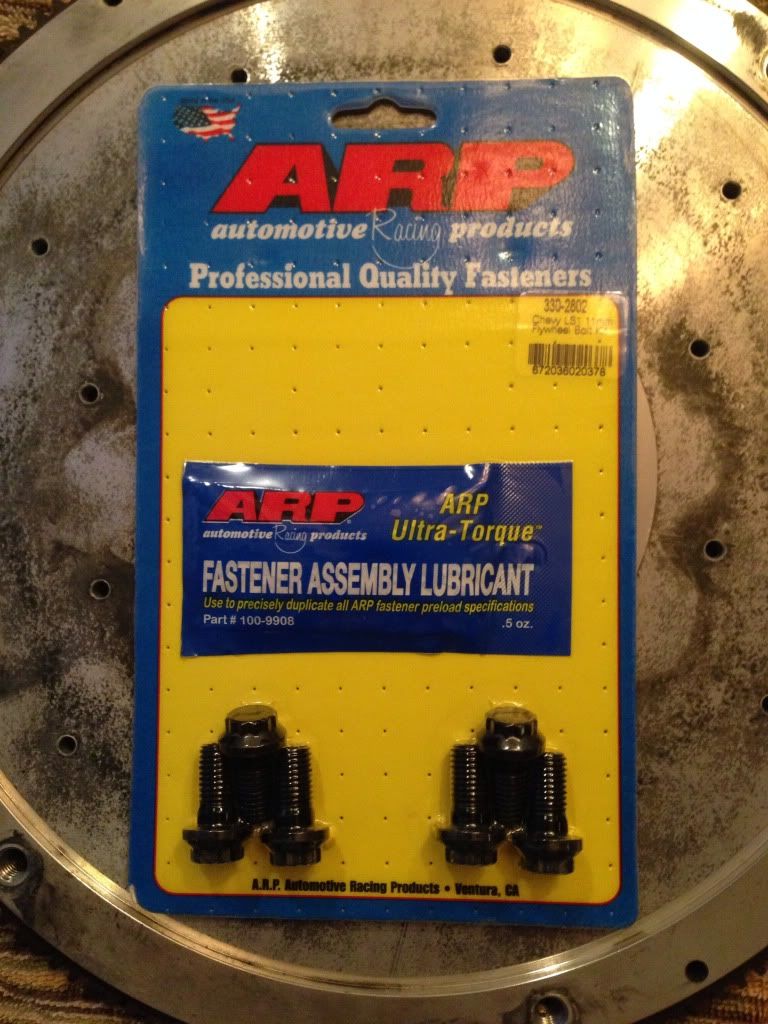
I got the new friction plate mounted on the flywheel
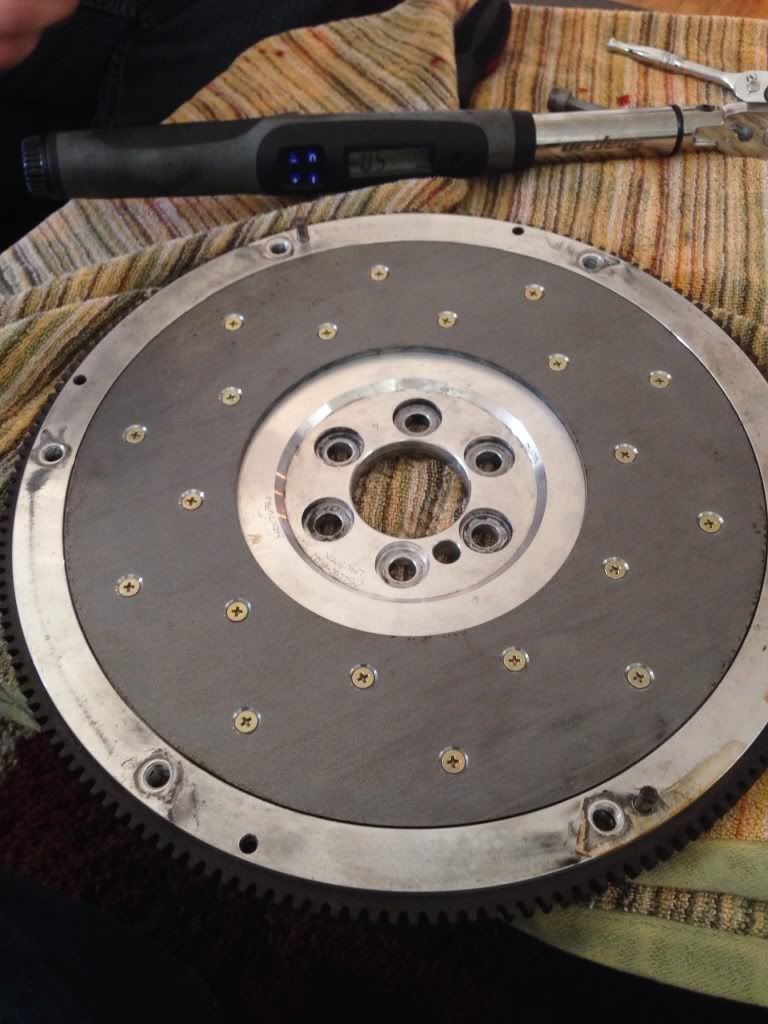
mounted the flywheel and new Spec 3 Clutch


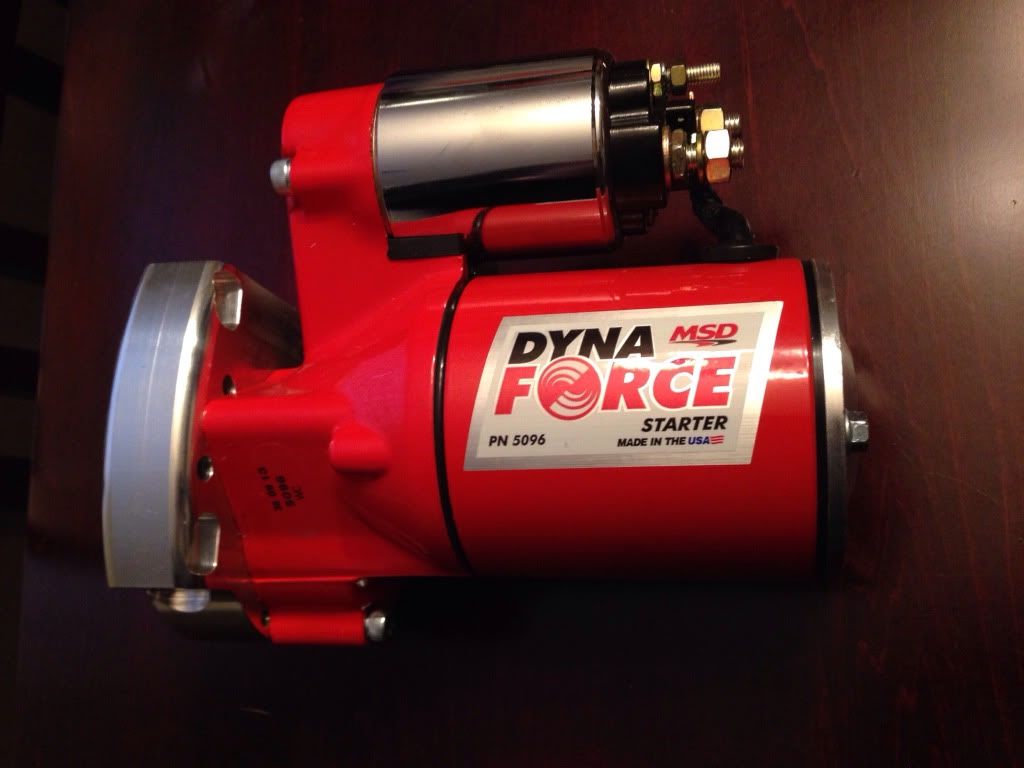
and then I also put on the new MSD starter (so purdy)
My SR setup was your basic GT2871.64 setup, made great power and absolutely loved it, in a way I am sad to see it go..


So I pulled the SR and began my part out

I picked up my F Body LS from a good friend, and is already built, but I decided to freshen up a few things before the season starts.

Engine Specs.
MS4 Camshaft
Texas Speed Valve train (springs, pushrods etc)
Speed pro forged pistons
LS6 Intake manifold
ARP everything haha..
Fidanza Lightweight flywheel
Sikky Trans mount
Sikky Driveshaft
Sikky Headers
Canton Racing Oil pan
Custom engine mounts
Tuned ECU
and a fully built T56
I decided to purchase..
Wiring Specialties Pro wiring harness
Spec stage 3 clutch
MSD starter
Sikky Fuel filter kit
Mishimoto radiator/fan shroud kit
Fidanza replacement friction plate
and a few pics..


and the current chassis setup..
Tein Super Street Coilovers
Tein Pillowball Upper Mounts
Energy Suspension Master bushing Kit (All bushings replaced)
Energy Suspension Polyurethane Subframe Bushings
ISIS Toe Arms
ISIS Traction Arms
Adjustable Rear Upper Control Arms
Adjustable Tension Rods
Wilwood 12.2� 4POT Front Brake kit (Arizona Z Car)
STRI Electronic Oil Press Gauge
STRI Electronic Fuel Press Gauge
STRI Electronic Water Temp Gauge


I picked up some ARP Flywheel bolts

I got the new friction plate mounted on the flywheel

mounted the flywheel and new Spec 3 Clutch


and then I also put on the new MSD starter (so purdy)
 02-26-2014 | 10:52 AM
#2
Thread Starter
Teching In
Joined: Nov 2013
Posts: 14
Likes: 0
From: St. Louis, MO
Then I dropped off my headers Gateway Powder coating to be Ceramic Coated and they look great!!
(not sure why they look silver in these pics)

Also picked some some MLS Gaskets as well..

My Wiring Specialties Harness also showed up

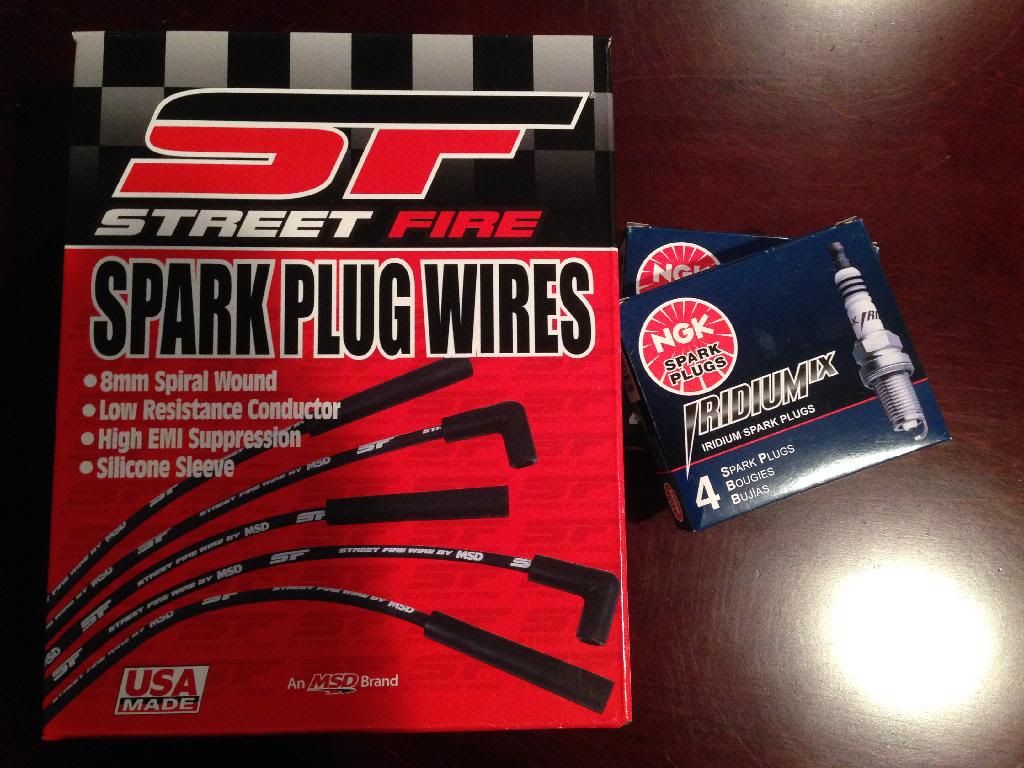
New plugs are wires
(not sure why they look silver in these pics)


Also picked some some MLS Gaskets as well..

My Wiring Specialties Harness also showed up

New plugs are wires

 02-26-2014 | 10:55 AM
#3
Thread Starter
Teching In
Joined: Nov 2013
Posts: 14
Likes: 0
From: St. Louis, MO
Steam vent routed to upper rad hose.

I bought the adapter from Jagsthatrun.com
http://jagsthatrun.com/Pages/Parts_Cooling_LSI-tee.html
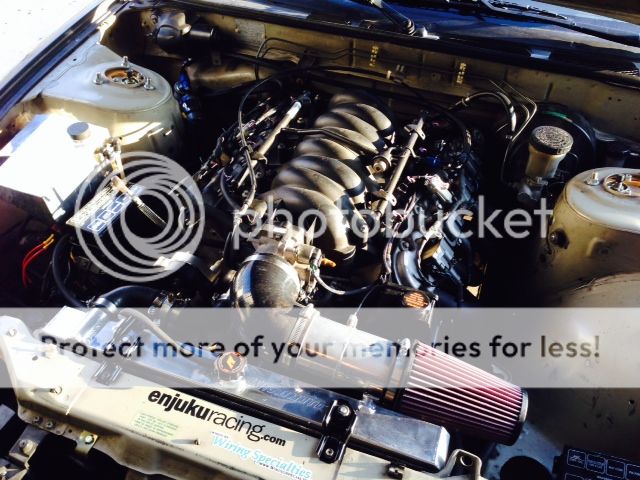
K&N Filter and Earls fitting in today for my Fuel pressure gauge

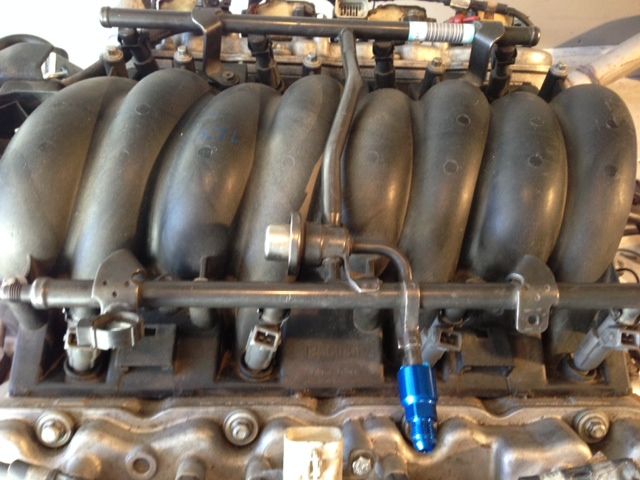
and the finished intake setup

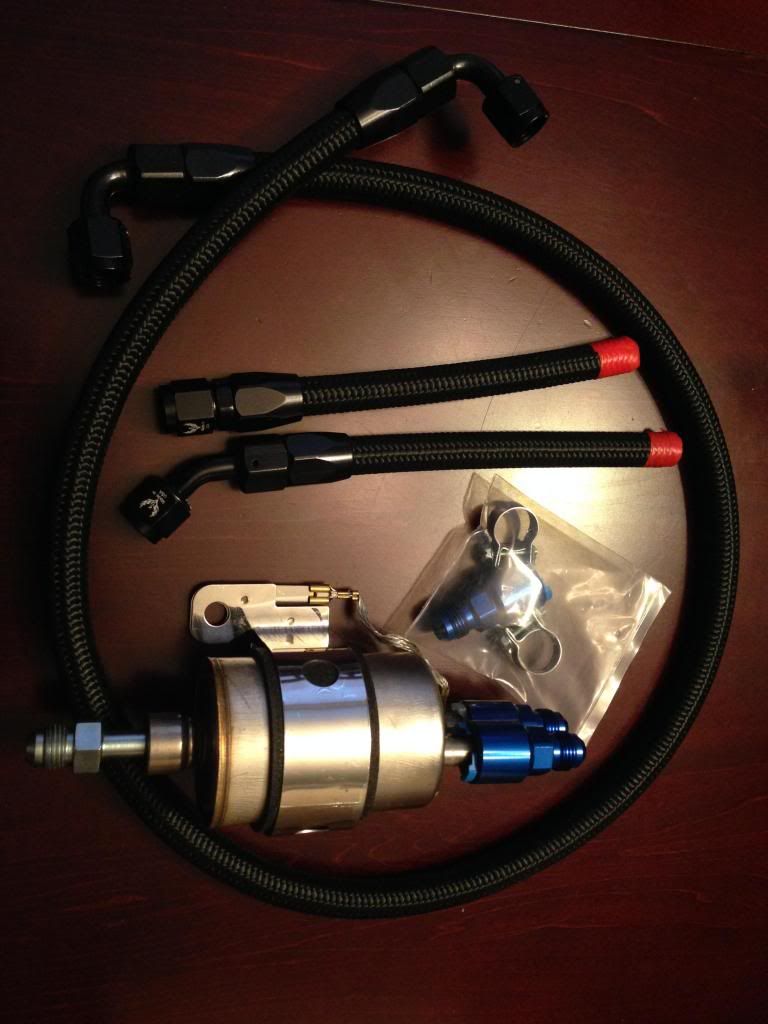
and the Sikky corvette fuel filter/regulator kit with the new fitting in place

Fuel rail
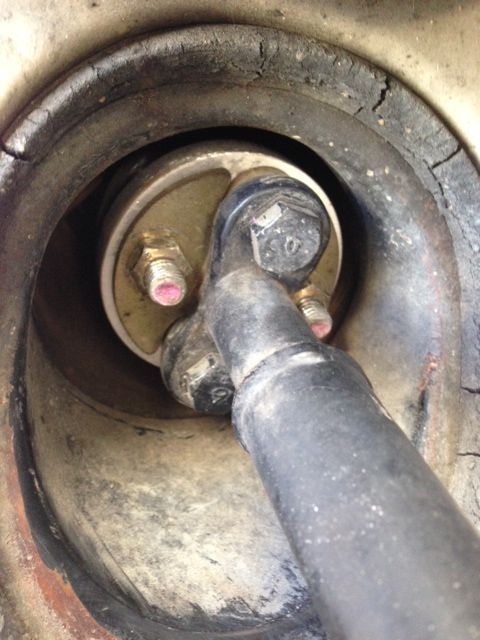
Since I have to unbolt the steering shaft to install the driver's side header, I figured I would replace that bushing as well. Picked up from Forced Fab.

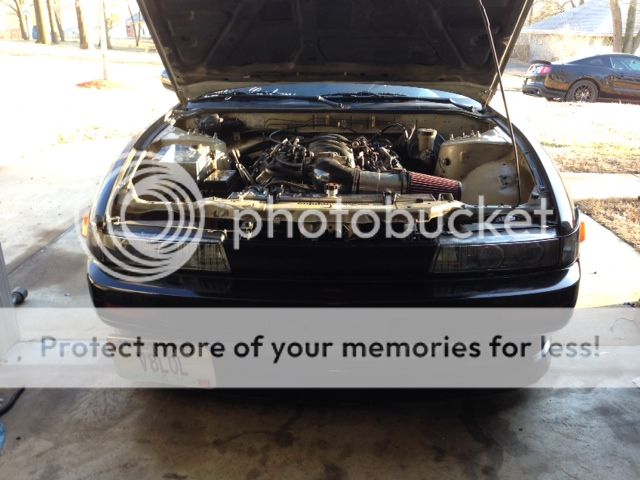
and all done..
So I got the sikky fuel kit all hooked up and also put on the new fresh plate welded diff and here's where I finished the day..
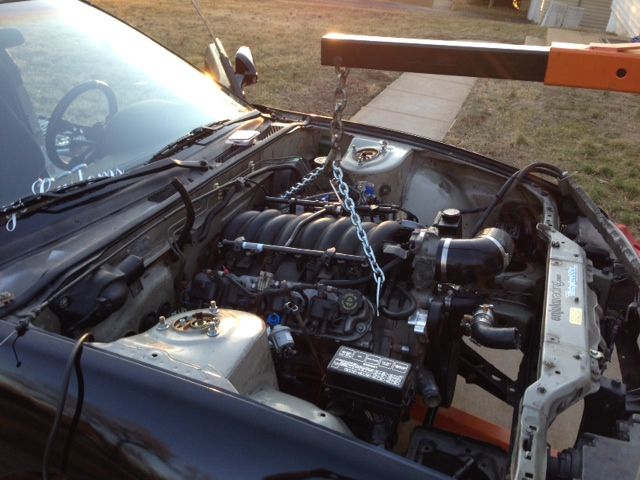
The next day
-Both headers are bolted on (PITA)
-Wiring Harness is all hooked up
-Driveshaft on
-fluids filled
-Clutch MC connected
-connected the P/S
I just need to finished up wiring up my electric fans, drop in the radiator, clean everything up and fire her up.

I bought the adapter from Jagsthatrun.com
http://jagsthatrun.com/Pages/Parts_Cooling_LSI-tee.html
K&N Filter and Earls fitting in today for my Fuel pressure gauge

and the finished intake setup

and the Sikky corvette fuel filter/regulator kit with the new fitting in place

Fuel rail

Since I have to unbolt the steering shaft to install the driver's side header, I figured I would replace that bushing as well. Picked up from Forced Fab.

and all done..

So I got the sikky fuel kit all hooked up and also put on the new fresh plate welded diff and here's where I finished the day..

The next day
-Both headers are bolted on (PITA)
-Wiring Harness is all hooked up
-Driveshaft on
-fluids filled
-Clutch MC connected
-connected the P/S
I just need to finished up wiring up my electric fans, drop in the radiator, clean everything up and fire her up.

 02-26-2014 | 08:10 PM
#7

Be careful with those fittings you have on the fuel rail and the regulator, several people had their cars burn down when they popped off. There is a revised version of them with a metal threaded retainer instead of the shitty plastic one.
Old Shitty design

New car won't catch on fire design

Old Shitty design
New car won't catch on fire design
Trending Topics
02-26-2014 | 09:57 PM
#9

Be careful with those fittings you have on the fuel rail and the regulator, several people had their cars burn down when they popped off. There is a revised version of them with a metal threaded retainer instead of the shitty plastic one.
Old Shitty design
New car won't catch on fire design
Old Shitty design
New car won't catch on fire design
yes, ive had those blow off my fuel filter. luckily it was mounted under the car and not in the engine bay. i just lost power and pulled to the side of the road.
another thing, flip the fuel rail around so the feed is on same side as filter.
02-27-2014 | 09:01 AM
#10
Thread Starter
Teching In
Joined: Nov 2013
Posts: 14
Likes: 0
From: St. Louis, MO
Thank you for the advice, do you have a link to where I could purchase the new filter/regulator with these fittings??
I applied for a new plate, and the DMV denied it.. so the current plate will stay. I kinda like the irony.. haha
02-28-2014 | 09:05 AM
#12
Thread Starter
Teching In
Joined: Nov 2013
Posts: 14
Likes: 0
From: St. Louis, MO
02-28-2014 | 11:18 AM
#13
You should be able to use the regulator you have currently. Here is a link to the fitting part numbers. They will be the RUSSELL PUSH-ON EFI FITTINGS (SCREW IN END CAP) ones.
http://www.russellperformance.com/mc...fuel-efi.shtml
http://www.russellperformance.com/mc...fuel-efi.shtml
02-28-2014 | 12:39 PM
#14
Thread Starter
Teching In
Joined: Nov 2013
Posts: 14
Likes: 0
From: St. Louis, MO
You should be able to use the regulator you have currently. Here is a link to the fitting part numbers. They will be the RUSSELL PUSH-ON EFI FITTINGS (SCREW IN END CAP) ones.
http://www.russellperformance.com/mc...fuel-efi.shtml
http://www.russellperformance.com/mc...fuel-efi.shtml
03-23-2014 | 01:51 PM
#17
Thread Starter
Teching In
Joined: Nov 2013
Posts: 14
Likes: 0
From: St. Louis, MO
Well I received the new fuel fittings and put everything together and it fired on the first try.
Start up video
http://www.youtube.com/watch?v=YEv3JLc916
Fixed a small coolant leak, wired up my E-fans, put on my y-pipe and went for a long drive.

It is awesome, the MS4 Cam is sooo aggressive, its crazy. Running straight pipe is way too loud for the street, so I had a vibrant muffler welded on, and its much better.
and I am registered for the first DriftSTL event this year on April 6th

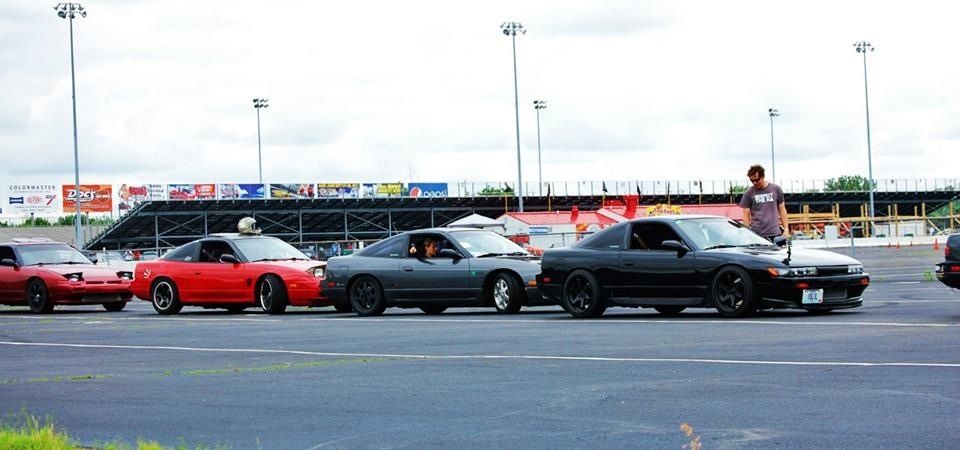
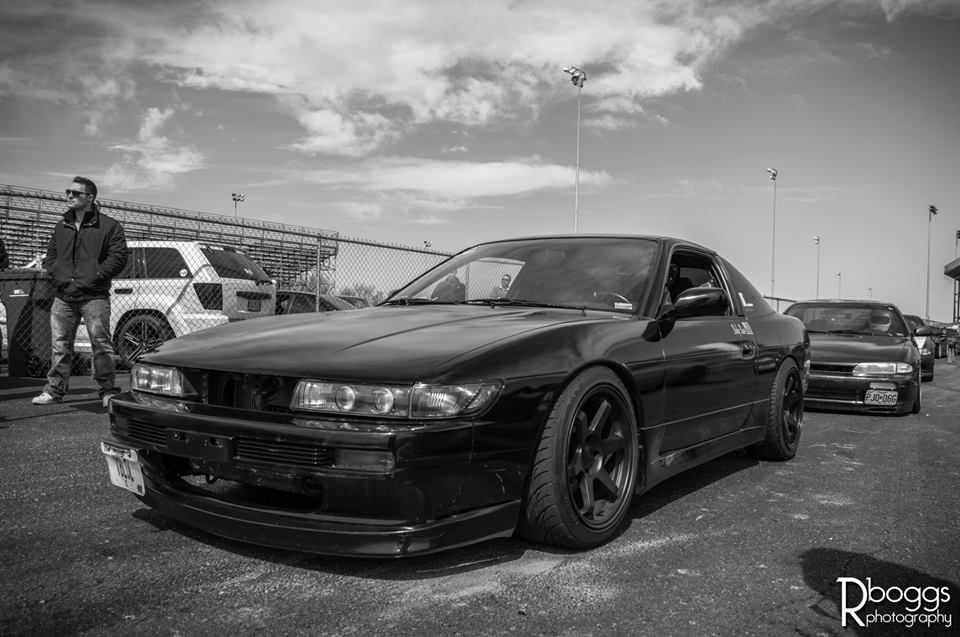
Went out and took some pics with some buddies this Friday..
8 - 6 - 4
and yesterday I finally put on the modded knuckles
I also finally put on some PBM Tie rod spacers to help with the extra tie rod length Ill need
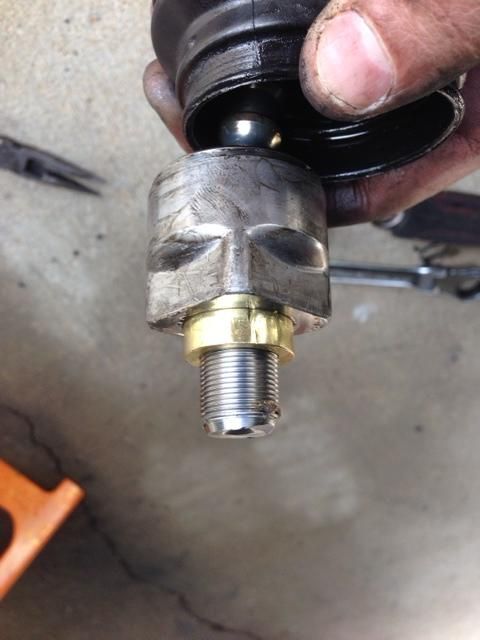
I also picked up some High Angle Tension rods

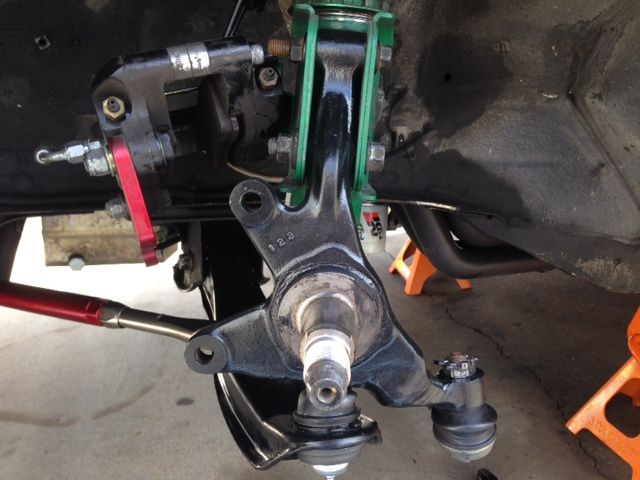
got angle?

Im going in for alignment tomorrow, but I can already tell how awesome these knuckles are going to be.. cant wait for April 6th
Start up video
http://www.youtube.com/watch?v=YEv3JLc916
Fixed a small coolant leak, wired up my E-fans, put on my y-pipe and went for a long drive.

It is awesome, the MS4 Cam is sooo aggressive, its crazy. Running straight pipe is way too loud for the street, so I had a vibrant muffler welded on, and its much better.


and I am registered for the first DriftSTL event this year on April 6th

Went out and took some pics with some buddies this Friday..
8 - 6 - 4

and yesterday I finally put on the modded knuckles
I also finally put on some PBM Tie rod spacers to help with the extra tie rod length Ill need

I also picked up some High Angle Tension rods


got angle?

Im going in for alignment tomorrow, but I can already tell how awesome these knuckles are going to be.. cant wait for April 6th
03-23-2014 | 05:02 PM
#19
Thread Starter
Teching In
Joined: Nov 2013
Posts: 14
Likes: 0
From: St. Louis, MO
Because the line that came with the kit I bought was designed to connect on the driver side. I simply didnt feel like cutting the line.. Im satisfied with how it came out.
05-14-2014 | 07:01 PM
#20
Thread Starter
Teching In
Joined: Nov 2013
Posts: 14
Likes: 0
From: St. Louis, MO
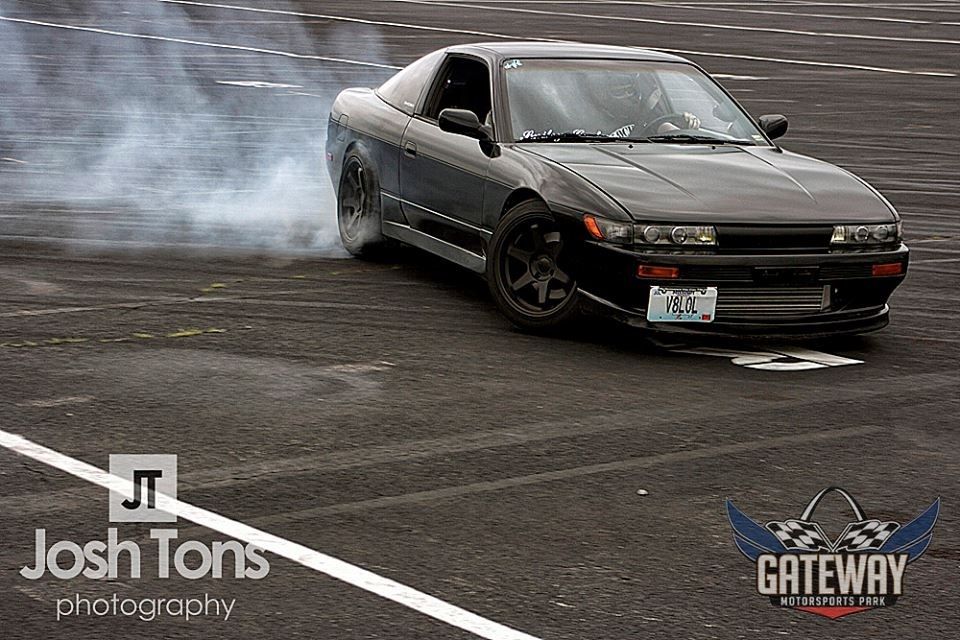
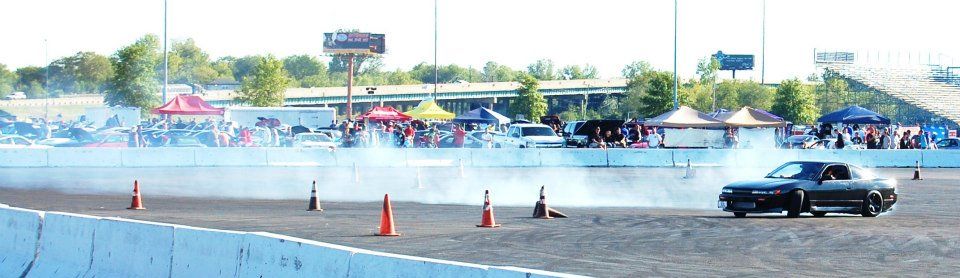
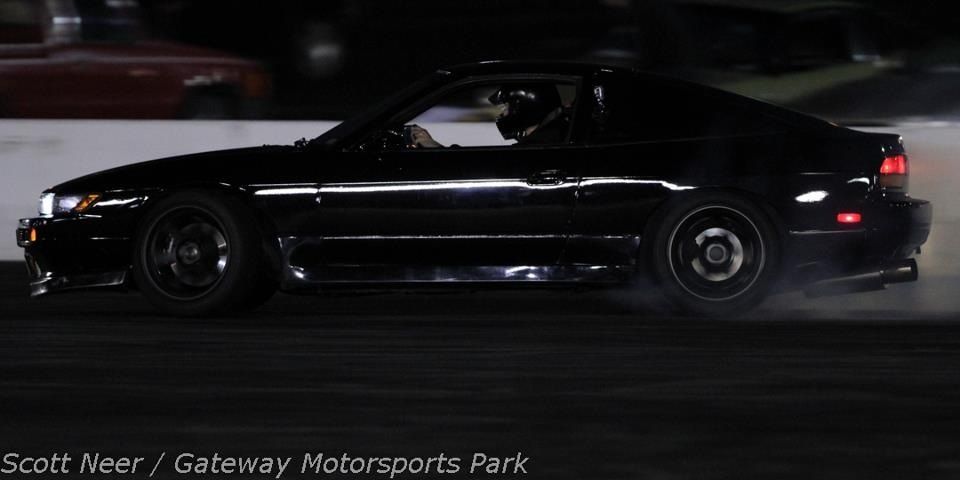
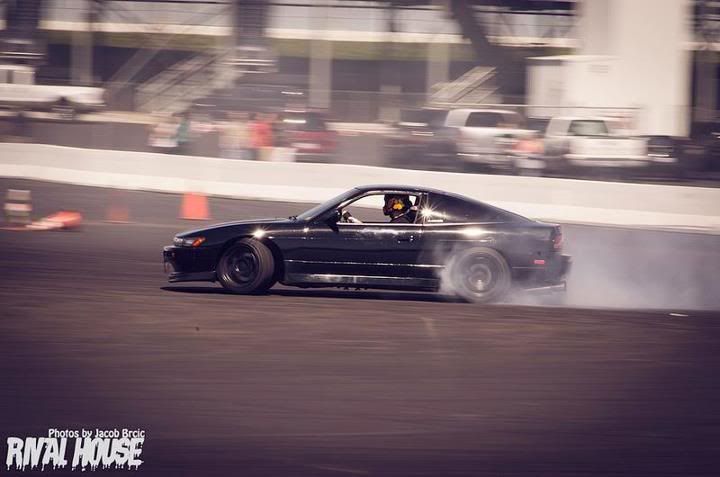
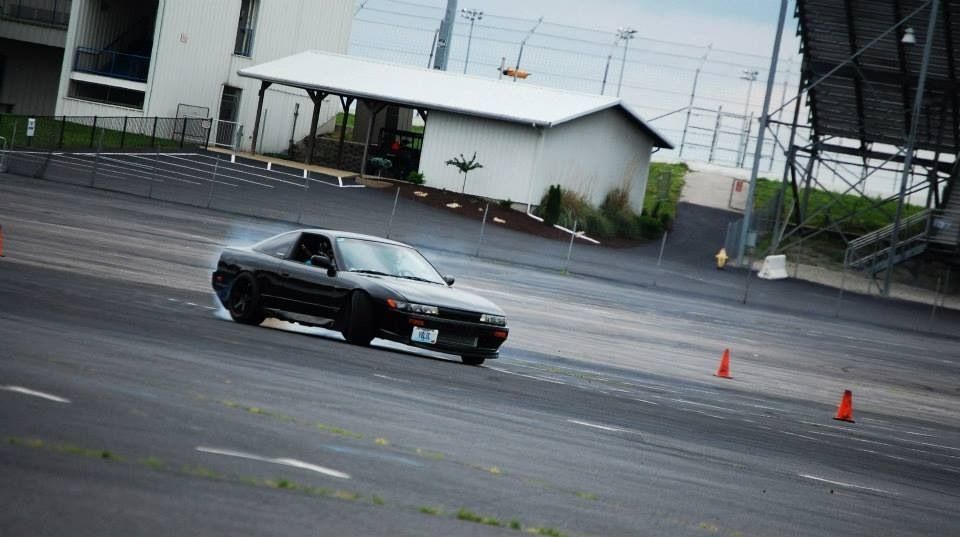
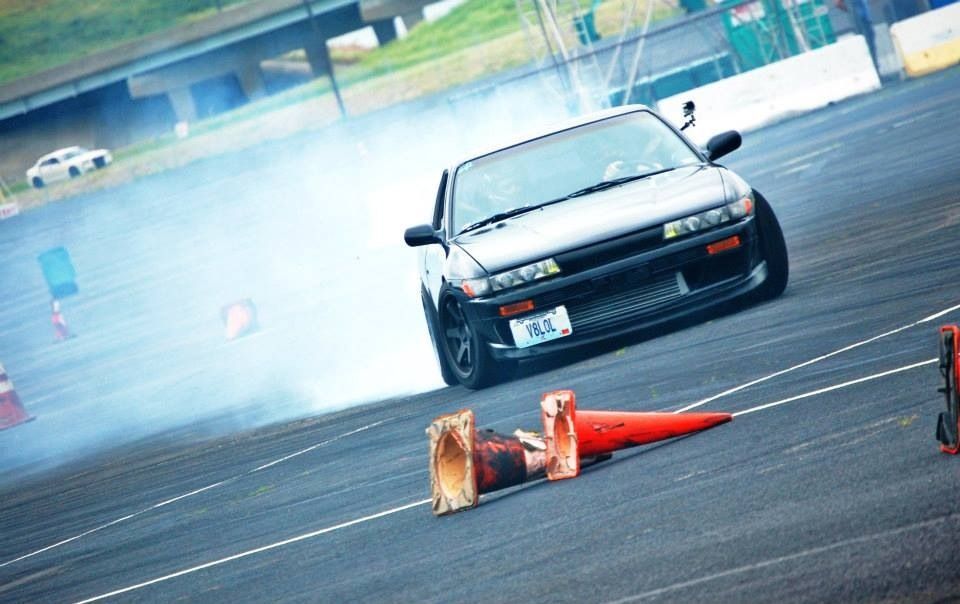
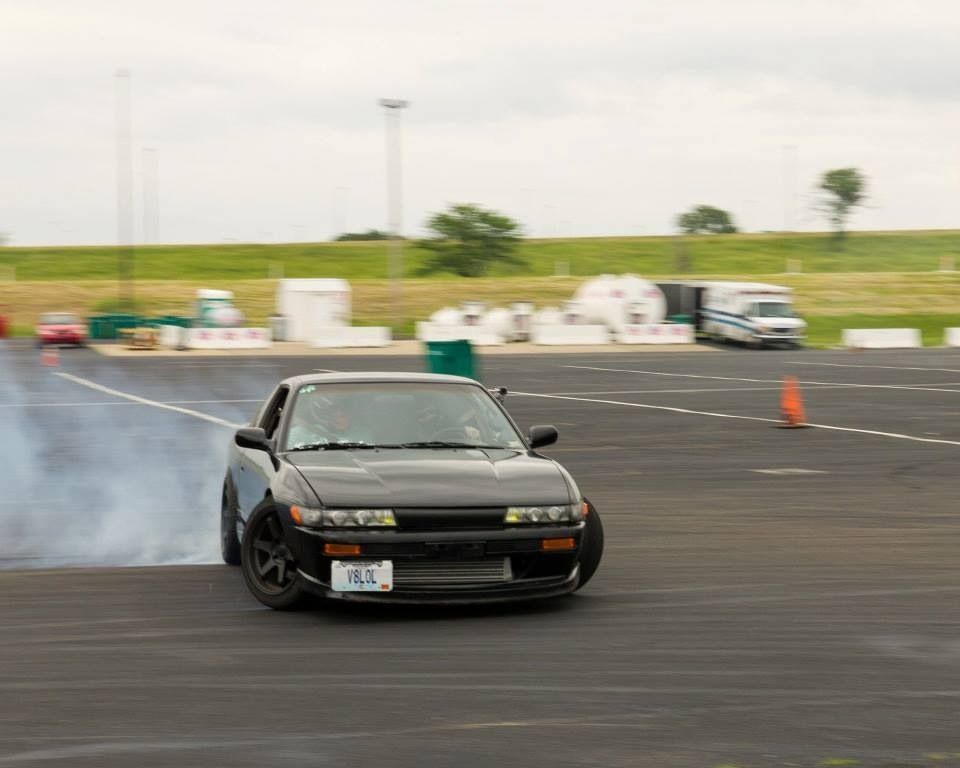
The first event with the LS went awesome. It ran great and I had a blast. The power was instant and the knuckles were worth every penny..
a few pics I found..


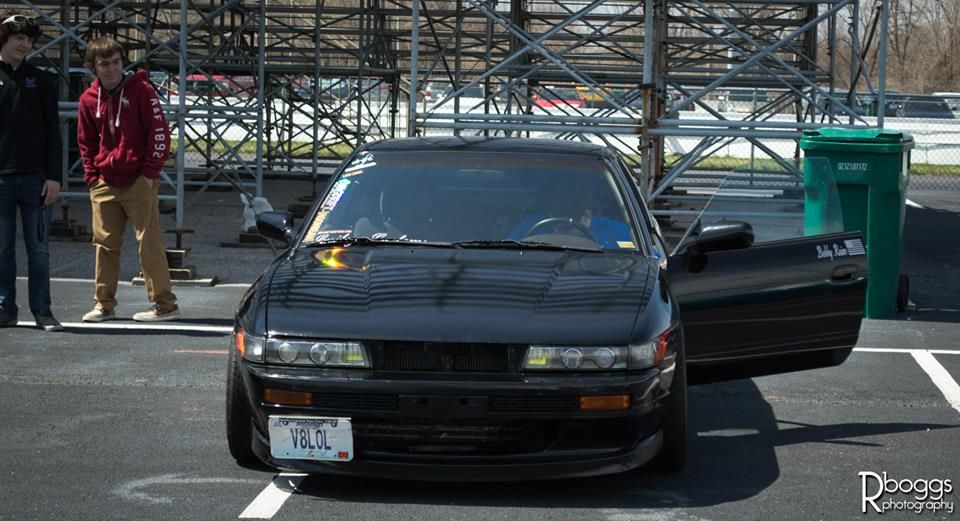
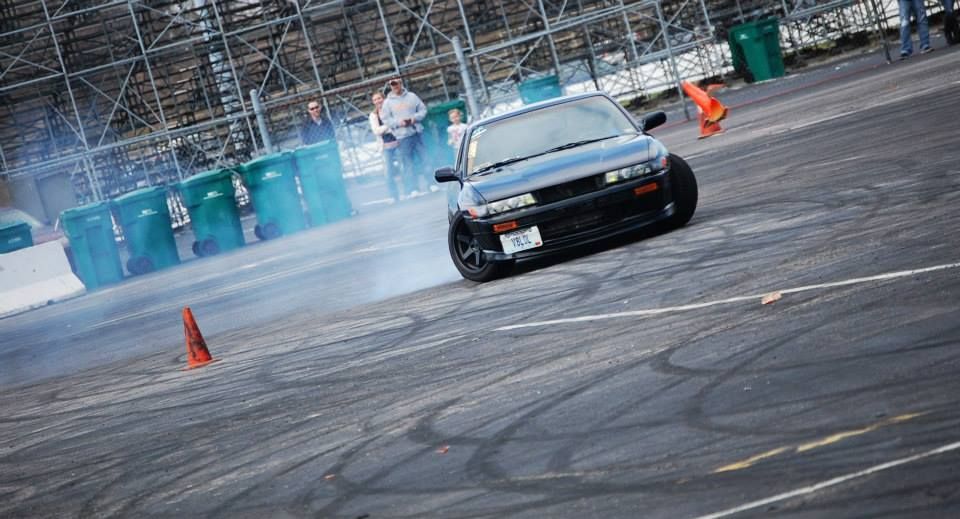
There is a small event next week and another on June 8th.
a few pics I found..


There is a small event next week and another on June 8th.