
1937 Ford Sedan


 04-21-2016, 09:13 PM
#345
TECH Regular
Thread Starter

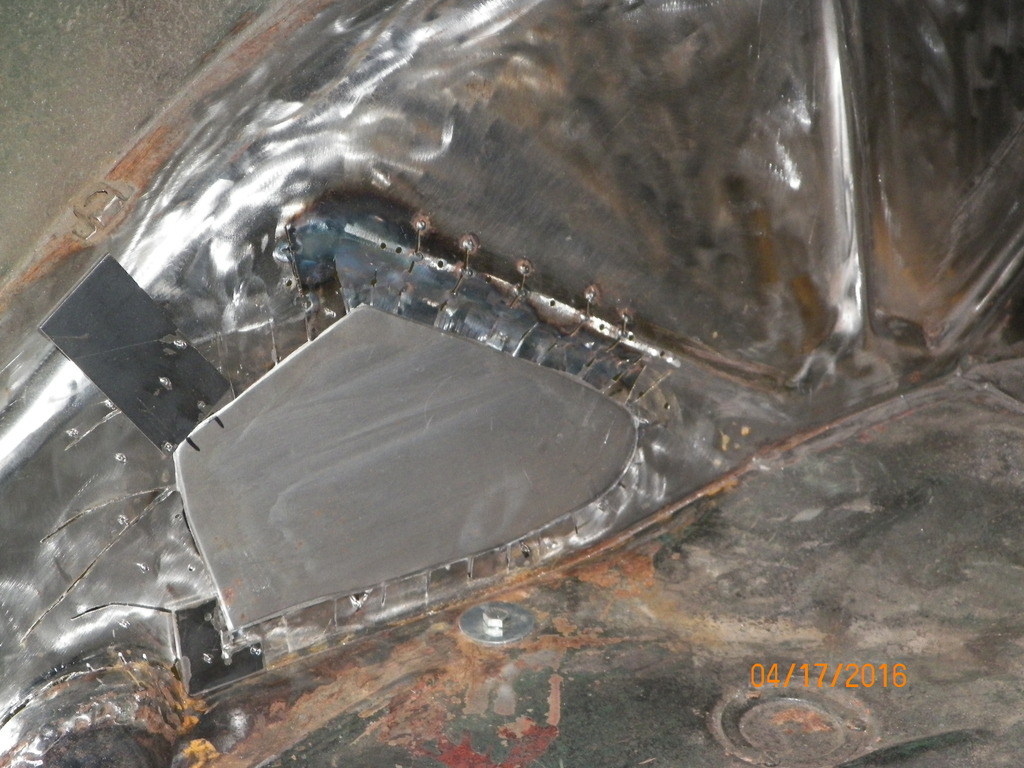
Pic from the trunk. At this point I decided it would be cool to have a factory bead roll to match the other side. Me and my bright ideas 


 It's looking good though, keep at it!
04-22-2016, 12:44 PM
It's looking good though, keep at it!
04-22-2016, 12:44 PM
#349
 04-23-2016, 08:14 PM
#350
TECH Regular
Thread Starter
Thanks Eric. I'm not sure if anyone will see the wheel wells or not, but doing the fab work right leaves me some options later for what is visible in the trunk area. On some of the pro builds I've noticed they do skim coats and make them slick enough to paint. I've also seen them covered with material. Just some thoughts for later, but for now I'm enjoying the fab work.
Last edited by Kharp; 04-25-2016 at 06:31 AM.


 05-14-2016, 09:00 PM
#352
Beautiful.........That will eliminate clearance issues for you later.........Great Job !!!!!

 05-14-2016, 09:16 PM
#354
TECH Regular
Thread Starter
Plenty of fab left on the driver side though...lots of work for a little bit of tire room (2 1/2" to be exact)


Last edited by Kharp; 05-15-2016 at 08:02 PM.
05-29-2016, 03:45 PM
#358
TECH Regular
Thread Starter
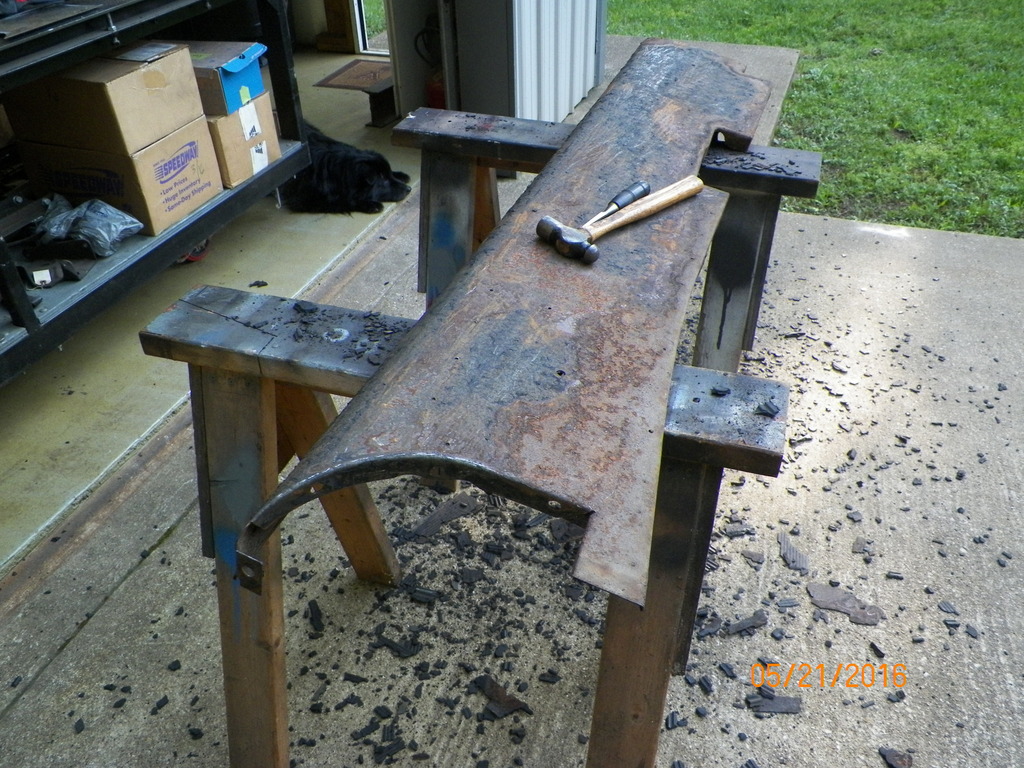
Took a small break from the mini tubs and went on a tangent - every project has a few of those right? Every time I moved the running boards around the shop they made a huge mess because the rubber was brittle and falling apart. I knew I would be mocking up the front end and running boards soon so I went ahead and cleaned them up. Had a HUGE pile of chips after a few hours with a chisel. Note my #1 helper in the background cheering me on .
A little more work with the chisels and a paint buster worked great. The running boards have a tiny bit of cancer that will be repaired later.

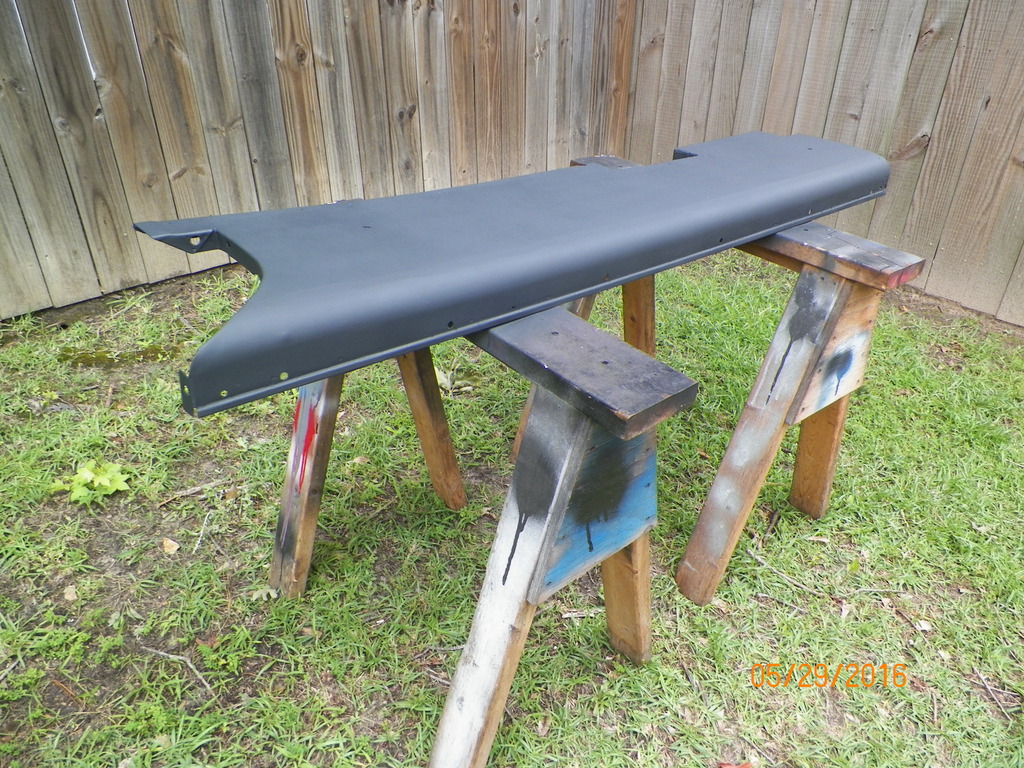
Some primer for a little protection for now. Now back to finishing the mini tubs and perfecting my new style super soft ride lowering blocks ....
....
. 
A little more work with the chisels and a paint buster worked great. The running boards have a tiny bit of cancer that will be repaired later.

Some primer for a little protection for now. Now back to finishing the mini tubs and perfecting my new style super soft ride lowering blocks
....
Last edited by Kharp; 05-29-2016 at 03:52 PM.
07-03-2016, 06:31 PM
#360
TECH Regular
Thread Starter
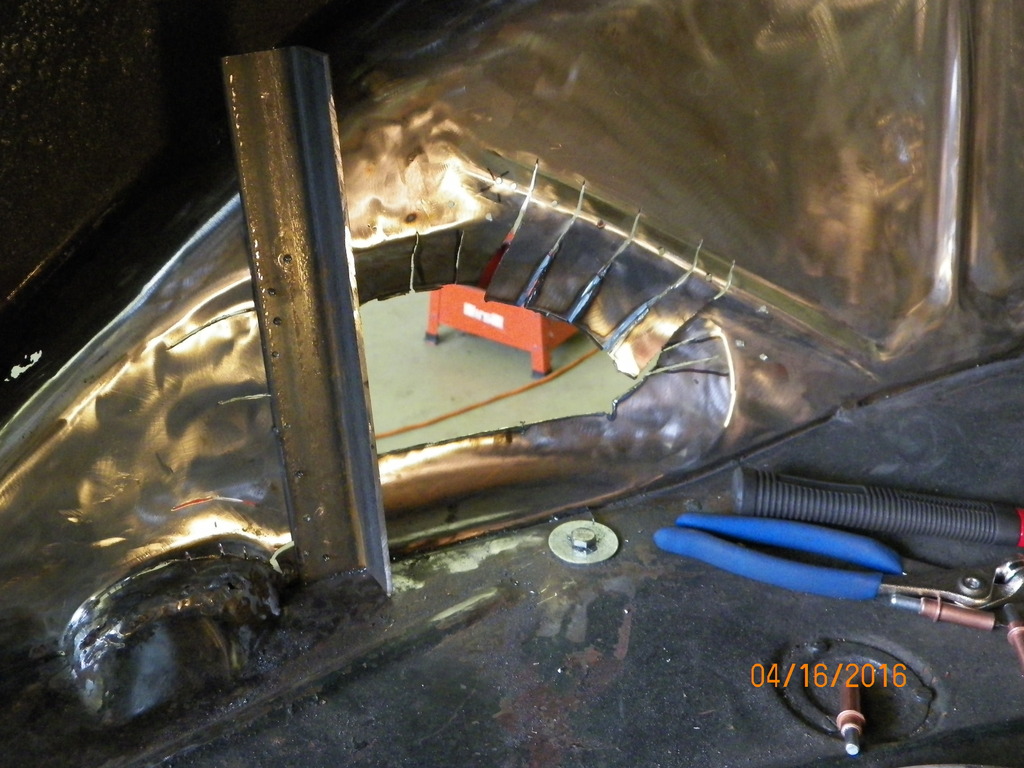
Back to the driver side micro tub....had a few obstacles like this cancer place that just happened to be right where I needed to make a cut. Even though I had not planned to get into much bodywork at this time I went ahead and did the repair.

Then there was the spare tire hump that took a while to redo...
Using Daddy Bill's CAD system (cardboard aided drawing), I made several patterns to copy the shape of the tub to the other side.

Established the overall shape with the cardboard patterns and then started making filler panels.

Made all the filler pieces with an offset flange for strength. Once all the pieces were fitted and welded in, the temporary brackets and supports began to come off.


Then there was the spare tire hump that took a while to redo...

Using Daddy Bill's CAD system (cardboard aided drawing
), I made several patterns to copy the shape of the tub to the other side.
Established the overall shape with the cardboard patterns and then started making filler panels.

Made all the filler pieces with an offset flange for strength. Once all the pieces were fitted and welded in, the temporary brackets and supports began to come off.
