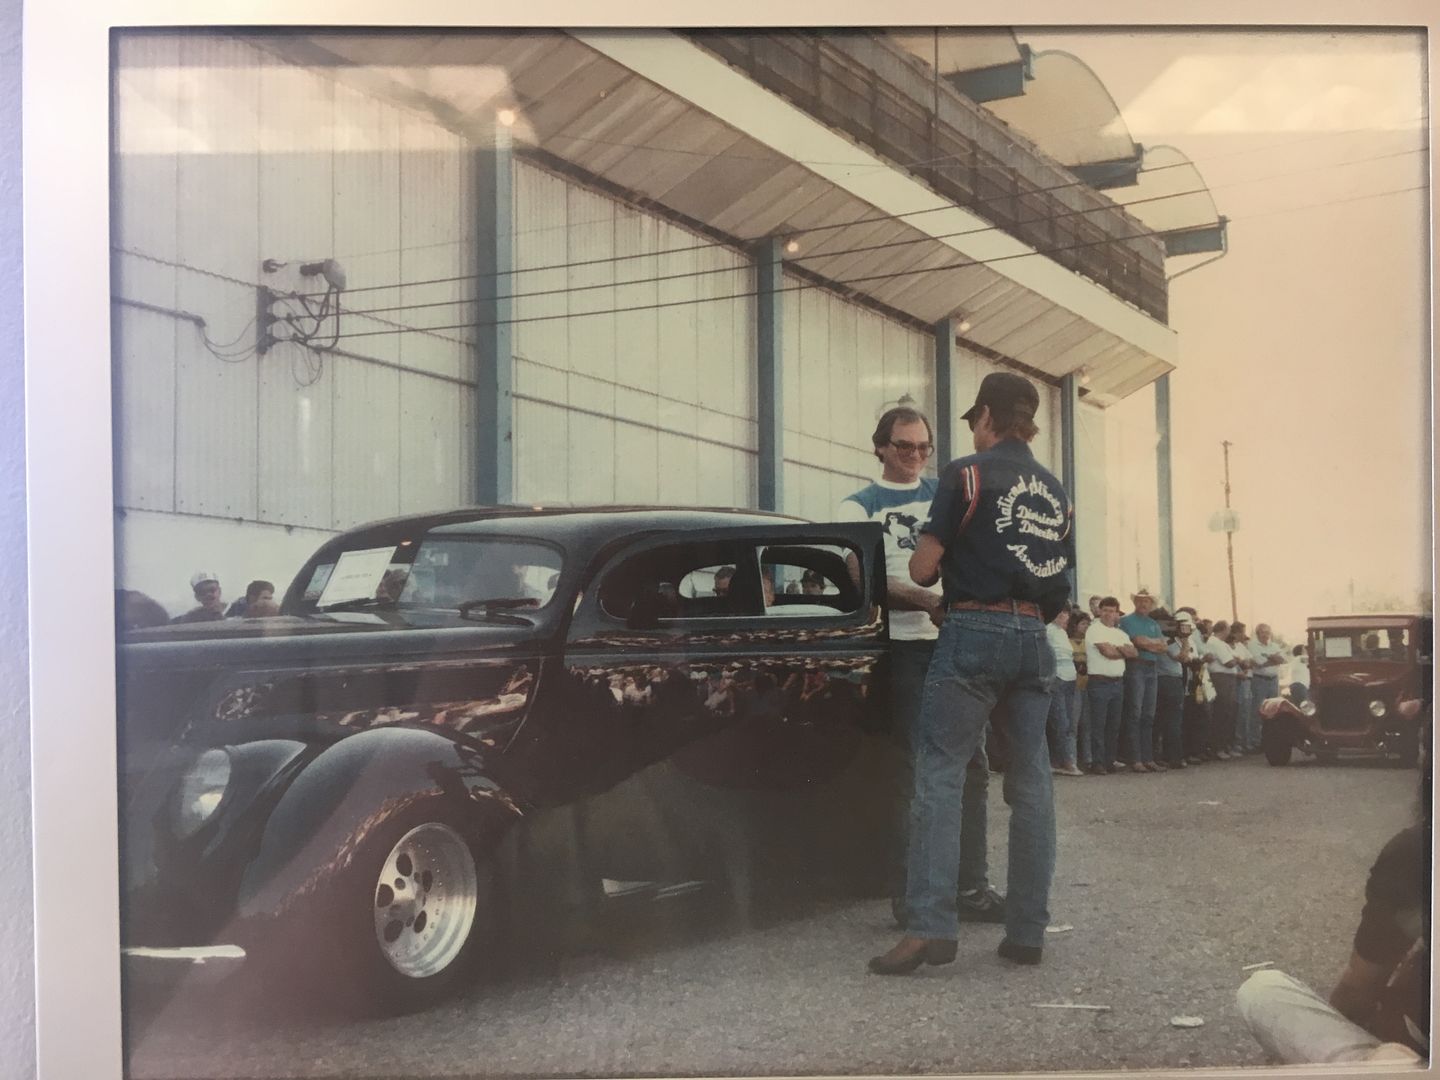
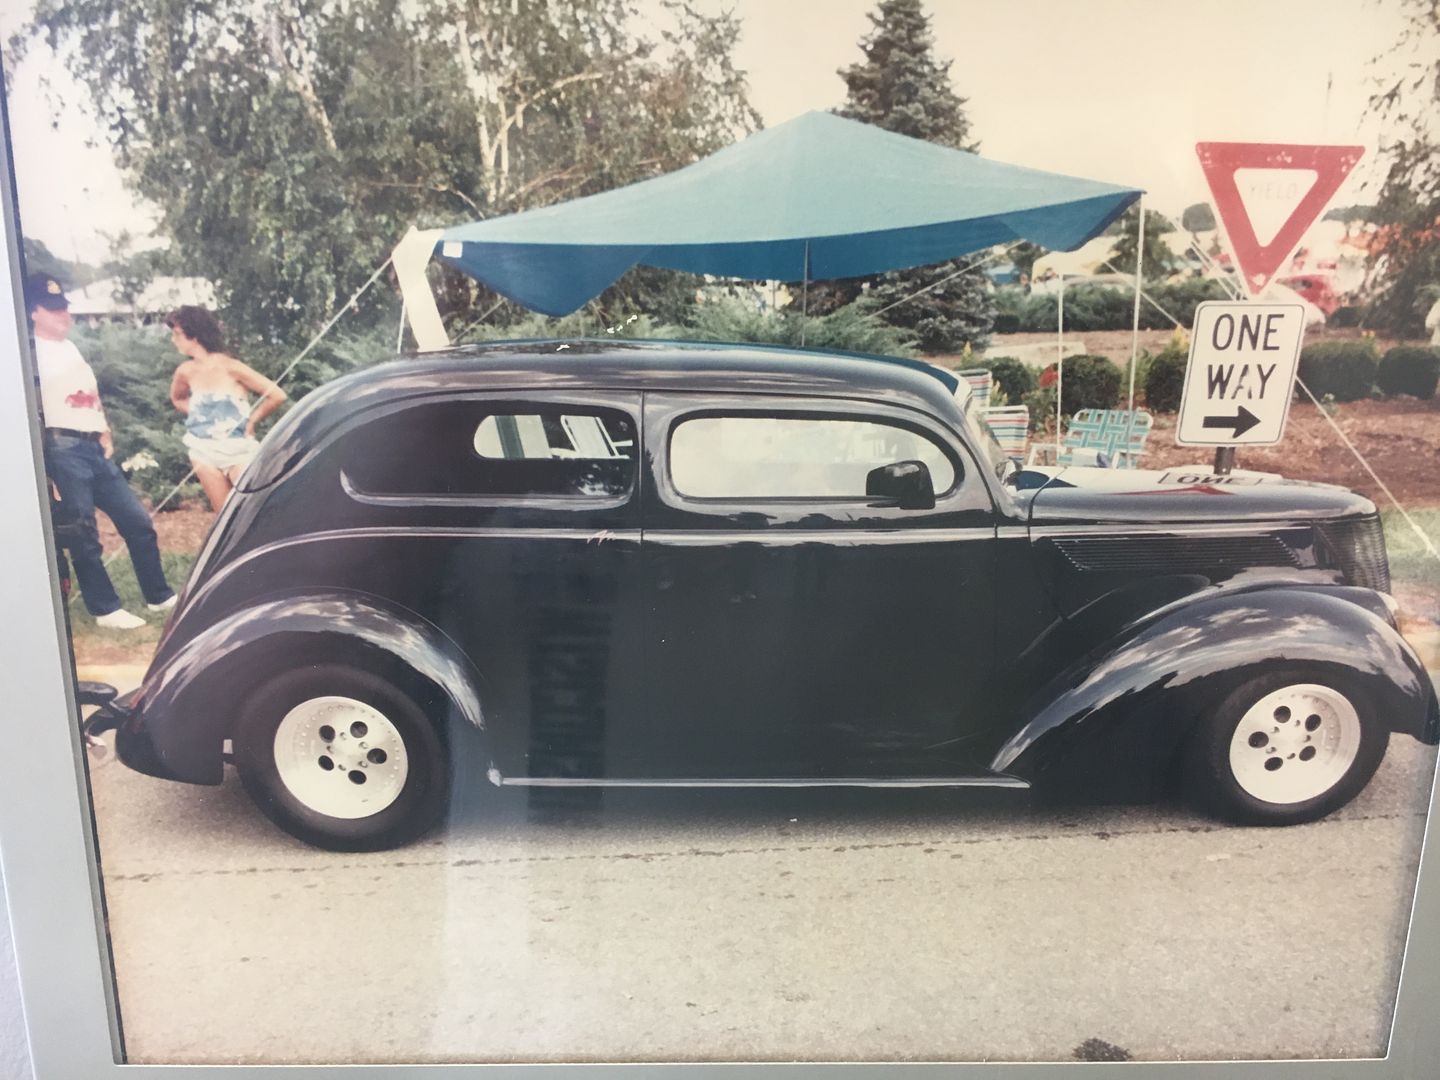
1937 Ford Sedan
#524
Thanks for asking Eric and Ken. Yes updates are coming soon, but I had to take a couple of steps back. Remember the rear crossmember I made that goes straight across? Well......it didn't clear the body when I set it back on the frame. DANG!!! I knew it would be close, but I didn't expect it to not even clear the body  . I really only had a couple of options. !) Redo the crossmember or 2) work on the trunk floor. Stay tuned
 . I really only had a couple of options. !) Redo the crossmember or 2) work on the trunk floor. Stay tuned
#526
When I put the body back on the frame it was not completely down on the frame due to the trunk floor hitting the new cross member. I already had the rear cross member welded in with the shock mounts completed so I chose to raise the trunk floor in the area just above the cross member. This was definitely an unplanned event  .....
.....
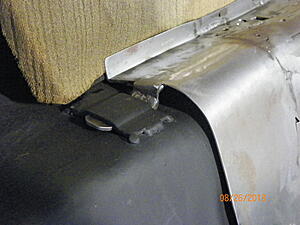
This area of the trunk was sitting on the cross member.
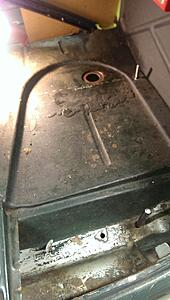
When I cut out the recessed trunk area I realized it really didn't have enough clearance all the way across....DANG!!!
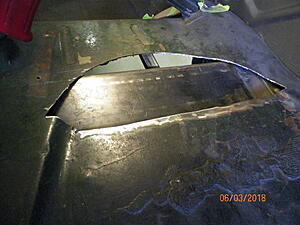
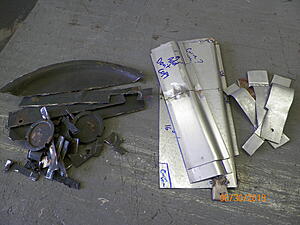
Here is the idea. Make some panels that follow the profile of the cross member so I can add some rubber bumpers between the body and the cross member.
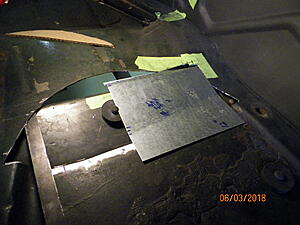
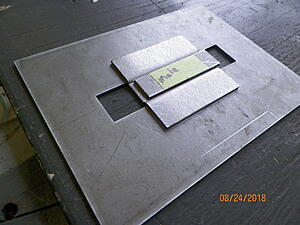
If you run the rear cross member straight across on a 37 Ford here is what has to be cut out on the left. On the right is test panels and ideas. A SLIGHT redesign on the cross member would have made a HUGE difference. Oh well more fab..........
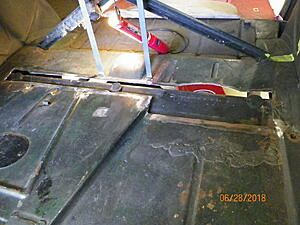
The entire hole with the body bumpers located.
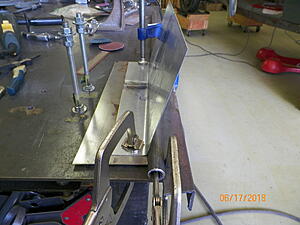
I only have a benchtop metal brake, so I started by bending a 75 degree bend and then rigged up some 7/8" tubing for the correct radius. It will take 3 pieces to get across....

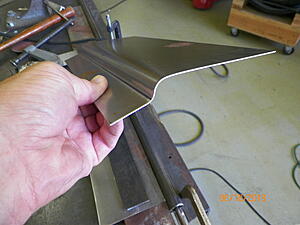
3 pieces installed.

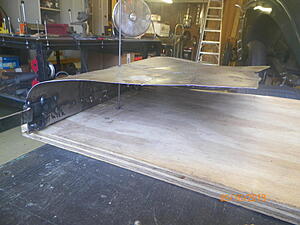
Welded together and primed on bottom side. The pads on the bottom is where the bumpers will sit. I wanted them to be snug.
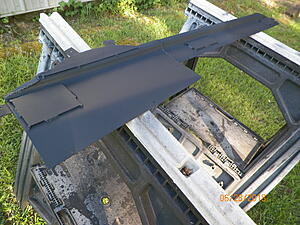
Completed panel. Now this little detour is over
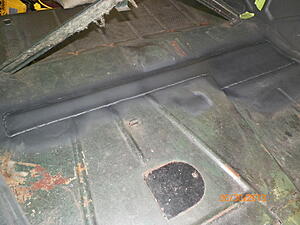
 .....
.....This area of the trunk was sitting on the cross member.

When I cut out the recessed trunk area I realized it really didn't have enough clearance all the way across....DANG!!!

Here is the idea. Make some panels that follow the profile of the cross member so I can add some rubber bumpers between the body and the cross member.

If you run the rear cross member straight across on a 37 Ford here is what has to be cut out on the left. On the right is test panels and ideas. A SLIGHT redesign on the cross member would have made a HUGE difference. Oh well more fab..........

The entire hole with the body bumpers located.

I only have a benchtop metal brake, so I started by bending a 75 degree bend and then rigged up some 7/8" tubing for the correct radius. It will take 3 pieces to get across....


3 pieces installed.

Welded together and primed on bottom side. The pads on the bottom is where the bumpers will sit. I wanted them to be snug.

Completed panel. Now this little detour is over


Last edited by Kharp; 07-01-2018 at 02:11 PM.
#528
#529
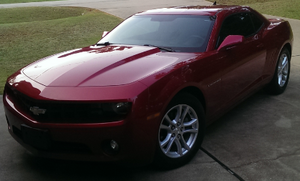
I've had several other things going lately so I haven't posted much. One of the items on my list was to help my son find a car. It never ceases to amaze me the number of potential land mines you can step on while looking at used cars.....hurricane cars, totaled cars, and the list goes on and on. Anyway, finally found the right one. Just a nice low mileage V6 car for a 19 year old. I sure do like that color.....maybe for 37??? Now that I have him on the road back to the project 


#530
Picking up where we left off I need to get the battery located under the backseat which led me to the arm rest for the backseat. The car has a very small mini tub, probably could be called a micro tub  . Anyway the arm rest needs to be in place to build the back seat to locate the battery so here we go. The factory arm rest was such a nice die stamped piece that I decided to try and modify it to work with the tubs. Here is what I started with.
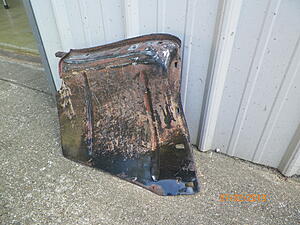
Built a wood fixture to hold its shape while I work on it. When it was split it tried to act like a Pringle potato chip
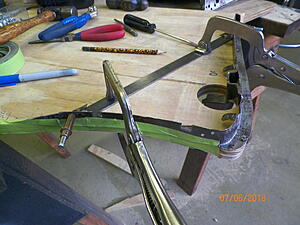
Had to add a middle section to get it wide enough.
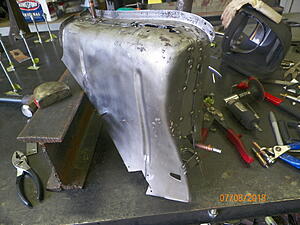
Added some length too.
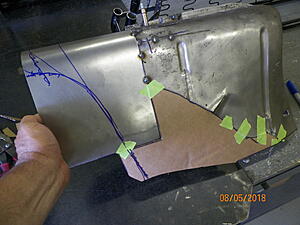
At this point I needed to make some way to hold it in place. The arm rest has a hook that sticks through the door panel that I saved from the factory piece. It needed a couple more attachment points. I made a simple die to make some offset 12 gauge tab holders. If you are inclined to make little pieces like this it can be done at home if you have access to a press somewhere to have it stamped. I will use this little die to make some pieces to hang the top of the rear seat as well. Just press the male into the female and you get the piece in the picture.
Before and after. Chopped, channeled, and sectioned LOL...I have several hours in this little jewel but I like how it turned out. The ribs will be filled in with foam and it will be covered to be a flat piece. The other side wont be near as much fun since most of it has already been figured out. I did have to rough in the back seat to know where the arm rest would stop. More on that later...
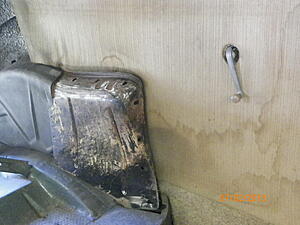

 . Anyway the arm rest needs to be in place to build the back seat to locate the battery so here we go. The factory arm rest was such a nice die stamped piece that I decided to try and modify it to work with the tubs. Here is what I started with.
Built a wood fixture to hold its shape while I work on it. When it was split it tried to act like a Pringle potato chip


Had to add a middle section to get it wide enough.

Added some length too.

At this point I needed to make some way to hold it in place. The arm rest has a hook that sticks through the door panel that I saved from the factory piece. It needed a couple more attachment points. I made a simple die to make some offset 12 gauge tab holders. If you are inclined to make little pieces like this it can be done at home if you have access to a press somewhere to have it stamped. I will use this little die to make some pieces to hang the top of the rear seat as well. Just press the male into the female and you get the piece in the picture.


Before and after. Chopped, channeled, and sectioned LOL...I have several hours in this little jewel but I like how it turned out. The ribs will be filled in with foam and it will be covered to be a flat piece. The other side wont be near as much fun since most of it has already been figured out. I did have to rough in the back seat to know where the arm rest would stop. More on that later...


#532
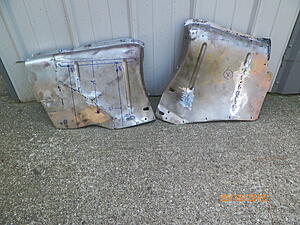
Time to get the other arm rest knocked out. The one on the left has been modified. The one on the right is about to be cut. Quite a bit of difference.
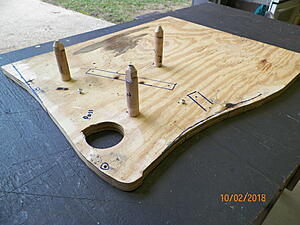
The fixture I had made for the first one will make a mirror image, so I dropped a rod through at 3 points just to get me in the ballpark of the first one so I can match the second one on the shape.
Made some wooden posts and then put them on the other side. Also made a couple of cardboard templates to shape the top radius. Now we are ready to split it apart.
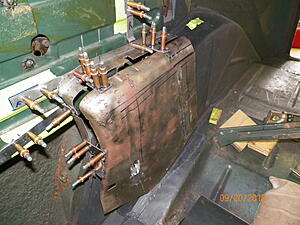
In process. Made some hangers to space it out for the door panel.
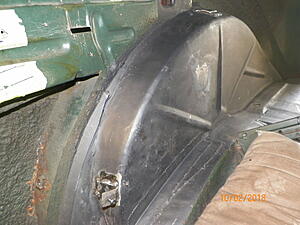
Mounts similar to the factory one, except I had to make all the parts. After the door panel is installed the arm rest has a hook that drops in the slot in the door, tab goes in saddle on top on the "micro" wheel tub , and bolts at the bottom corner with a bracket.
These pieces will of course get some bodywork before they get covered with foam and leather. Also the seats will cover much of the lower area that I didn't try to get perfect. I think the curves on this one are much sleeker than just a piece of sheet metal with a radius
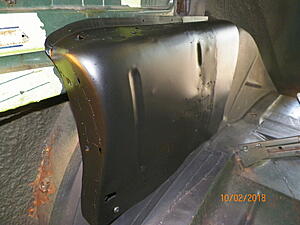
Also got the battery located underneath the rear seat. It will barely be above floor level with some remote terminals for jump starting. Also plan to fully enclose the tray to keep any road debris from puncturing the battery.
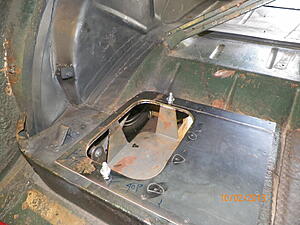

The fixture I had made for the first one will make a mirror image, so I dropped a rod through at 3 points just to get me in the ballpark of the first one so I can match the second one on the shape.

Made some wooden posts and then put them on the other side. Also made a couple of cardboard templates to shape the top radius. Now we are ready to split it apart.

In process. Made some hangers to space it out for the door panel.

Mounts similar to the factory one, except I had to make all the parts. After the door panel is installed the arm rest has a hook that drops in the slot in the door, tab goes in saddle on top on the "micro" wheel tub
 , and bolts at the bottom corner with a bracket.
These pieces will of course get some bodywork before they get covered with foam and leather. Also the seats will cover much of the lower area that I didn't try to get perfect. I think the curves on this one are much sleeker than just a piece of sheet metal with a radius


Also got the battery located underneath the rear seat. It will barely be above floor level with some remote terminals for jump starting. Also plan to fully enclose the tray to keep any road debris from puncturing the battery.

#533
I'm headed to Cruisin' the Coast in the morning to spectate and get inspired to make some more progress on my car. When I return home I'm going to build the rear seat to go around the arm rests and the battery box. More soon.....
#537
Ken some cool pics indeed! Thanks for posting I love the body lines of that car! I just returned from Cruisin the Coast. Had a great time but now its time to get back on my 37. More soon... Kharp
#538
Now that the arm rests are FINALLY done its time to figure out something on the rear seat. I couldn't find any rear seats made for a 37 Ford, much less one with modifications to the wheelwell SOOO out comes the fab hat  .
.
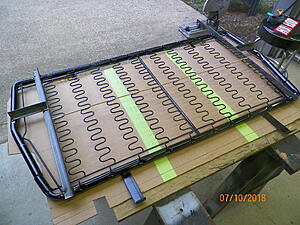
I bought the closest seat I could find for what I needed from Glide and chopped on it till it fit ....
....
Step one - Cardboard aided drawing (Bill Arnold's patented CAD system )
)
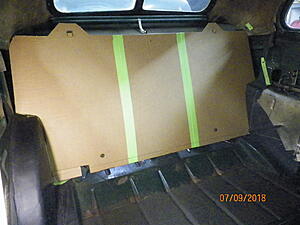
You can tell what has to be cut when the seat is on top of the template.
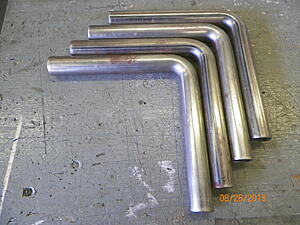
Found these from Verocious Motorsports - 1" 16 ga bent on 1" CL radius. They worked great in several places.
Braced the seat up, cut off the ends and made it follow the arm rest contour as close as I could leaving some room for foam.
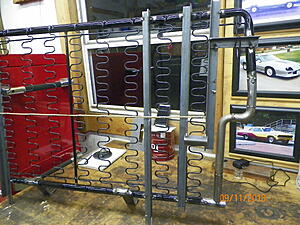
Same drill on the bottom portion of the seat.
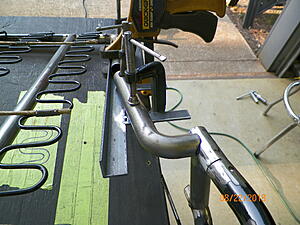
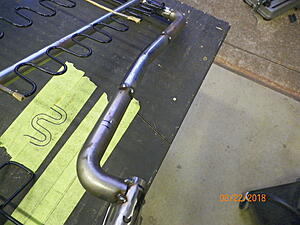
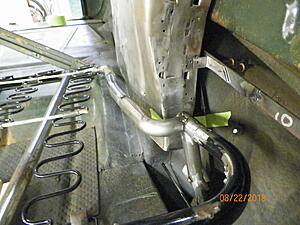
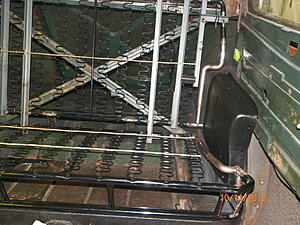
Both upper and lower rear seat frames installed in the car. Going to take to my welder buddy soon and get them welded solid and pull all the braces off.
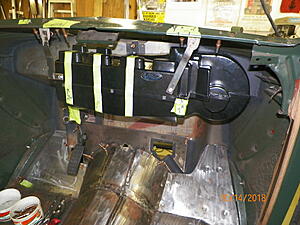
Finished the week up by hanging the AC case.
 .
.I bought the closest seat I could find for what I needed from Glide and chopped on it till it fit
 ....
....Step one - Cardboard aided drawing (Bill Arnold's patented CAD system
 )
)
You can tell what has to be cut when the seat is on top of the template.

Found these from Verocious Motorsports - 1" 16 ga bent on 1" CL radius. They worked great in several places.

Braced the seat up, cut off the ends and made it follow the arm rest contour as close as I could leaving some room for foam.

Same drill on the bottom portion of the seat.


Both upper and lower rear seat frames installed in the car. Going to take to my welder buddy soon and get them welded solid and pull all the braces off.

Finished the week up by hanging the AC case.

Last edited by Kharp; 10-16-2018 at 06:55 AM.


