When you click on links to various merchants on this site and make a purchase, this can result in this site earning a commission. Affiliate programs and affiliations include, but are not limited to, the eBay Partner Network.
Was able to do a few things this weekend. Ripped apart the fuel pump module to see what is needed to mount the aeromotive pump and hydramat. I'll take photos once I get a game plan. Got the currie high pinion diff removed and ready to re-gear for the front. The tru-hi9 is on the bench ready to be placed in the rear housing.
Hart Rod- I splurged and got the shifter from speartech. It has the push button switch on the shifter for selecting gears. I will need to get their gear selector light and wire it in so I know what gear it's in.
Have to replace the seal housing unit on the arb. Waiting for parts. Got my TruHi9 ready to toss in. Will be using a lube locker gasket for it. Working on the fuel pump module and think I've got it figured out. I'll post my mods to it for others to see. Got the rear housing cleaned up for the new diff!
Installed the TruHi9 today. Had concerns about the arb airline touching the ring gear. A check with a diagnostic camera looks like it's clearing just fine. Ordering new hardware for the housing/drop out. Did a rough measurement for the driveline. Looking roughly 18-19 inches total. I plan on using Tom Woods for this. 19 inches of "Wood" is always good!
Got the drivers side rear axle connected. Checked for clearance and found that the passenger side head is a bit too close to the firewall. The plates that mount to the block are adjustable. Moving the engine forward one notch should clear the firewall and cause the headers to hit the motor mount. That means cutting a notch in the motor mount or using the stock manifolds. On the upside, the new heavy duty steering box from AGR bolted up just fine!
LOL! That would work! I just can't bring myself to pull the engine out again. Nobody's fault but my own. The motor mount plate should give me 1/2 inch or one full inch. I'll try the 1/2 inch first. Hmmmm! That ford wrench could do the job too!
Moved the engine forward. The middle notch on the mounting plates left the engine too close to the firewall. Now it is as far forward as the adjustable mounts allow. Plenty of room between the head and firewall. Now this creates clearance issues with the headers. No complaining! I would still rather deal with this than drive a Ford! Worst case scenario is that I use stock manifolds. The stock manifolds are used even on the factory engines that put out 480 and 525 hp. Been busy building my transmission cross member. If all goes well, I should get more pic's tomorrow.
Starting on the transmission cross member. This needs to be low profile! The exhaust needs room on the passenger side. The previous set up had my trans mount bolted to my skid plate. When I needed to drop the skid plate I had to use a floor jack to support the rear of the drivetrain. A real PIA! The plan is to use rectangular boxed tubing bolted in between the frame channels. This way the skid plate can be removed and the drivetrain stays supported. Also started assembling the shifter for the atlasII.
When you put the motor over in the frame, did you use the recommended locations for the motor mounts?? Also, did you center the transmission under the Jeep??
I just dropped my engine over in my Jeep and I feel I need to bring my engine forward about 1/4" over the recommended tabbed positions. Also, in the recommended locations, its wasntinh to kick the tailhousing of the tranny 1" over centerline.
Originally Posted by TJ/LS3
Starting on the transmission cross member. This needs to be low profile! The exhaust needs room on the passenger side. The previous set up had my trans mount bolted to my skid plate. When I needed to drop the skid plate I had to use a floor jack to support the rear of the drivetrain. A real PIA! The plan is to use rectangular boxed tubing bolted in between the frame channels. This way the skid plate can be removed and the drivetrain stays supported. Also started assembling the shifter for the atlasII.
PharmD2B31, I followed the novak instructions and used metal rods, cut to the correct length to measure for motor mount placement. There is a good possibility that this is my error. I am not blaming novak, only myself if the mounts are too far back. The way I see it...this is hot rodding! I will look at the instructions I have. I don't recall being an inch off center. Thanks for pointing it out! I will check and let you guys know.
In checking my instructions from novak, I didn't see anything about t/c mounting at all. However, in doing what I know is correct, I did measure my output on the 9 incher and found it is offset to the passenger side by 3/4 of an inch. Thanks for the heads up! Luckily I'm slow and measure multiple times on things I weld. So before welding my trans mount I would have eventually gotten to this step! But, now that I know this is offset, I may hold off on tack welding until I get my transfer case mounted. Don't want to measure from the trans, add the t/c and be offset too much!
Broke free and worked on the jeep for an hour! Was looking over the ecm and harness. Took the main trunk and ecm over the brake vacuum booster and set it on the drivers side tray under the brake booster. Then had to cut some tape and braided cover to split the wiring that goes inside the jeep, from the wiring that stays under the hood. The jeep had a plastic plug covering a hole in the firewall. Under the dash it was retained by two nuts. It was the perfect size to feed the obdII port/mil light, trans shifter, electric acc. pedal and gauge wiring through! Still need to put in a rubber grommet to protect the wiring. For me, the wiring for the gauges will get bundled and taped out of the way. My gauges run off the obdII port. The trans shifter plug is only 5-6 inches inside the firewall. I checked my shifter and luckily it has a long "pigtail" of wiring that will reach under the dash! It was pure pleasure to plug in my foot feed! Nice! No cables, rods, clamps or any work at all!
In checking my instructions from novak, I didn't see anything about t/c mounting at all. However, in doing what I know is correct, I did measure my output on the 9 incher and found it is offset to the passenger side by 3/4 of an inch. Thanks for the heads up! Luckily I'm slow and measure multiple times on things I weld. So before welding my trans mount I would have eventually gotten to this step! But, now that I know this is offset, I may hold off on tack welding until I get my transfer case mounted. Don't want to measure from the trans, add the t/c and be offset too much!
Yep my YJ with the 4 banger has a significant (~1 to 2 inches) offset to the passenger side(D44), need it to keep both drive-lines aligned.
I'm planning stock exhaust manifolds right from the get go, For my purposes the stock HP will be more than enough and it will keep the exhaust plumbing simpler.. I have a friend at a local yard watching out for a good candidate for a engine package pull. I want < 80K miles if I can find it.
Gotta start ordering the misc bits from Novak and others.. While paying college tuition...
pdxmotorhead- The power to weight ratio will be better, as well as the usable torque. A 4.8 stock will have more juice available than the 4cylinder ever hoped for! They did put the 4.8 in fullsize trucks, so a YJ should feel pretty hot. Plus, only a few people would be able to identify it as a 4.8! An LS is an LS!
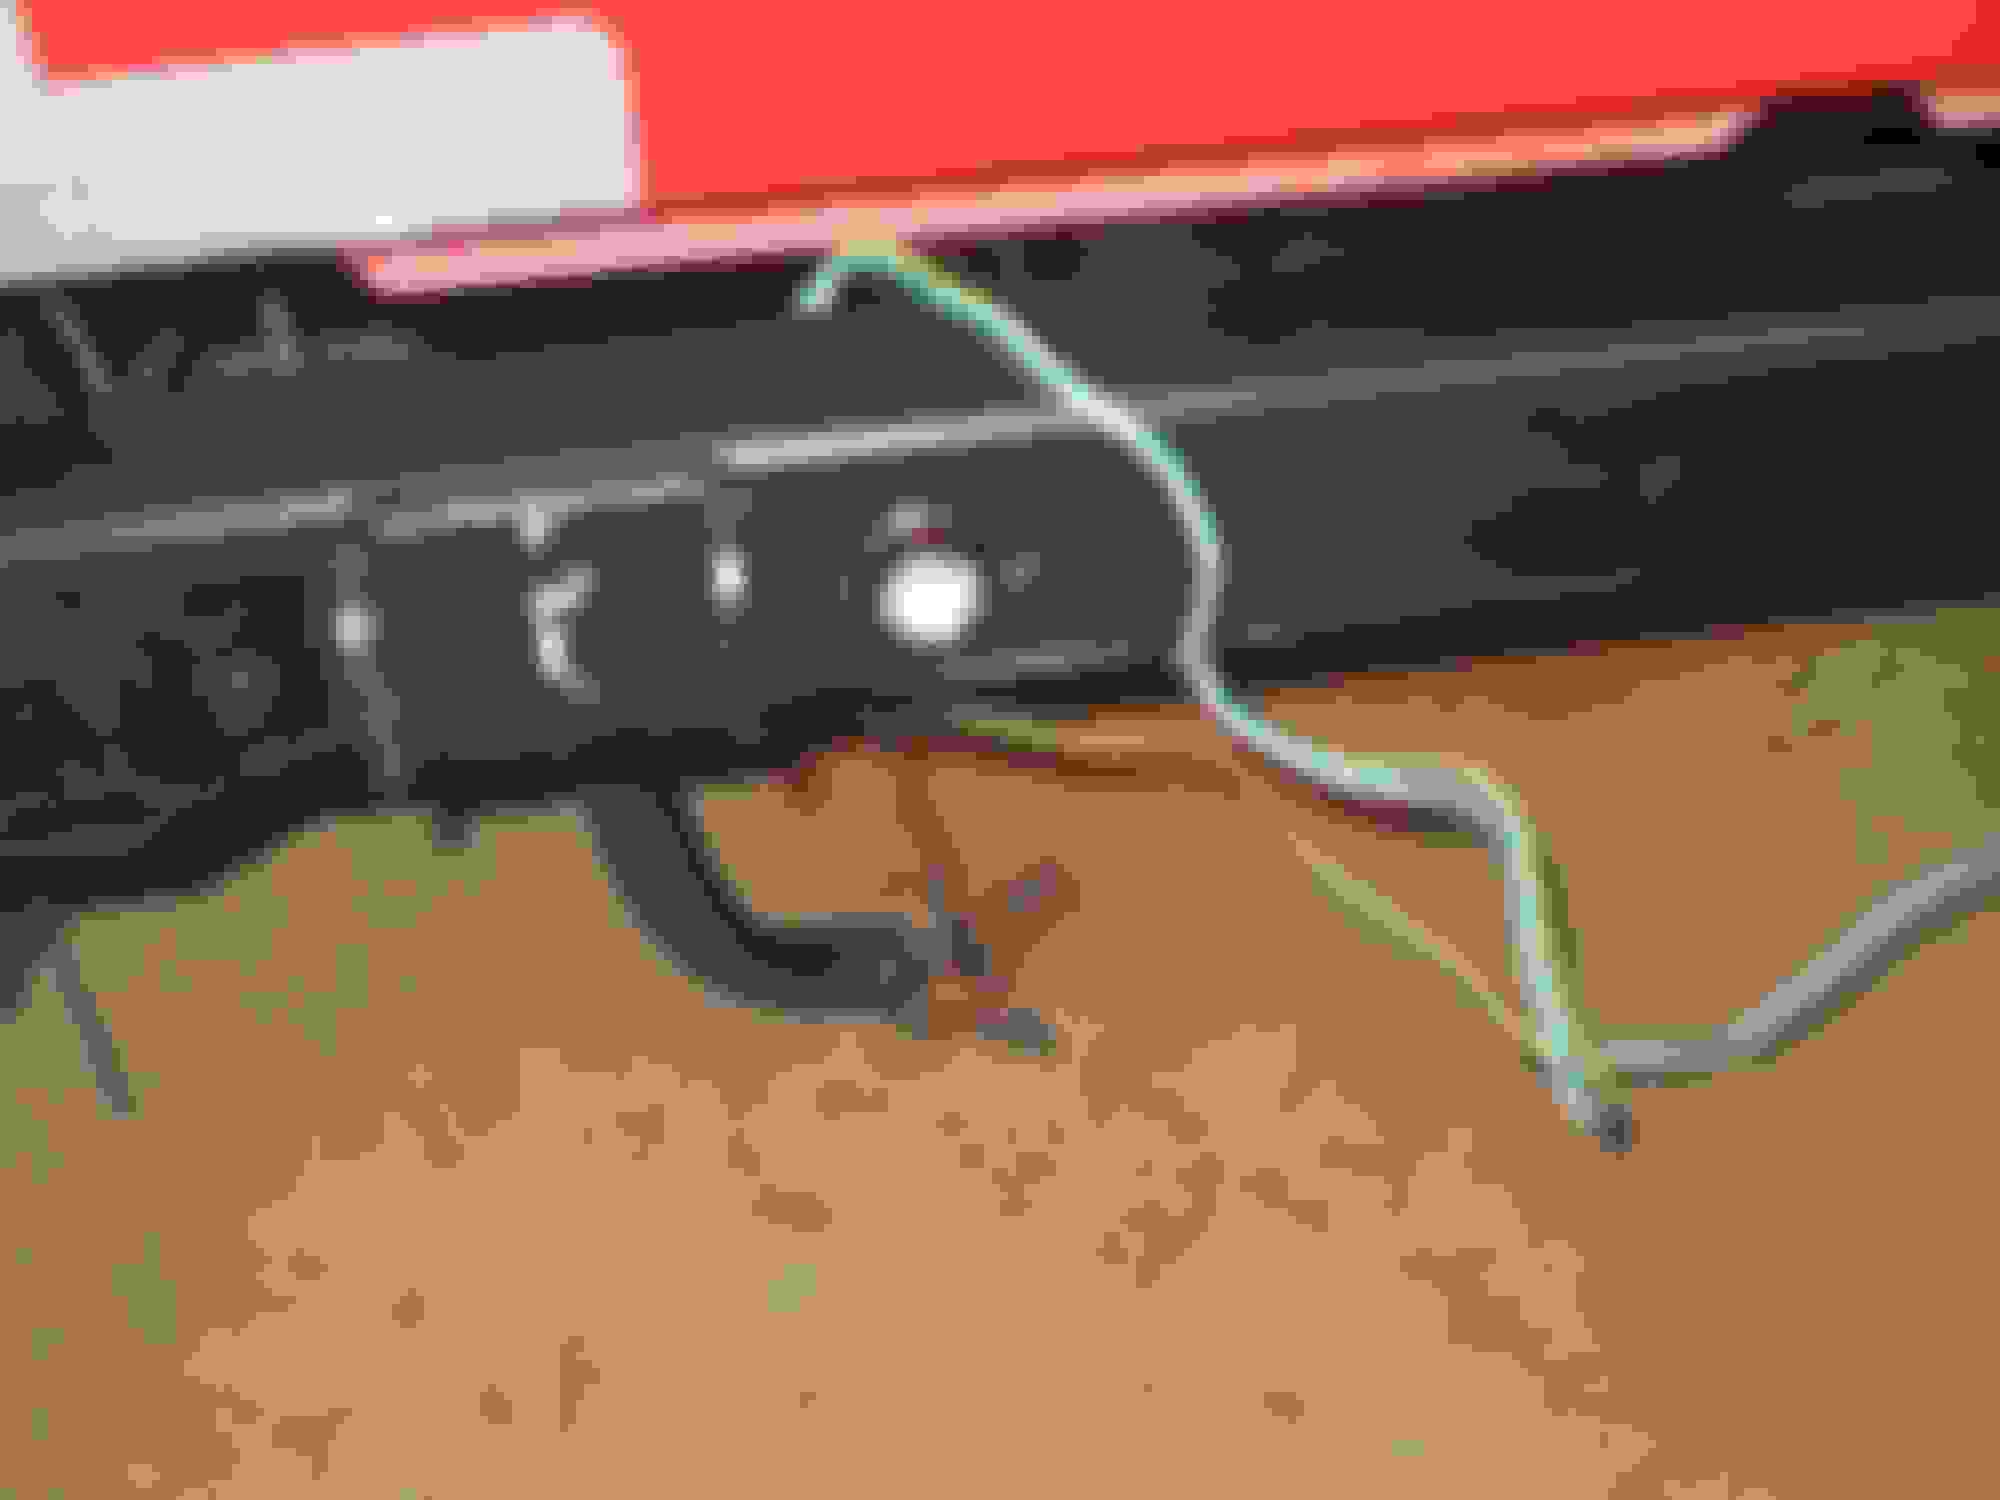
Drilled two holes in the rear cross member, where the rear bumper covers it. These are for LED reverse or rock lights. Worked on the fuel pump module. All I need to get for it now is the correct size hose clamp to attach the pump to the module. The reason for keeping the module is to retain the fuel level sending unit. I was reading some posts that have me re-thinking my exhaust pipe size. The current plan is to use 2.5 inch from each manifold and merge into 3 inch. The post was saying that 3 inch is too restrictive and 3.5 is best for anything over 400 hp. I do know that not all exhaust shops work with 3.5 inch material and that bending it to clear the rear axle will be tough.
The rear bumper is more of a mount for the tire carrier. It came with two holes for lights. So I had to drill holes in the cross member for lights to bolt through.
Stock fuel module and guts.
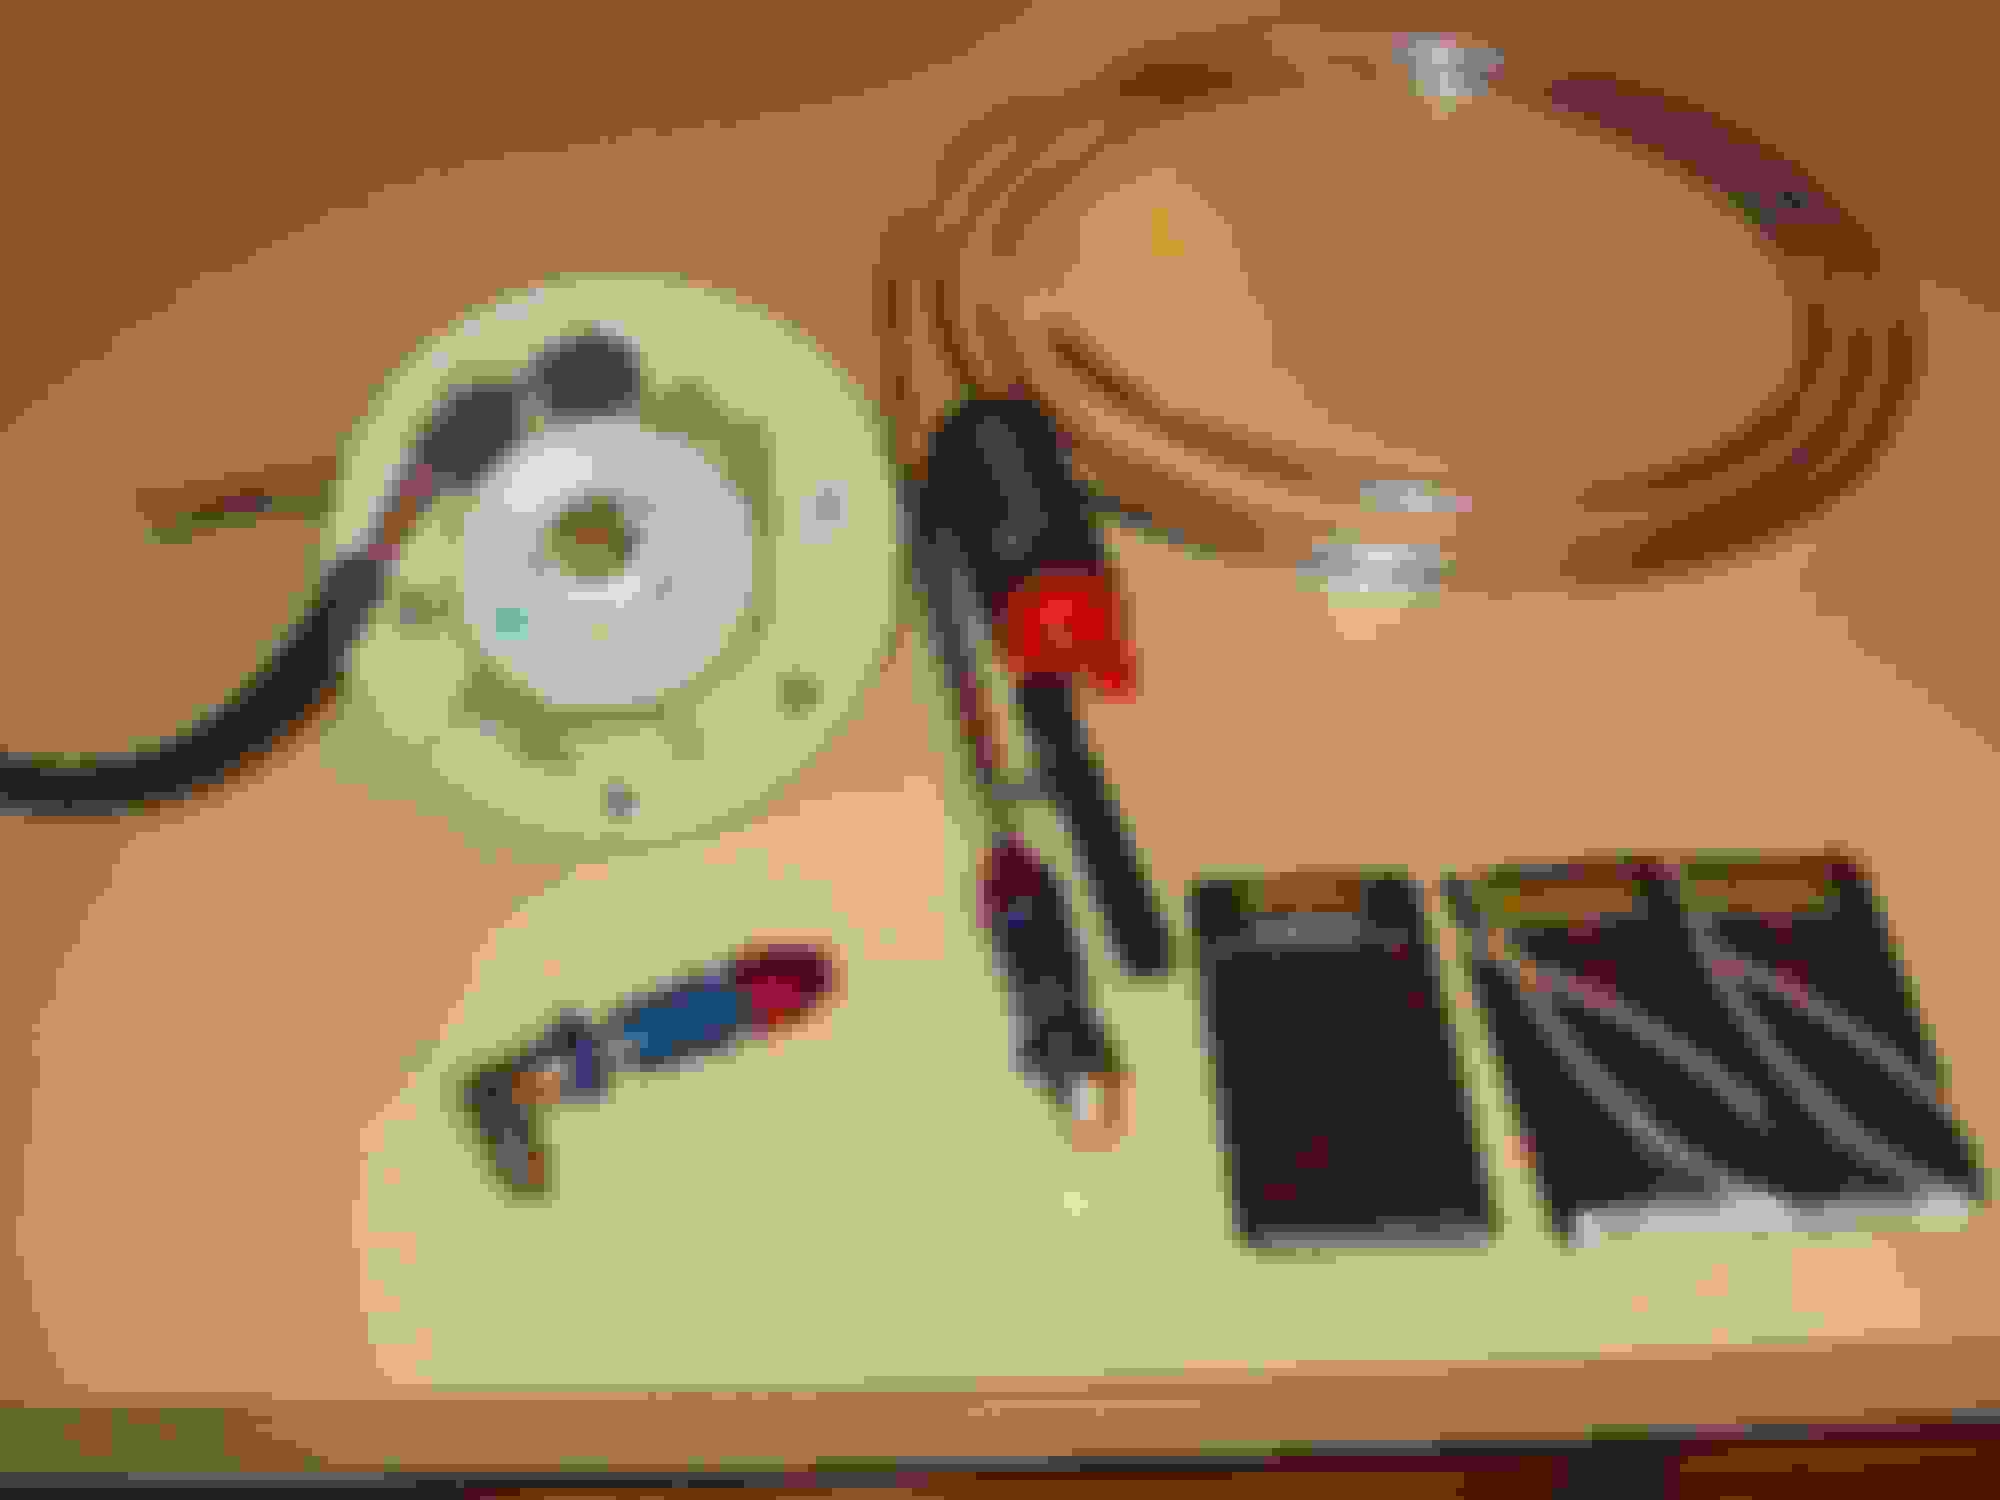
Used my dremel to remove the ears from on top of the plastic housing and the post underneath it. Here are my fittings, pump and hard line.
Bottom view of innards and pump housing that I cut around 2 inches off the bottom. The hard line next to the pump is my return line and will be pointed towards the pickup on the holley hydramat.
Here is the top of the module. I know...the plug with JB weld looks tacky! For those who do this mod: the freeze plug is a 34mm and was tapped into place prior to slathering it with JB weld.
pdxmotorhead- The power to weight ratio will be better, as well as the usable torque. A 4.8 stock will have more juice available than the 4cylinder ever hoped for! They did put the 4.8 in fullsize trucks, so a YJ should feel pretty hot. Plus, only a few people would be able to identify it as a 4.8! An LS is an LS!
One reason is I want the 6 gears for better mileage, I've rented a lot of GM trucks and the 6.0 6L80's always gave me better mileage than the small motor. I'm usually loaded about 1200 lbs, and in my area at least, I can get the used LQ9 with way lower mileage ..
Plus this is likely the last car build for me, I have other extended plans and just this once,, I'm going way north.. Id go big Hemi but the $$ are too high and its a harder swap..
I had a 400HP 327 ****** many moons ago, so i know what too much is like LOL, hoping the extra width of the YJ and the extra wheel base tames it.. (a little)
For pdxmotorhead- Our jeeps are heavier than the ******! I too am looking forward to a nice 6 speed/OD auto trans! The ones in escalades and gmc's felt pretty good and like you said, mileage is a little better. I'm under no delusion that the 6 speed will give me great mileage! I've got big knobby tires catching air along with the boxy jeep body, lifted to enhance catching more air underneath! Add in an extra axle, low gearing and extra drag of the T/C and mileage is not going to be great! But...compared to the same jeep with an anemic engine, humming in it's own rpm zone; I think our mileage will be better! The trick will be keeping my foot out of it! On jeeps there are so many variables that determine mileage. How far north are you going?
6 Common C5 Corvette Failures and What's Involved In Repairing Them
Slideshow: From wobbling harmonic balancers to failed EBCMs, these are the issues that define long-term C5 ownership and what repairs typically involve.
Retro Modern Bandit Pontiac Trans AM Comes With Burt Reynolds' Autograph
Slideshow: A modern Camaro transformed into a retro icon, this limited-run "Bandit" build blends nostalgia with brute force in a way few revivals manage.
Top 10 Greatest Cadillac V Series Performance Models Ever, Ranked
Slideshow: Cadillac didn't just crash the high-performance luxury vehicle party, it showed up loud, supercharged, and occasionally a little unhinged...
Coachbuilt N2A Anteros Is an LS2-Powered C6 Corvette In Italian Clothes
Slideshow: A one-off sports car that looks like a vintage Italian exotic-but hides a C6 Corvette underneath-just sold for the price of a new mid-engine Corvette.


 Id go big Hemi but the $$ are too high and its a harder swap..