


1959 Biscayne 2 door wagon
I would LOVE to see this car in person. Ever hang out at 40 & Noland on Saturdays? I'd like to swing by your place and look this car over before I start my swap if that's ok.
Thanks! Awesome work, btw.
Thanks! Awesome work, btw.
You're in KC? Welcome to the site. What kind of car do you have? I go to that cruise from time to time. I have the 1961 Impala two door hard top that looks like its going to fall apart with the LSA supercharger. My build is in my signature.
I'm in Raytown. I'll keep my eyes peeled for your 61! There was a handful of cars there this Saturday. I drove through, but didn't stop because I had frozen groceries in the car.
LS1 Tech Stories
The Best V8 Stories One Small Block at Time

Gas Monkey Built a 6-Wheel Ferrari Testarossa With a Corvette LT4 Engine
Verdad Gallardo
7 Most Reliable High-Performance Engines GM Has Ever Built
Verdad Gallardo
Amazing '71 Camaro Restomod Is Modern Muscle Car Under the Skin
Verdad Gallardo
6 Common C5 Corvette Failures and What's Involved In Repairing Them
Pouria Savadkouei
Retro Modern Bandit Pontiac Trans AM Comes With Burt Reynolds' Autograph
Verdad Gallardo
Top 10 Greatest Cadillac V Series Performance Models Ever, Ranked
Pouria Savadkouei
Top 10 Most Powerful Chevy Trucks Ever Made!

Hennessey's New Supercharged Silverado ZR2 Has 700 HP
Verdad Gallardo
Coachbuilt N2A Anteros Is an LS2-Powered C6 Corvette In Italian Clothes
Verdad GallardoI drove by but it was really early and I had other chores as well. I spent about six hours working on my car at the time the cruise would have been going on. I've been slacking on posting updates but I'll try to upload some images tonight or tomorrow.


 LOL
LOL 

Yeah, I go to that cruise from time to time, but it just doesn't seem to be taking off like the Jackson Drive show did. I went there three weeks in a row last summer in my Blazer and never even got out of it because there just wasn't anyone there. But I'll definitely be there this summer in the wagon if I ever get it done!
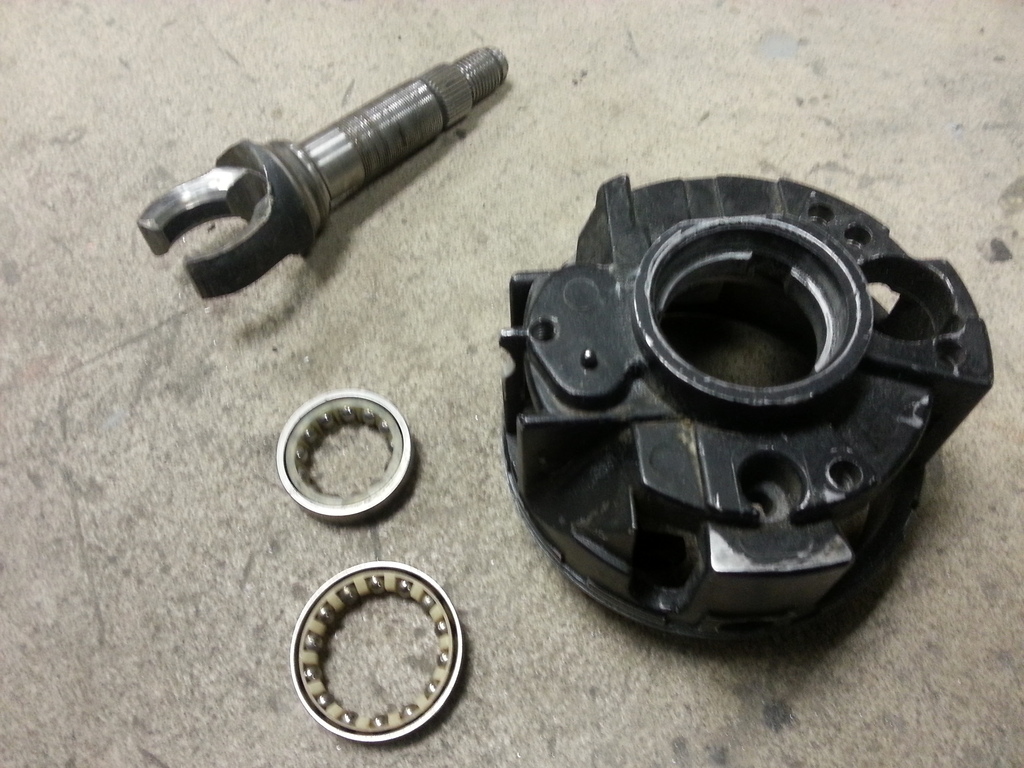
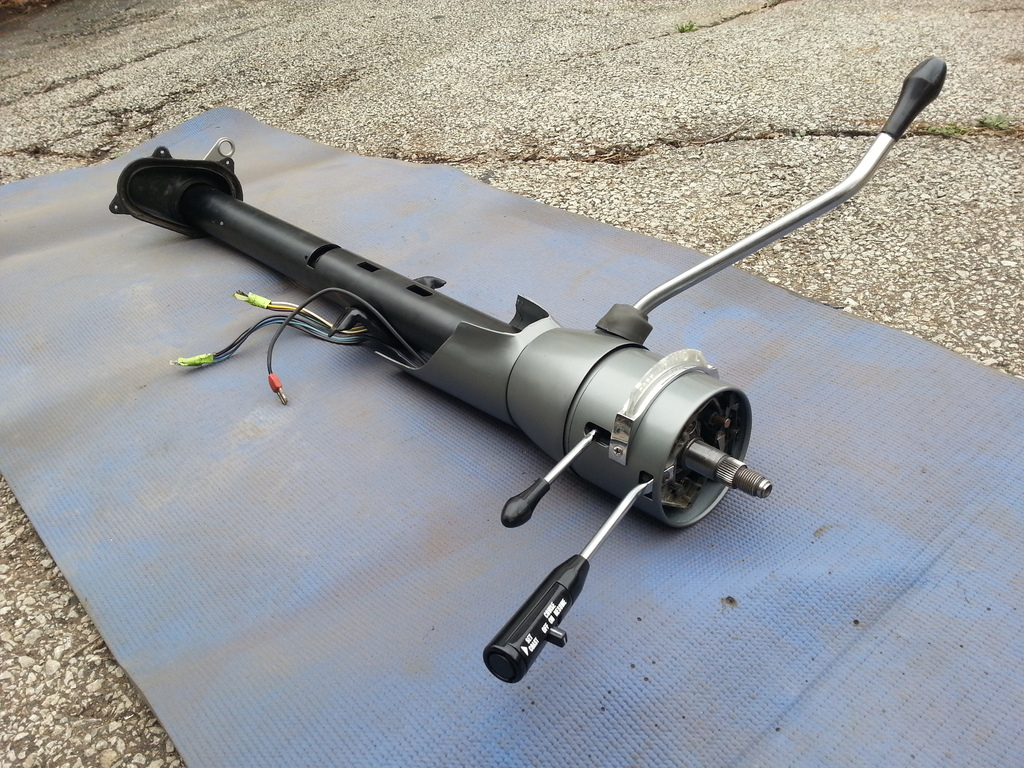
After the detent mods were done I started putting the column back together. I didn't take a lot of pics of the process, but here's a few during reassembly. Upper bearing housing and bearings.
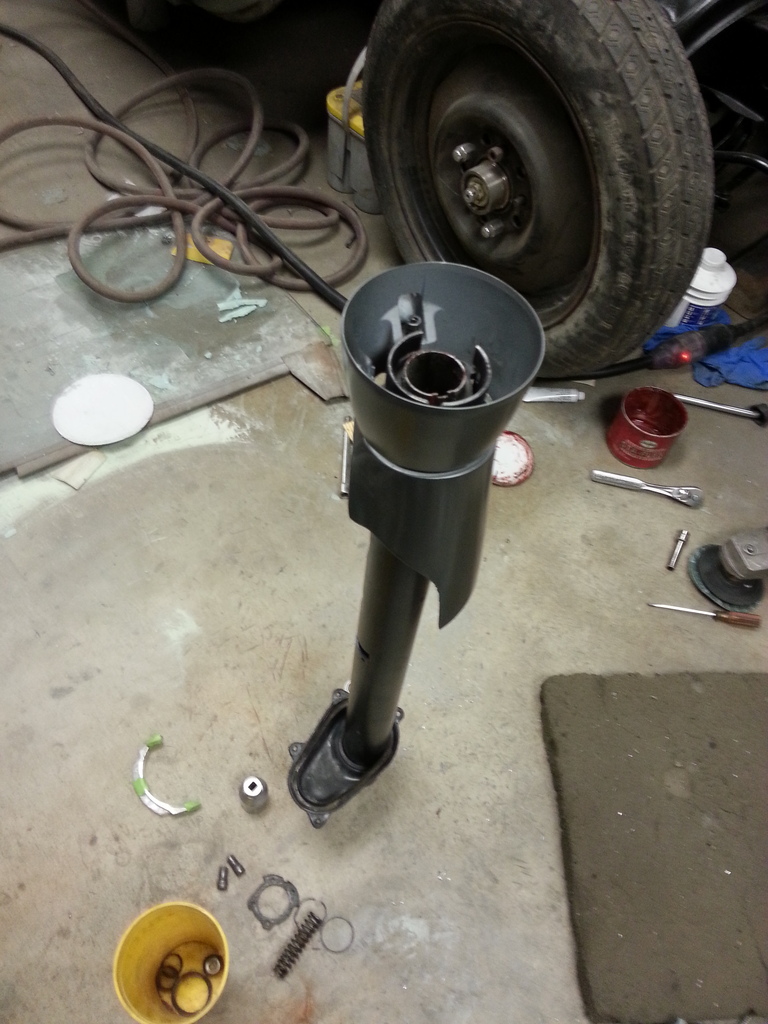
Shift bowl on and shift tube installed.
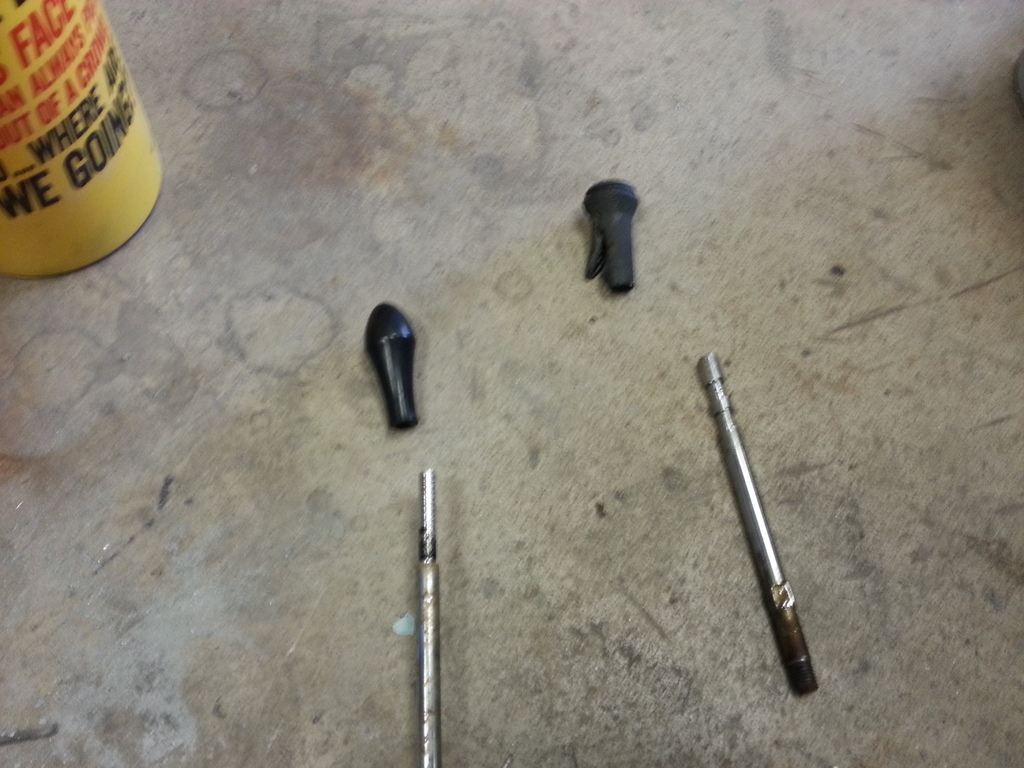
It's the little details that make for a nice end result. On the right is the tilt release lever from the '81 van with the **** removed, and on the left is the **** off the '59 turn signal lever. I put the '59 **** on the van tilt release so it looks factory. I also did the same with the shift lever **** but don't have a pic of that.
Column put back together! With the exception of the cruise control switch, if they had made a tilt column in '59, I believe it would have looked like this.
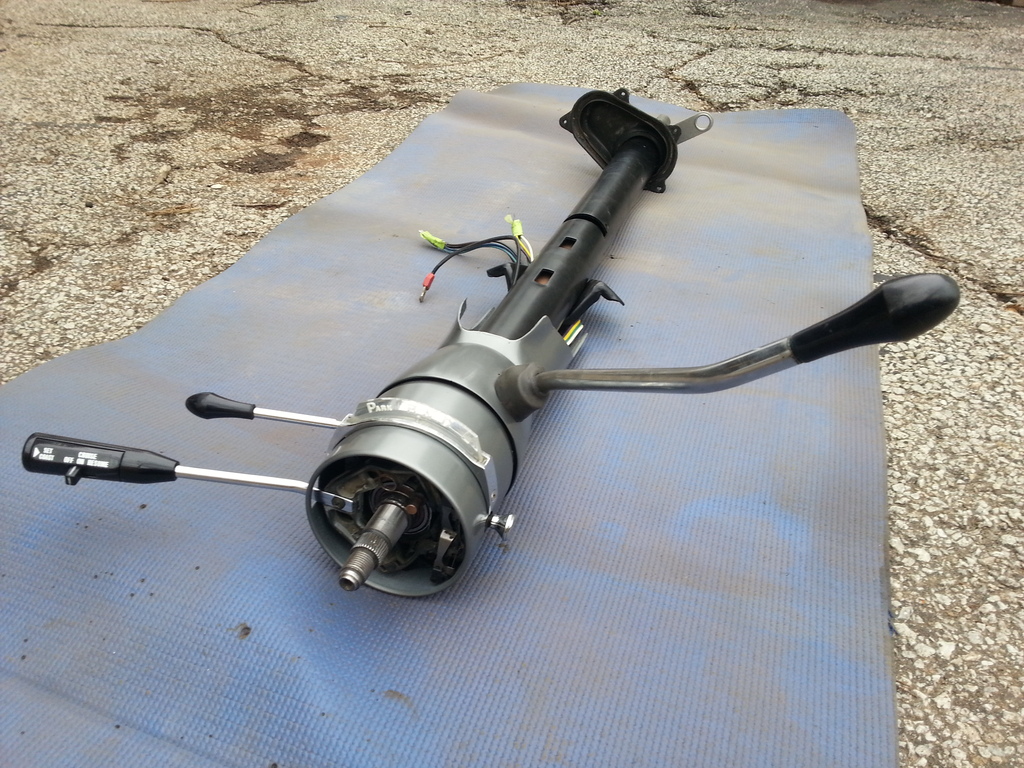
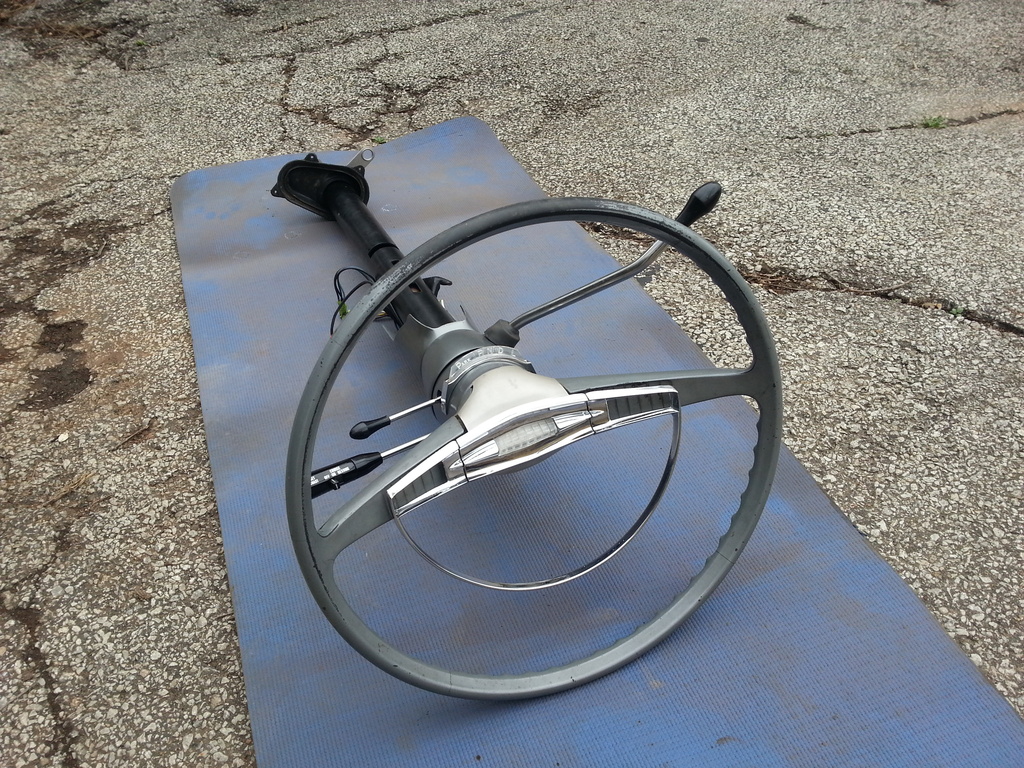
Put the steering wheel on to see how it looked. The wheel still needs to have a few cracks repaired and be repainted though.
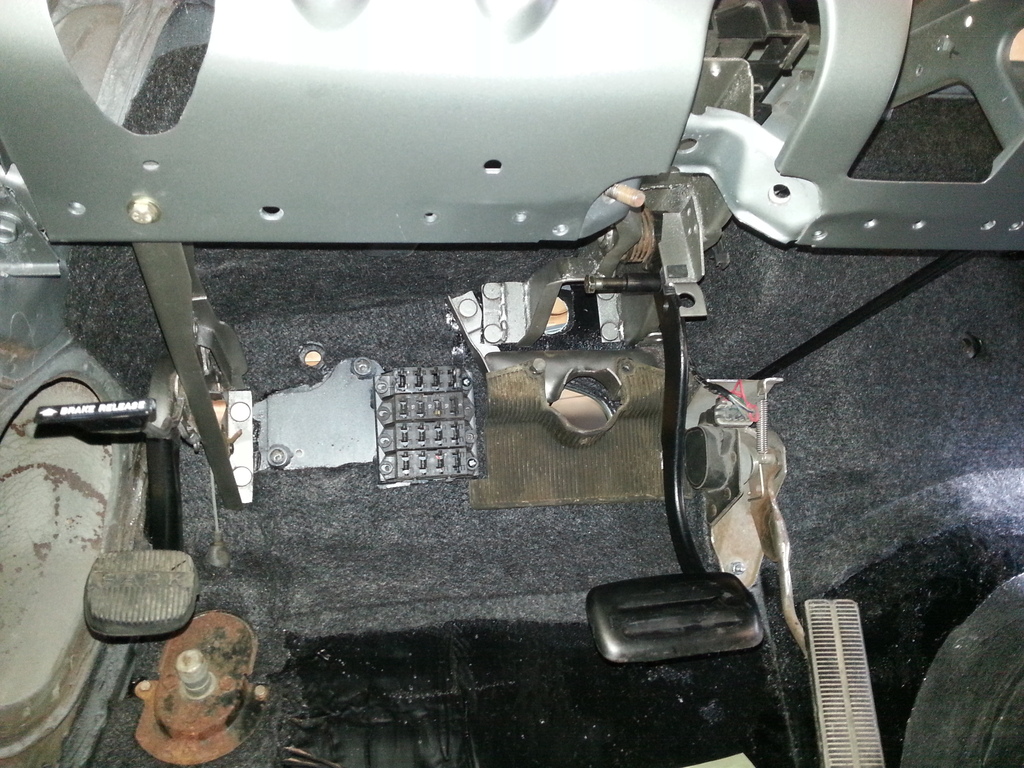
Cleaned up my "slightly" modified brake pedal mount bracket. I notched the end to make room for the BCM.
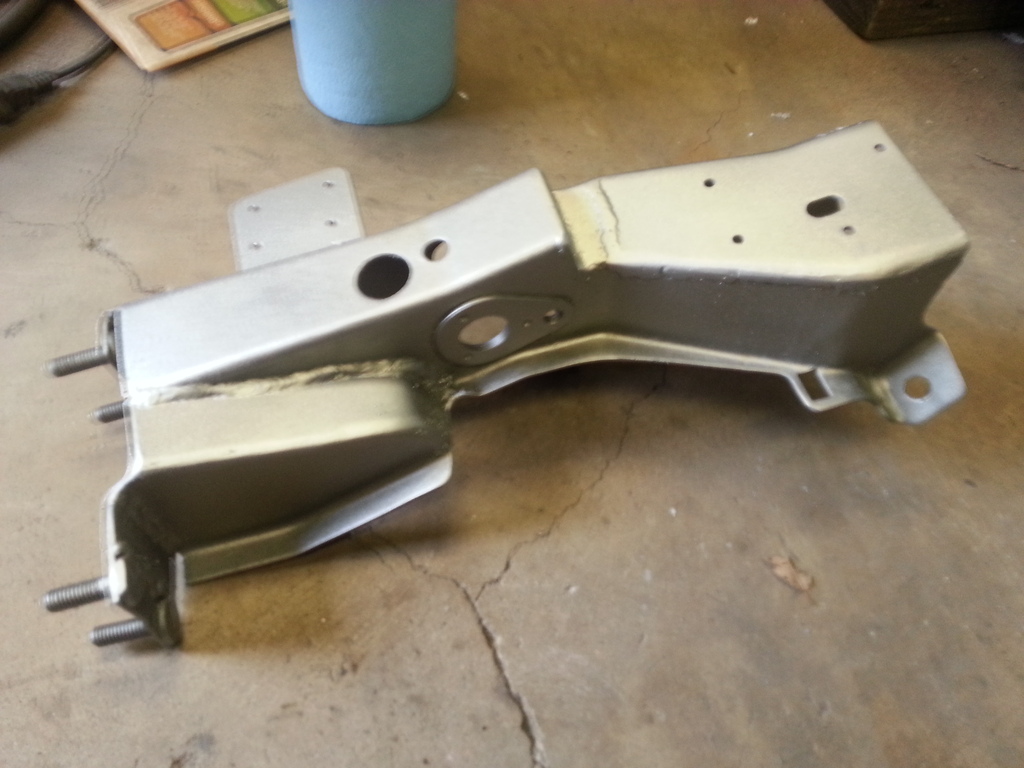
BCM mount added.

Then it was on to installing the Hushmat and insulation on the firewall so that the wiring can begin....
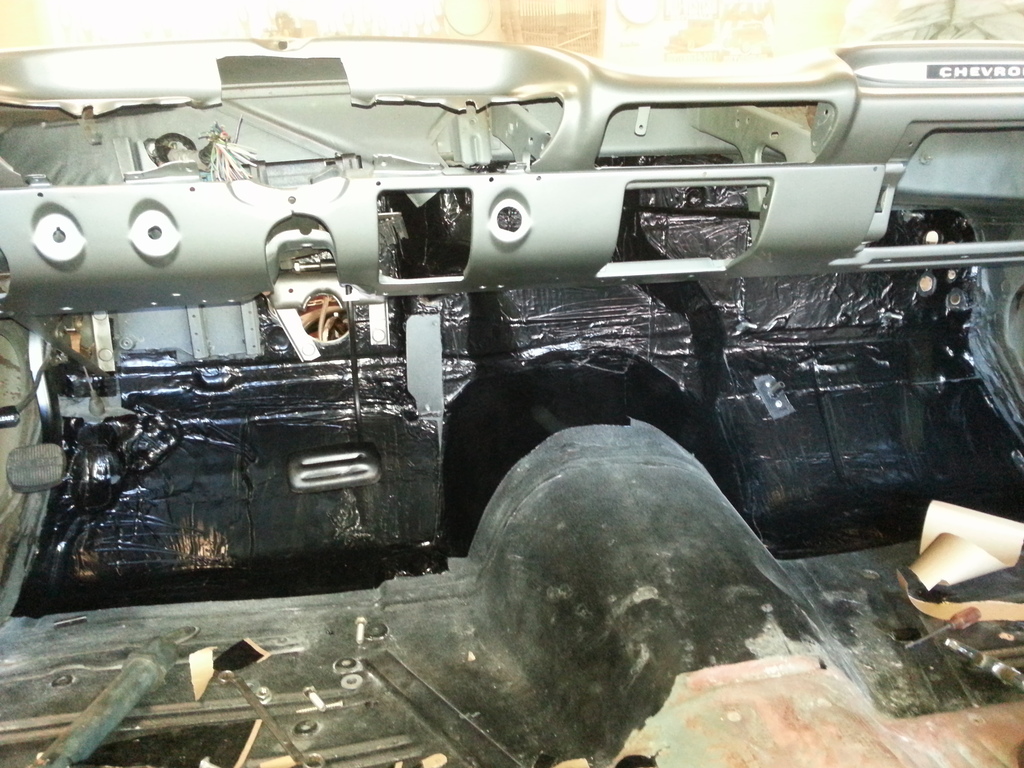
In this pic you can see the A/C drain mount screwed to the floor. The VA instructions tell you to put the drain in the floor through a rubber grommet, but since the one on my Nova fell off once and I lost it, I now make a pass through to hook the drain to.

Driver's side pretty much all insulated and reassembled to make sure everything is still going to fit.

Shift bowl on and shift tube installed.

It's the little details that make for a nice end result. On the right is the tilt release lever from the '81 van with the **** removed, and on the left is the **** off the '59 turn signal lever. I put the '59 **** on the van tilt release so it looks factory. I also did the same with the shift lever **** but don't have a pic of that.

Column put back together! With the exception of the cruise control switch, if they had made a tilt column in '59, I believe it would have looked like this.


Put the steering wheel on to see how it looked. The wheel still needs to have a few cracks repaired and be repainted though.

Cleaned up my "slightly" modified brake pedal mount bracket. I notched the end to make room for the BCM.

BCM mount added.

Then it was on to installing the Hushmat and insulation on the firewall so that the wiring can begin....

In this pic you can see the A/C drain mount screwed to the floor. The VA instructions tell you to put the drain in the floor through a rubber grommet, but since the one on my Nova fell off once and I lost it, I now make a pass through to hook the drain to.

Driver's side pretty much all insulated and reassembled to make sure everything is still going to fit.

Since I decided to go ahead and put a back seat in the car, I had to find one. This proved to be a lot harder than I thought, but I was able to finally track one down with some help from another forum. Now it's been pretty nice around here for February, so me in my infinite wisdom (  ) decided to hop in the old trusty Rusty and make a 225 mile one way trek to Iowa on the worst possible day! It was cold and snowy but I got the seat and some trim parts off of this cream puff.
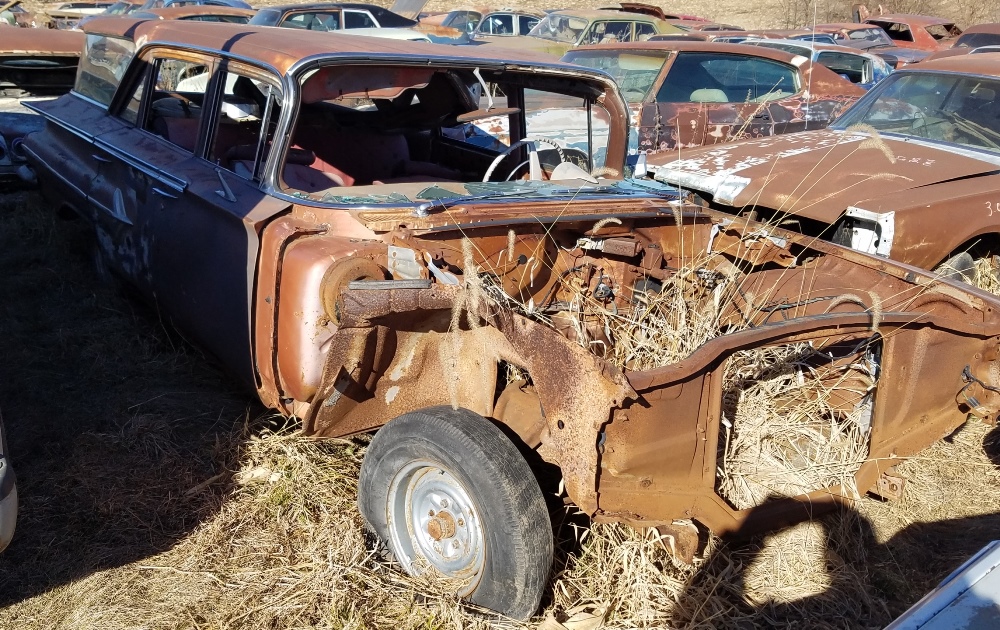
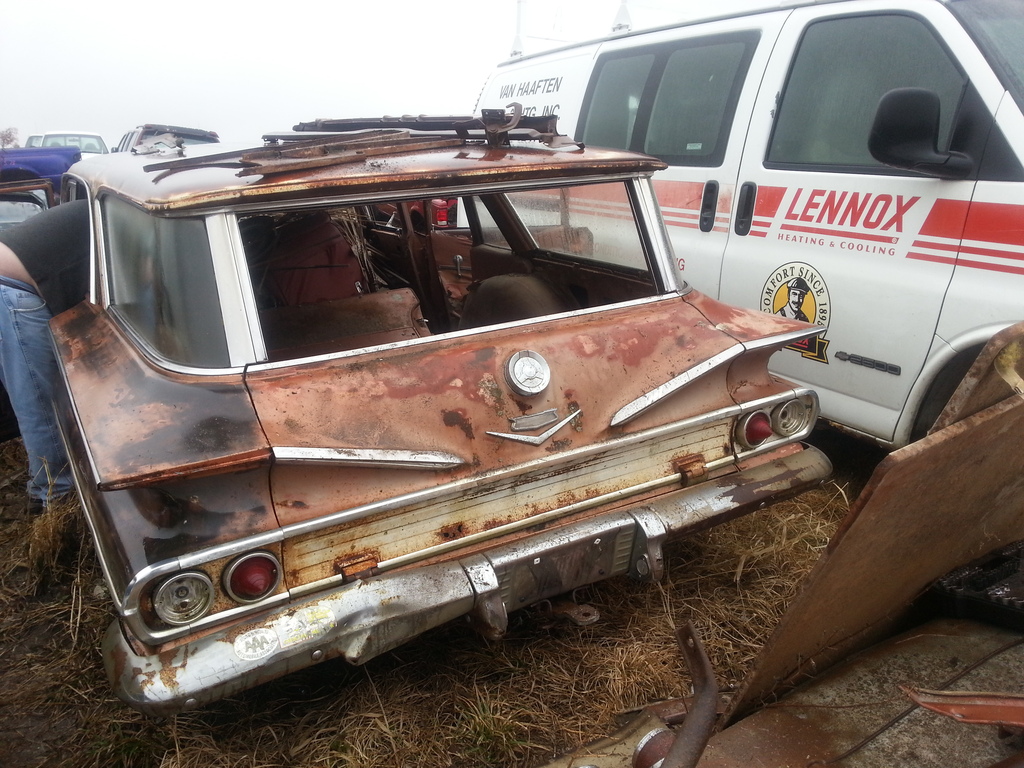
My buddy with the red wagon is using a hammer and chisel to remove the few remaining pieces of solid metal holding the seat in. Luckily the car was so rusty it didn't take long.
We made a pit stop in Bethany on the way back. The truck was covered in ice, but look at that right rear hubcap.......
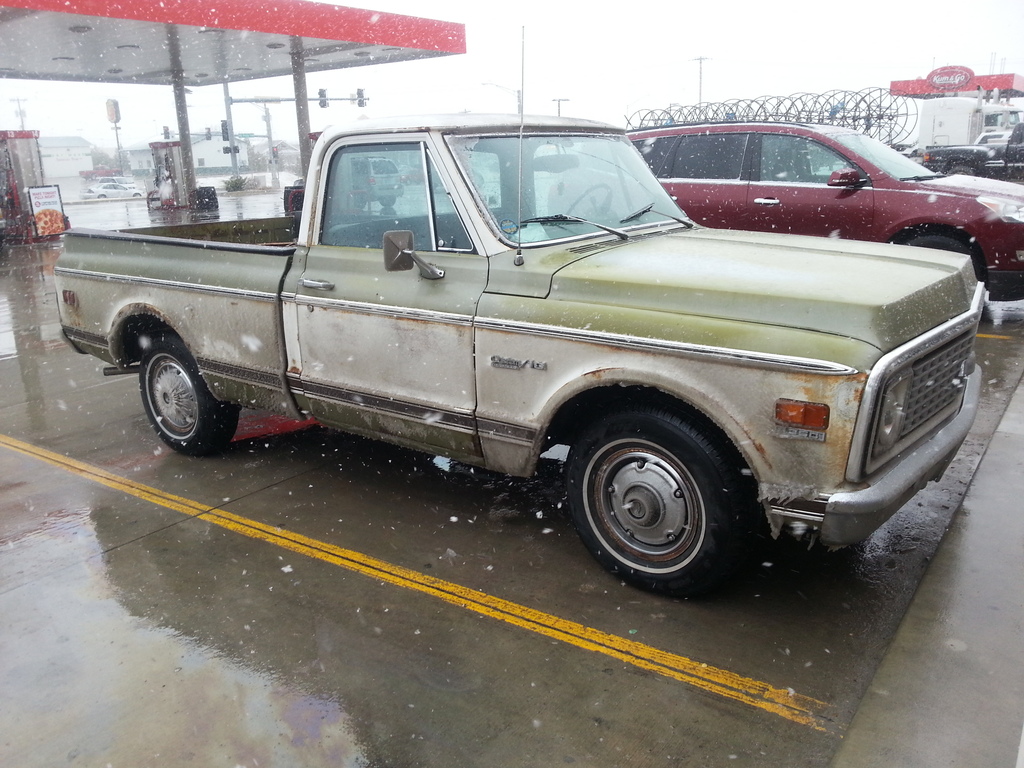
I had never seen anything like this before! Crazy ice formations!

) decided to hop in the old trusty Rusty and make a 225 mile one way trek to Iowa on the worst possible day! It was cold and snowy but I got the seat and some trim parts off of this cream puff. 
My buddy with the red wagon is using a hammer and chisel to remove the few remaining pieces of solid metal holding the seat in. Luckily the car was so rusty it didn't take long.

We made a pit stop in Bethany on the way back. The truck was covered in ice, but look at that right rear hubcap.......

I had never seen anything like this before! Crazy ice formations!

Last edited by ls1nova71; Feb 26, 2017 at 09:30 AM.
Beautiful job on the colum and nice write up on it. What happened to that hub cap is wild! Glad you got a picture of it. I've been known to take a few crazy excursions looking for parts too, I guess it's in a hot rodders blood.
Yeah, I go to that cruise from time to time, but it just doesn't seem to be taking off like the Jackson Drive show did. I went there three weeks in a row last summer in my Blazer and never even got out of it because there just wasn't anyone there. But I'll definitely be there this summer in the wagon if I ever get it done!
The Halloween cruise they had was absolutely a mad house with cars and spectators.
I don't think you can be in this hobby very long and not have at least one crazy story about a journey chasing parts.

So I started the wiring.... I'm sure I'm not normal when it comes to this part of the build because I actually like doing it! I find it really rewarding hooking wires up and making light bulbs light up and stuff.
When I was a kid my parents got me one of those wiring kit things where you hooked up a bunch of wires to make circuits and could make flashing lights and even a radio. I liked that thing although I really wasn't very good at getting them to work all the time.  But, now I have a little firmer grasp on wiring and generally don't have any super big problems..... Knock on wood!!!!
This is the wires to the windshield wiper motor. Going to loom the engine harness in this woven kind of loom, I think it looks better than the factory convoluted type.

In this pic you can see some of the wiring and the BCM. This is how you know I like wiring, I'm sure nobody in they're right mind would put a BCM in a car if it wasn't absolutely necessary!

Pic of the fuse box. The wiring kit I'm using either wants you to run the wires out the bottom of the fuse box, or mount it upside down, neither of which I really liked, so I basically tore the loom all apart, threw away the instructions and am doing it my way. Of course the instructions also say to do one circuit at a time, but what's the fun in that when you can have a whole rats nest of wires to sort through?
It's ironic I removed mouse nests from the car, and installed a rat's nest......
Starting on the relay block for the BCM functions. There are relays for the dome light, the inadvertent circuit (shuts the dome light off if its left on for like 20 minutes, I think),the retained accessory power and the automatic headlights and park lights.

To wire it up and keep the wire colors correct, I went to the Pick n Pull and cut a bunch of wire out of a mid 2000's Cadillac. This was just under the back seat! It's been inside the car so its in good shape and has most colors and sizes that I will be needing for both the BCM and engine harness mods.

Relay block wired up. Just have to wire up the fuse box portion and put it in the car.

I stopped on the inside wiring and moved on to the engine harness. This isn't the harness that came with the engine. I picked this one up years ago and was a fairly new take off so it's in real nice shape and isn't a flex fuel harness like the original.

Since I moved the throttle body and coils, and the PCM is in a different location, the harness needed to be completely stripped down. At this point I began to think I'm going to regret this as it's probably the most trouble inducing way of doing it, but I kept looking at the engine and there's just no other way to do it.....

There's a LOT of tape in these things!

Oh no! I've killed it!

Put the PCM on the mount and started to reroute the harness. I've got about 12 hours in it at this point. This is going to take some serious time........
