

1959 Biscayne 2 door wagon
 06-29-2017, 11:12 AM
#401


You're a jack of all trades. But we all ready knew that. LOL


 06-29-2017, 10:21 PM
#406

Great Story Eric............That's why I haven't gone back there with a car for 15 years.....Too much Trouble.......LOL
Ken
Ken
06-29-2017, 11:18 PM
#407
Well at least I try to be! LOL
Sorry, but I'm not going to be making any of those. I had to farm out the welding on it, so it's not like I could do them myself.
Thanks, I think it's looking pretty nice.
Yeah no kidding! I thought it would polish up some, but to be honest I didn't think it would look as nice as it does. No way any new clear coat paint job will last this long, which is why I cringe every time I see someone clear over old paint to "protect" it....
Thanks!
You should have warned me! LOL
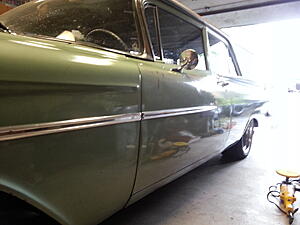
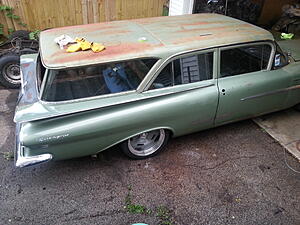
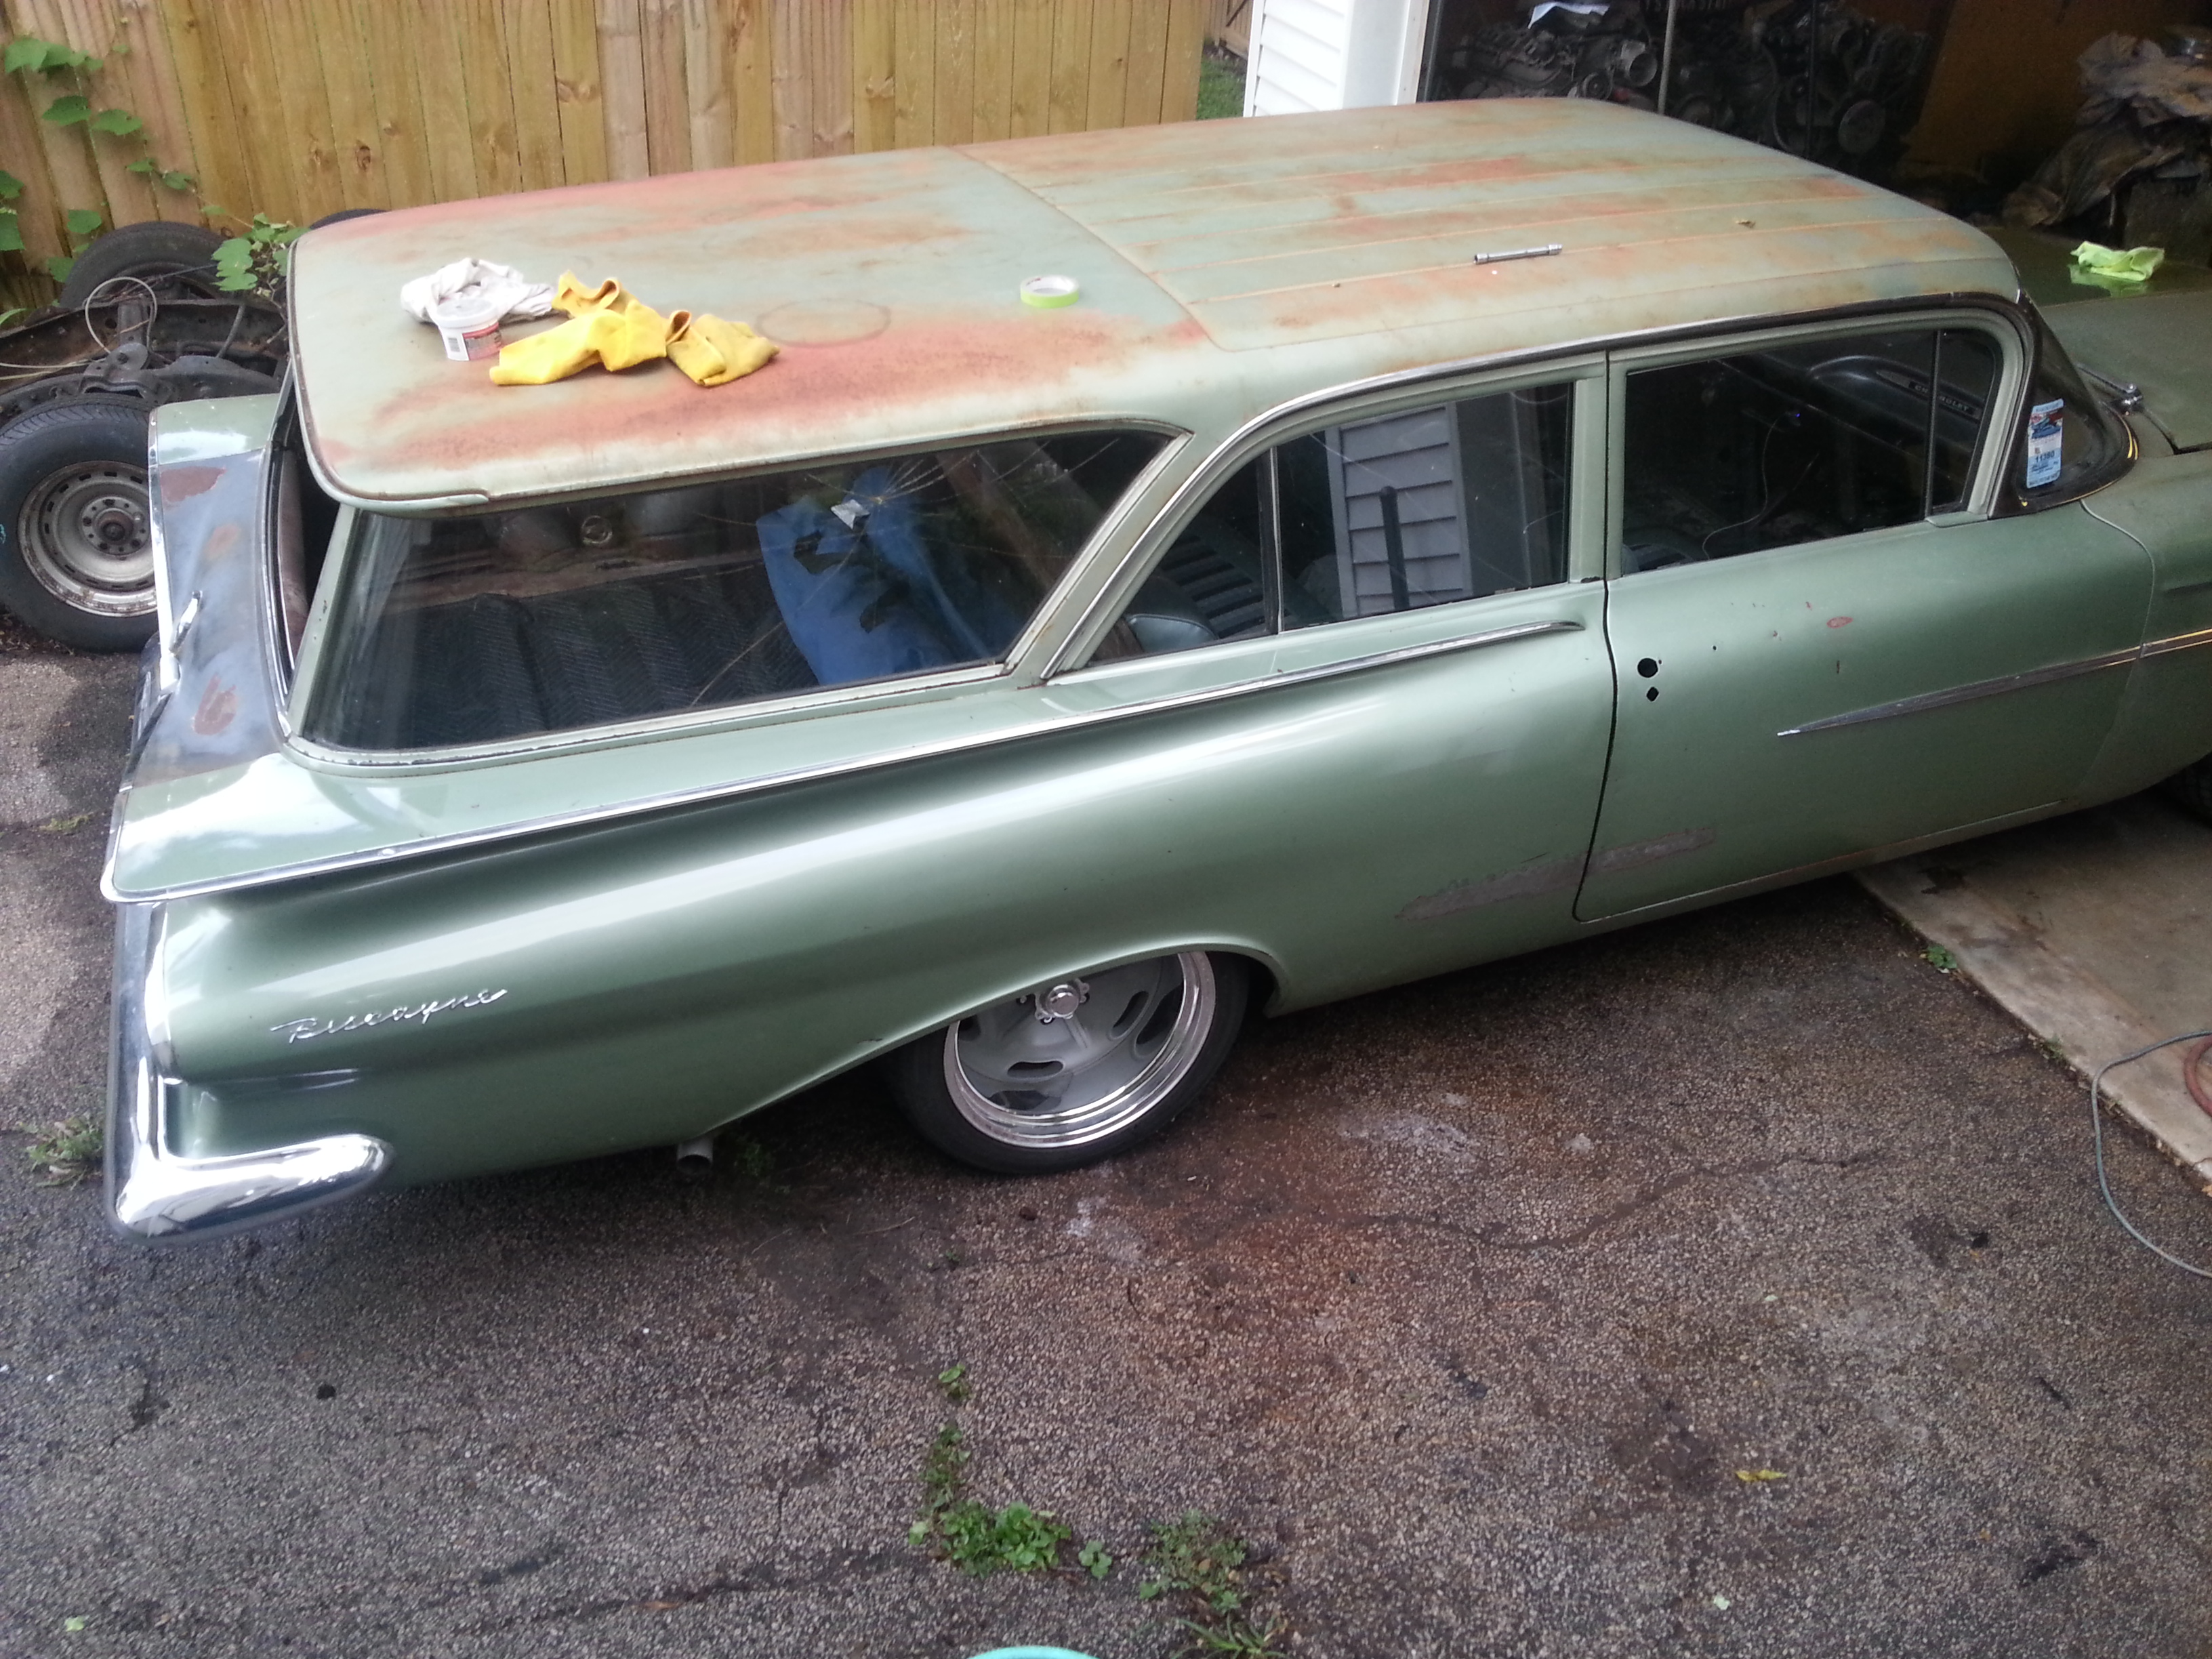
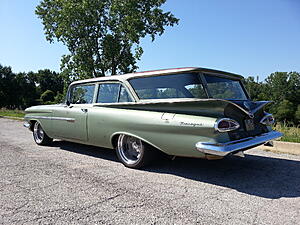
So I'm still polishing this thing. It's taking forever and I feel like I've been hit by a bus at the end of the day..... But this is the driver's side. Not the best pics, but you get the idea I hope.
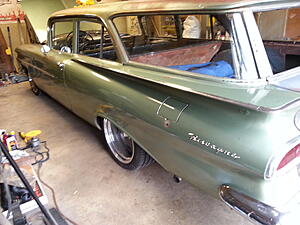
Kind of hated to lose the Department of Agriculture lettering on the doors, but you can still see a bit of it on the driver's side.

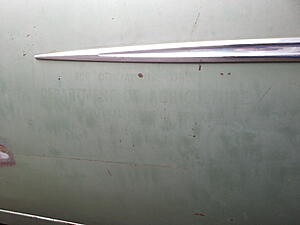
Need to find the guy that did this and give him a swift kick somewhere.... After polishing it, it really makes it that much more of a travesty!!
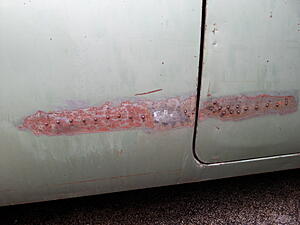

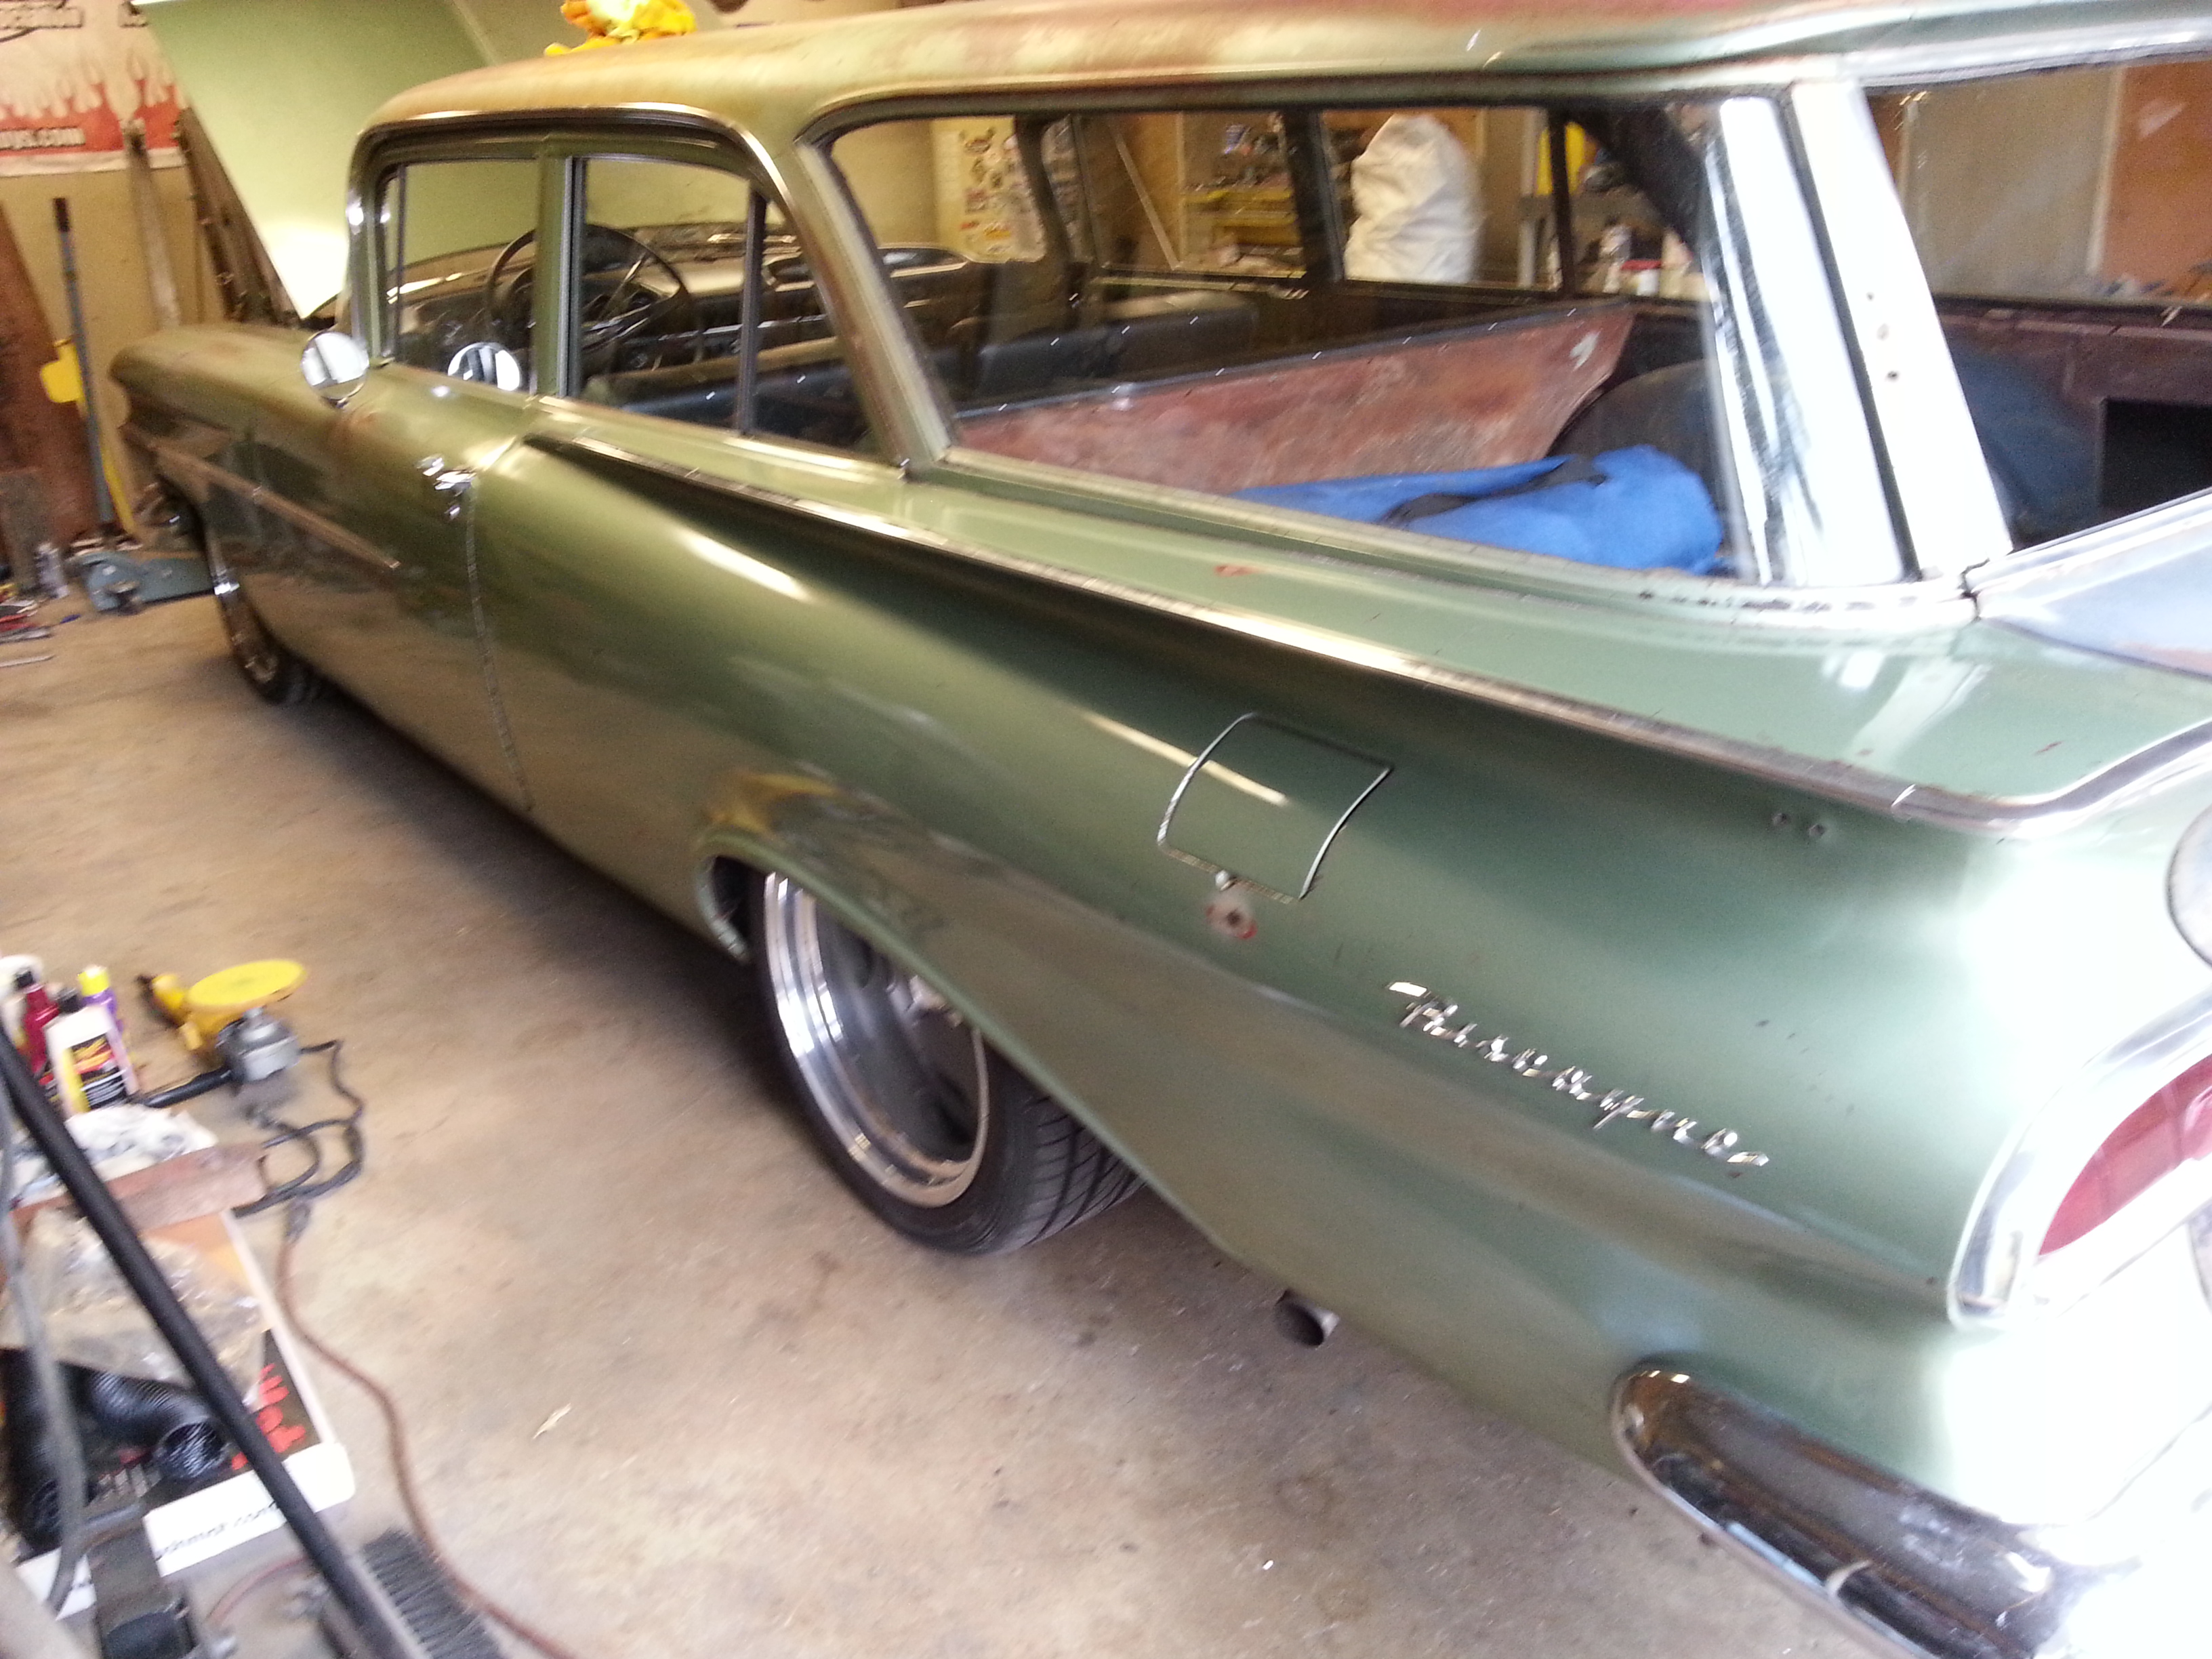
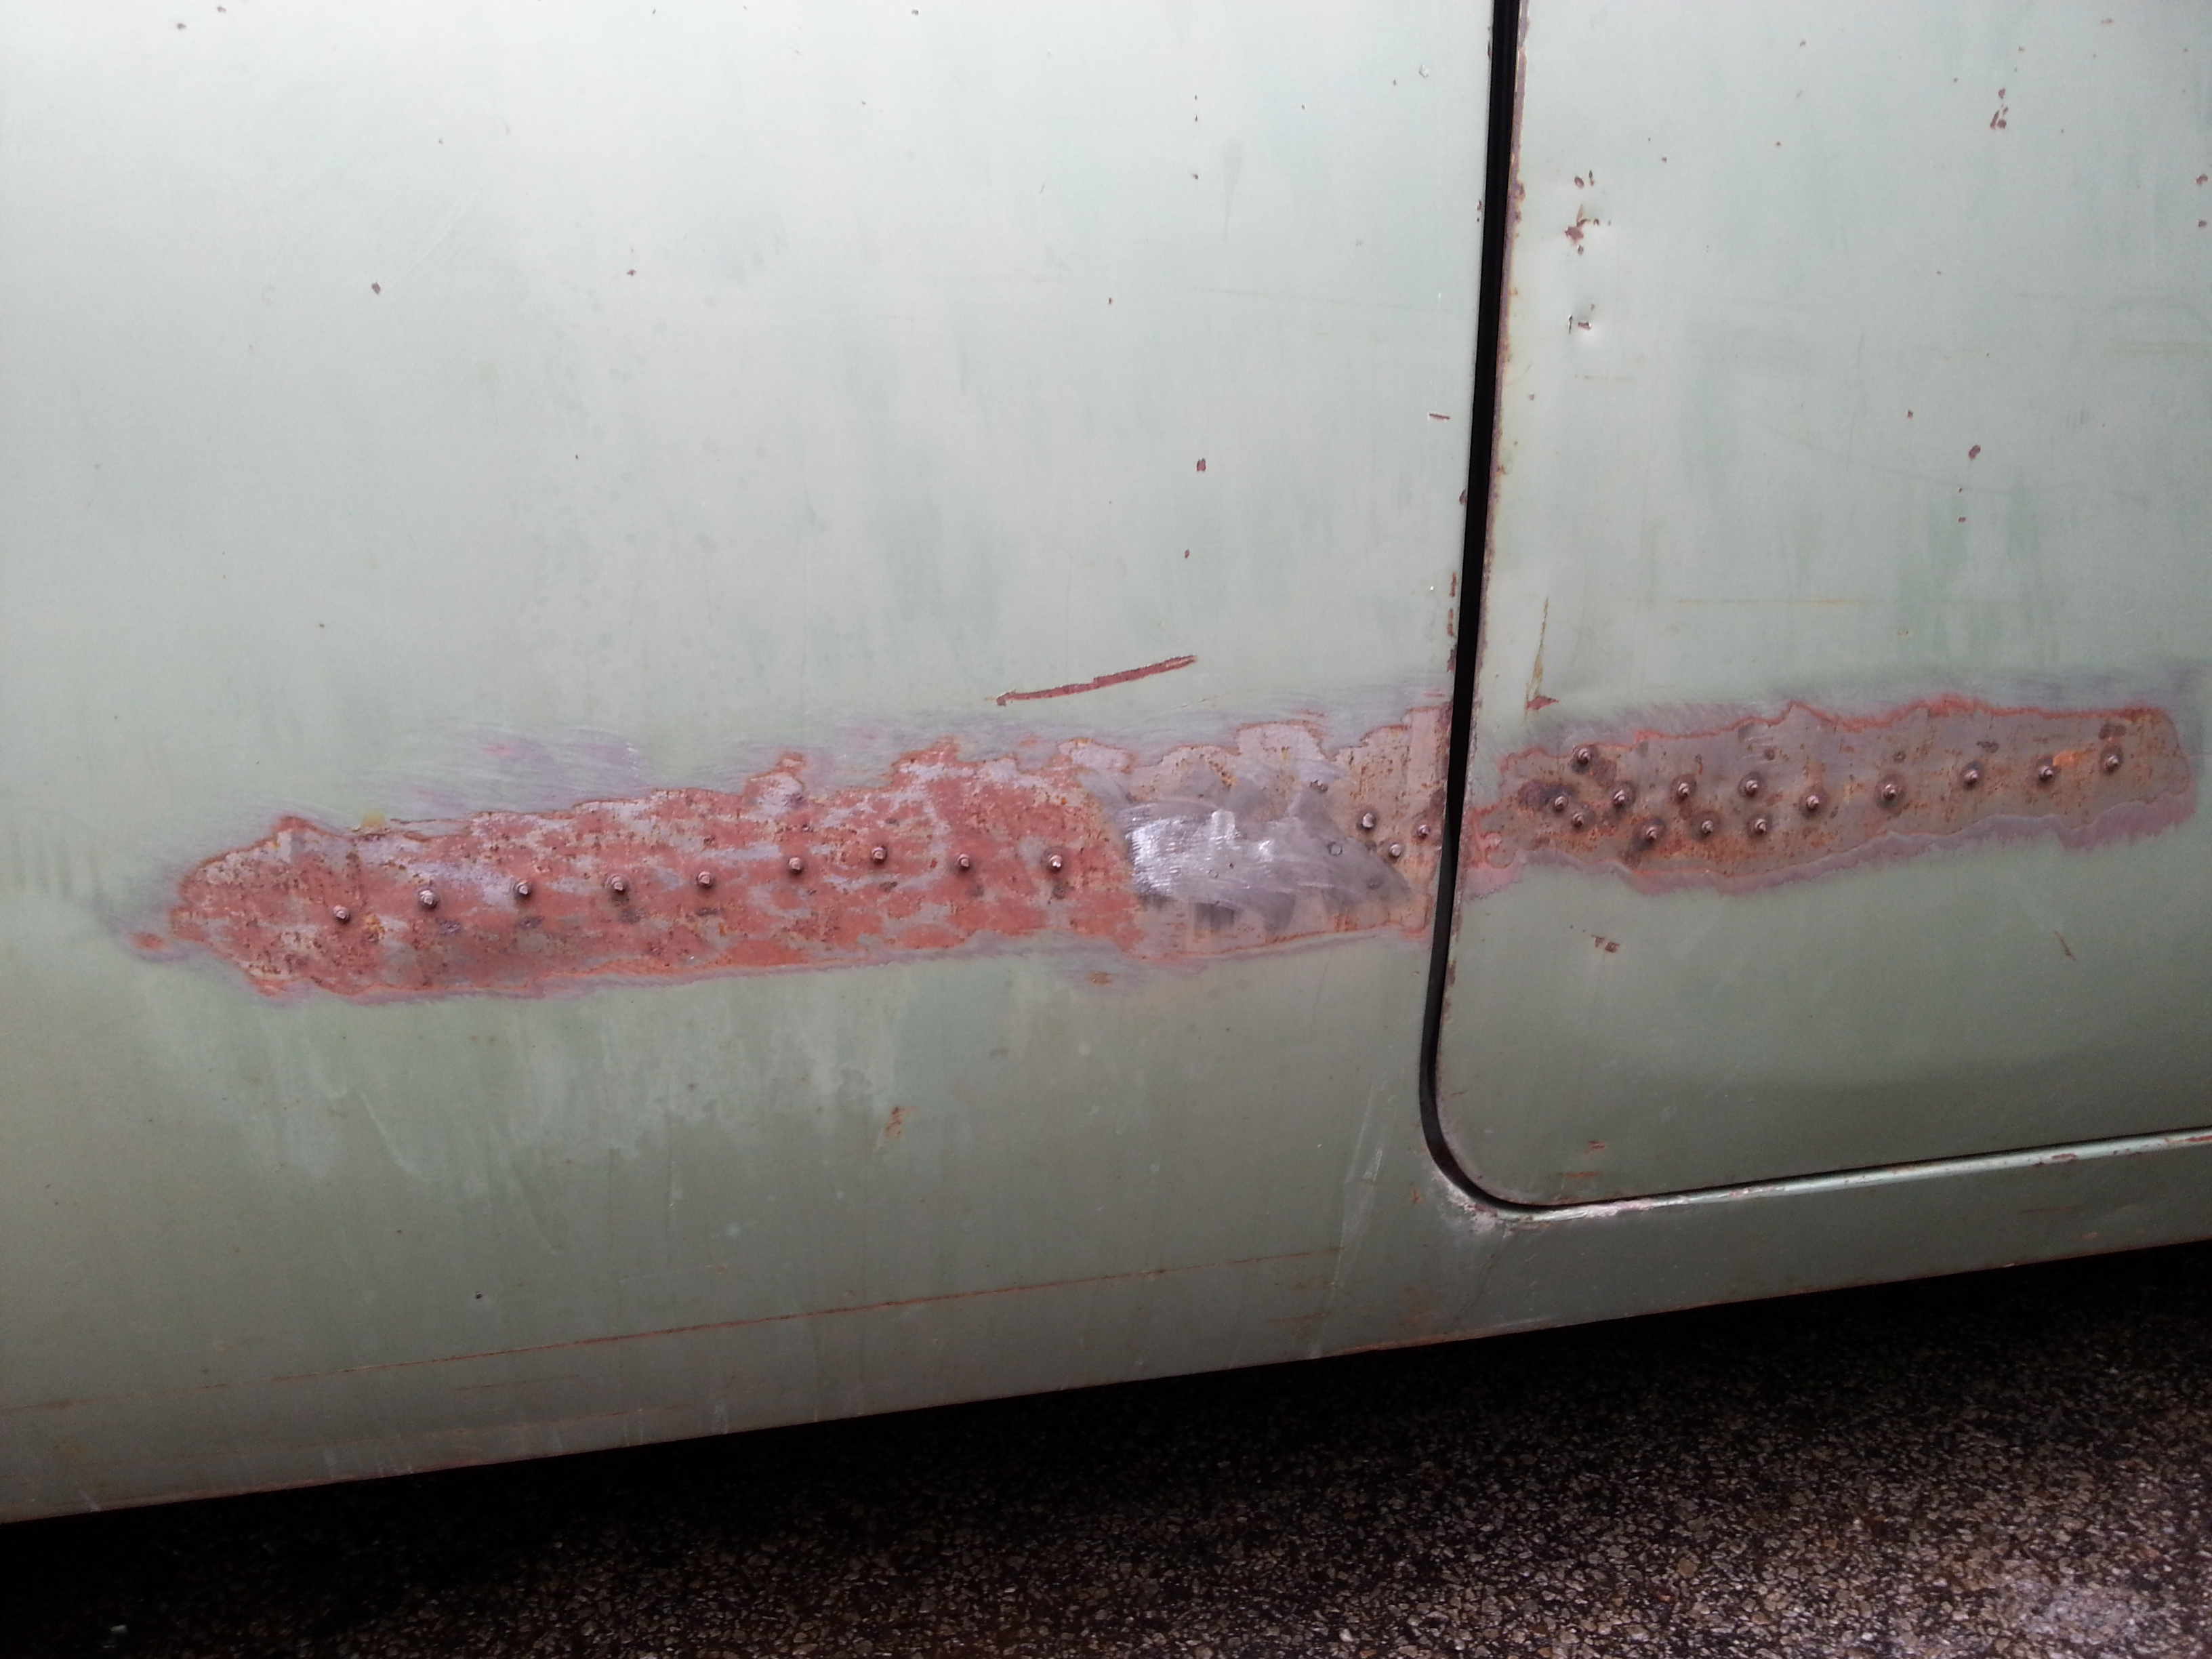
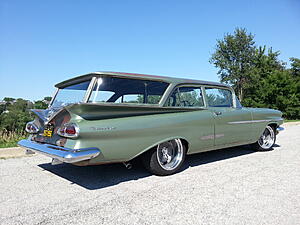
Right quarter CLR'd and ready for buffing. Just doing this brought back a lot of color, it's definitely greener now. Also you can see I ground off the studs from the dent pull debacle....


Right quarter panel polished. Kind of hard to tell in these pics, but this side turned out better than the other side. I'm thinking if I can get some lacquer paint in Aspen green, I can blend the screwed up area, that's how well it buffed out. I think there's a place on ebay that sells the paint, just have to make sure the color is right on.

So I'm still polishing this thing. It's taking forever and I feel like I've been hit by a bus at the end of the day..... But this is the driver's side. Not the best pics, but you get the idea I hope.

Kind of hated to lose the Department of Agriculture lettering on the doors, but you can still see a bit of it on the driver's side.


Need to find the guy that did this and give him a swift kick somewhere.... After polishing it, it really makes it that much more of a travesty!!

Right quarter CLR'd and ready for buffing. Just doing this brought back a lot of color, it's definitely greener now. Also you can see I ground off the studs from the dent pull debacle....


Right quarter panel polished. Kind of hard to tell in these pics, but this side turned out better than the other side. I'm thinking if I can get some lacquer paint in Aspen green, I can blend the screwed up area, that's how well it buffed out. I think there's a place on ebay that sells the paint, just have to make sure the color is right on.
 06-29-2017, 11:44 PM
#408
I'd like to take this time and tell Photobucket to kiss the fattest part of my ***!!!! They have apparently decided that you can no longer use them to host pics on forums without paying $400 a year... So they have taken down every picture I have ever posted using them on all of my threads.... Total B.S. 
06-30-2017, 06:12 AM
#410
Staging Lane
Join Date: Mar 2014
Location: Oblong, IL
Posts: 66
Likes: 0
Received 0 Likes
on
0 Posts
I've been quietly tagging along lately and just want to rave about your work, ideas and how the wagon is coming along. Awesome!
I really dislike driving in metropolitan areas....where a turn indicator means block me so I can't move over. Some are worse than others.
What Photobucket is doing doesn't seem right. They will get hammered in social media. Sorry they are messing up your threads....
I really dislike driving in metropolitan areas....where a turn indicator means block me so I can't move over. Some are worse than others.
What Photobucket is doing doesn't seem right. They will get hammered in social media. Sorry they are messing up your threads....
07-13-2017, 10:36 PM
#416
So I've lost some interest in this thread since Photosuckit has become such a pain in my *** and wiped all the pics at the begining, but I guess I'll finish it out anyway. I'm going to see if I can go back and edit the first part and add some pics but not sure how long that will take. 
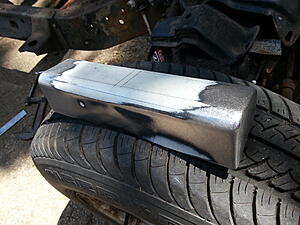
I had an issue with the A/C compressor bracket I made. It would throw the belt all the time. After removing the compressor and brackets and bolting them to an engine I have on a stand, I started to modify them when I noticed that the tensioner was starting to come apart. I got another one that was good, then moved the mounting location for it a bit and all is well now. Had to repaint the bracket and while I was at it, I painted the compressor black so it doesn't stand out as much. You really have to be looking to see it now, just the way I wanted it.
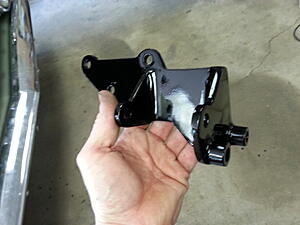
A little masking....
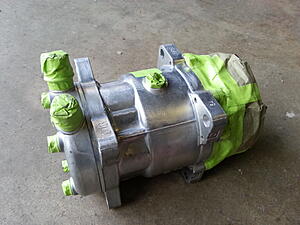
Painted...

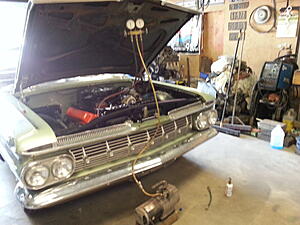
Vacuumed the system down and charged it. It blows cold, but with no center vent hooked up and no interior to speak of it doesn't work as well as it could. Need to get the rest of the car put together!
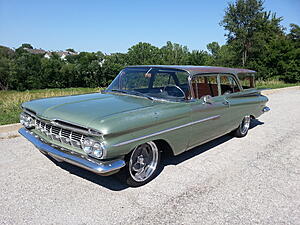
Took some pics after the polishing was done, but it doesn't really show in the pictures as much as in real life.
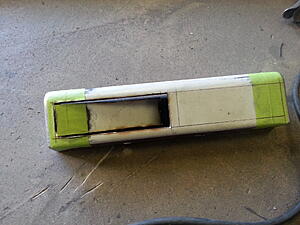
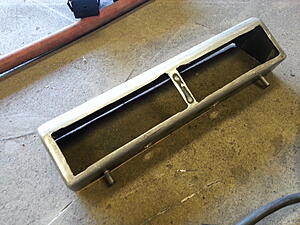
Then started to make a housing for the center A/C vents.
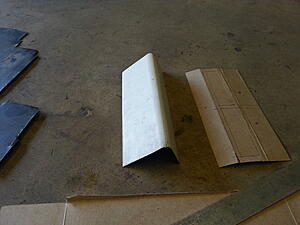
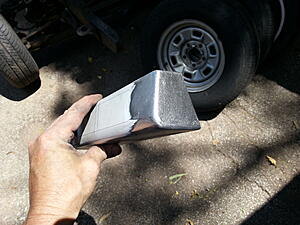
Cut out the holes for the vents....
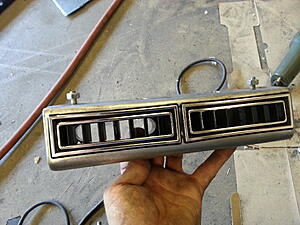
Vents installed. I installed it in the car and it really helps with the cooling. Just need to get some paint on it and put it back in then I can move on to the interior.
I had an issue with the A/C compressor bracket I made. It would throw the belt all the time. After removing the compressor and brackets and bolting them to an engine I have on a stand, I started to modify them when I noticed that the tensioner was starting to come apart. I got another one that was good, then moved the mounting location for it a bit and all is well now. Had to repaint the bracket and while I was at it, I painted the compressor black so it doesn't stand out as much. You really have to be looking to see it now, just the way I wanted it.

A little masking....

Painted...

Vacuumed the system down and charged it. It blows cold, but with no center vent hooked up and no interior to speak of it doesn't work as well as it could. Need to get the rest of the car put together!

Took some pics after the polishing was done, but it doesn't really show in the pictures as much as in real life.


Then started to make a housing for the center A/C vents.


Cut out the holes for the vents....


Vents installed. I installed it in the car and it really helps with the cooling. Just need to get some paint on it and put it back in then I can move on to the interior.
 07-14-2017, 09:15 AM
#418
I love this build. Have you considered tinting the windows? I think it would look awesome with blacked out limo tint or even something like 20%. That would also help your cooling somewhat. If you at not a fan of tint that's fine because it looks awesome as is.
09-26-2017, 10:08 PM
#420
Gosh, its been a couple months since I updated this thread, but since the PB deal and not knowing what Imgur will do, I just kind of lost interest in it. But, now there seems to be a way to link the pics to this site, so this is just a test to see if I can get it to work. If it does, I'll update the thread with some current pics.

HA! looks like it works! It's a bit of work, but still better than that slow *** PB.....
HA! looks like it works! It's a bit of work, but still better than that slow *** PB.....