Conversions & Swaps LSX Engines in Non-LSX Vehicles
Sponsored by:
Sponsored by:

1967 Chevelle turbo 5.3

Thread Tools
 
Search this Thread
 
Old 02-28-2018, 08:01 PM
  #21  
TECH Regular
Thread Starter
 
The0nlyon3's Avatar
 
Join Date: Aug 2007
Posts: 405
Received 42 Likes on 32 Posts

Default

Originally Posted by B52bombardier1
Back on post #10, how did you anchor that short length of the header heat wrap?

Rick
the header wrap kit I got had metal zip ties.... it was a pain to get to it to stay
Old 03-11-2018, 03:29 PM
  #22  
TECH Regular
Thread Starter
 
The0nlyon3's Avatar
 
Join Date: Aug 2007
Posts: 405
Received 42 Likes on 32 Posts

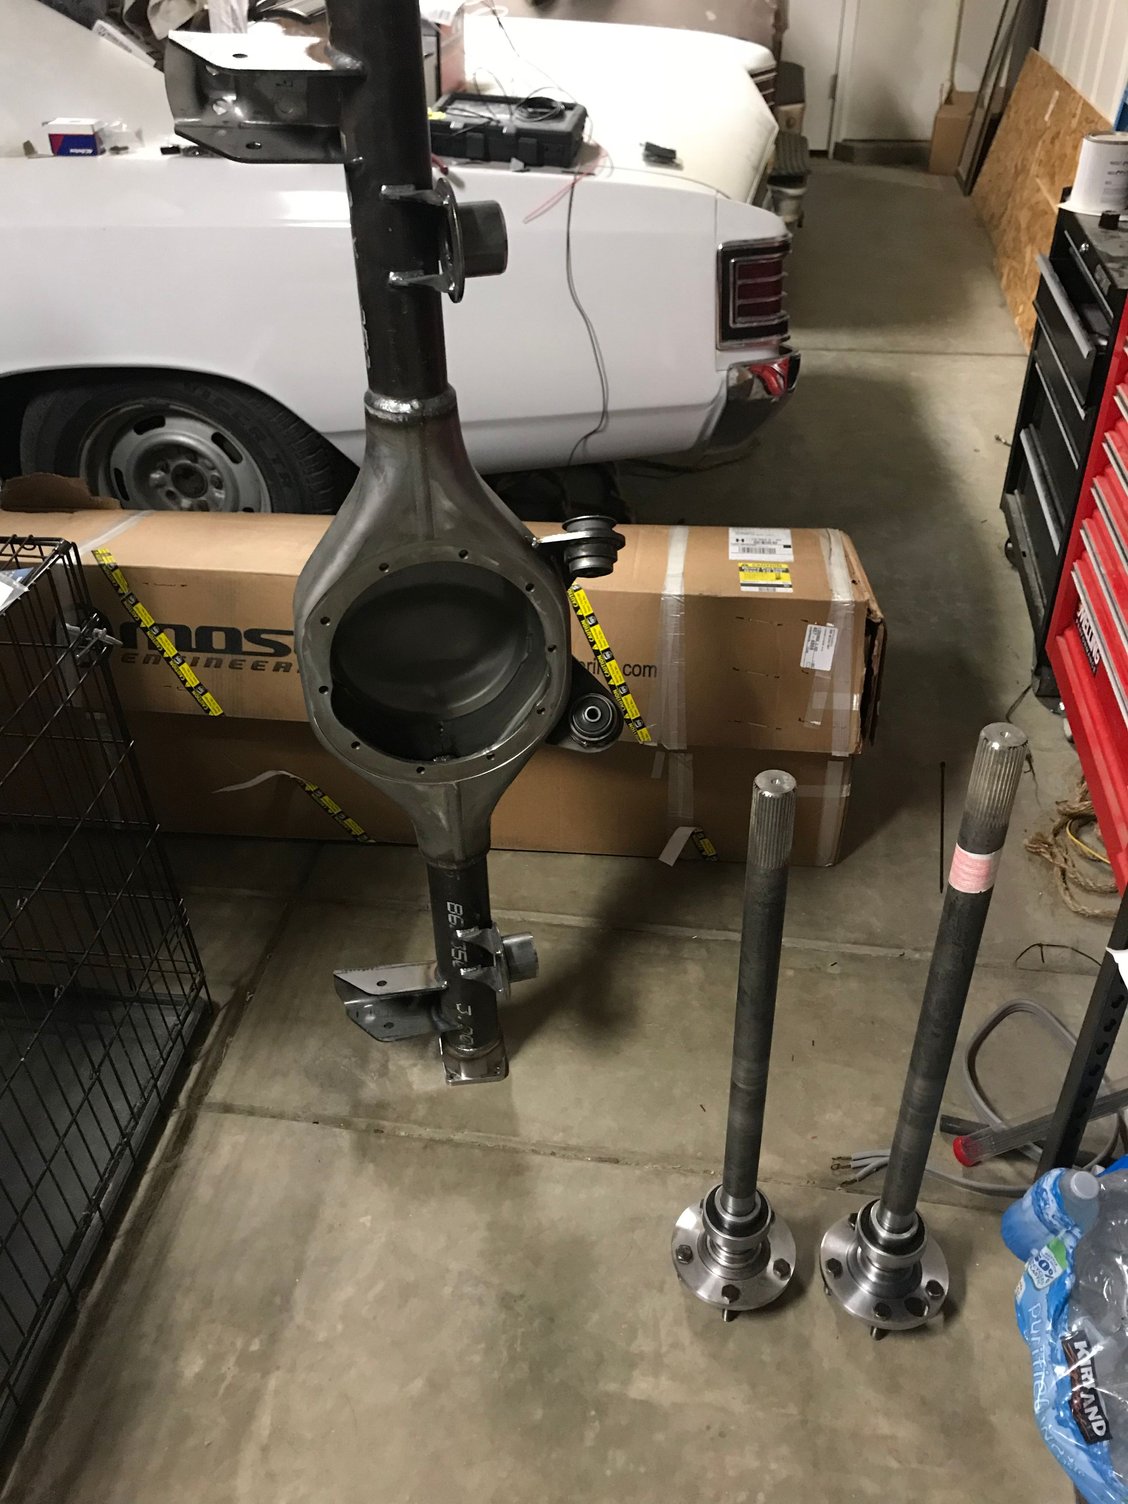
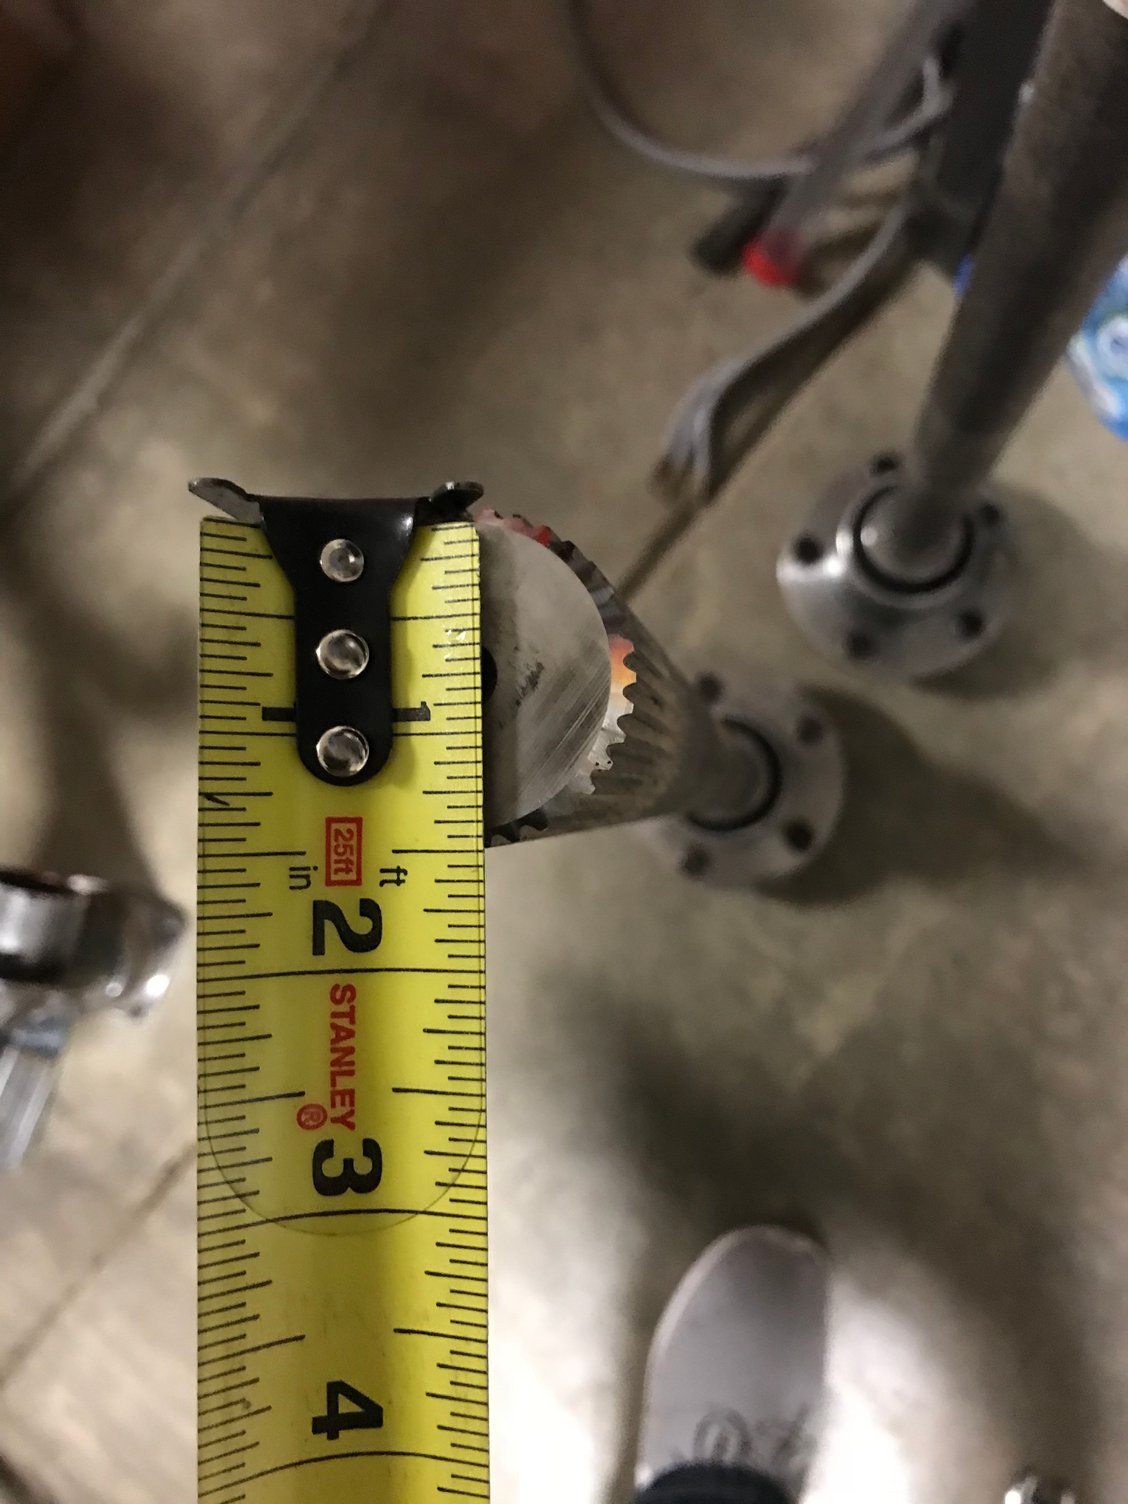
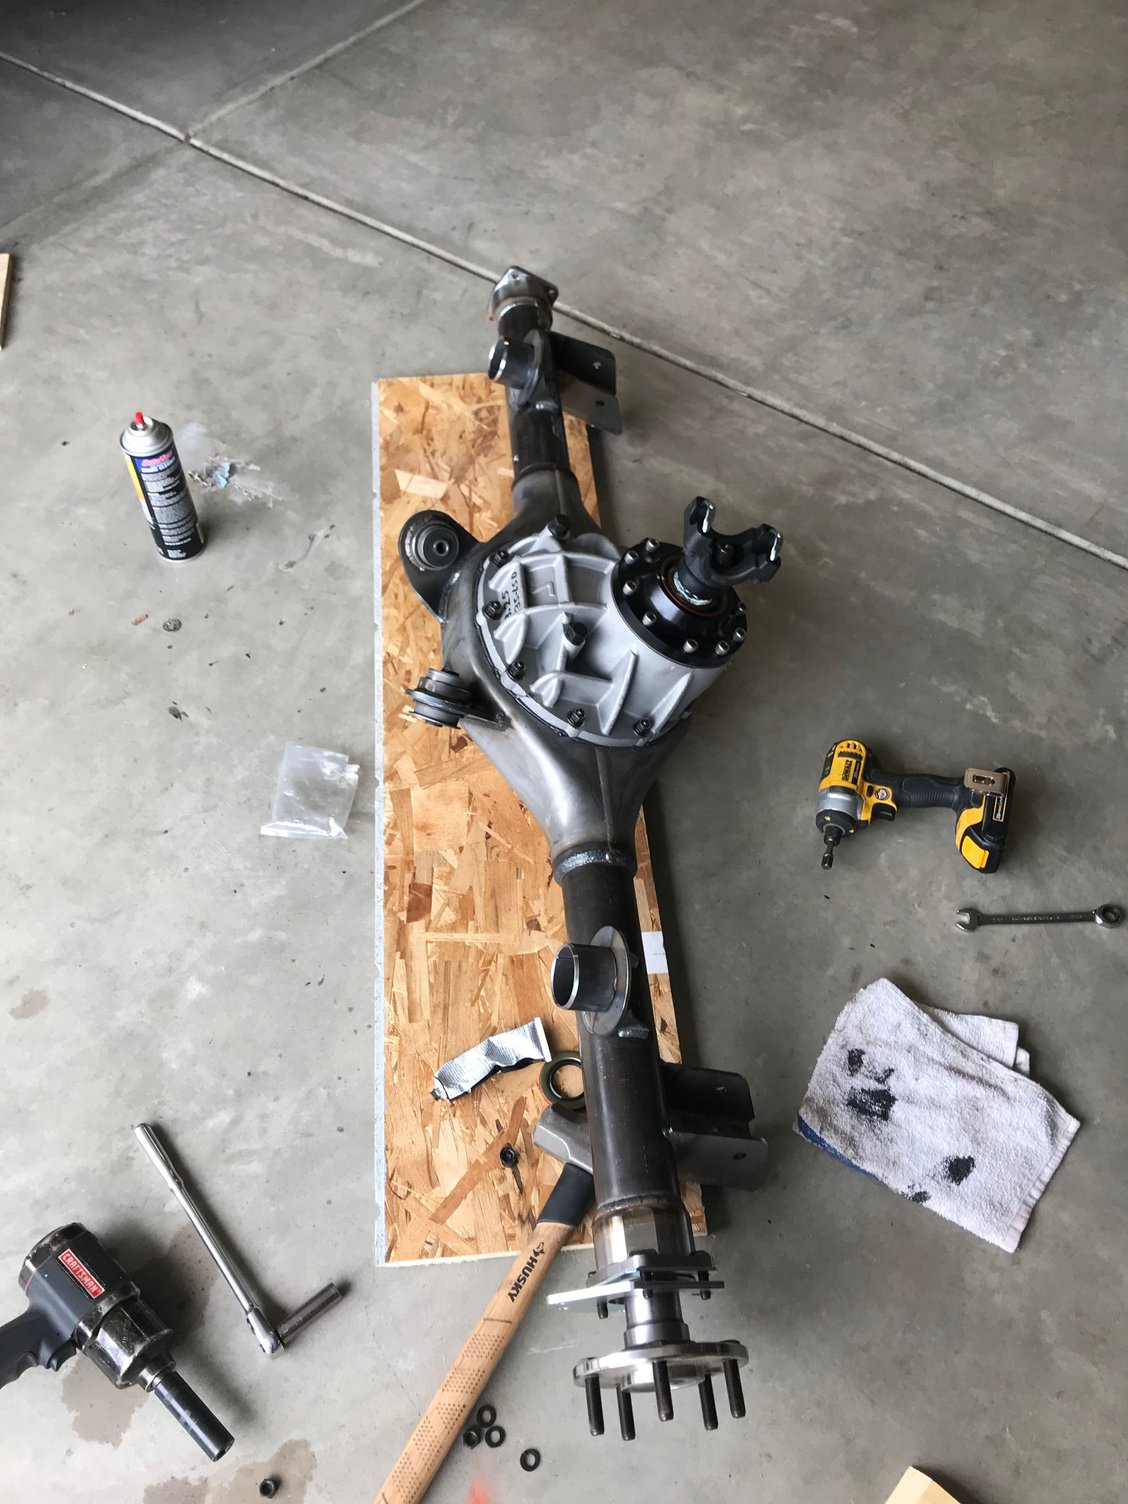
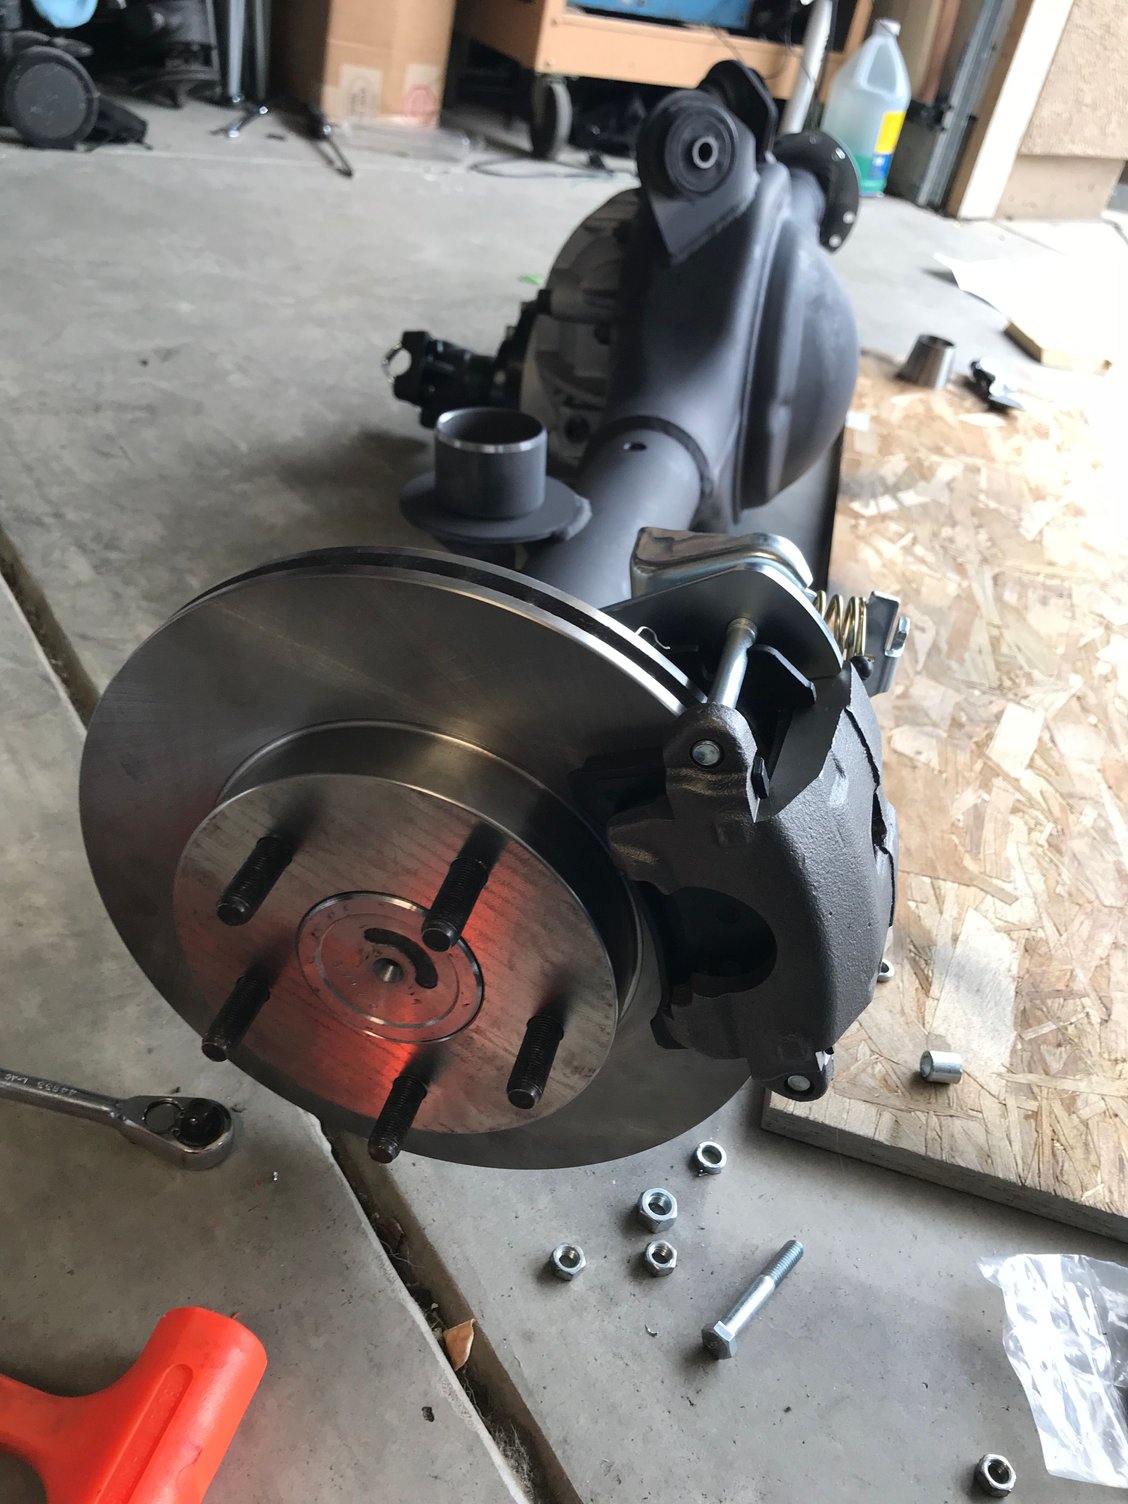
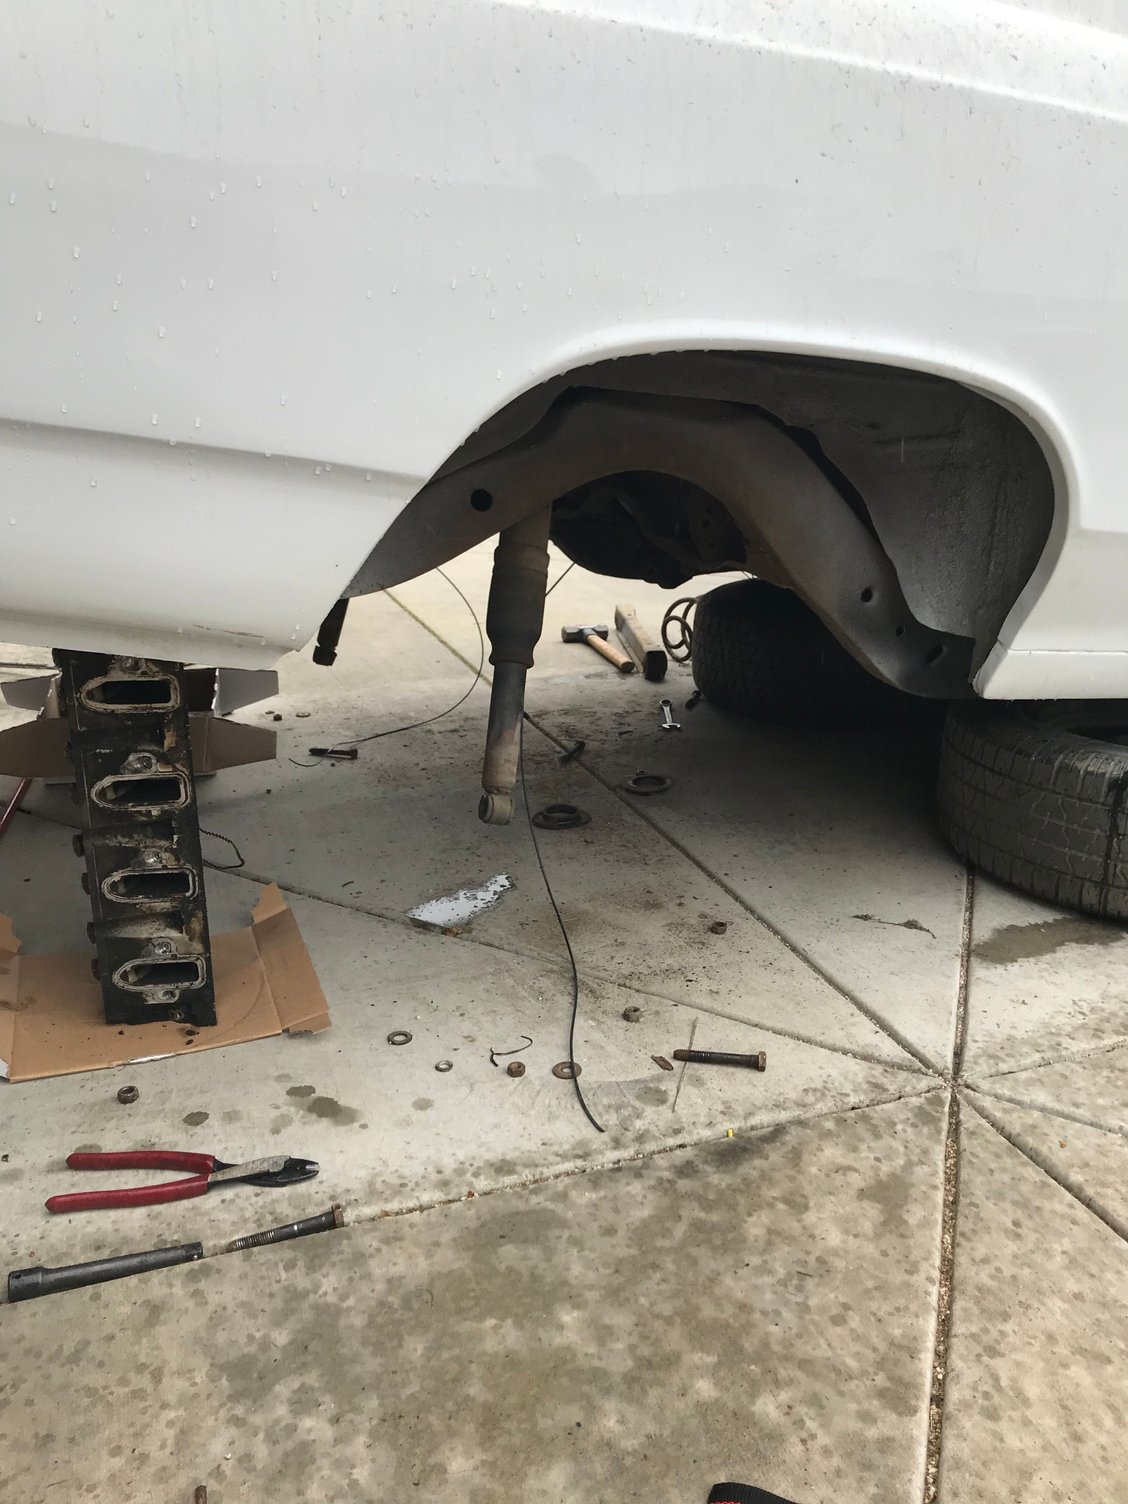
Default Installed the 9” rear end


35 spline axles

I originally bought the disc brake kit for a 10 bolt... Moser sent me the correct brackets and spaces (which didn’t work) but luckily I was able to make it work.
Yes, those are cylinder heads. They are from a junk motor that had Grenaded 4 cylinders. They make great frame stands
Installed the Moser 9” yesterday in the rain.. everything went together well.
Old 03-14-2018, 02:58 PM
  #23  
TECH Fanatic
iTrader: (27)
 
ryeguy2006a's Avatar
 
Join Date: Apr 2012
Location: Ruckersville, VA
Posts: 1,976
Received 550 Likes on 344 Posts

Default

Very nice! I wonder how similar the Abody frame is compared to the fbody frame on the passenger side? I bet that hooker manifold would fit my car. Thanks for posting the pictures.
Old 03-14-2018, 06:04 PM
  #24  
TECH Regular
Thread Starter
 
The0nlyon3's Avatar
 
Join Date: Aug 2007
Posts: 405
Received 42 Likes on 32 Posts

Default

Originally Posted by ryeguy2006a
Very nice! I wonder how similar the Abody frame is compared to the fbody frame on the passenger side? I bet that hooker manifold would fit my car. Thanks for posting the pictures.
I couldn’t find any definite answer on whether they would fit or not.. but I would imagine they’d fit, you’ll have to take off the AC comp as the 3” vband sits right where the compressor goes. They are so much cheaper than paying someone to TIG a set and easier than doing it yourself
Old 03-15-2018, 01:48 PM
  #25  
TECH Fanatic
iTrader: (27)
 
ryeguy2006a's Avatar
 
Join Date: Apr 2012
Location: Ruckersville, VA
Posts: 1,976
Received 550 Likes on 344 Posts

Default

Well currently my car has no compressor there, so I'm good for now. Might do the VA system sometime in the future though.
Old 04-06-2018, 09:32 PM
  #26  
Staging Lane
iTrader: (9)
 
smokeyrider05's Avatar
 
Join Date: May 2007
Location: Clarkston / pontiac
Posts: 58
Likes: 0
Received 0 Likes on 0 Posts

Default

Where are you putting the o2’s with those cast manifolds?
Old 04-07-2018, 09:04 AM
  #27  
TECH Senior Member
 
Jimbo1367's Avatar
 
Join Date: Jul 2009
Posts: 7,882
Received 596 Likes on 473 Posts

Default

I'm really digging the aluminum head jack stands. I'm gonna have to try this ASAP.

Old 04-07-2018, 11:59 AM
  #28  
TECH Apprentice
iTrader: (3)
 
s30.hybrid's Avatar
 
Join Date: Apr 2012
Location: SF Bay Area
Posts: 340
Received 10 Likes on 10 Posts

Default

Looks good! Thanks for posting all the detailed pics too. I’m building a ‘67 Chevelle as well. I’m no where near as far along as you but I’ve been searching the forums for ideas. Is that an 11” brake booster? Is it going to fit with the LS heads and coils?
Old 04-12-2018, 06:32 PM
  #29  
TECH Fanatic
iTrader: (23)
 
kainedogg's Avatar
 
Join Date: Mar 2006
Posts: 1,313
Received 5 Likes on 5 Posts

Default

Subd for progress
Old 04-16-2018, 10:09 PM
  #30  
TECH Regular
Thread Starter
 
The0nlyon3's Avatar
 
Join Date: Aug 2007
Posts: 405
Received 42 Likes on 32 Posts

Default

Originally Posted by smokeyrider05
Where are you putting the o2’s with those cast manifolds?
i did a 4” down pipe and I put my wideband and factory o2 about 32” down stream. I’ll post a pic

Originally Posted by Jimbo1367
I'm really digging the aluminum head jack stands. I'm gonna have to try this ASAP.

hahahaha I have jack stands but they walked off! Lol

Originally Posted by s30.hybrid
Looks good! Thanks for posting all the detailed pics too. I’m building a ‘67 Chevelle as well. I’m no where near as far along as you but I’ve been searching the forums for ideas. Is that an 11” brake booster? Is it going to fit with the LS heads and coils?
Yes it is, there is PLENTY of clearance for the coils. Most A body brake kits angle the booster/master up to clear the wheel well I think. I may be wrong though. My brake kit I from right stuff detailing.
Old 04-16-2018, 10:13 PM
  #31  
TECH Regular
Thread Starter
 
The0nlyon3's Avatar
 
Join Date: Aug 2007
Posts: 405
Received 42 Likes on 32 Posts

Default


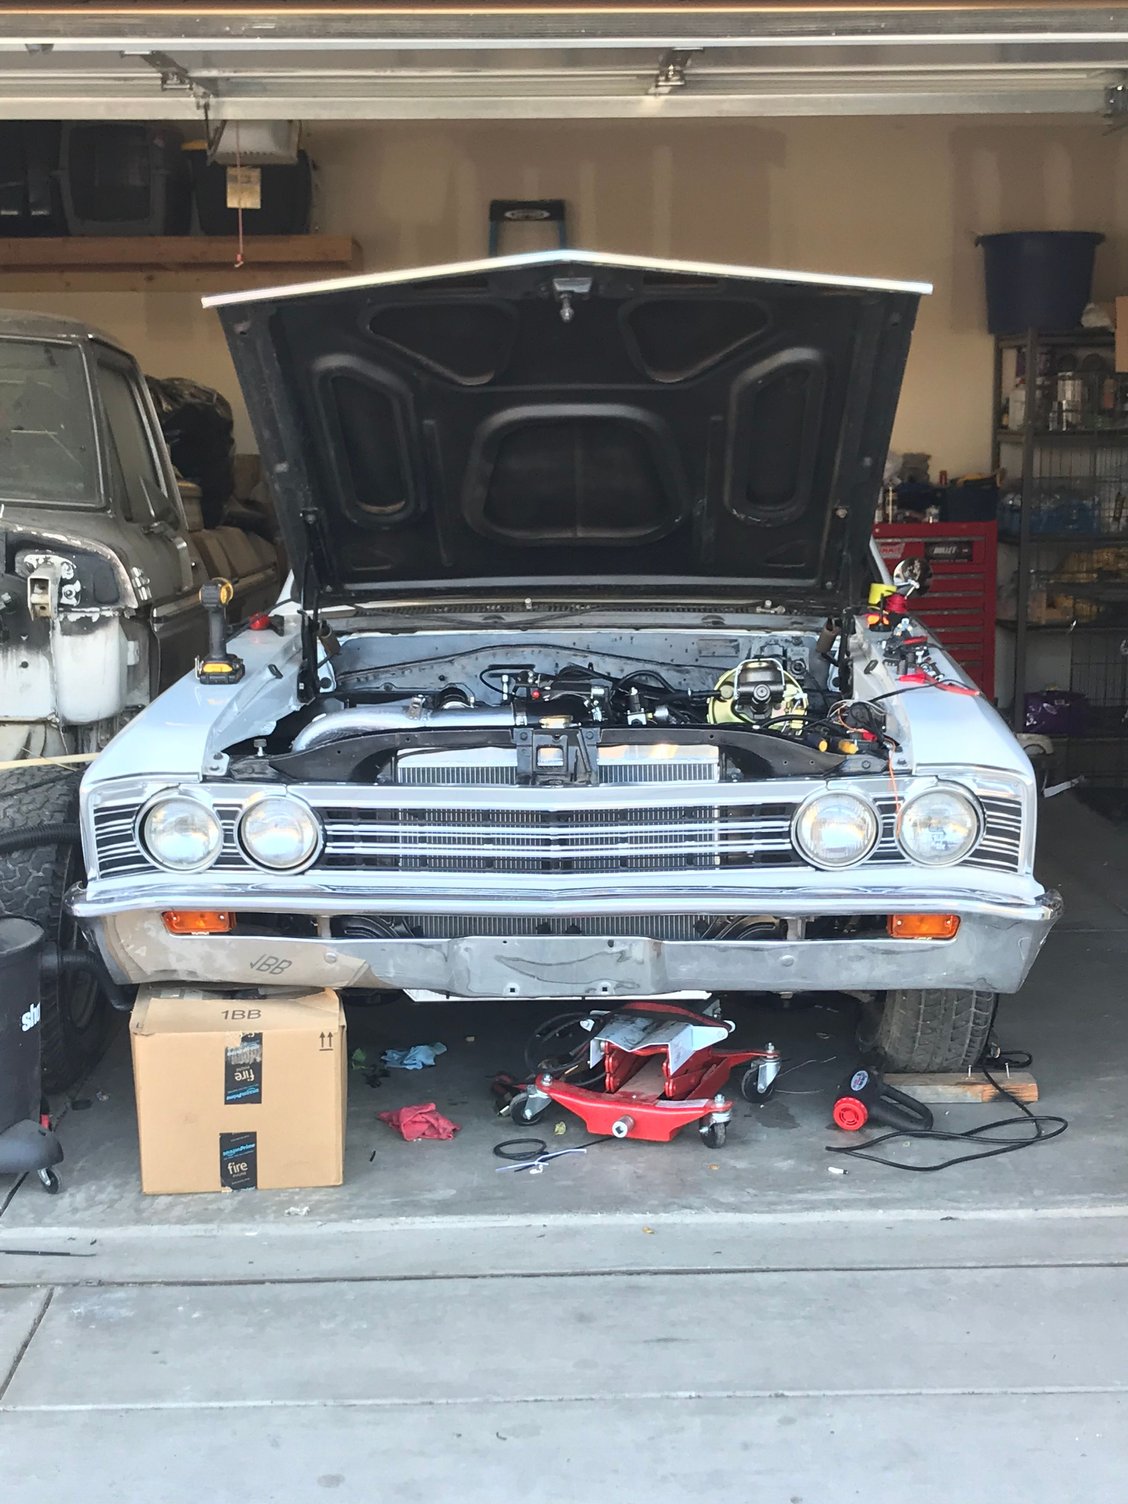
Got the turn signals in


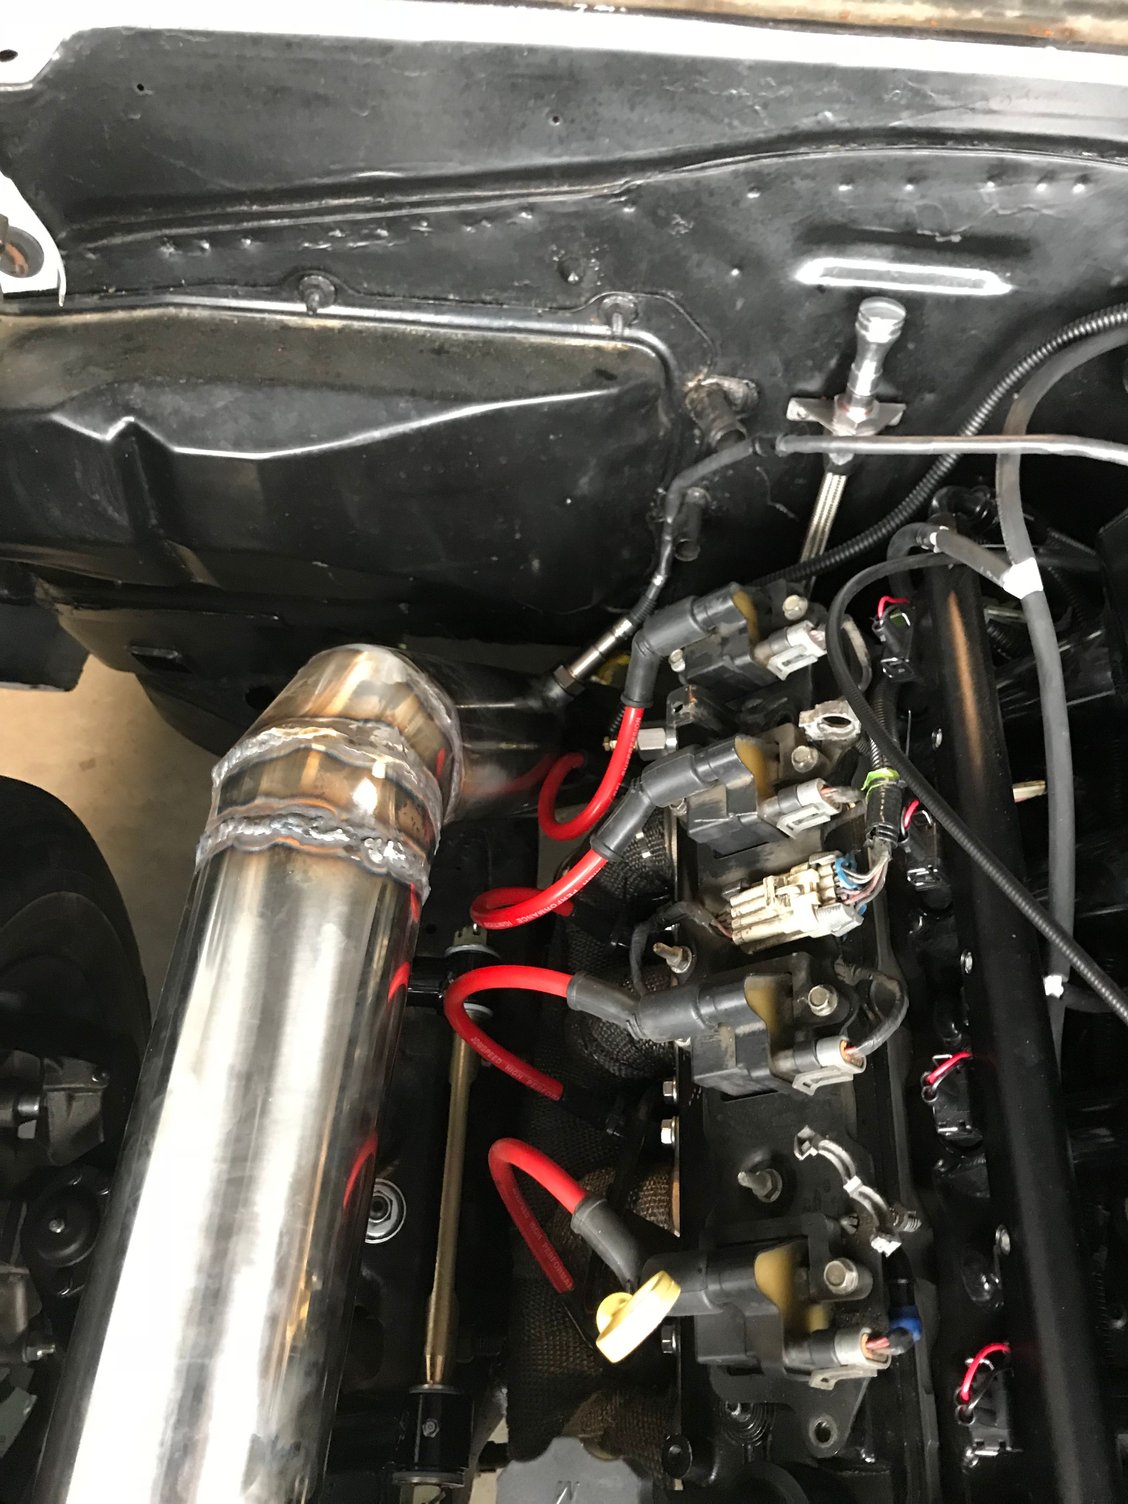
Don’t mock my welds lol you can see where I put the o2s
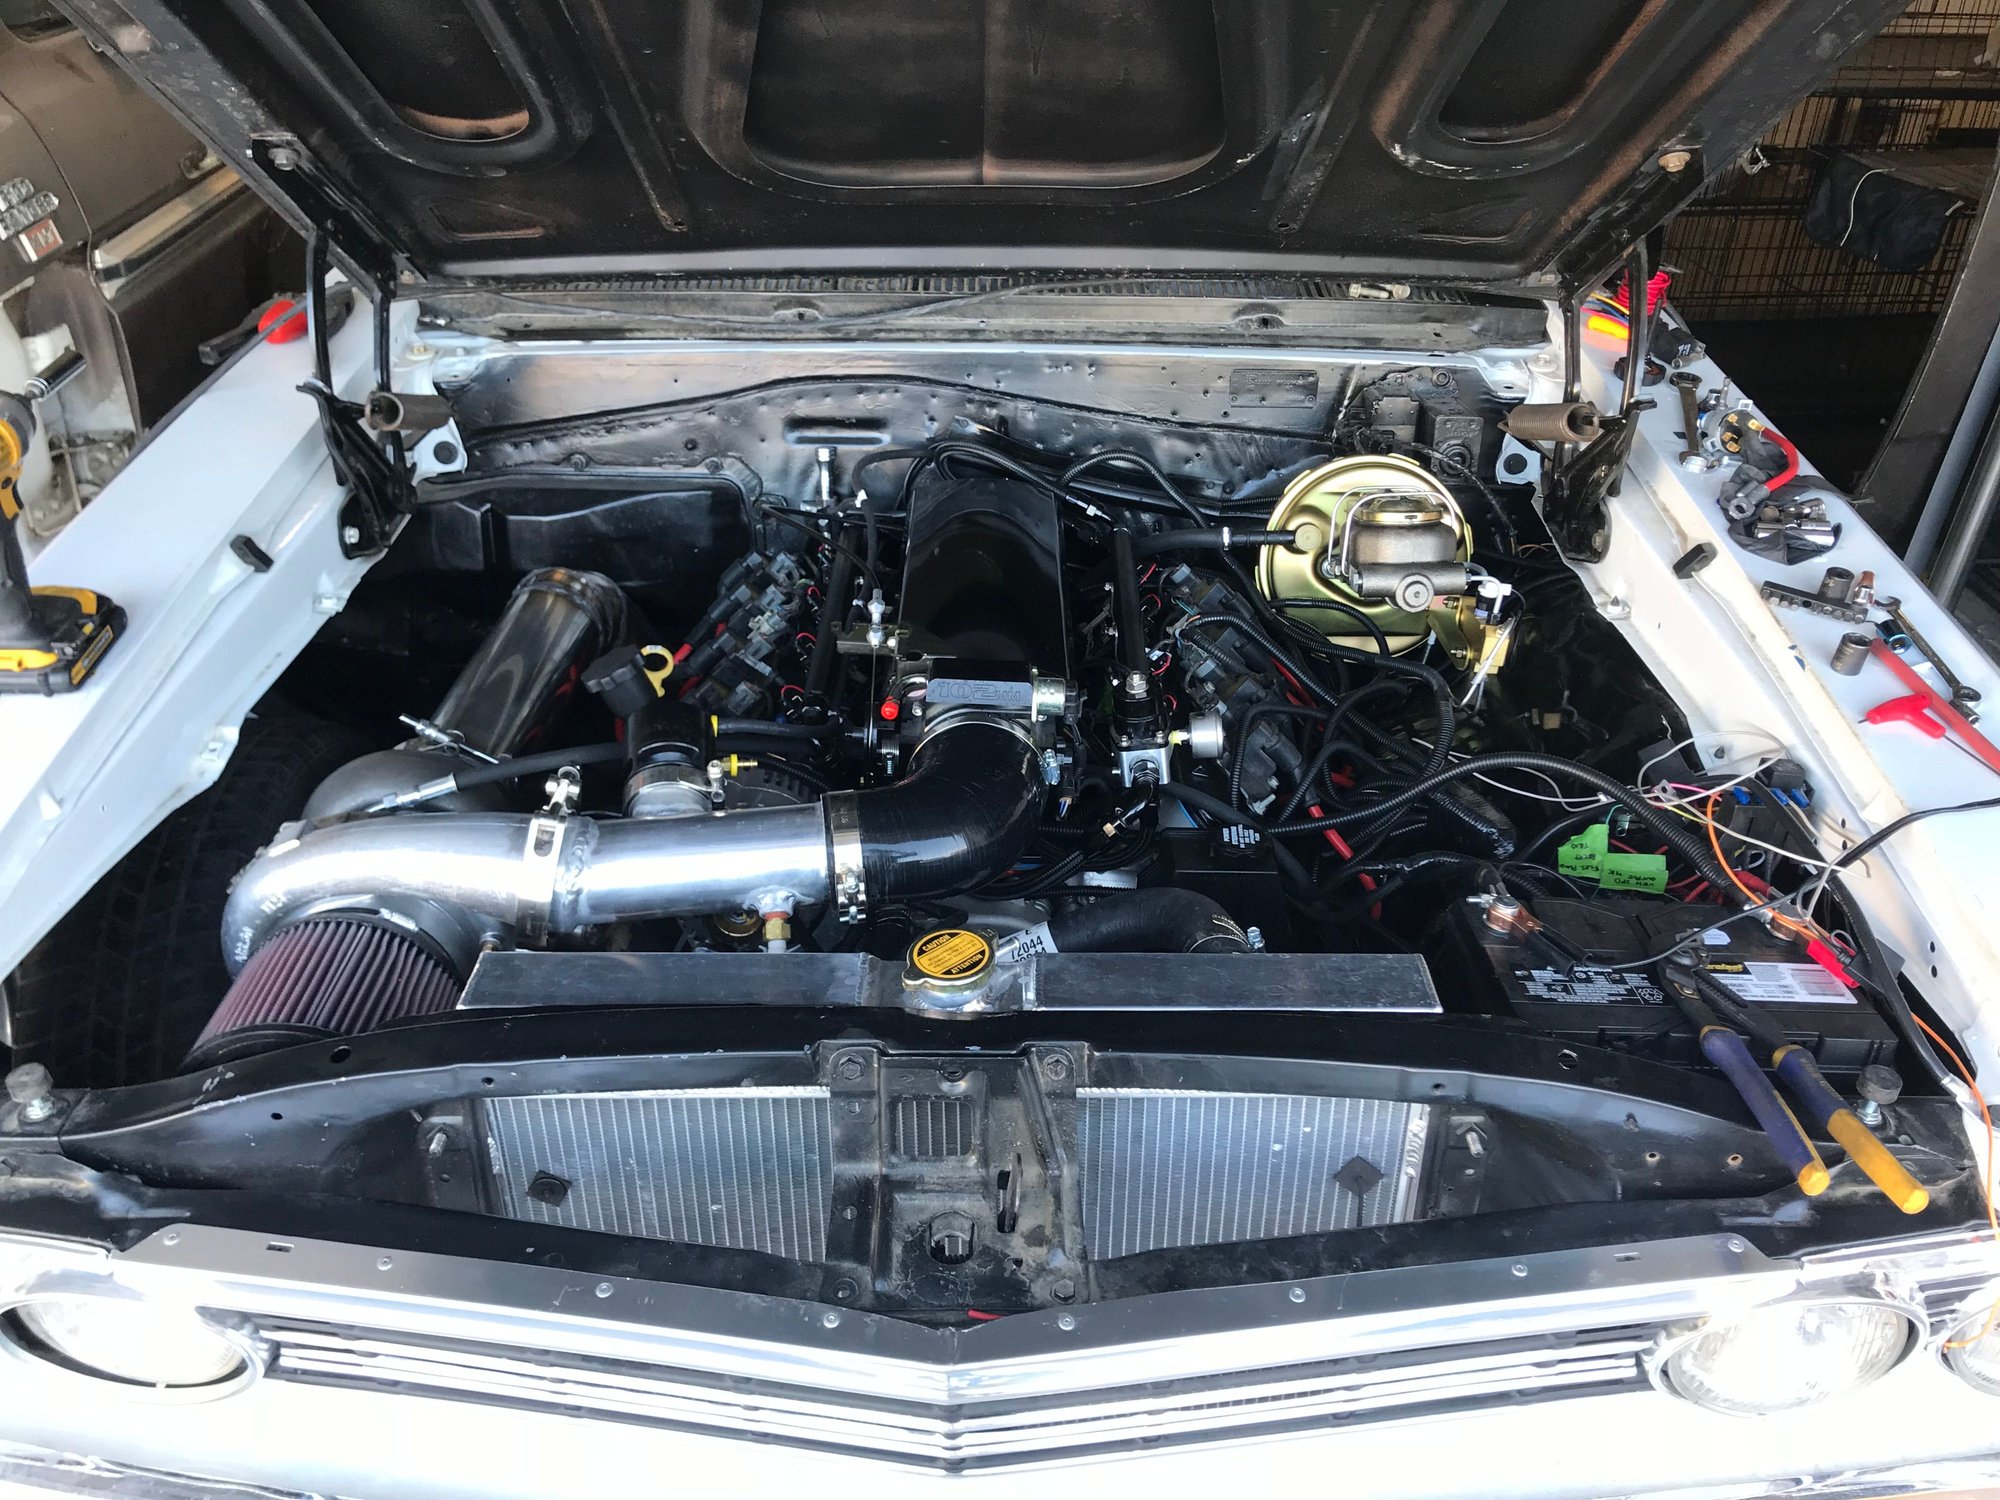

You can sort of see the booster clearance
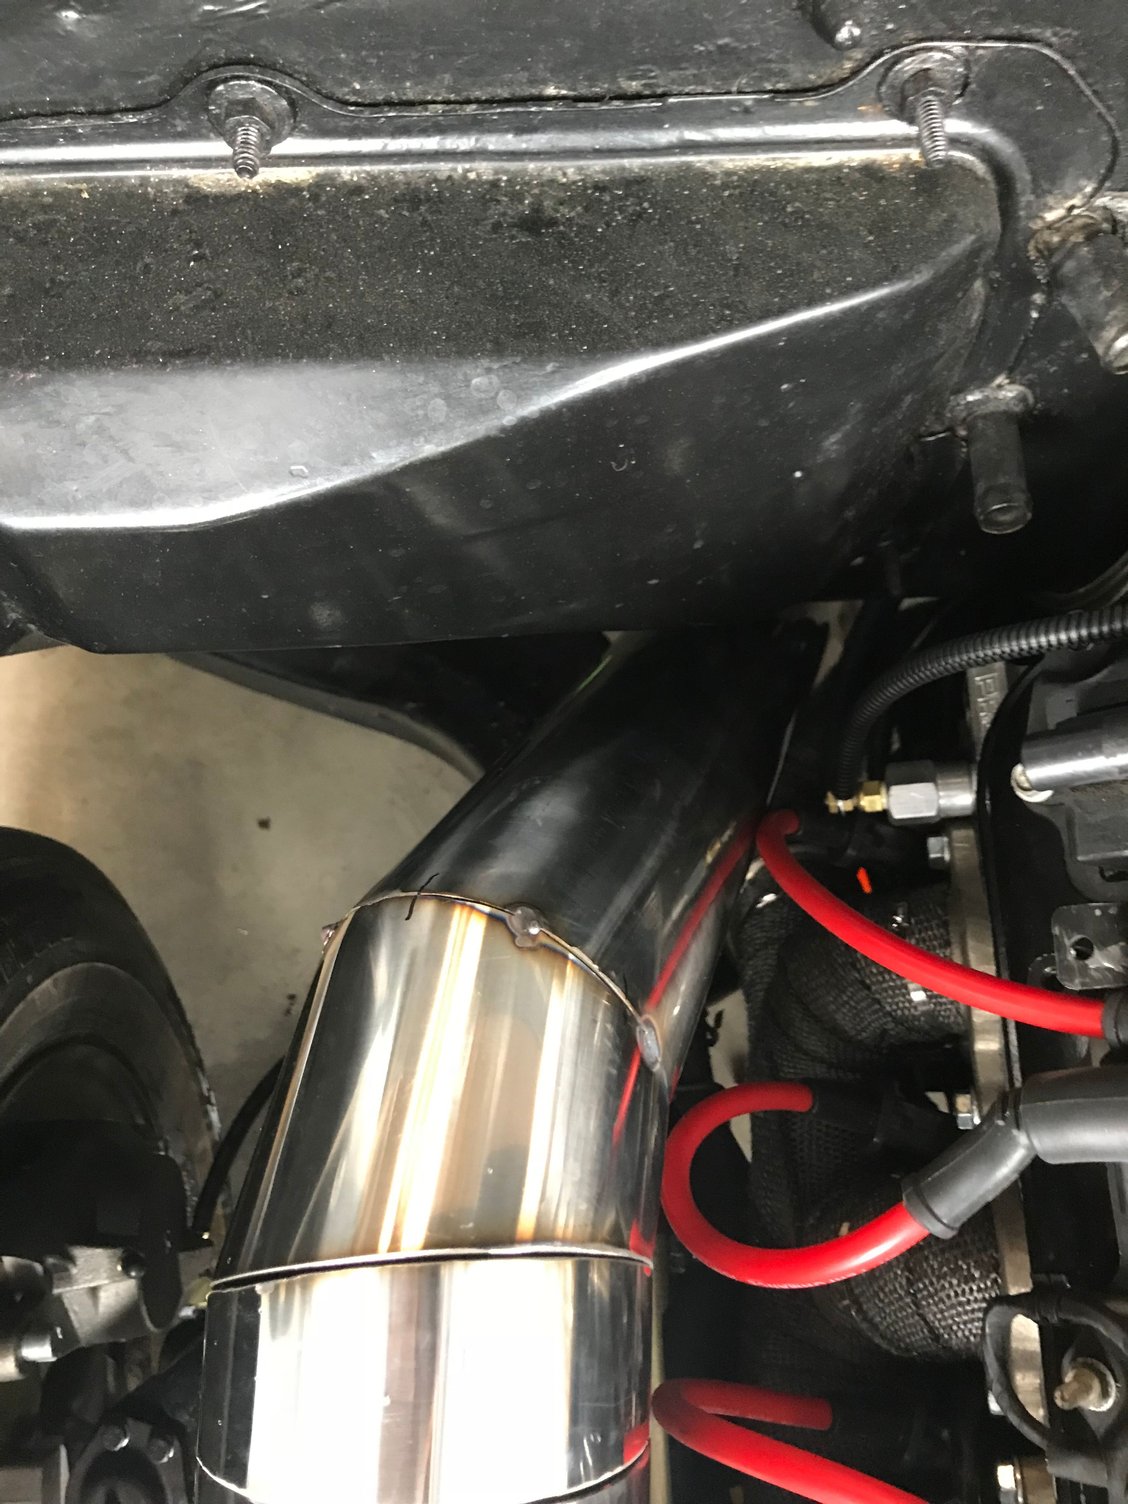

My first attempt at pie cuts
Here are some updates pictures... as of right now, just waiting for my driveshaft to come in (tomorrow)
Old 04-20-2018, 06:54 AM
  #32  
TECH Fanatic
iTrader: (2)
 
LS1 pwrd NOVA's Avatar
 
Join Date: Feb 2003
Location: Corpus Christi, Texas
Posts: 1,011
Received 3 Likes on 3 Posts

Default

Them welds look good to me as long as they hold.
What tig welder are you using?
What sized tungsten and filler rod?
I’m just getting into tign also and need an idea where to start when doing piping like you did.

I regret selling my 66 Chevelle as it was my 1st ls swap candidate.
I was going to use a CTSV pan or an fbody pan but if I recall the center link would hit the oil pan.
Old 04-20-2018, 10:28 PM
  #33  
TECH Regular
Thread Starter
 
The0nlyon3's Avatar
 
Join Date: Aug 2007
Posts: 405
Received 42 Likes on 32 Posts

Default

Originally Posted by LS1 pwrd NOVA
Them welds look good to me as long as they hold.
What tig welder are you using?
What sized tungsten and filler rod?
I’m just getting into tign also and need an idea where to start when doing piping like you did.

I regret selling my 66 Chevelle as it was my 1st ls swap candidate.
I was going to use a CTSV pan or an fbody pan but if I recall the center link would hit the oil pan.
Since I was just getting into tig welding I went cheap.. I have an Amico Power Tig 200 .. $250 on eBay. Comes with a 200 amp wp26 torch. I had to also buy a gas regulator. I’m using 3/32 tungsten. I would recommend the Holley 302-2 Pan for any swap.
Old 04-22-2018, 08:35 AM
  #34  
On The Tree
 
Mr.Bu's Avatar
 
Join Date: Dec 2009
Location: Aurora IL
Posts: 174
Likes: 0
Received 1 Like on 1 Post

Default

Cool build. Those seats look great, are they as comfortable as they look? What made you go with the moser over the strange? I put a strange 9” in mine because a buddy’s a dealer and got it for cost. I’m happy with it.
Old 04-22-2018, 10:02 AM
  #35  
TECH Regular
Thread Starter
 
The0nlyon3's Avatar
 
Join Date: Aug 2007
Posts: 405
Received 42 Likes on 32 Posts

Default

Originally Posted by Mr.Bu
Cool build. Those seats look great, are they as comfortable as they look? What made you go with the moser over the strange? I put a strange 9” in mine because a buddy’s a dealer and got it for cost. I’m happy with it.
they are actually pretty comfortable! Haven’t sat in them for a long time yet but they feel good. I went with Moser because I’ve gone with them in the past (I used to have a 2002 ws6 with a Moser 12 bolt)
Old 04-27-2018, 12:40 PM
  #36  
TECH Regular
Thread Starter
 
The0nlyon3's Avatar
 
Join Date: Aug 2007
Posts: 405
Received 42 Likes on 32 Posts

Default Update

I have about 250 miles on the car so far. Engine sounds and feels good (such a relief considering I built the engine). I just have the downpipe dumped under the passenger side and will eventually put a bullet on it although it’s not too loud.

I an am scheduled to take it to Starkweather Performance on the 8th for the dyno tune.

Few things I have left to take care of:
-adjust the door windows so they seal when rolled up
-install door panels
-wire up a license plate light
-fix a small oil leak on the turbo return line
-make a center console or outsource it
-finish the exhaust
-get a replacement driver side vent window
-seal the old factory air vents in the kick panels


Quick Reply: 1967 Chevelle turbo 5.3


All times are GMT -5. The time now is 03:21 PM.