When you click on links to various merchants on this site and make a purchase, this can result in this site earning a commission. Affiliate programs and affiliations include, but are not limited to, the eBay Partner Network.
So I finally decided to start a build thread for my project. I am mostly doing this as a way to keep track of what I have done.
A little Intro about the car.
Its a 2002 Mustang GT Convertible. 1 owner car with 70k miles on it. Blew the 2v up back in 2015 due to the car being too low. I did a 4v swap and that did not turn out like i wanted it to so i decided to go LS. Here is where the car is now. I will try to include as many pictures as possible of the progress over the past two years and i will start posting regularly. I am also going to try my best to log all the prices of everything and where i got them because i know that helps.
39k DBW 5.3 with harness PCM pedal and everything 600$.
35k Trans am T56 with B&M Shifter. 1400$.
On3 76mm turbo 200$.
Walbro 450 112$ (amazon)
On3 LS Fox hotside (was laying around their shop) 400$ Fits new edge perfectly.
AEM AFR 250$ (amazon)
Scott Rod Fab shave panels 95$
Aje Swap K 245$
Team Z A-arms 105$
Jegs universal harness 125$
Jegs LS1 flywheel 99$
16k 03 Cobra IRS with all new everything and 1000hp rated half shafts (came with full maximum motorsports bushing kit brand new in box) 700$ plus some replica saleen wheels in trade
This is all i can remember right now. I can get prices and locations on parts i have if anyone is interested.
Now on to what i have done. So during the first swap i had made an attempt at shaving the engine bay but it was my first time taking on a body work project like that so it wasnt great. I redid the bay with some of the scott rod fab shave panels and shaved all the other holes myself. I still have to do a little more work but i figured id get everything in the bay placed where it need to be before totally finishing everything off. Next I stripped the motor and put all the turbo goodies in it. (head studs, valve springs, LS9 cam, and LS2 front timing cover swap for the cam sensor change.) I then threw on the C6 pan (this pan has the absolute most clearance out of any other pan out there. It sits almost 2 inches above the AJE k member.) and i threw on a LS1 intake. I also got an accessory bracket from LSSimple. I would HIGHLY recommend this guys stuff. I was very impressed with the quality. I learned that i cant run the truck water pump with DBW throttle body on the lower LS1 intake so i also ordered water pump spacers and nabbed a G8 water pump that my buddy wasnt useing for pretty cheap. I moved on to modifying the DBW pedal. The factory pedal bends to the right which will not work in the mustang due to the trans tunnel. The factory mustang throttle pedal is bent U shaped steel while the LS DBW pedal is a steel bar. I basically cut and welded the ford pedal to the DBW mount and arm and boxed it back in. it works great and is not in a better position that the stock pedal was before. I then moved to the Clutch pedal. I got a tilton master cylinder and mounted it to the firewall just below the right bottom corner of the brake master (looking from the engine bay) it lines up perfectly with the bend in the factory clutch pedal and allows the pedal to work in a pushing motion with the master. I started the daunting task of wiring after that and thats been pretty much what i have been doing on and off for over a year now. Life has been busy and i have gone months without touching the car. I now finally have time to work on it a lot and wiring is almost done. Like i said eariler i will post often with this build and my goal is to have the car running before summer is over.
I will post an update later today of an exact point of where i am at with the car and with tons of pictures.
Subd we did a 6.0 twin s366 build with a th350 full interior and a/c. I made a custom cluster and tucked the harness and fuse box and battery all in the trunk with a holley hi ram hurst quarter stick in the console etc.
Damn, you got a killer deal on engine and trans, plus the IRS swap I've been seeing at no less than 1k with everything being OEM. Good scoop on all that stuff.
I'm doing an '03 vert as well so I'll be watching yours closely. Only been at if for a few months, but it's great to see you moved on the LS motors lol
New Wheels Forgestar f14 super deep concave. 18x10 -17 18x12 +6
New wheels
got the IRS
This was the very beginning of building the engine harness after tearing the stock harness apart. The exploration of the black hole as i call it.
Got the LSSimple accessory bracket and the newly powder coated alternator mounted.
alternator powdercoated
first rendition of the computer harness
Finally put the turbo on.
Engine setting in there
Just sitting it in here to test something
First Switch Panel (from left to right) momentary single throw start switch, ignition, accessory, gauges, lights, three way switch for convertible top control.
relay build for the switch panel
This moment meant more to me than anything else. After over a year of on and off working on wiring due to the daunting task the change of ideas and constant lose of interest, i was able to raise the top for the first time in 2 years. It was a visual i needed.
I recently put the IRS back in to make more room in the garage. I sold all my old stuff and only had these cheap cut v6 springs laying around and surprisingly the fuel tank isn't on the ground but its really close.
New deutsch connectors
New deutsch connector set up
New deutsch connectors
Final engine harness all plugged in and i finally get to see it float with no ugly weatherpak plugs behind it since i switched to deutsch connectors. I plan on looming the entire harness once everything works well and all the testing is done.
I am going to force myself to start taking pictures everytime i work on the car. I am going to post all of the pictures i have taken thus far with explanations and ill try my best to keep up with post overtime i work on the car.
I took a few more pics tonight after getting some more wiring done. I have also included a few pics on how i did things that i didn't find much info on what other people had done.
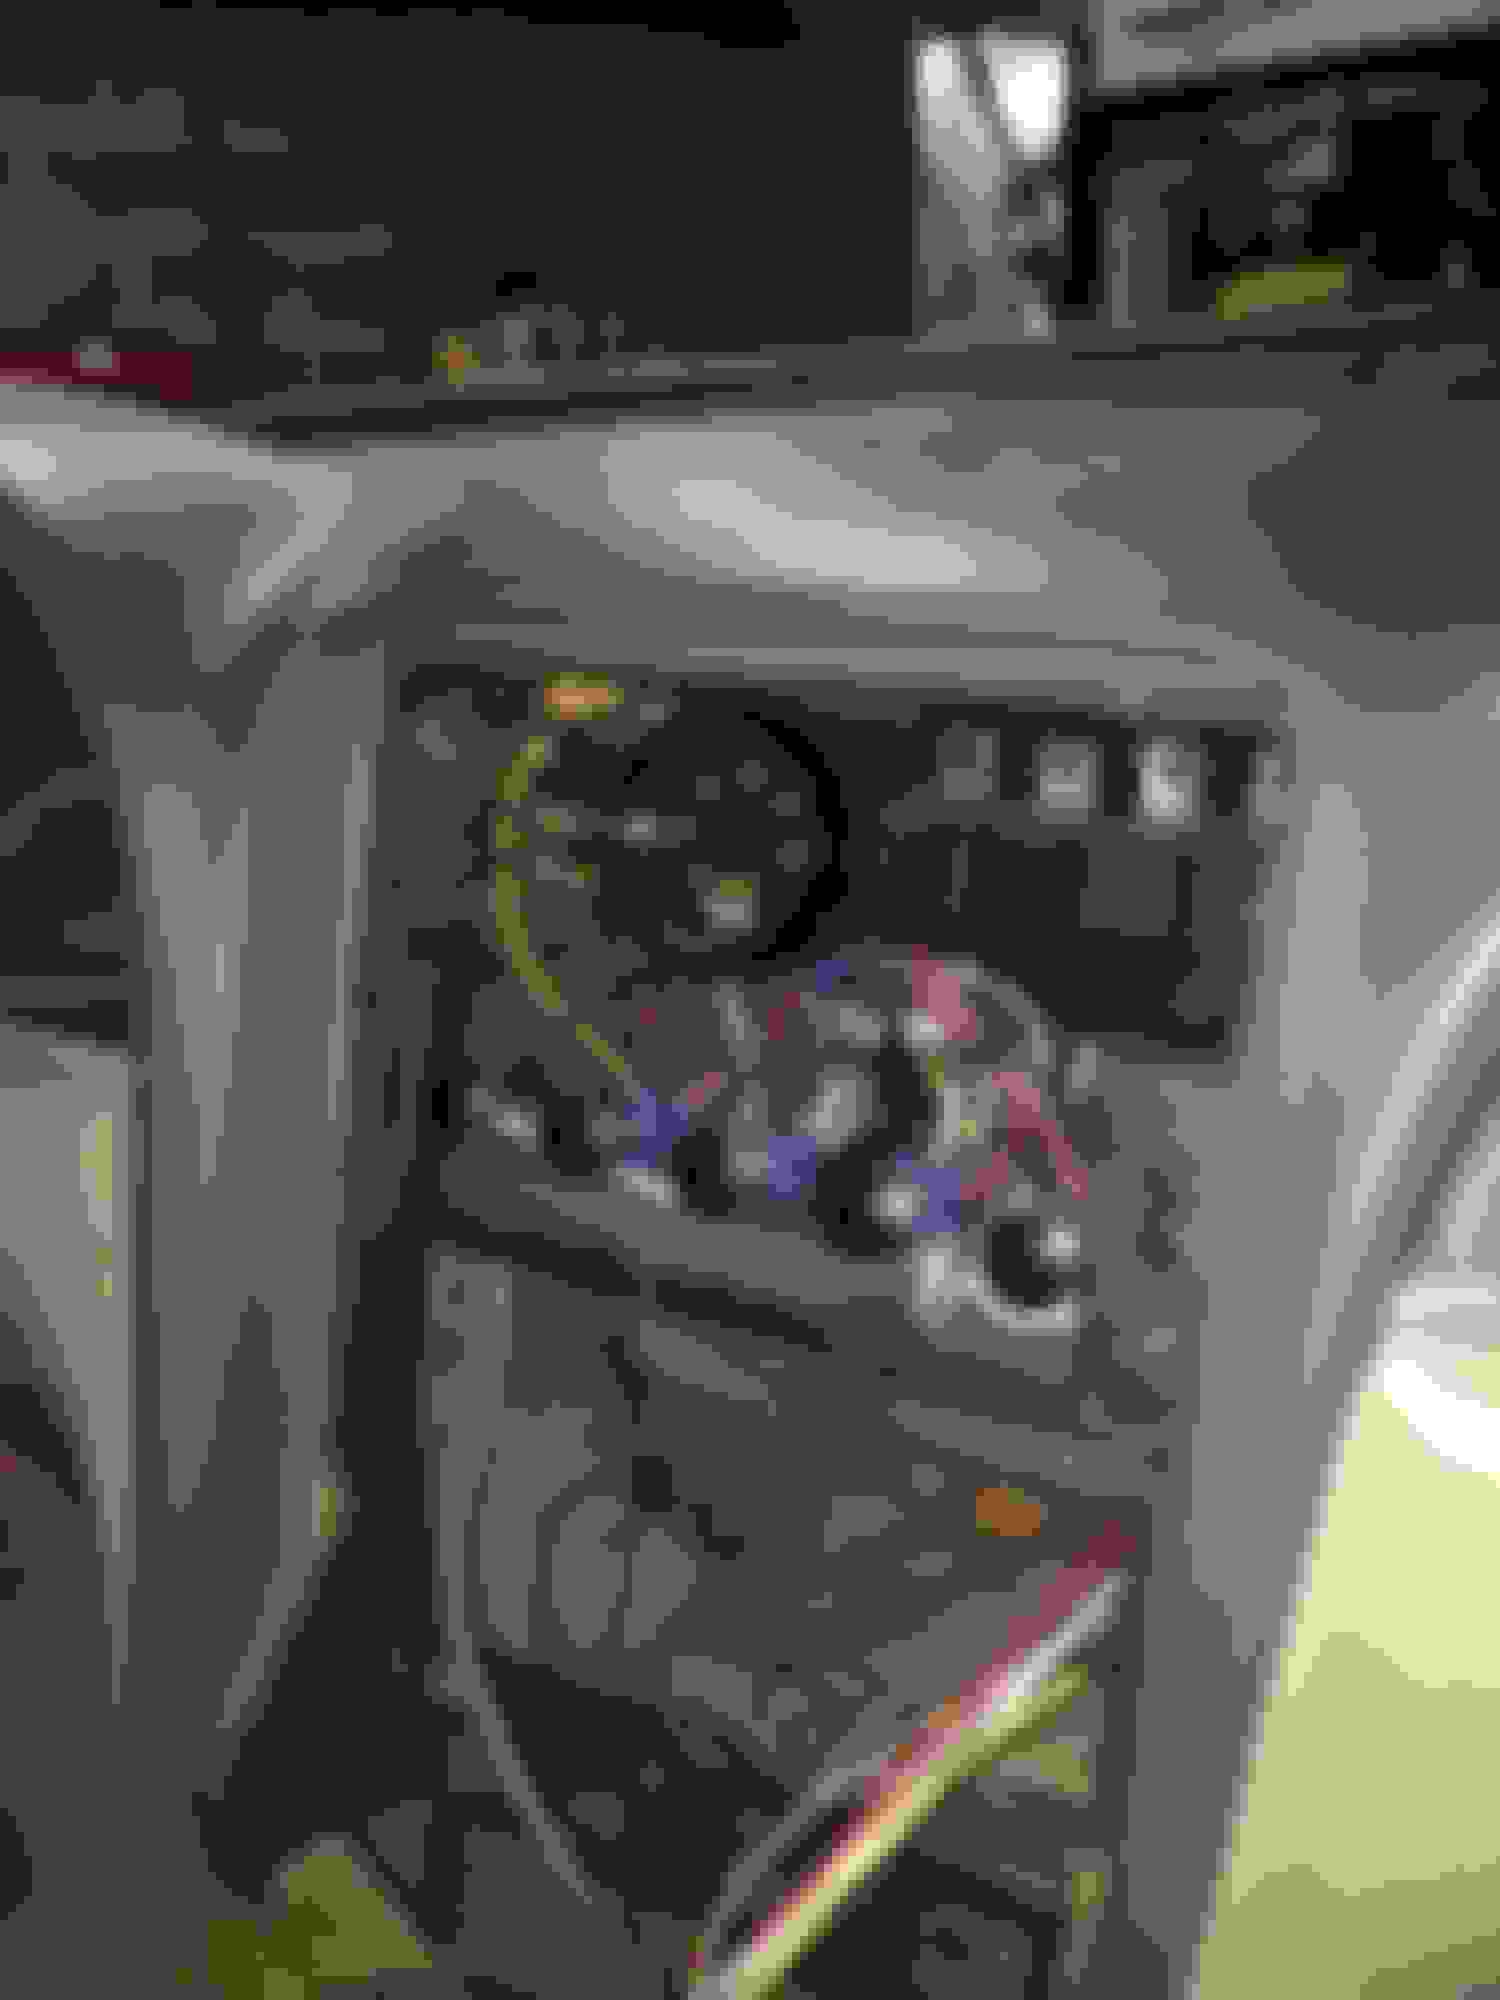
This is what i worked on tonight. I want to be able to pull everything out of the car for when i paint the entire thing and wanted to be able to do it with ease so i made some bulk head connectors for the entire dash section.
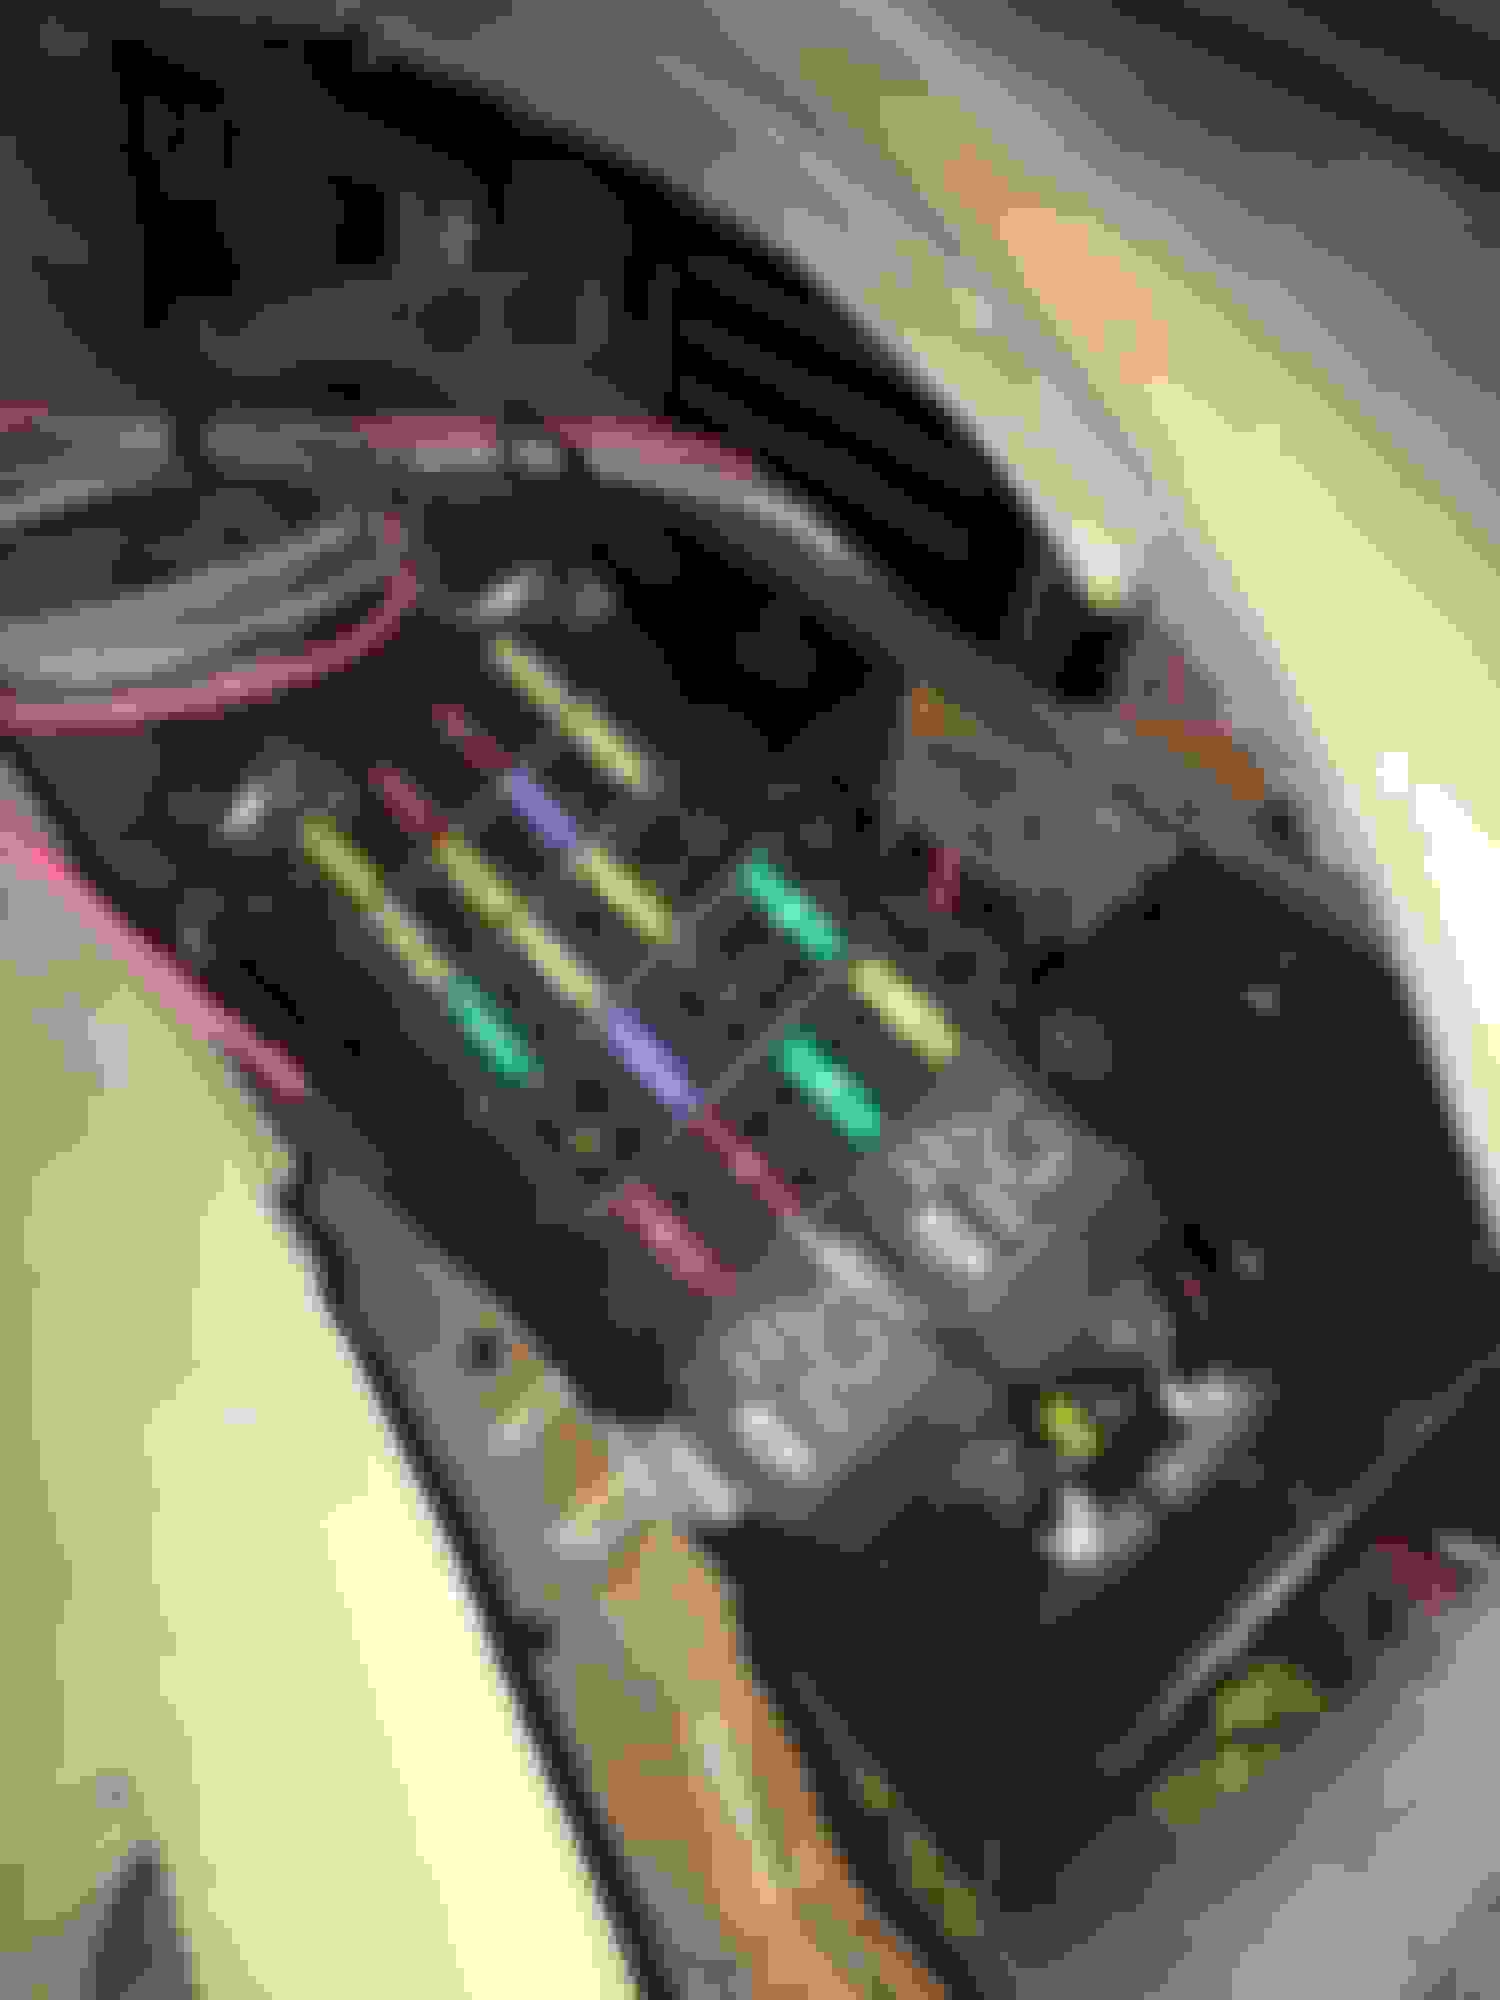
Yesterday i moved my fuse box from the glove box where i had it to where the airbag used to be. I moved it because i didn't like how the harness bunched up with the movement of the glove box. I made the bracket out of some flat stock i had laying around. It mounts to the dash frame at a 45 degree angle from the back. I welded some nuts on to the bracket i made rather than welding the bracket to the dash frame because i wanted to be able to remove the wiring harness if i ever needed to.
This is my current switch panel set up. I only have my wideband at the moment but the other two gauges will be a boost controller and most likely a fuel pressure gauge. I opted for push button gauges rather than the switches. The far left is a non lit momentary starter button. the rest are push buttons that have an led ring around them. I wired the factory keyed ignition switch to route the power to the switch panel when in the run position. therefore you still need the key to run the car.
I am using a 98 cobra dash so that i can run factory gauges. I took the odometer out and i have been using it as a fidget spinner to slowly work to get it turned back over so i can set it to the millage the car has on it.
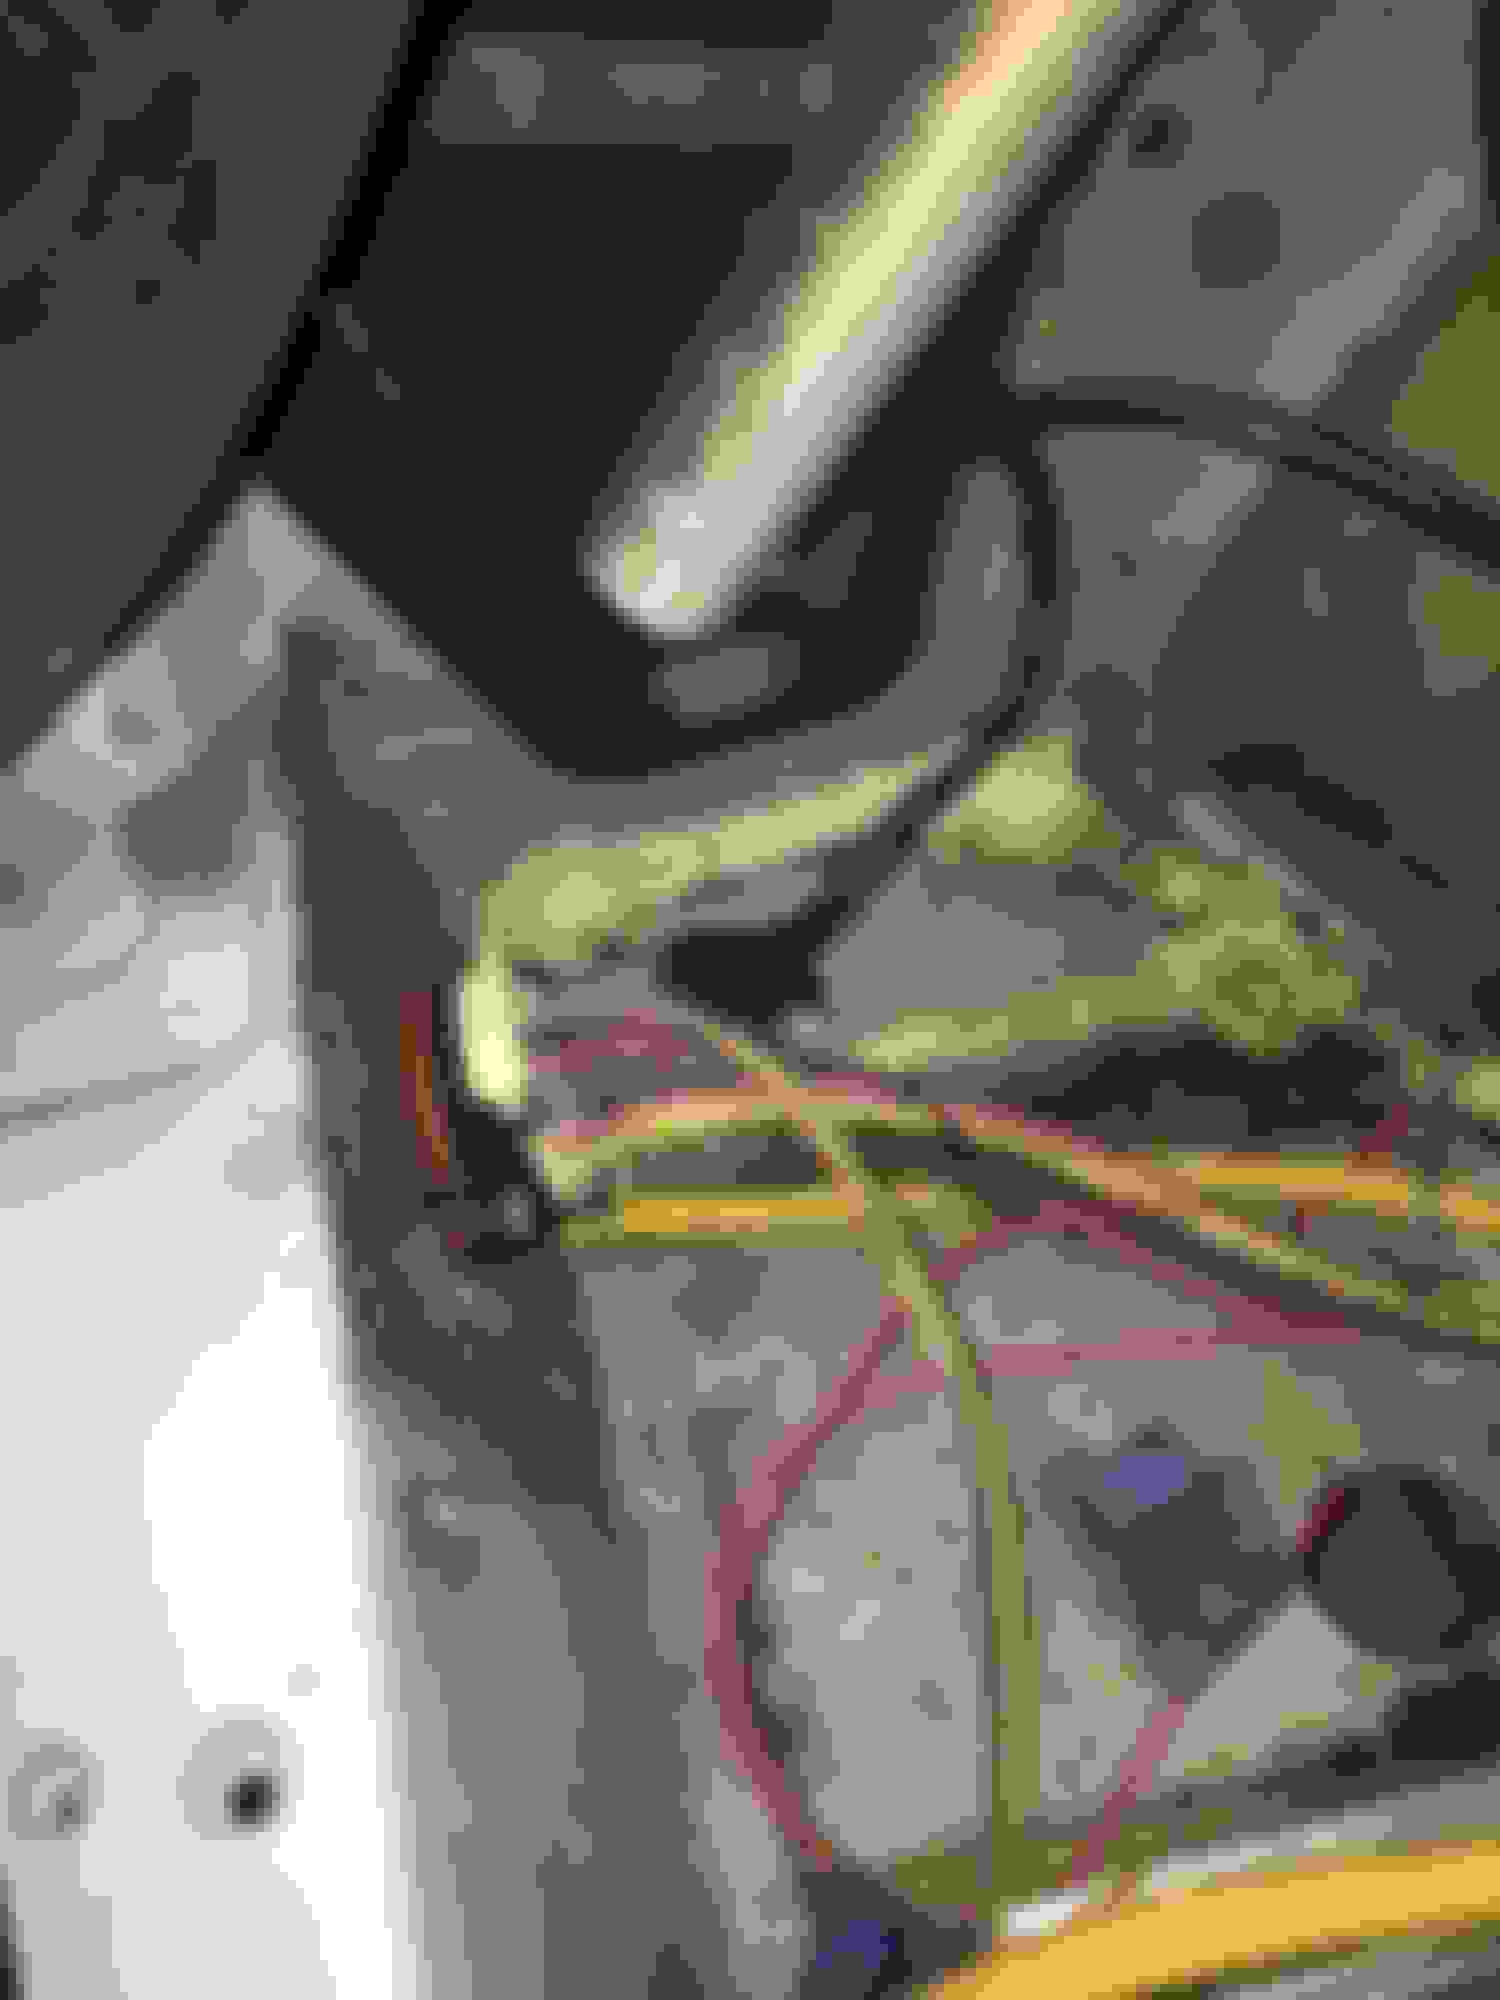
Anything on the front clip that doesn't plug directly into the engine or trans (headlights, fog lights, fans and 02 harness) runs through this deutsch connector in the passenger side fender well. There is also another one in the drivers side fender well that has the drivers side 02 harness and the wiper harness.
I did not like the way the factory harness ran over the rear seat hump before so since i was rewiring the entire car, i decided to do a bulk head through it so i could remove it later if need be.
Yes i know i need to throw some paint on this so that it stops rusting. I honestly have not opened the trunk since i finished this but i cut the spare tire well floor out to make an access panel for my fuel hat.
the door is just attached with a few quarter turns. I will add some foam strips to the underside of the door at some point in order to seal it.
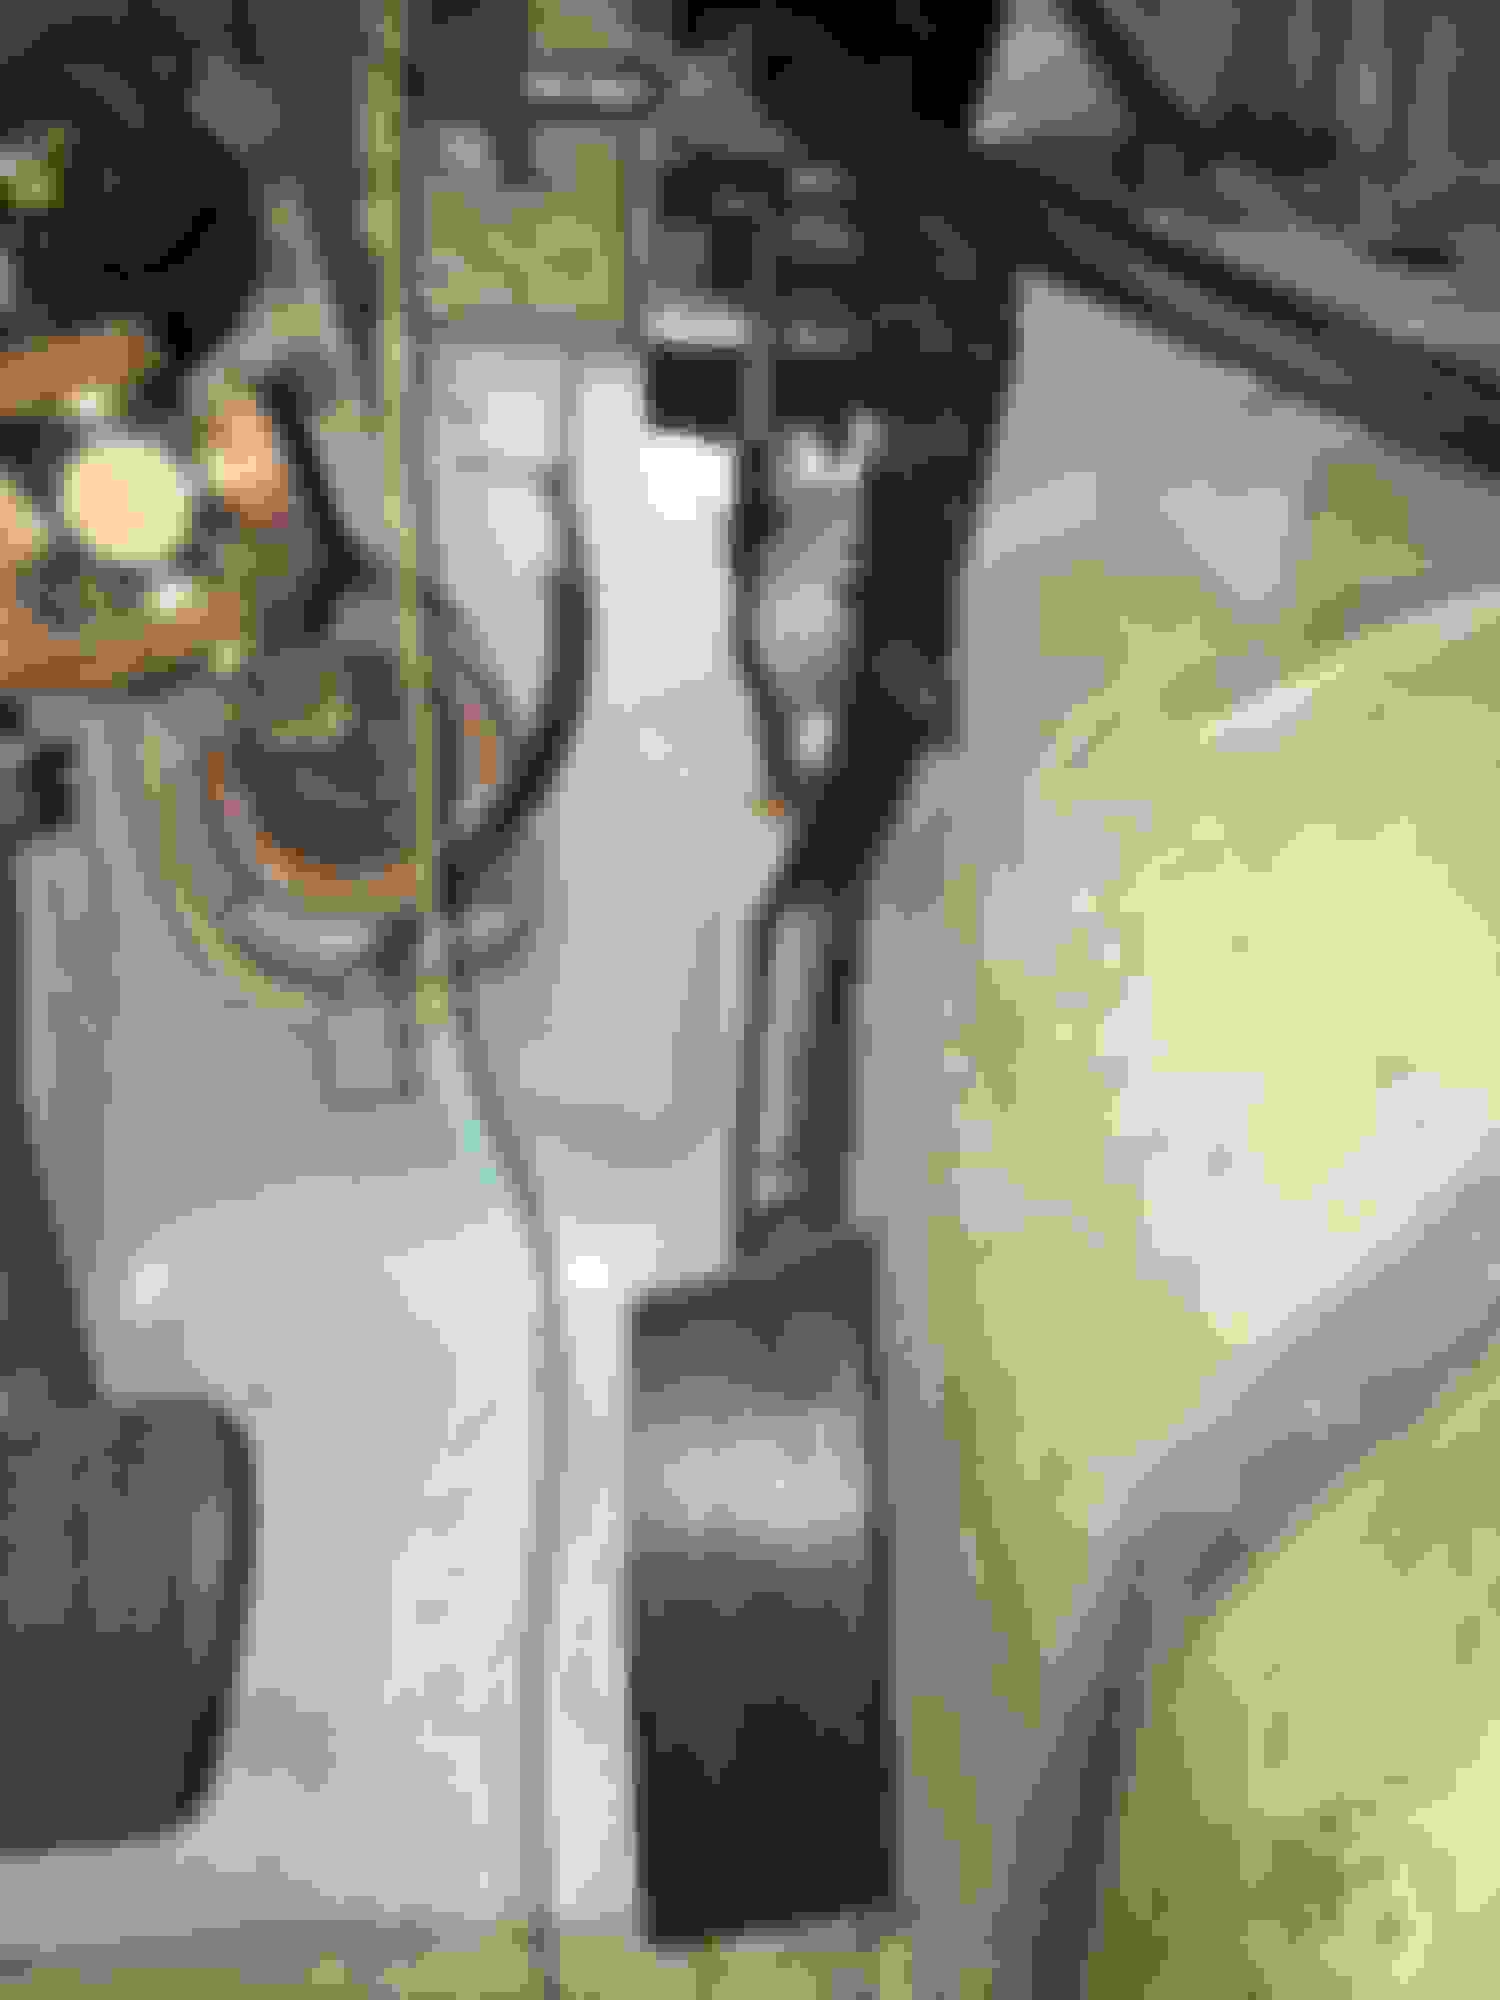
This is on of the lower brackets for the radiator. I took a scrap piece of half inch square tubing drilled holes in it and welded studs into it. I then welded that to the existing lower flanges. Then i just took a scrap piece of 18 gauge sheet metal and bent it into an l and drilled holes in it.
For the top mount of the radiator i welded some bolts to the front clip and used a piece of angle aluminum to hold the radiator by the flange on the top. the bolt heads were the perfect width to compensate for the gap between the ends of the radiator and where the flange is so it sits flat against it.
I still need to notch the top of the front clip a little more and clean it up but you get the general idea of the radiator mount. I opted for a drivers side upper and passenger side upper due to the placement of the turbo.
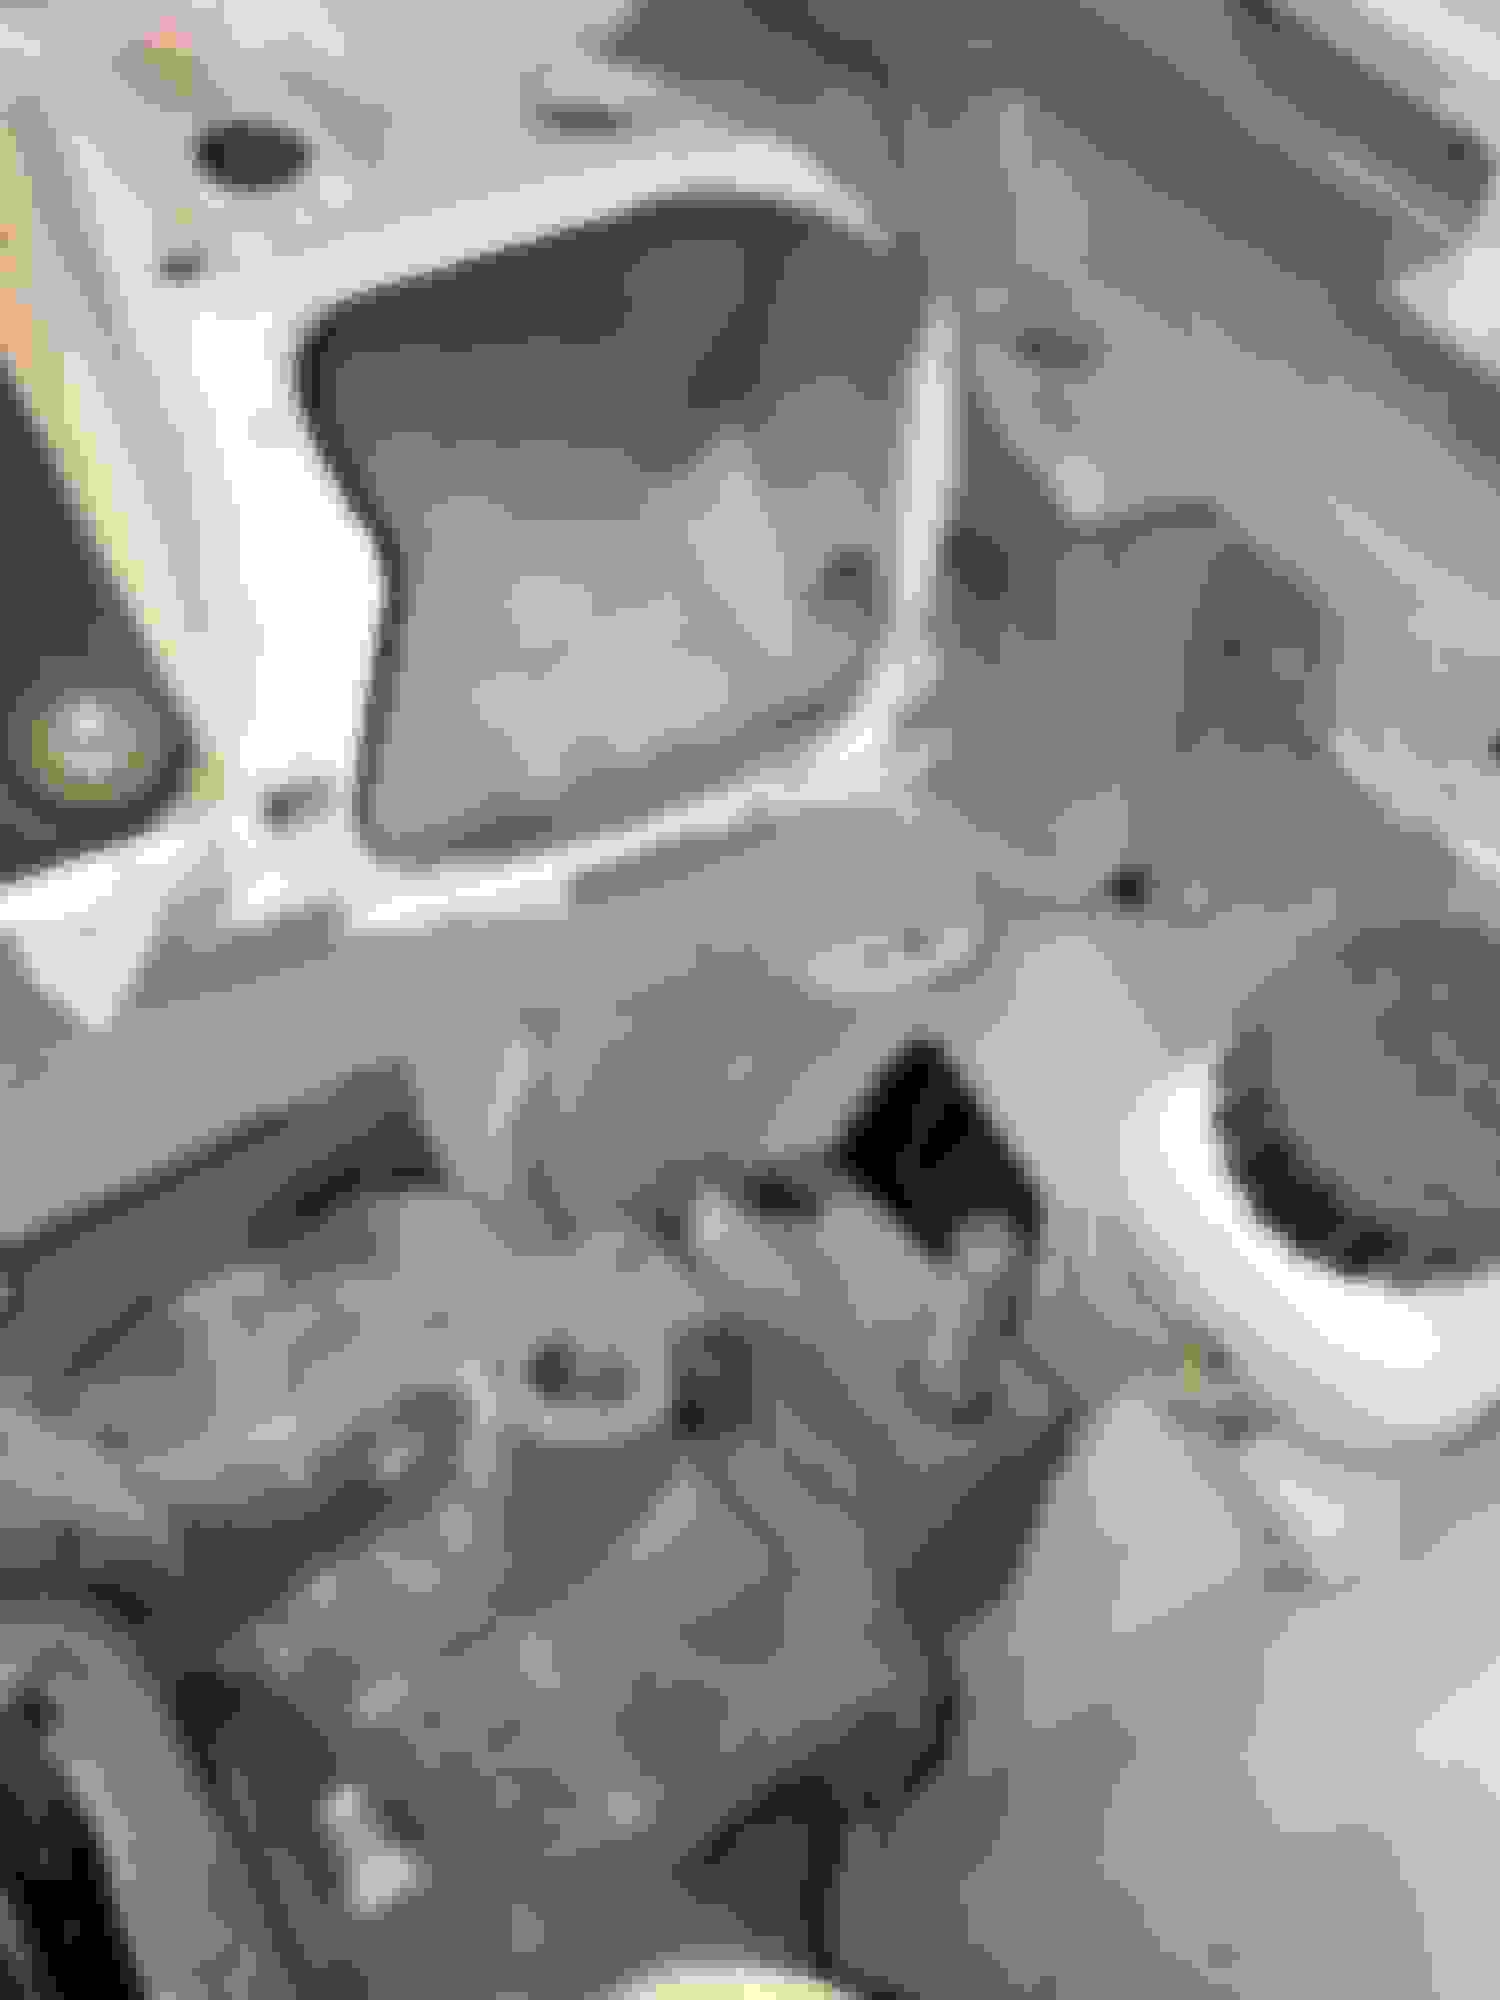
I noticed no one had posted a picture of the Fbody t56 and how much you have to cut out in these cars. I still need to do a little more cutting but as you can see it sits about 2 inches back compared to the stock tr3650.
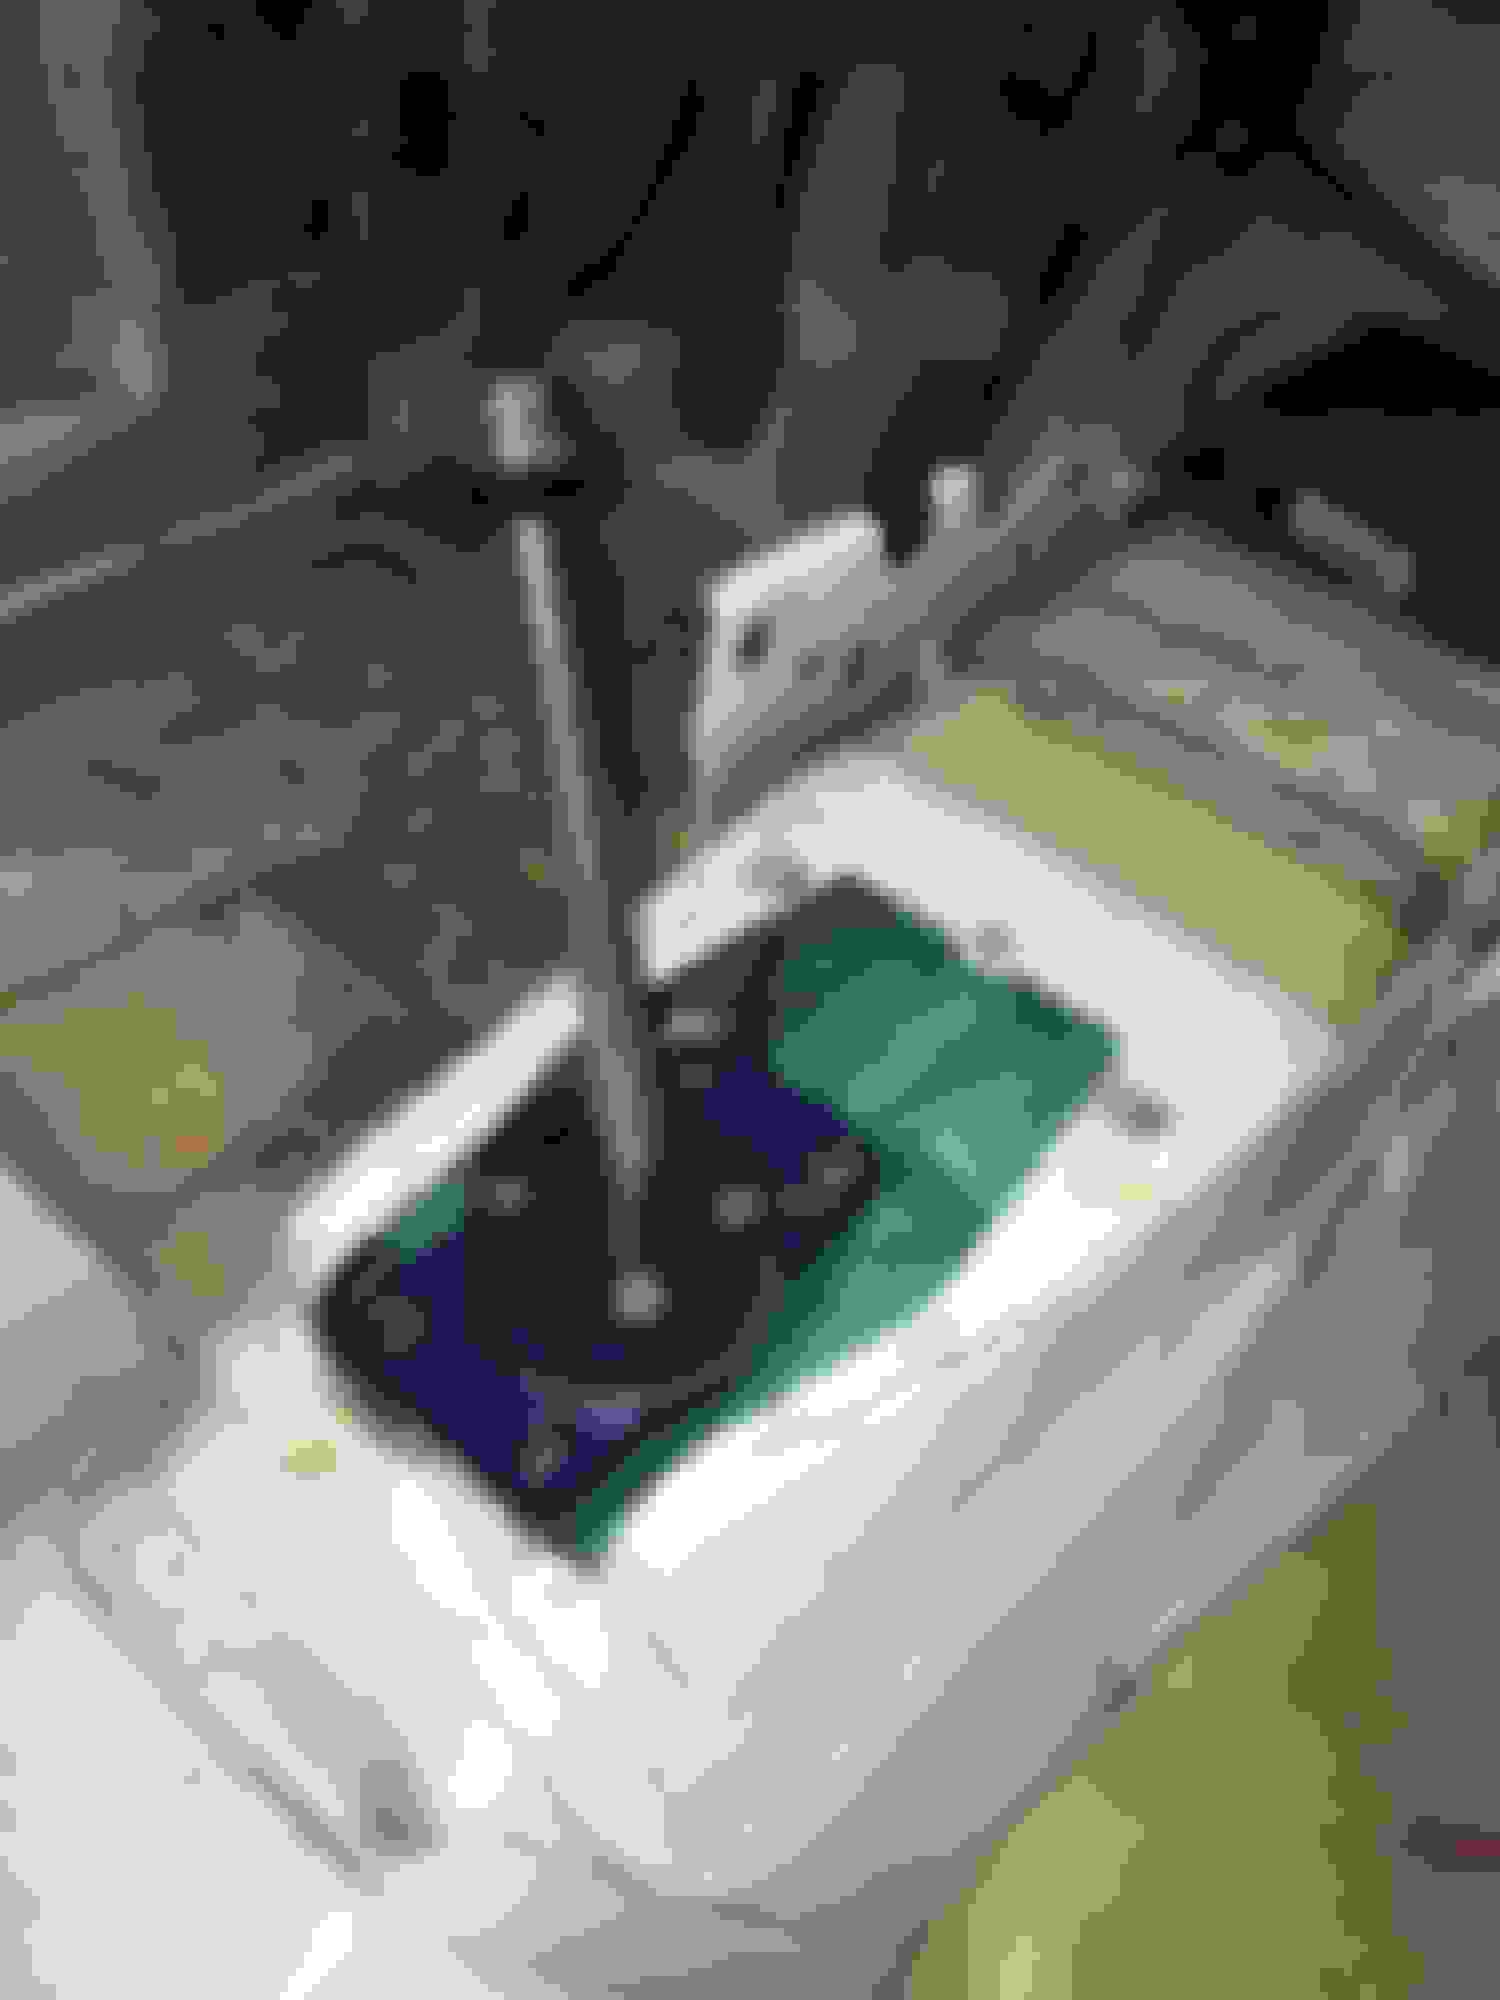
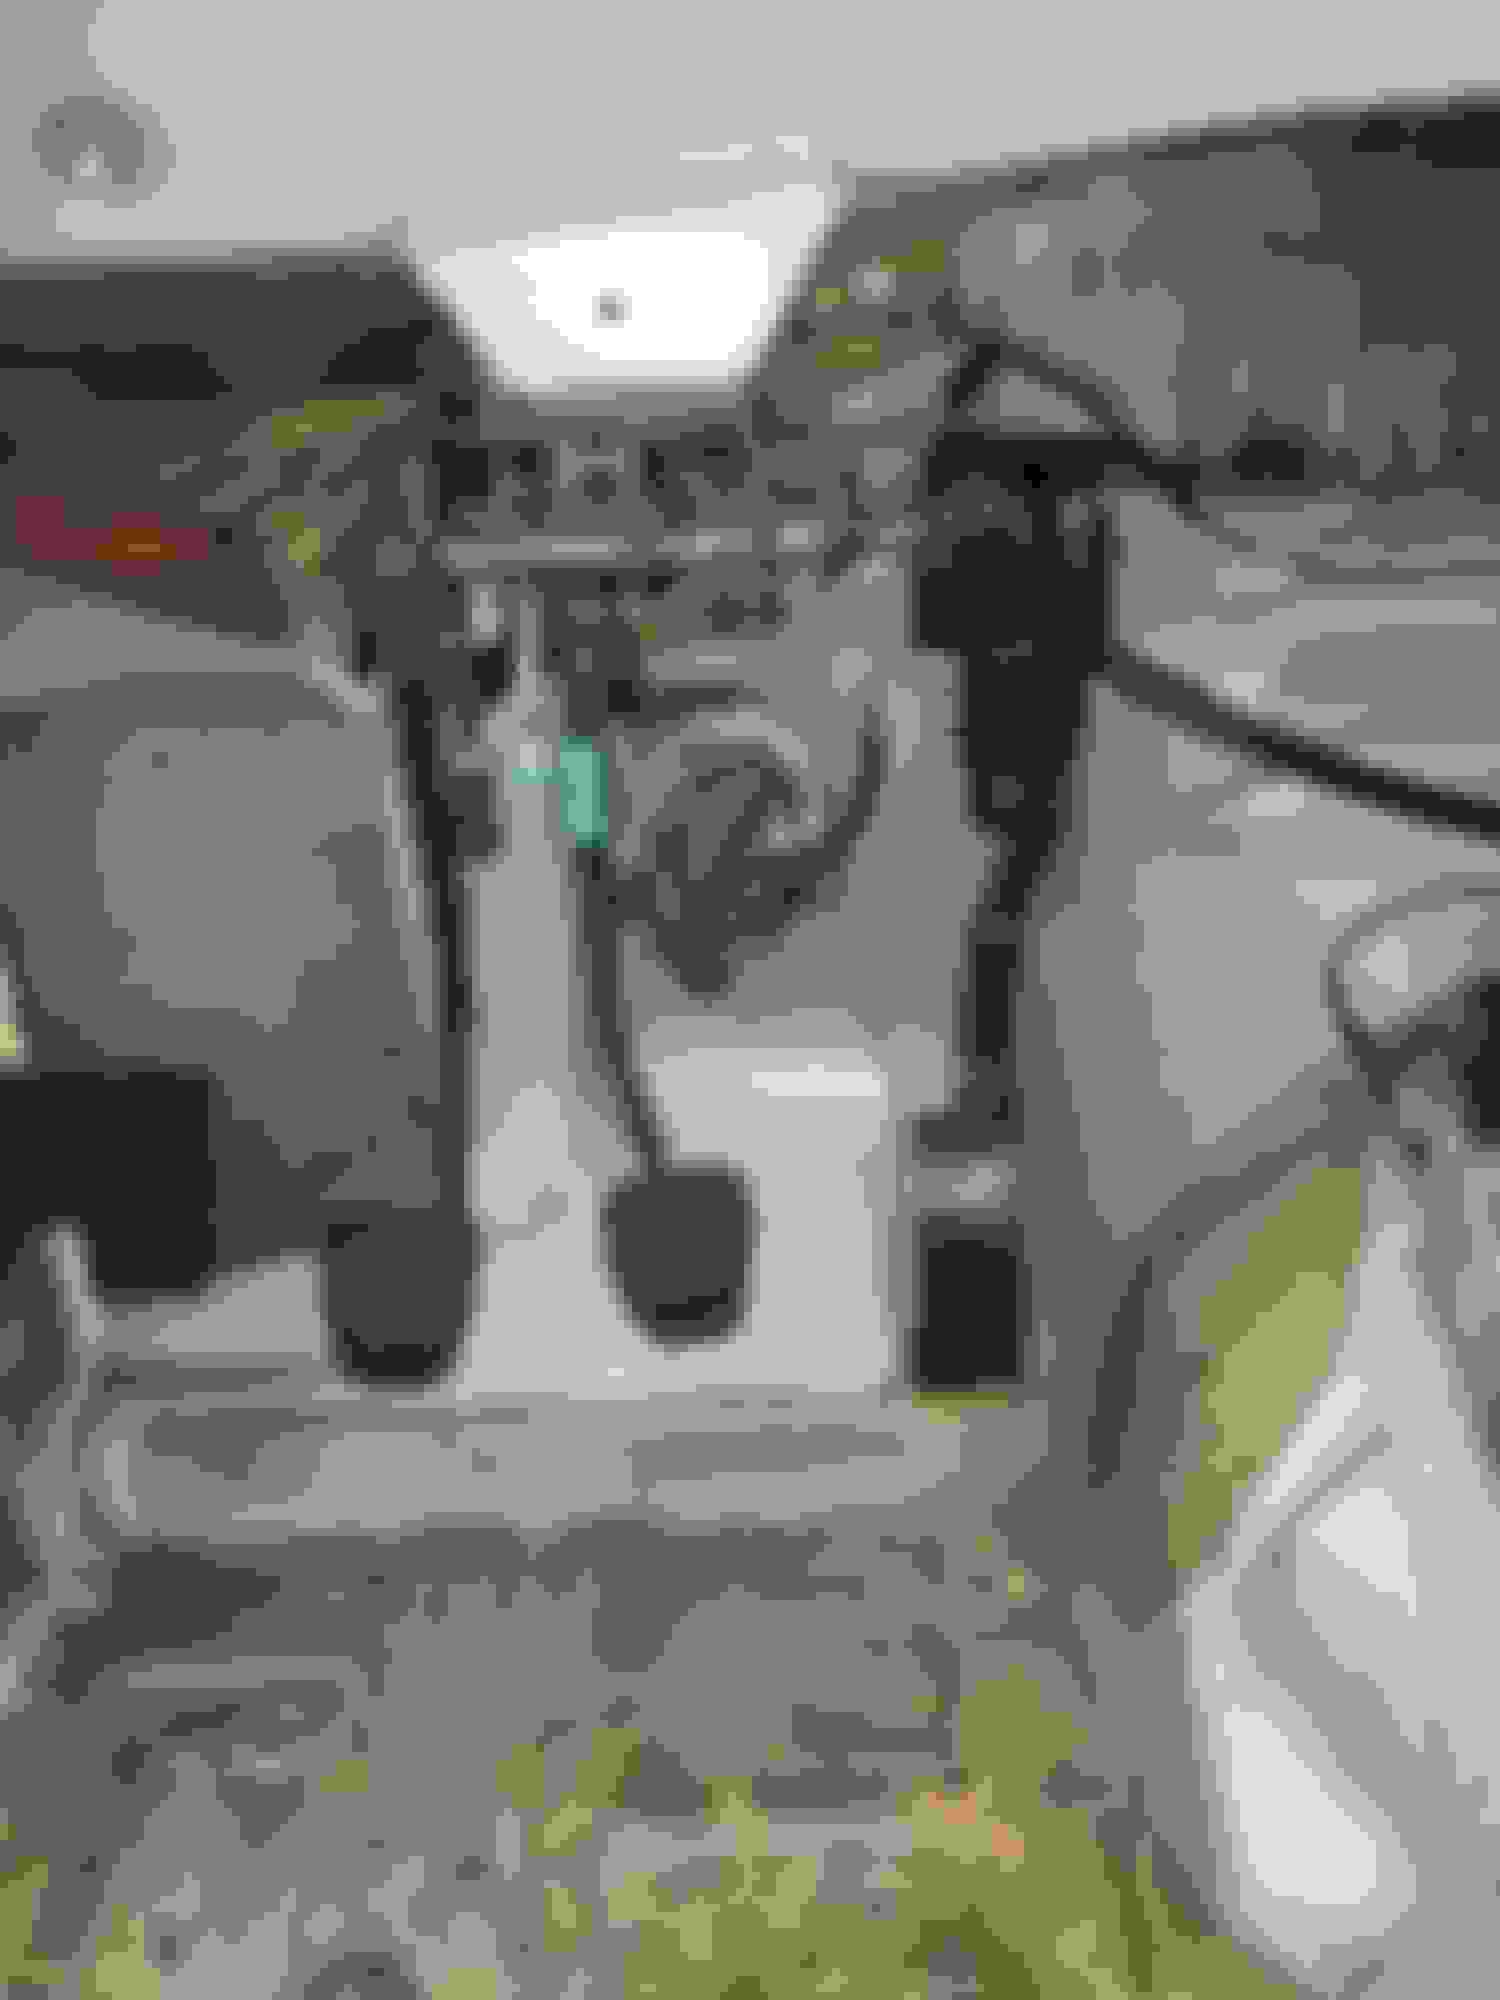
This is the master cylinder from the inside of the car. you can see the factory clutch pedal already has holes in it but after a bunch of measurements i mounted the master cylinder at the height its at because that will put it at the exact fulcrum of the pedal movement where it will not change the angle of the master cylinders rod when pressed.
Straight on view of the clutch pedal so you can get an idea of the master cylinder mounting height.
this is the tilton master cylinder for the clutch.
This is the fluid reservoir for the Master cylinder
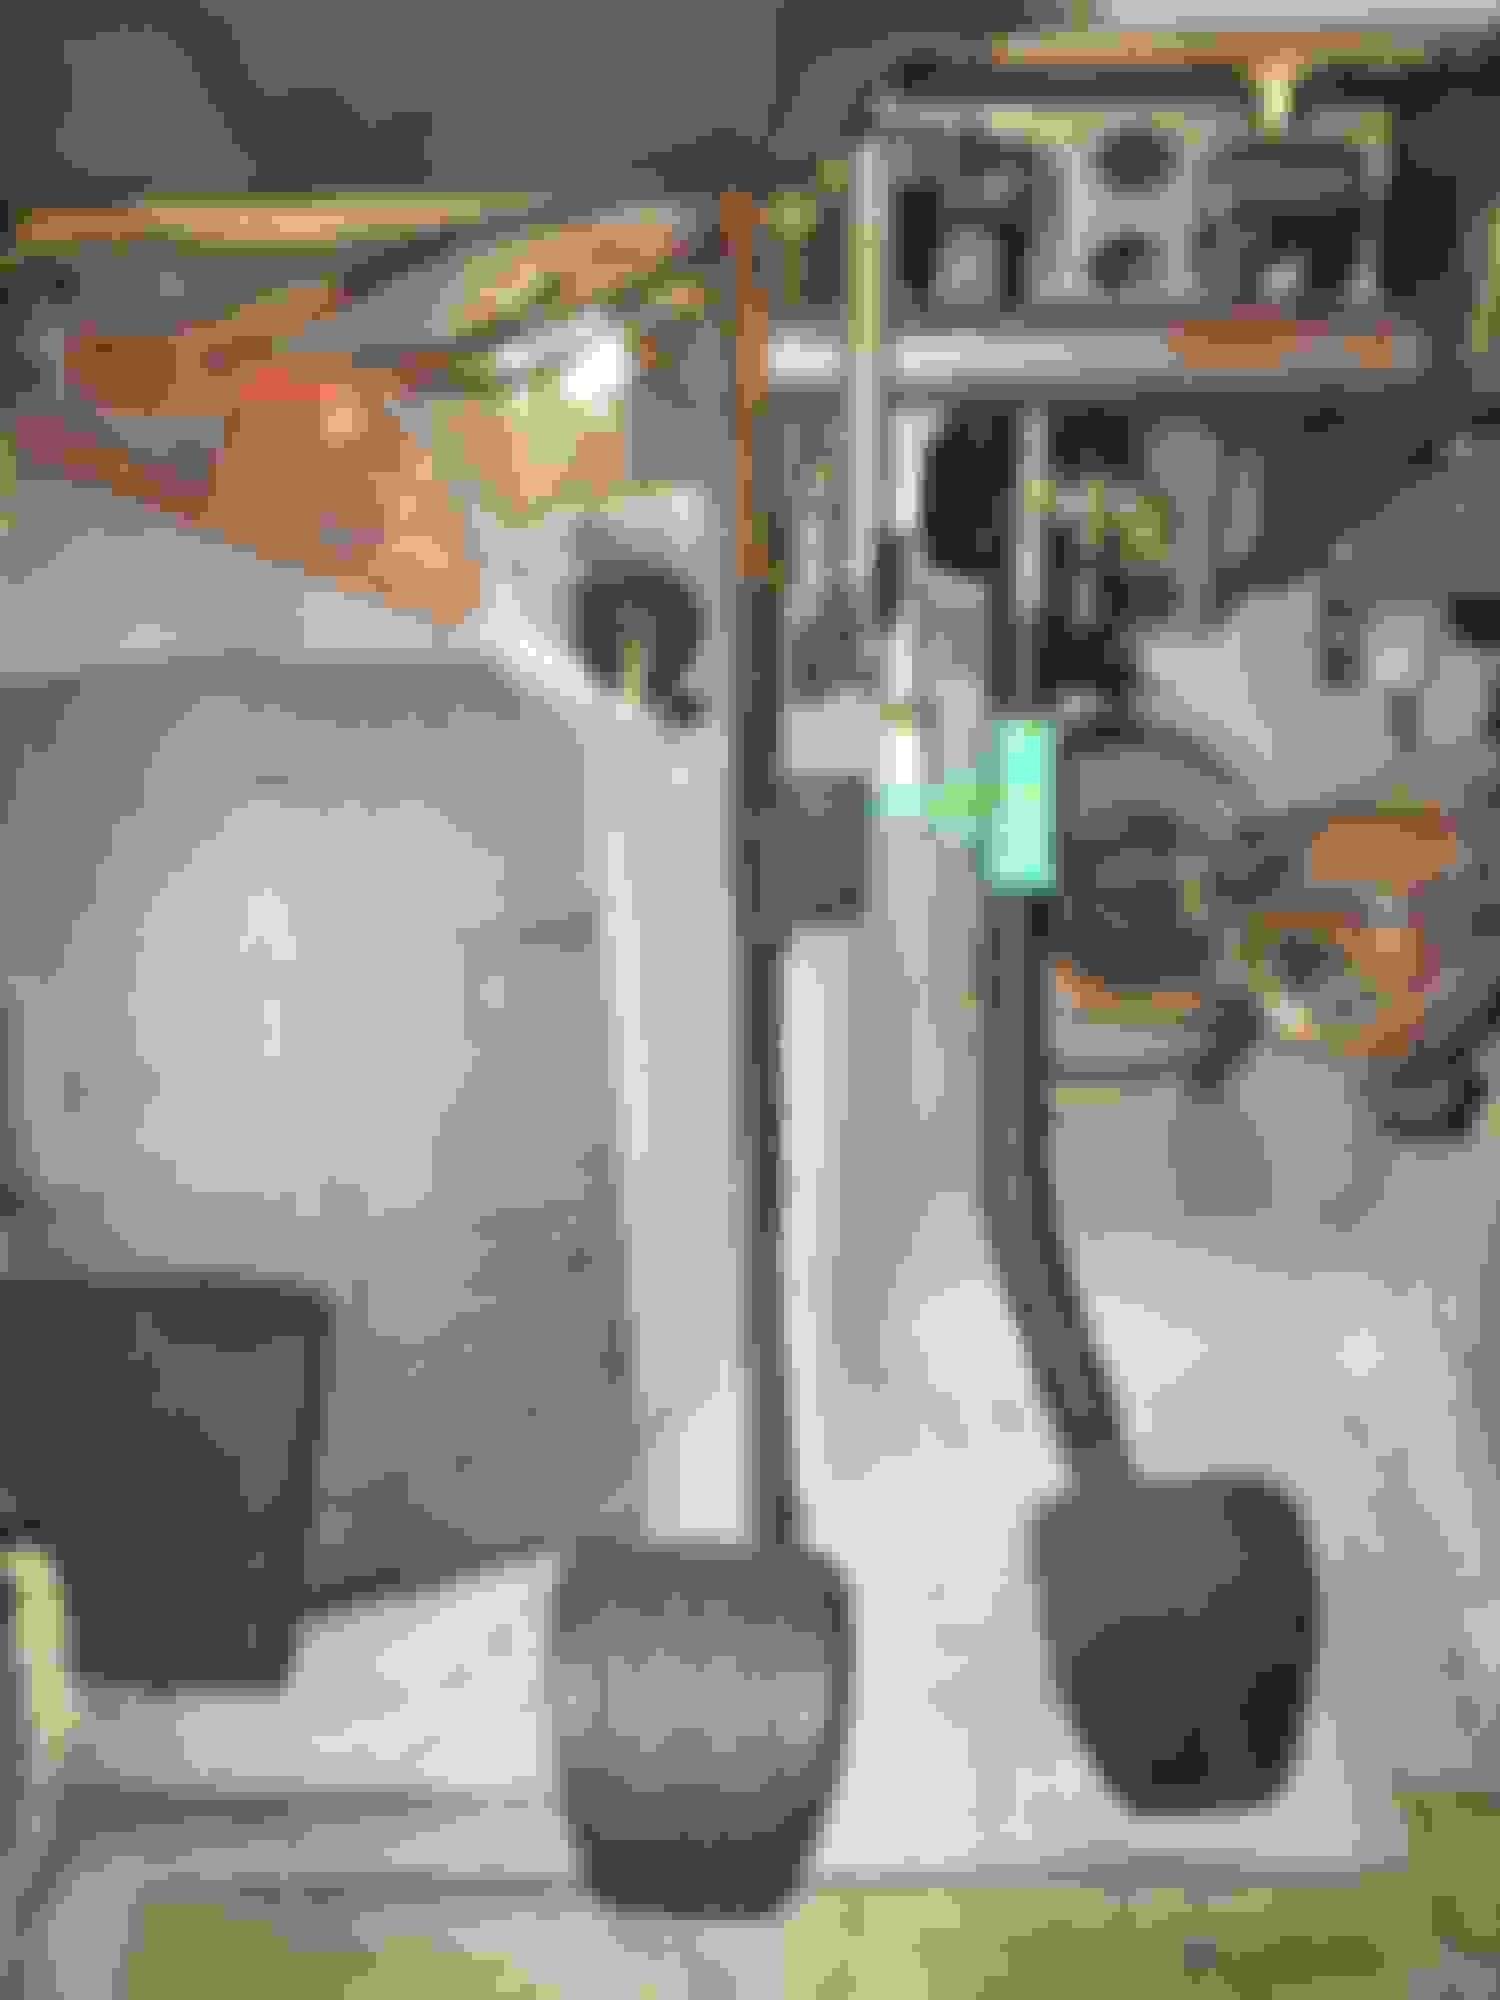
Since I'm DBW and the truck pedal arcs way to the right, i cut the truck pedal off and welded the mustang pedal to it. I did this a long time ago with a harbor freight flux core. I am not saying that i am in any way a good welder now but i am not nearly as terrible as i was back then. The truck pedal was flat stock and the mustang is u shaped so i was able to box it in to make it really sturdy.
This is another view of the clutch pedal and the gas pedal.
Tomorrow night i have plans to work on me and my fathers 1973 jeep commando that we have been restoring so I don't think ill post tomorrow unless i end up working on this thing some more. I do plan on trying to post every single day that i do work on this though. Feel free to utterly tear apart some of my horrible welds. I have been learning to weld throughout this entire project. Also if anyone knows anything about the mustang factory temp and oil pressure sensor wiring that would be extremely helpful. I cannot seem to find any info anywhere on if the dash gives it the 5v power source or if the computer does. I know on the ls, the PCM grounds it and gives the temp sensor the 5v reference and it literally just sends out a temp signal straight from the computer to the gauge.
Damn, you got a killer deal on engine and trans, plus the IRS swap I've been seeing at no less than 1k with everything being OEM. Good scoop on all that stuff.
I'm doing an '03 vert as well so I'll be watching yours closely. Only been at if for a few months, but it's great to see you moved on the LS motors lol
Do a write up please haha. I wish i would have started this from the beginning so i could see more of my progress and really keep track of parts and to do list.


 04-13-2018, 10:31 AM