
68 Camaro Build with a Gen V Swap


 01-05-2019, 06:36 PM
#45
I took the car to a local shop and just got it back. I was going to have them install new quarters and a floor pan. After they looked into everything a little more they only wanted to patch the lower quarters, both toe boards on the floor pan and the PS floor rather than do full floors and quarters. The shop said it was not a rust bucked and doing it this way would save me money so we went that rout. I hate having a shop do work on the car that I can do but with my work schedule and family its hard making time and trying to get it back on the road sooner than later. With access to both sides of every weld they performed I was good with it and it turned out good.
While it was there they suggested I drop the motor down a bit and I had them raise the tunnel a couple inches to clear the big trans.
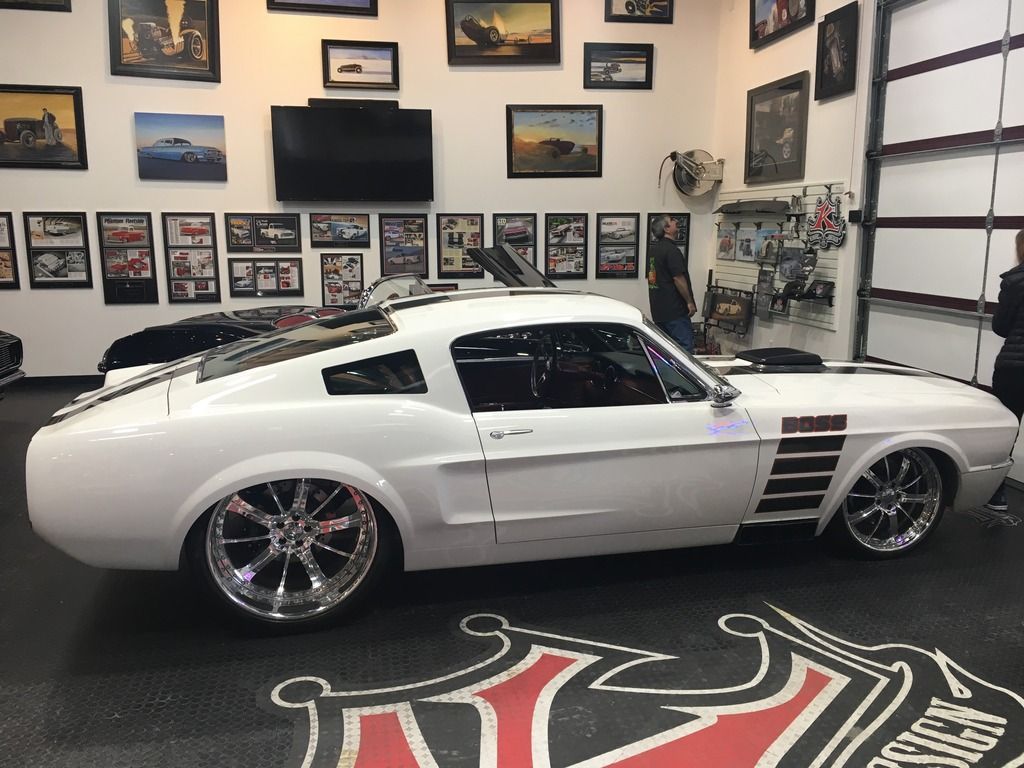
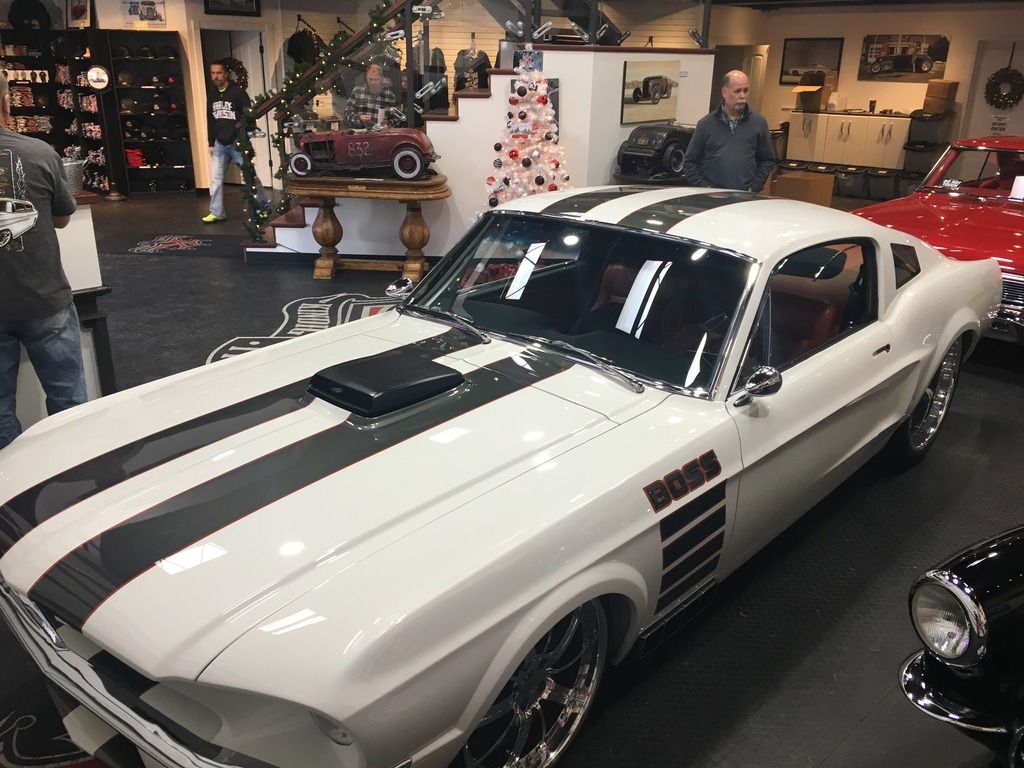
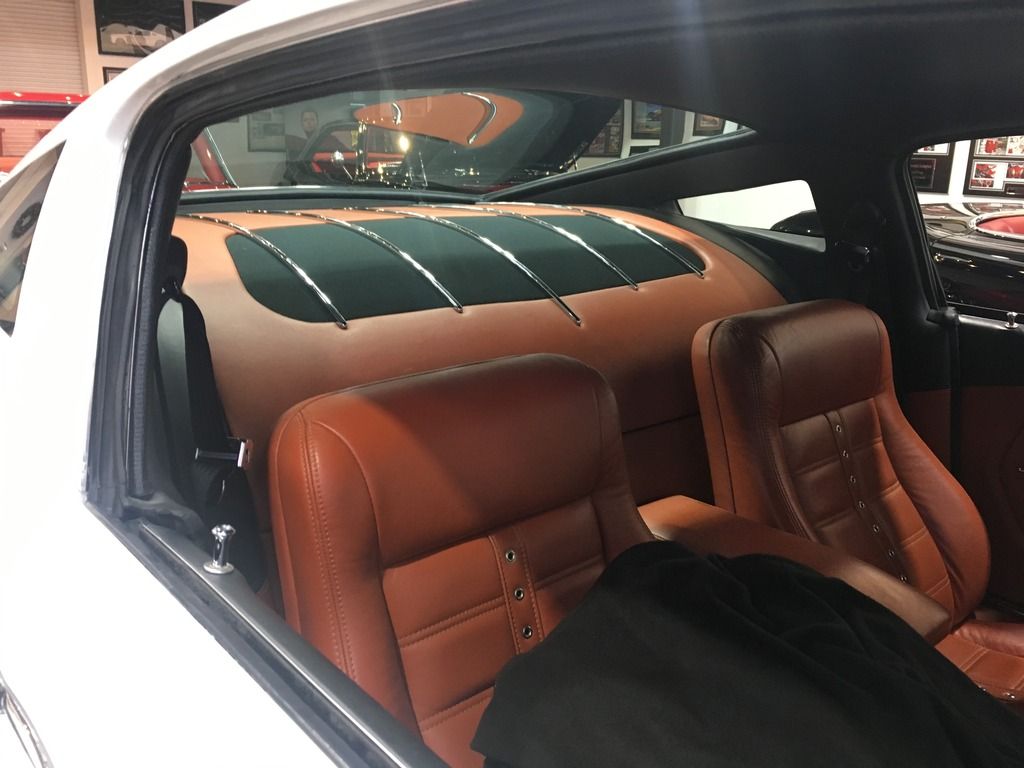
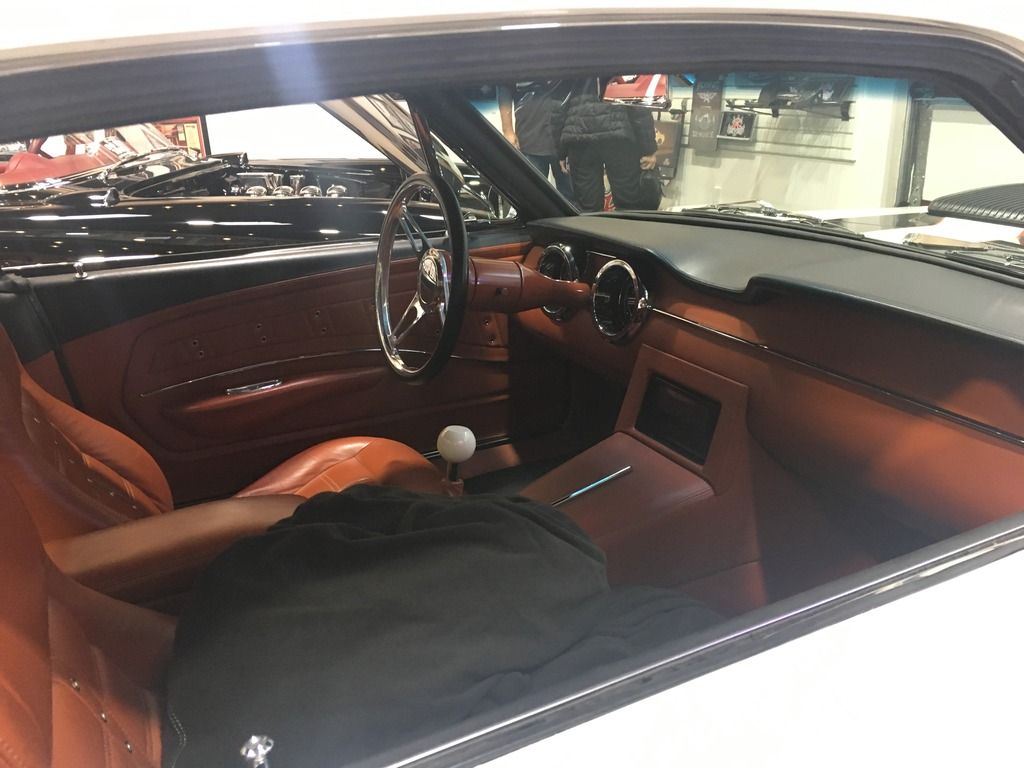
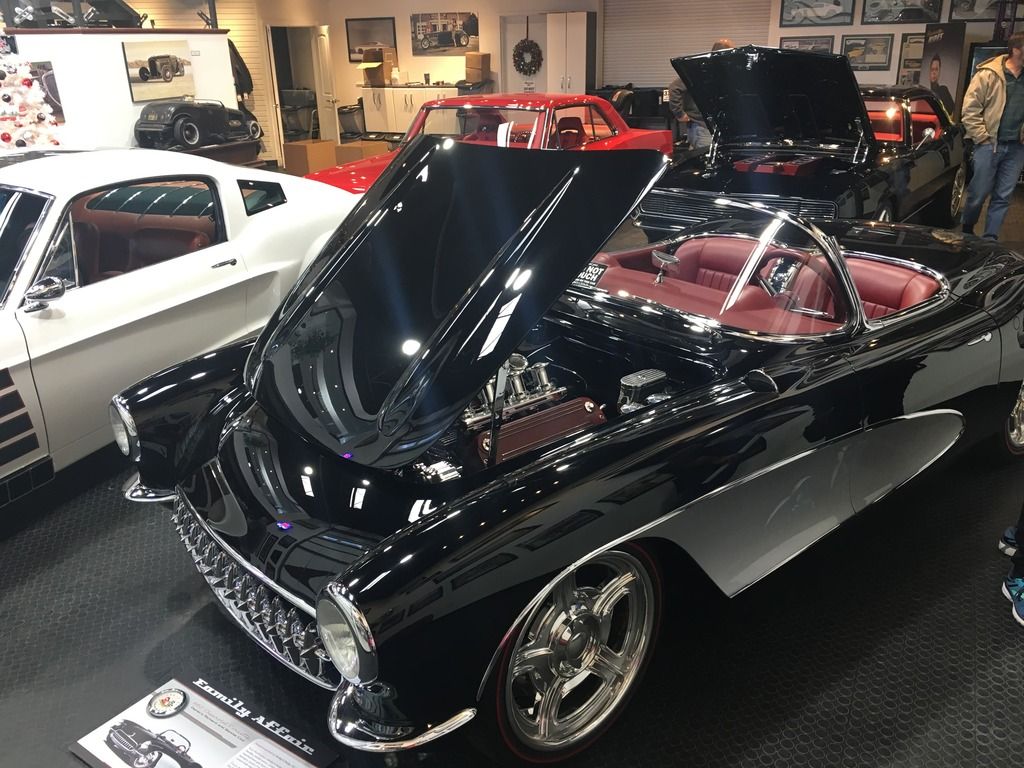
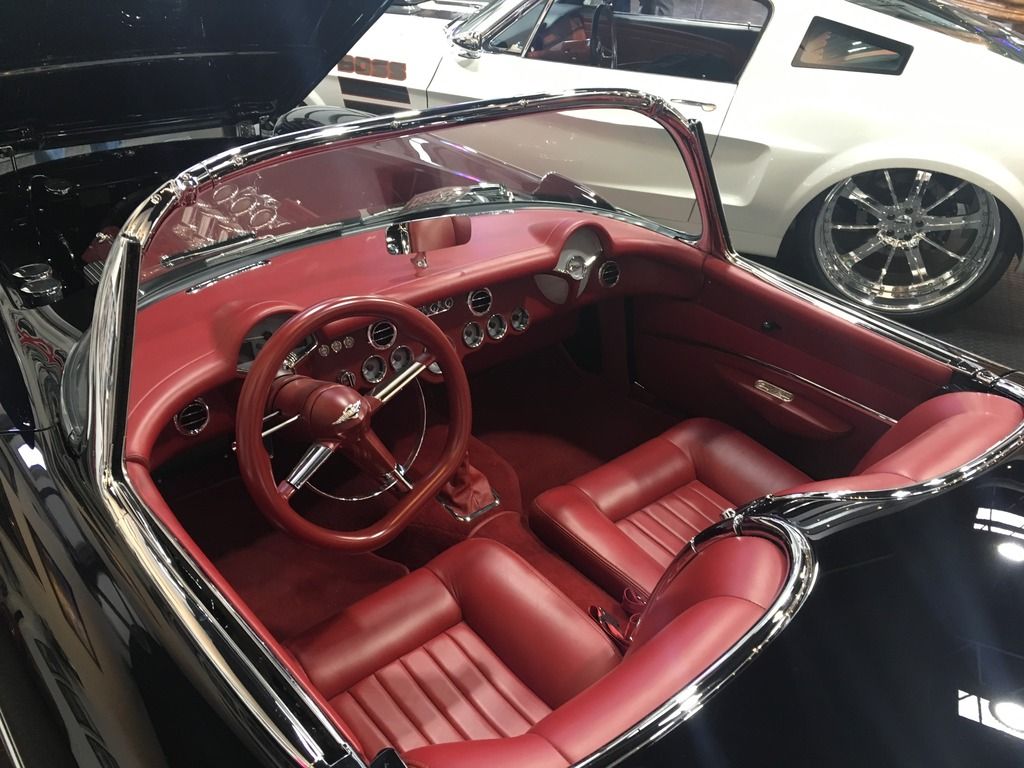
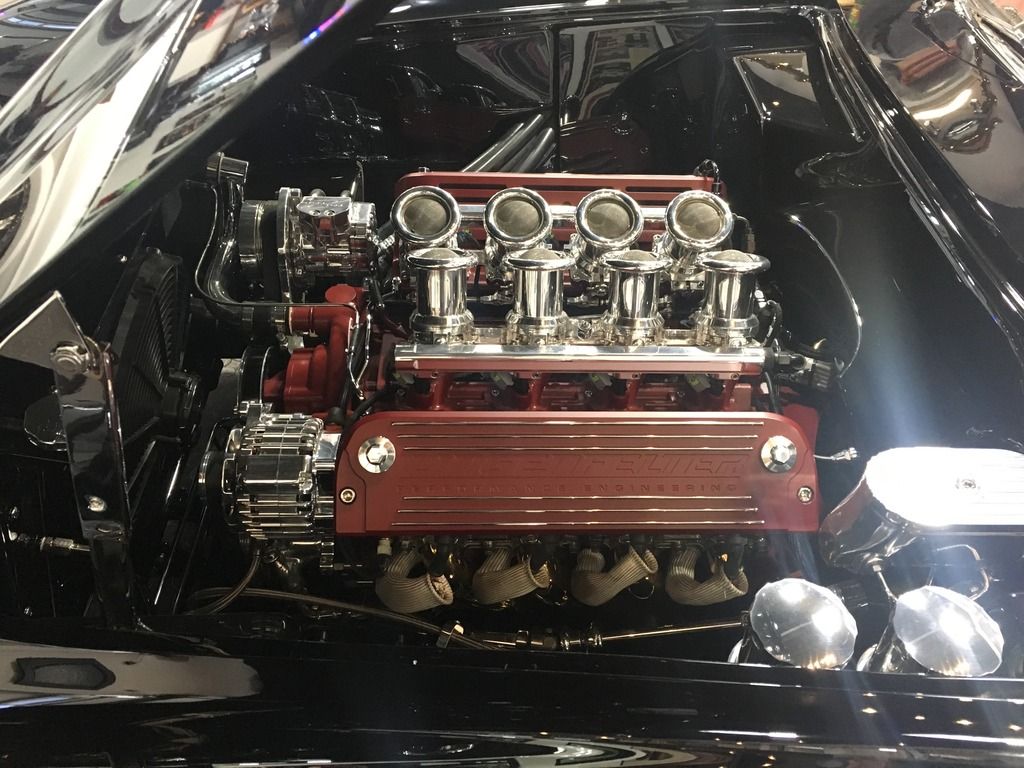
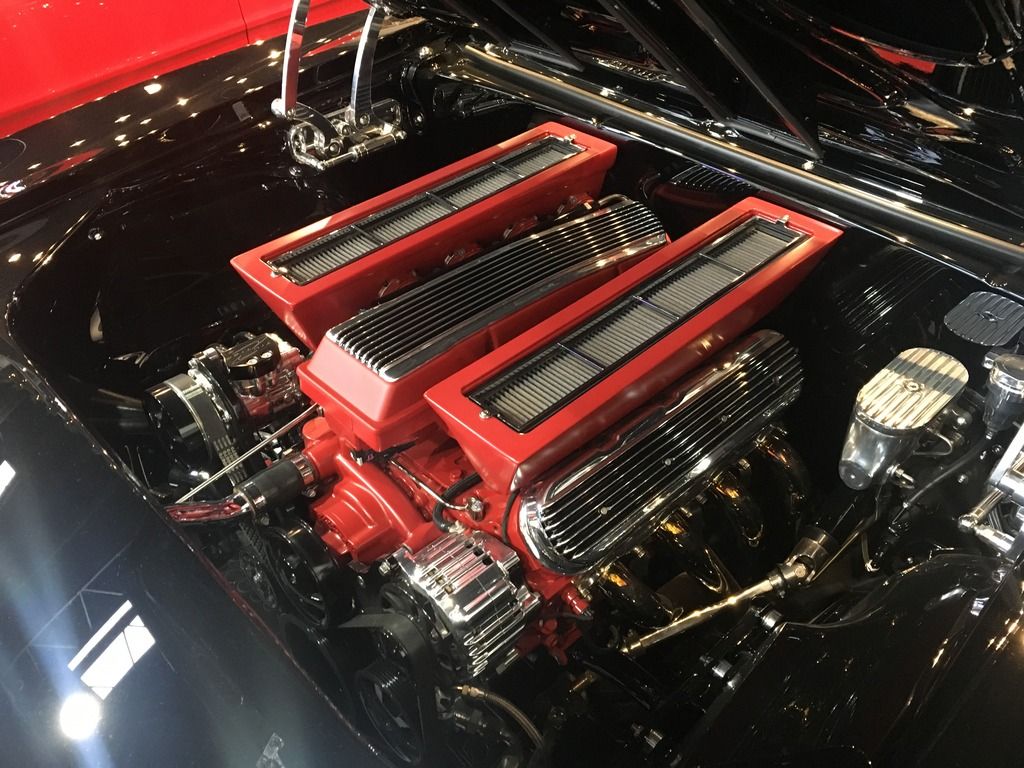
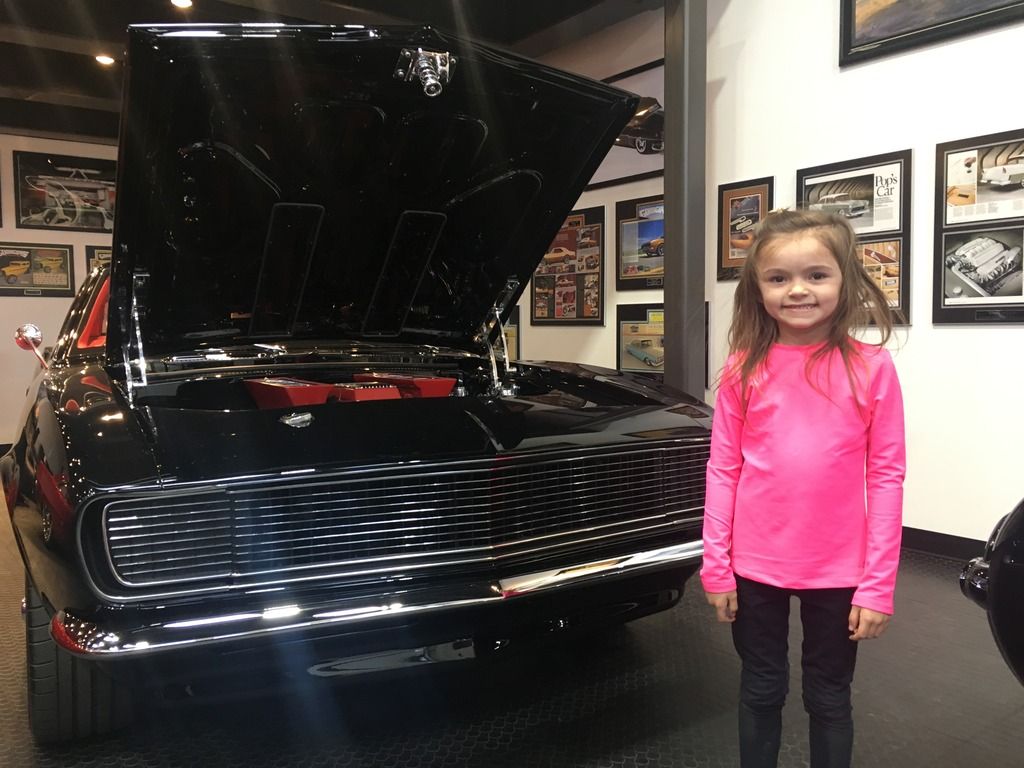
The shop got me into a good position to continue and I got some time off to go on vacation with my family. We went to Utah and enjoyed some cold weather and stopped by Kindig It Design where they film Bitchn' Rides. I got limited photos on the showroom floor, no photos were allowed to be taken in the shop so we dont spoil the show.


While it was there they suggested I drop the motor down a bit and I had them raise the tunnel a couple inches to clear the big trans.
The shop got me into a good position to continue and I got some time off to go on vacation with my family. We went to Utah and enjoyed some cold weather and stopped by Kindig It Design where they film Bitchn' Rides. I got limited photos on the showroom floor, no photos were allowed to be taken in the shop so we dont spoil the show.


 01-05-2019, 08:00 PM
#47
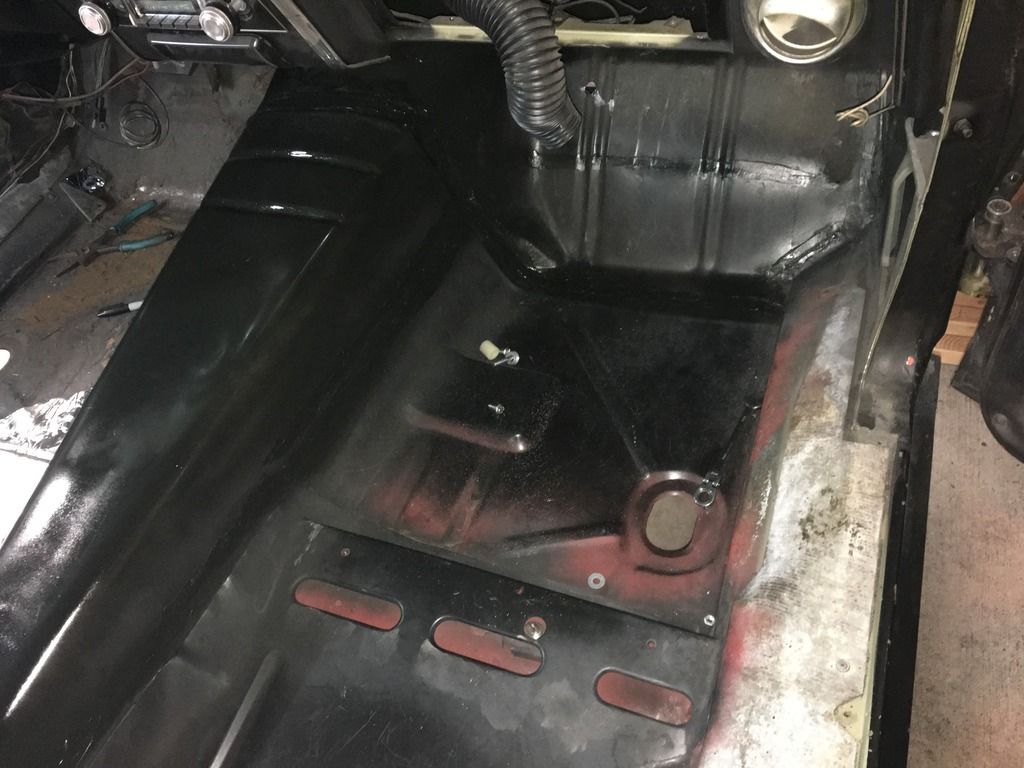
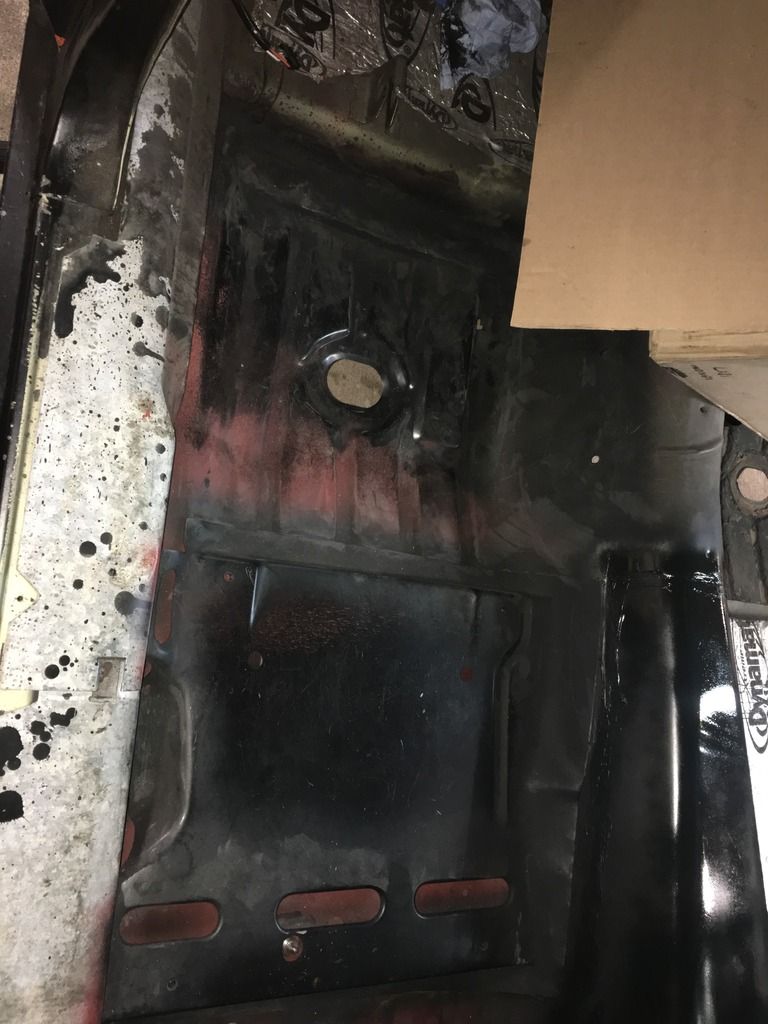
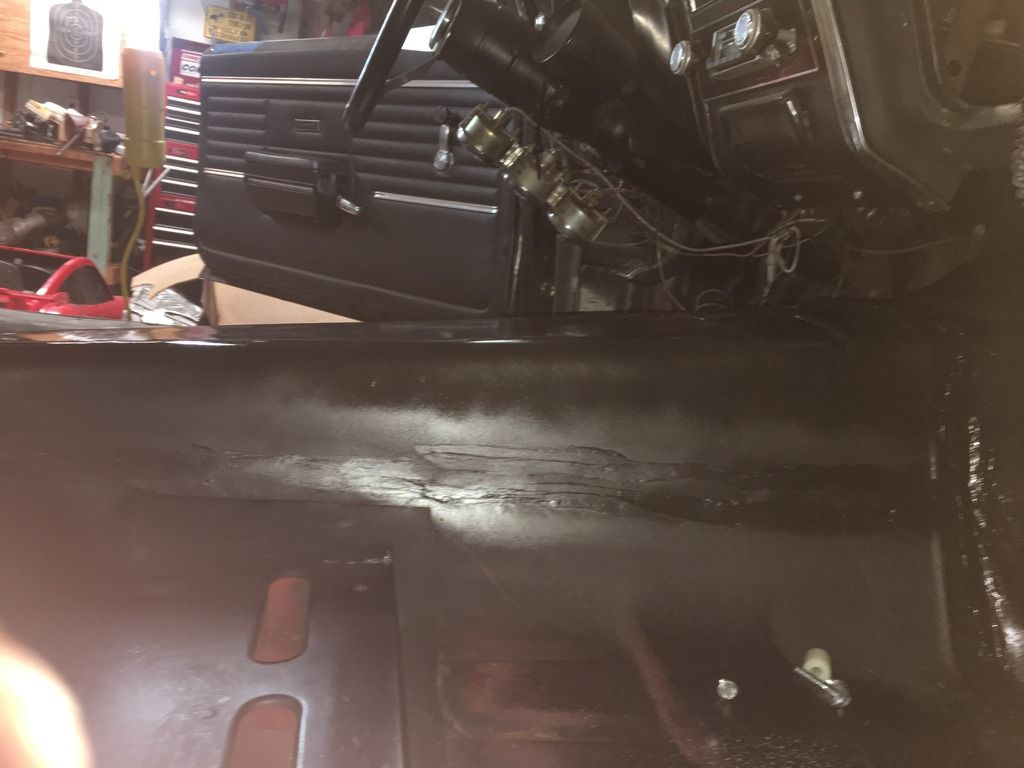
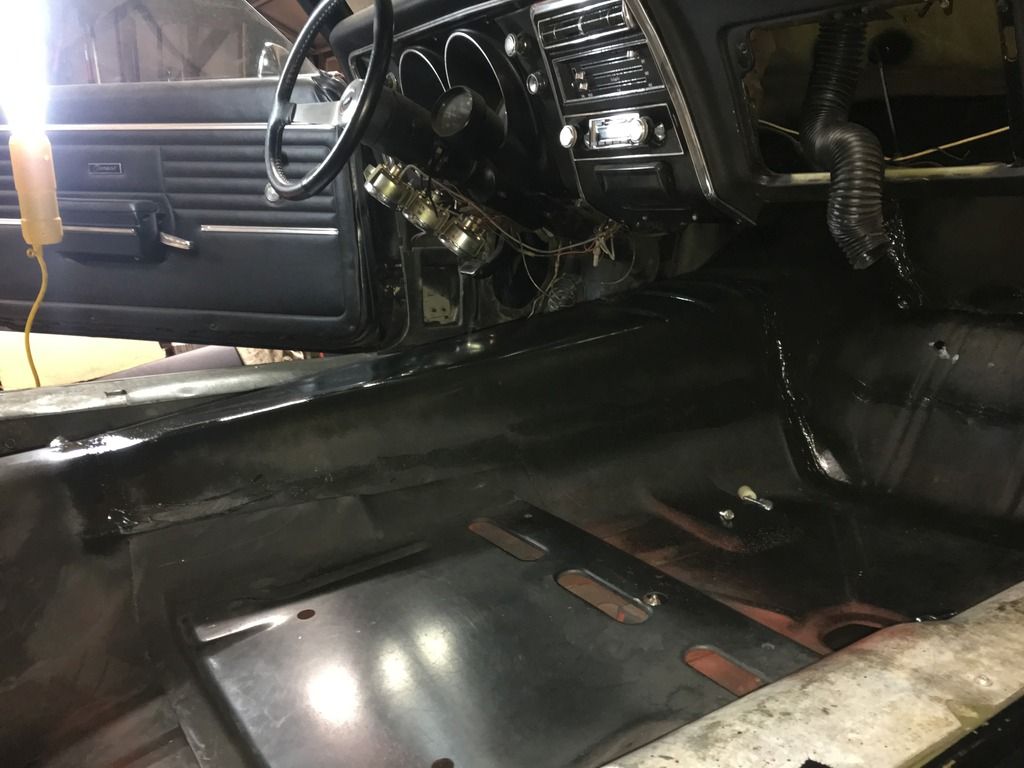
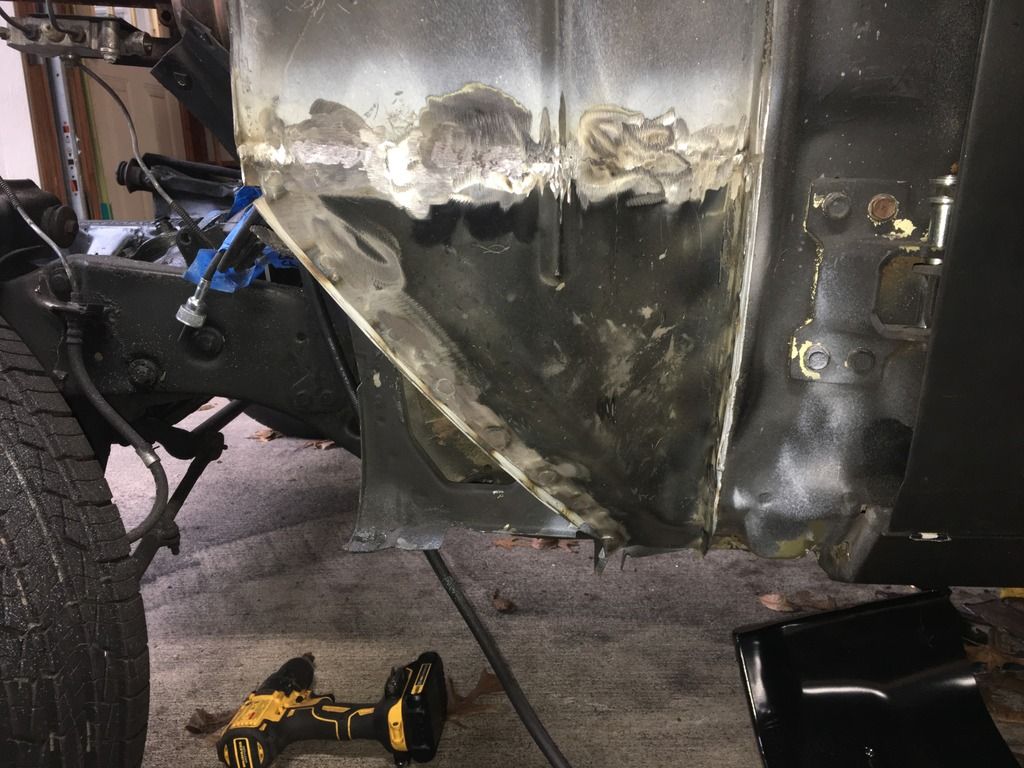
Here's a few photos of the work on the floor and trans tunnel the shop did. I put a little seam sealer on the jointed area and sprayed some more primer on the new metal. The tunnel looks real good, only problem is the Vintage air does not fit in the original location anymore, I'll need to slide it over a little.
I did not take any pics of the quarters but you can use your imagination.
I did not take any pics of the quarters but you can use your imagination.


 01-05-2019, 08:18 PM
#48
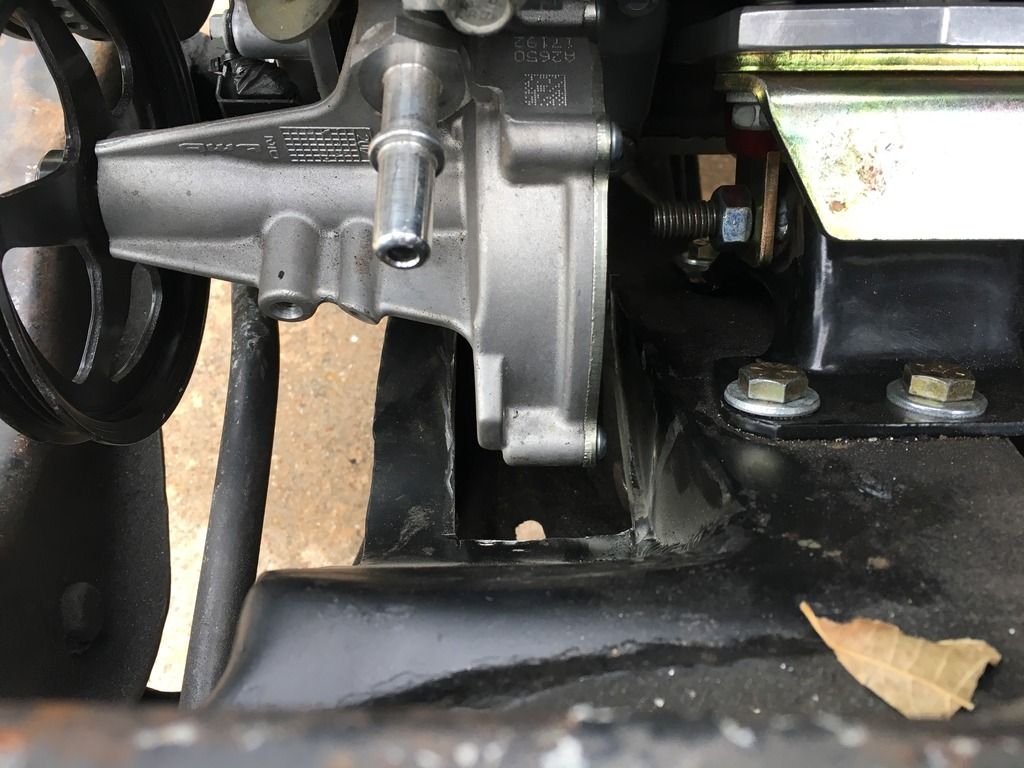
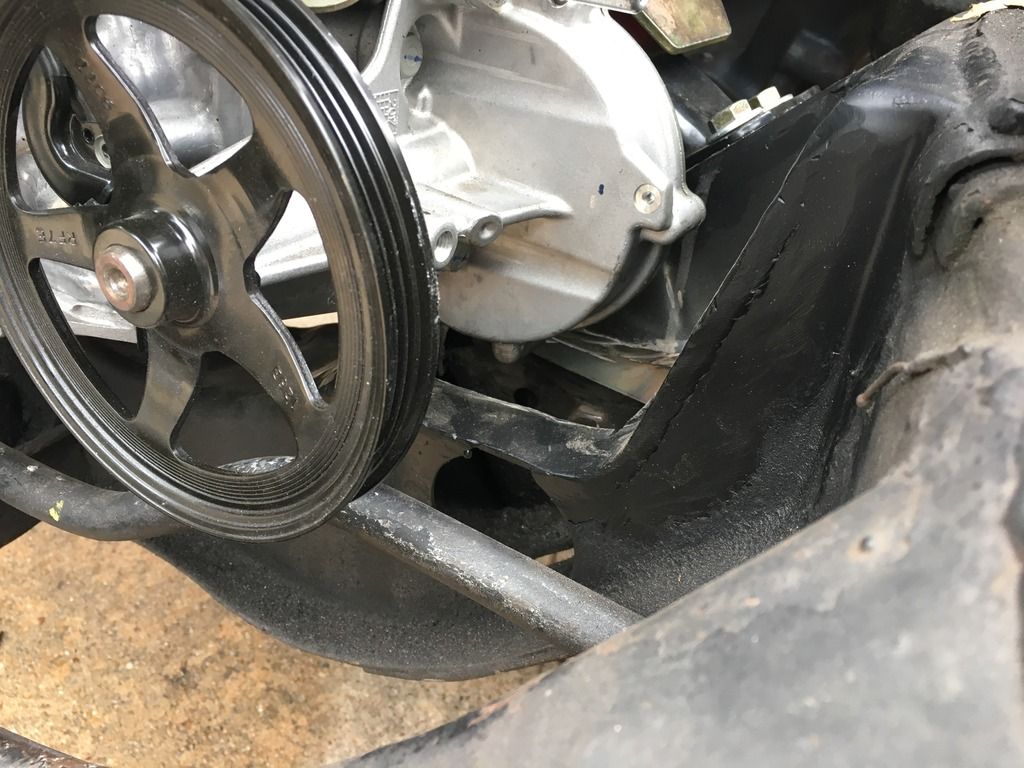
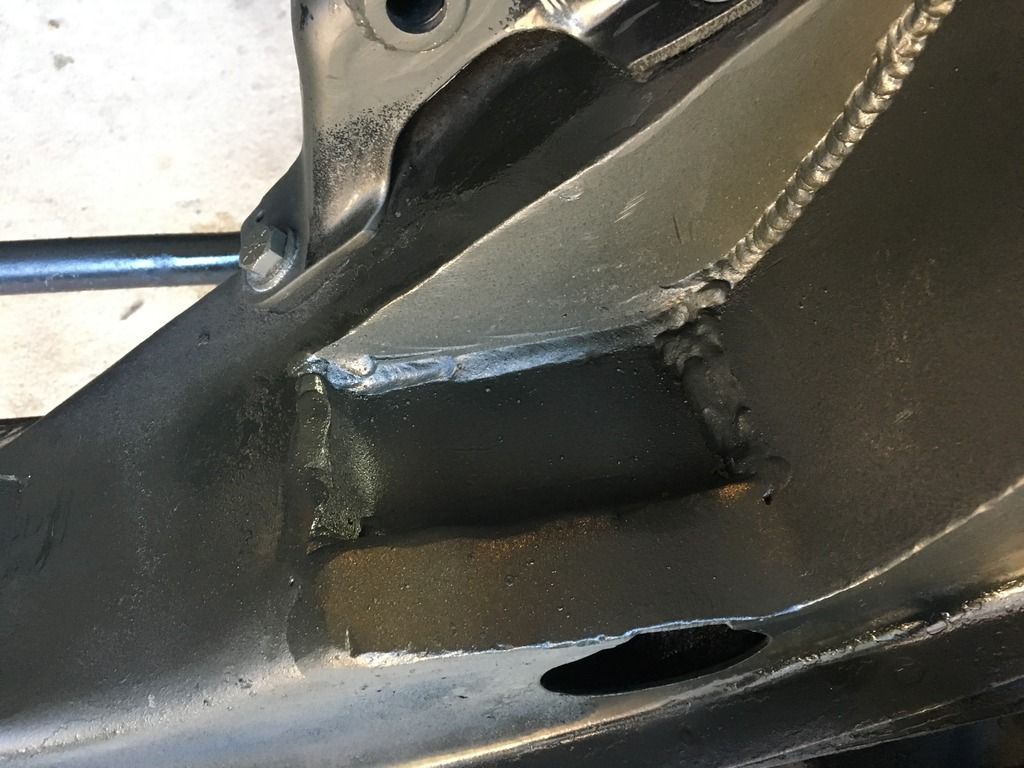
After the shop lowered the motor the vacuum pump was too close to get the motor back in so they cut a hold in my notched frame to fit it. once the motor was all the way in it might have just contacted the frame by a hair. I ended up recessing the frame a little more with some more 1/8" plate, not the prettiest but it works.
I ended up cleaning up the frame real good with degreaser and a pressure washer then hit it with some paint.
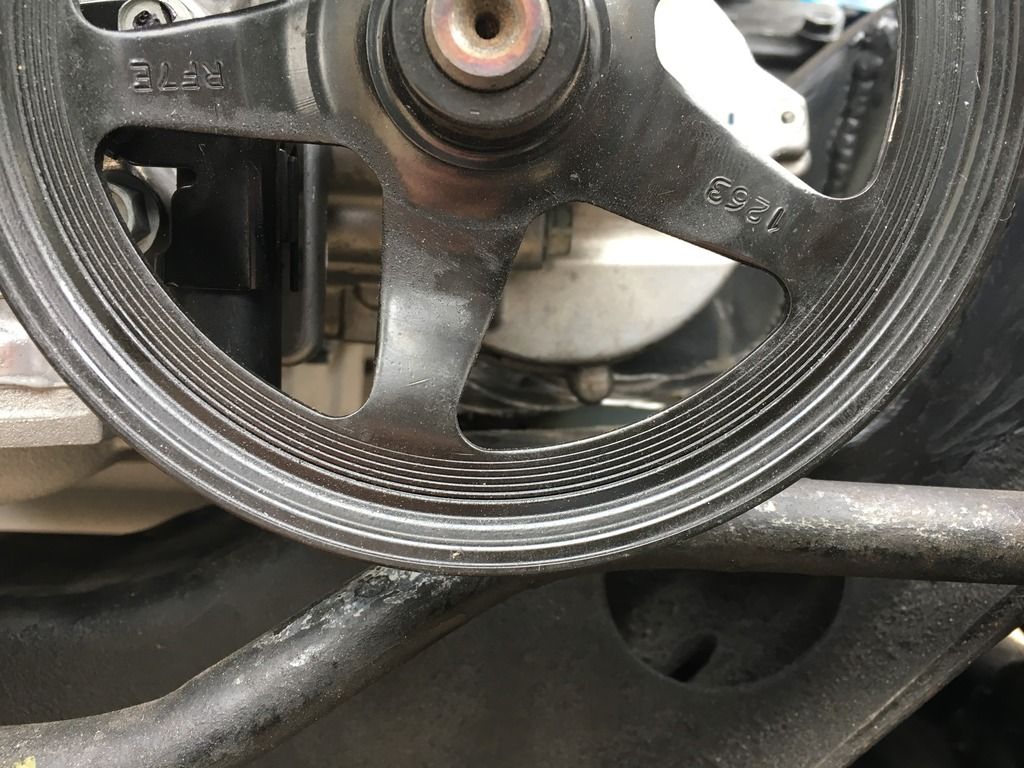
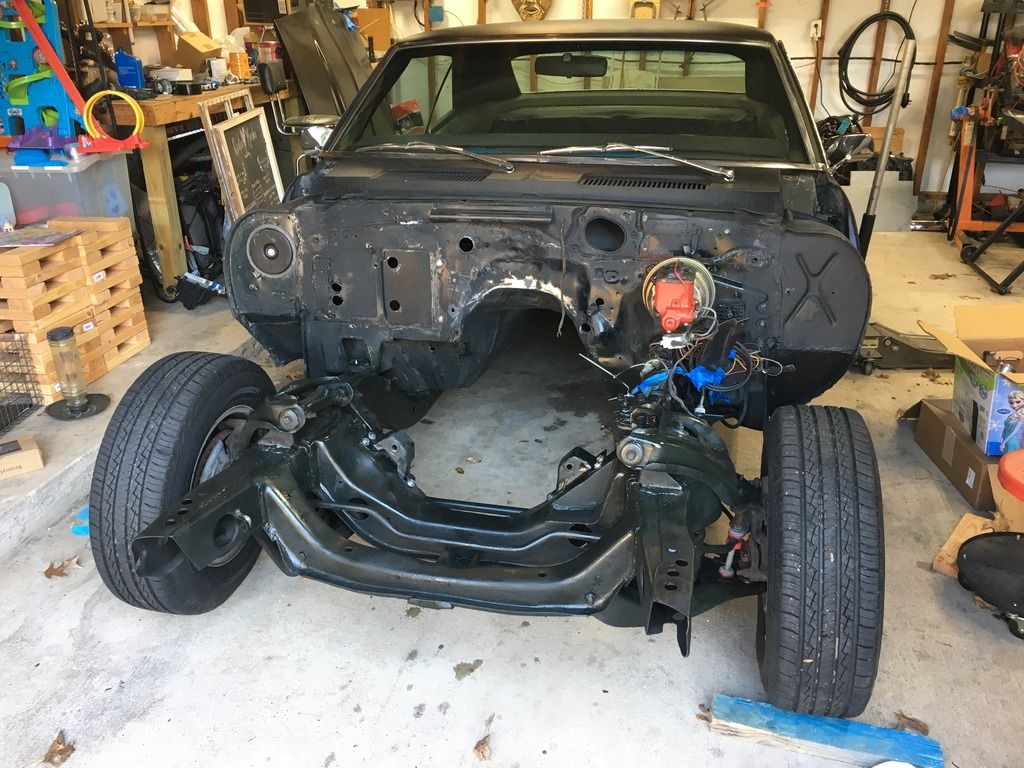
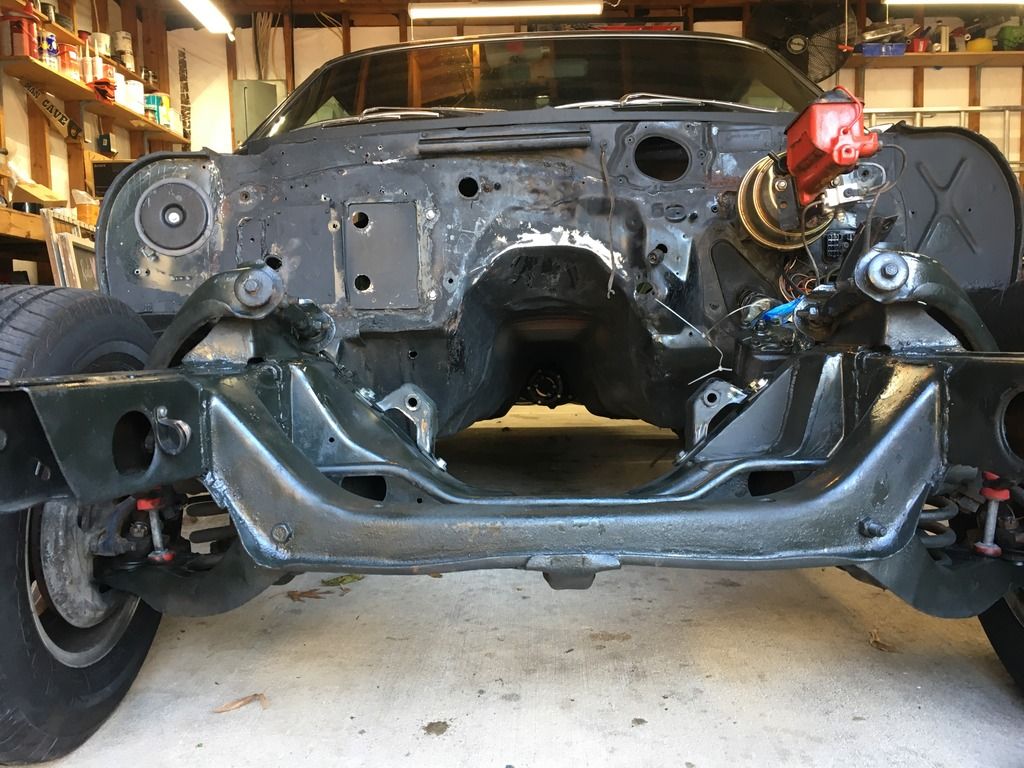
The shop dropped the motor by using the shorter engine stands. I had the tall engine stands with the short mounts. It now has the short mounts and short stands too. They welded some spacers on either side of each engine stand to account for the additional width needed to make the short and wide motor mount happy. The motor now sits roughly 3/4" lower or so it seems. The sway bar is now about 1/4" away from the vacuum pump pulley so I'll shim the swaybar down later on.
I ended up cleaning up the frame real good with degreaser and a pressure washer then hit it with some paint.
The shop dropped the motor by using the shorter engine stands. I had the tall engine stands with the short mounts. It now has the short mounts and short stands too. They welded some spacers on either side of each engine stand to account for the additional width needed to make the short and wide motor mount happy. The motor now sits roughly 3/4" lower or so it seems. The sway bar is now about 1/4" away from the vacuum pump pulley so I'll shim the swaybar down later on.


 01-10-2019, 11:29 PM
#49
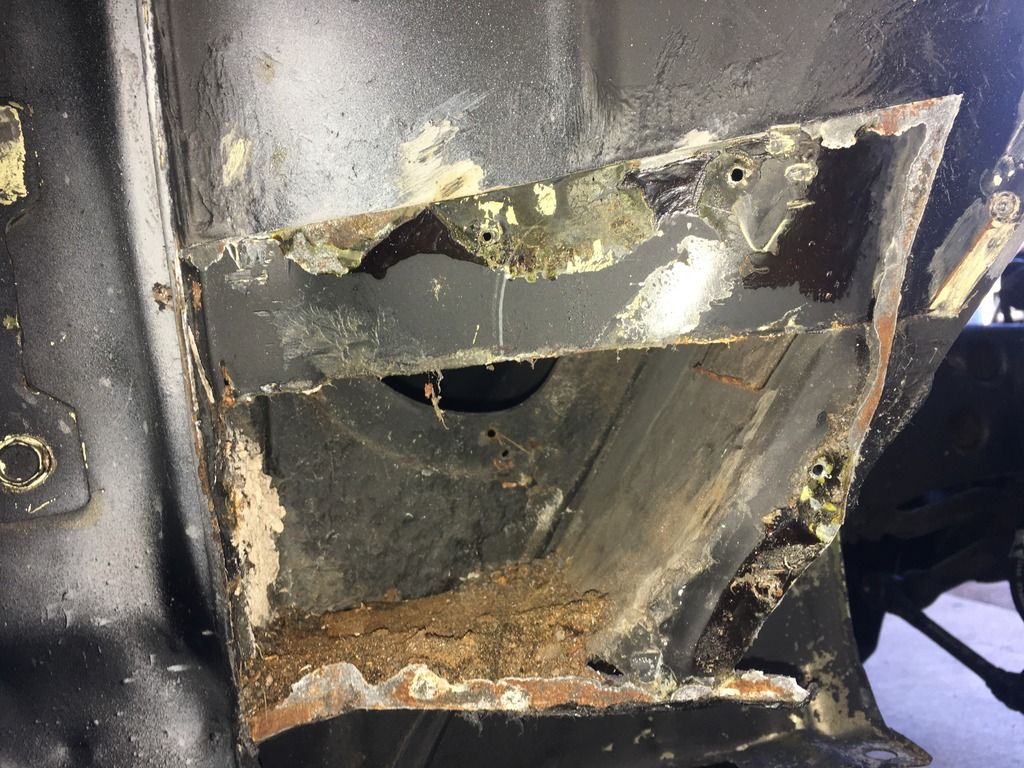
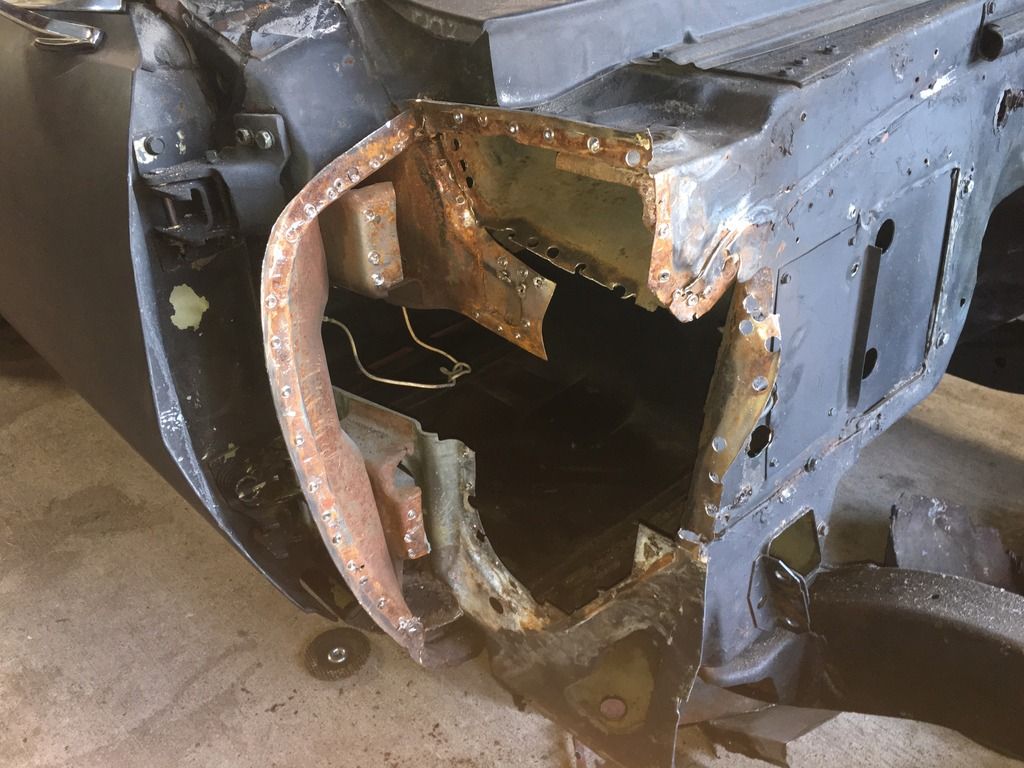
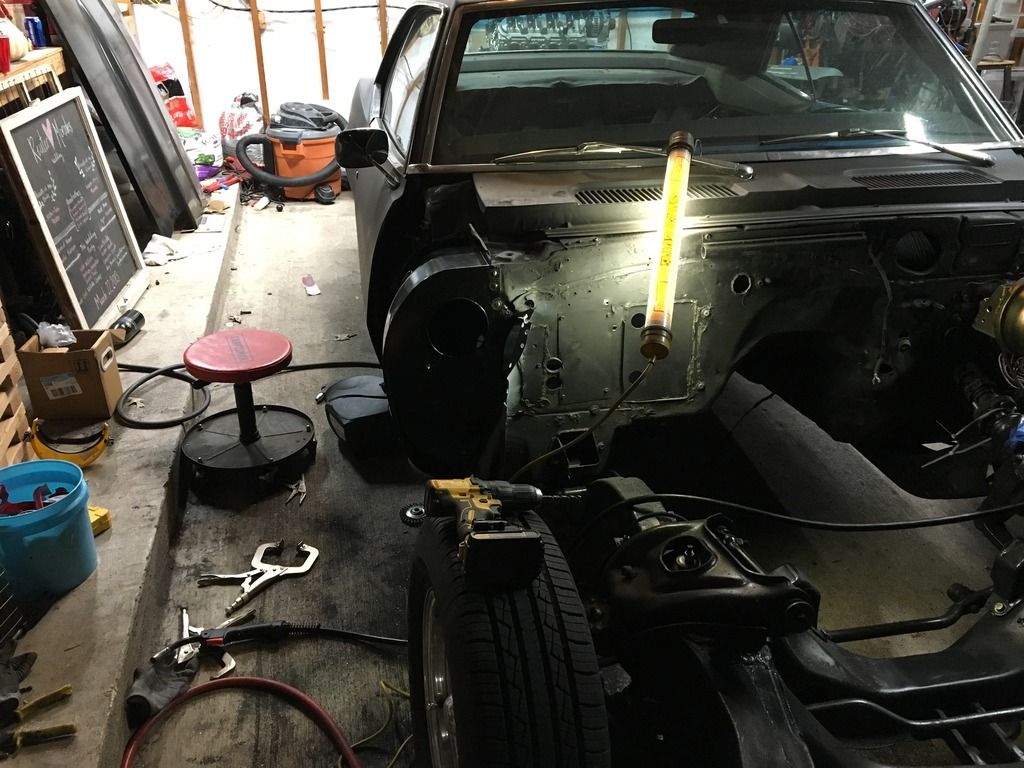
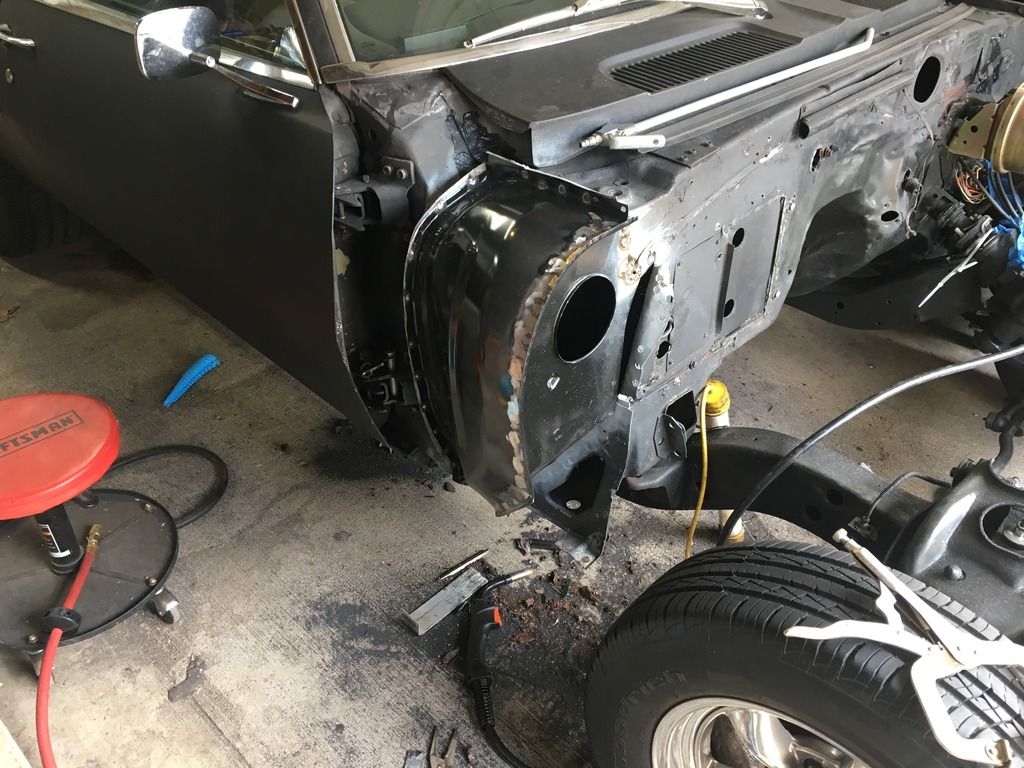
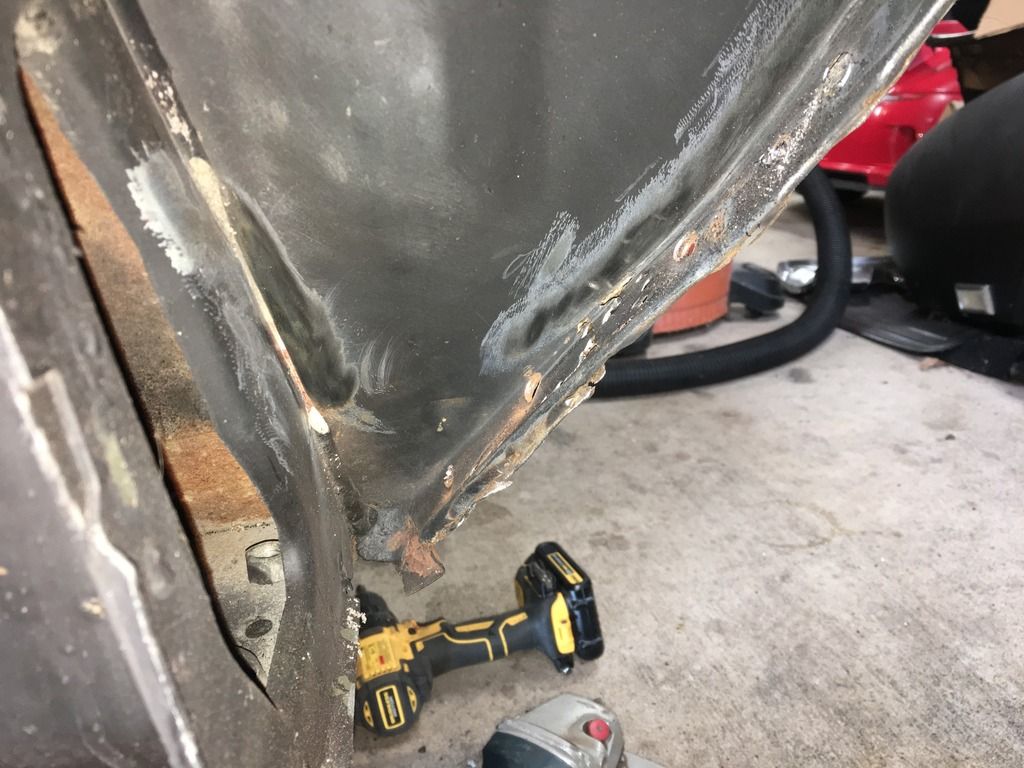
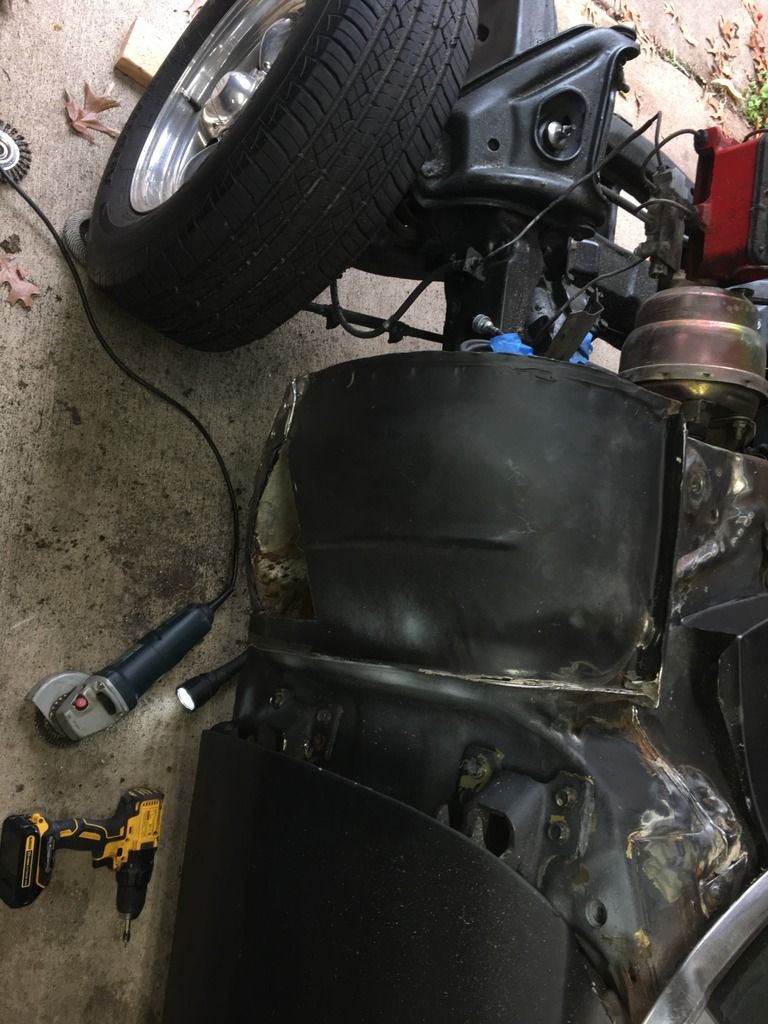
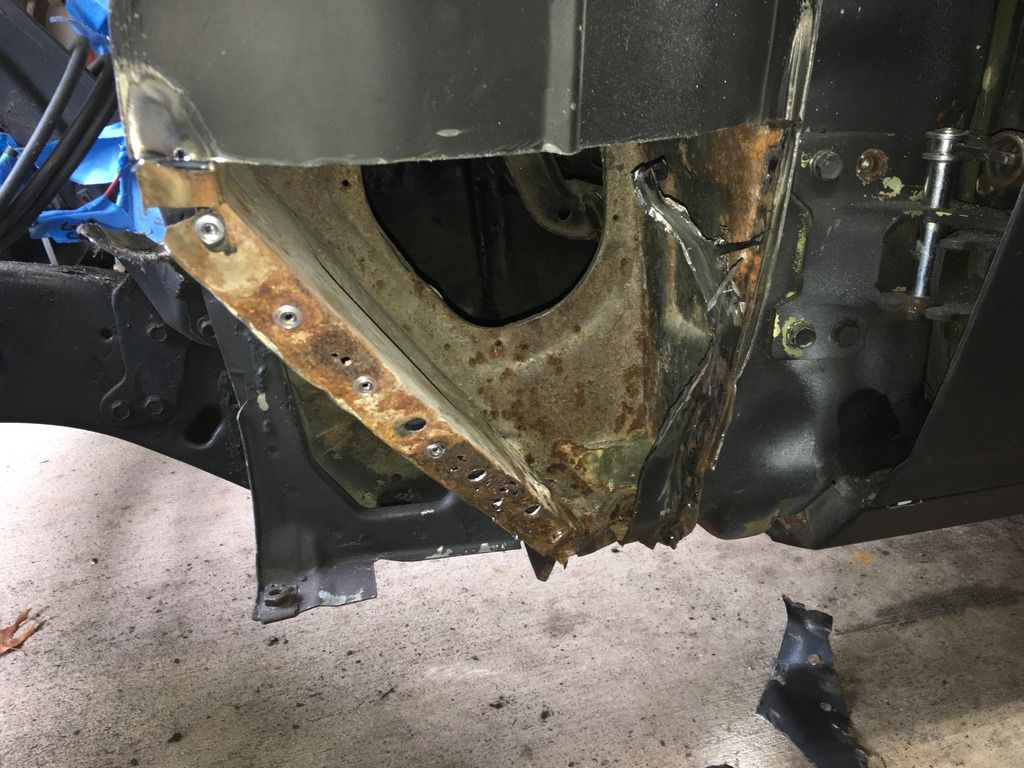
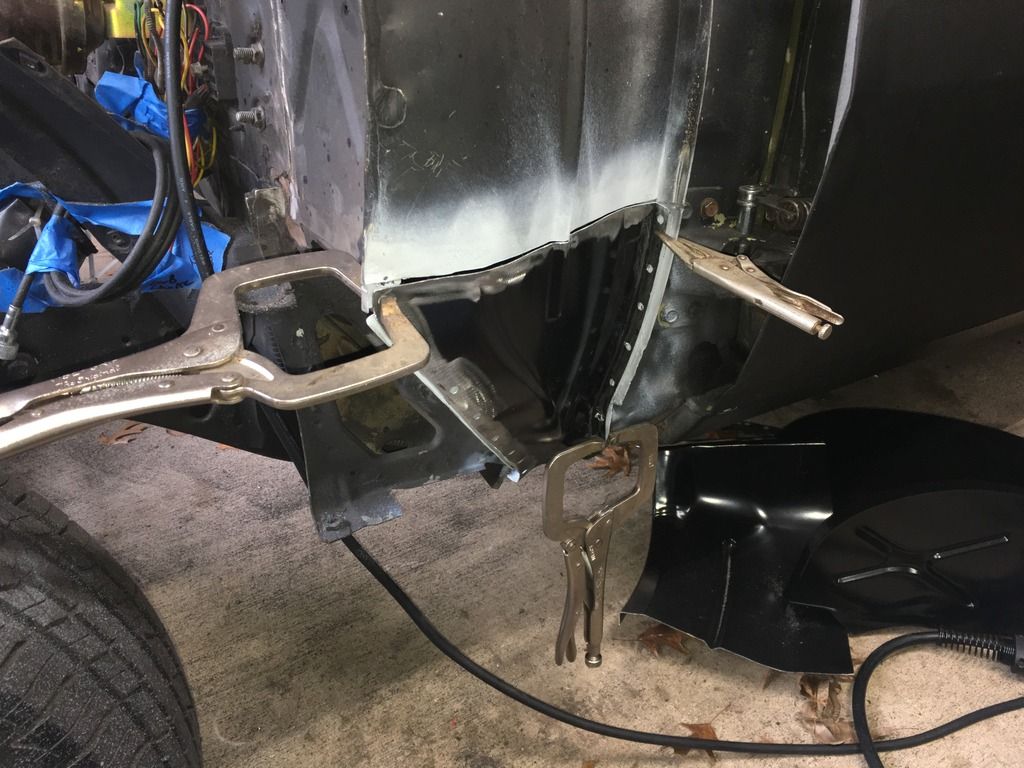
Now that I have my car back I can take over and start tearing it apart more. I started with the PS side cowl box. The previous owner/s patched up the rot on the bottom of the box with some sheet metal and screws along with some sealer. I started tearing it down and got it off.


 01-10-2019, 11:30 PM
#51
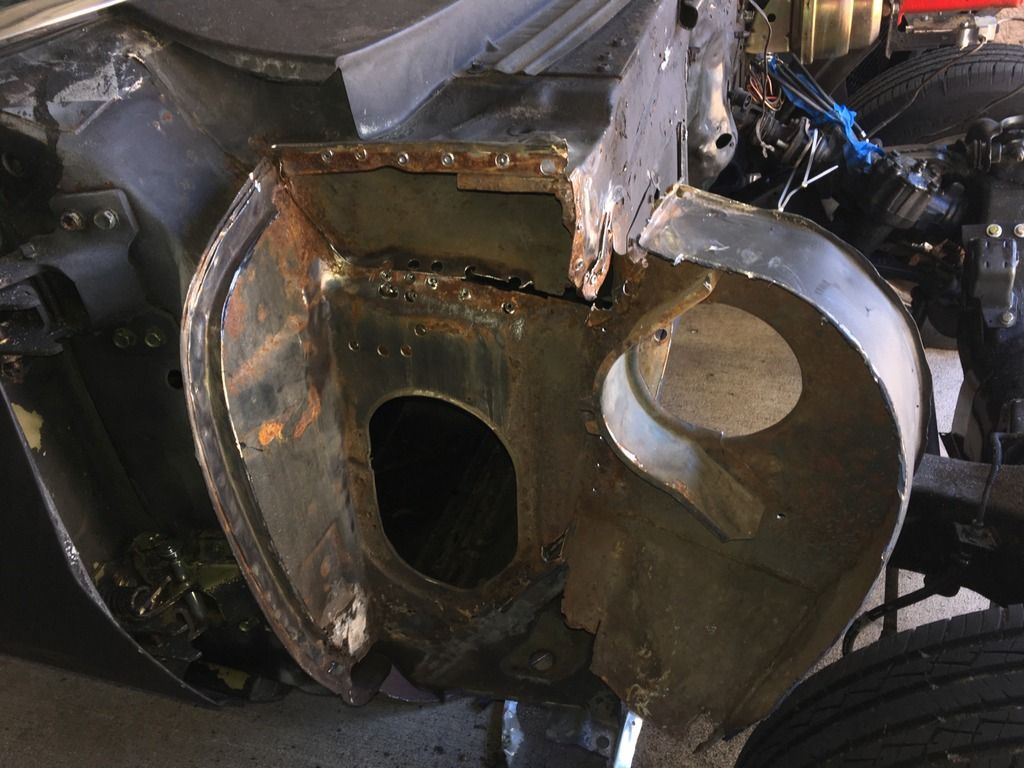
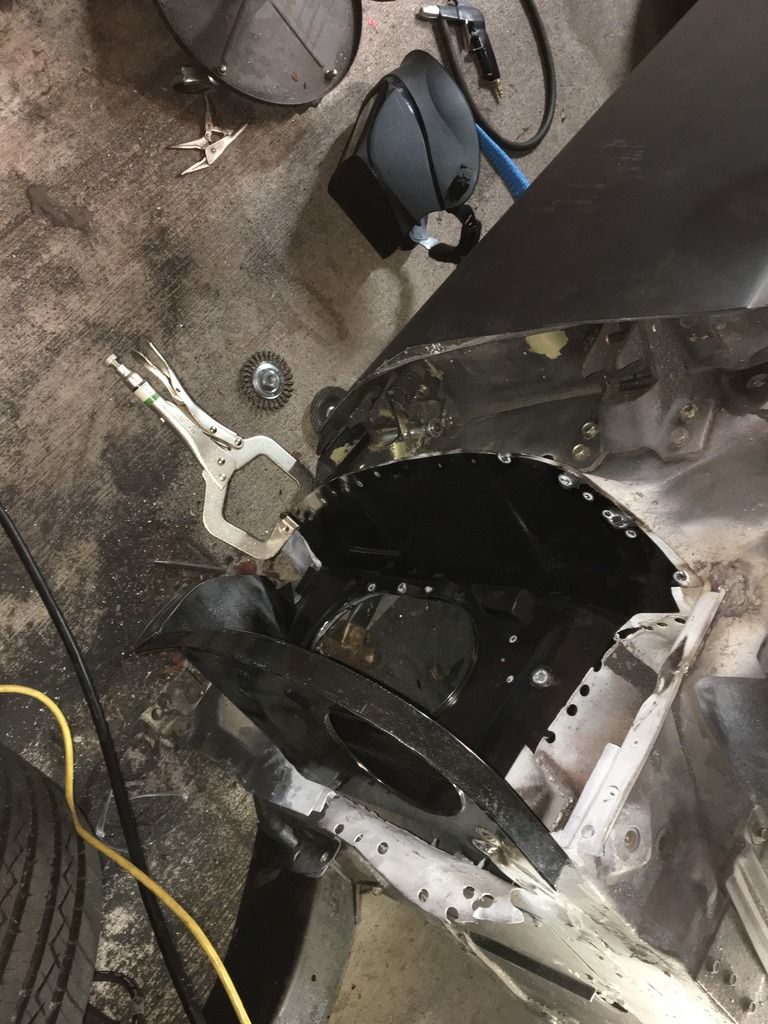
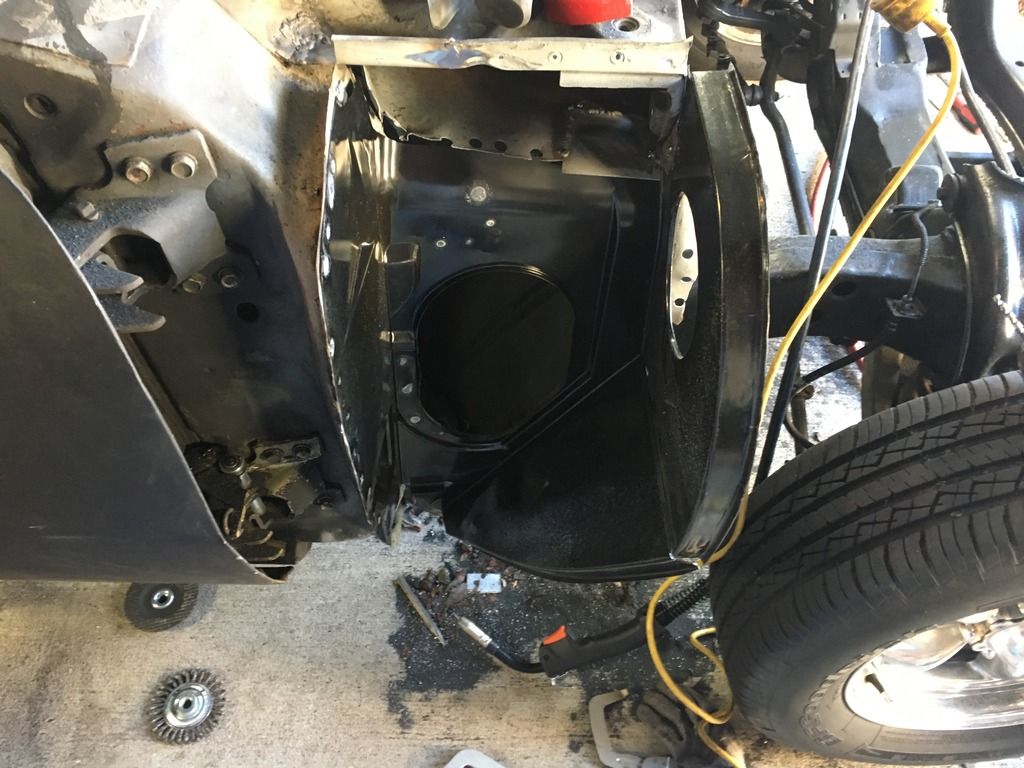
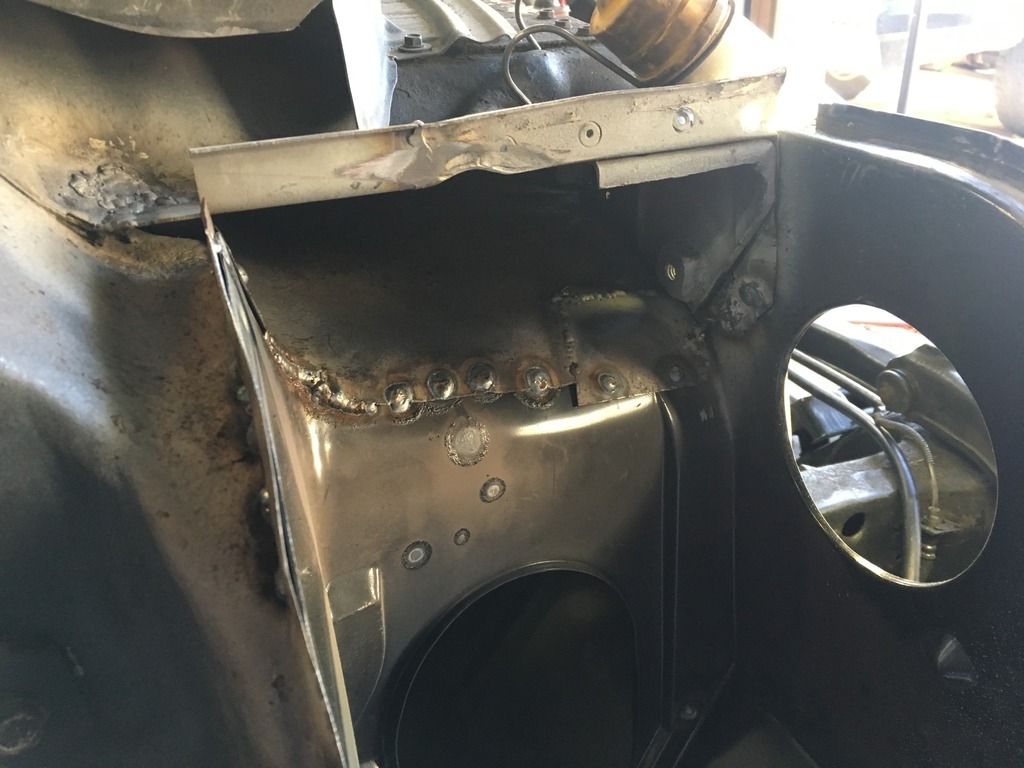
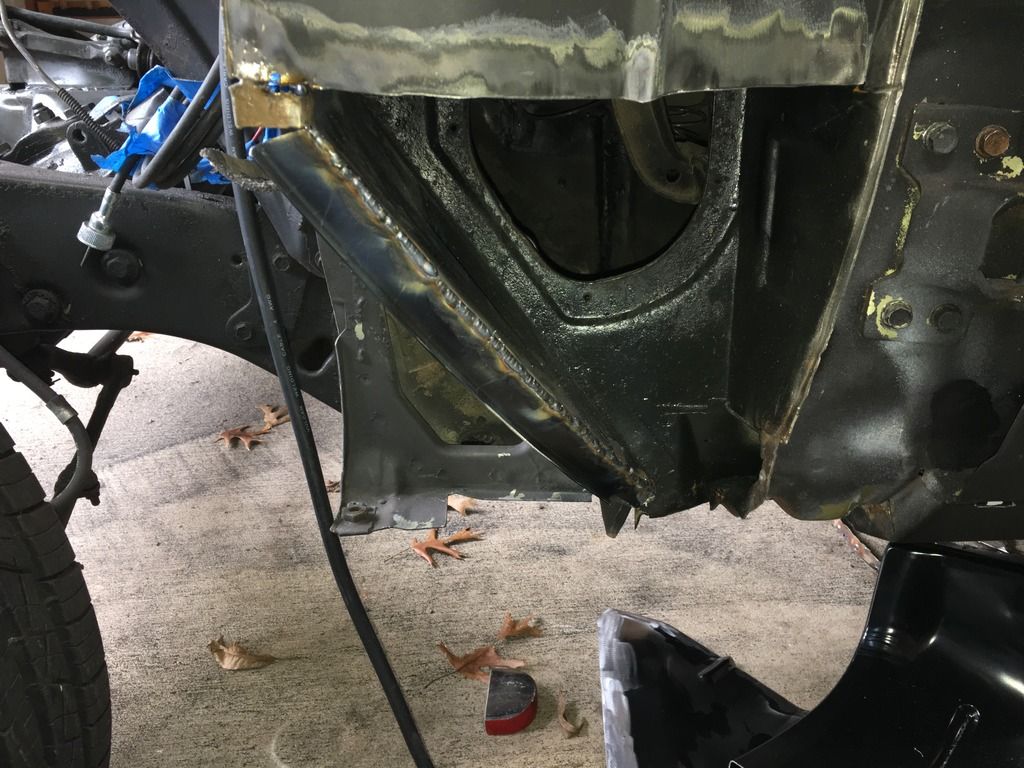
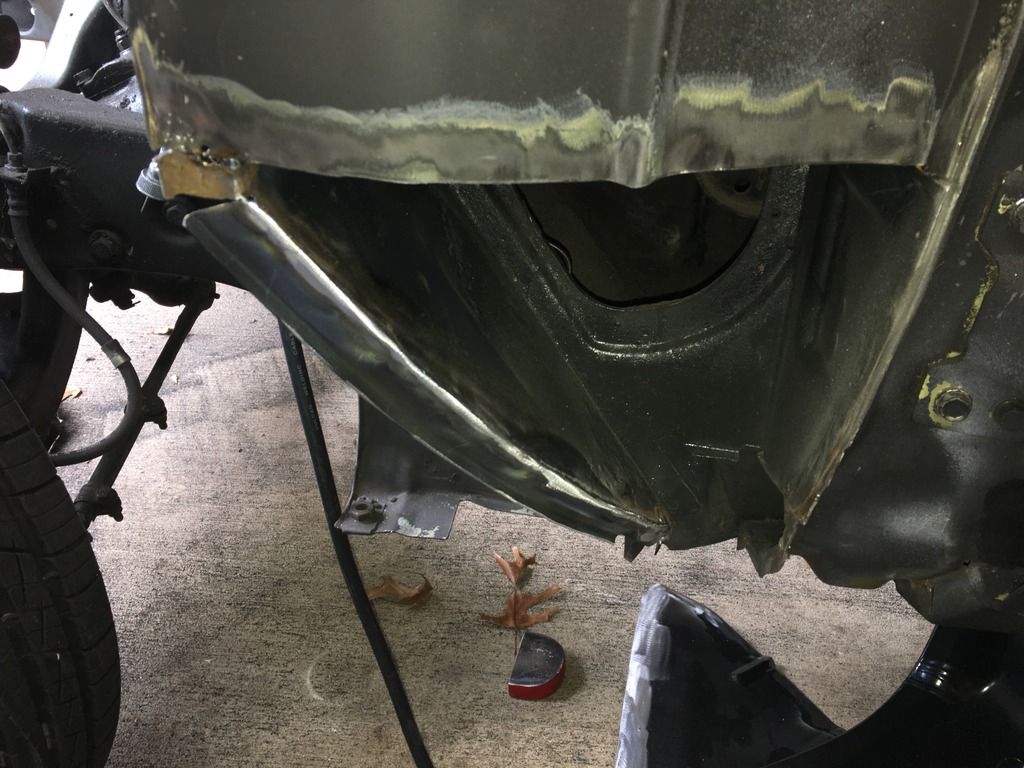
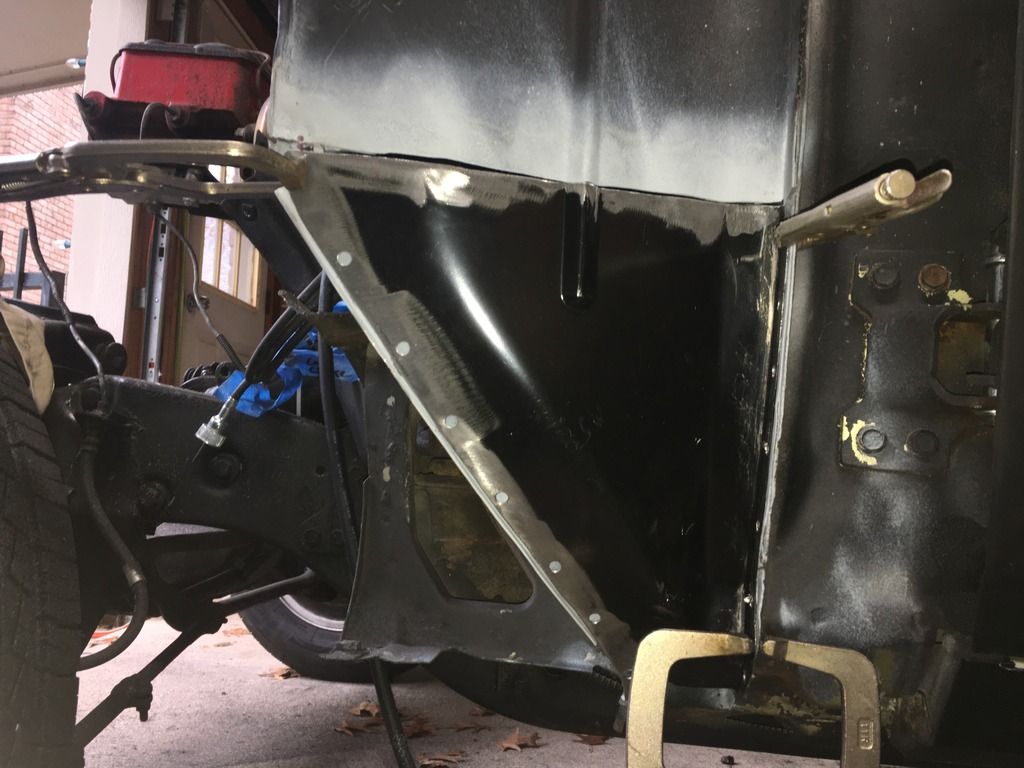
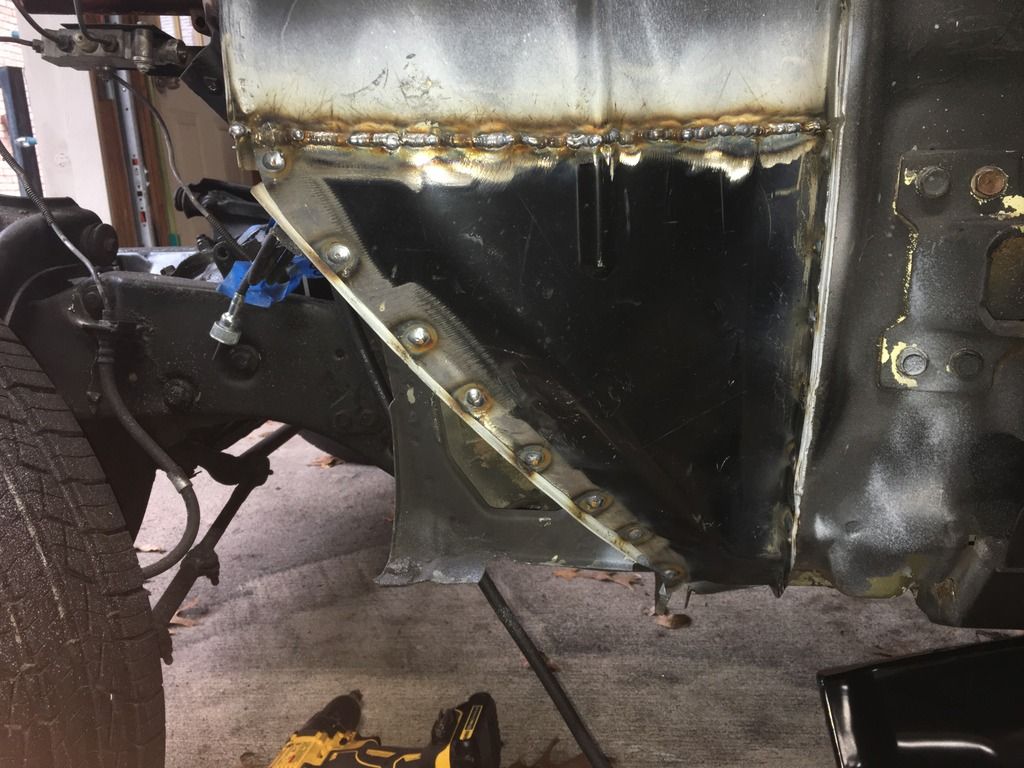
I installed the new inner box and seam sealed everything real good (no pics) then installed the new outer skin. It turned out good I think. With my lack of free time I'm not exactly skimping out on grinding down all the welds but I did in fact leave some as is due to the location. If I ever sell the car I could care less if someone finds where I patched something up nor do I care if I see the areas again. All the welds were cleaned after and sealed to prevent corrosion later down the road.


 01-10-2019, 11:32 PM
#52
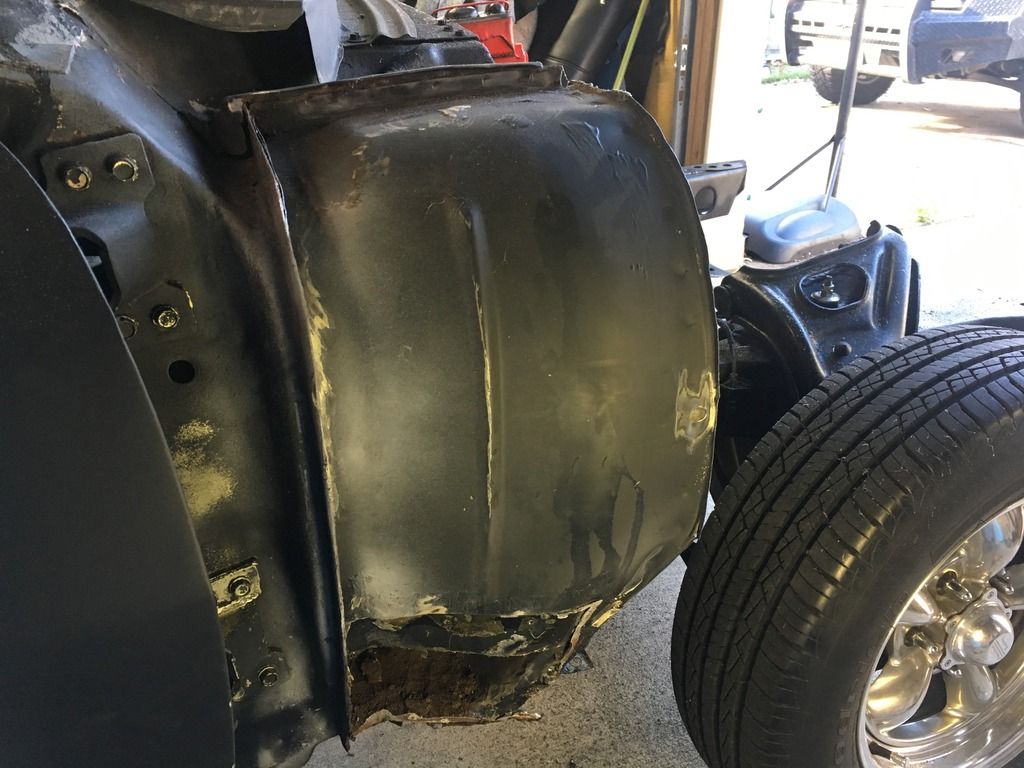
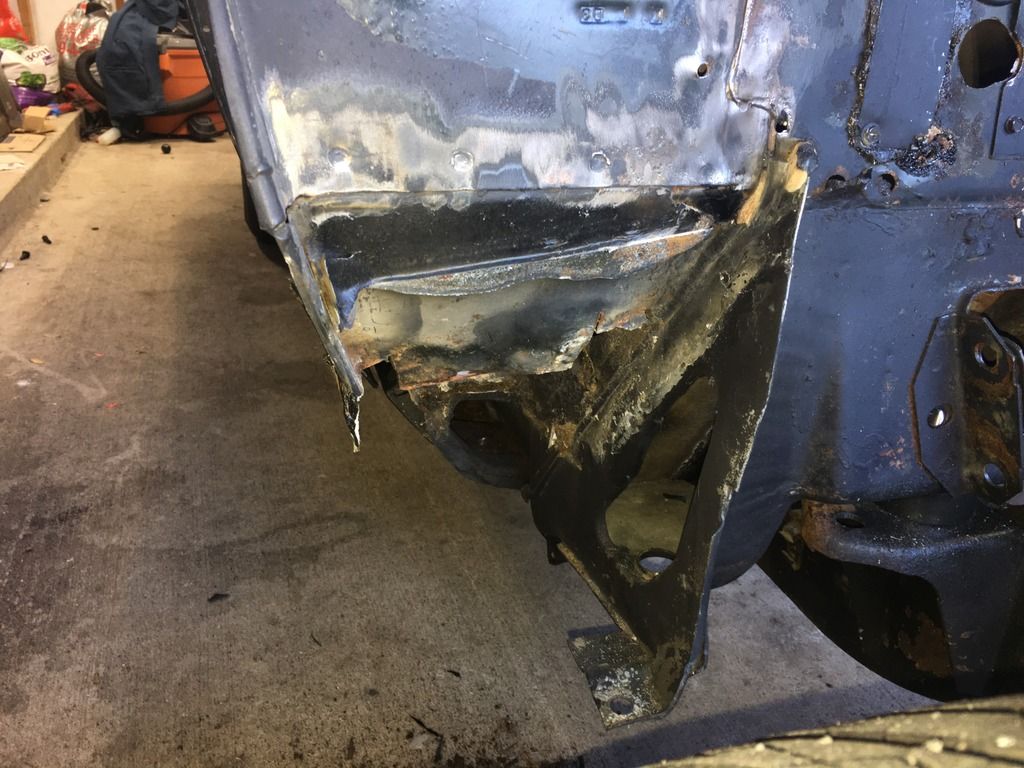
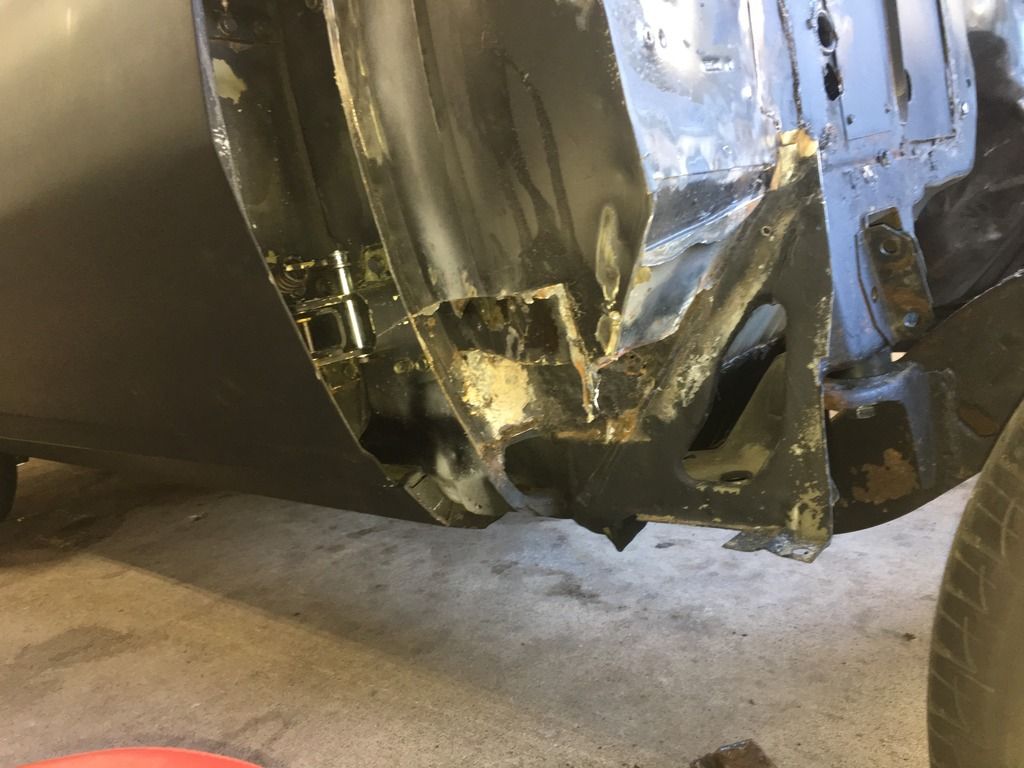
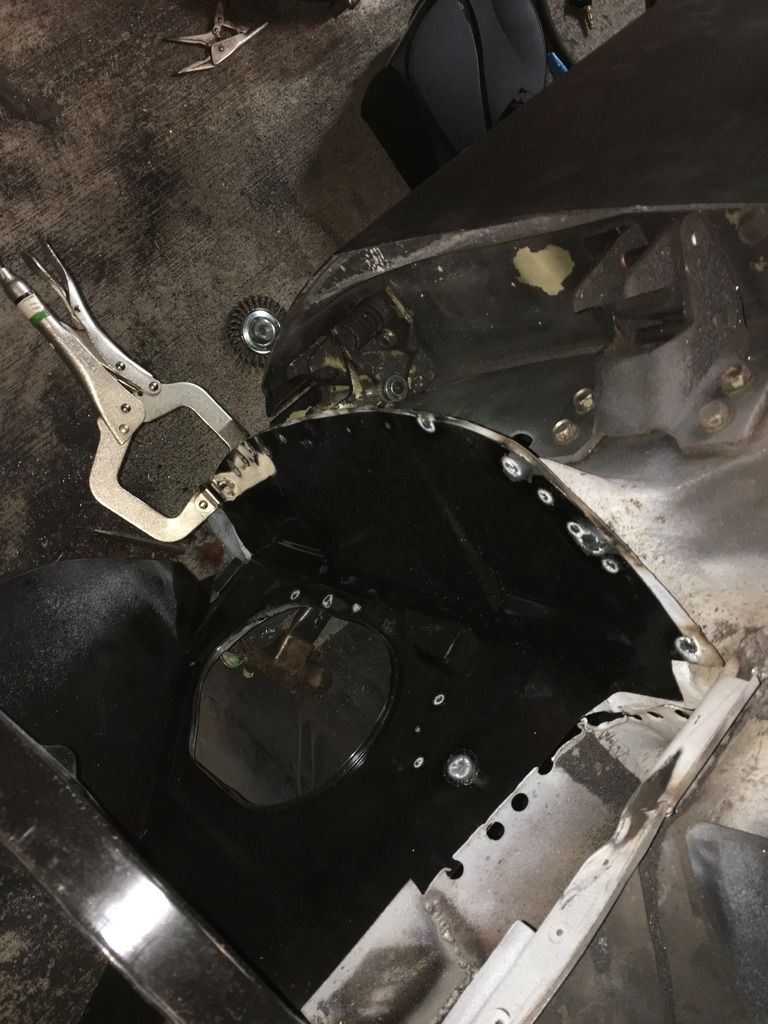
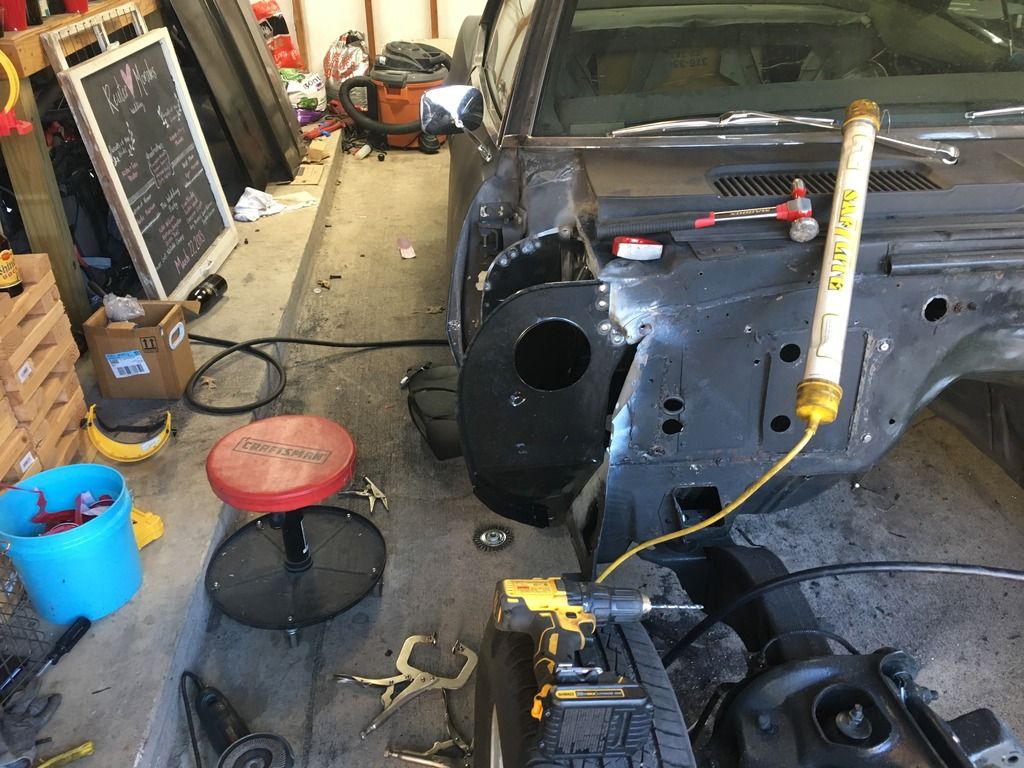
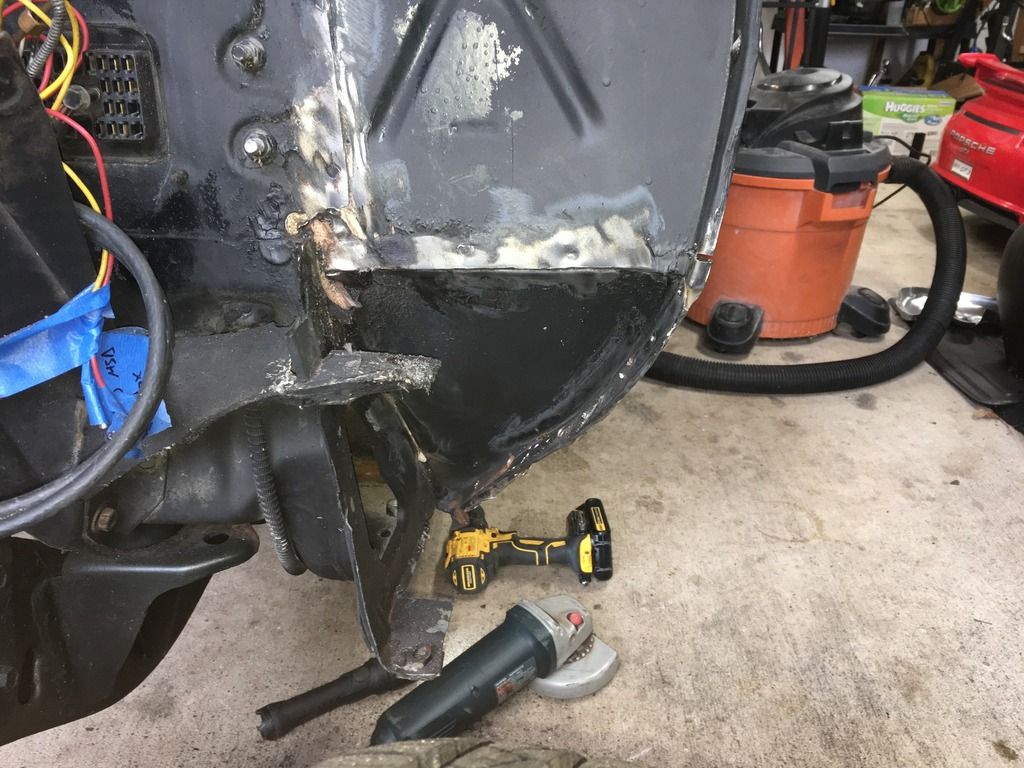
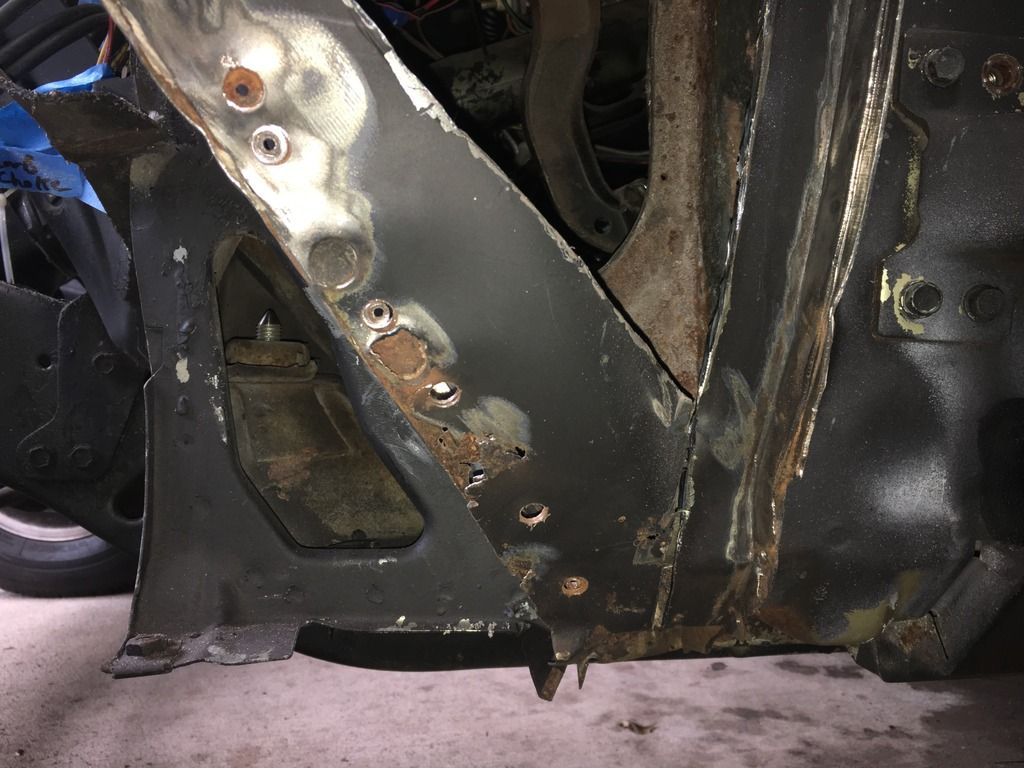
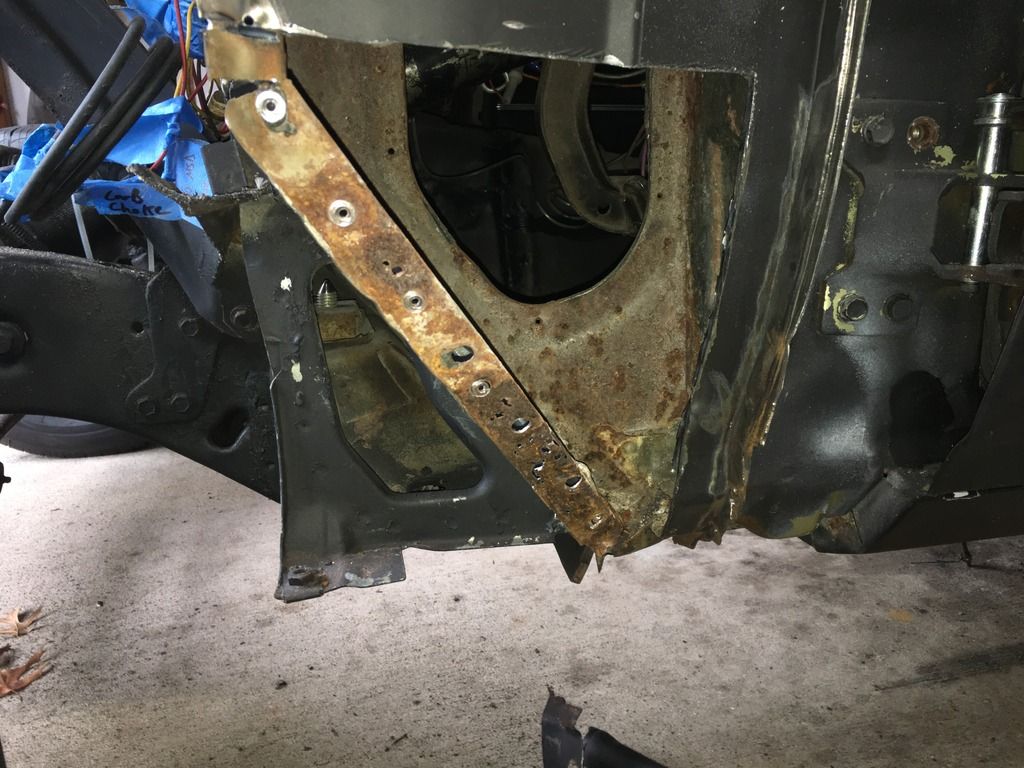
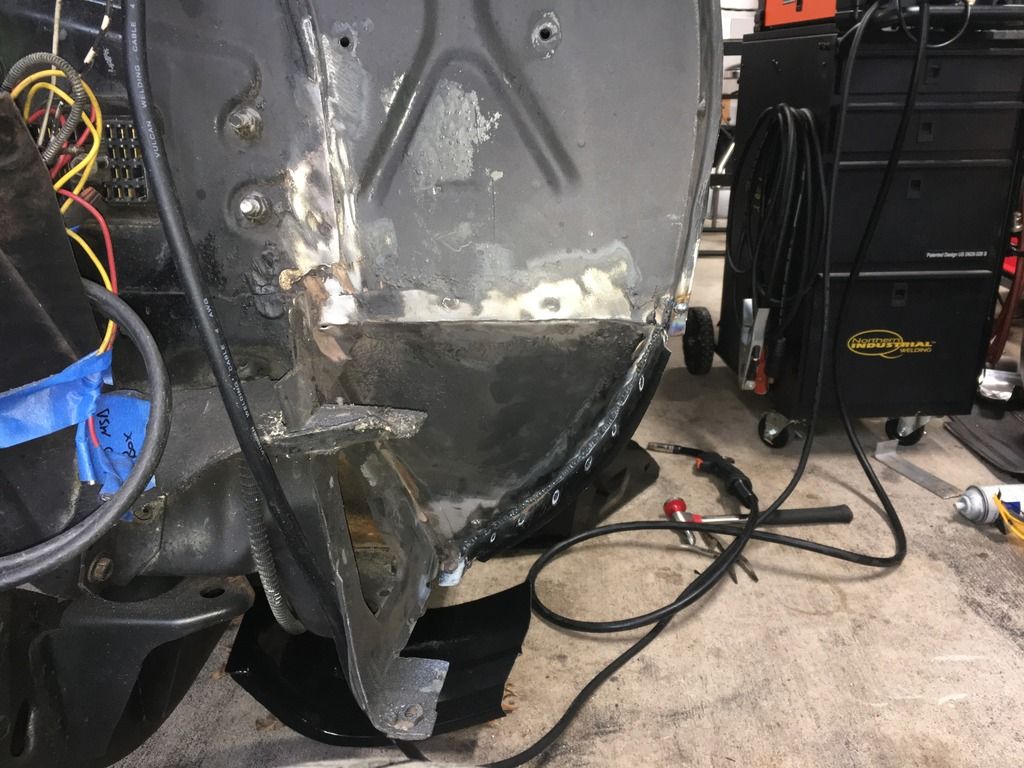
Next up was the DS cowl box. This side was really not bad at all. There was a little rust on the bottom of the outer skin and along the lower flange were the outer skin sits on. I cleaned it up real good and then drilled out the spot welds and cut off the outer skin.


 01-10-2019, 11:32 PM
#53
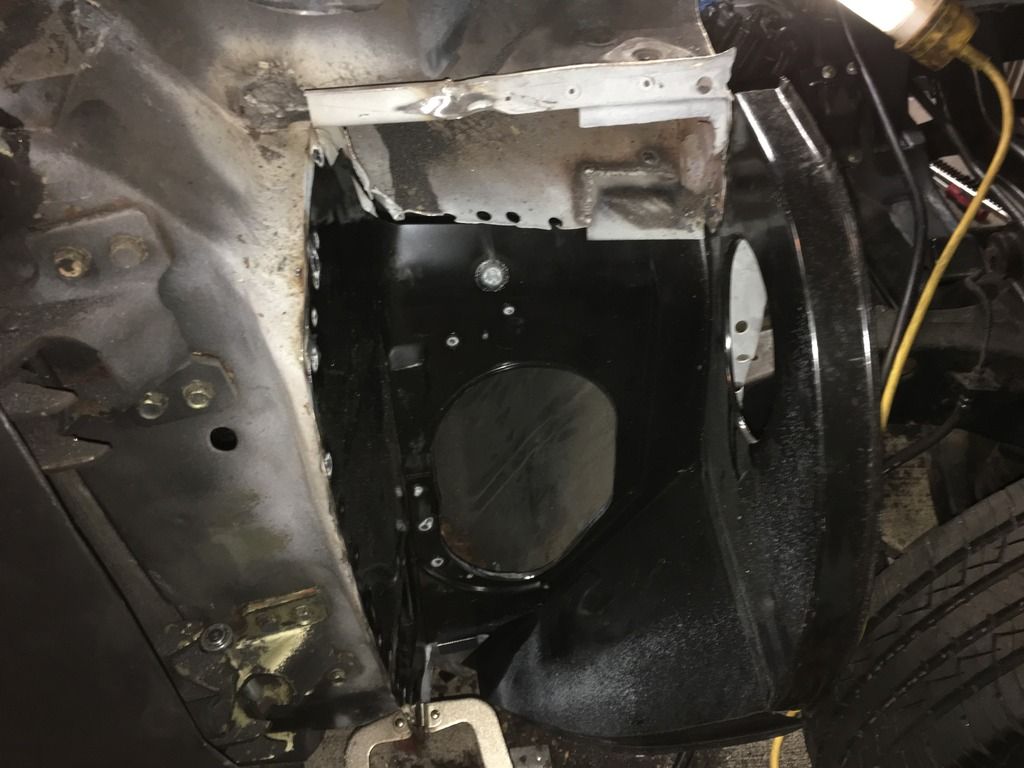
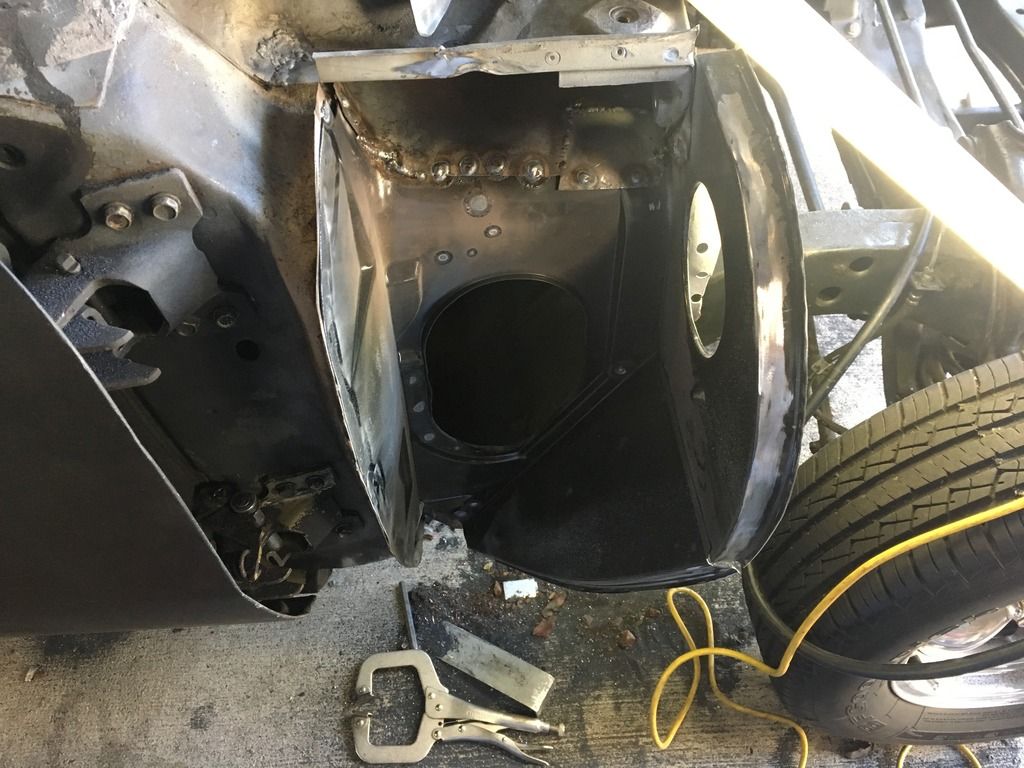
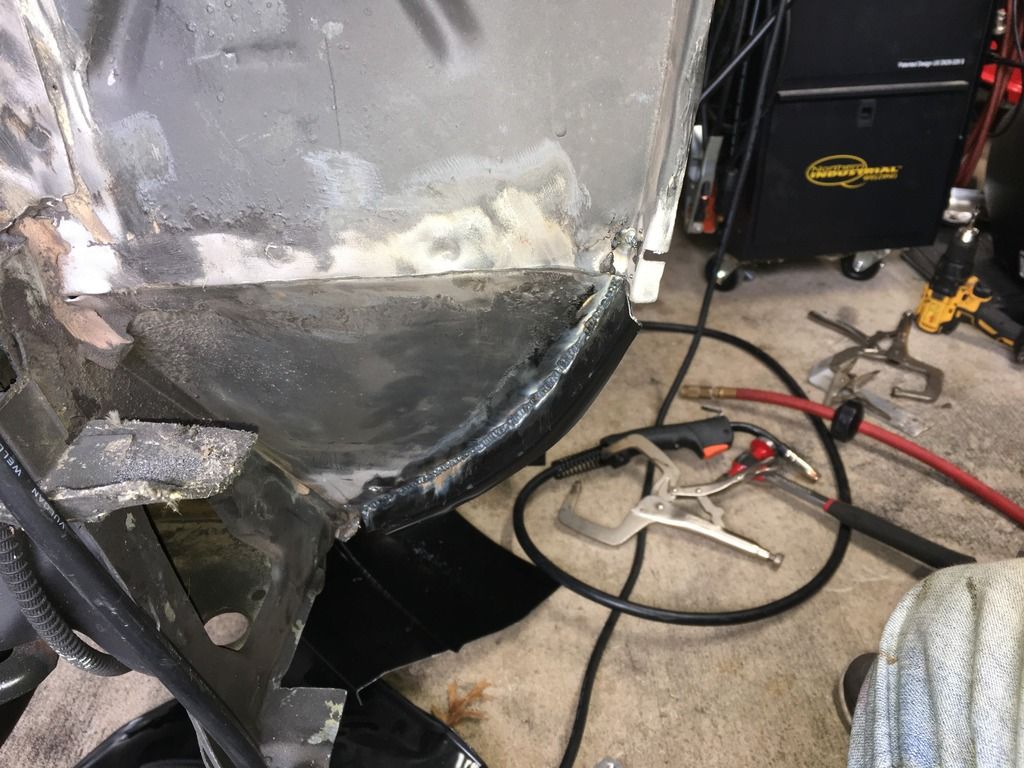
I got it all cleaned up with my sand blaster and wire wheel and sprayed some paint inside the box prior to me sealing it up.
I cut off the flange from the new box I purchased and cut out the old flange, got it fitted and welded. Also welded the outer skin in place.
For some reason I decided to grind down the welds on this side and it turned out good. I ran out of seam sealer so I'll catch all the seams after I get some more.


 01-10-2019, 11:39 PM
#54
I thought I'd share this with you... I did all this hard work and the entire time I smelt an awful smell of death but could not find the culprit. Turns out this rat made his final resting place on top of my cars carpet I have sitting in my garage. Hope I can get the smell out.


 01-11-2019, 12:07 AM
#56
TECH Senior Member

Let's just say she made it out after he gave his all....
01-11-2019, 12:34 AM
#58
TECH Senior Member
Maggot?? Well now, that's different! Nevermind!
01-11-2019, 04:40 PM
#60

Holley offers a Throttle Body Angle Adapter - for GM LT Intakes Not sure if it will do what ya want, but its worth looking into IMHO
https://www.holley.com/products/ls_p...s/parts/717-15
https://www.holley.com/products/ls_p...s/parts/717-15