When you click on links to various merchants on this site and make a purchase, this can result in this site earning a commission. Affiliate programs and affiliations include, but are not limited to, the eBay Partner Network.
Whole cab primered then pushed out of the garage when my neighbor wasn't home to start turning the garage into a makeshift paint booth...
I put down all the cardboard that the bed floor, bedsides and tailgate came in to keep the yellow off the floor. This was done on August 25, you will see it in almost every pic from now on since it's still there! You'll notice the writing on the cardboard becomes more and more obliterated as time goes on, you cant see any of it now....Haha!
Then hung up the fenders to start putting some color on. Did the fenders first so they could be taken in the house when the rest of the cab was painted.
Masked off the white and sprayed the yellow.
Unmasked....
They can now be taken inside where they will stay until time for reassembly.
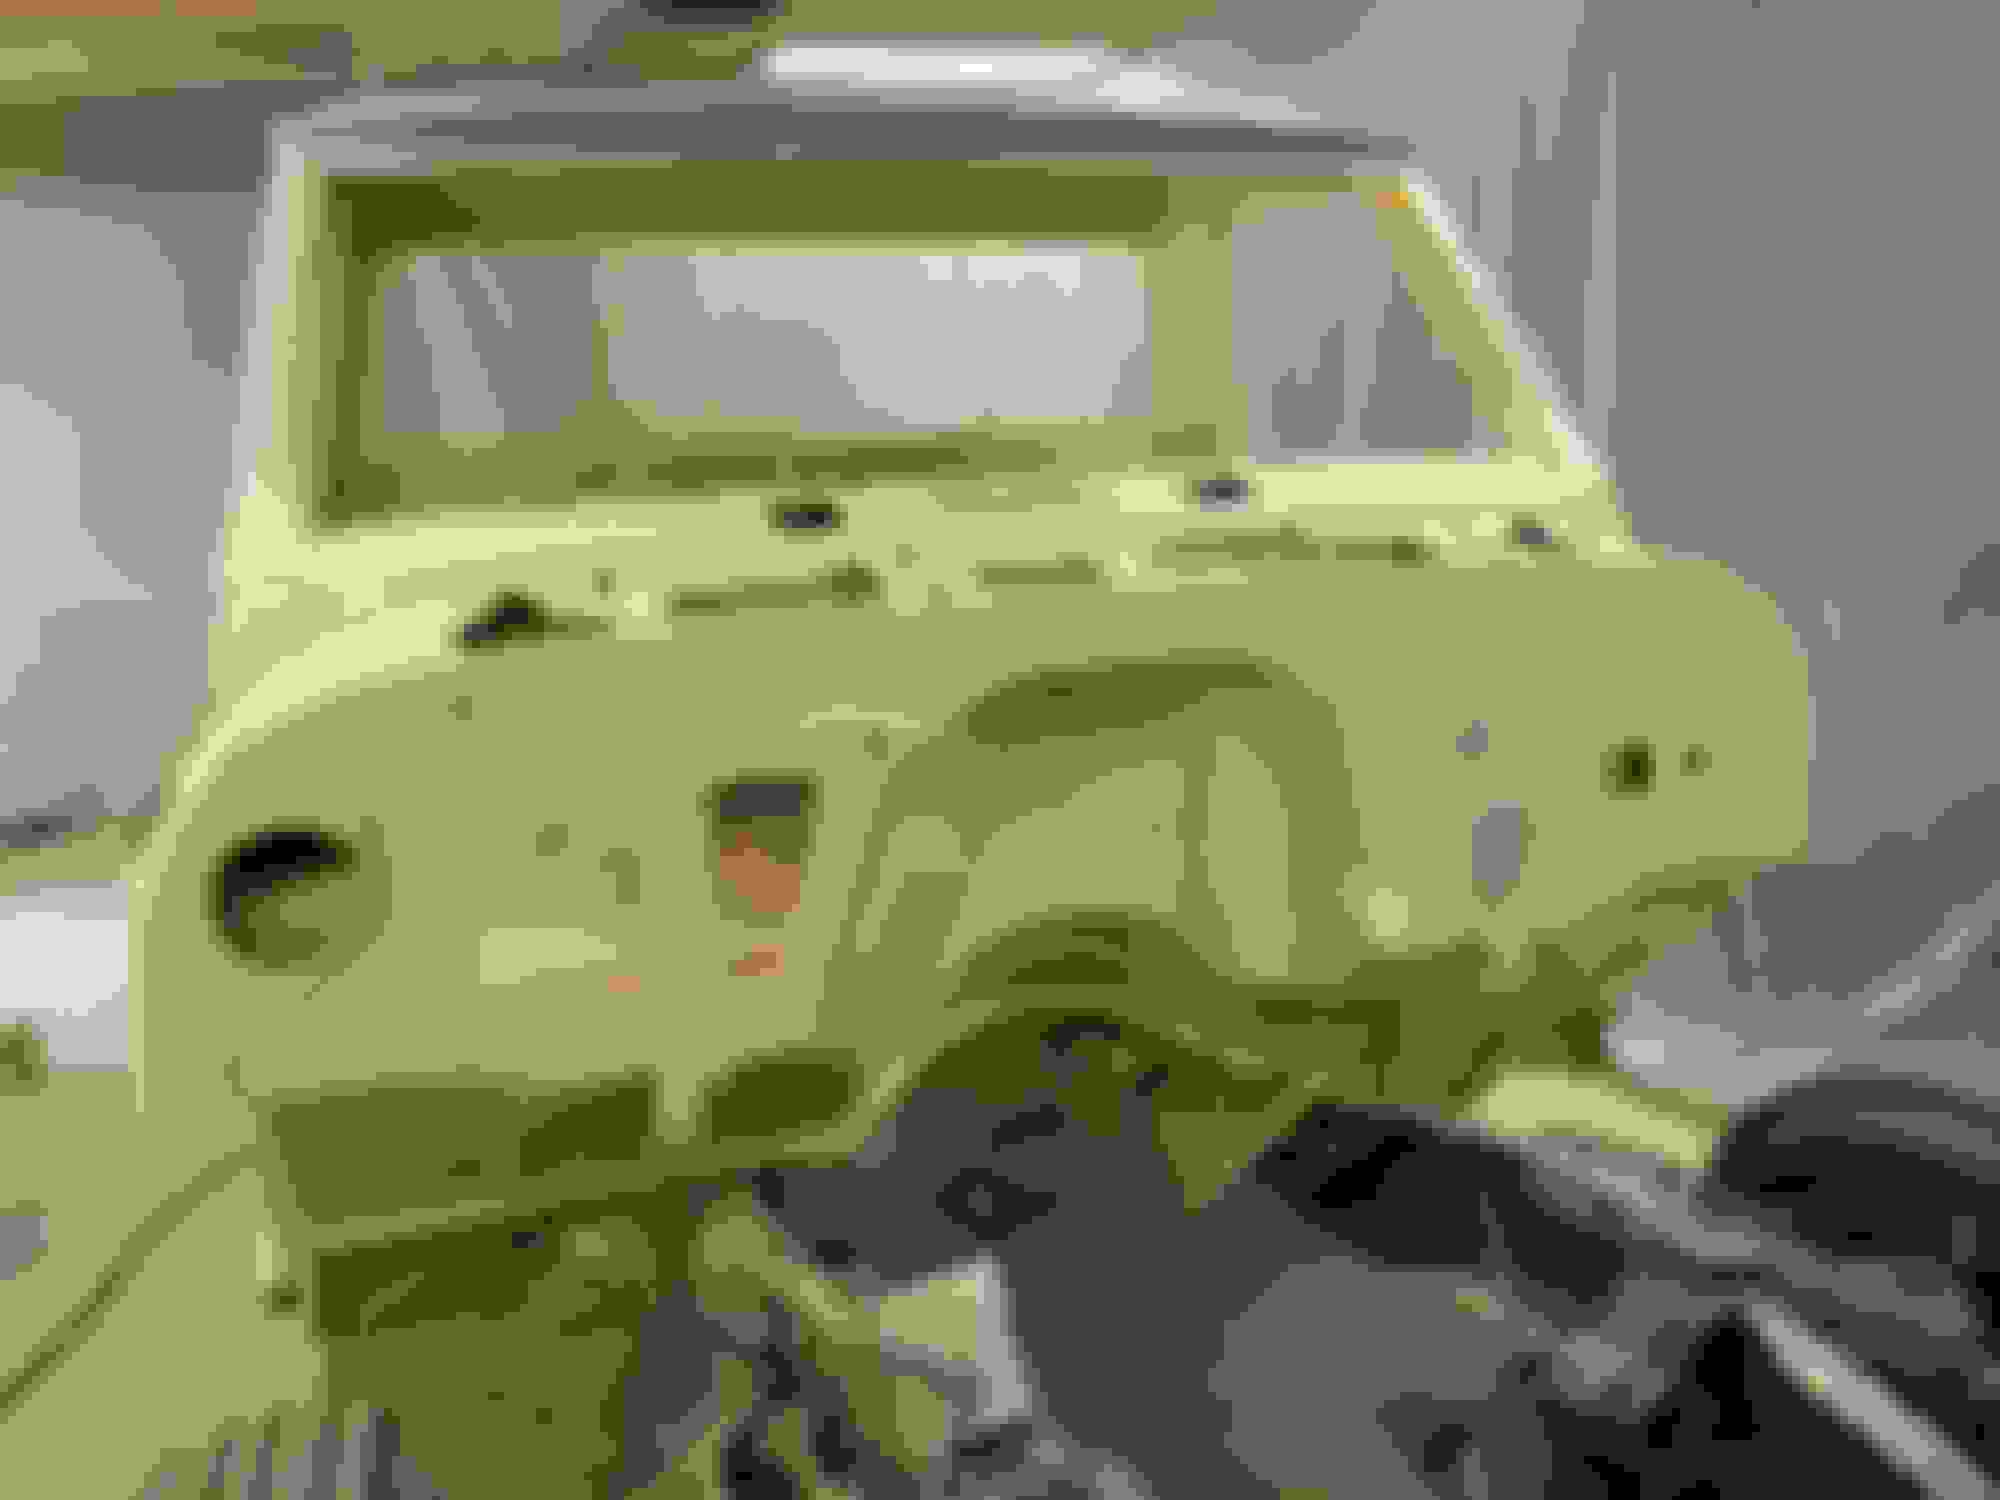
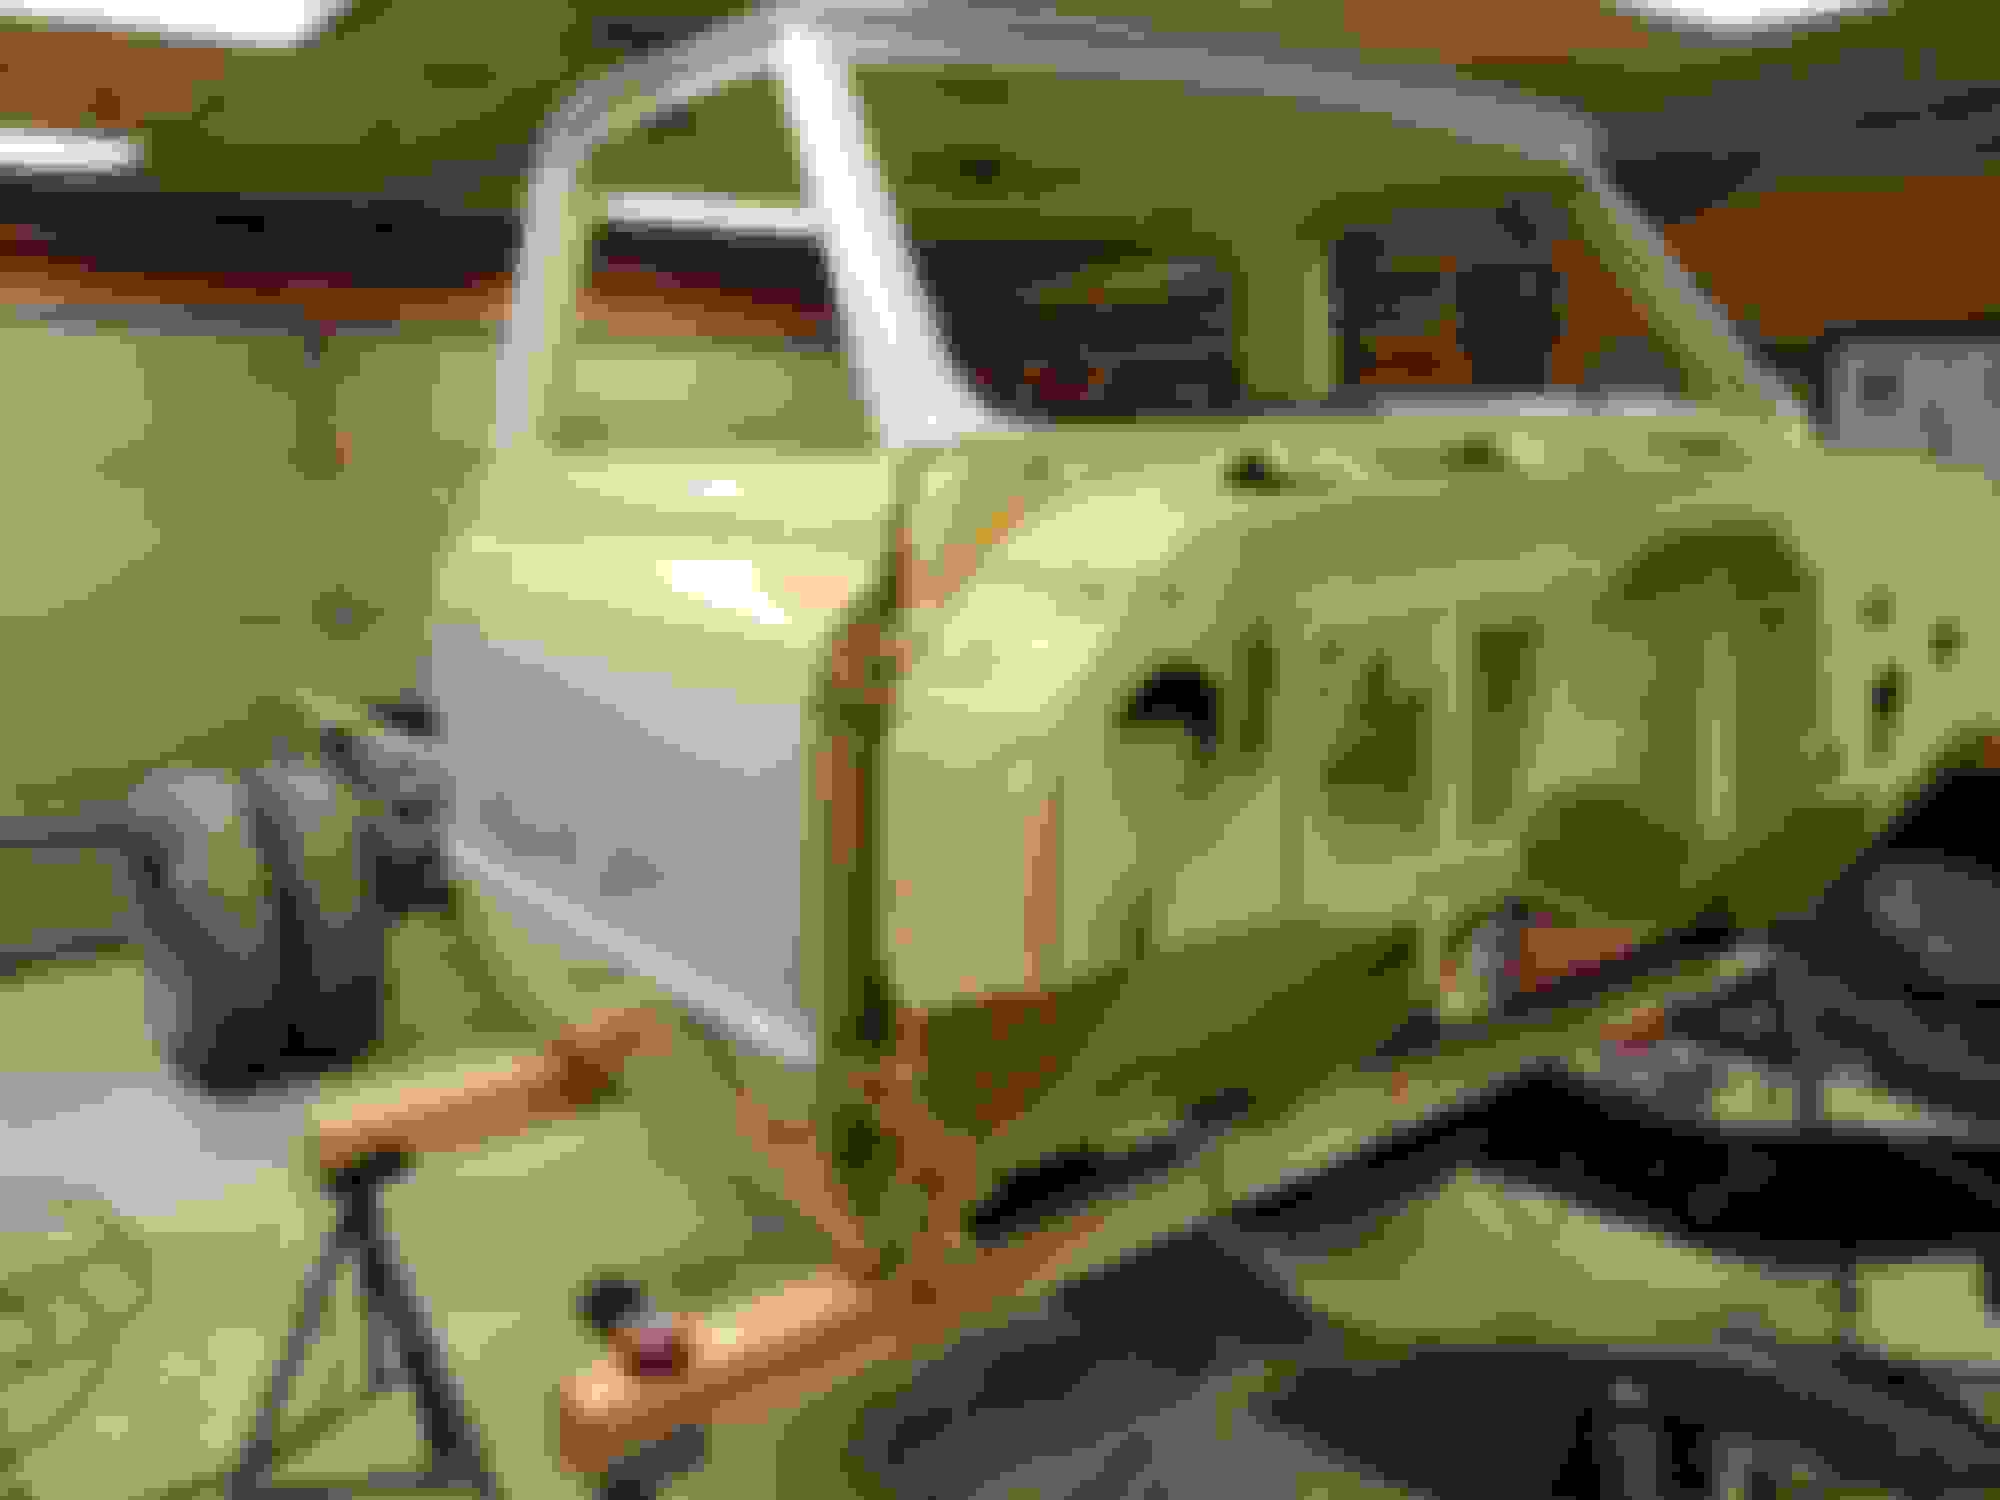
With the fenders done and out of the way it was onto the cab. Needed to do something with the underside first since you cant lay it on it's back after its painted....
This shows just how nice this cab is. I just sanded the bottom in the center where there was no factory undercoat.
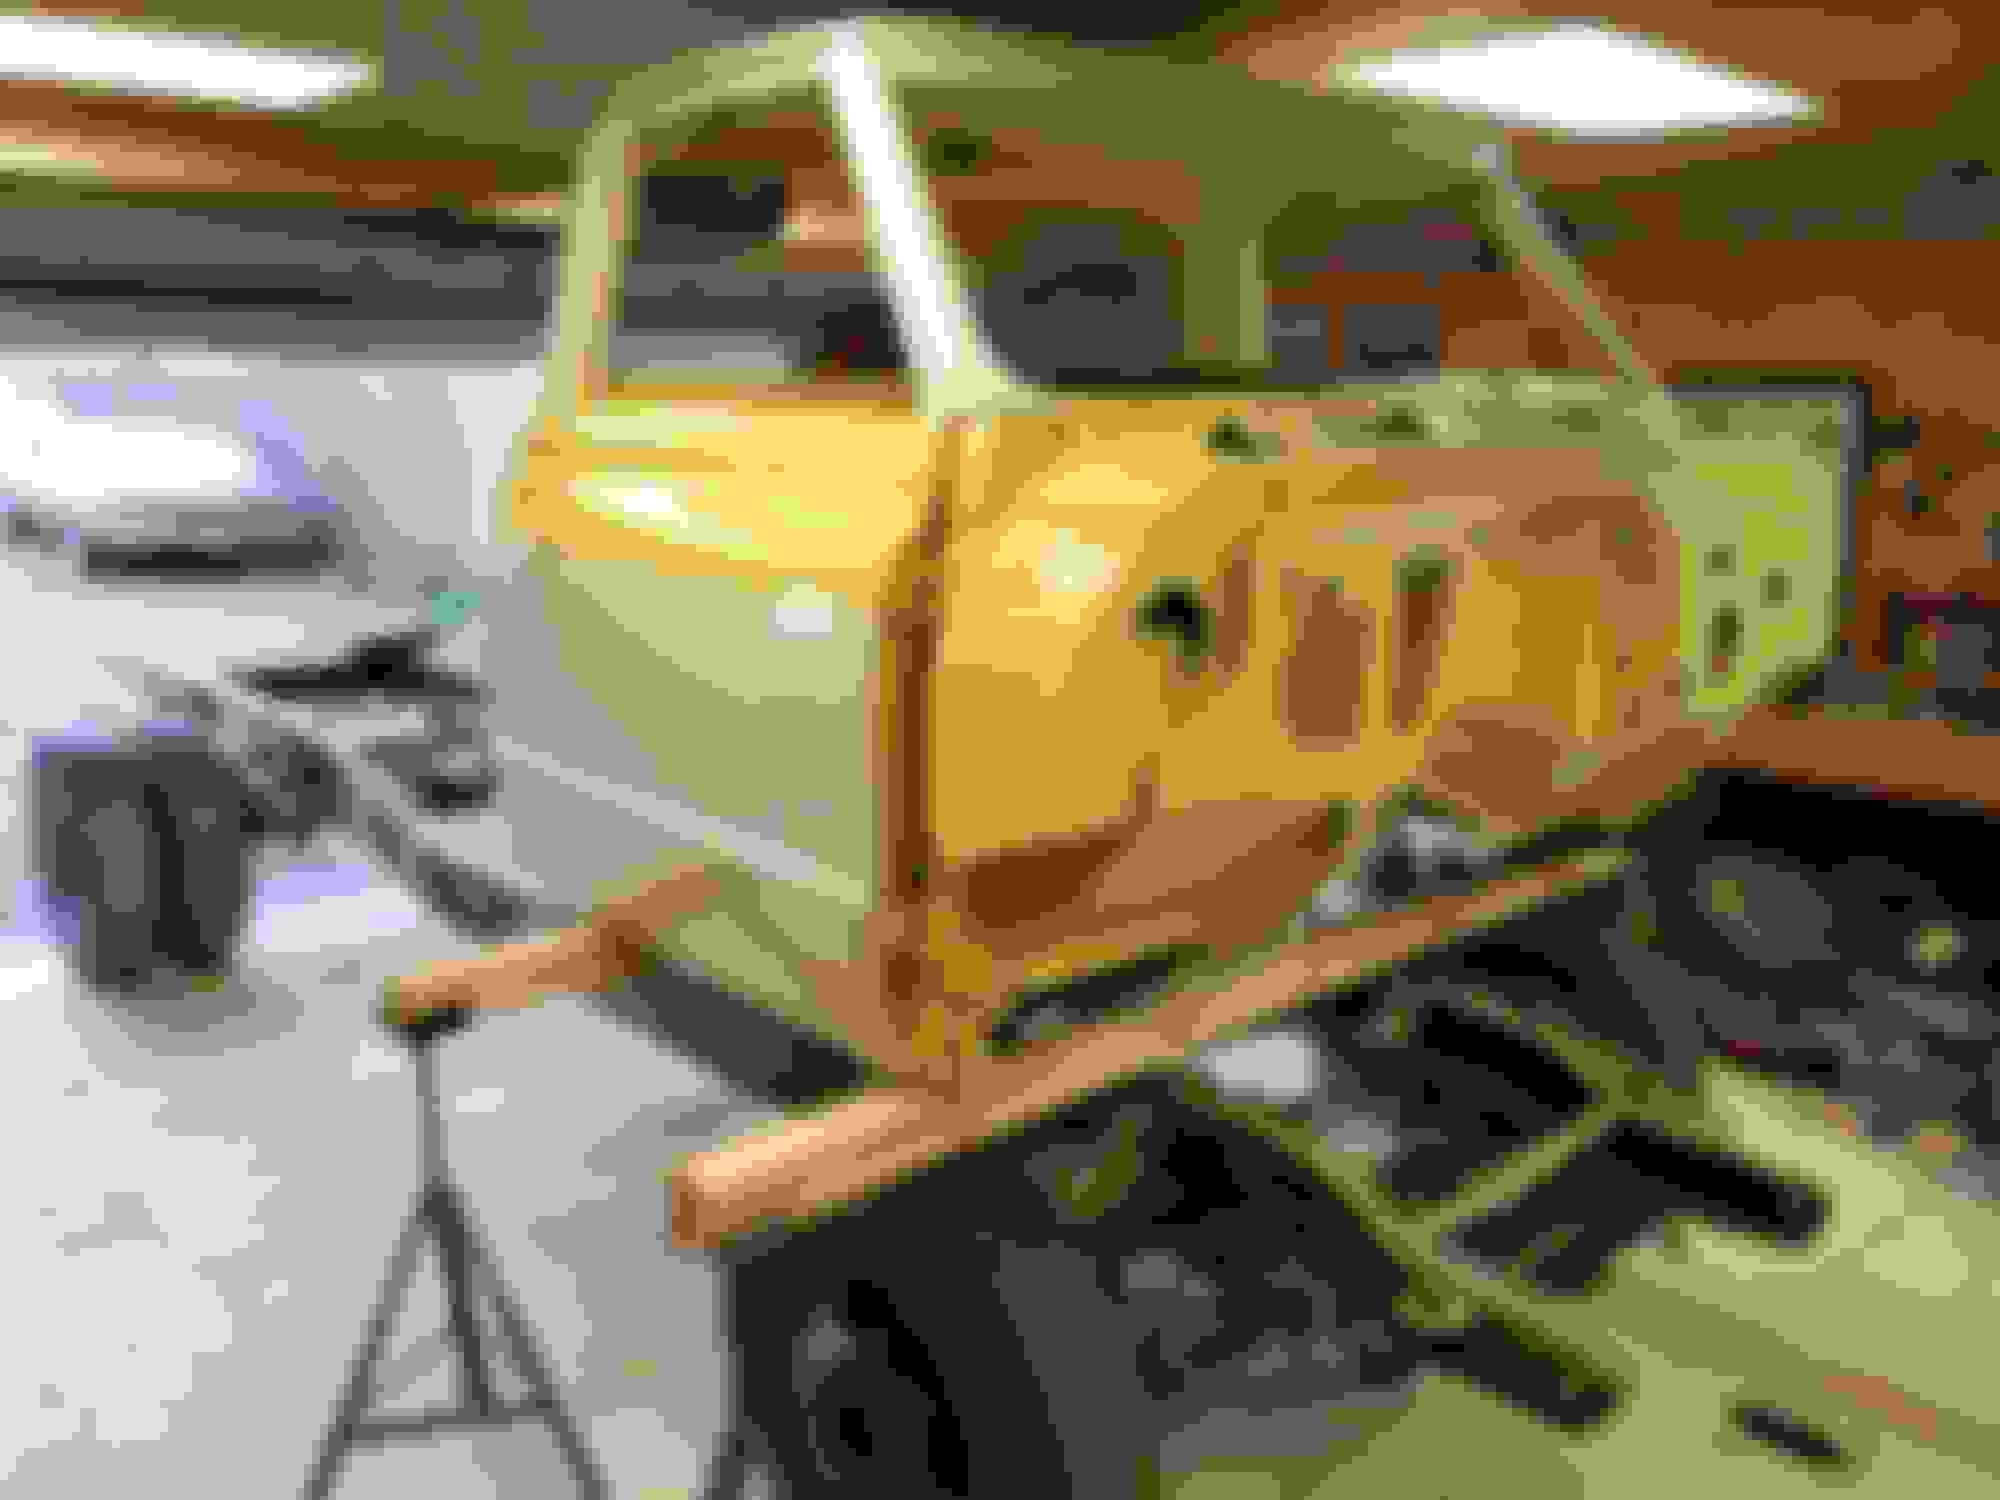
Then sprayed the whole thing in semi gloss black urethane, then used body shutz on the outer sides just like the factory did.
Painting overhead really sucks with a gravity feed gun, so this was the perfect opportunity to knock that part of the inside of the cab out.
Laid the cab back down and painted the dash, kick panels and front part of the door jambs....
and the firewall...
Then a WHOLE LOT of masking. Masking sucks by the way!
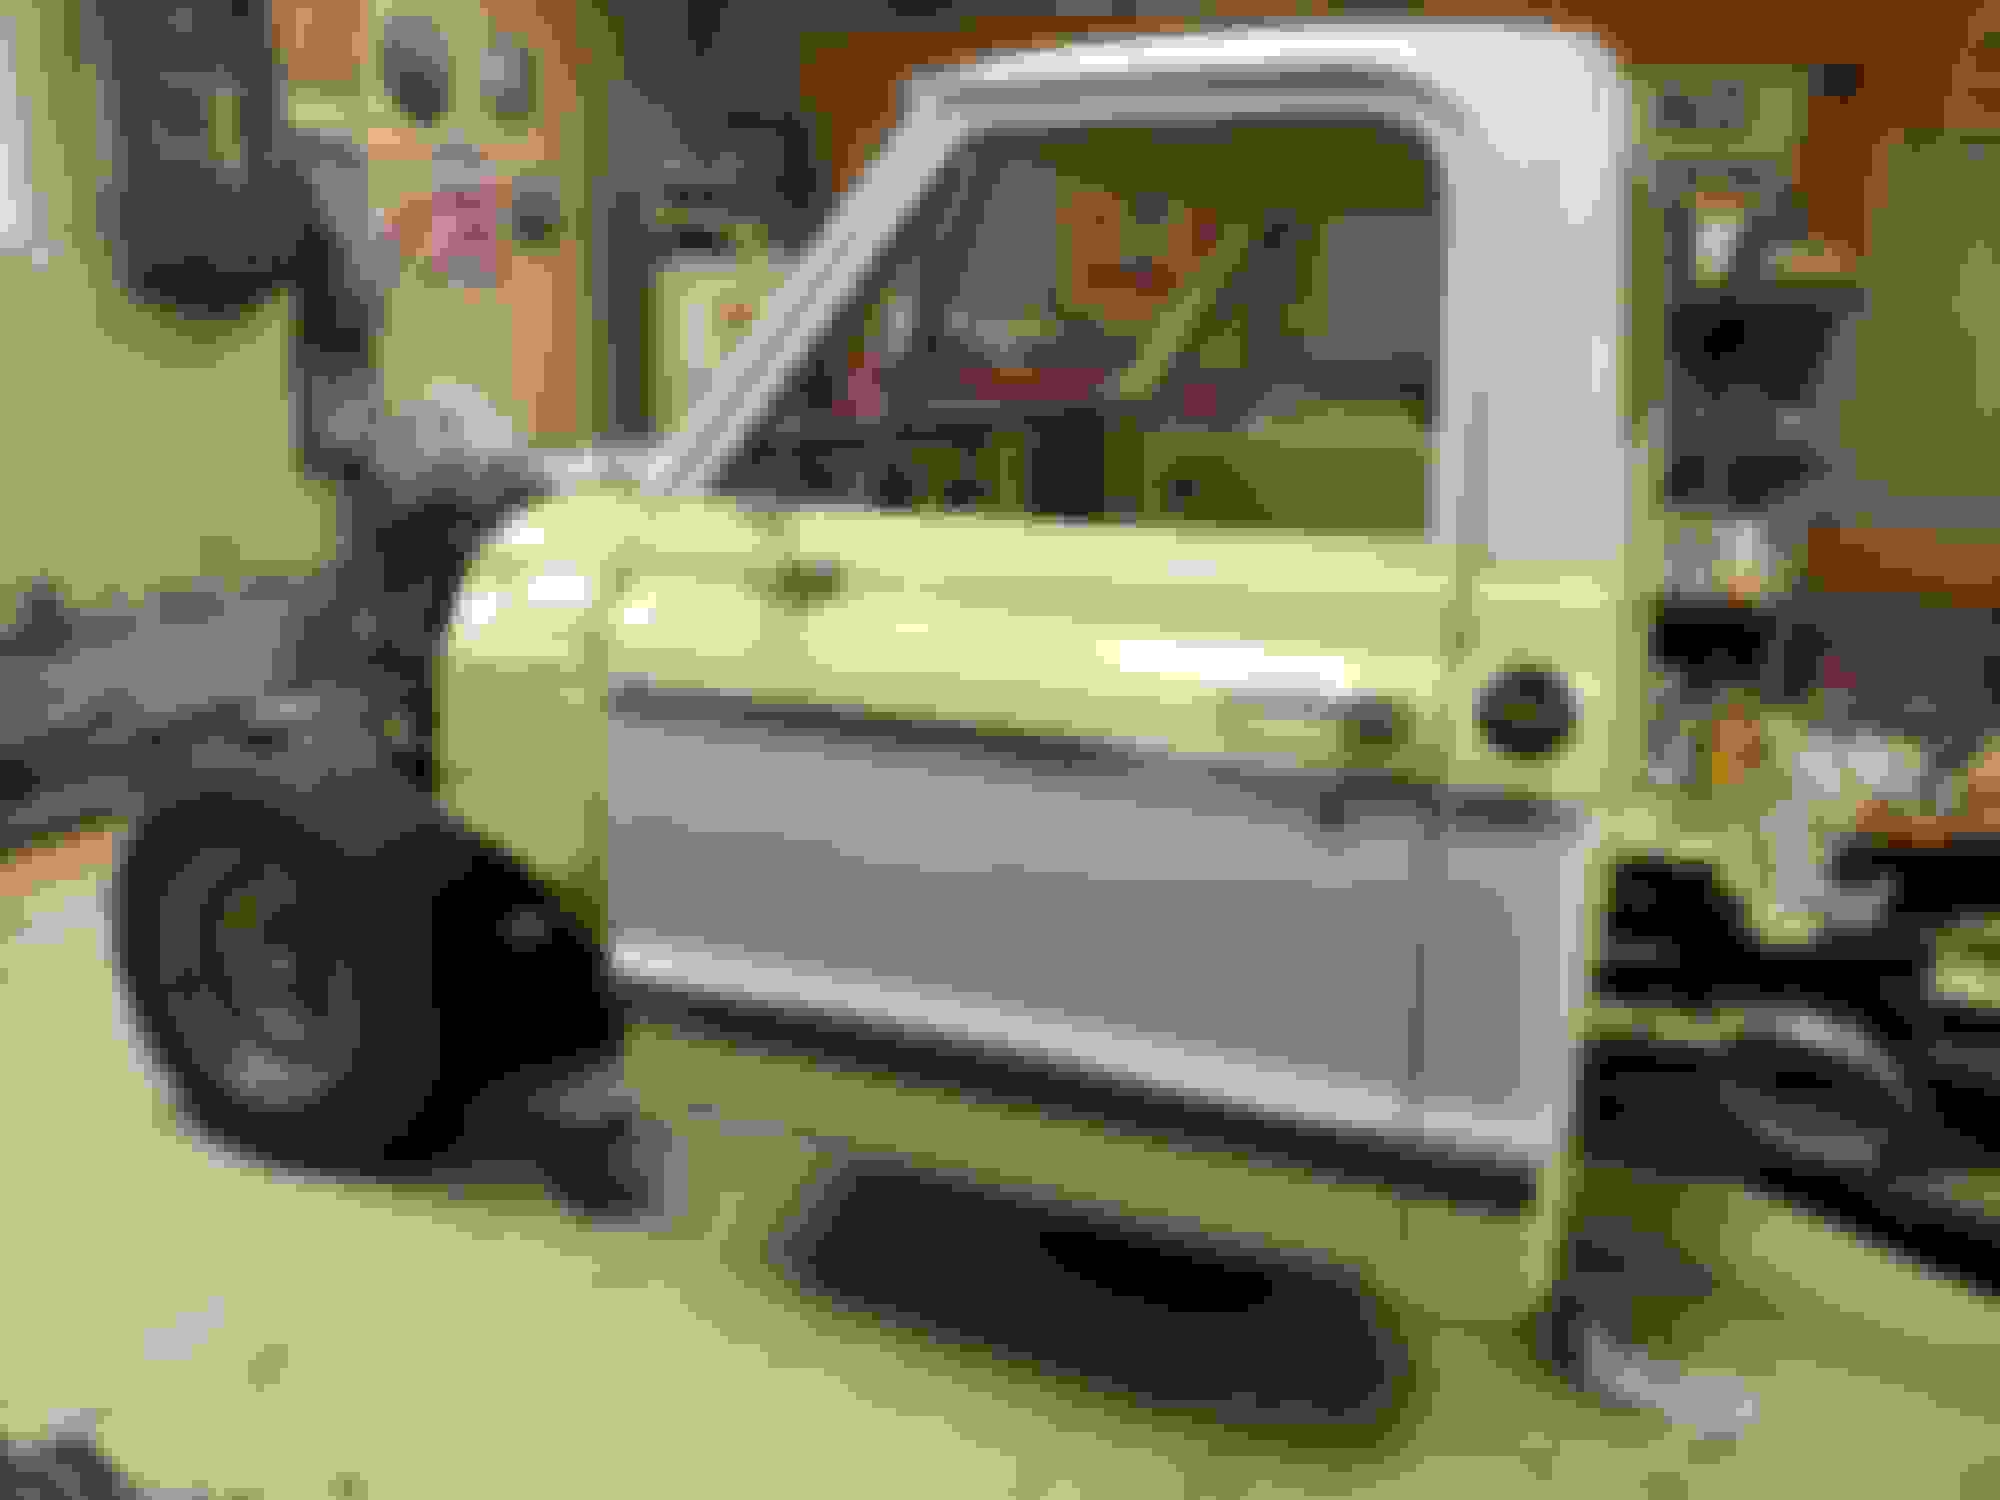
Wet sanded the front of the door jamb and the hinges then reinstalled the doors.
Then even more masking.....
just about ready for some color.
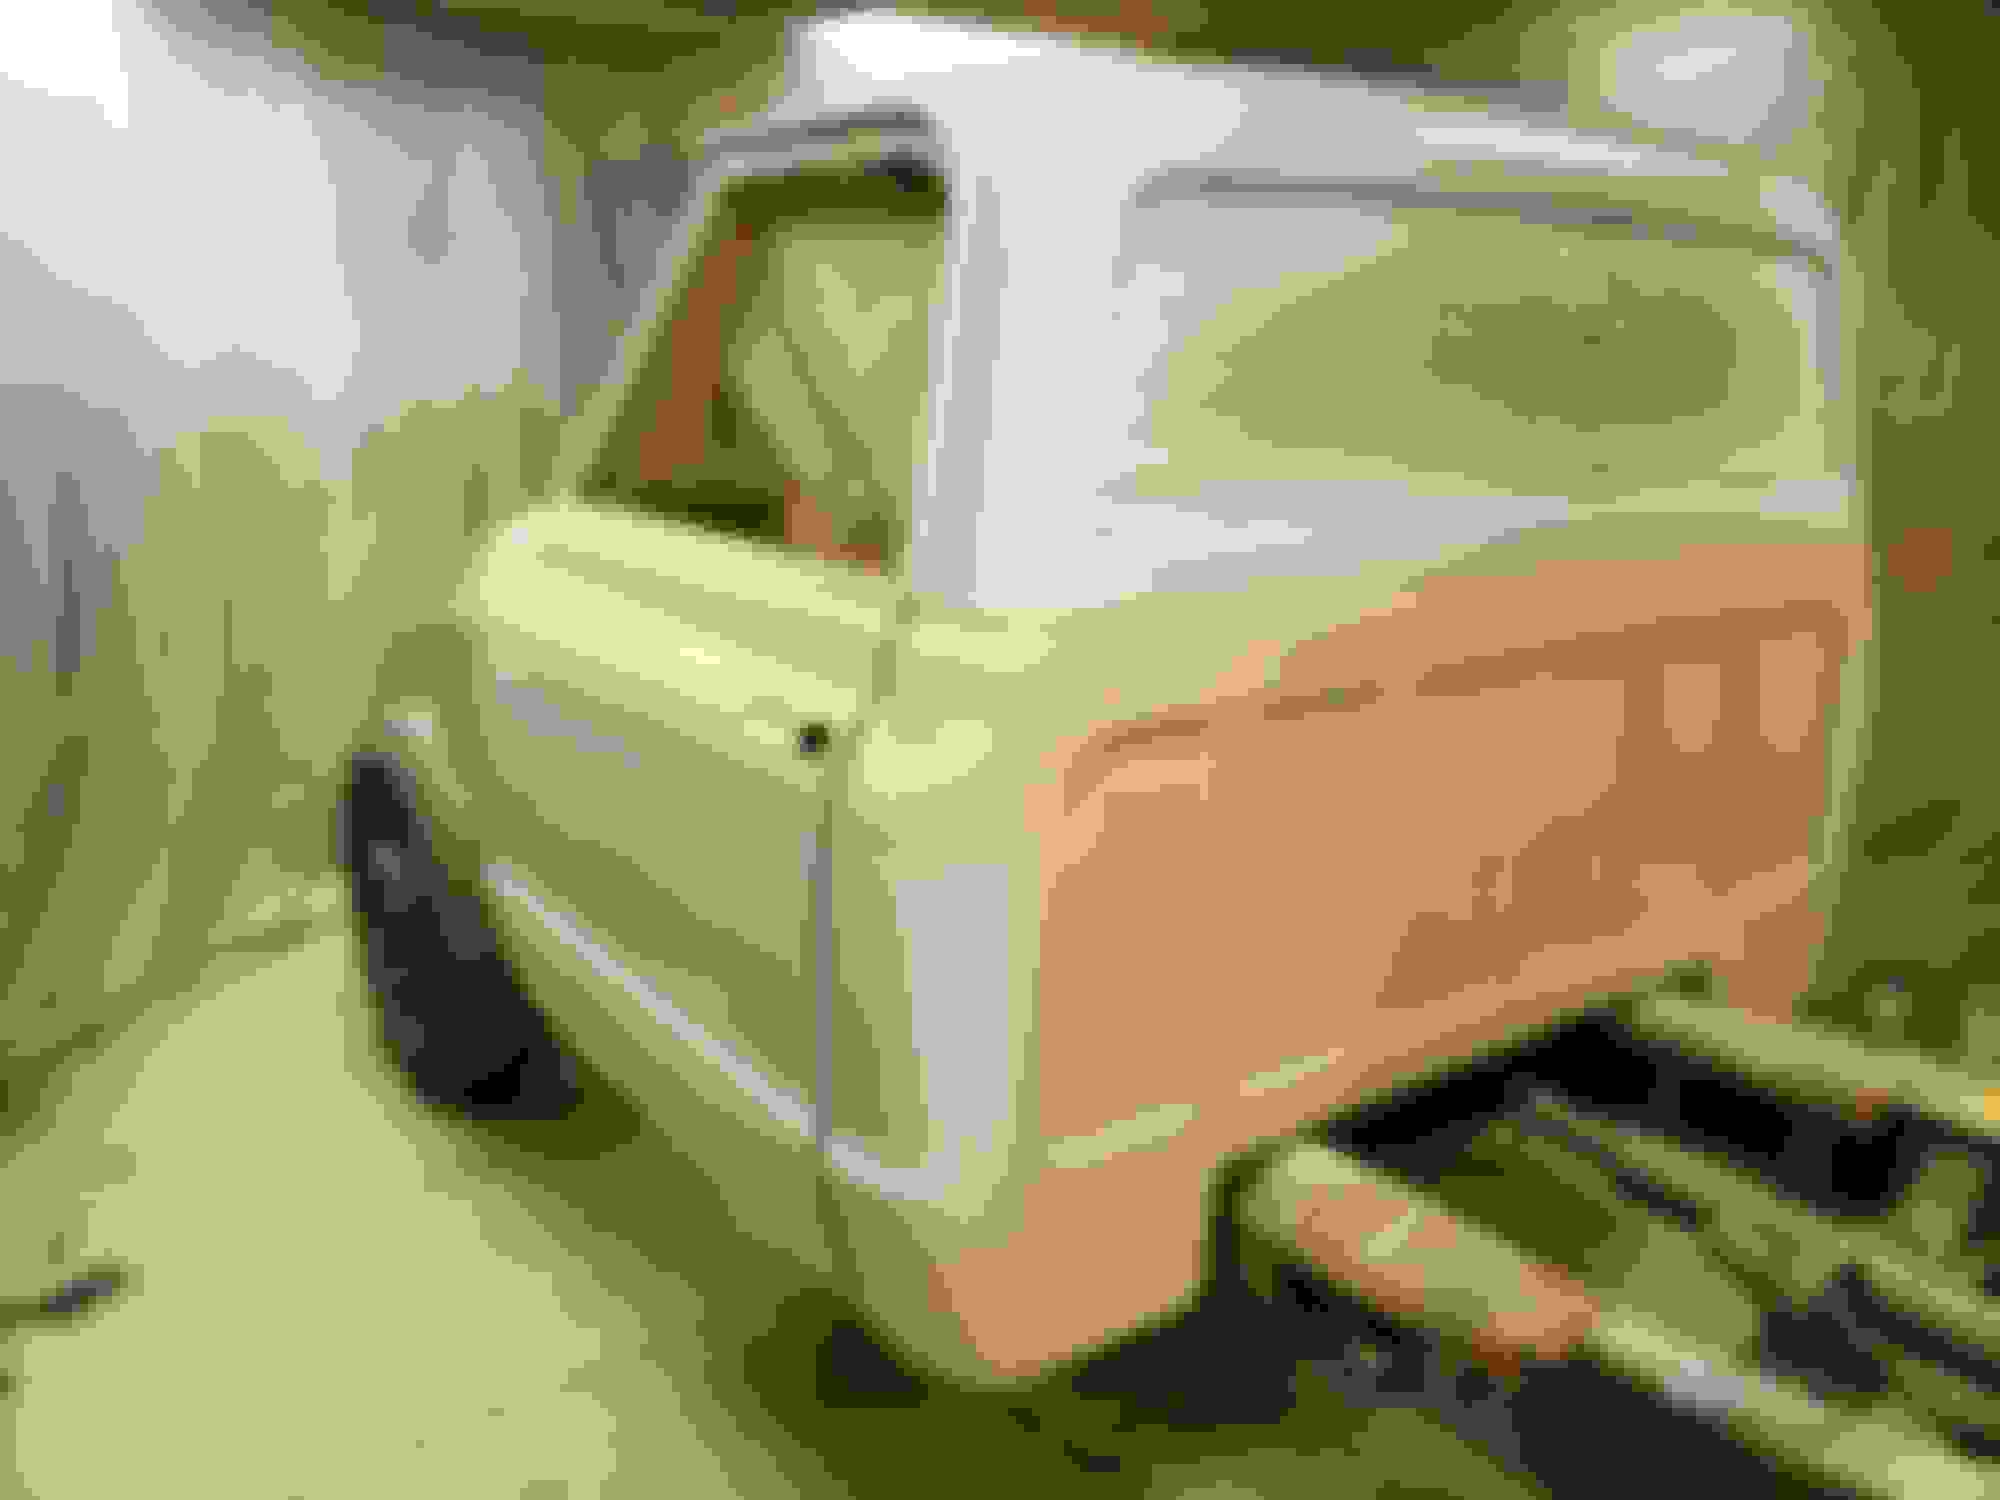
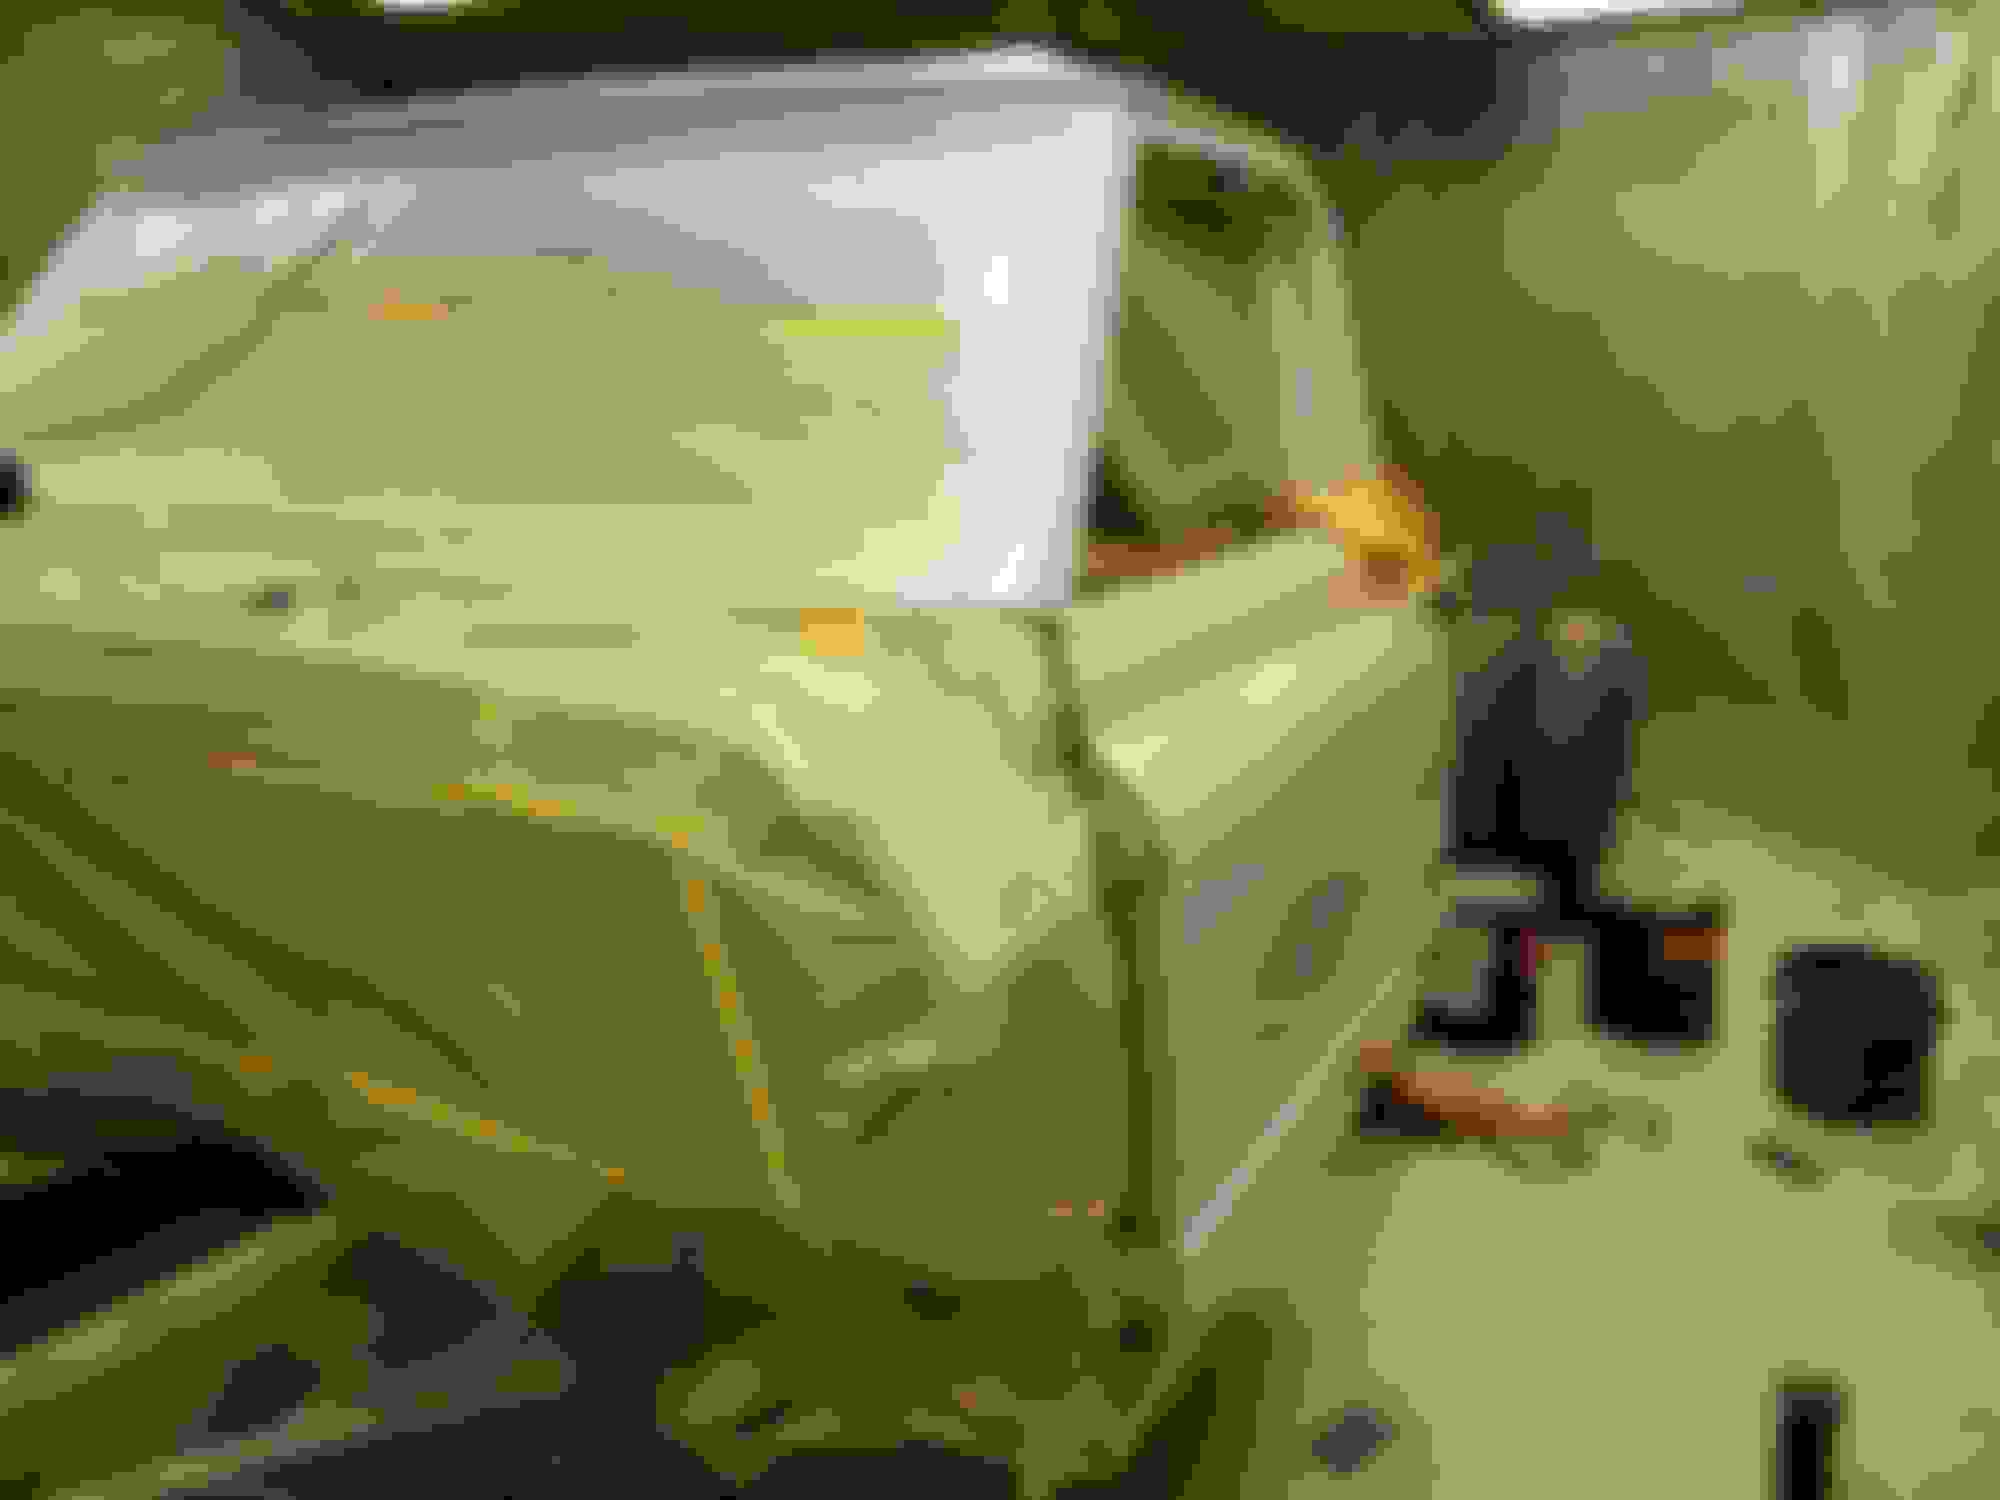
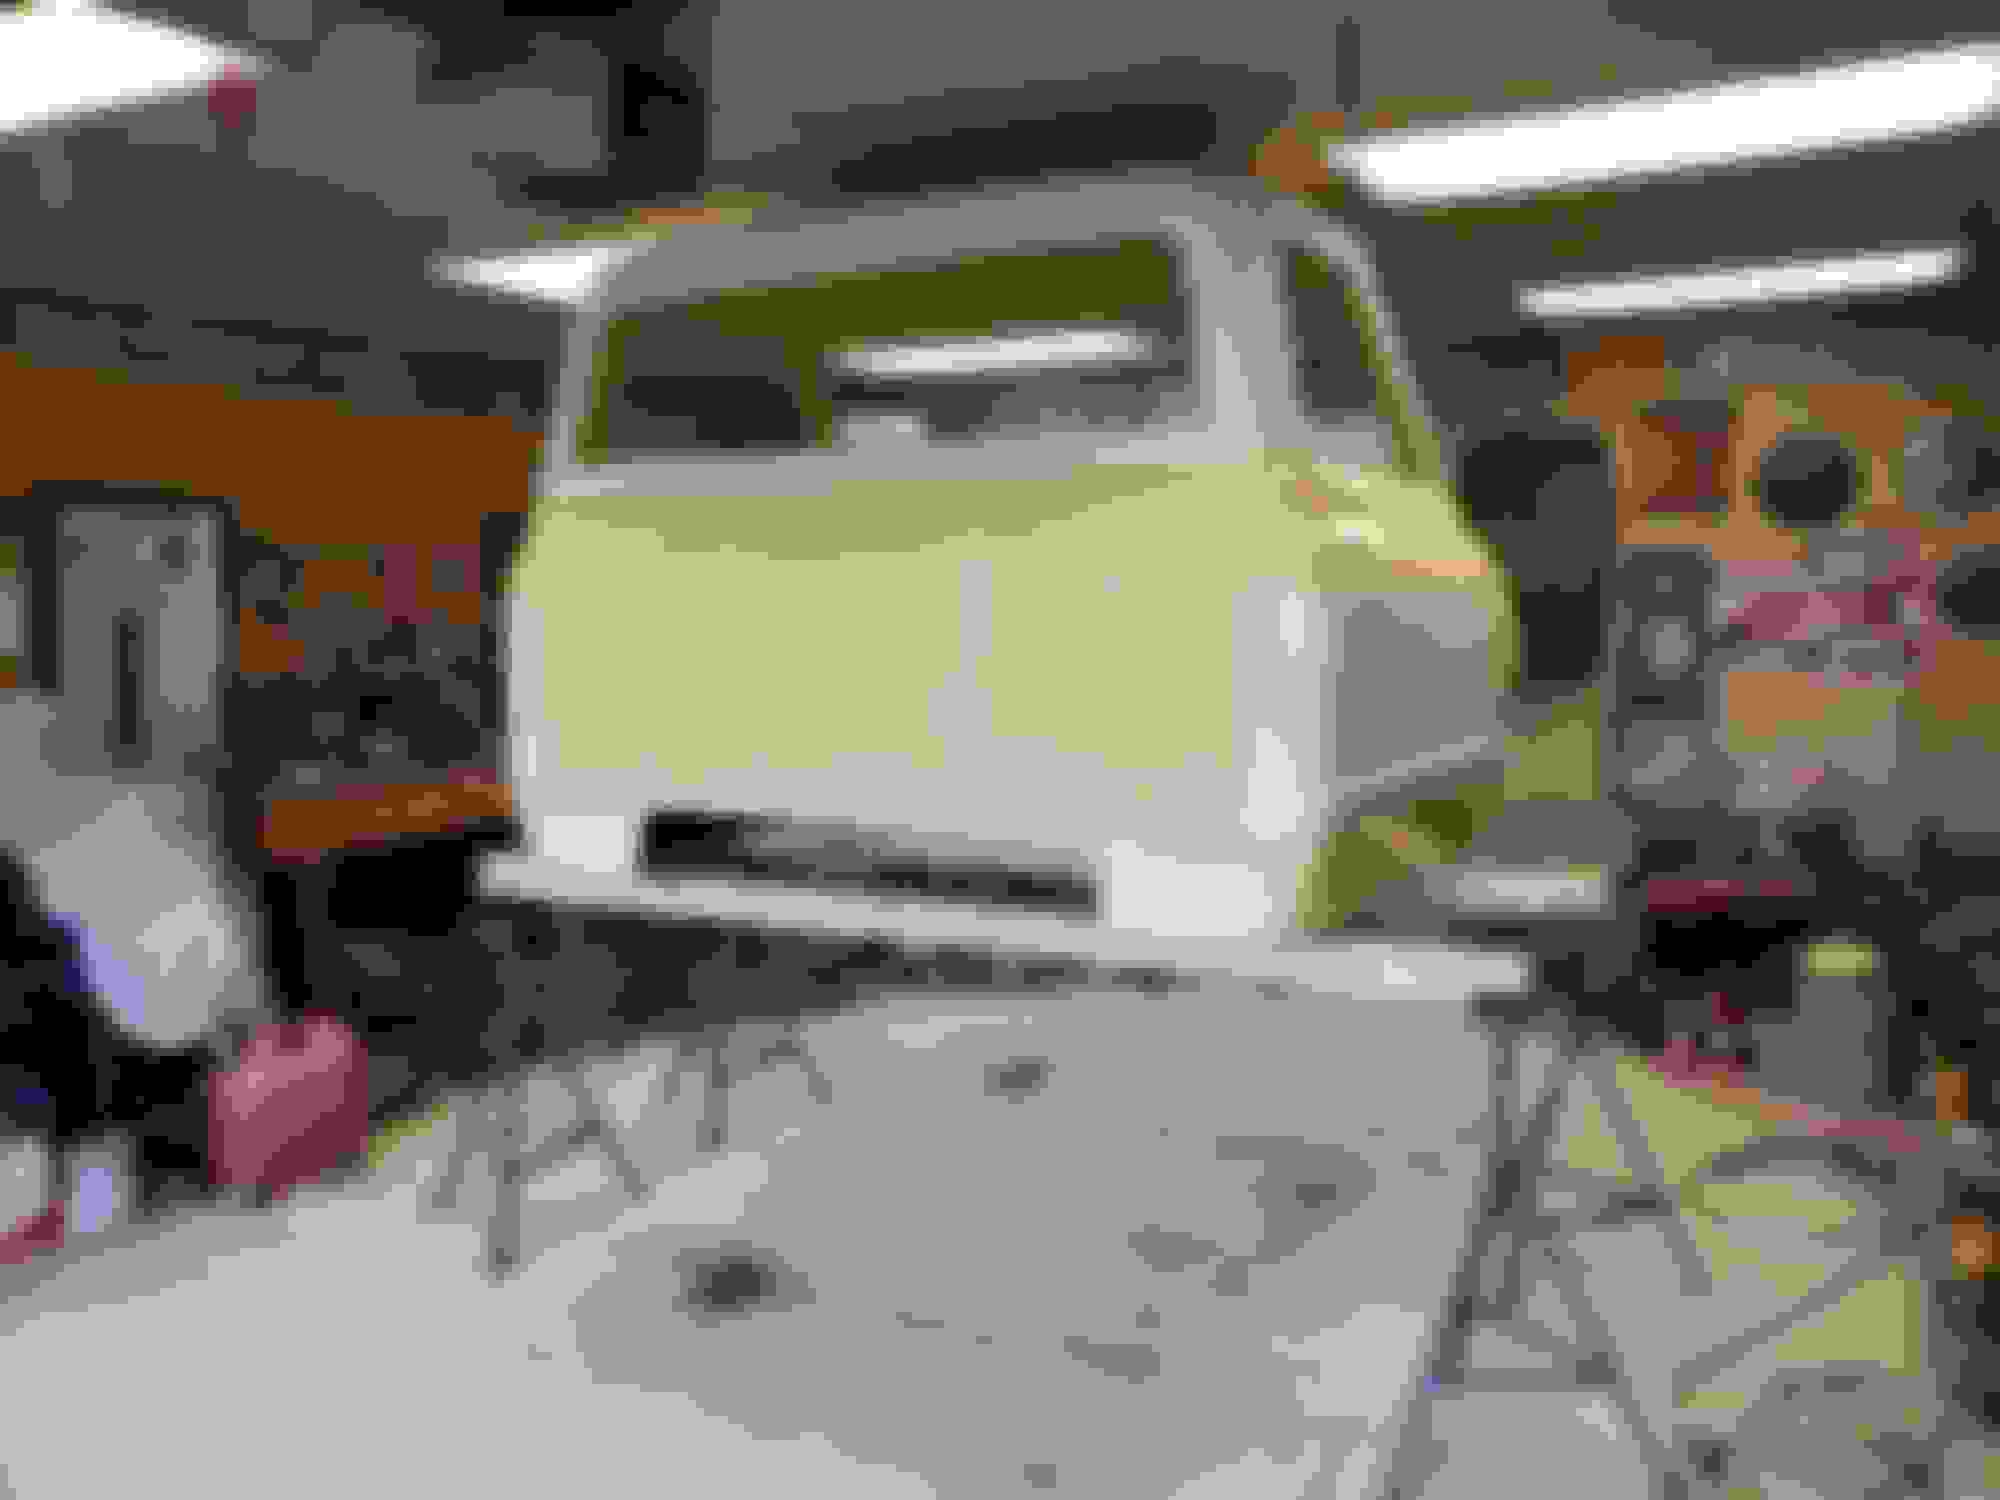
and finally the yellow!
It got a bit foggy in the garage, so I opened the walk out door and watched the fog roll out! LOL!
All painted and the white unmasked.
I left the inside and firewall masked so the mess from color sanding and buffing wouldn't get everywhere. Its sanded here, ready for buffing.
Polishing it out.
Prepped the top of the dash for paint.
Painted flat black so there wont be crazy reflections on the windshield.
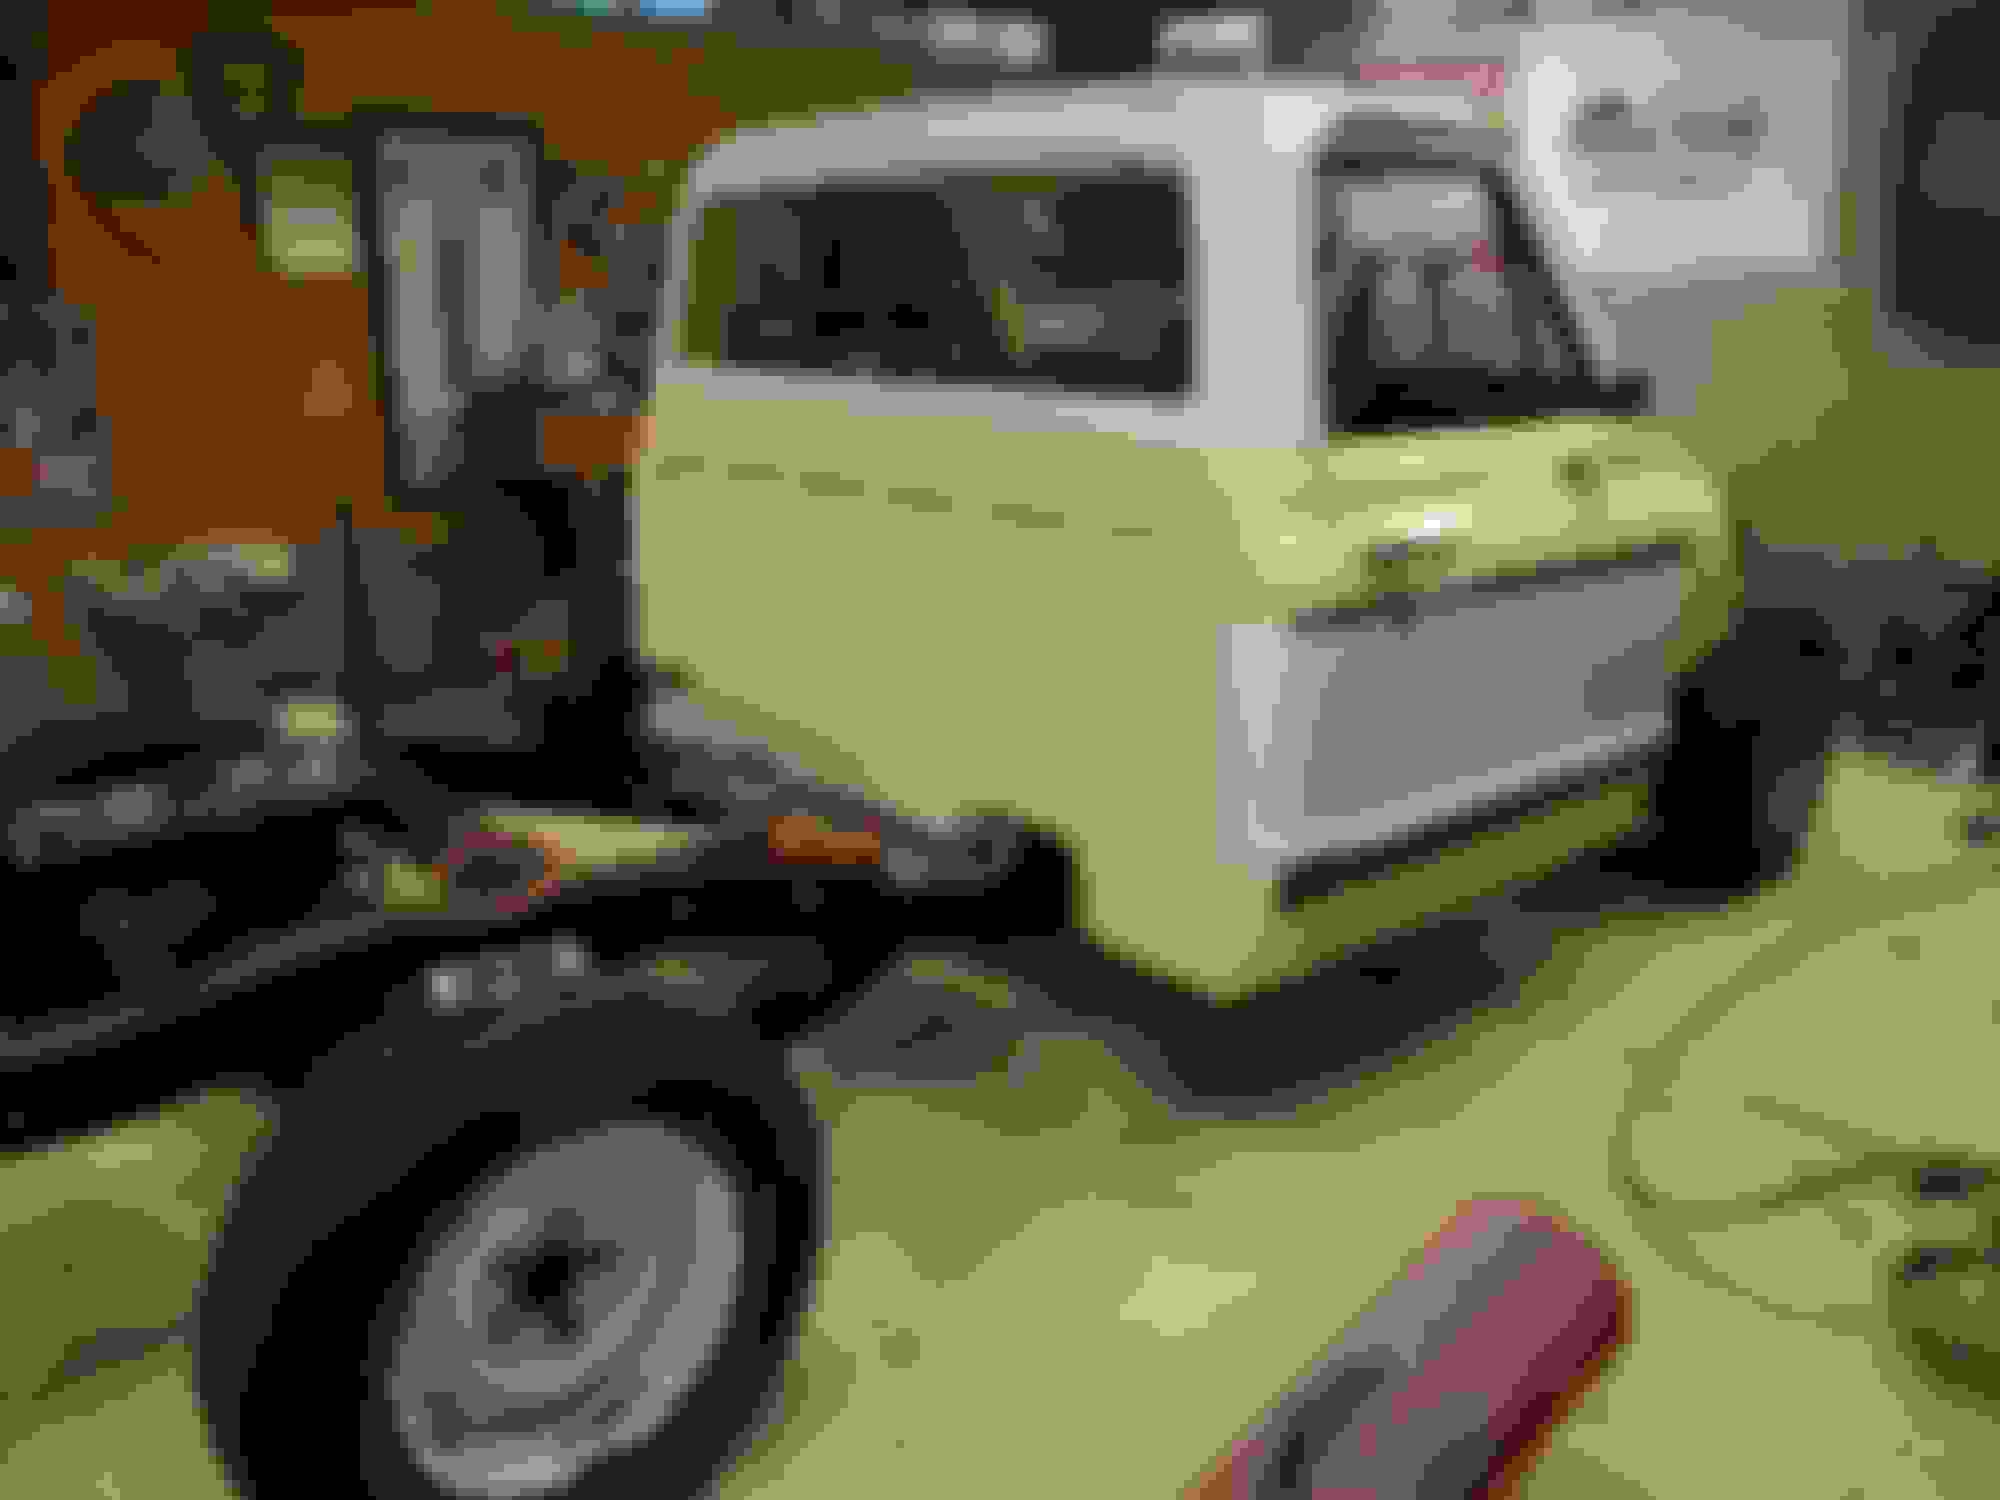
Then it was time to get the old frame out of the way. A buddy and myself did it with these stands and some 2x4s nailed together.
You can raise them with an impact, a little at a time until it's high enough to roll the frame out from under it.
Old frame out!
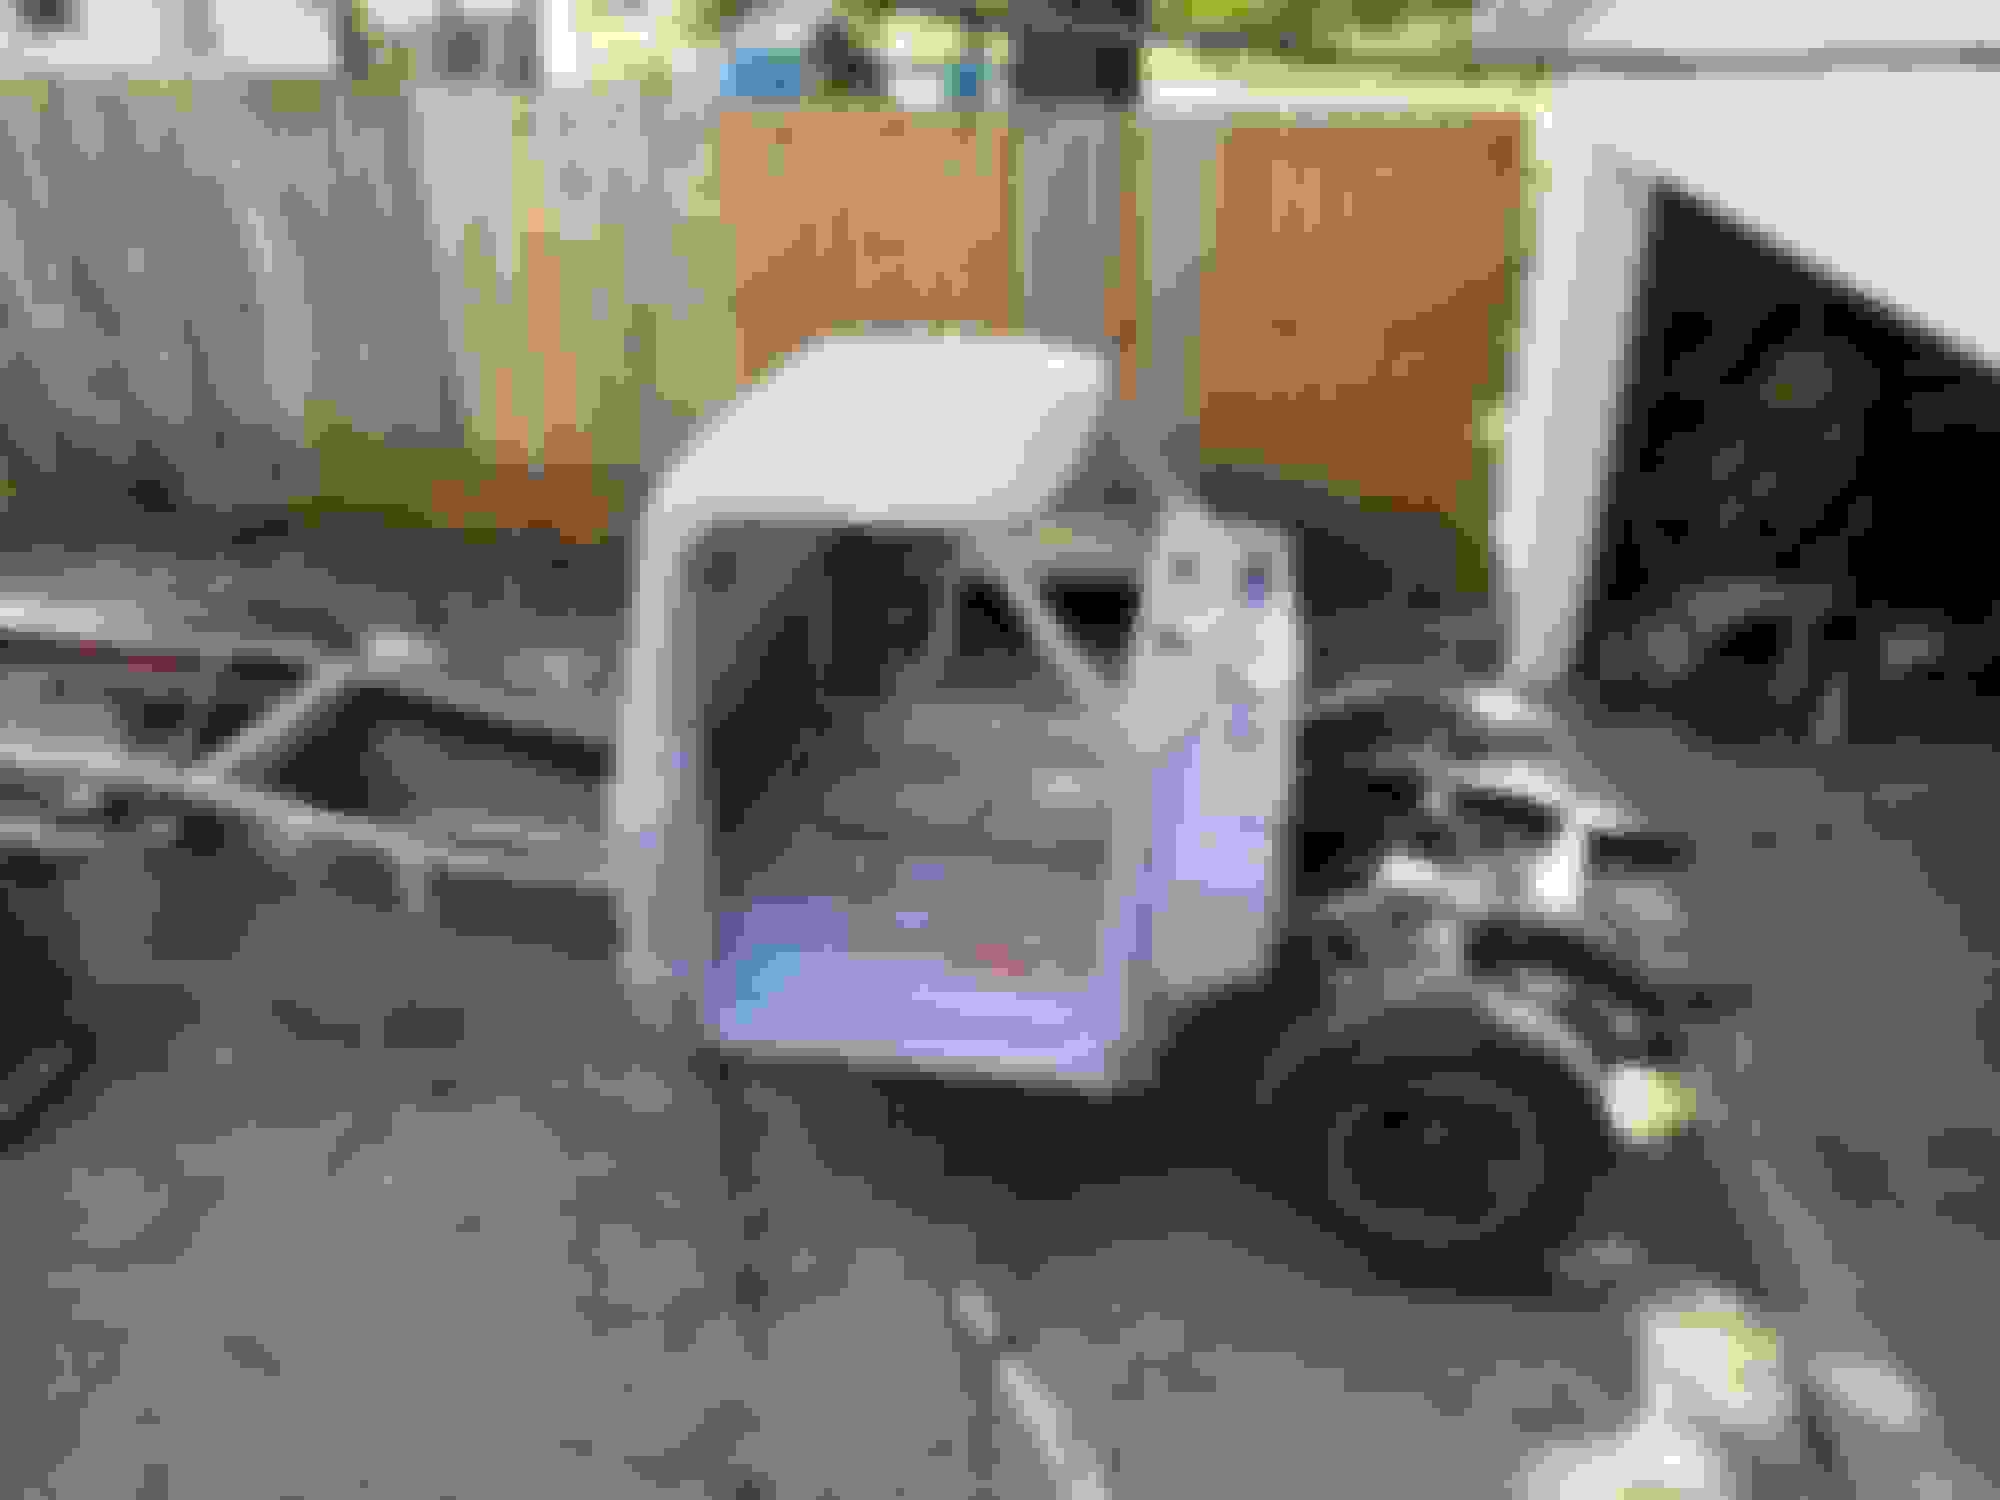
Took the old frame back to it's old resting spot. I only bought the sheet metal from my buddy, not sure what he's going to do with this mess!
I've never liked white or yellow on a vehicle but that two tone is freaking sweet.
Originally Posted by ls1nova71
Well, its because 16 year old me thought it would be a good idea to become a bodyman, so I took a couple years of VoTech autobody, then worked in a body shop right out of high school. Found out it wasn't as much fun as I thought, then worked in industrial painting for years before ending up as an auto mechanic that I never really wanted to be. It's funny how things work out, but without that experience I wouldn't be able to do what I do, because there's no way I could ever afford to pay to have this stuff done.
I've been in every part of the hands-on part of the automotive world, manufacturing vehicles, restorations, customizations, modifications, body, general auto tech. When something starts to feel like work, it becomes no fun anymore. Now that I have been away from it for a few years, I've found a renewed interest and have started back to working on my current auto projects.
Even though it goes against your normal protocal, please say you are going to KEEP this gorgeous truck once done.
I wish I could say I was going to keep it, but the reality of it is I cant keep them all. If I was independently wealthy I would, but sadly I am not, and the only way I can keep going without getting really deep in debt is to sell them to fund the next one. I have some I wont sell, but really have way too many cars as is, you can see there are 5 cars in the driveway in some of the pics, and I have 4 more in storage. My ultimate plan is to move somewhere where I can put up a building and have all my keeper cars at home so I can get out of the insanely high storage rent payment. Also, if I was going to build a truck to keep, it would be medium olive green and white, like my rusty '71, that's probably my favorite color combo.
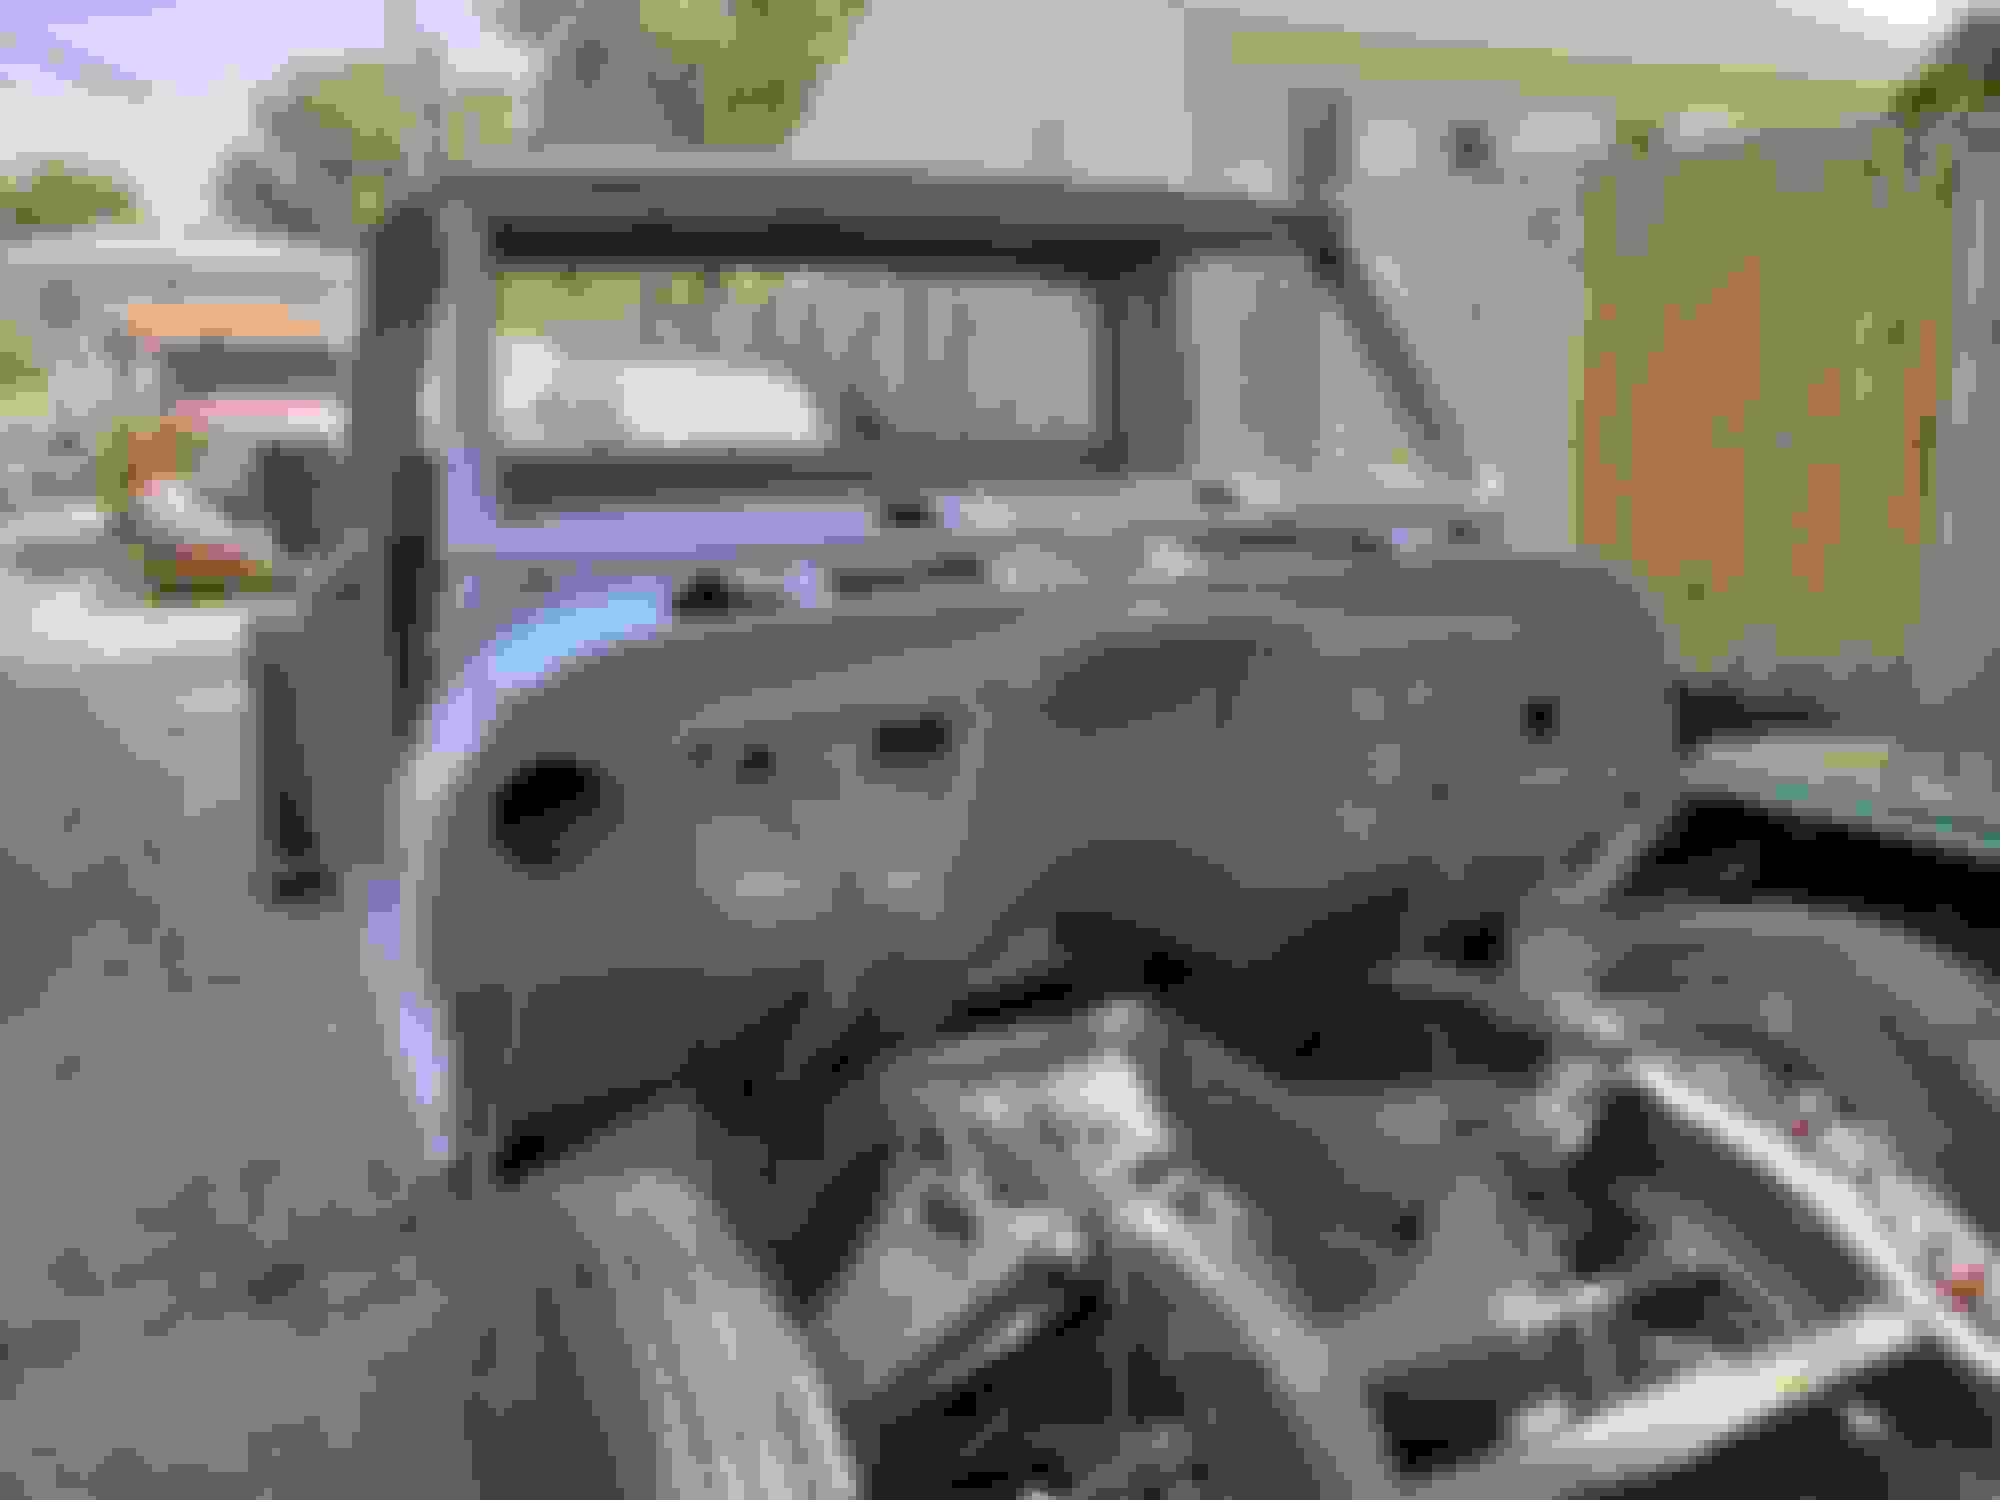
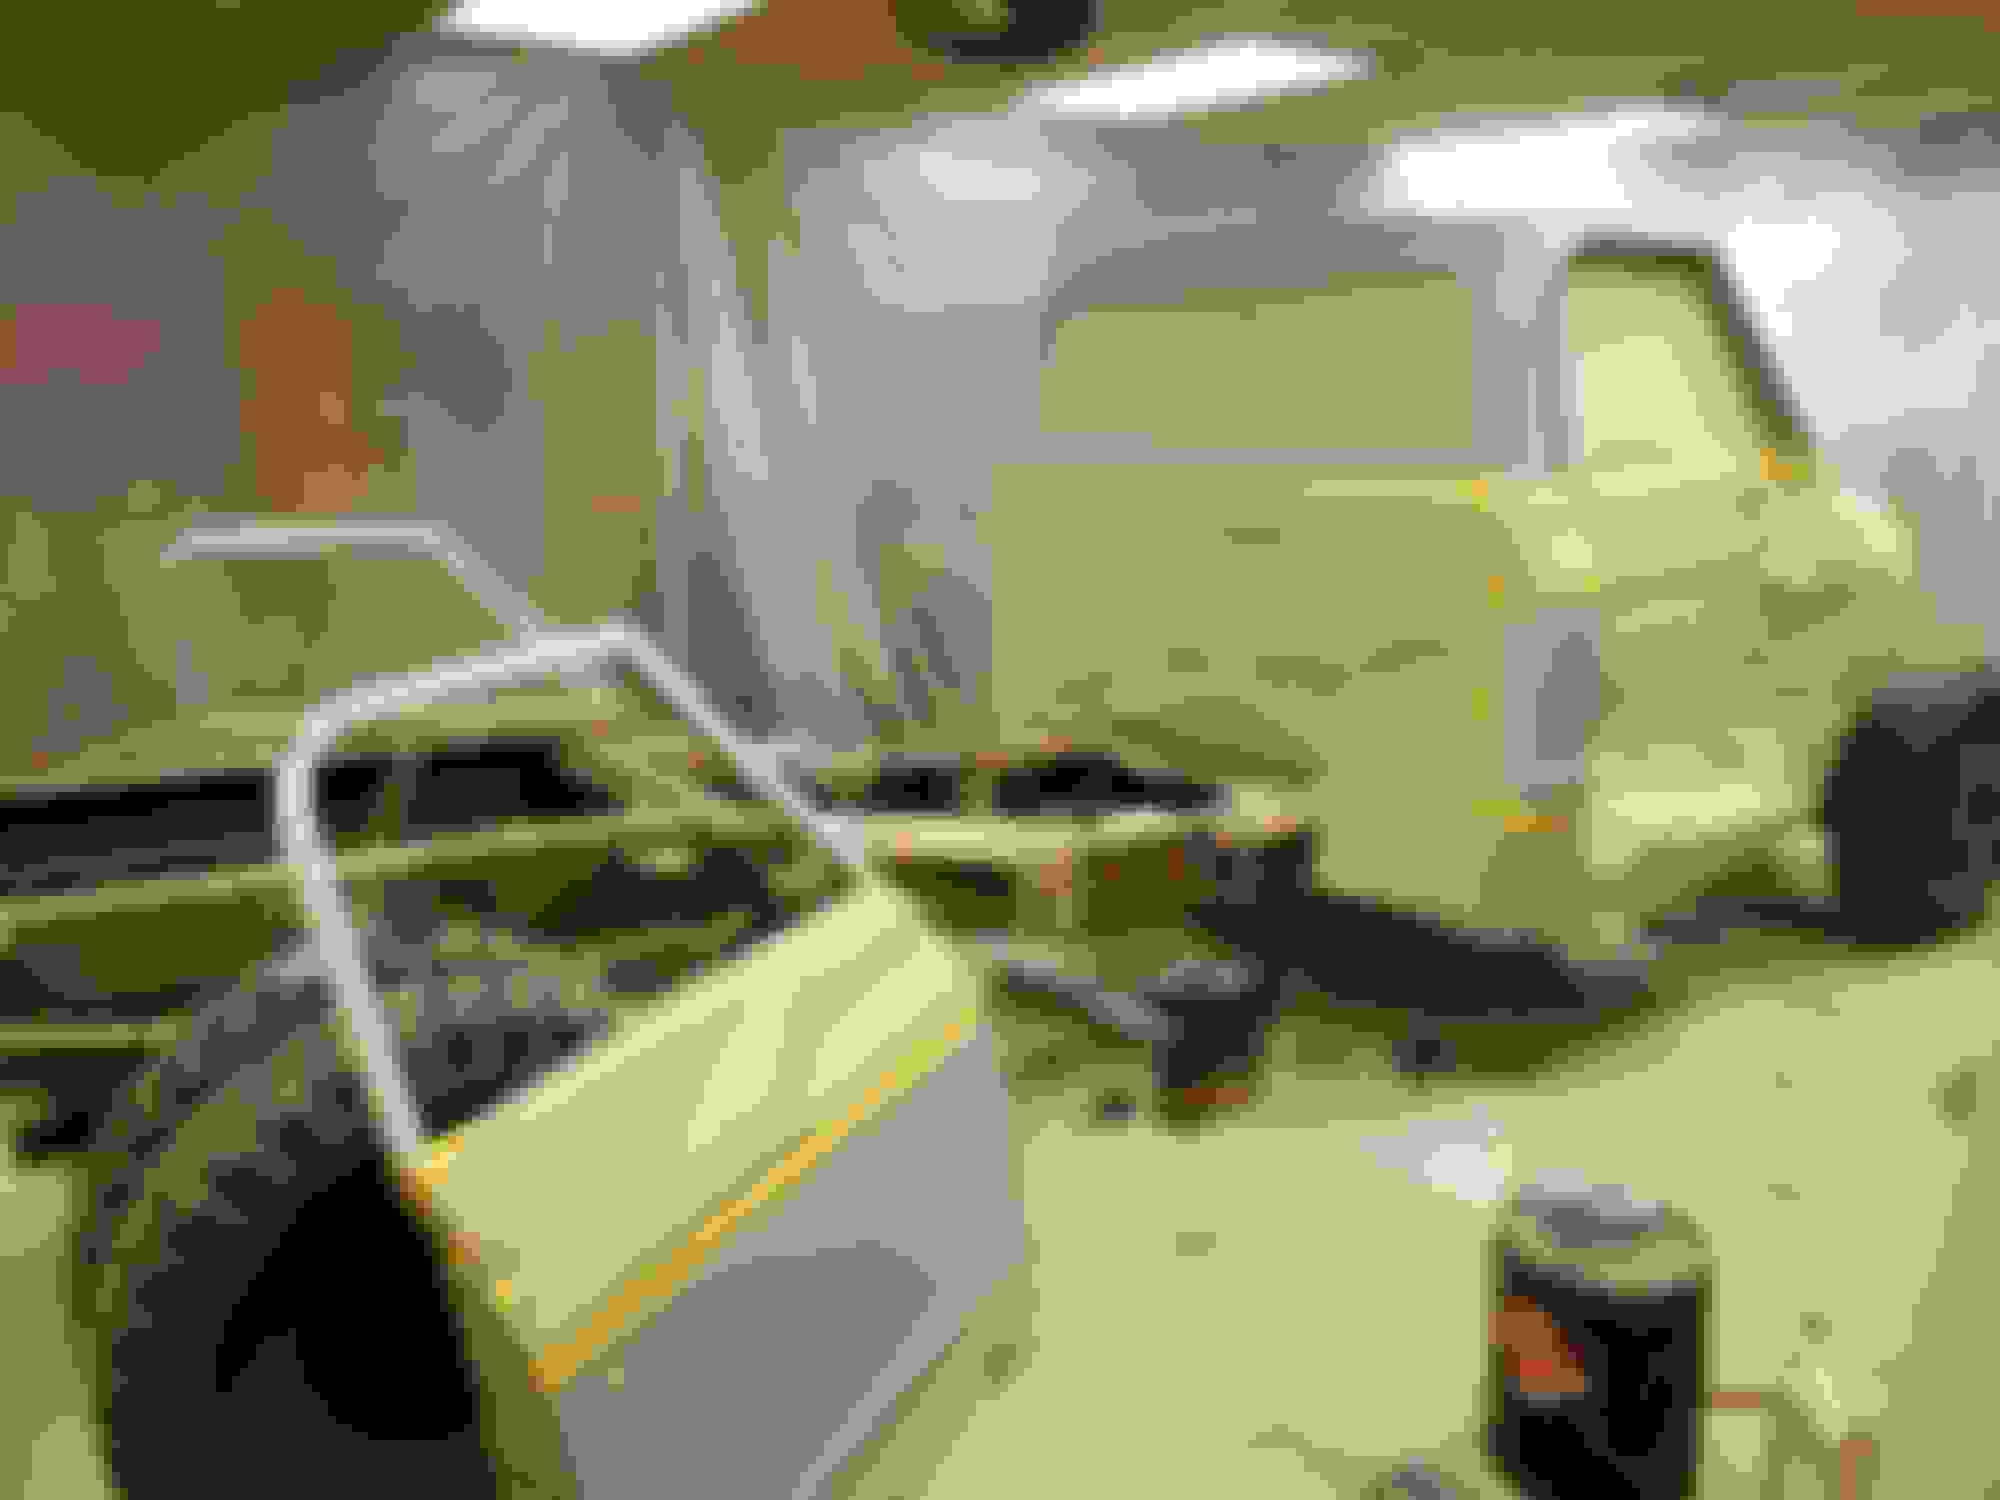
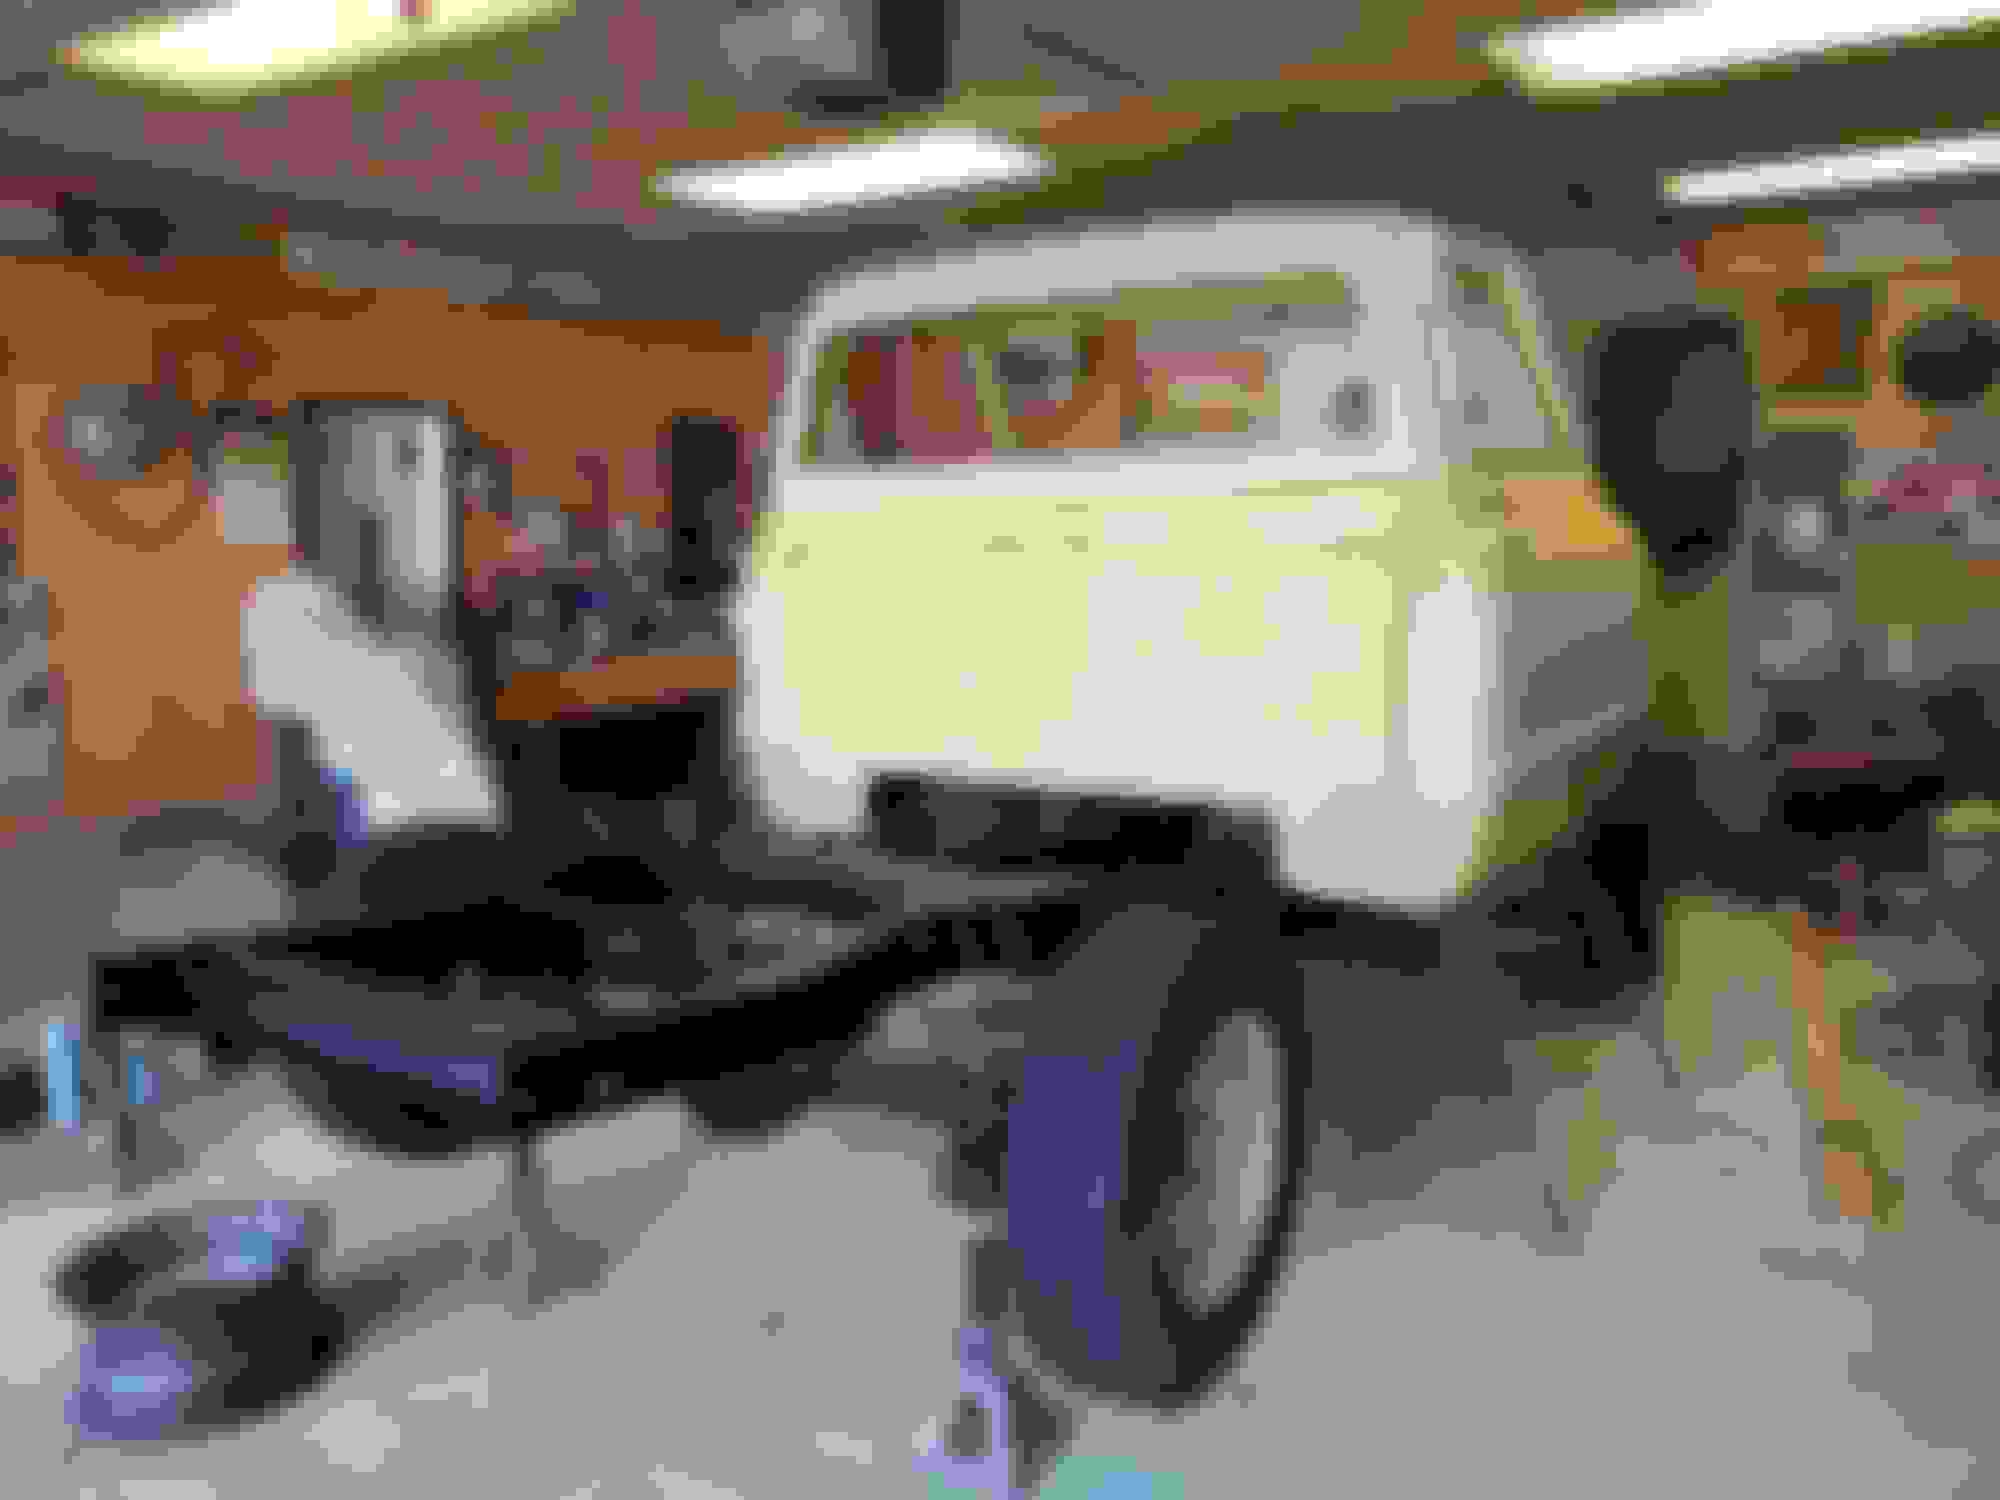
Brought the rolling chassis home on October 20th. Getting g ready to roll it under the cab.
Had to take the front wheels off and roll the frame in on a floor jack to clear the boards.
It looks like it isnt going to clear, but it just barely does!
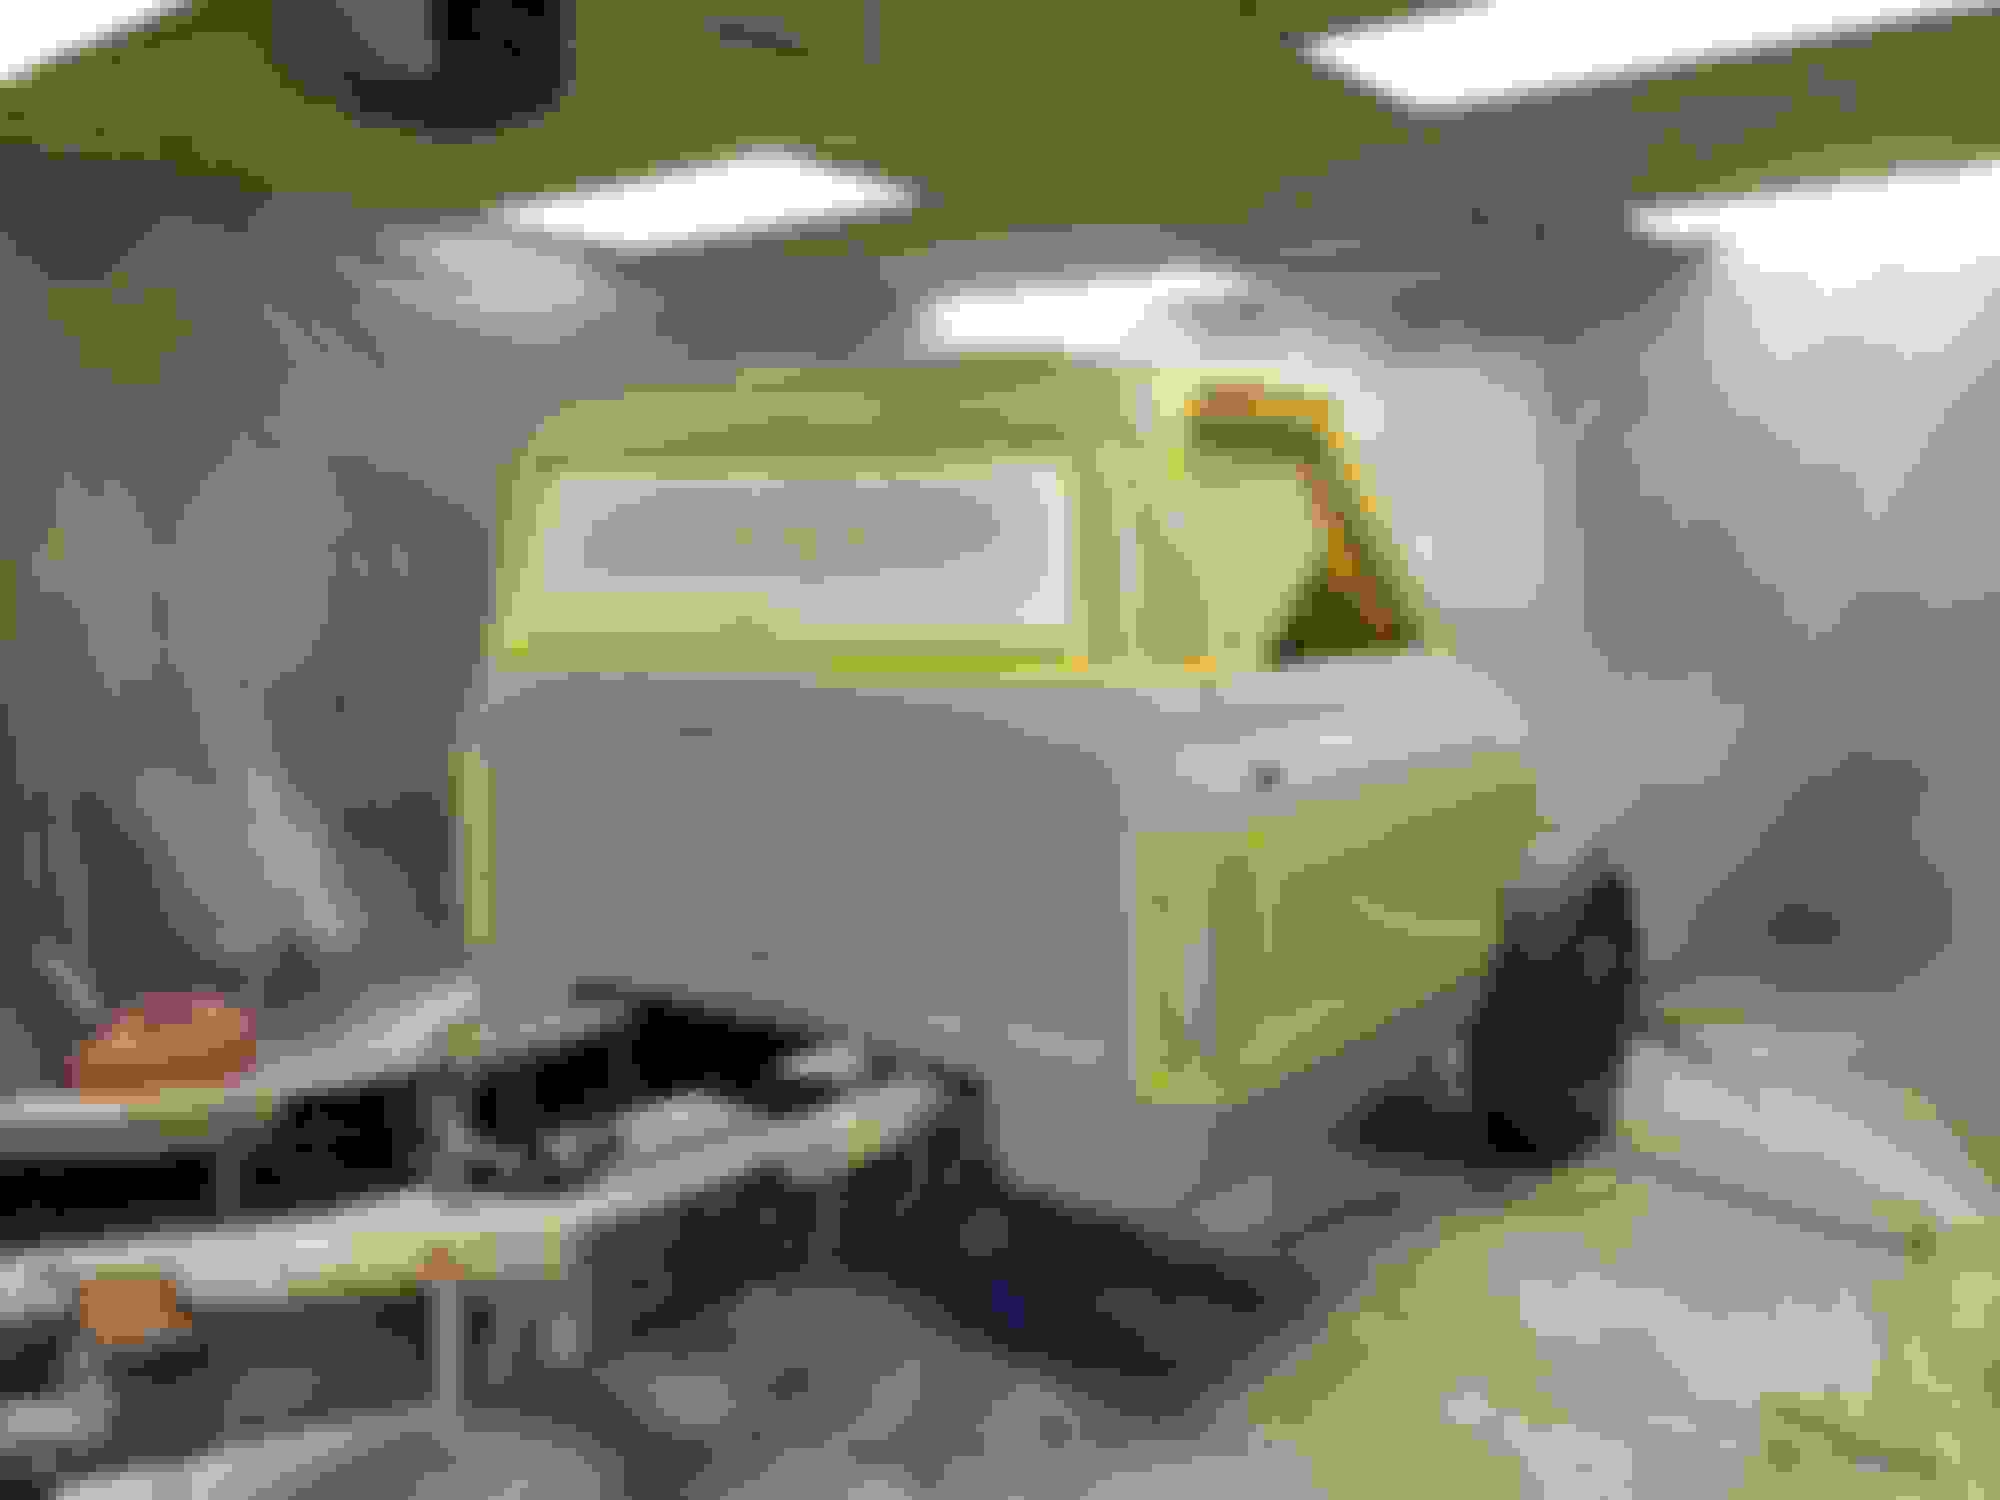
With the frame all the way under it, we just lowered the cab back down as far as the stands would go, then jacked the frame up to meet it.
With the cab bolted down and lowered back on the ground we were done with the cab install and never had to actually lift it by hand, other than tipping it forward and back to get the boards in and out from under it. Work smarter than harder as they say!
Reassembly time! Started with the firewall I insulation pad, then the park brake and brake pedal stuff.
Installed the A/C box on the firewall. I had already gone through it and installed a square body evaporator in it to get away from the old POA valve.
Mounted the '91 Ford truck wiper motor with a bracket I made. I used this motor in my '59 wagon because it has delay and the switch is the same style, and really liked it so decided to put one in this truck. Worked out slick! I made 2 brackets so I have one for my rusty '71 too!
And a little bracket to mount the delay governor.
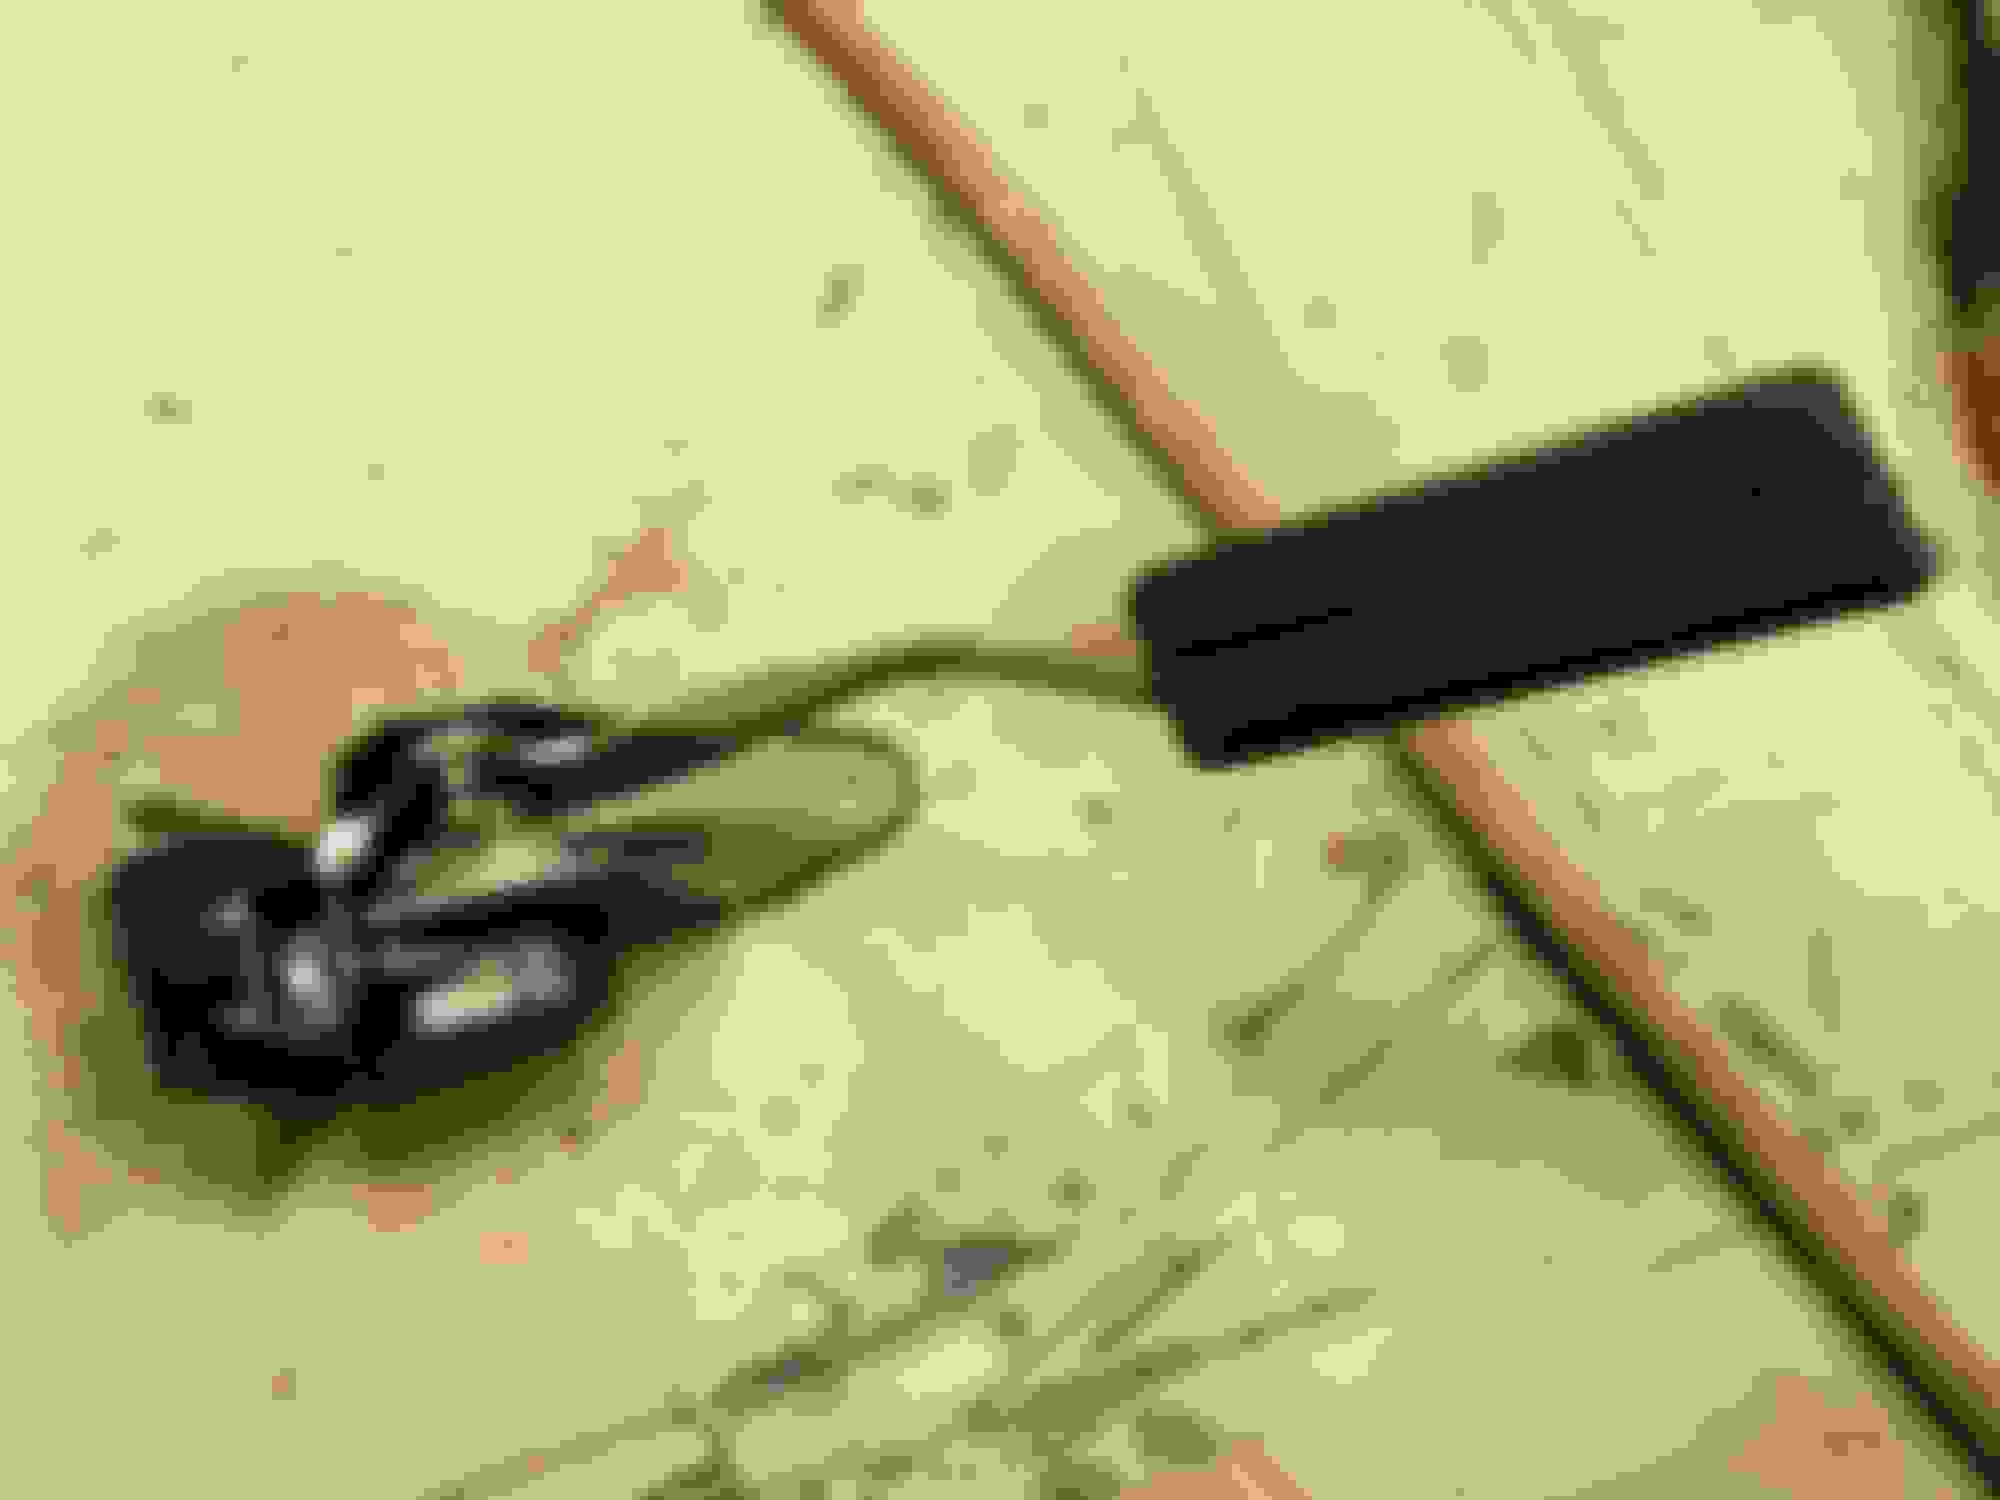
To go along with the sacrilegious cutting of the dash, I also cut holes in the doors for speakers! Ran some speaker wire through some heat shrink and a couple rubber grommets.
The hole in the door along with the painted speaker grille.....
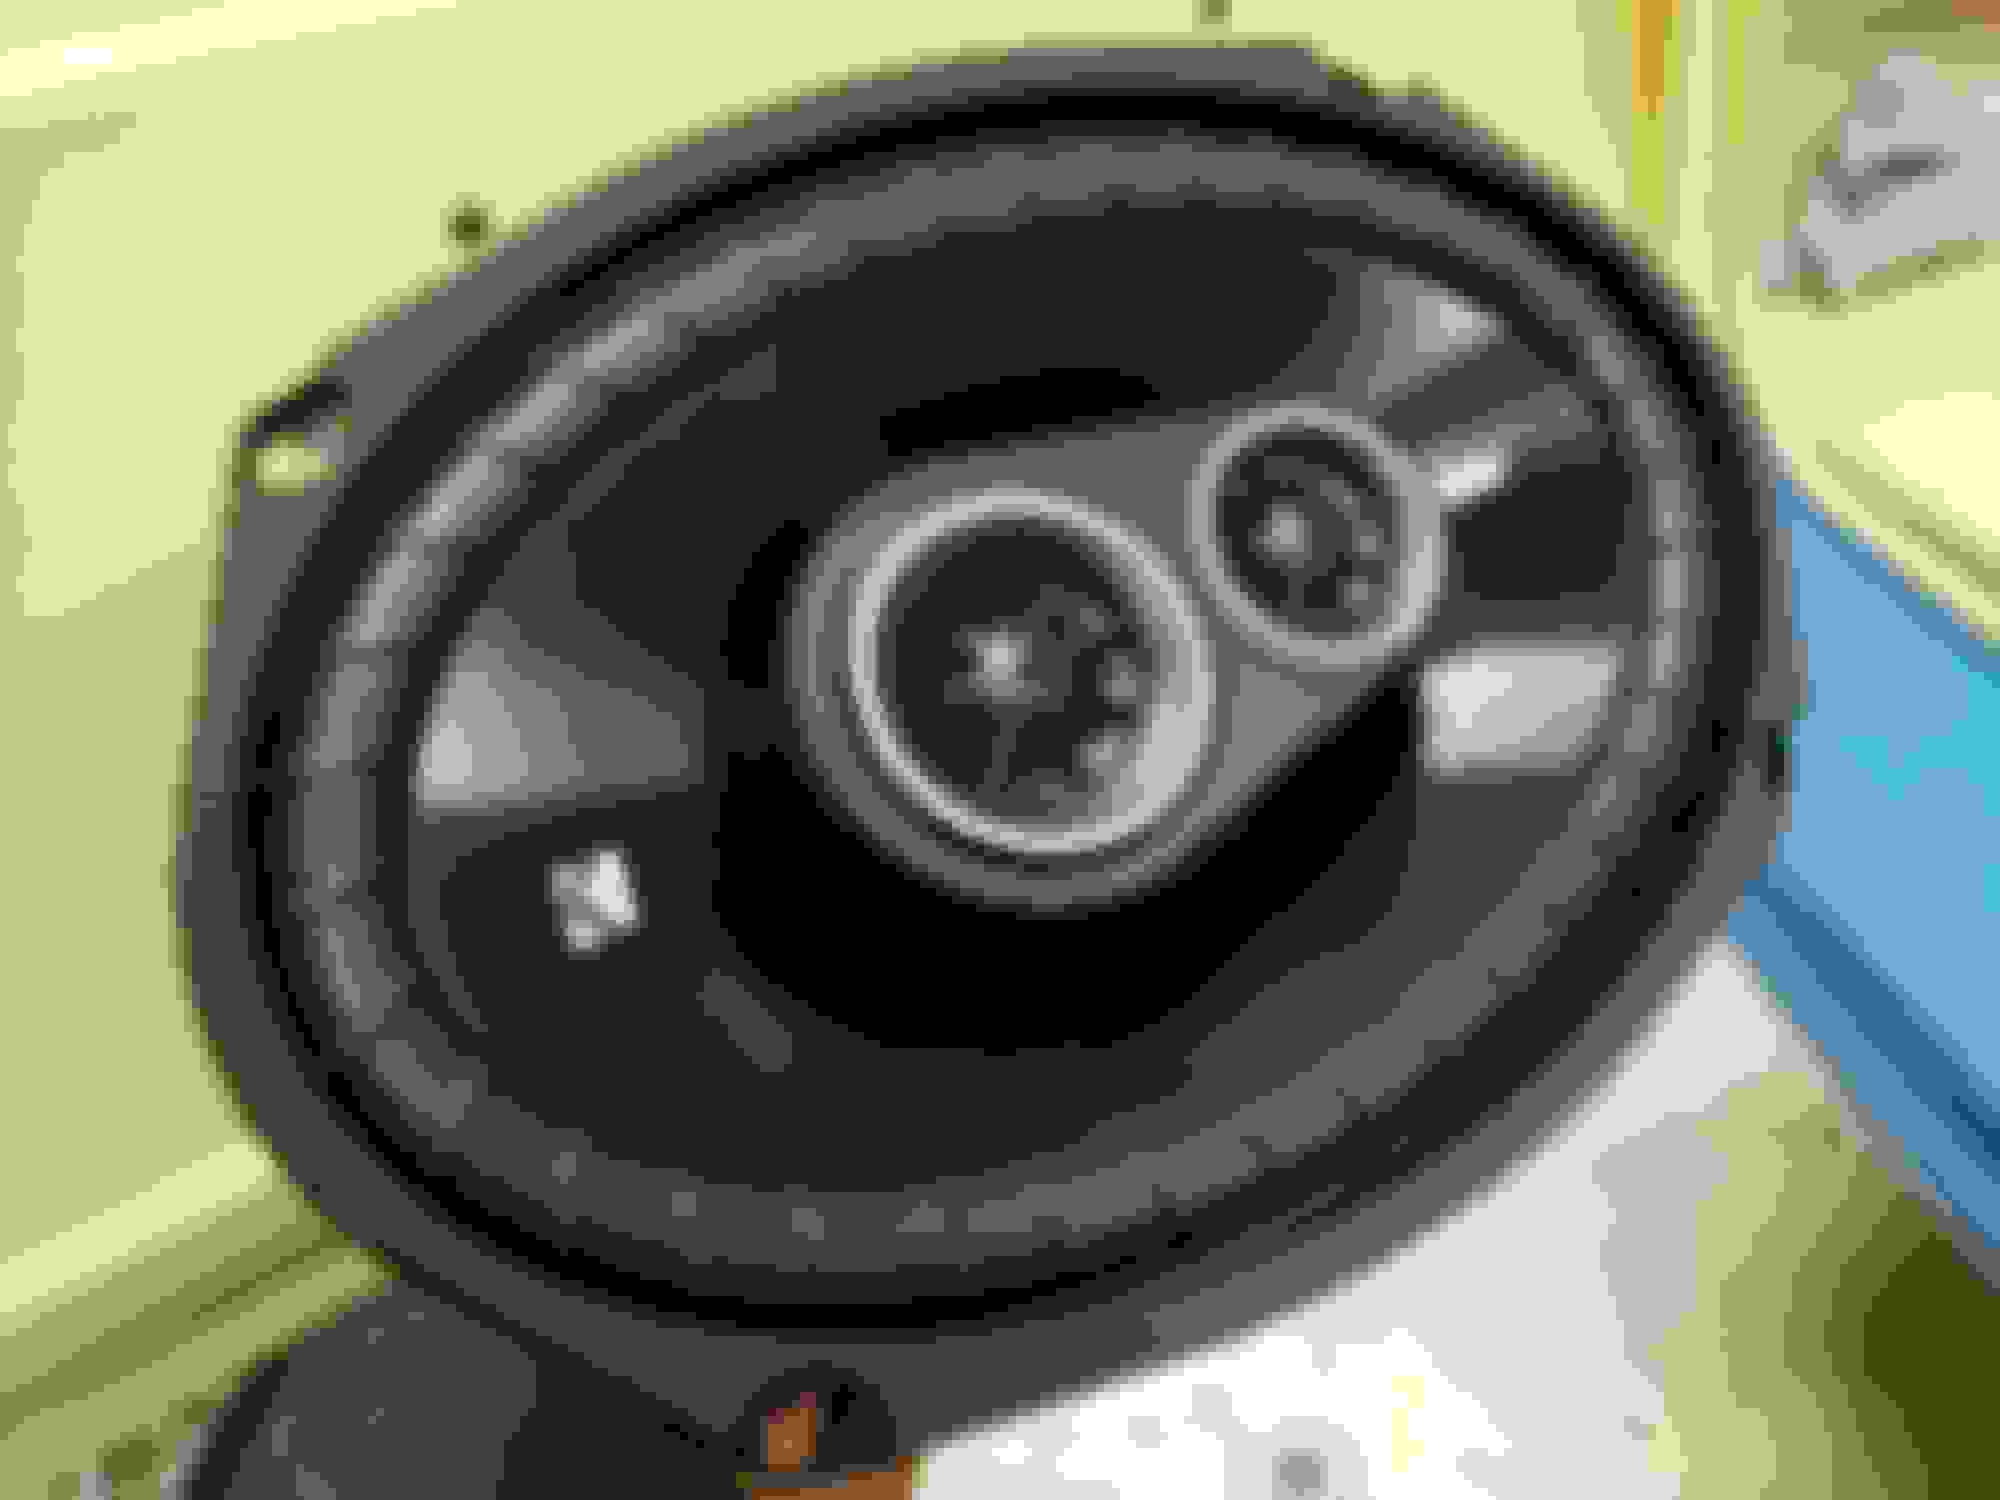
Putting these 3 way Kicker 6x9's in the doors.
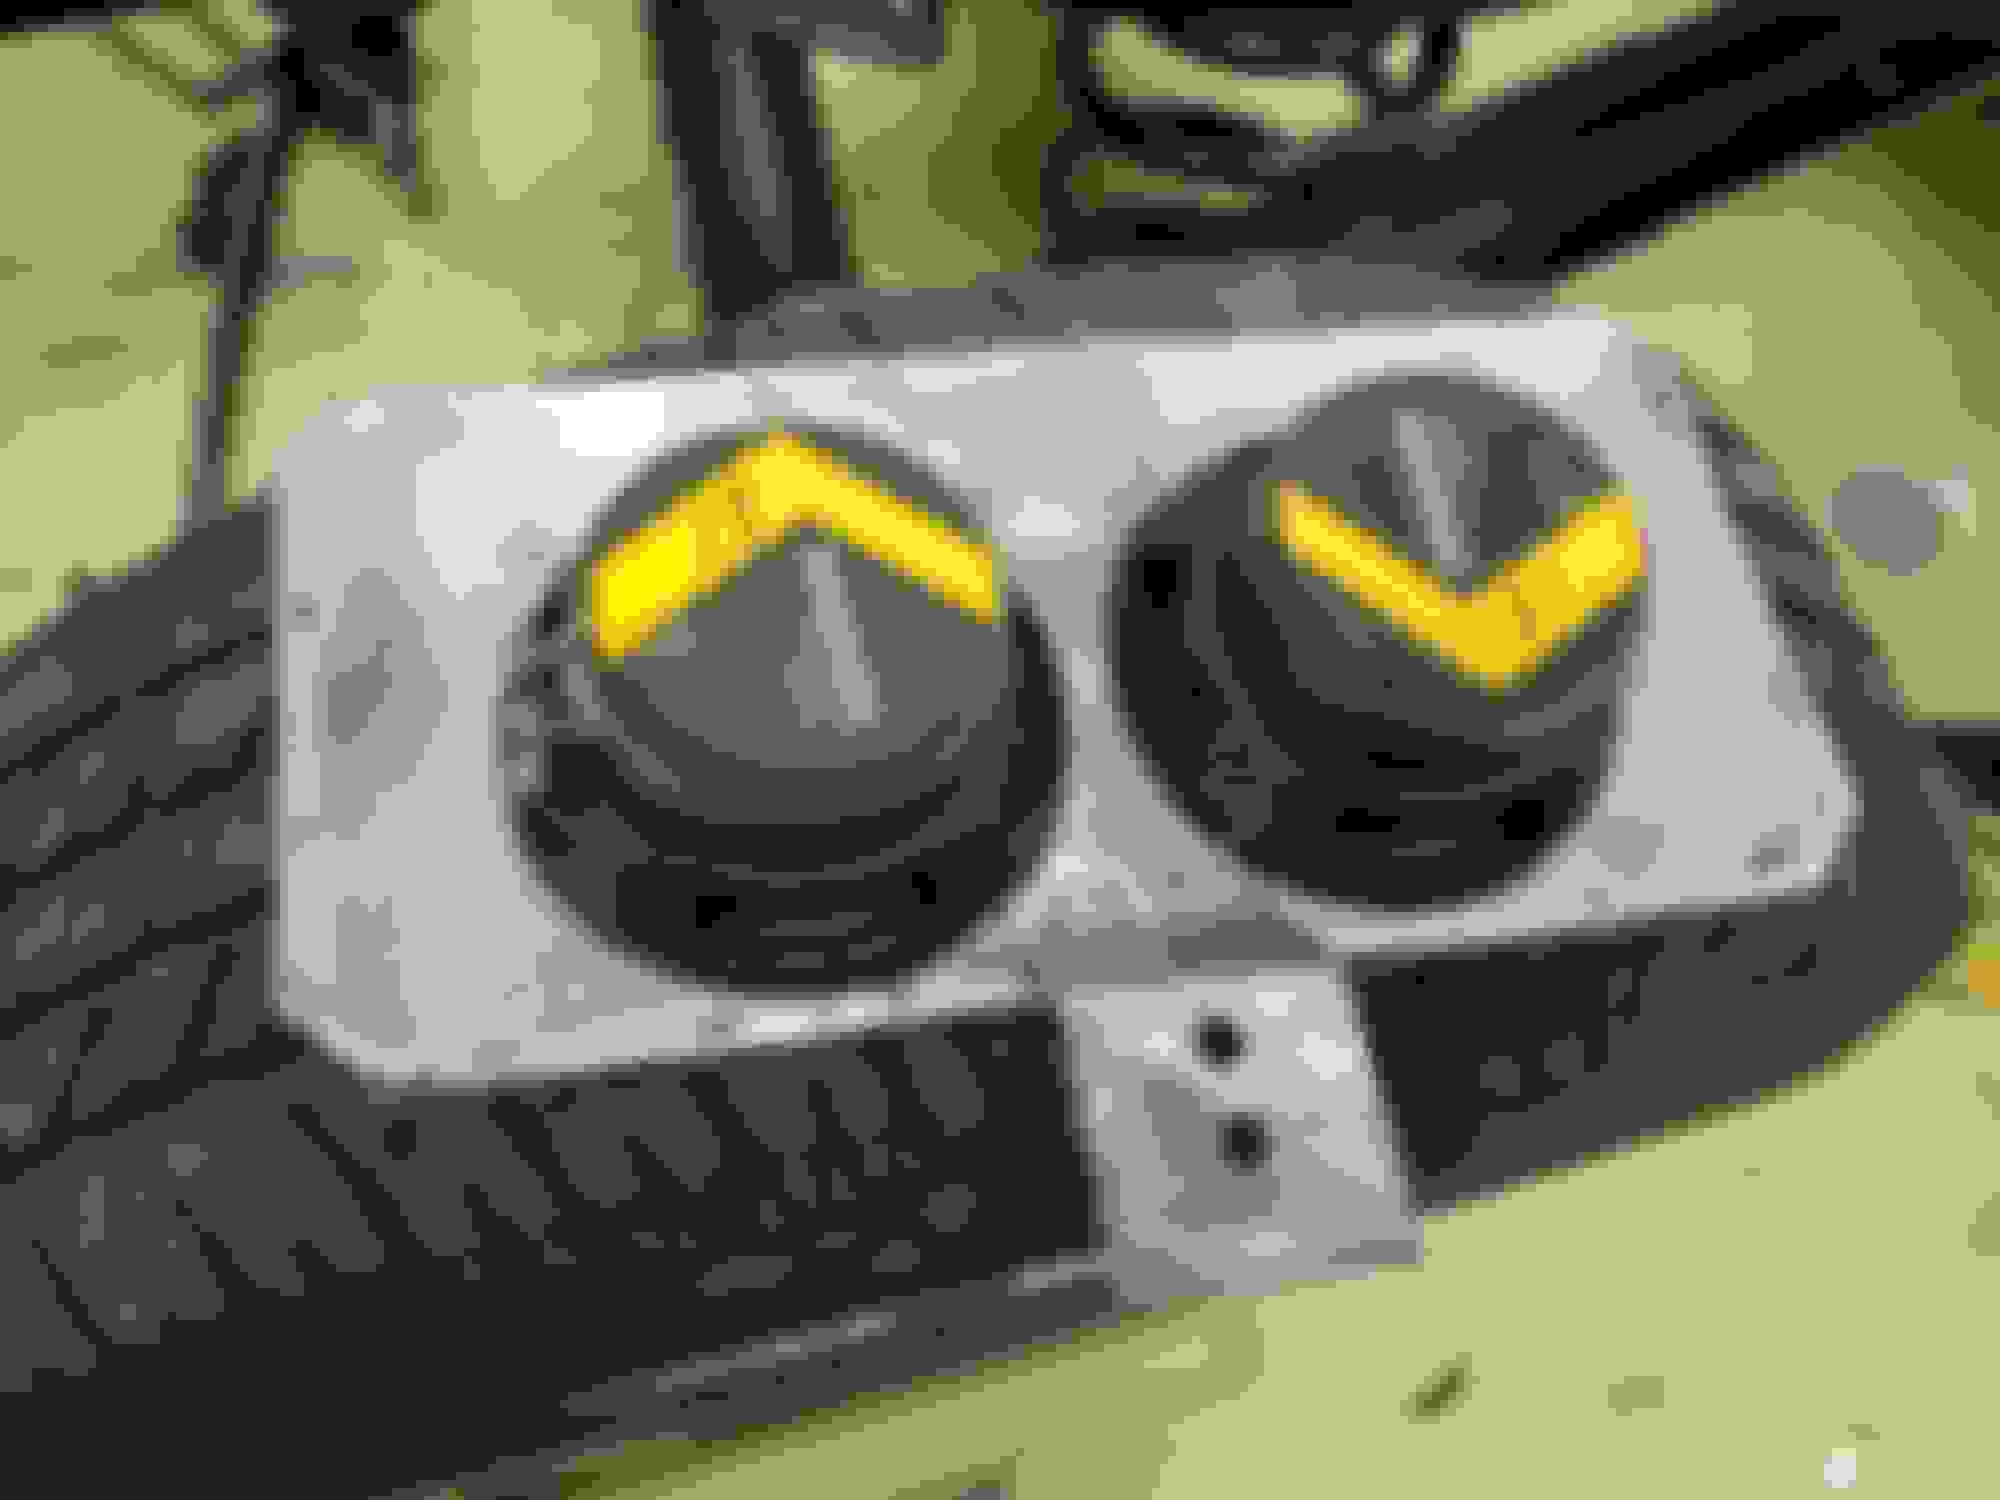
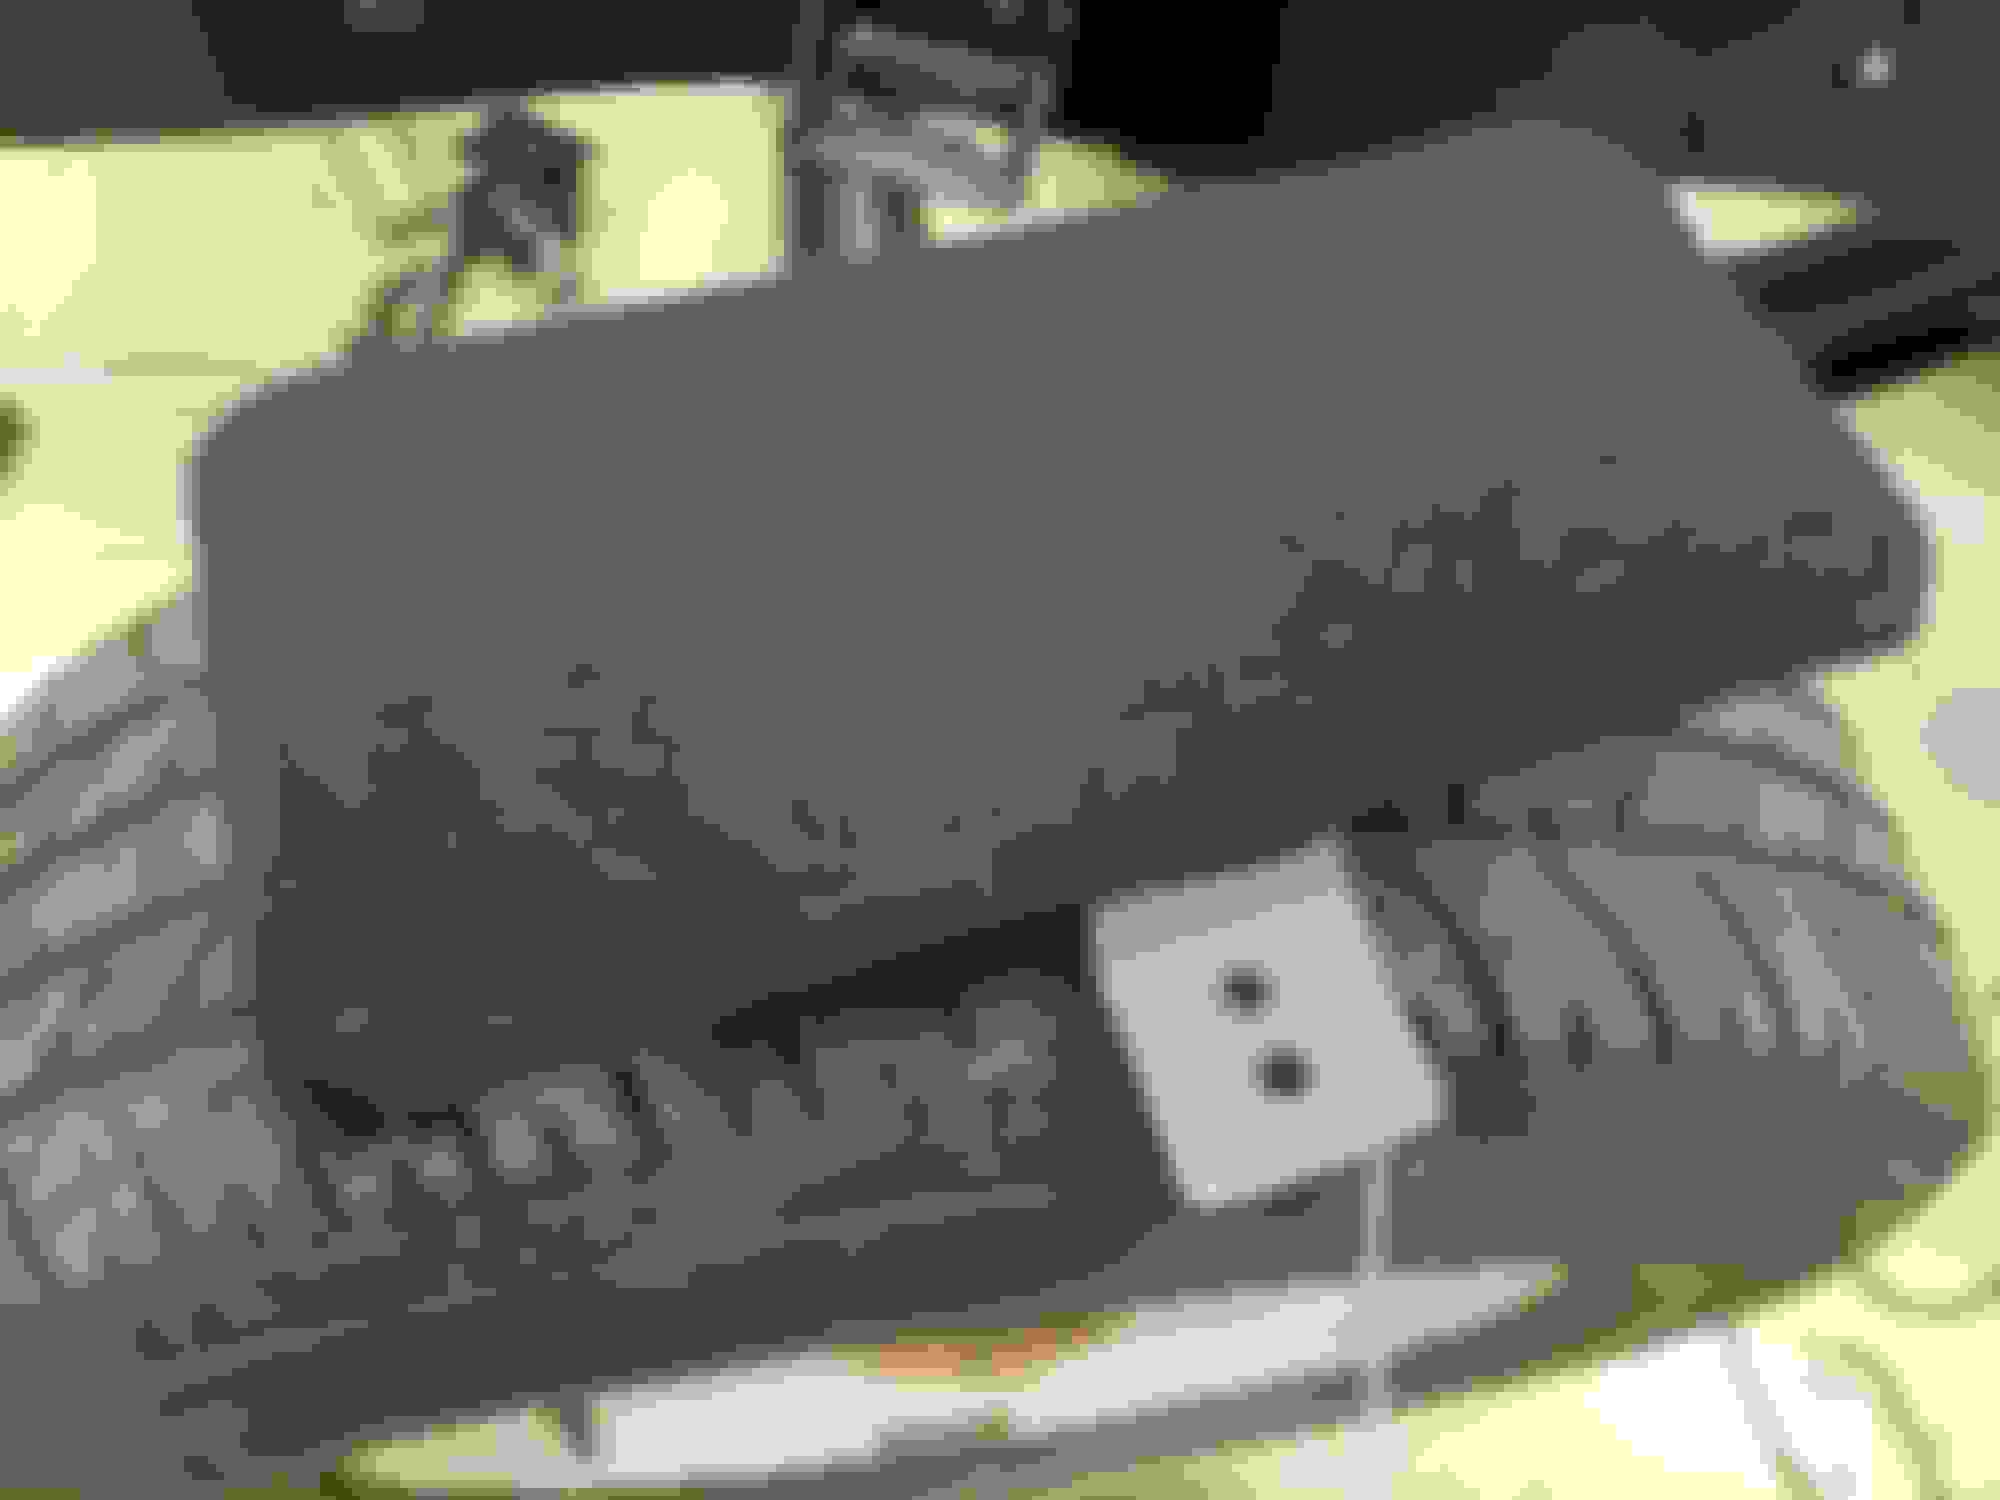
In the dash I'm putting in Kicker 4" speakers. Made a mount for them.
What they look like mounted in the dash
Used an old t shirt to cover them so it looks better in the dash.
Great Job!! One question ( one I'm dealing with now) what are you doing for a gas tank-fuel delivery? Looks like a good time to address this withe the bed still off, ETC. I'm thinking a Suburban rear tank with in tank pump. Your thoughts? Thanks, Bill
Great Job!! One question ( one I'm dealing with now) what are you doing for a gas tank-fuel delivery? Looks like a good time to address this withe the bed still off, ETC. I'm thinking a Suburban rear tank with in tank pump. Your thoughts? Thanks, Bill
You can do it that way, I actually prefer in tank pumps, but what I dont like are fuel fillers in the side of the bed. On my orange truck I did a taillight fuel filler, which although it was cool looking, didnt work too well in the real world. It was very slow to fill due to the long straight pipe that went to the tank, there wasn't a way to get enough 'fall' to it. I am doing this truck the same way I did my rusty green truck, with a sumped original tank, with a line gravity feeding an inline Walbro pump. That truck has 40k miles on it now and has worked flawlessly even down to near empty. It's not a mod for everyone though since it is kind of involved.
Getting the inside wiring installed. Also got the A/C controls hooked up and the vent hoses ran in the dash.
Cleaned up and painted the modified gas pedal
Putting the side trim on.
The trim really makes the truck in my opinion.
Gas Monkey Built a 6-Wheel Ferrari Testarossa With a Corvette LT4 Engine
Slideshow: The controversial Ferrari F6 swaps its original flat-12 for a Corvette Z06-derived LT4 V8 and sends power to four rear wheels through a custom-built drivetrain.
7 Most Reliable High-Performance Engines GM Has Ever Built
Slideshow:These GM engines didn't just make huge power, they survived abuse, boost, track days, and six-digit mileage with a reputation for refusing to quit.
6 Common C5 Corvette Failures and What's Involved In Repairing Them
Slideshow: From wobbling harmonic balancers to failed EBCMs, these are the issues that define long-term C5 ownership and what repairs typically involve.
Retro Modern Bandit Pontiac Trans AM Comes With Burt Reynolds' Autograph
Slideshow: A modern Camaro transformed into a retro icon, this limited-run "Bandit" build blends nostalgia with brute force in a way few revivals manage.
Top 10 Greatest Cadillac V Series Performance Models Ever, Ranked
Slideshow: Cadillac didn't just crash the high-performance luxury vehicle party, it showed up loud, supercharged, and occasionally a little unhinged...
Coachbuilt N2A Anteros Is an LS2-Powered C6 Corvette In Italian Clothes
Slideshow: A one-off sports car that looks like a vintage Italian exotic-but hides a C6 Corvette underneath-just sold for the price of a new mid-engine Corvette.


 You'll notice the writing on the cardboard becomes more and more obliterated as time goes on, you cant see any of it now....Haha!
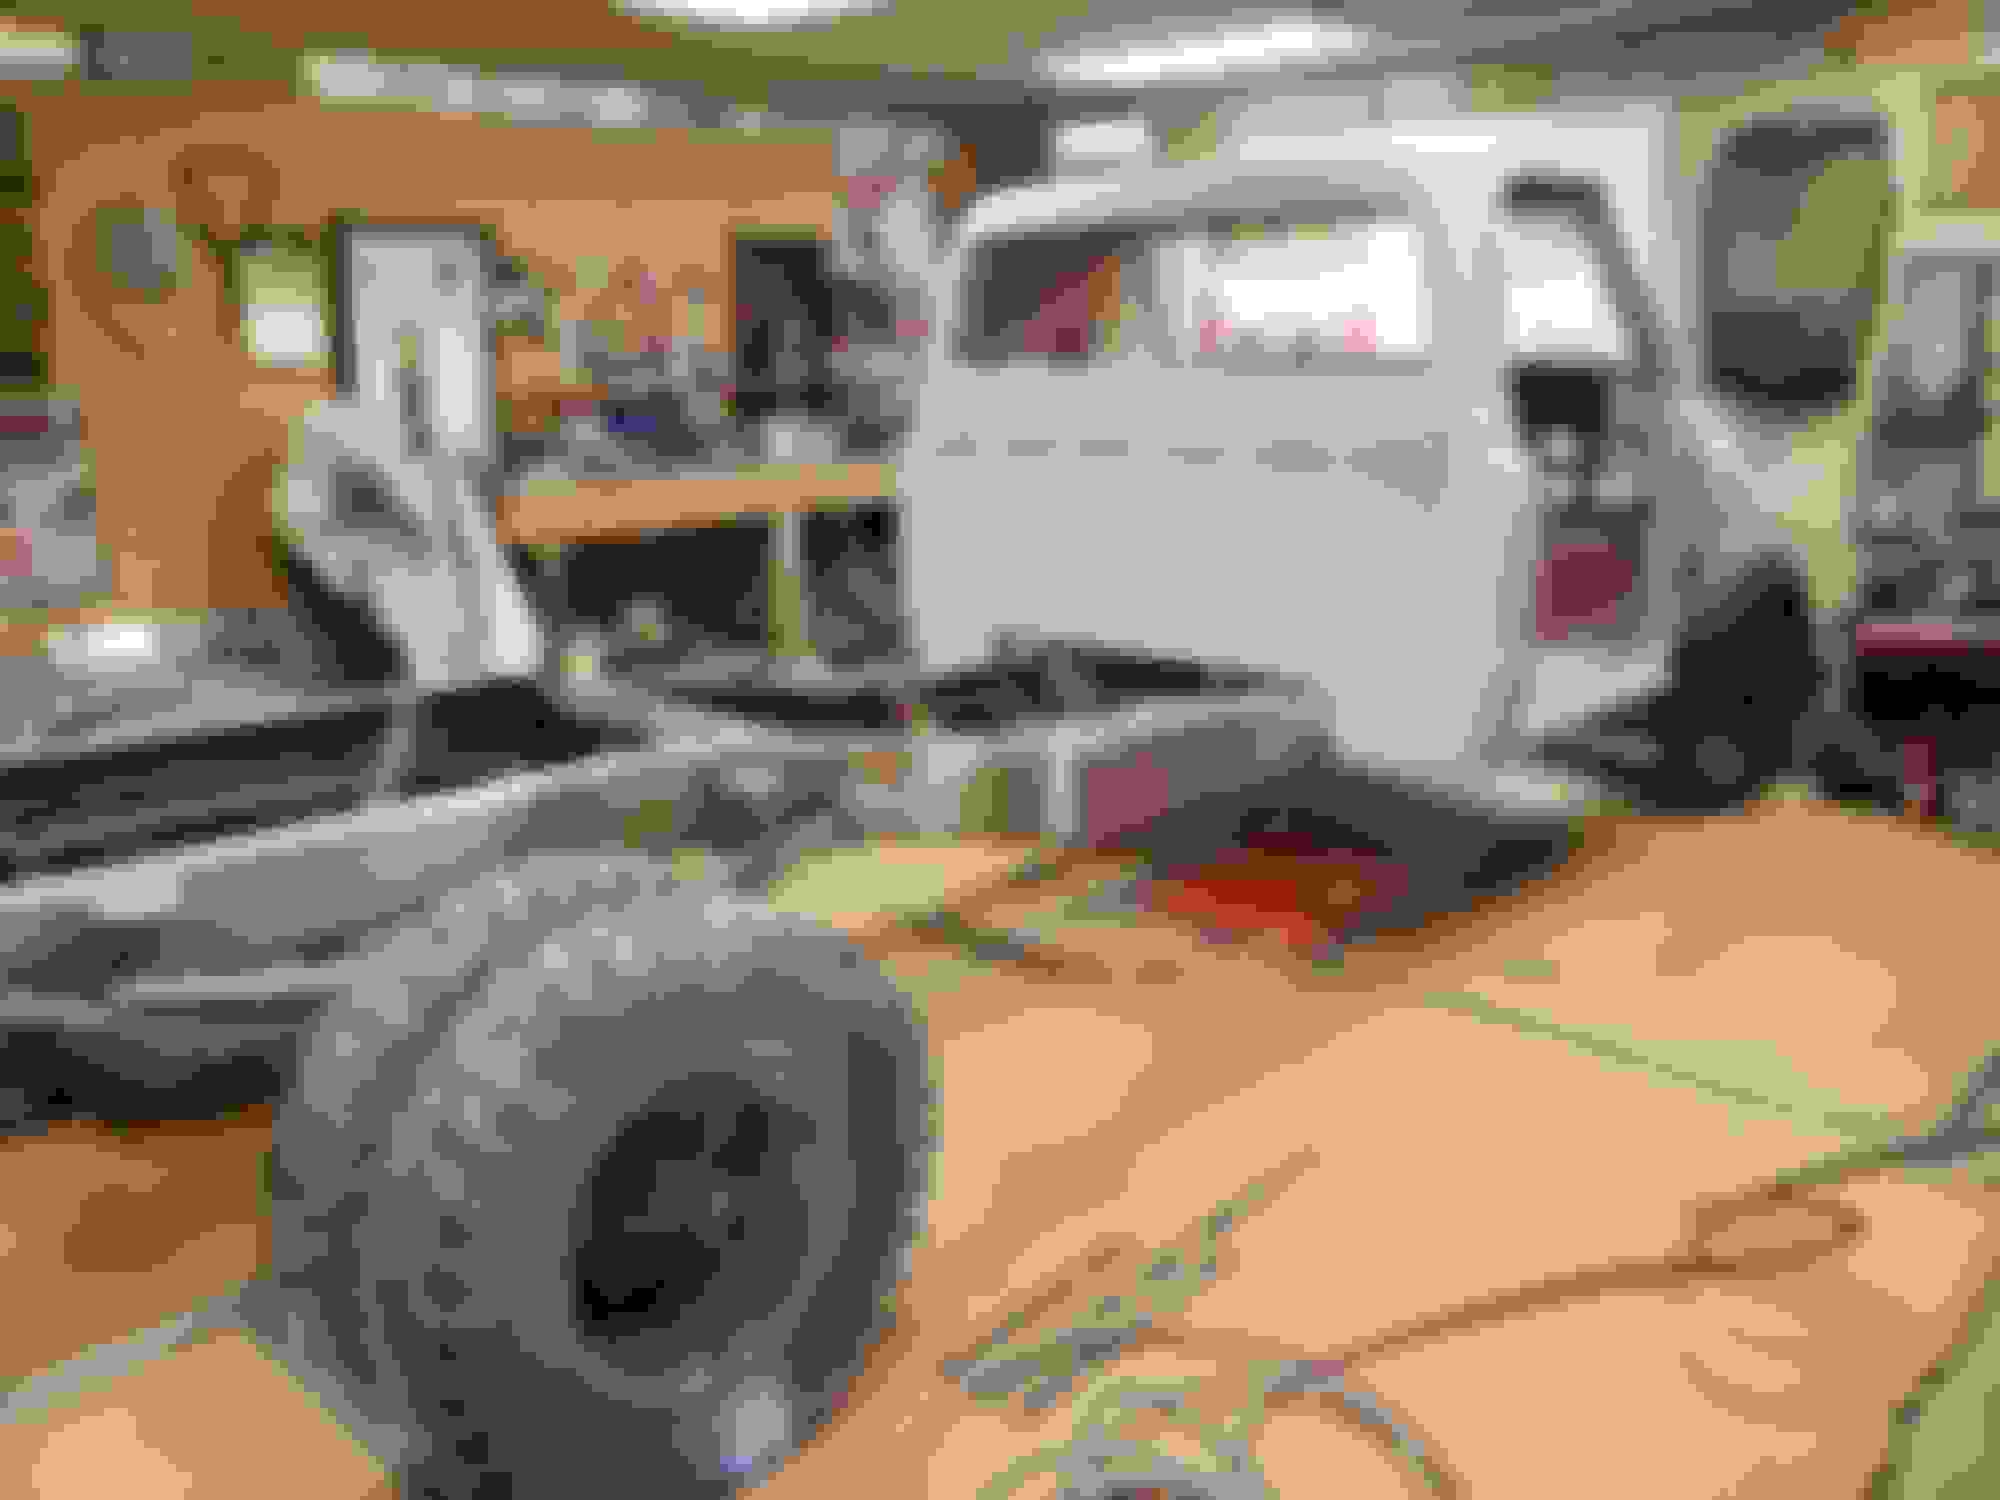


 Ran some speaker wire through some heat shrink and a couple rubber grommets.