When you click on links to various merchants on this site and make a purchase, this can result in this site earning a commission. Affiliate programs and affiliations include, but are not limited to, the eBay Partner Network.
This is my latest '72 truck build, because apparently there is no limit to how many of these things I need to build! LOL! I actually started it back in April of last year with the intention of having it done in 6 months. Well, I made good time at first, but as my deadline drew closer, I knew I wasn't going to make my deadline so I slowed it way down to put some of the fun back into the build. I kind of felt I wasted my whole summer trying to pull off a somewhat unrealistic deadline. So, anyway, this is it, I'll try and add the dates the pics were taken to give you all an idea of how it was going at first.
this is what I started with, a clean '72 short bed frame I bought like 7 or 8 years ago. If you look in some of my other threads, you will probably see it in the driveway!
Last edited by ls1nova71; Jan 21, 2019 at 08:35 PM.
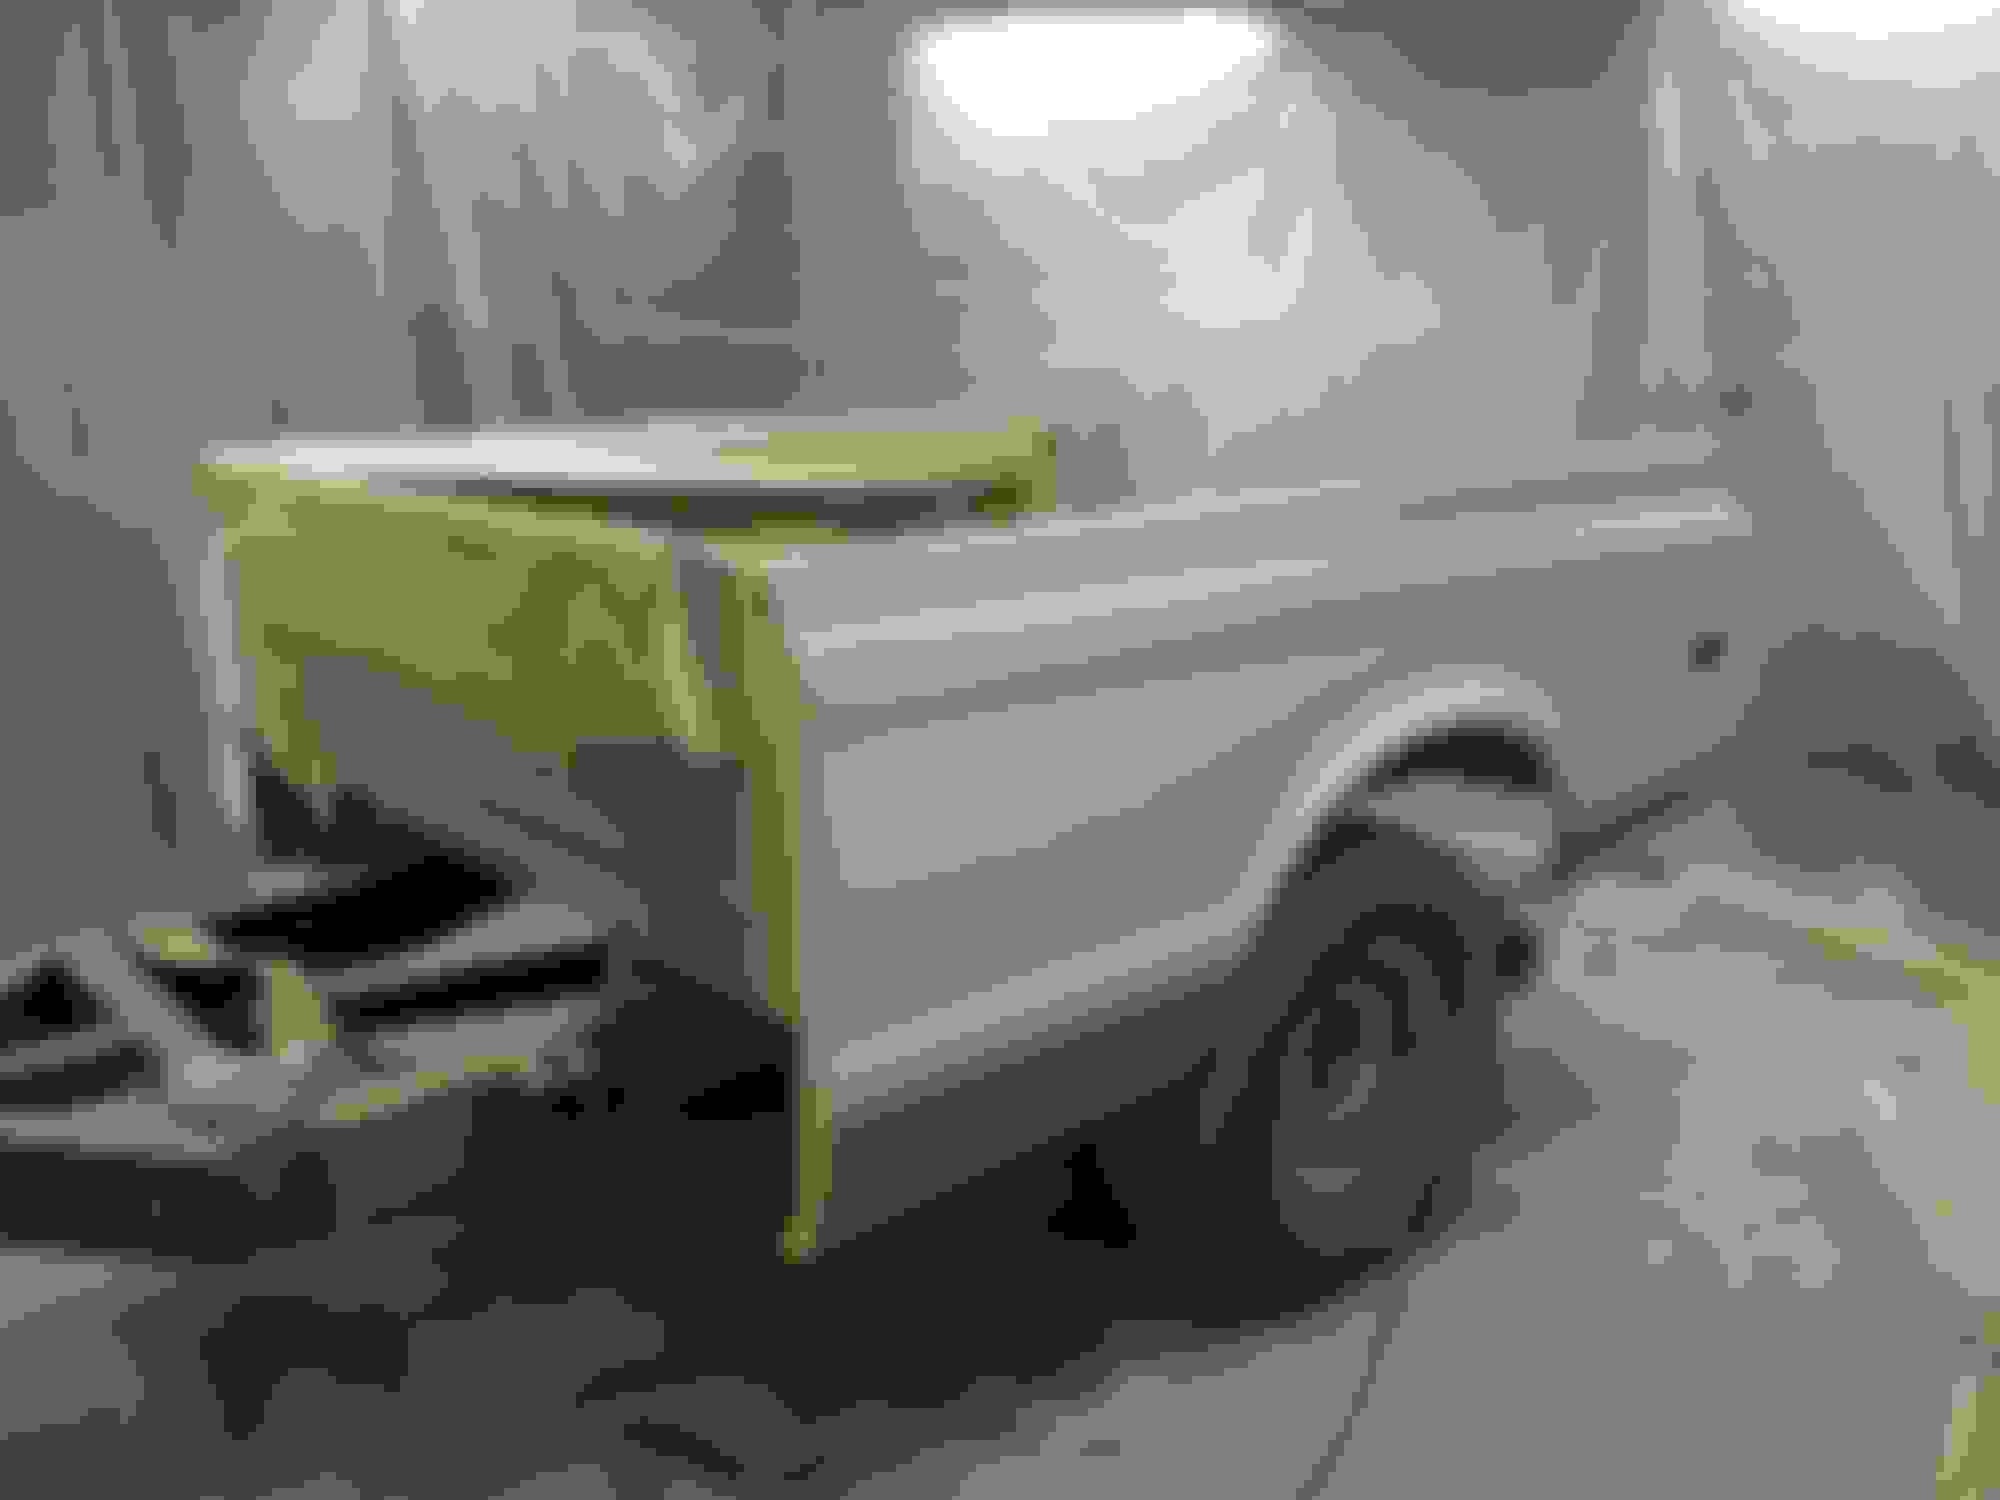
I started with the bed just to have it out of the way because the bed is usually the worst part. I had a really nice set of original wheel tubs and front bed panel.
I bought a new floor, bedsides and tailgate. Mocking them up here.
Some bodywork on the bed. Aftermarket bedsides dont usually match up with the tailgate, so you have to fix them.
Then more bodywork because those spotwelds were hideous....
Measuring for the side trim.
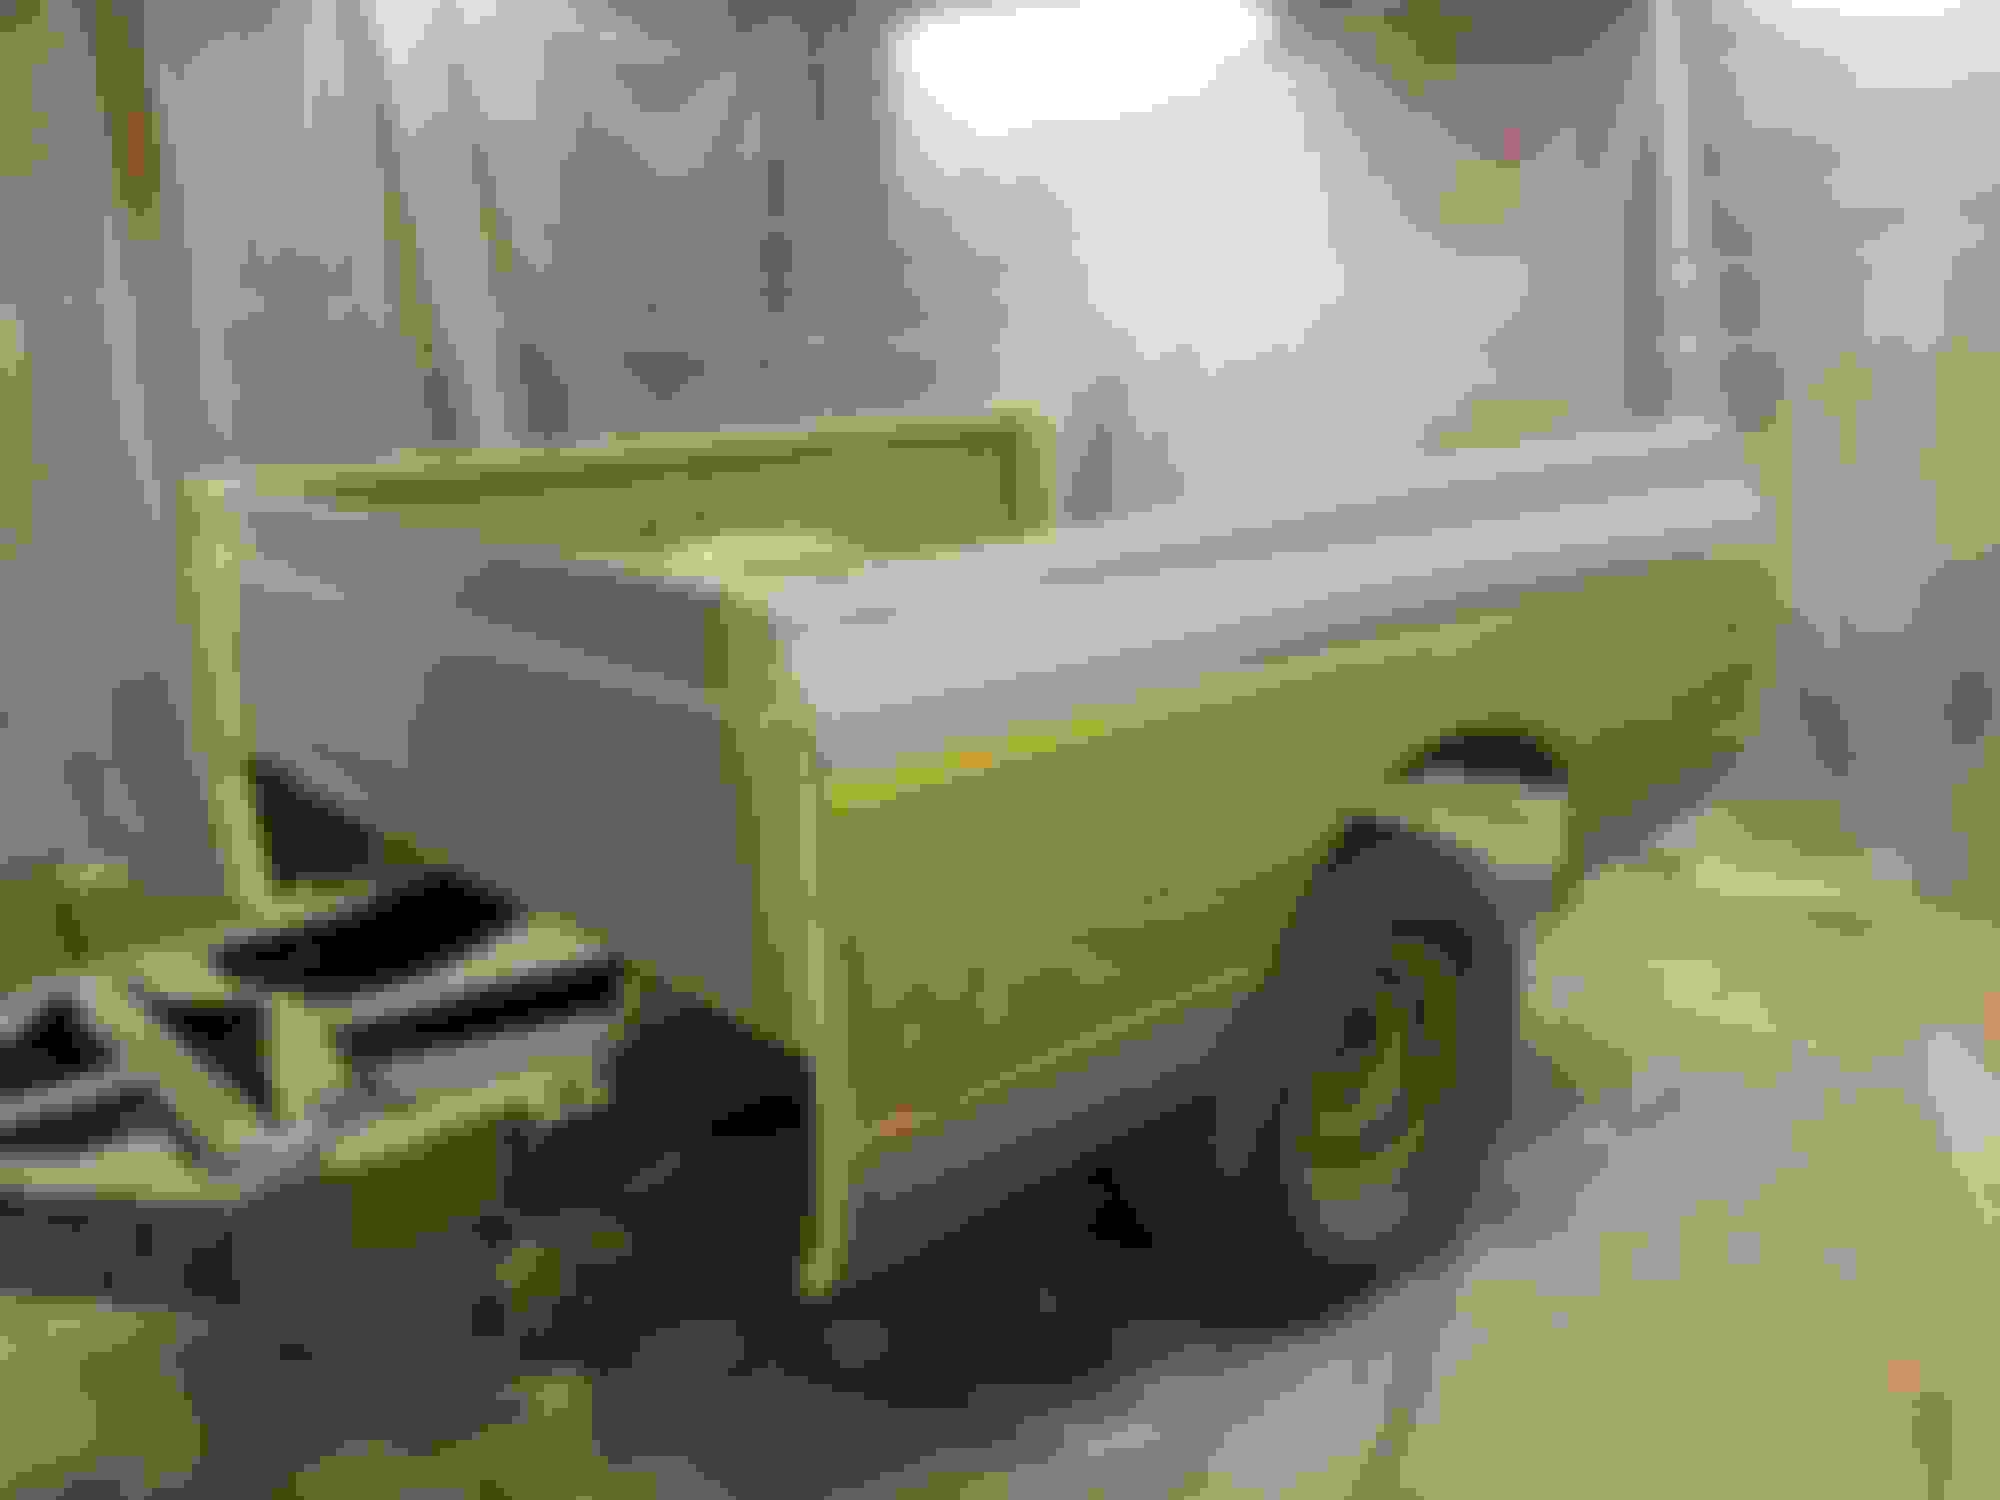
In primer getting ready for some color.
And then the first of the color coats. The color is a factory color called Light Yellow, which is kind of a love it or hate it color, but I like it. It's what Bob Falfa would call a cross between **** yellow and puke green!
Last edited by ls1nova71; Jan 21, 2019 at 09:51 PM.
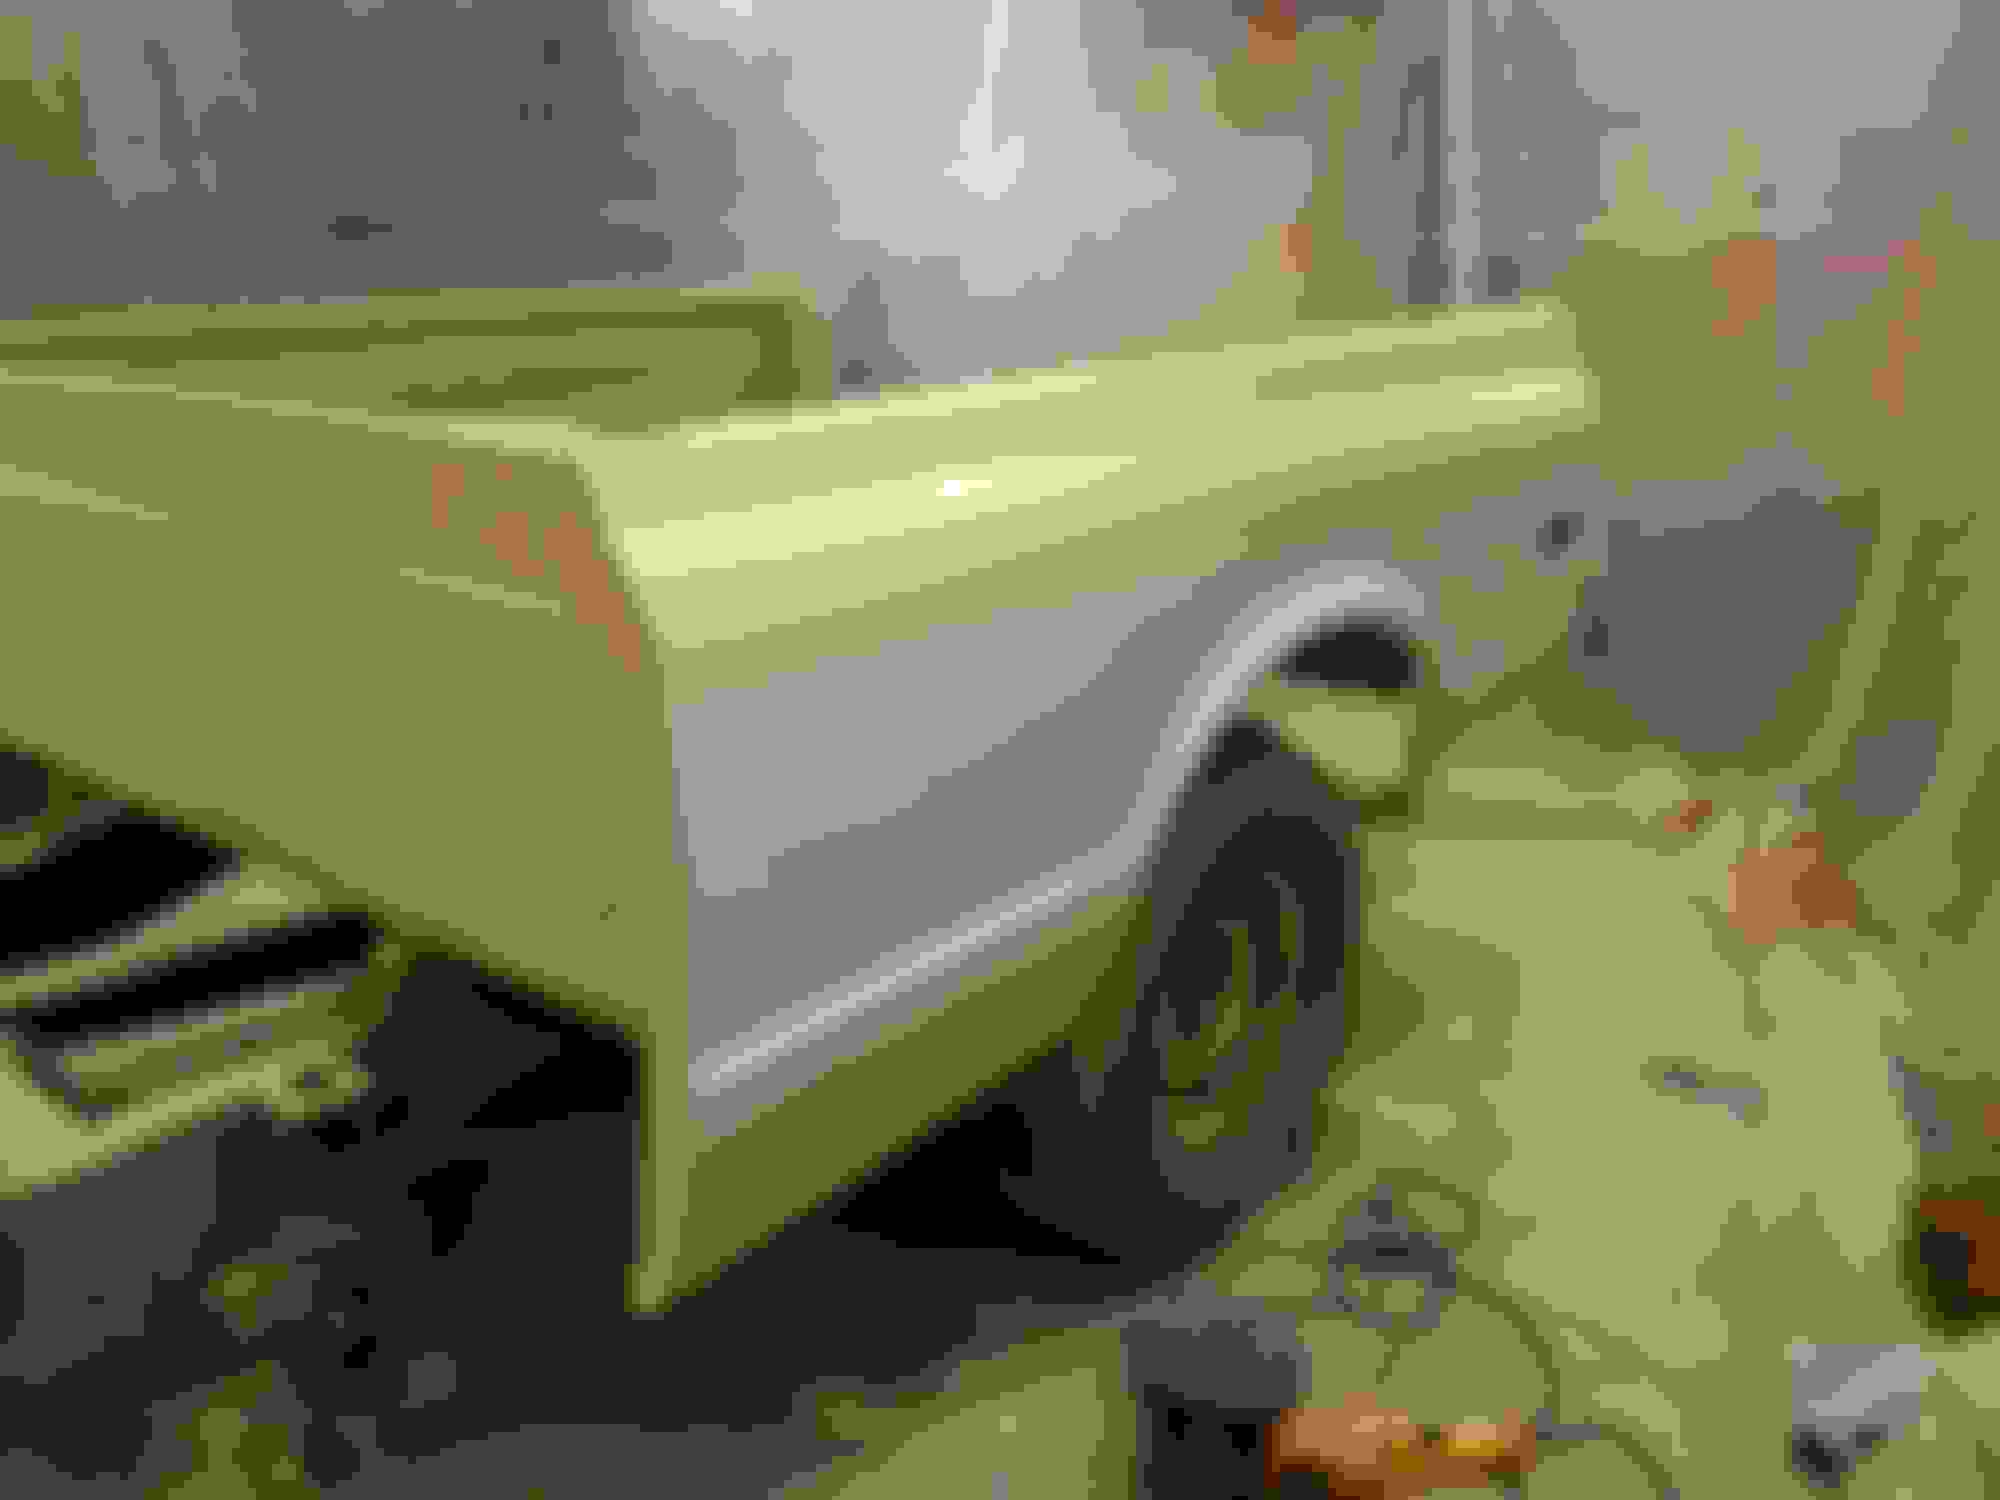
Putting the trim on.
Then on to the tailgate. Painted the Chevrolet letters first.
Then got some stickers for the letters to use as a masking for them.
Then the white, and pulled the masking letters off.
Yeah, well I had a few hours yesterday that I couldn't work in the garage because I had painted a bunch of small parts and they were drying, so I figured I would go ahead and make one. But this is as far as I got in that few hours, loading the pics is really slow for some reason?
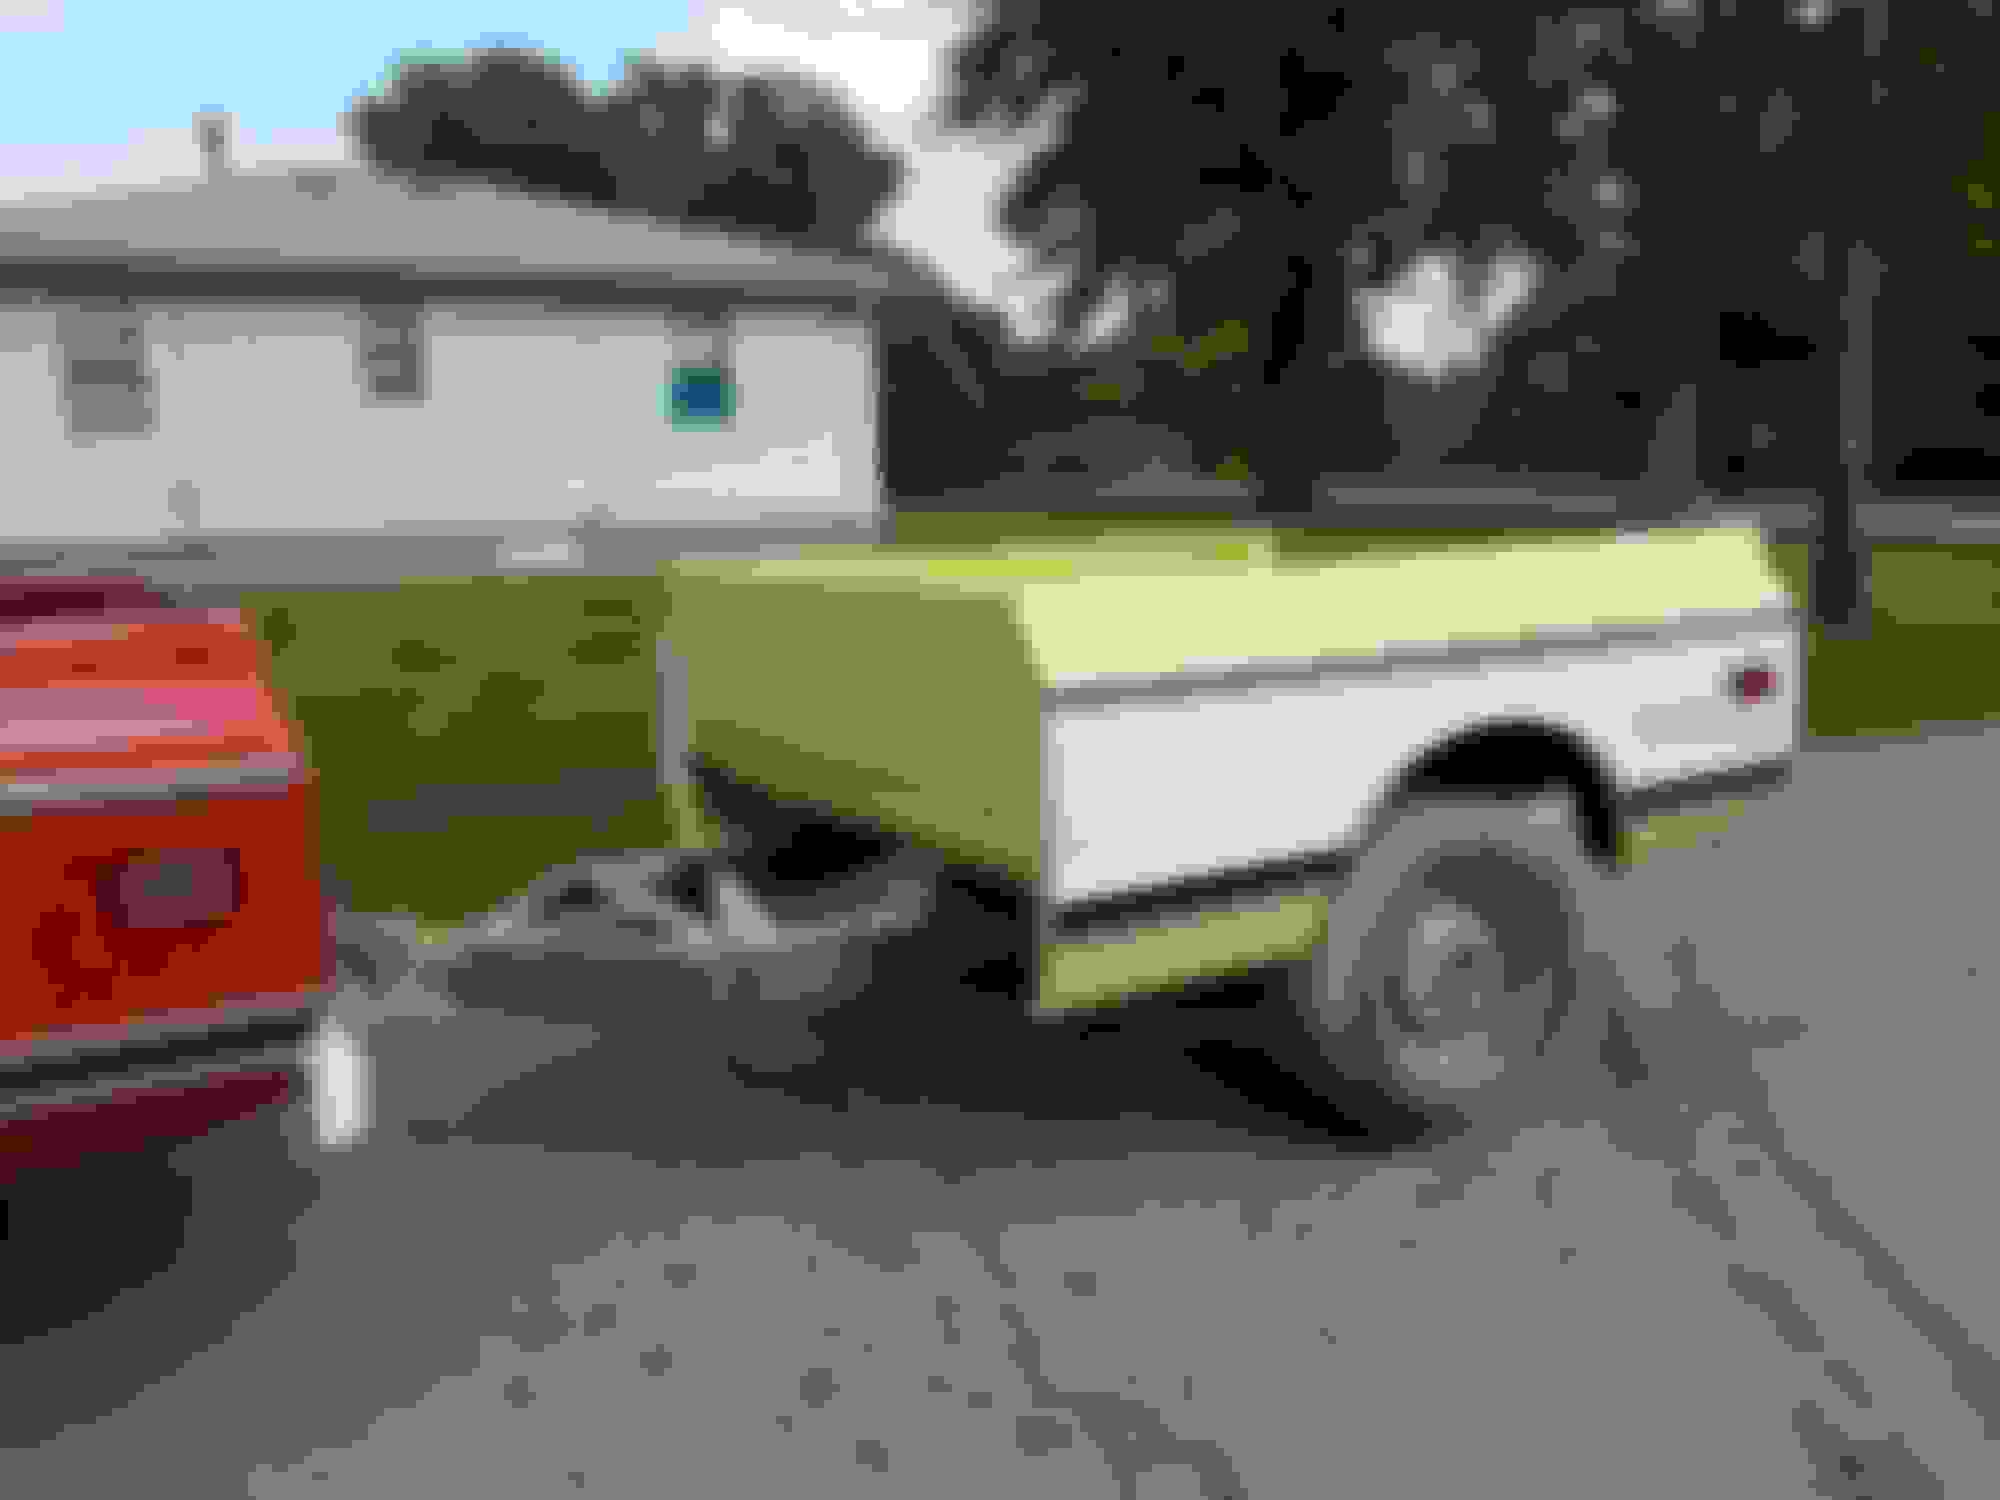
I started the bed on April 19, and this pic was taken on May 19, hauling the bed to storage to free up the garage space.
Polishing out the tailgate.
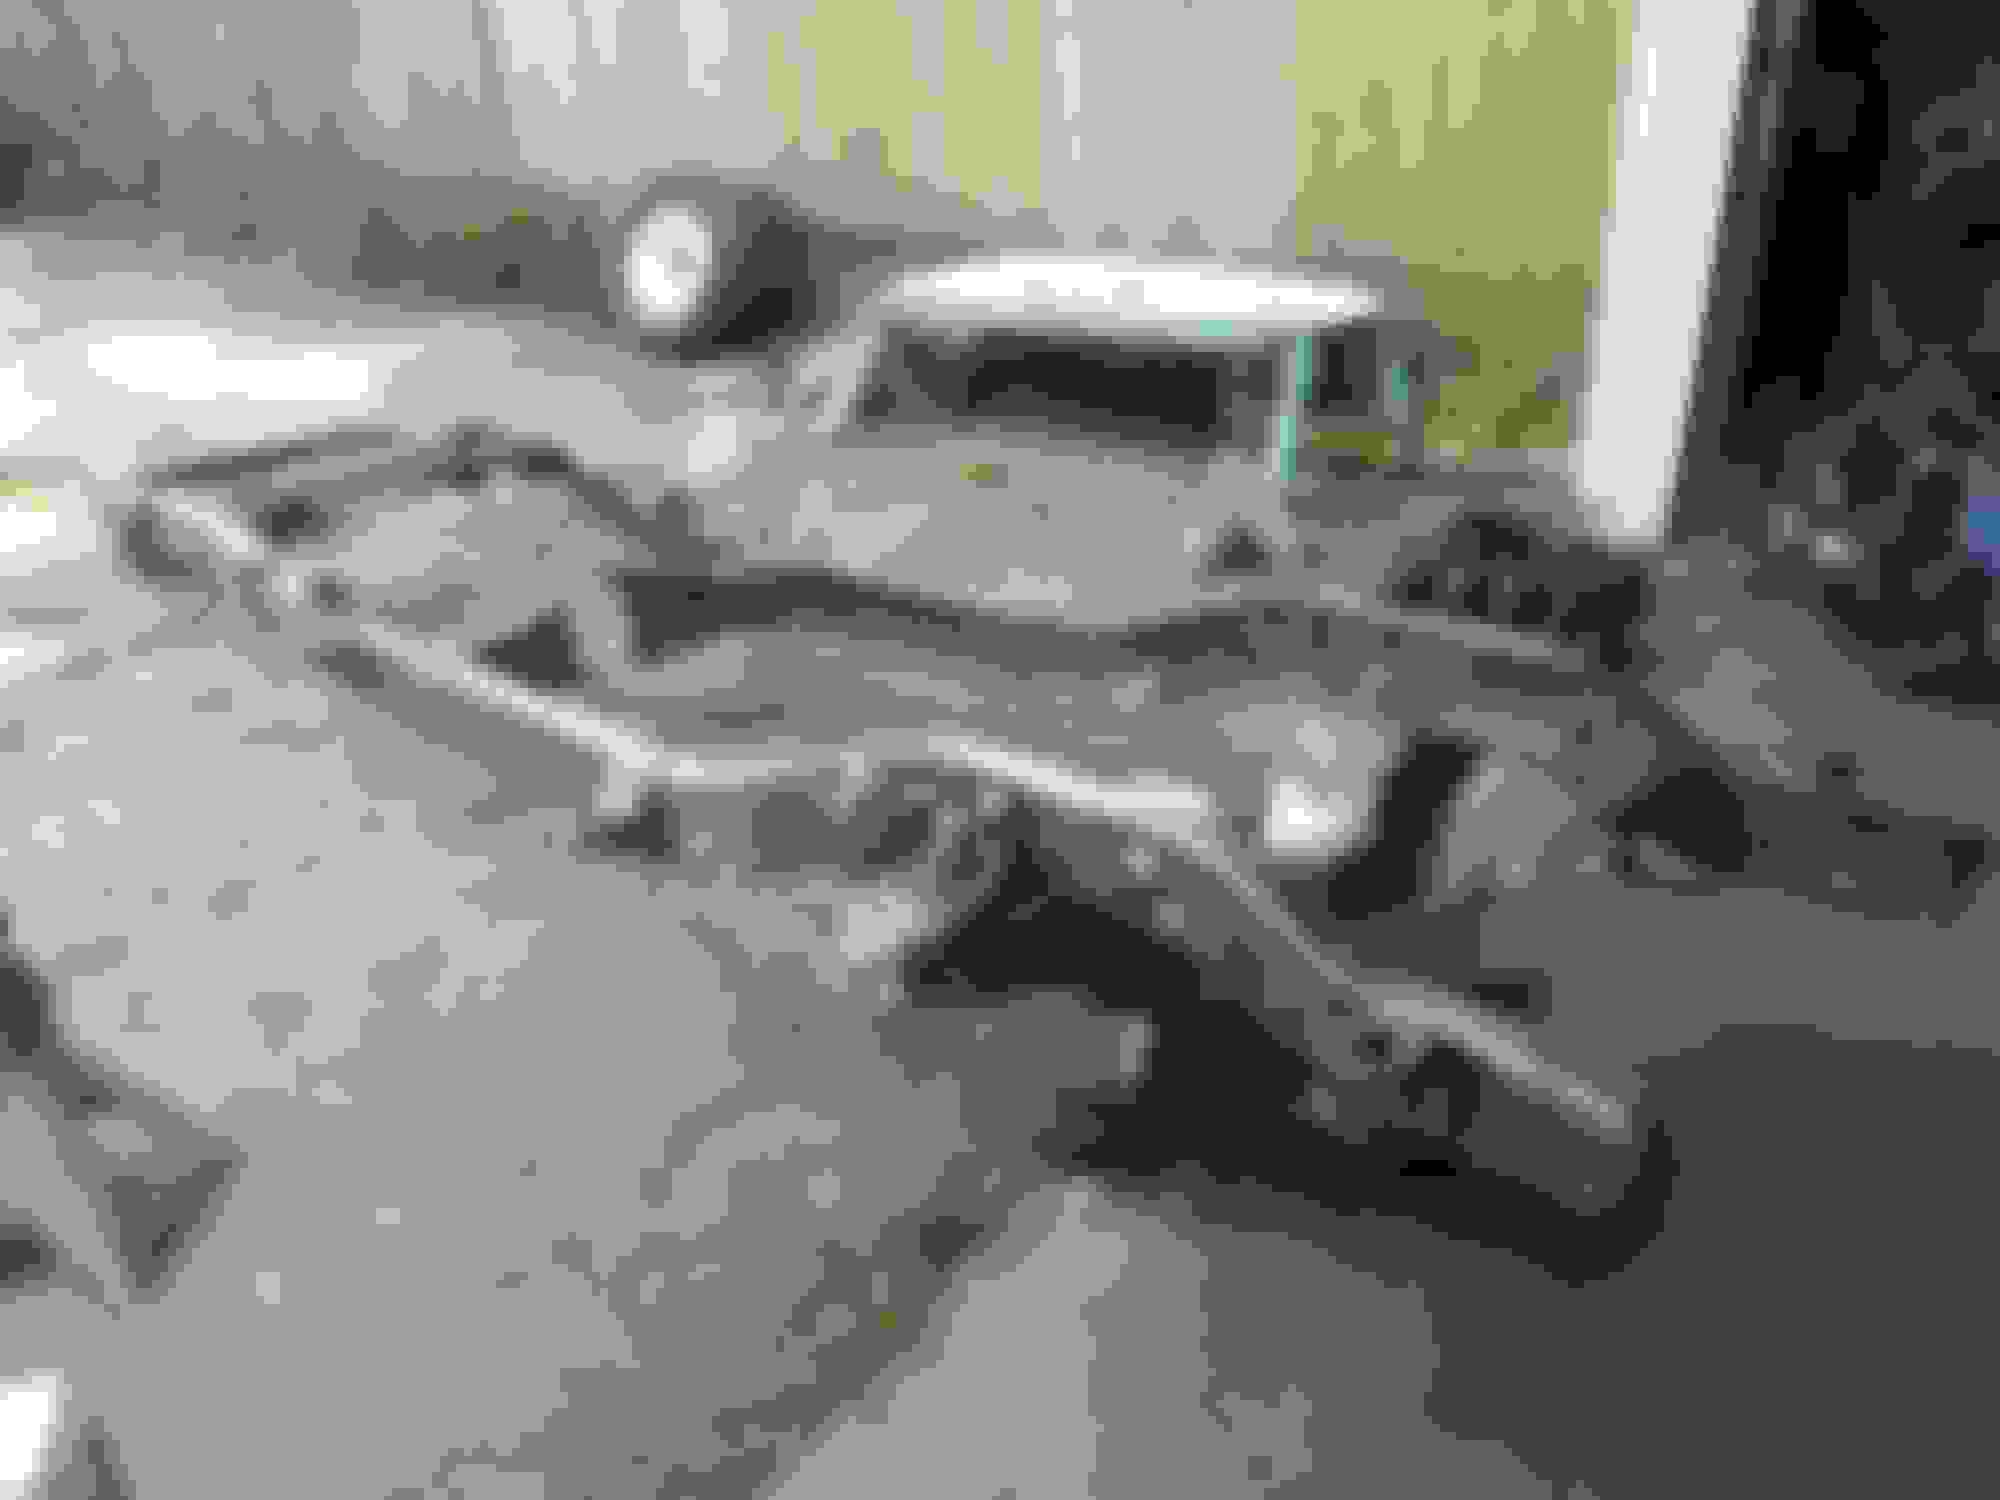
You can see the frame in the reflection. LOL
Yeah, that frame..... Its a pretty nice rust free frame, but you can tell its had a somewhat hard life, but I'll be fixing all that.
This is what I mean.... i dont think this is where the park brake cable is supposed to be bolted to....
And those front shock mounts.... Some real redneckary going on here. That is a word, right?
Sweet weld!
In all honesty they probably weren't going anywhere, but cant leave that.
Started with a good pressure washing.
Then disassembly time! But not without some more redneck shenanigans!
Getting ready to clean the frame. It's at this point I should have just had it sand blasted, but I guess I'm not that smart....
Last edited by ls1nova71; Jan 23, 2019 at 02:45 AM.
Got the old mock up LS1 out...
Mated it up with the trans to be able to drill the new holes in the frame for the motor mounts and the transmission crossmember.
Then yanked it back out and cleaned up the frame in preparation for paint.
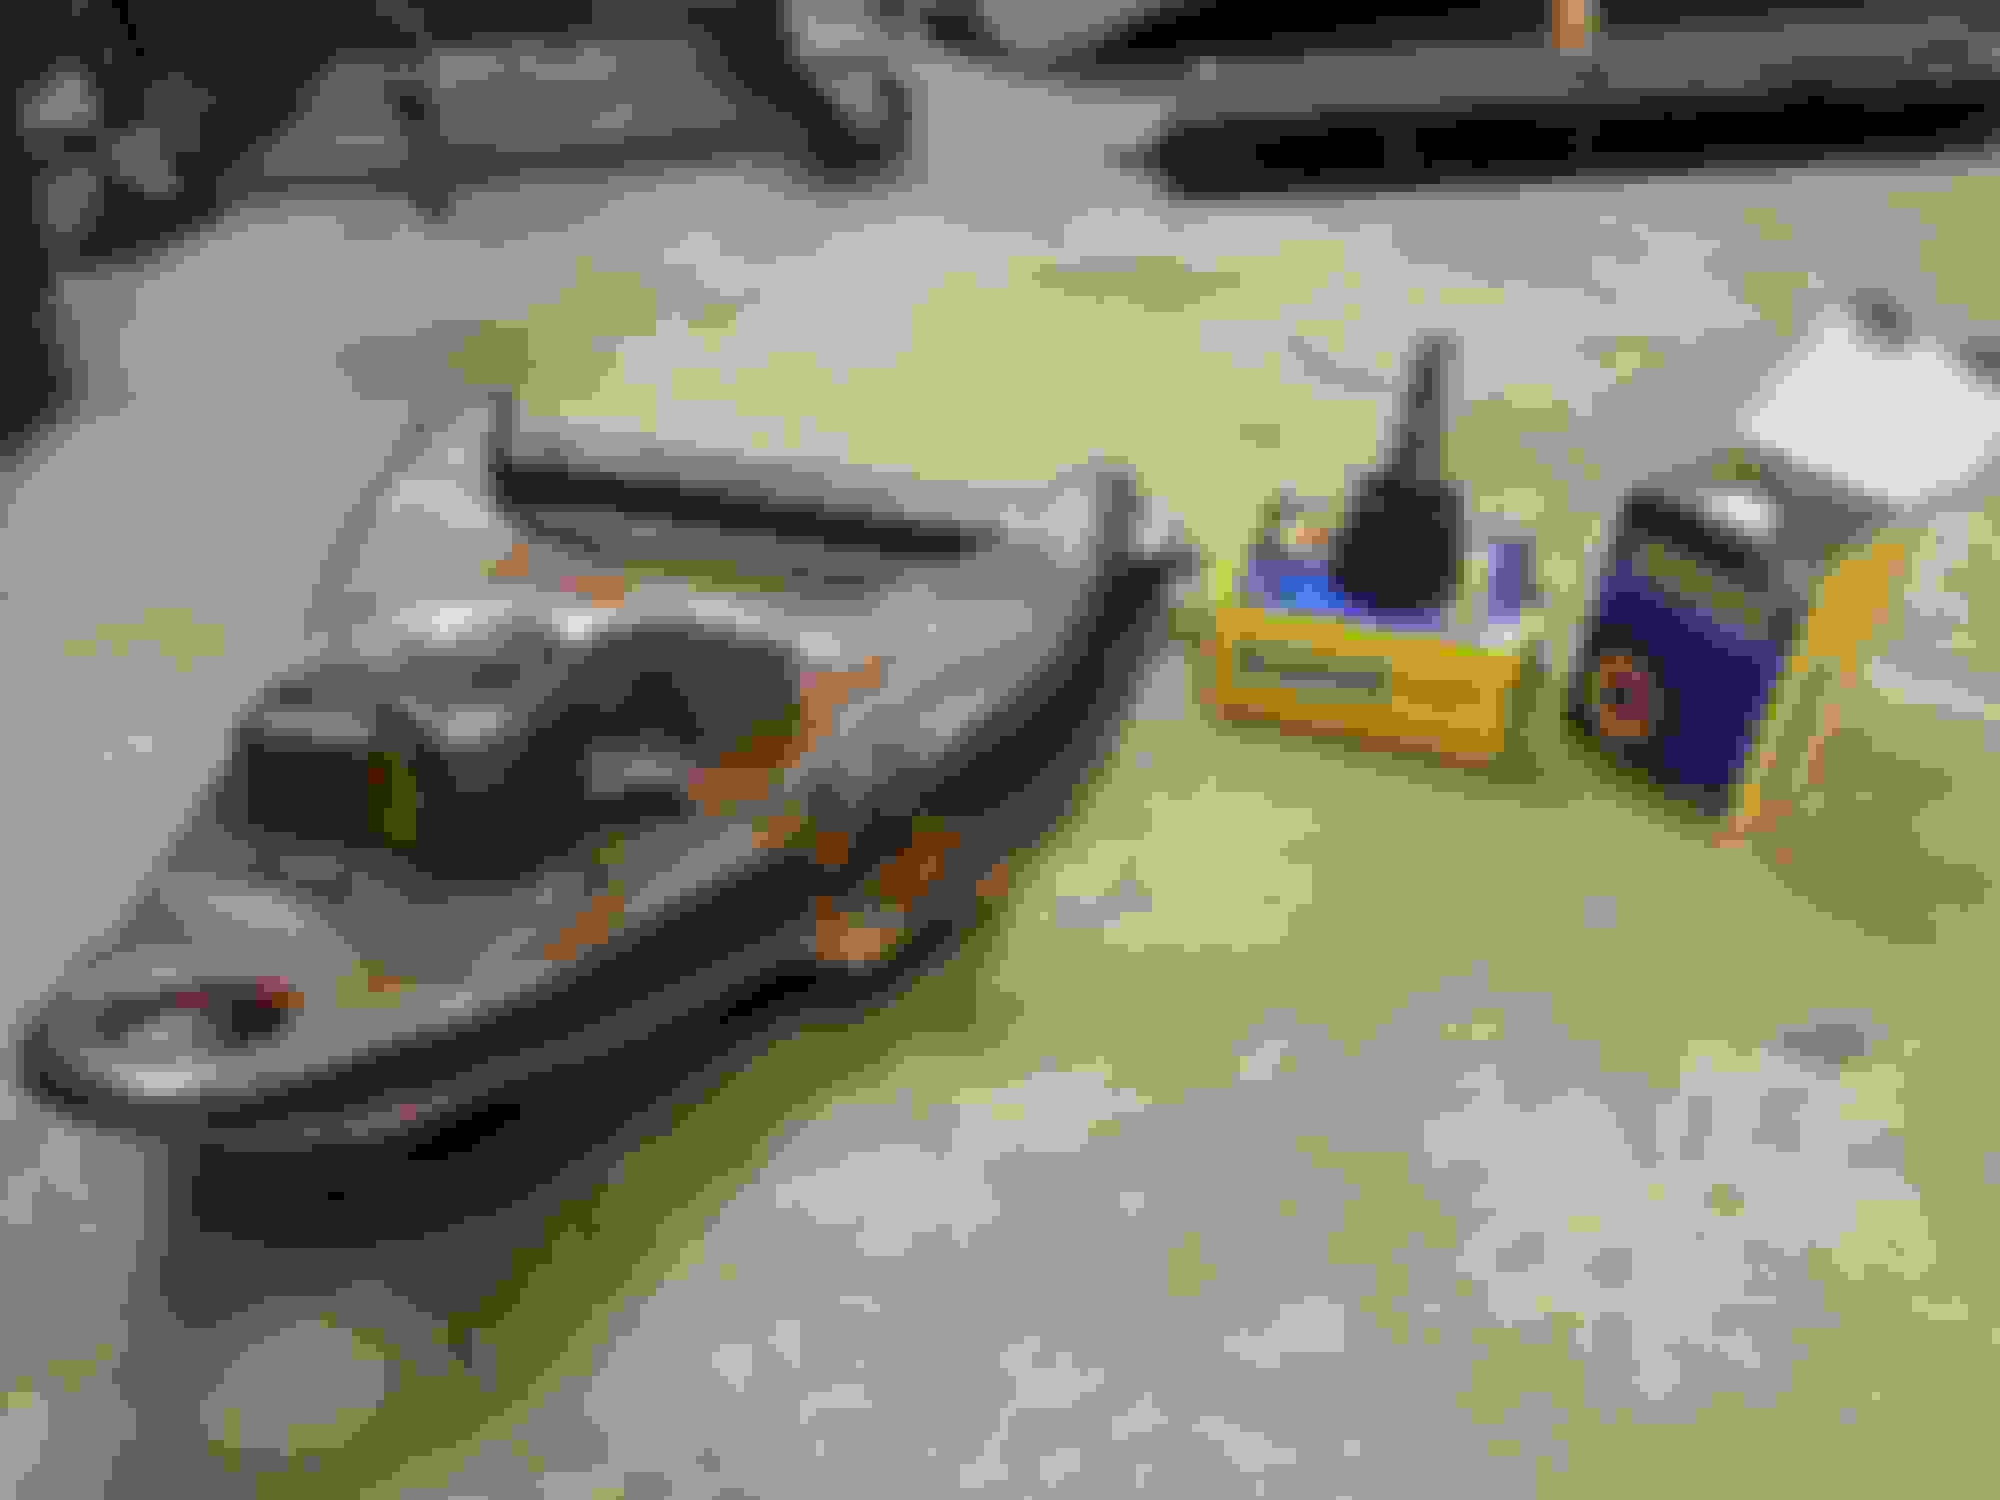
Cleaned up the A arms and installed new ball joints.
the nail in that tie rod looks like the same nail holding the 2 piece handle together on my floor jack. i have a 70 c10 long bed soon to have a 4.8 so ill be checking in. cool build.
6 Common C5 Corvette Failures and What's Involved In Repairing Them
Slideshow: From wobbling harmonic balancers to failed EBCMs, these are the issues that define long-term C5 ownership and what repairs typically involve.
Retro Modern Bandit Pontiac Trans AM Comes With Burt Reynolds' Autograph
Slideshow: A modern Camaro transformed into a retro icon, this limited-run "Bandit" build blends nostalgia with brute force in a way few revivals manage.
Top 10 Greatest Cadillac V Series Performance Models Ever, Ranked
Slideshow: Cadillac didn't just crash the high-performance luxury vehicle party, it showed up loud, supercharged, and occasionally a little unhinged...
Coachbuilt N2A Anteros Is an LS2-Powered C6 Corvette In Italian Clothes
Slideshow: A one-off sports car that looks like a vintage Italian exotic-but hides a C6 Corvette underneath-just sold for the price of a new mid-engine Corvette.