When you click on links to various merchants on this site and make a purchase, this can result in this site earning a commission. Affiliate programs and affiliations include, but are not limited to, the eBay Partner Network.
Doing an LS swap on my 88 Trans Am GTA... was going to use the stock K, but decided what the hell, let me splurge on a nice K-member and A-arms. Ordered the Spohn stuff as I've always had good luck with their rear suspension products for the past 15+ years. Well, I should've researched their K-members more apparently, because once I got everything installed, the engine is leaning to one side 3/4" within and in relation the K-member itself. The car is not tweaked, the K member went in pretty smoothly and didn't require any forcing what so ever. I left everything loose, and had absolutely no more adjustment left in anything.
Im using all new components including new poly inserts in the stock LS clamshells. So I called them up, and the person I spoke to really didn't have anything to say, so I sent them pictures. The reply I got was his boss said that it must be an optical illusion, but I could always try shimming. I replied sending more pictures along with level and degree measurements to prove it wasn't an illusion. I got no reply, even after asking again for help. I filed a PayPal claim and can return them for a refund, but return shipping is going to cost me $150.
From all the measurements I've taken, it appears the pedestals welded to it are not positioned correctly... the bolt-on mount stands appear to be correct. Im not sure what to do at this point, I saved up for a while to do this right, thought I was doing the right thing and ended up getting screwed with junk parts. I'm left with two options: take it all out, send it back and lose $150, or cut and re-weld the drivers side pedestal lower so everything is level.
What would you do? Check out the pictures and let me know what you think. The picture with the level shows where the engine would be level in relation to the radiator support (car is not perfectly level in the air but the level is compensated for that). Undercarriage shot shows the oil pan in relation to the bottom hoop. Engine mount shot shows the amount of movement needed to be level.
Have you double-checked the orientation of your engine clamshells and poly inserts? It can really throw fitment off if they get installed upside-down/backwards. The clamshells have a pronounce step formed on one end of them, which should be mounted towards the bottom of the engine. The center metal core of the inserts is biased to protrude further out one side of the clamshell than the other...the longer side should point towards the rear of the car on the driver side and towards the front of the car on the passenger side.
That�s good to eliminate all the obvious possibilities first. If you are otherwise happy with the set-up, I would just modify the engine mounting brackets to achieve level fitment of the engine, which would be much easier than modifying the K-member. Whether you compensate for the disparity by modifying one of the brackets, or both, I would advise validating the parallel alignment of the drivetrain to the chassis centerline with a plumb bob layout. The stock V8 mounting in 3rd-gens is a bit unique in the fact that the stand-off height of the passenger side engine bracket is greater than that of the driver side engine bracket, which affects where the lateral location of the trans mount holes need to be in the trans crossmember to optimize the drivetrain alignment.
So that's my main concern... if I were to modify this to make it work, what reference points on the chassis do I use to align everything? Right now if the engine were level, the engine is leaning back 4* in relation to the main pinch weld rail running length wise under the door. Once that's set, how do I ensure it's aligned side to side, as in is the trans pointing directly towards the rear (drive train center-line)? This is all the stuff I didn't want to have to even worry about if everything was made correctly.
I really think my best option at this point is to go back to the stock k-member and use the mounts I already have or just buy all the Holley stuff I had PMed you asking about. Ill be losing out about $150 on return shipping costs, but at least I know everything will be right.
And funny you mention the passenger side being higher than the drivers side... looking at the construction of the k-member, it's the exact opposite, the passenger side pad is lower than the drivers side, and is even notched to clear the a-arm mounting boxes while the drivers side clears with over .5"... you can even see what Im talking about in the mount pictures I posed above.
And funny you mention the passenger side being higher than the drivers side... looking at the construction of the k-member, it's the exact opposite, the passenger side pad is lower than the drivers side, and is even notched to clear the a-arm mounting boxes while the drivers side clears with over .5"... you can even see what Im talking about in the mount pictures I posed above.
I don�t have any personal experience with any of the Spohn products, so I can�t make qualified critique as to the usefulness of the geometry behind the design of your K-member. The checking of the drivetrain alignment is fairly straight-forward and you can do it by projecting the various needed reference points onto the ground using a single plumb bob and plotting a layout on the floor, or you run a string line down the center of the car and hang a plumb bob off of both the crank balancer bolt and the yoke on the back of the transmission and measure the offset distance between the vertical strings of each plumb bob and the horizontal chassis centerline string. They would need to measure the same at both locations for the drivetrain to be square in the chassis. You can also simplify the process by using a cross-line laser line level sitting on the floor to shoot the chassis centerline upward and across the entire length of the bottom of the car...this is the method that I�ve evolved into using as it can really speed up the process. As far as the drivetrain inclination angle is concerned, it would be set/adjusted to optimize your U-joint working angles and has no other critical affect other reducing the ground clearance under your car the further you go past the optimum inclination angle.
Spohn has been building like this since day one. Thirdgen.org has a long legacy of stories like this to the point that it's common knowledge. It's definitely worth your while as a 3rd gen owner to spend time poking around the information base at www.thirdgen.org
Have you put the wheels on the car yet with the new A-arms? Tires are probably stuffed to the rear of the fender opening. Another unique feature offered only by Spohn.
Thanks Todd, that info will definitely come in handy!
Qwk, Ive been on TGO 19 years (wow Im getting old) and honestly did little research on this purchase because I trusted the company. Now after doing plenty of reading, I know that was the wrong assumption and I'll likely never do business with this company again and will be sure to tell everyone about this experience.
So after a lot of debating, I figured out an easier way to make it work. I took the mount off the pedestal, got the engine level and a 3\16" spacer would make it sit perfect, so I fabbed this one up out of steel, should work perfect and not look like a hack job. Still not what I want, but I can live with it and I don't have to rip everything out or keep my buddy's garage tied up for another few months. Still really sad that I had to do this, but live and learn!
That’s great you have something worked out. It’s ironic that that the amount you needed to shim it is the exact stand-off height difference (3/16”) between the factory SB engine mount brackets that I mentioned previously.
What are you going to do about the tie rods hitting the crossbar that is clearance halfway through and still not enough even with the wheels moved back? Send that garbage back to Spohn. Those junk peddlers stole my money too. Unfortunately I modified the piece of trash before I realized that it was trash and got stuck with it. There are better options out there. I hate seeing people pay good money only to get scammed. Being unhappy with a product is one thing, but getting scammed is unacceptable, it should not be tolerated. Junk torque arm mount as well, super huge and bulky just incase you get a 9". Then they tell you to grind away ribs on the center chunk to make their poor design fit. I could go on, but I won't.
I have a BMR K-member and I tried to go back to stock K-member with an old set of Spohn LS mounts I had laying around. The Spohn parts made the trans want to live inside the car. The trans was stuffed so high in the tunnel that the whole thing hung in the air without a jack under it. Seriously. Pretty disappointing too because the engine actually sat in a lot better position than with the BMR K-member. But I didn't want to spend time correcting things and fabbing up yet another trans crossmember, so I put the BMR K-member back in and called it a day.
Worked on getting the new plate in last night, after some additional hole slotting i got everything just about perfect. And yeah the steering components look like it's going to be a tight fit, will see what happens. I can't send it back now as tomorrow is the deadline, just going to live with it. My wheels are perfectly centered in the wheel wells though so at least I got lucky with that.
That�s great you have something worked out. It�s ironic that that the amount you needed to shim it is the exact stand-off height difference (3/16�) between the factory SB engine mount brackets that I mentioned previously.
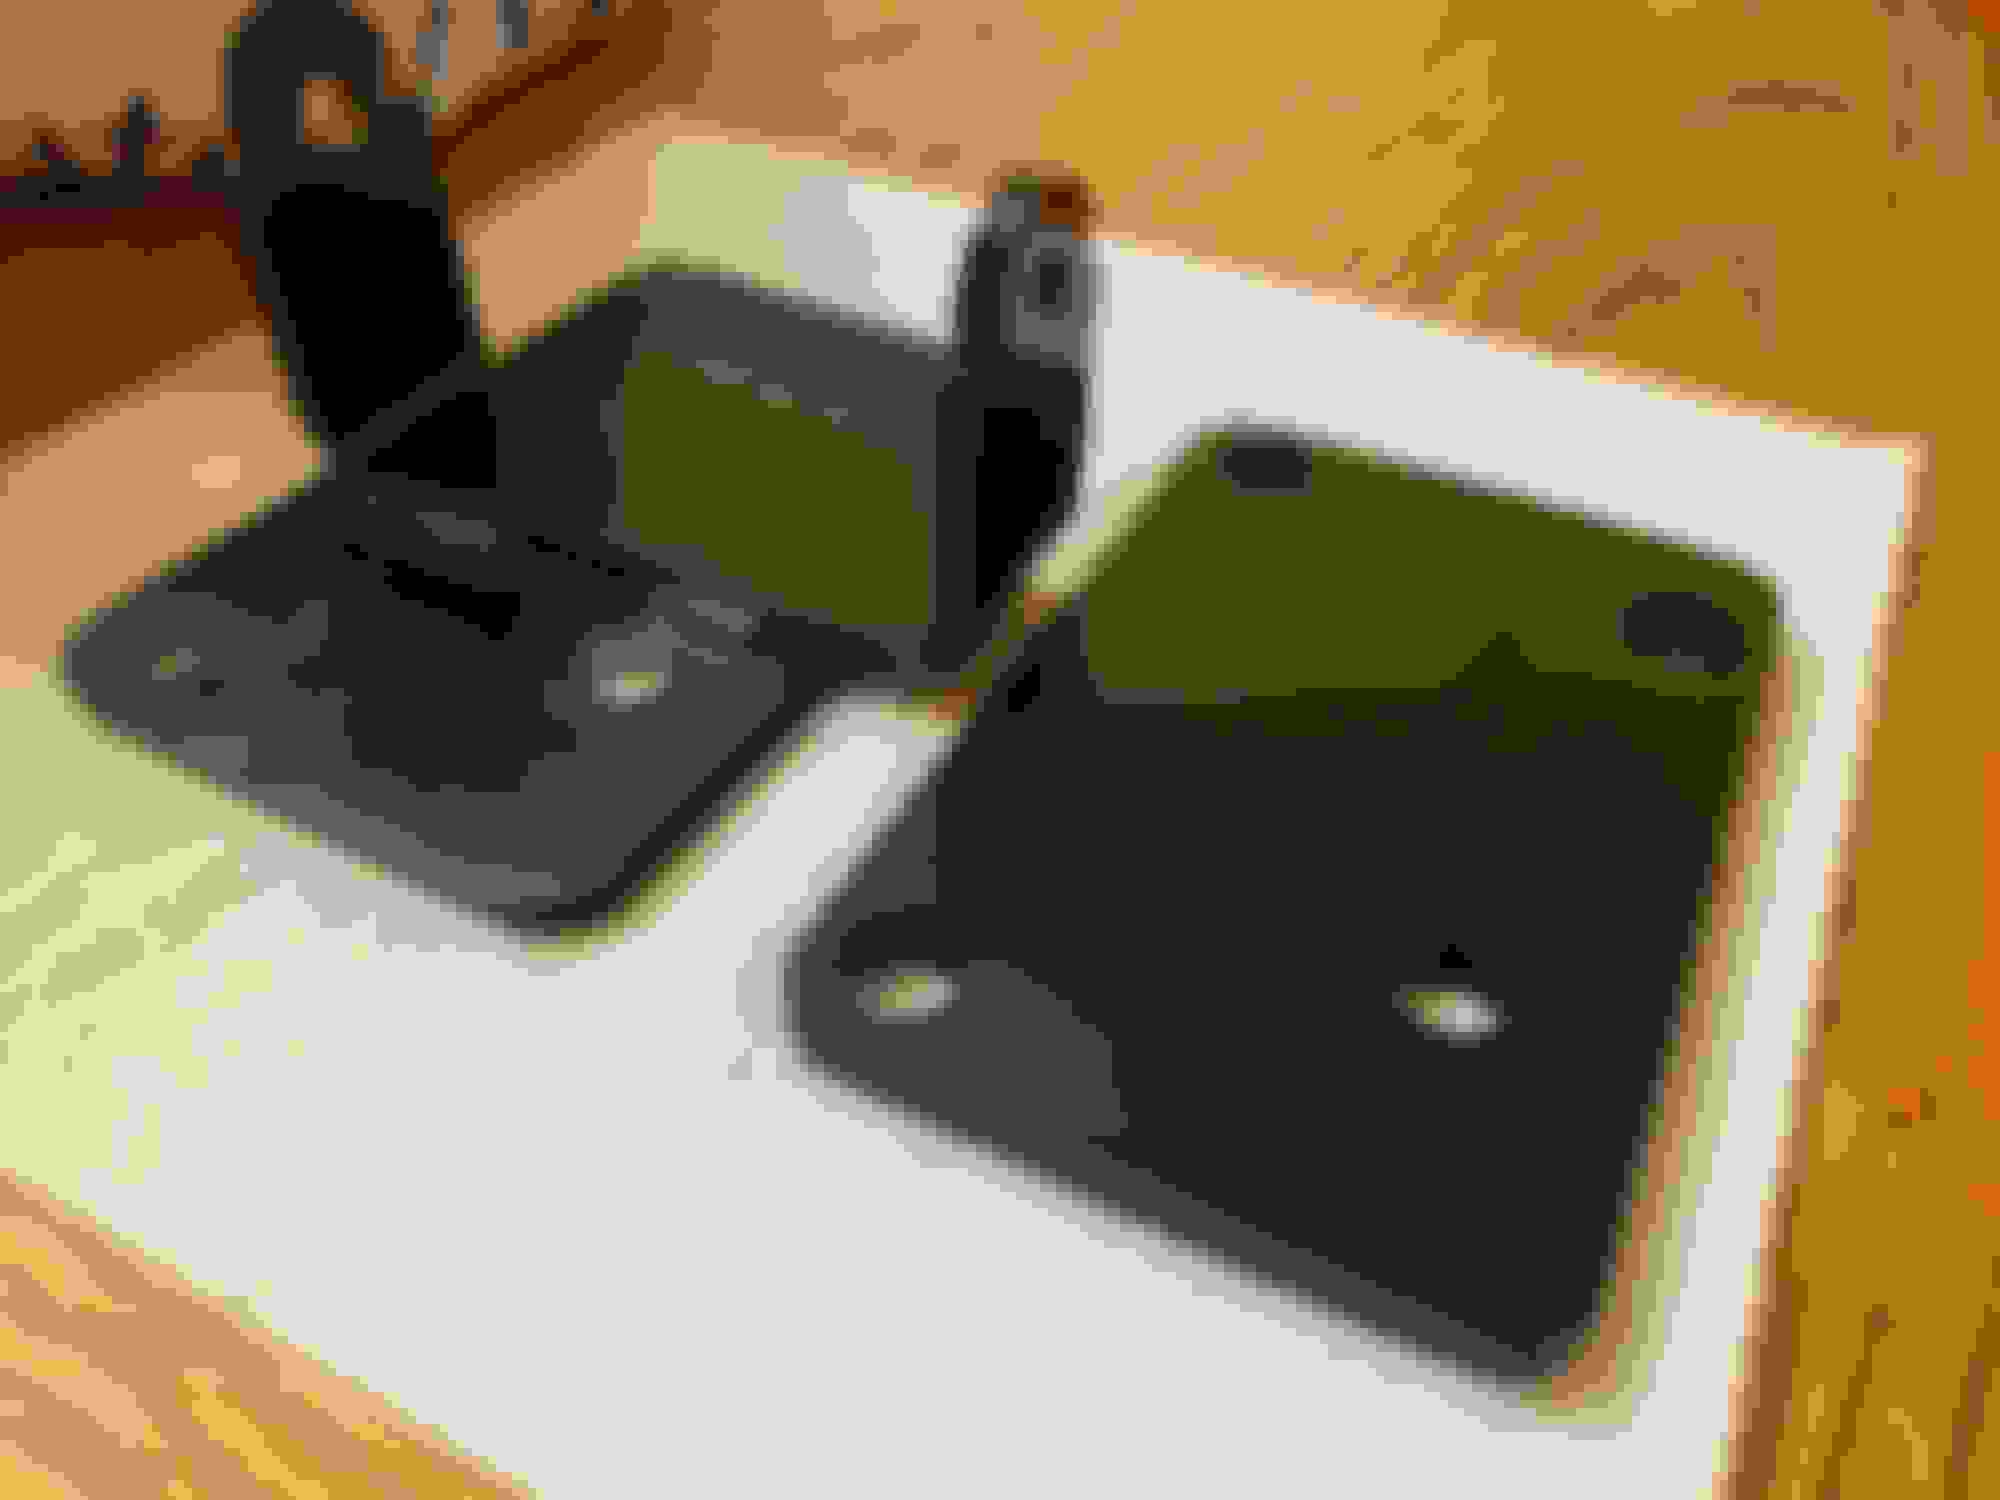
Yeah that's crazy isn't it? Here are my old stock sbc clamshells next to each other for reference to others. From what people have been saying, this has been happening forever and they have never fixed the issue on their end. I found a thread from 2007 on TGO with what look into be damn near identical bad alignment pictures to mine!


 02-15-2020, 09:50 PM