When you click on links to various merchants on this site and make a purchase, this can result in this site earning a commission. Affiliate programs and affiliations include, but are not limited to, the eBay Partner Network.
I also got the water pump installed. I have a 160 degree thermostat. Went to install it, with a straight water neck (a Mr Gasket, I believe)... and fought with the thing for 15 minutes trying in vain to get the thermostat and seal to fit into the water neck. So, I decided to check the water neck on the old TBSS pump... The TBSS water neck had a 60mm recess for the seal, and the Mr Gasket (part number 2671 NA), the recess was only about 58.5mm.
So, I did my best ABOM79 impression, chucked the water neck into the lathe, and opened it up to 60mm, and it fit fine. That was enough for today. Tomorrow, I'll look at swapping the oil pan. There's a "GM Muscle Car" pan on there from the Jeep plan. I will be swapped to a Holley 302-3... looks like it should clear the front crossmember and has clearance for the 4" crank.
I'm reusing the stock valve covers, but they were pretty gross, so I cleaned them up. My tip of the day: This old baby gate stuff works good as an all-purpose stand for painting, cleaning, etc. I either lay it flat on sawhorses, or just just freestanding like this.
That done, I installed the pushrods, rockers, and torqued them down. I'm very much liking being able to pull up stuff on the TV while I'm working. This time, it was the rocker tightening sequence.
Yep, used a torque wrench even on the valve covers. I also swapped the tall truck oil fill neck for a shorter car one.
The steam port fittings were also kinda rusty, so I gave them a quick sanding and sprayed some black paint on them. Again, the baby gates!
For the bottom end, I needed to switch the oil pan from the GM Muscle car (Hummer H3) pan to a shorter one. I'm using a Holley 302-3, which has a front profile like an F-body, but has clearance for a 4" stroker crank.
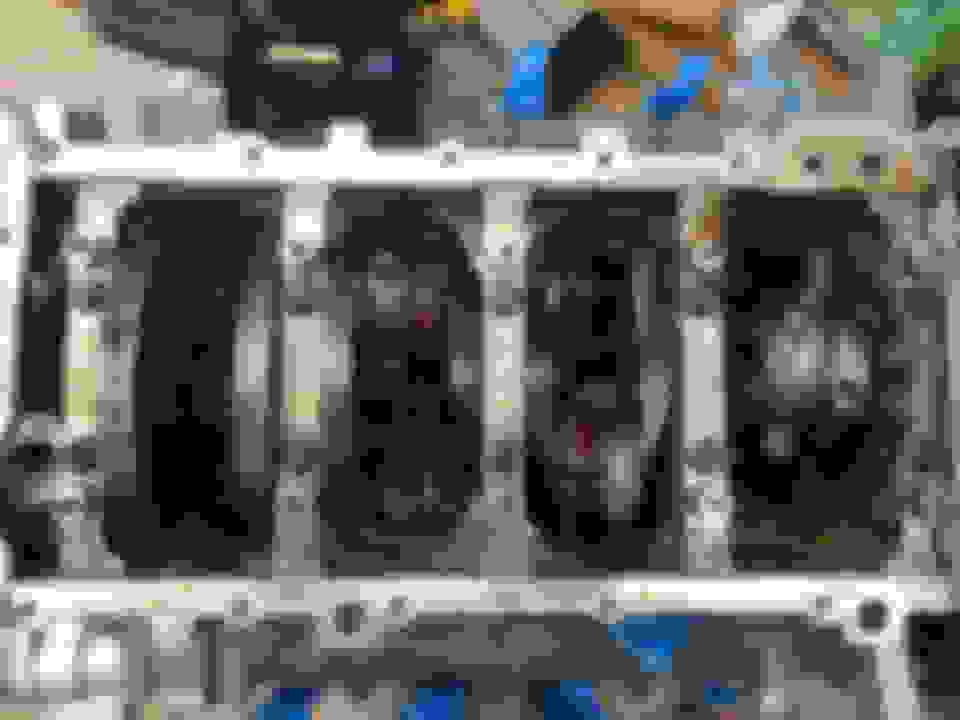
Here's the bottom end without the windage tray on.
Step 1 is to chop off the front 1/4 of the tray.. (mentioned in the instructions, this cut is 14.25" from the rear of the tray)
Next, you need to clearance the tray to fit the pickup tube. You can see how it hits the tube just before it bends.
Holley provides directions on how to trim the tray.
I didn't get a picture, but the pan still hit the tray. I had to further trim about 1" from the lowest section across the whole middle section. It was bottoming out on the floor of the pan
I didn't have any clay laying around, but I did have plumber's putty. I got right on 5/16" (0.3125) clearance for the oil pickup tube. I tend to see 0.300" as acceptable to run, so I left it as is.
With that, the bottom end is pretty much wrapped up. I also installed the motor mount plates
One last pic for today, shows the side provide of the oil pan. This clearance s necessary to fit with the stock front crossmember.
Good detailed build. I've been thinking about buying a C4. For some reason they have been catching my eye lately and I started day dreaming about a LS swap.
It's nice to see your progress and obstacles that you over come for reference.
Hopefully you have better luck than me with your term x. I had to send my ecu back right out of the box.
We will see. I have a Term X Maxx on my 1971 GMC, and love it. Install was perfect on that one, just a couple hour job, and it started and idled on the first key cycle. I do plan to go through the wiring harness first, as that seems to be the main issue that gets people.
We will see. I have a Term X Maxx on my 1971 GMC, and love it. Install was perfect on that one, just a couple hour job, and it started and idled on the first key cycle. I do plan to go through the wiring harness first, as that seems to be the main issue that gets people.
ive converted a couple factory harnesses so the Term x was stupid simple to install. There does seem to be quite a few issues people are having but hopefully it gets sorted out.
ive converted a couple factory harnesses so the Term x was stupid simple to install. There does seem to be quite a few issues people are having but hopefully it gets sorted out.
In my experience, a vast majority of issues that people experience with any Holley EFI system is either related to poor wiring, improper installation of related hardware (if I had a dollar for every vacuum or exhaust leak I've diagnosed!), and just plain user error.
You keep claiming that you had a bad ECU. I'm sure Holley will send you a new one.
Andrew
It�s damn near impossible to install it incorrectly. Keep claiming? Holley tech had me send it after checking a few things. I am getting a replacement.
It�s damn near impossible to install it incorrectly. Keep claiming? Holley tech had me send it after checking a few things. I am getting a replacement.
It's not "damn near impossible" to install correctly. I won't hijack this thread any further, but if you want to PM me, feel free.
No worries I have 20 years here in Detroit designing ECUs and automotive electronics, it's all familiar to me. This weekend, I'll go through all the harness and change against the schematics. That seems to be their main issue with quality control.
On the plus side, my engine mounts and ICT billet accessory mounts arrived. On the minus side, there's a countersunk M10 bolt missing to attach them accessory brackets, but ICT is sending me one.
I'm debating if I want to fill the voids in the motor mounts with Windoweld Urethane to beef them up a little. I've done that on my Jimmy after the mounts sagged after 2 years. My Warr 102mm TB also arrived, so I will get the intake all built up soon. I think I will leave it off the engine until its in the car, to minimize the chance of the lift chain or body damaging the intake.
Very cool build! I too have a Southbend that's helped me with my project immensely. Here's my '48 Heavy 10 that I restored back in 2015, and '92 S10 with an LQ4 and Terminator X. I'm also waiting on headers...the Holley swap headers keep getting pushed further out on back order, unfortunately.
.
If you have the Terminator X Max, why wouldn't you use a stock LS3 90mm DBW TB?
Andrew
Well, I don't have one of those. I do have an LS2 throttle body that came on this motor when it was stock. I've had good luck with the Warr 92mm on my stock TBSS intake from this motor, which is currently on the LQ4 in my Jimmy. I have the Fast LSXR 102, figure I might as well use a 102mm TB. Seems like about $500 less for this option, not sure than the DBW setup gives me any benefit for that money.
Very cool build! I too have a Southbend that's helped me with my project immensely. Here's my '48 Heavy 10 that I restored back in 2015, and '92 S10 with an LQ4 and Terminator X. I'm also waiting on headers...the Holley swap headers keep getting pushed further out on back order, unfortunately....I'm excited to follow along with this project!
Cool I always enjoy using the shop tools. I have a Taiwanese Mill/Drill that is about 40 years old, that was my grandfathers (He had a garage full of Packards and Duesenbergs), and some other tools from both of my grandfathers. I always think of them when I use them.
That LQ4 should work good for you in the S10. We have a 1971 Jimmy, I put in an LQ4 with ported heads, 223/231, Headers, TBSS intake, Corvette LS2 injectors, 92mm TB, and a 4L65e with a couple mods and a Yank 3200. Makes a great family cruiser. For a big(ish) truck on 33" tires, it still does 0-60 in under 5 seconds on the street.
,

 05-02-2020, 07:38 PM


 I have 20 years here in Detroit designing ECUs and automotive electronics, it's all familiar to me. This weekend, I'll go through all the harness and change against the schematics. That seems to be their main issue with quality control.