When you click on links to various merchants on this site and make a purchase, this can result in this site earning a commission. Affiliate programs and affiliations include, but are not limited to, the eBay Partner Network.
Turns out it was a bad IAC. I was able to watch the pintle move back and forth when commanding the position with VCM scanner, but apparently it either wasn't strong enough to shut off the airflow, or it wasn't fully extending to block the airflow through the IAC passage. Bought an amazon special IAC to test my theory and fired it up today only to find out all the tuning headaches I had were from the IAC being faulty. It took me a while to get the tune back to a point where the car would fire and idle with the IAC now being active. I could actually hear the airflow changing through the filter where I couldn't before. IAC counts are now in the 140 range on a warm idle, so I need to open the throttle blade a bit to get the counts down in the 20-50 range.
Decided to run my trans fluid through both the radiator trans cooler and my large external cooler instead of just the external cooler. Hoping that the liquid to liquid cooler in the radiator helps bring out some more heat, although, the highest pan temp I�ve recorded so far is about 180 and that was after an hour of driving with a lot of idle time and stop / go traffic. Fluid is now going from trans to radiator to external cooler, then back to the trans. All fluid inlets are on the bottom fittings and fluid outlet at the top to force any air in the system back out.
What's going on with that connector, looks like the seals are outside of the connector body?
That was an oops on my part, I need to remove those as they are not needed now. I ran out of time when I switched from a 2 pin to a 4 pin connector and didn�t get a chance to cut it off.
I may have figured out my NBO2 situation where no matter what I would do, or what settings I loaded into the car, the NB's only showed between 0.430-0.460V. I tried several different O2s all with the same result, so I began probing the connector which on my harness was a white square with female pins. From my research, that plug is for an isolated ground O2 mostly used in 03+ LS stuff. This requires pins 63, 26 and 29 to all be spliced together so the PCM can control the ground side of the O2 signal. I got my multimeter out and probed all of the pins with the key on and off. With key on, my O2 plug showed the following:
Pink Wire: 12V
Black Wire: Ground
Tan Wire: 4.5-5V
Purple Wire: 0.45V
I then checked for continuity between the tan wire of B1S1 plug to the tan wire of the B2S1 plug, trying to confirm if there was 1) a splice pack in the harness (continuity) or 2) if there was no splice pack / a break in the wire (no continuity). My meter showed open between the two tans, so I got to option 2. I figured it had to be wired for a case ground O2 since I had continuity from the plug to the blue connector pins. I added a ground wire from the tan wire to ground on the passenger side O2 since I had a few replacements in case it didn't work out. When I hooked up HP Tuners with KOEO, VCM scanner was now showing 0.000-0.003V (indicating full lean condition) which is an improvement from the steady 0.430-0.460V it was showing with the sensor plugged in or not. I also saw the voltage slowly drop from about 0.050V down to the 0.000-0.003V over a few seconds, I'm guessing this was the sensor "warming up". Hoping to go for a test drive and see if I can now get into closed loop and start populating some trims. For now, I have the temp ground wire to the same ground point as the PCM harness ground so they both see the same reference.
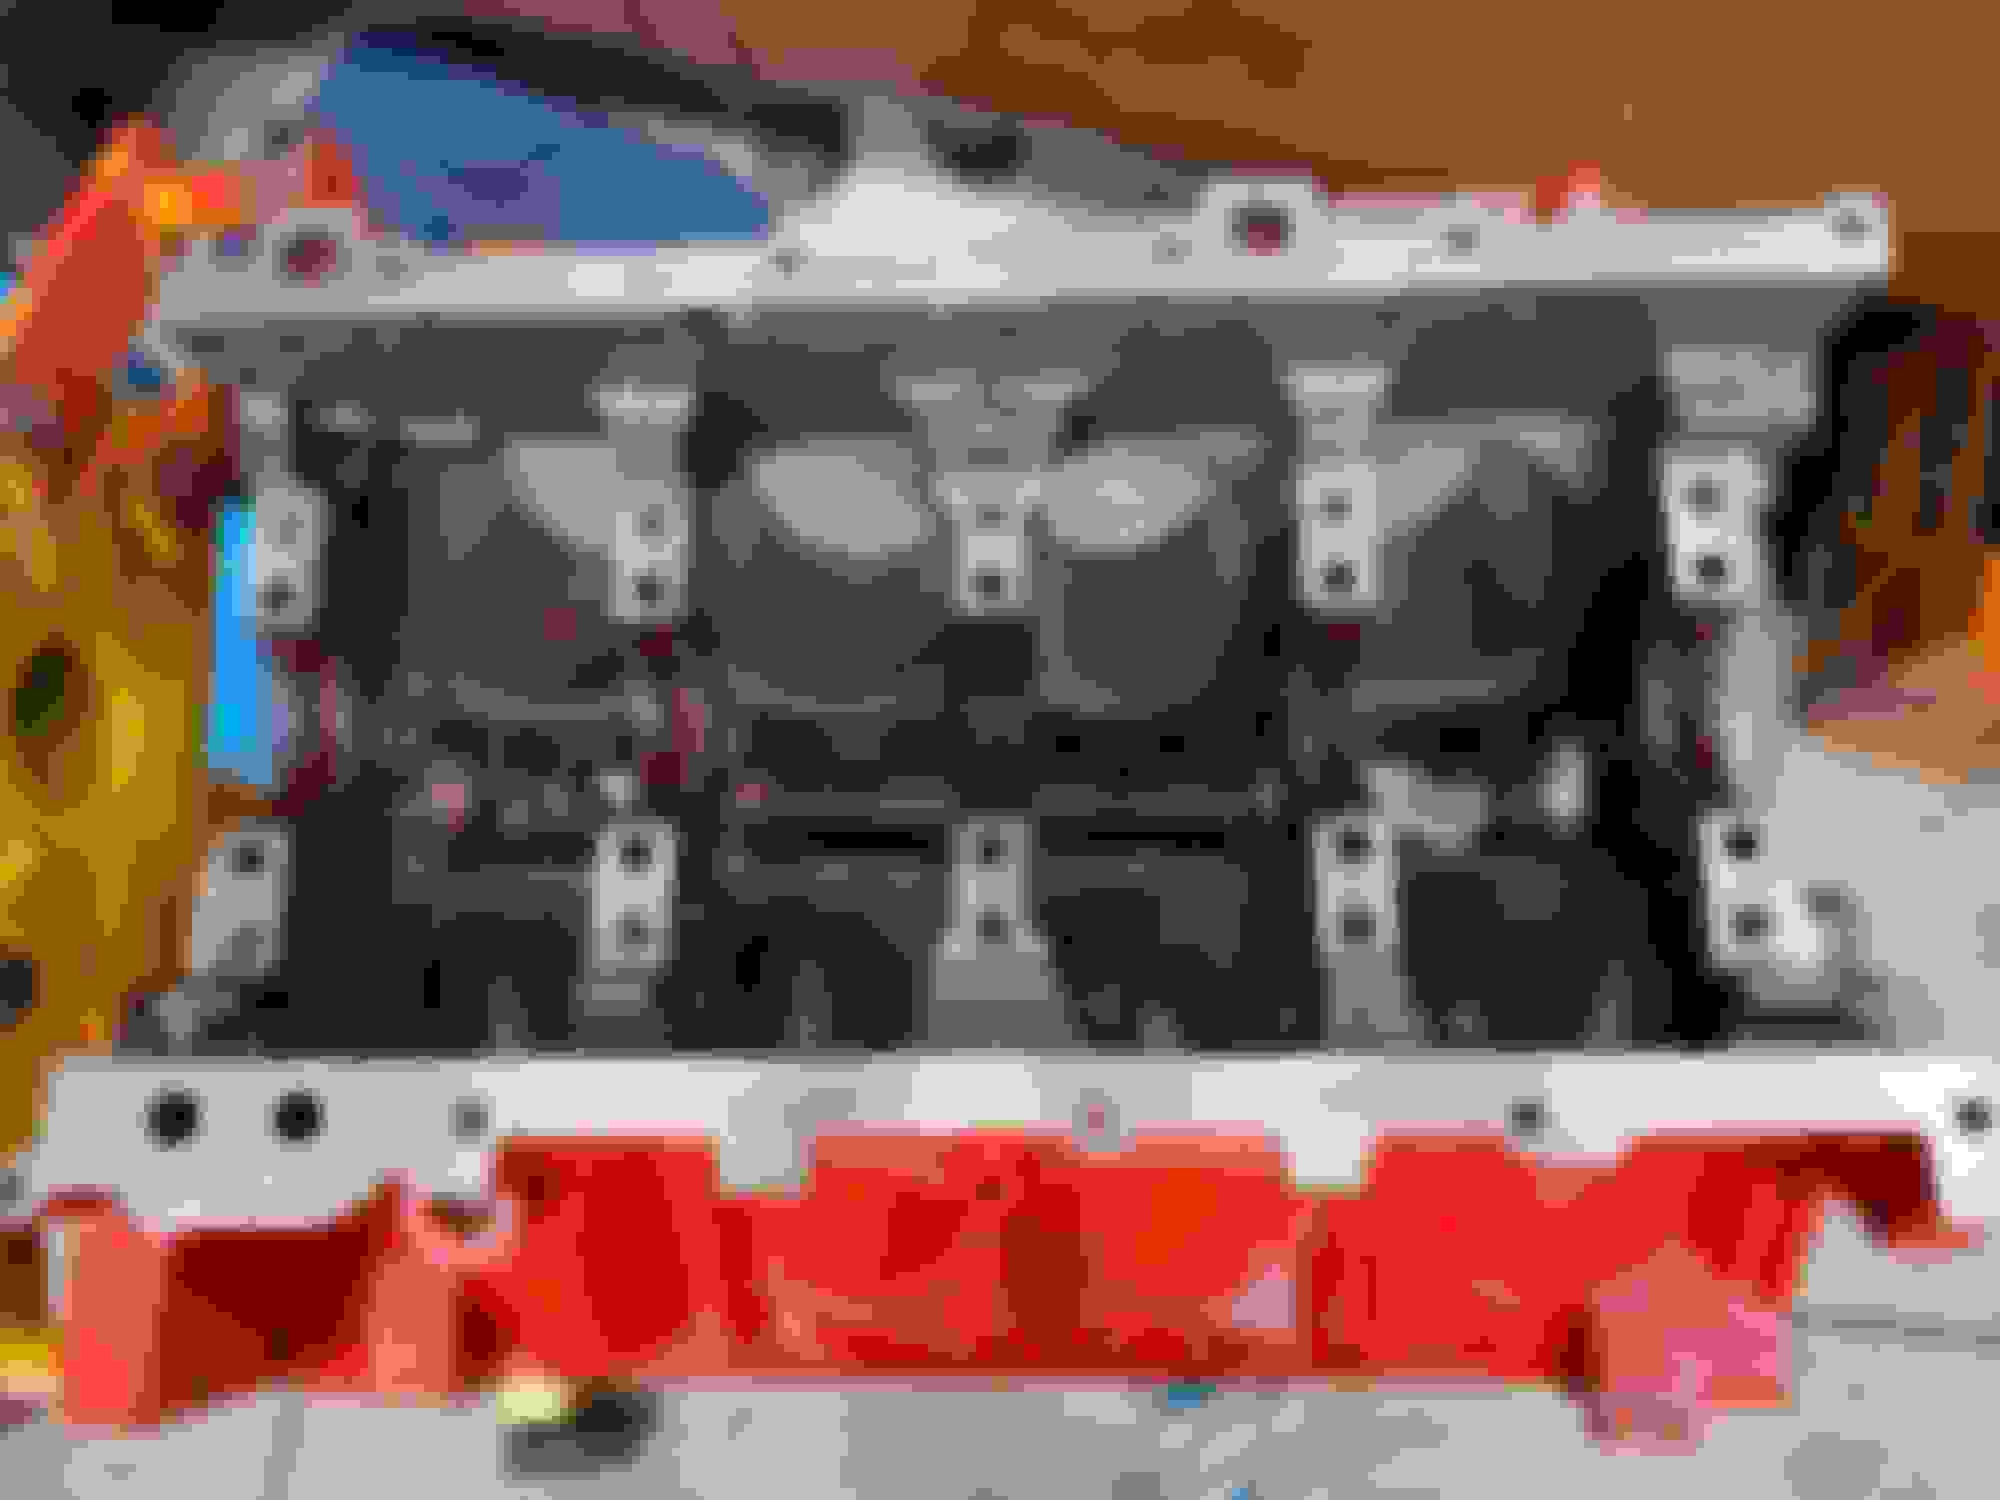
In this pic, you can see B1 and B2 sensors in the far right column of the 2nd and 3rd rows. This was right after the scanner started taking data.
Shortly after my last post, I took the Nova for a quick drive at lunch and started hearing a ticking noise. Looked down at my gauges and saw I only had 15psi of oil pressure. Long story short, when I installed the oil pump pickup tube into the oil pump, I must have cut the o-ring somehow and it slowly opened up over time to cause my drop in oil pressure. Upon teardown, I didn't see any metal in the filter or pan or the oil I drained out of it, but the bearings showed some signs of scratches that could be felt both with your fingernail and fingers. On top of that, I noticed the exhaust valves had contacted all 8 pistons. Root caused that to my cam being 1 tooth off. Not sure if I did it or if it jumped somehow, but the damage was done so I needed to rebuild. Again.
Fast forward a few months, and I have everything back from the machine shop. Both heads had bent exhaust valves, but the intakes checked out ok. Valve job, surface, new exhaust valves and they were good. Block got bored 0.030 over and rotating assembly balance checked. Clearances on the mains and rods were measured this time with a dial bore gauge and micrometer that I borrowed to verify the clearances. Mains were all 0.0025" with #3 coming in just slightly tighter with stock size bearings. Rods required 1 under bearings to get to 0.002-0.0022".
Main bearings installed and lubricated with assembly lube:
Main bearings installed into caps and lubed:
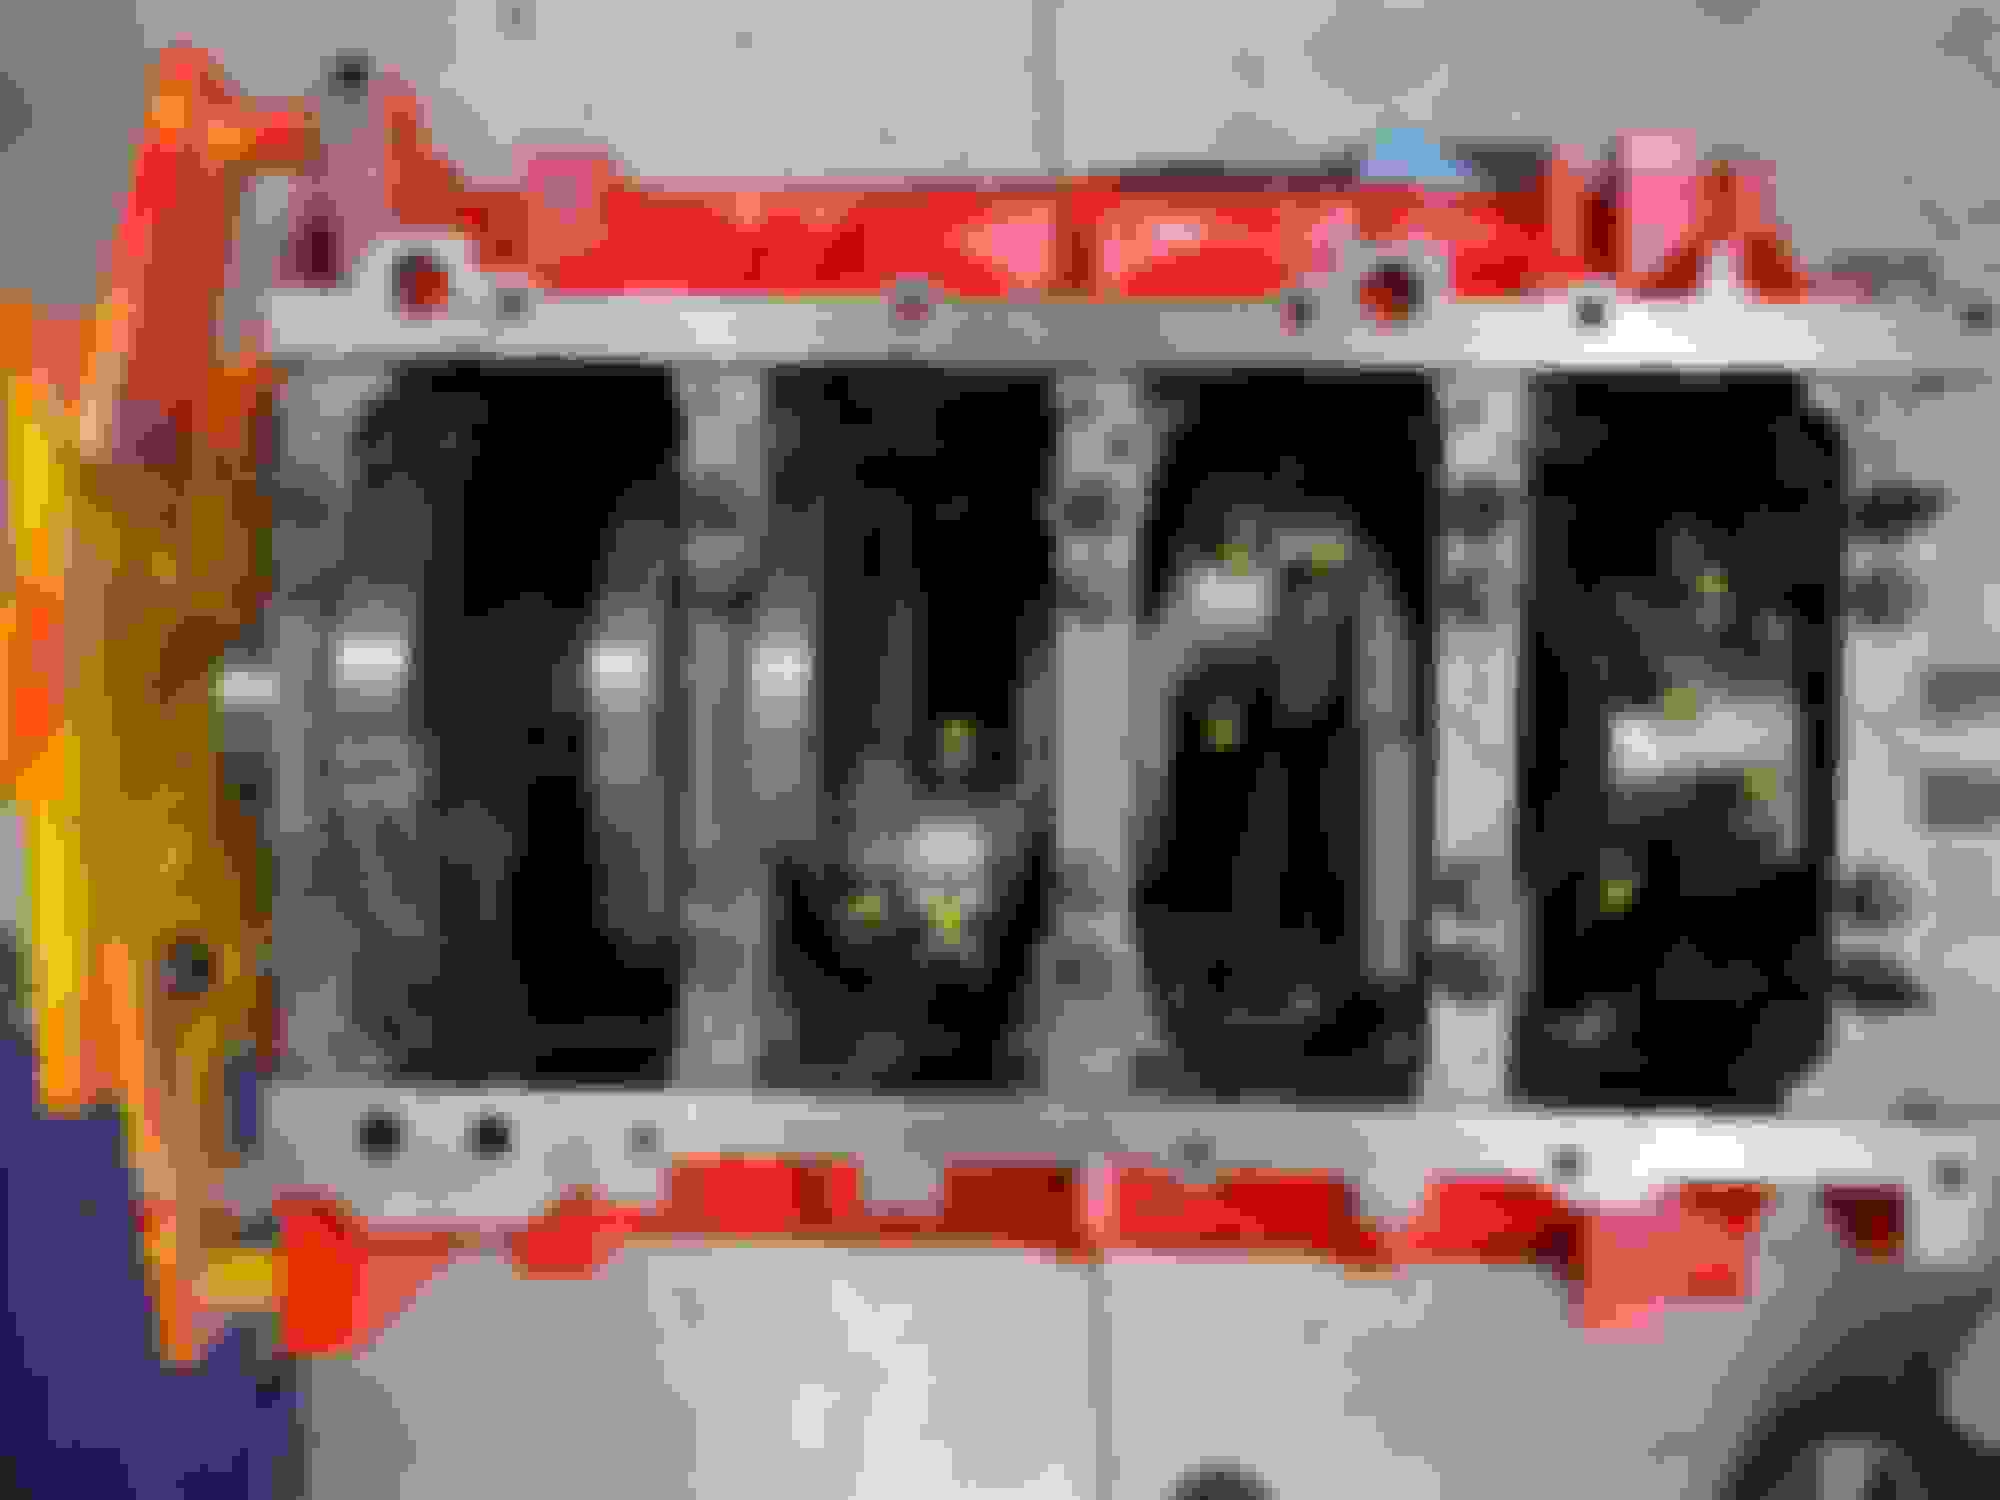
Crankshaft installed and main bolts torqued in sequence to first 15 ft-lbs then 80deg on inners and 51deg on the outers, then 18 ft-lbs on the side bolts:
New 0.030" over flat top pistons installed onto rods, rings installed, bearings installed and lubricated:
And finally, all 8 rods and pistons installed into block and torqued. Upon my previous teardown, I found one rod bolt that was barely tight - I must have missed the angle torque on that one, so this time I used my yellow paint pen to mark each bolt after the angle torque.
At least u caught it before more damage could be done
Yeah, as soon as I saw the low oil pressure, I headed back home. Luckily it was only like 2miles from my house. I was fully expecting to see a spun bearing, or a cam bearing that walked out, but everything was still where it should be, nothing had excessive play or clearance. Just the stupid o-ring on the pickup tube was cut. This 0.030" overbore and the slight deck to the heads and block (0.005" on both) should net me in the 11.2-11.3:1 compression area now with my head gasket. Small bump from the 10.9x:1 I was before. I have been going overboard with the pictures this time to make sure I have everything documented better than previously.
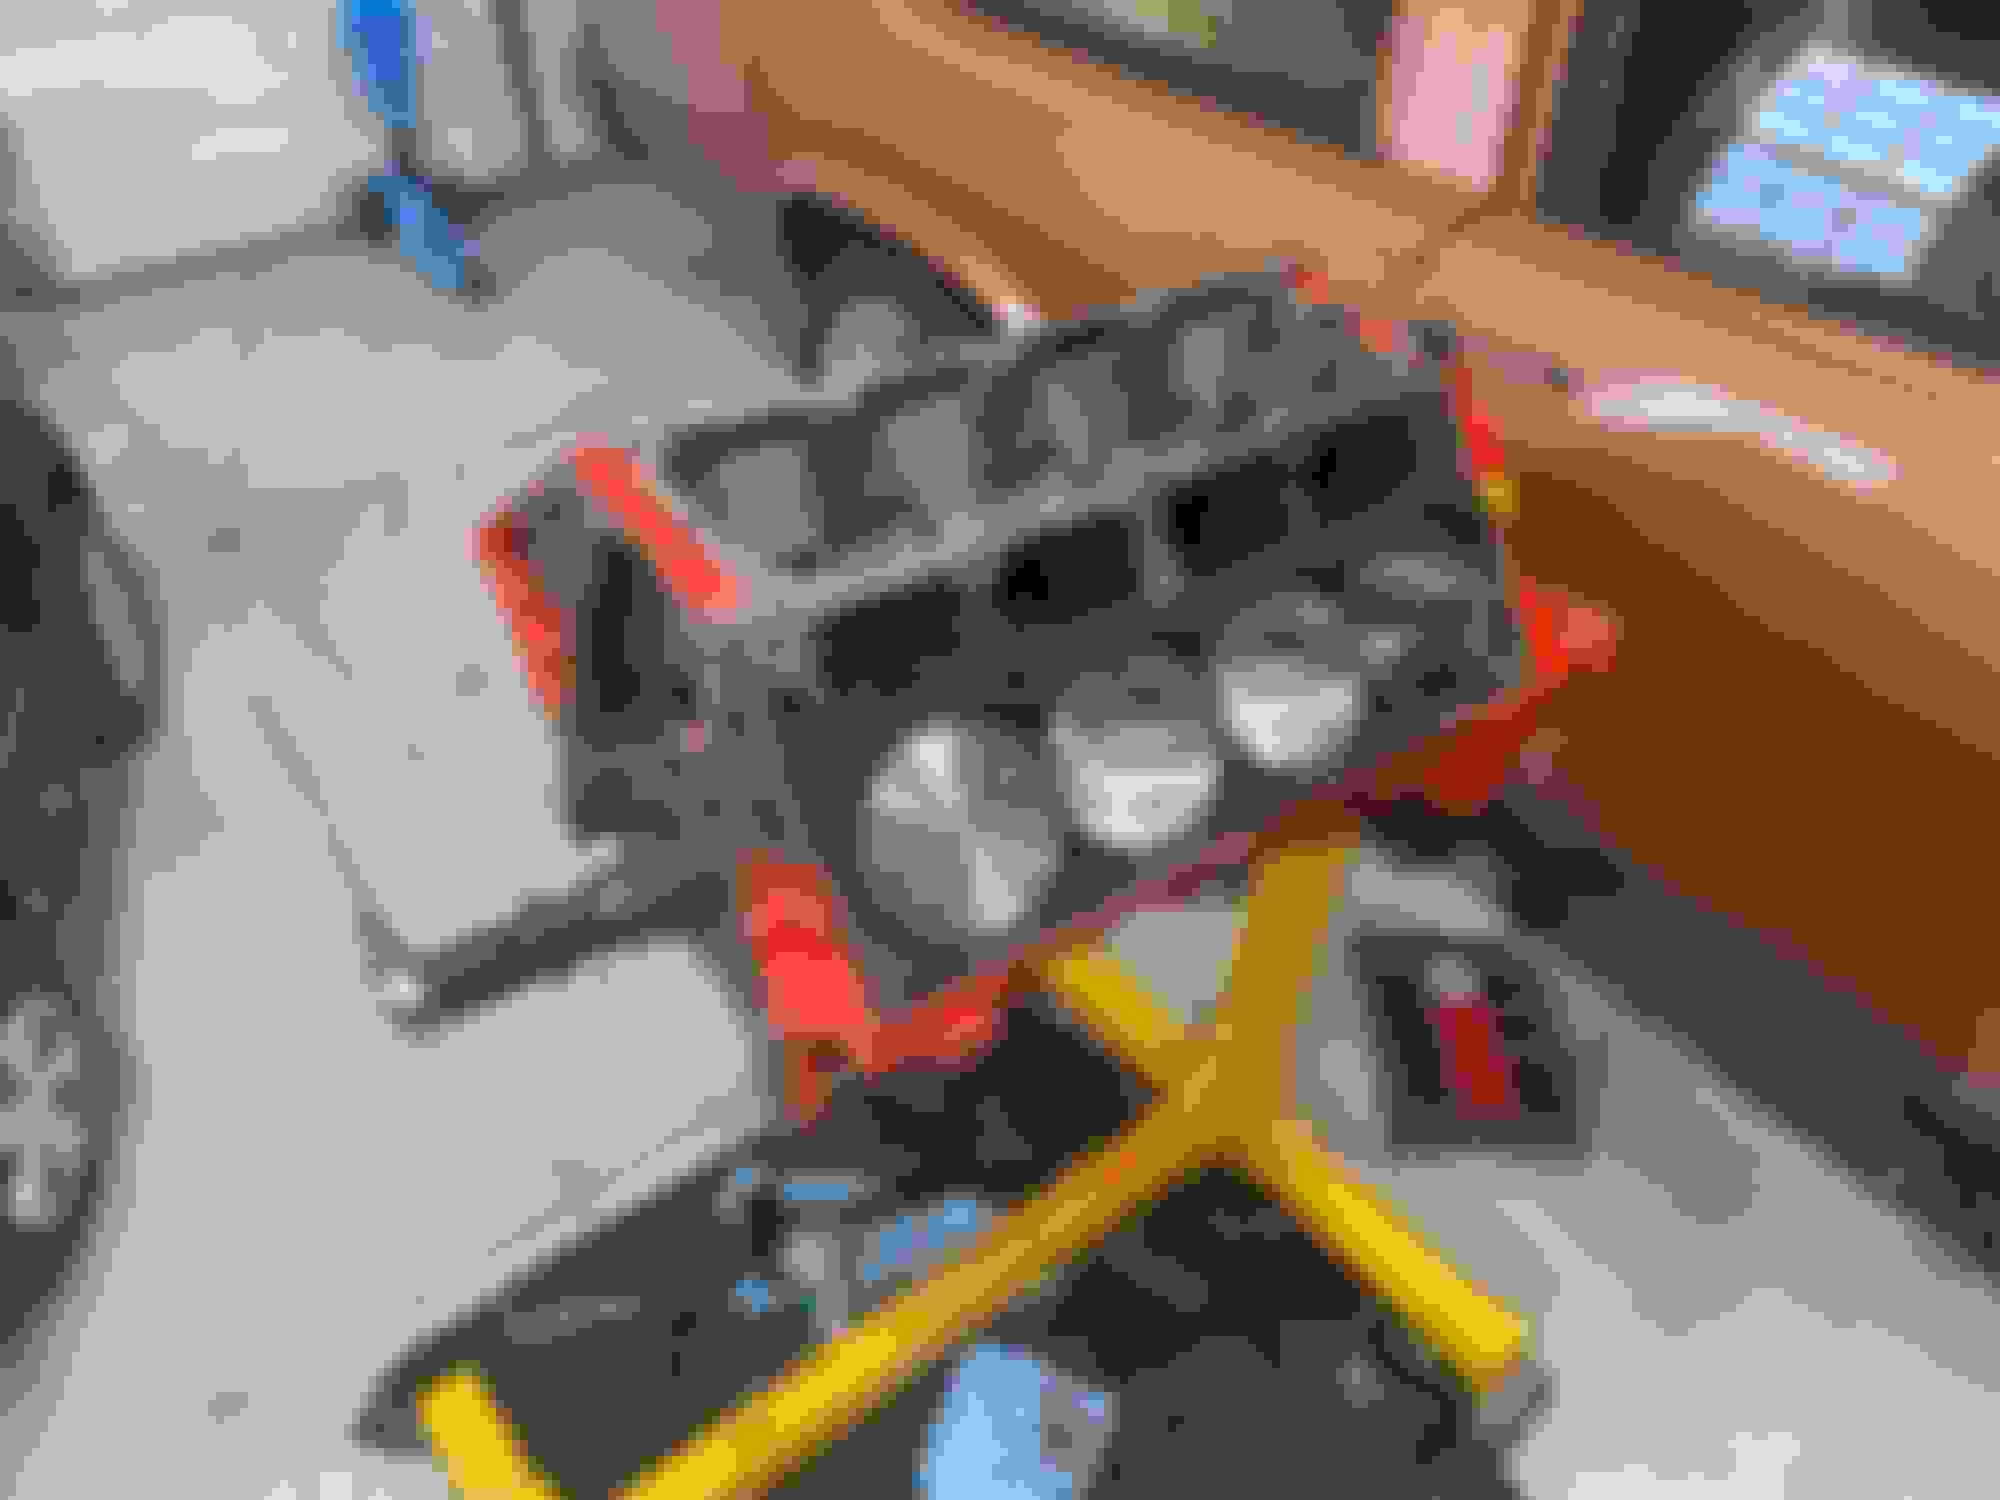
Short block is complete. First up today was installing the camshaft and making sure that it is installed dot to dot. This should do it.
I had previously purchased a replacement oil pump that I shimmed the pressure relief spring using several flat washers to achieve a slight increase in pressure. I shimmed the pump by 0.100". To install the pump to the block, I used 2 shims (feeler gauges) 0.002" thick on opposite sides of the pump gears to center the pump housing. Mounting bolts were torqued to 18 ft-lbs and marked.
Assembly lube applied to the OD and in-between the gear teeth to aid in quick priming upon initial fire-up.
Pump cover re-installed, bolts torqued to 106 in-lbs, and marked. I opted to go with a paint mark line to make it readily apparent if any of them back out.
By this time, my new LS7 lifters had been soaking for a few hours in oil so I installed them into my lifter trays and bolted them down.
Tomorrow I plan to finish up the long block assembly with heads, valve train, front cover, and oil pan.
Engine is together minus the pushrods. I re-checked them and I wasn't happy with the amount of pre-load I was getting, so I've got some new ones on the way to correct that. Other than that, the engine is ready to drop back in the car. Not sure what is different from this time to last time I assembled this engine, but for some reason it seems to turn over effortlessly now. It spun smooth before, but took a little more effort to turn by hand.
Windage tray, and oil pump pickup installed and torqued down. I ended up using a generous amount of assembly lube on both the oil pump o-ring and the o-ring register in the pump to ensure a smooth installation of the pickup tube. It installed effortlessly. I made a change to the bolts holding the pickup tube to the pump - the kit came with some socket head cap screw bolts that I didn't care for (stripped both when I disassembled it), so I swapped them for some regular hex head flange bolts.
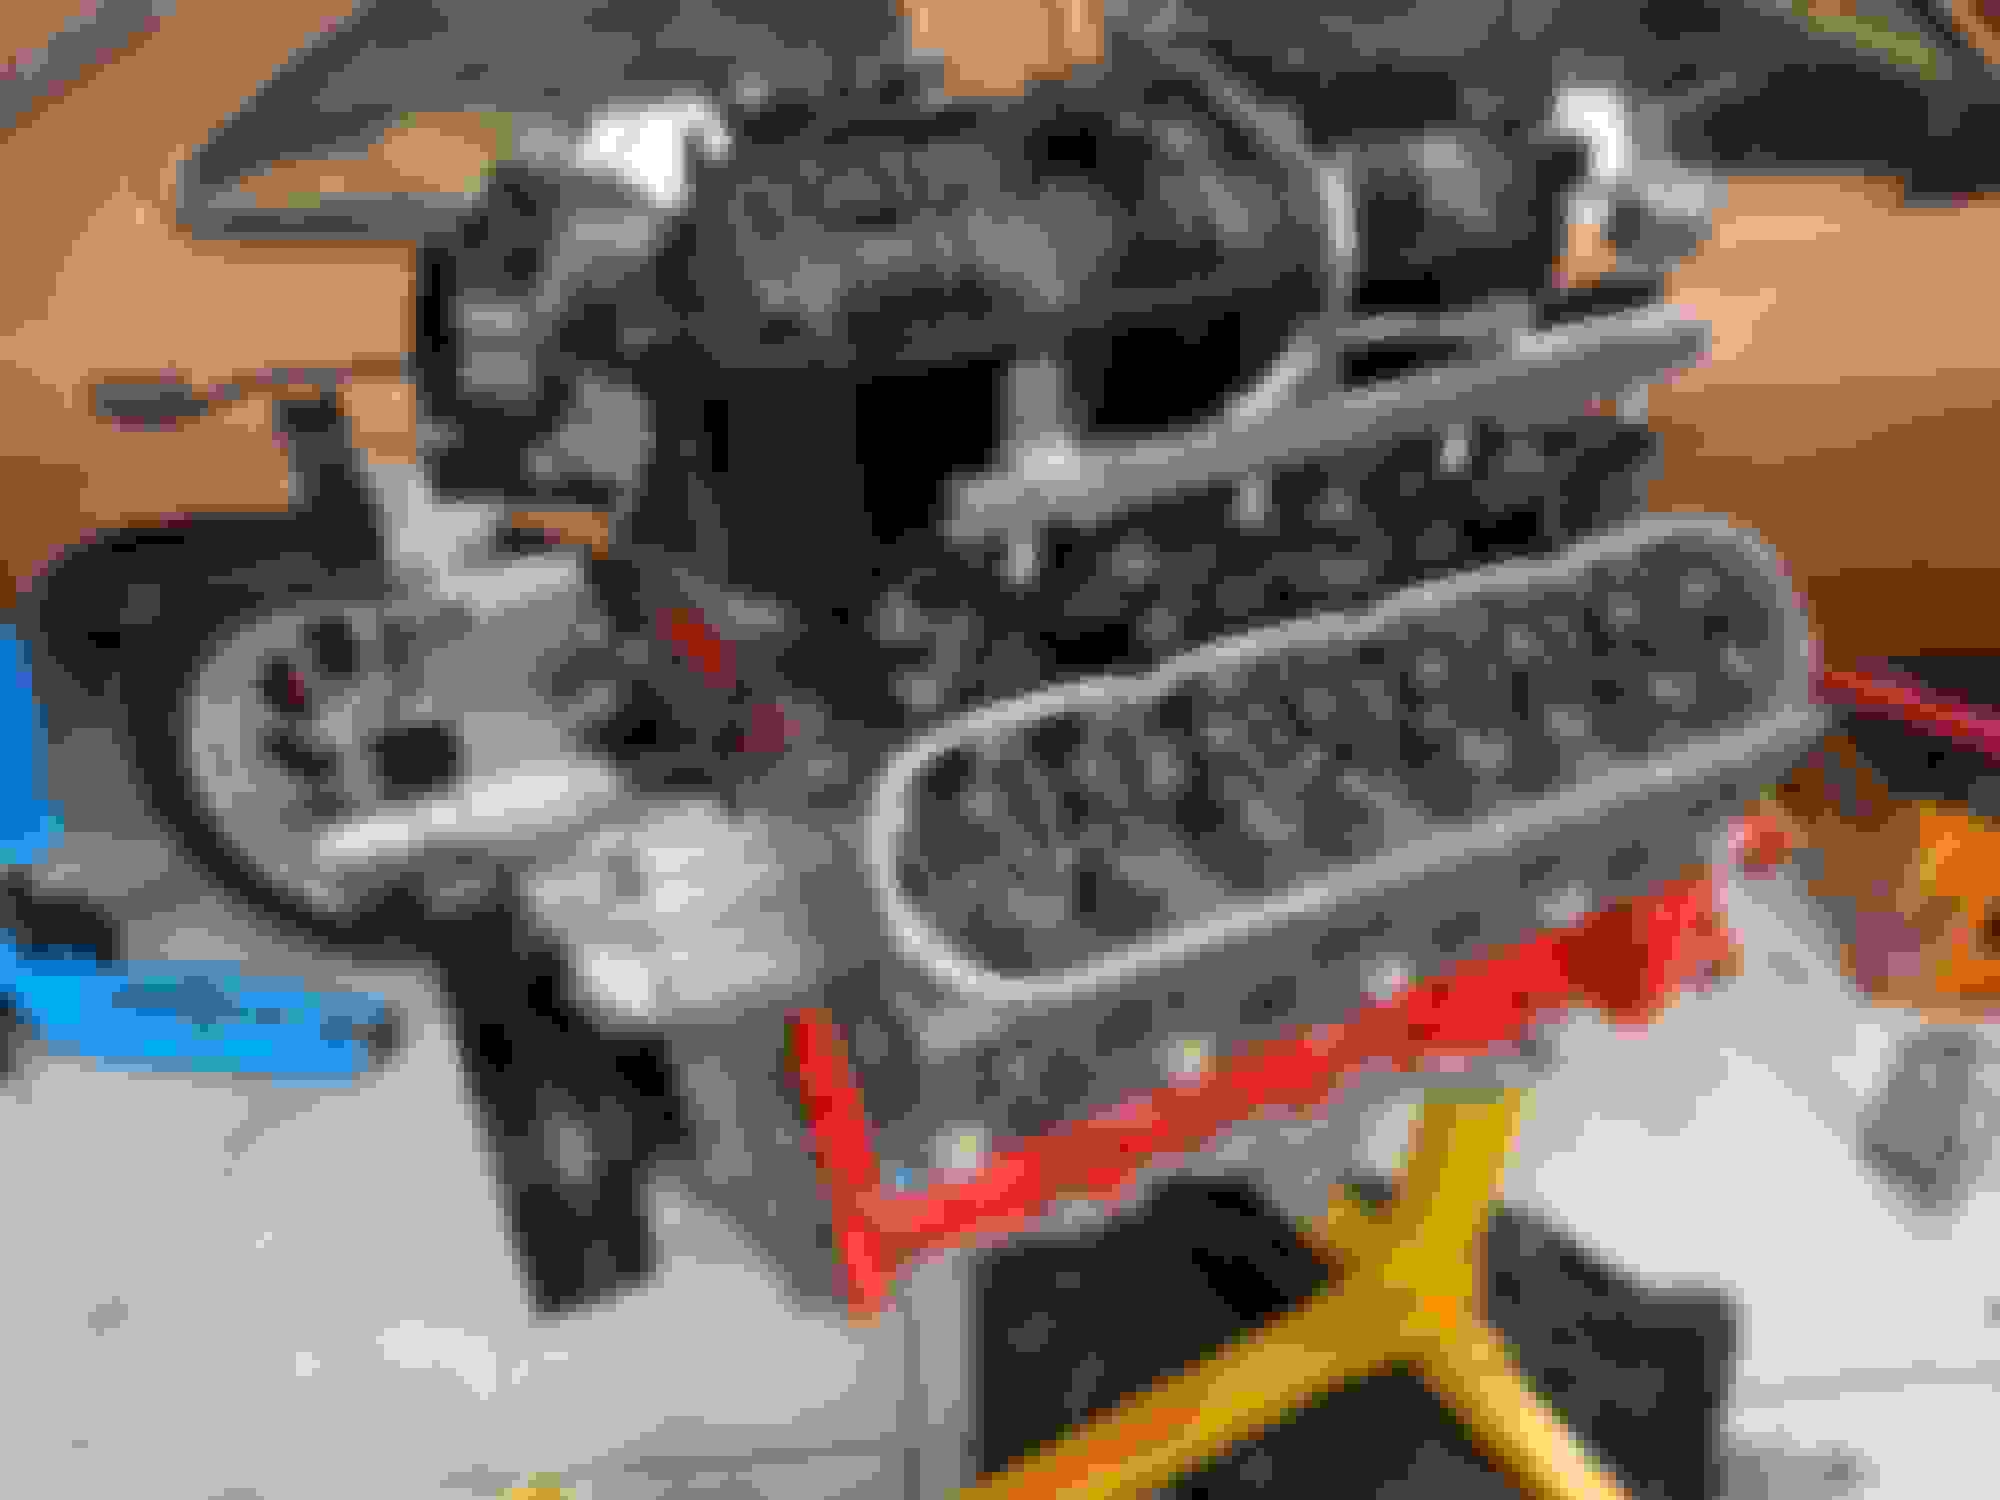
Had to throw the intake manifold on for some further motivation. It's been 4 months since I've seen the engine like this... The careful observer will notice that I marked all my head bolts with a sharpie to ensure an easier visual inspection that I reached 90 + 90 degrees for the torque (I used an angle gauge as well to be more precise, but this helped me to not miss any bolts). After final torque angle was reached, each bolt head received the yellow dot.
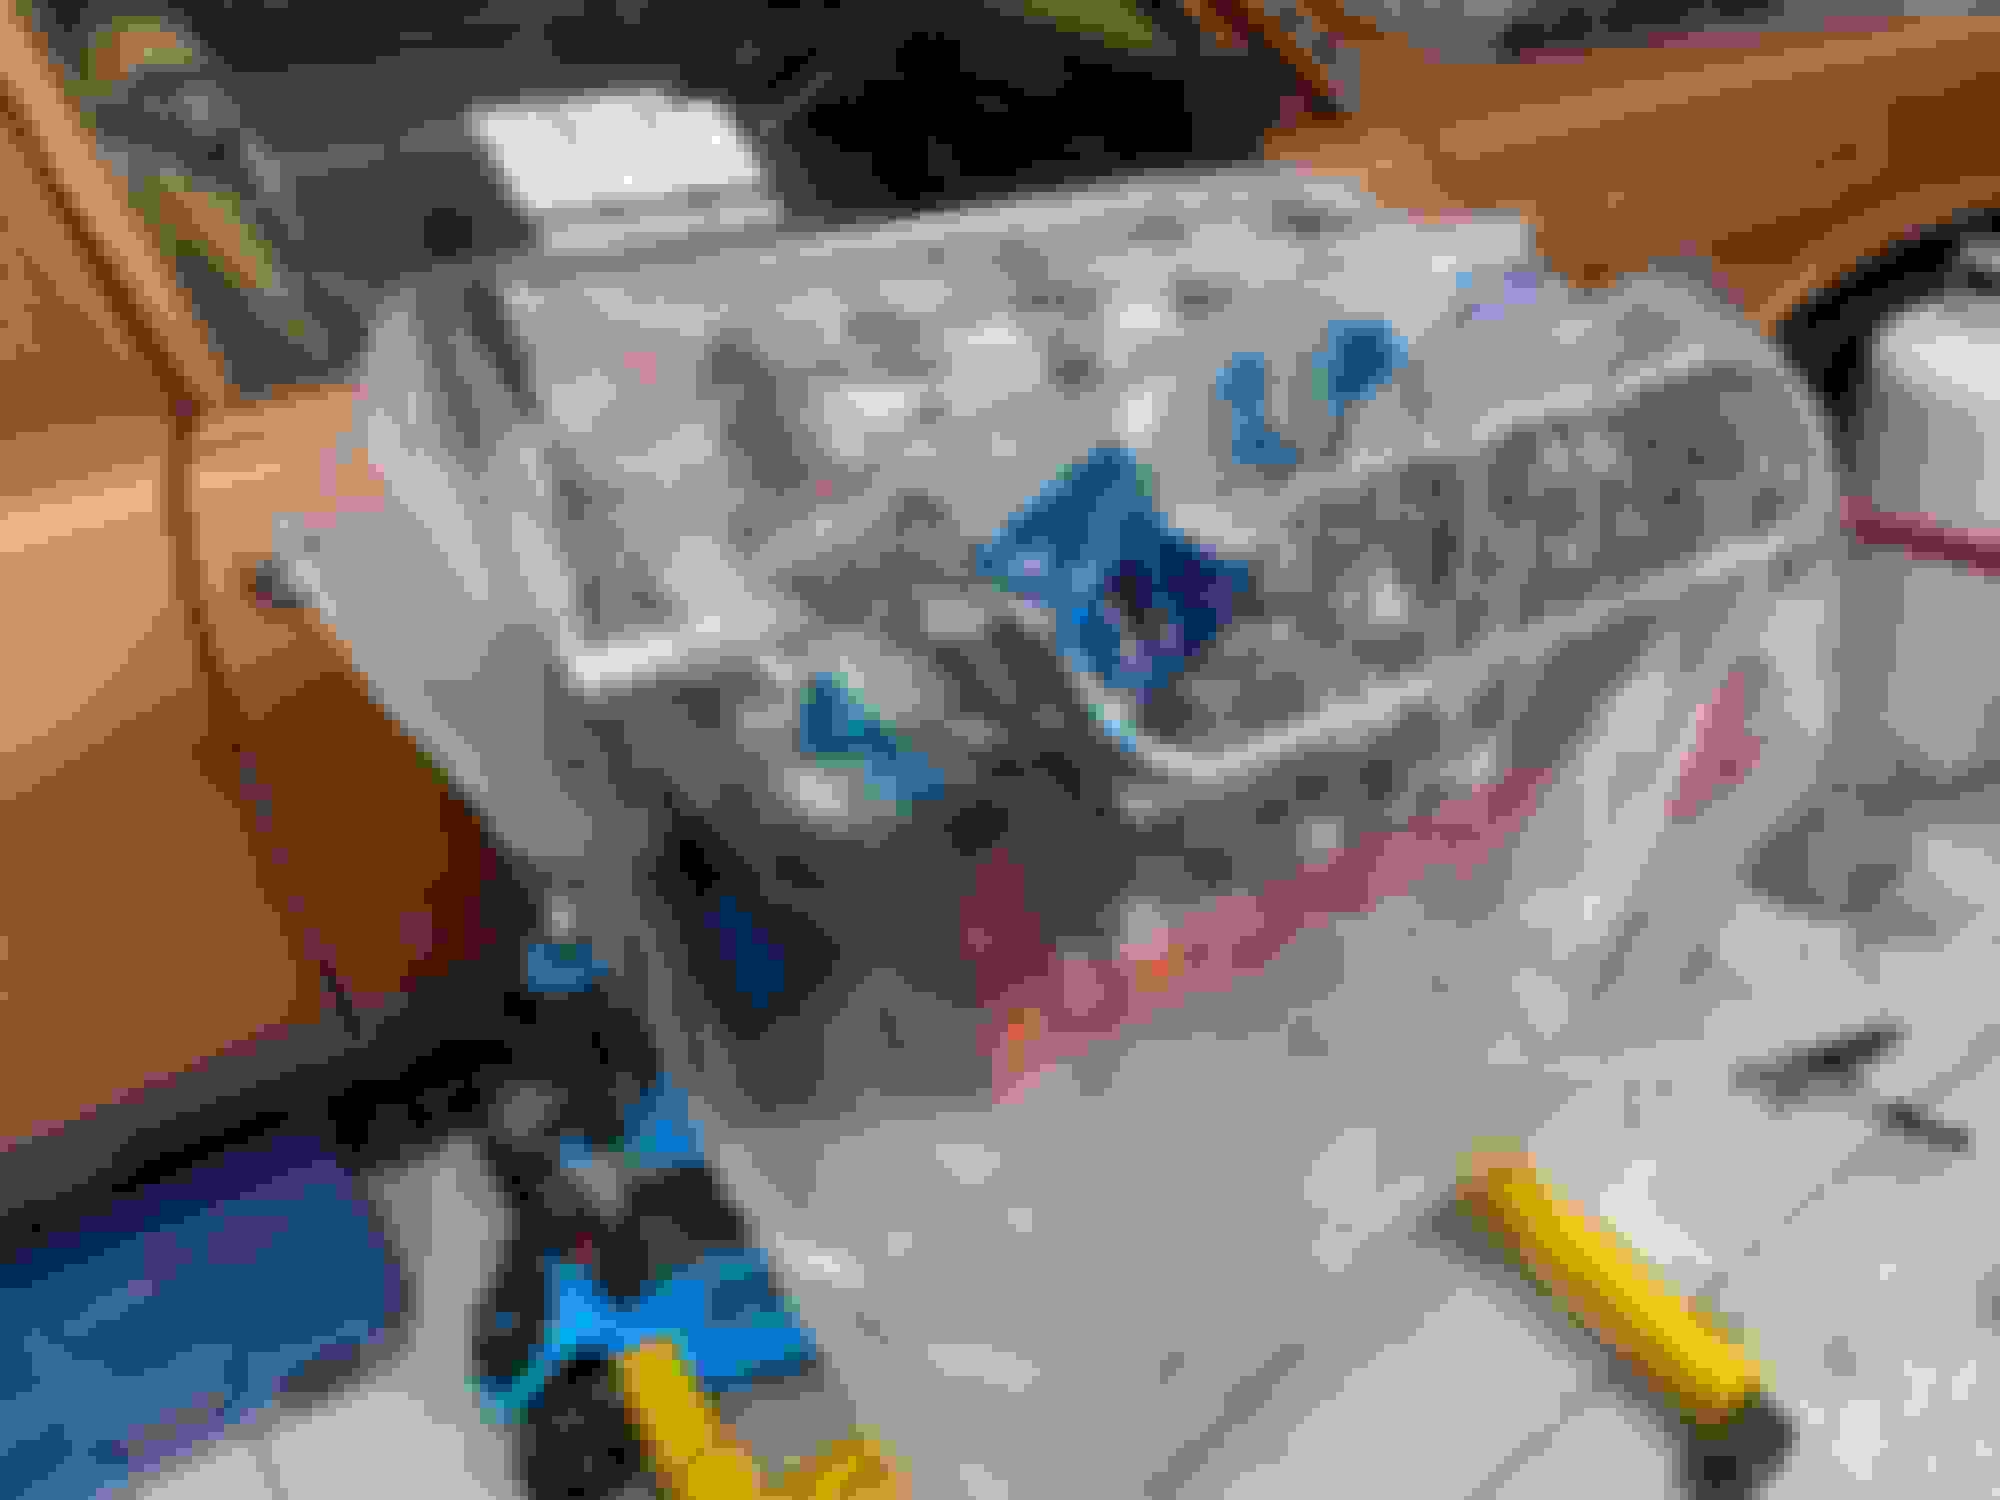
Engine back under it's cover, until next week when it will be going back in the car. When the pushrods come in, I'll pull the valve covers and install them to verify correct pre-load on my LS7 lifters. (shooting for 0.080" pre-load). I'm debating if I should rig up the starter on the stand to verify oil pressure before installing in the car given my history with this engine...
Starting to second guess my need for new pushrods. When I checked yesterday, I was getting 0.135" of preload, but I don't think I was on the base circle of the cam. Today I went out, took a step back and went back to the Exhaust valve opening, Intake valve closing method from my days with the GEN1 SBC's to make 100% sure you are on the base circle of the opposite cam lobe. Doing this method, I was getting much better preload numbers more in-line with what I was expecting of 0.088-0.094" which fits with the amount the machine shop took off the heads and block (0.005" each for a total of 0.010"). Previously, when I measured preload before all the work was done, I was at ~0.077-0.083" preload. I'm not sure that the additional 0.010" preload is really going to cause all that much trouble. I currently have 7.425" pushrods and ordered a set of 7.375" pushrods, but I think this will put my preload too light for my LS7 lifters at 0.038-0.044".
Anyone run in the high 80's to low 90's for lifter pre-load with LS7 lifters? I've seen specs for LS7 lifter pre-load range from as low as 0.050" to as high as 0.100".
Lastly, the Nova will have some new company in the garage come spring. I put an order in for a 2022 2SS 1LE Camaro in Wild Cherry Tintcoat with the manual trans and this week it moved from being accepted by GM to being accepted by the plant production control and assigned a target production week of 1/3. (The Nova isn't going anywhere) I do exhaust tuning work at my day job and I've been fortunate enough to work on some pretty cool cars and even had a few of them for a week or so on a few occasions. CT6-V Blackwing and CT5-V Blackwing being the most recent that I've done. Both are amazing cars, but quite a bit out of my price range. Both of my boys loved the CT5-V and I've wanted to get a 1LE since they had the 5th gen 1LE's. The 1LE will give me a fun car (a little safer than the nova, that were can all enjoy). Here's how mine will look.
Engine is back in the car. As usual, the engine mount bolts and the low mount AC fought me the whole way. AC wouldn't normally be an issue, but my system is charged and I didn't evacuate / disconnect any of the lines, so I was fighting against some tight clearances. Tomorrow I'm hoping to get the exhaust, plugs, plug wires, headers, and hood back on so I can see if it will fire on my previous MAF only calibration. My MAF table is dialed, so theoretically it should still be pretty close in MAF only mode.
Pics or it didn't happen:
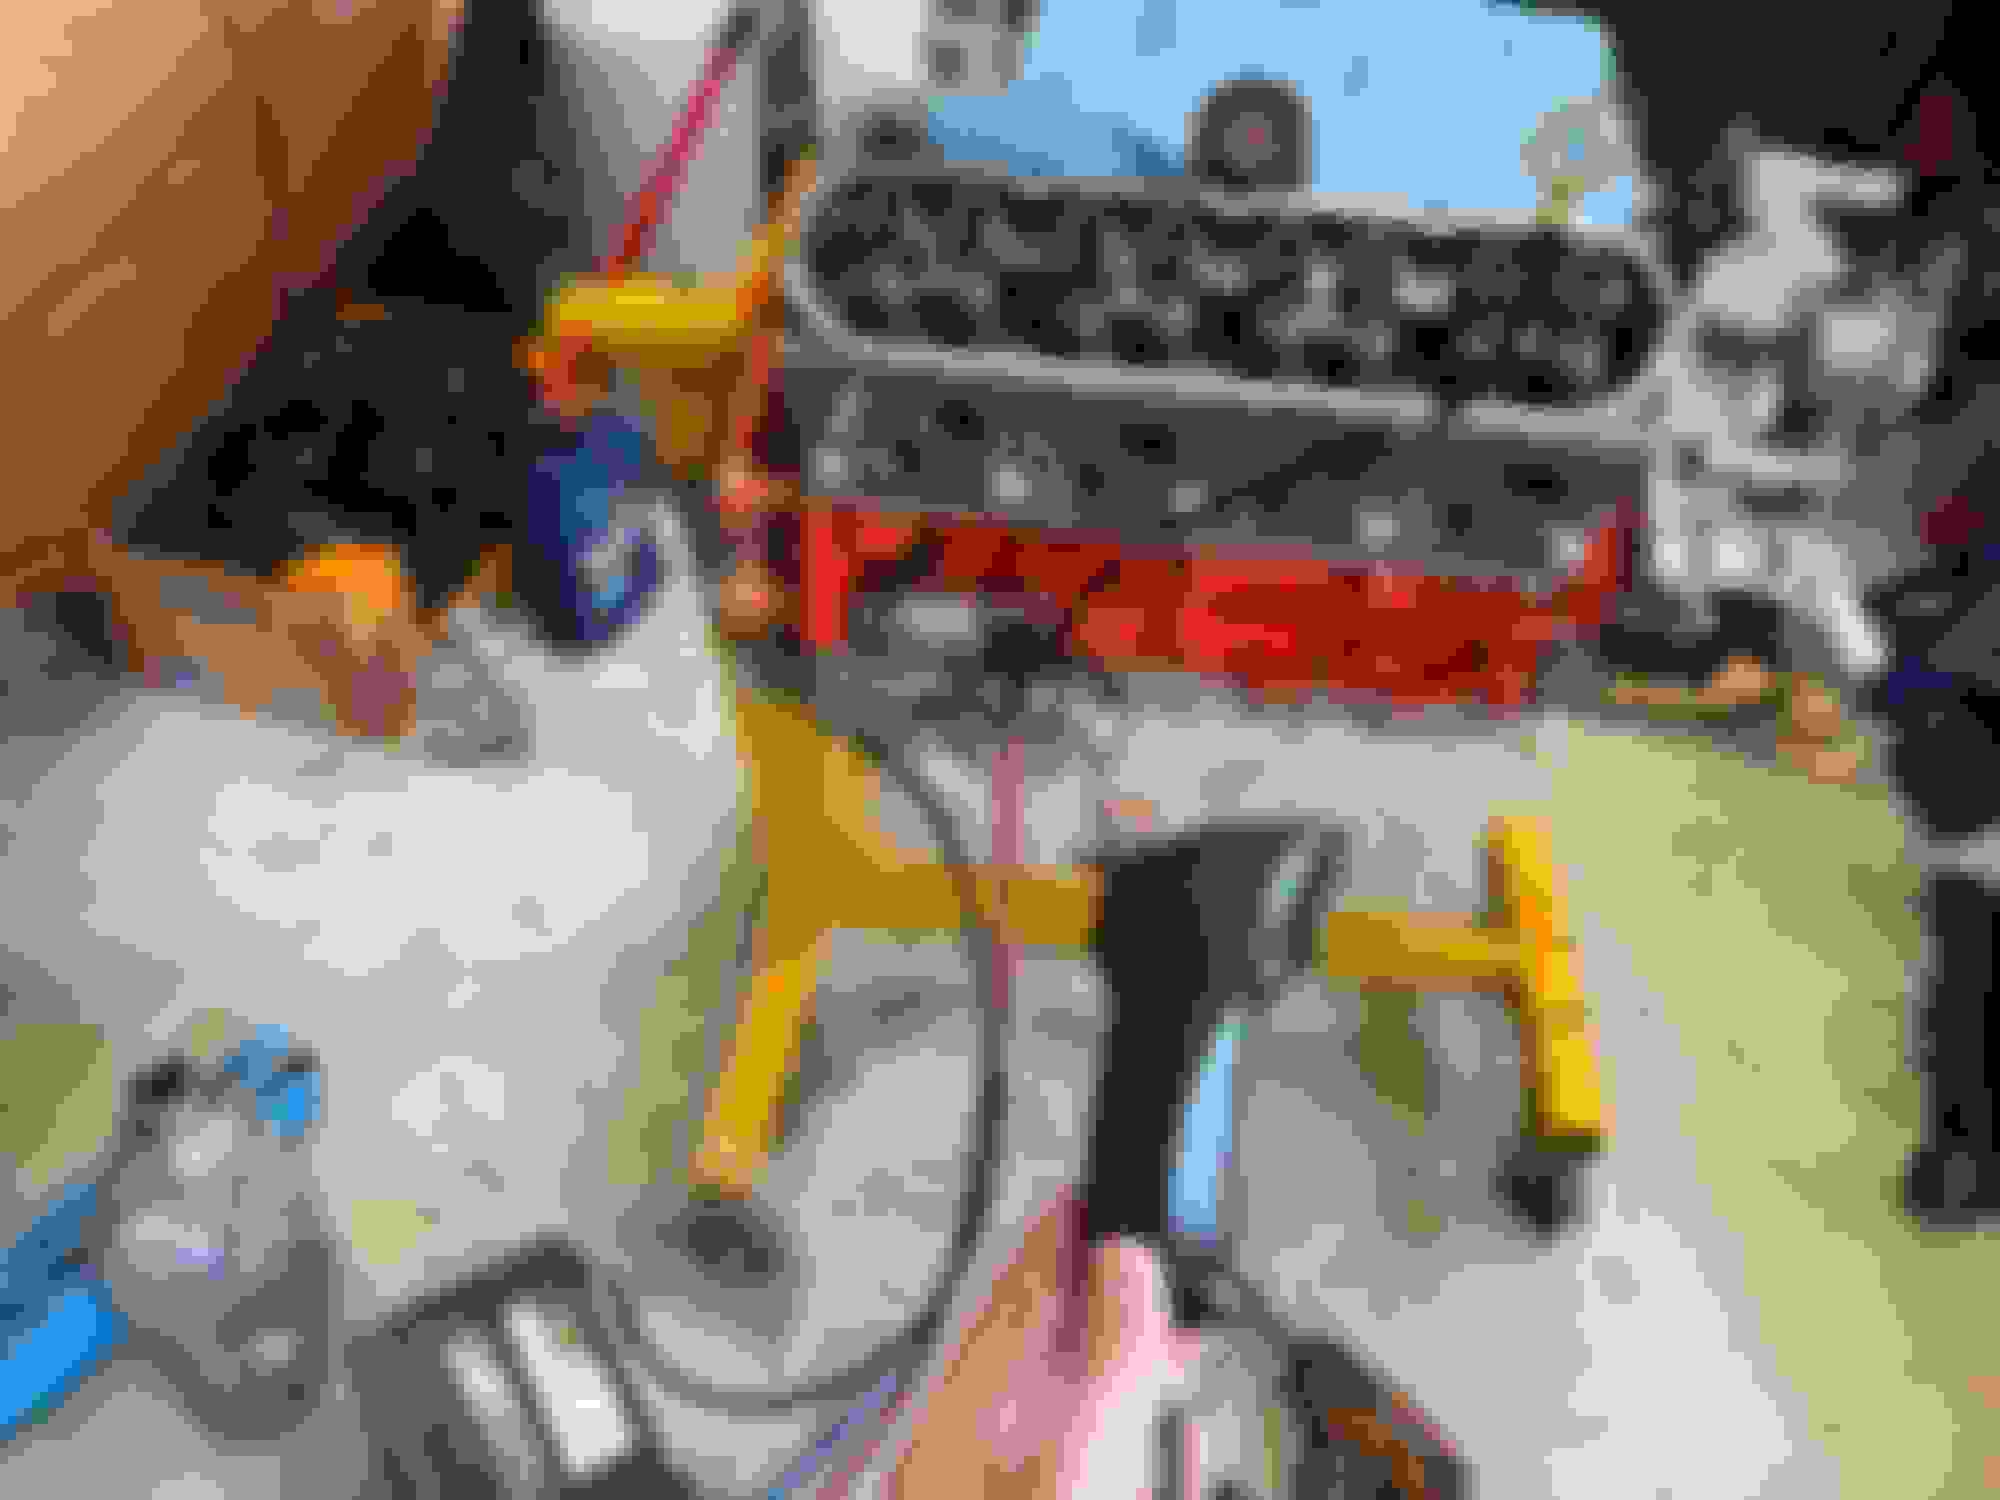
I decided to buy a cheap mechanical oil pressure gauge and rig up my starter / flex plate to be able to turn the engine over out of the car and check for oil pressure before it was in the car. I found some 2 gauge battery cables on amazon that had staggered eyelet sizes - 5/16 and 3/8. I kept my old battery, mainly because I forgot to take it in for the $10 core charge (hardly worth my time to exchange a still working good battery). I then picked up a remote starter switch (or as one of my favorite YouTubers calls it, the I'm a Lone Wolf 6000 trigger). Yes I could have jumped the solenoid with a screw driver for free and I've done that before plenty of times, but this was really cheap and couldn't resist. Spark plugs out so not fighting compression and this thing moves a ton of air in/out.
After about 20 seconds it started building oil pressure, and it seemed to top out at 42psi with just the starter spinning the engine over - I'm good with that. I did spin the engine a few more times to get oil flowing through the engine a little more since I wasn't sure if I was going to be able to start it yet this year with it being December in Michigan...
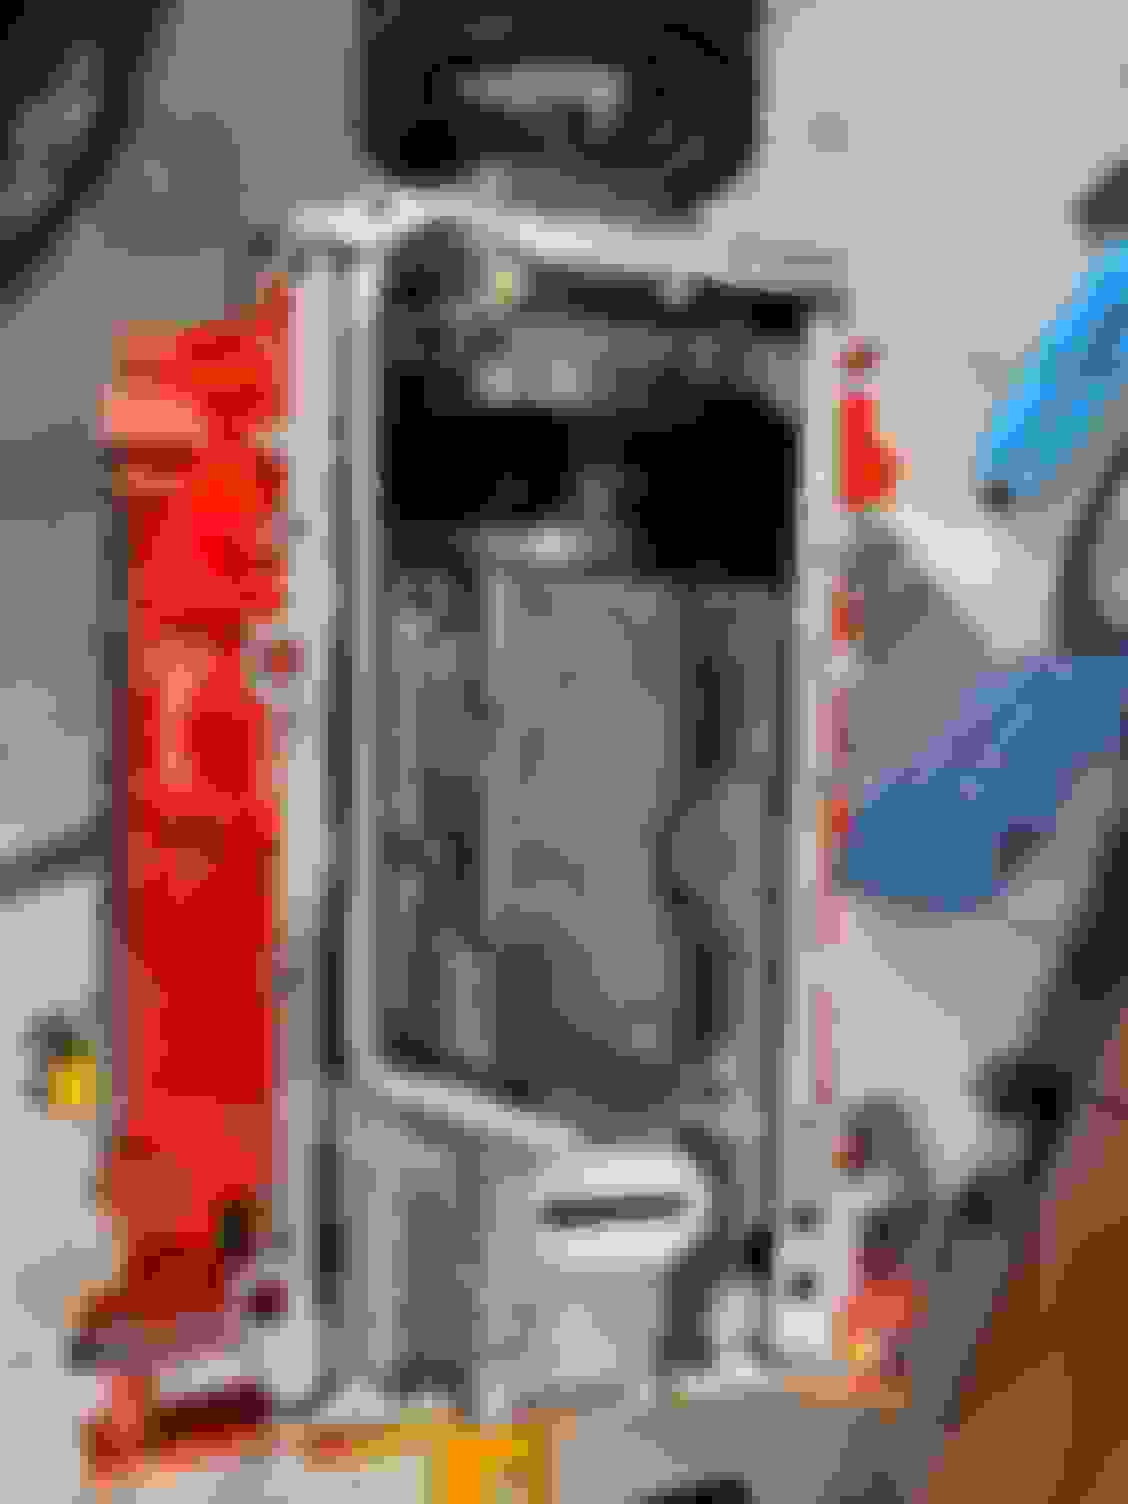
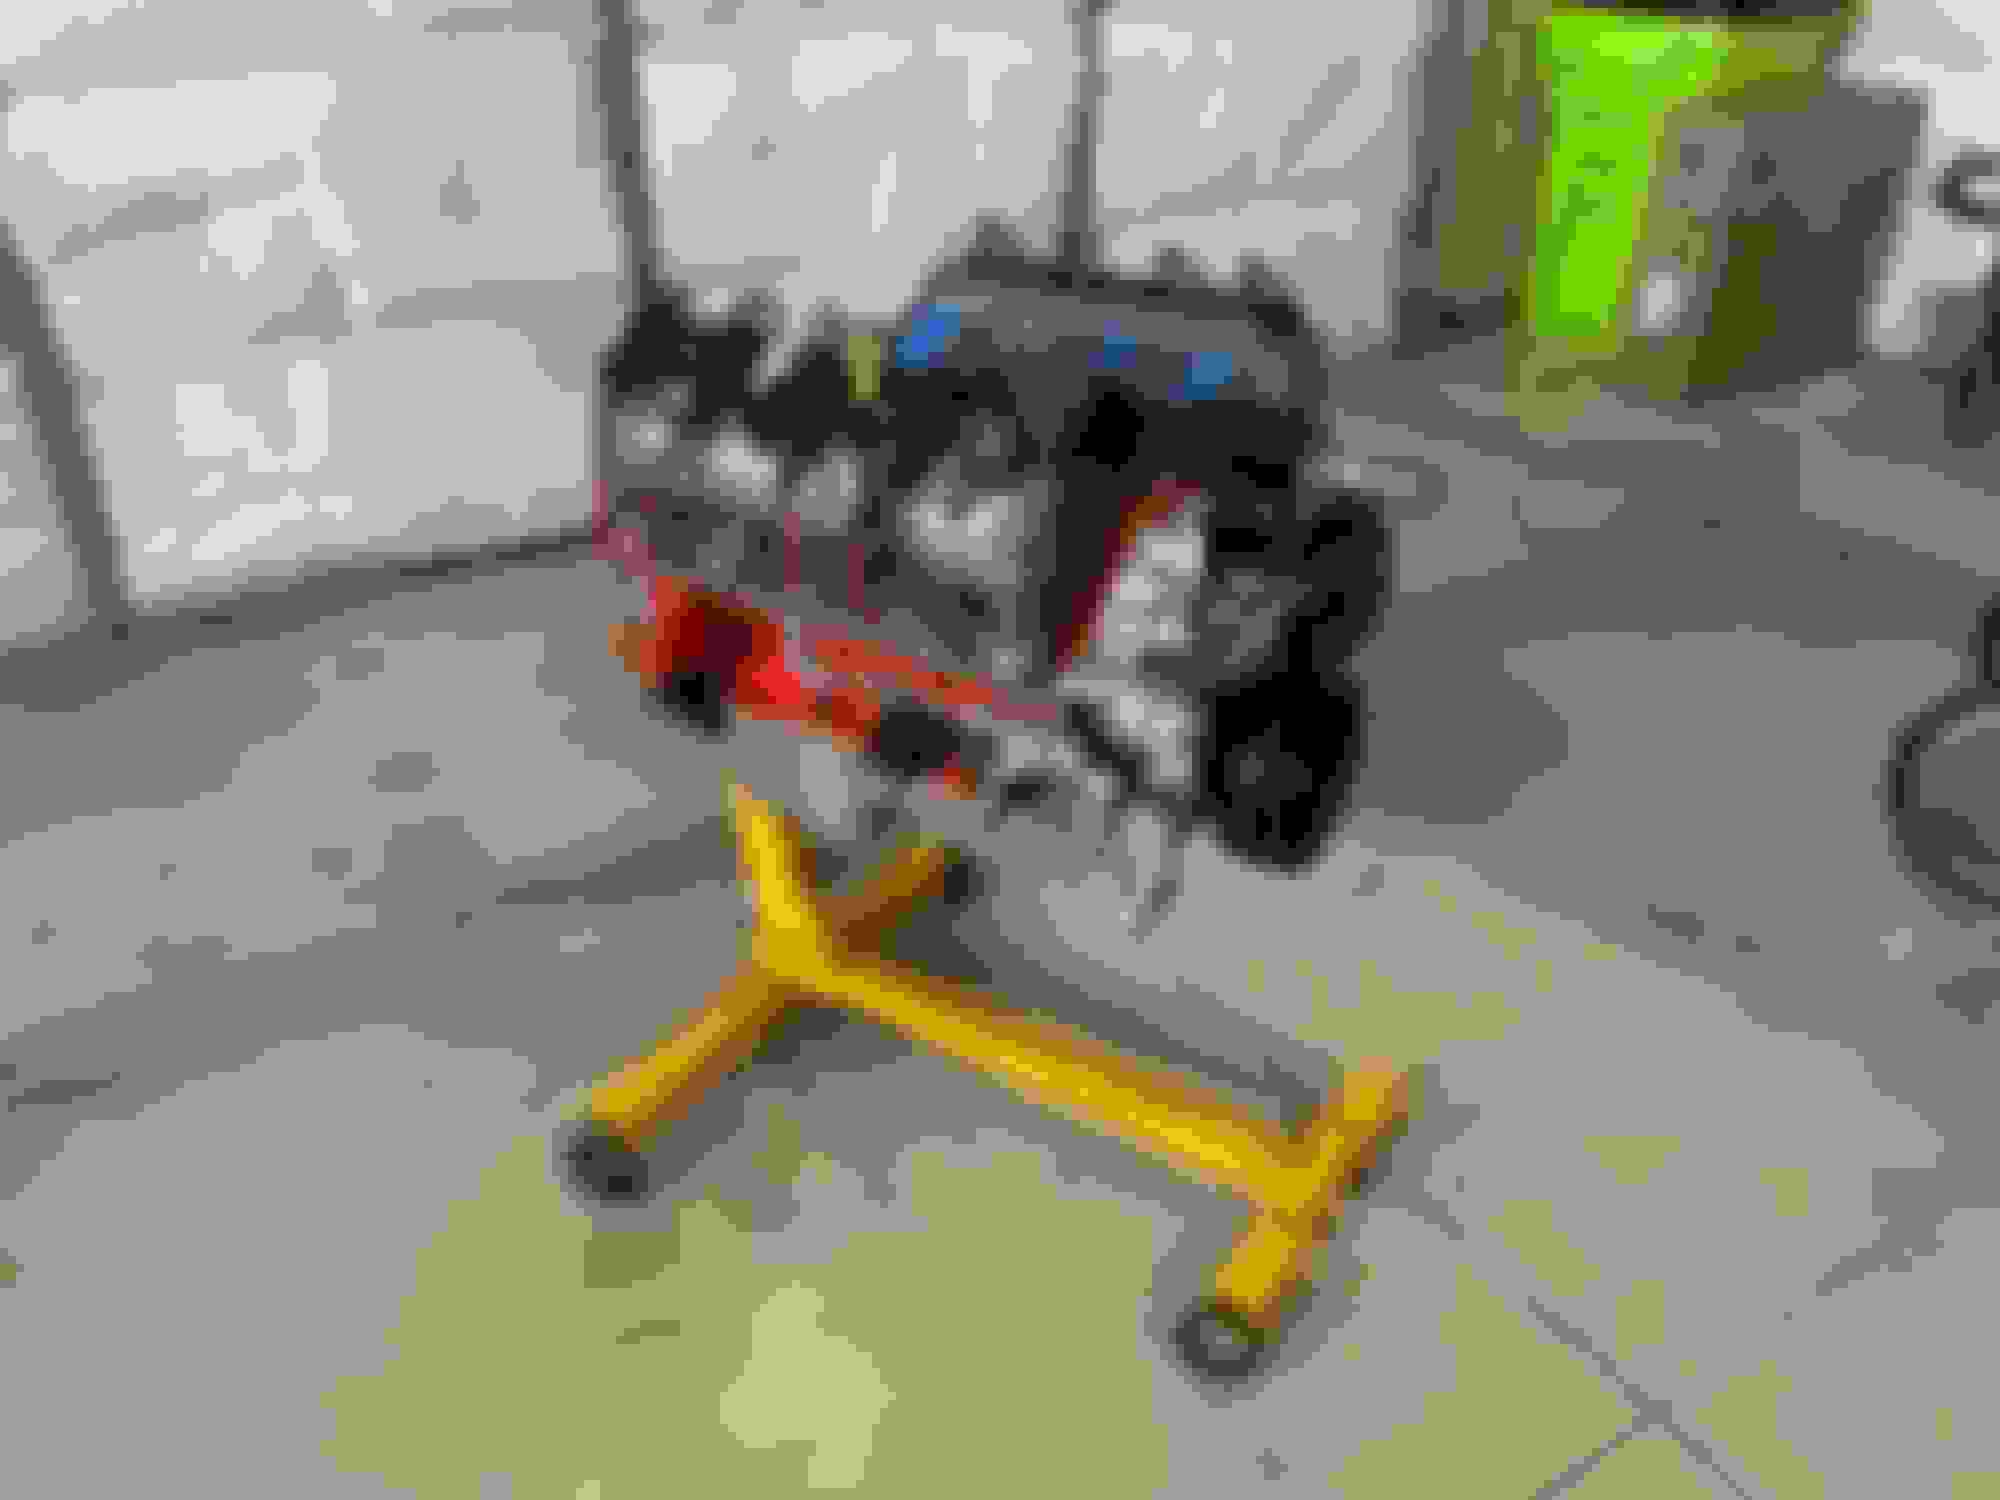
Right before coming off the engine stand and ready to drop in the car.
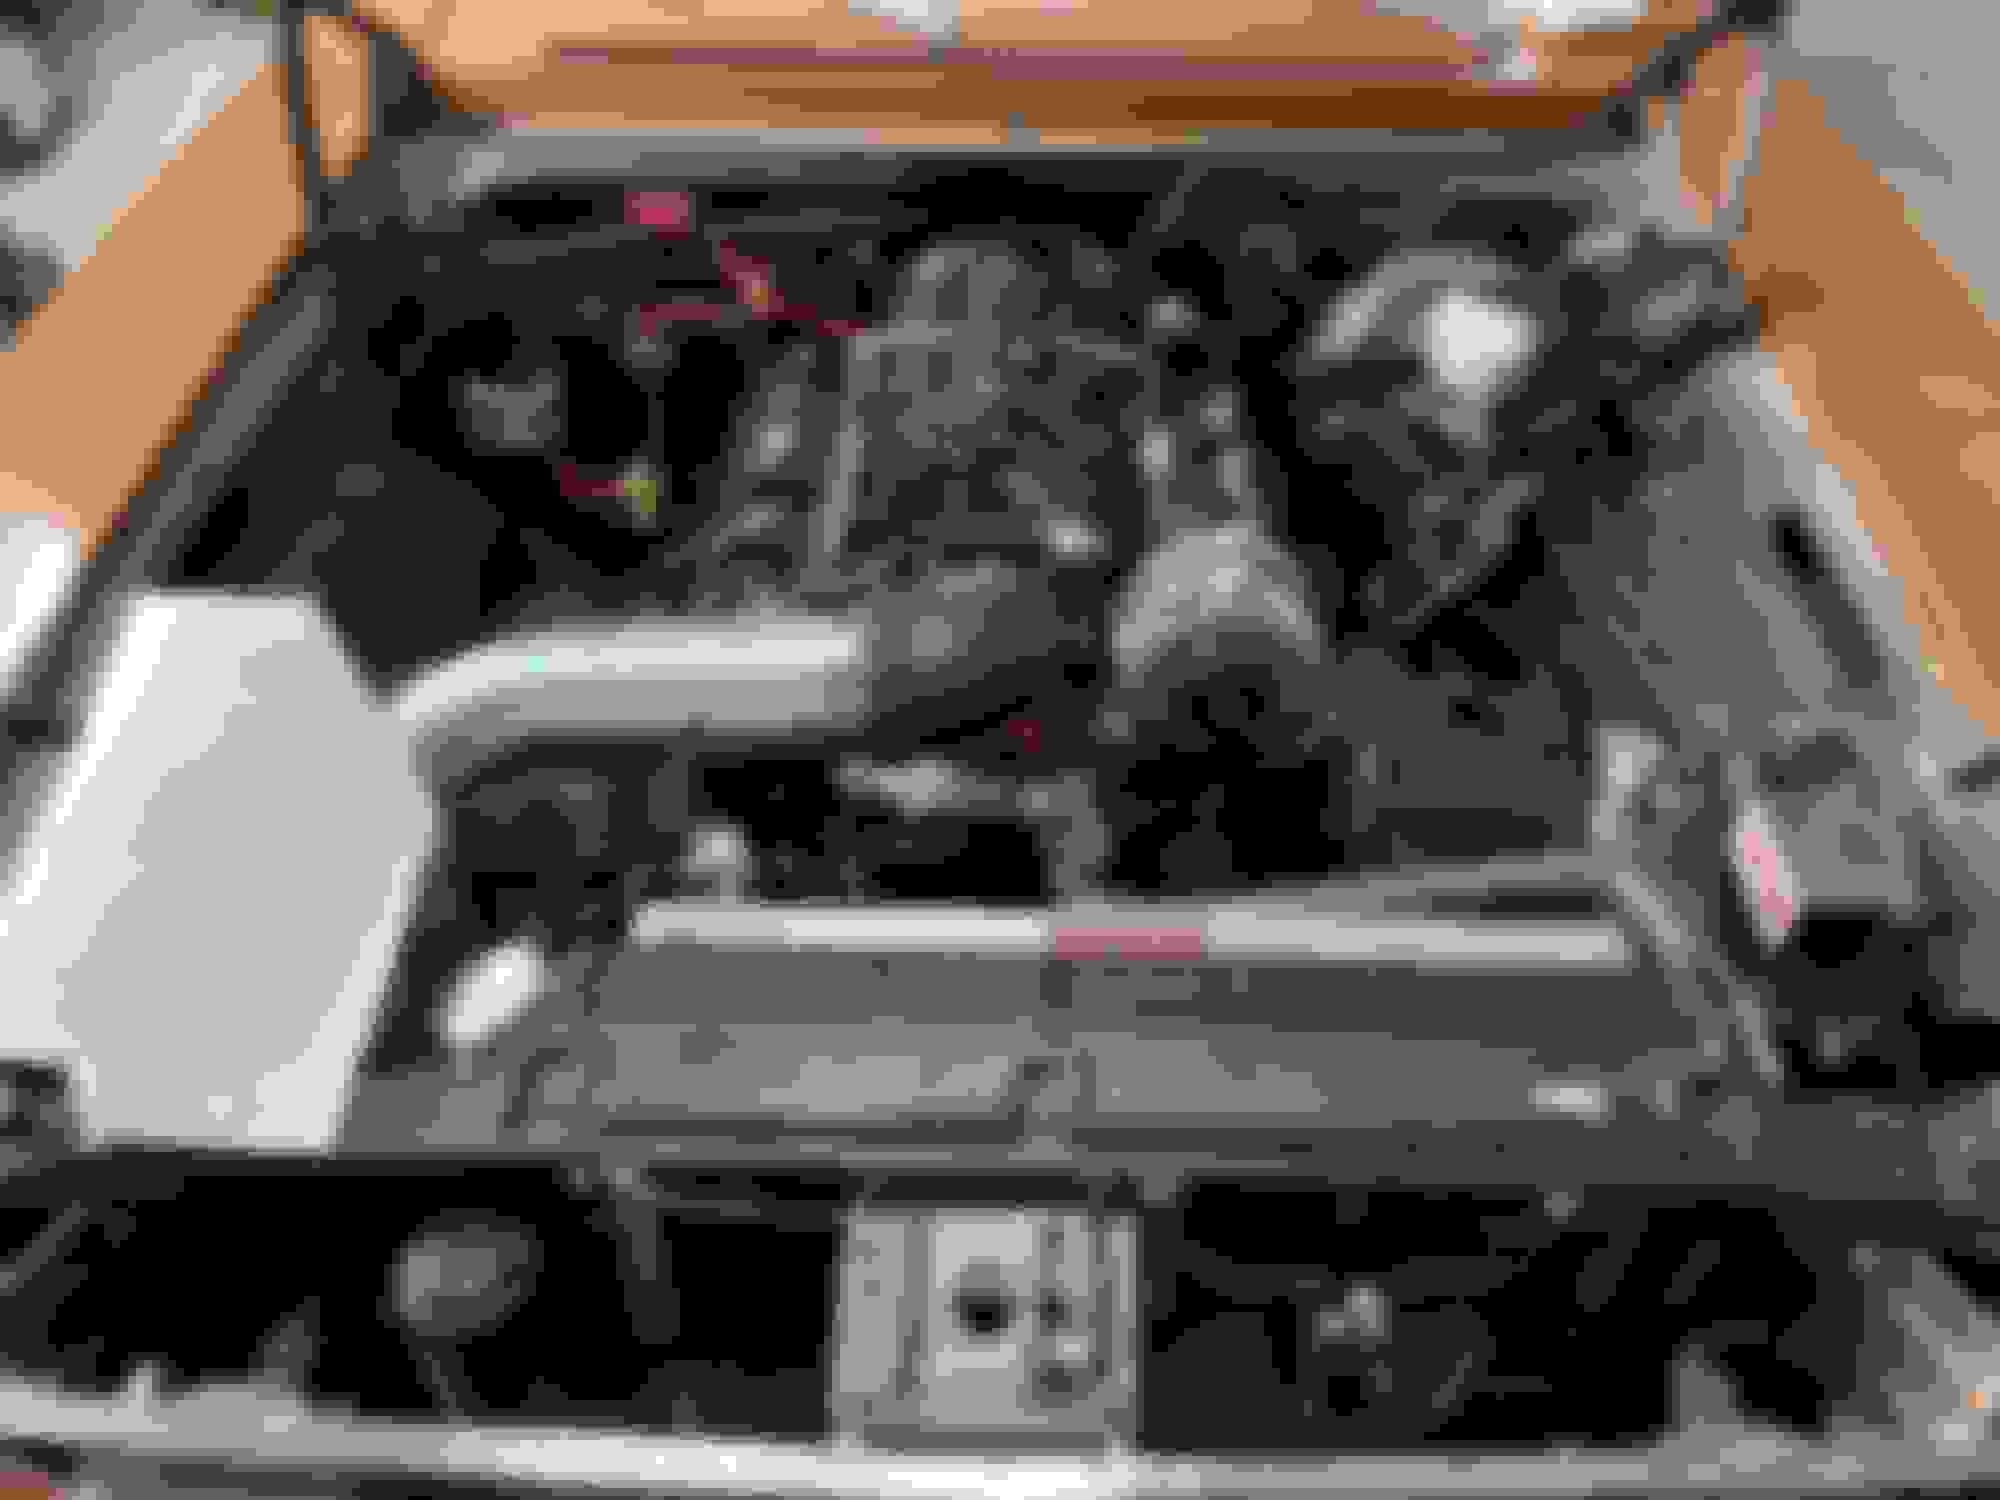
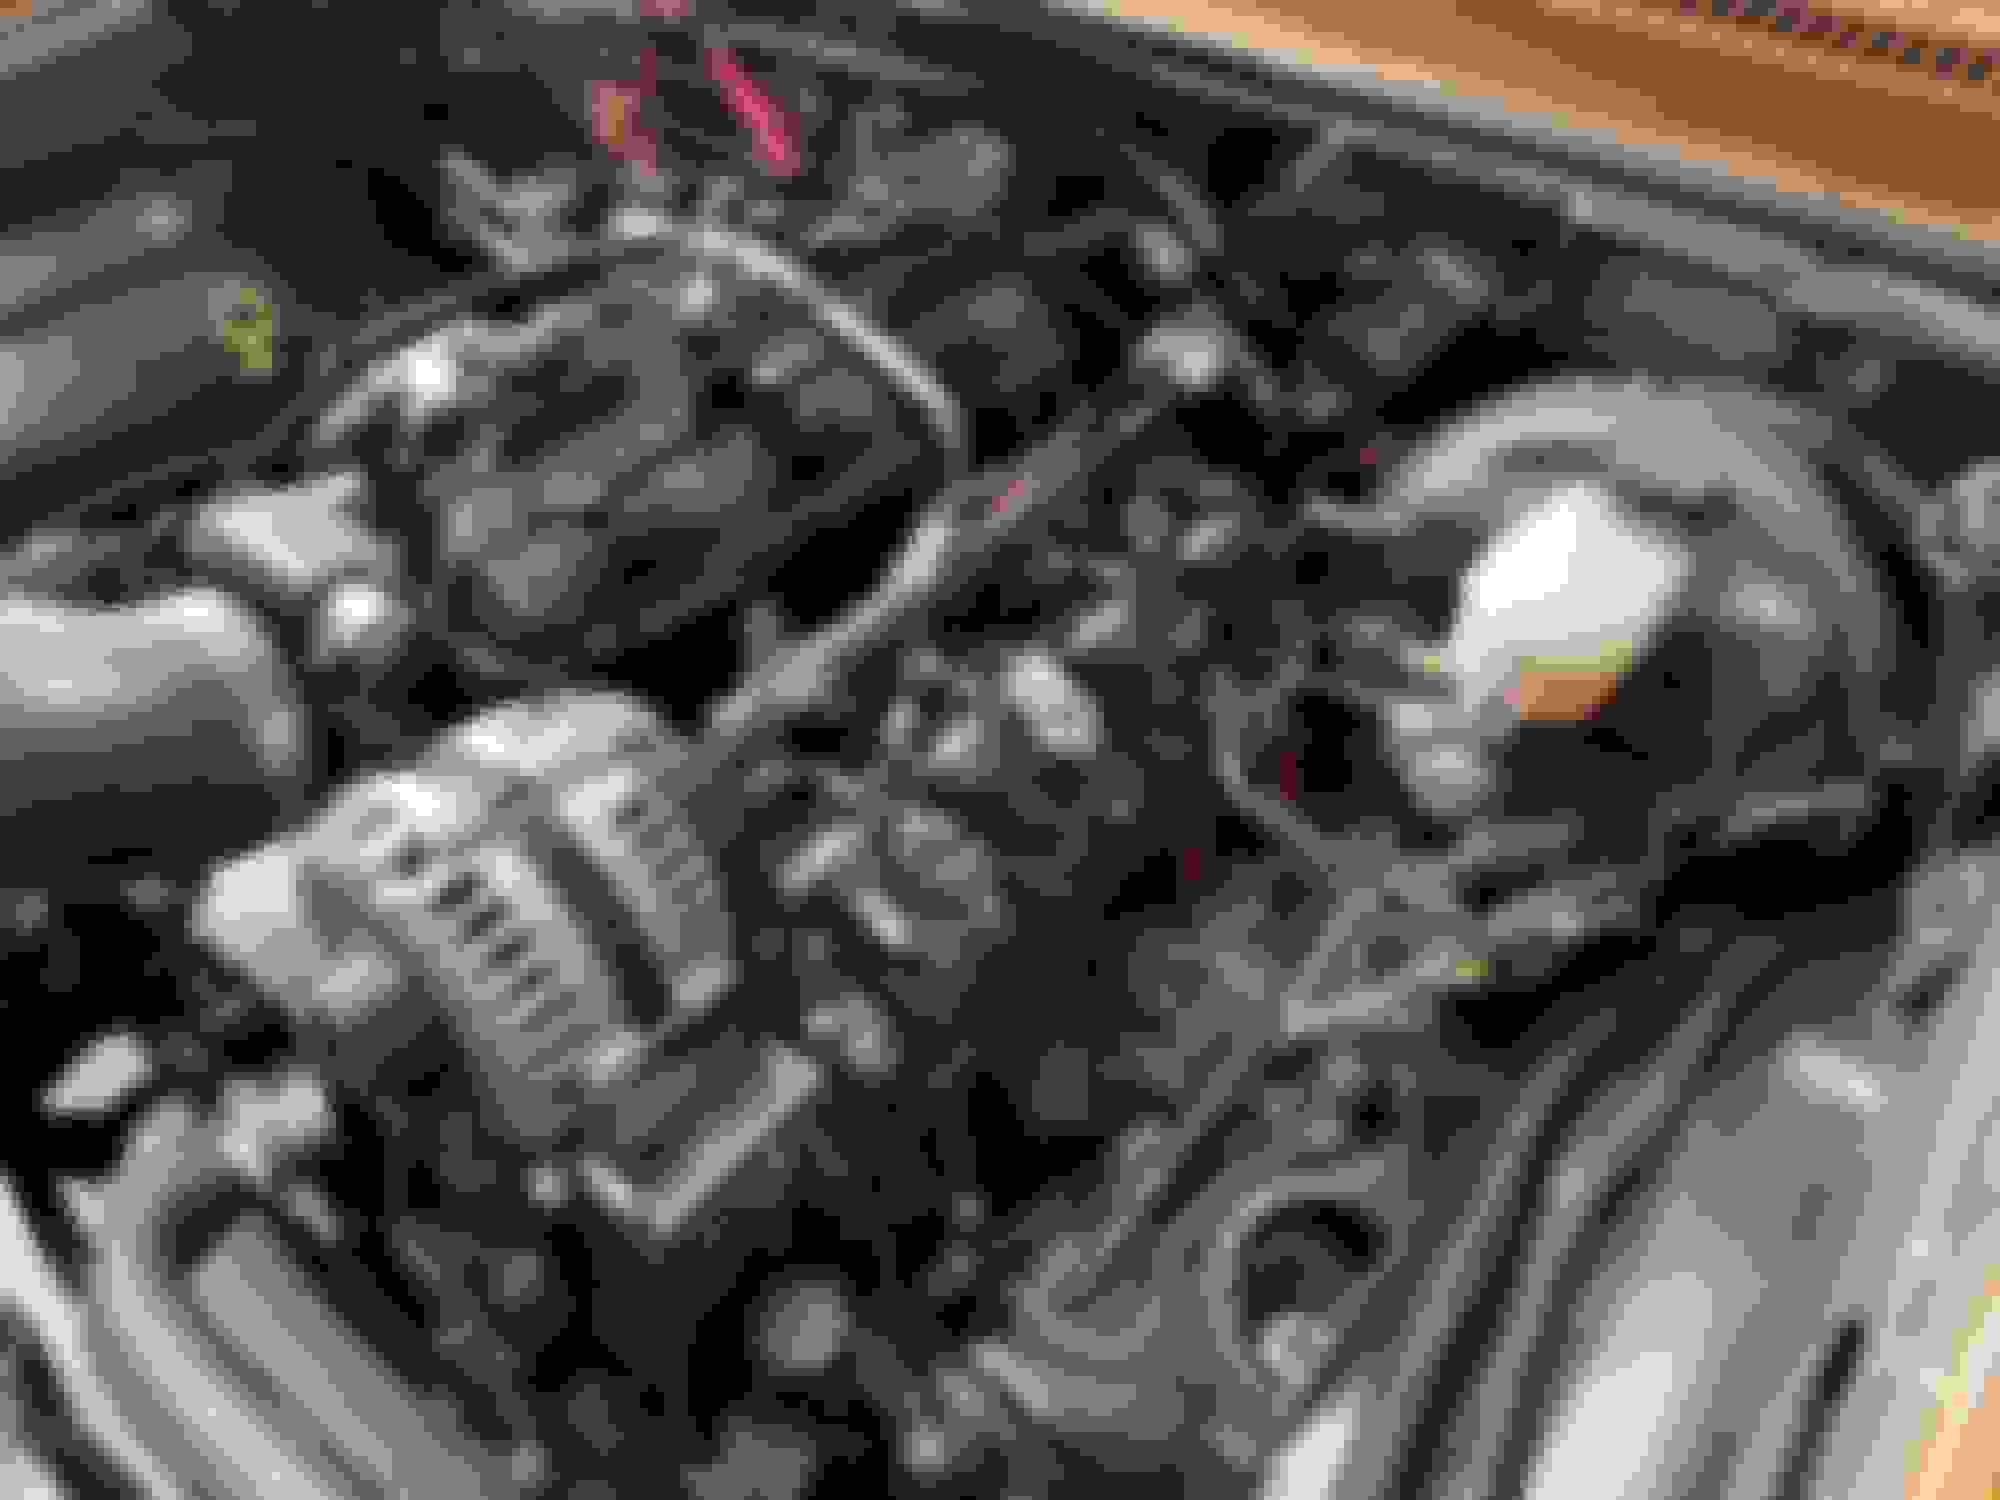
Progress as of yesterday afternoon, engine was in the car and bolted to the trans.
Today I got everything else buttoned up - intake, wiring harness, starter, engine mount bolts, torque converter bolts, flex plate inspection cover, etc. Just need spark plugs, plug wires, headers and exhaust.
Priming the engine�- you should make sure u get oil from all rockerarms
merely dumping it in the front galley , doesn�t do much other than fill the oil pump
Agreed - the main reason for putting a few oz's through that port was to aid in getting the pump / oil gallies primed faster. I did get oil (albeit not very much with how slow the engine is turning with just the starter) at all rocker arms in the short time I spent spinning it over.
Engine fired up last week almost instantly after I cycled the key a few times and switched back to my MAF only tune. I figured this would be the best place to start since I spent a long time dialing in my MAF previously and the relationship between the HZ generated and airflow shouldn't change since I did not change the geometry of that part at all. Cold oil pressure is between 50-55psi and hot idle pressure is now 45-50psi at 750rpm hot idle. Going down the road it is between 50-60psi depending on rpm. Here is the first startup video (note I forgot to start my log before turning the key so you will see me rush to start the log mid video). Idle vacuum is improved, although still low with this big of a cam (62ish kPa at idle translates to roughly 11.5 inches of vacuum assuming 101kPa ambient). I am also now getting in the 20's for kPa on throttle tip out decel where before I was lucky to be in the upper 30's to low 40's kPa. Valves are sealing much better now.
Another issue has popped up that I recognized from earlier this year - my IAC is bad again. I had ordered a cheap no-name one on amazon to see if that was my problem with stalling / idle hunting with the intention of purchasing a GM/ACDelco branded one in the future. It appears that the future is now, lol. I was getting throttle hang where I shouldn't and my commanded vs actual IAC were not matching up. Throttle was hanging on tip-out to the point where it was like cruise control was engaged even with my throttle follower / cracker tables completely zeroed out and decay delay tables zeroed out as well. IAC commanded was doing what it should, but IAC actual was not following. This also created issues at idle as the rpm would swing up and down like an under-damped system with the oscillations getting larger and larger with each period for no reason.
Also, if you don't have one of these funnel kits for filling up a rad, get one - well worth the $20 or so it costs. Way easier than jacking up the front of the car to fill plus you can start it up like this and make sure it gets the bubbles out. Also comes with a stopper to make removing it easy if you overfill on accident.
Just wanted to provide an update on this now that the weather is looking more and more likely to stay "nice" here in SE MI, I decided to change the lower rad hose as I had been dealing with a slight leak right at the connection to the radiator due to a mis-match in ID-OD of the rad hose and radiator outlet neck. My radiator has a 1.5" outlet OD and my previous hose (part number 72233) which had the right routing and size on the WP end, but it was 1.75" on the rad end. No amount of cranking down on the hose clamp would stop the slow drip I was getting. Some searching yielded the new hose (part number 71990 for an early 2000's chevy pickup) which is the exact same routing, but it is a constant 1.5" ID - perfect for my application and most importantly, no more leaks.
I was also dealing with a situation that I thought was a blown head gasket since my #7 header tube was reading "cooler" than the other cylinders, and oddly my upper rad hose would slowly start building pressure. However, once the t-stat opened it completely relaxed and it never over-heated. No oil in coolant or coolant in the oil. I even put my bore-scope in the cylinders to see if #7 had been steam cleaned compared to the others. All spark plugs were similar in color and appearance, all cylinders were within 5psi of each other compression wise. I didn't have any other signs of a blown head gasket or cracked cylinder head / block in any other regions - only the 1 cylinder reading cooler than the others. I even went so far as swapping coils, spark plugs, plug wires and injectors to see if I had any bad parts (swapped cylinder to cylinder) and none made any difference. I could make the engine run rough if I "disabled" cylinder #7 by unplugging the injector or coil so I knew it was firing. I went back to my IR thermometer and admittedly, there is no good access point to that header tube - I was about 2 feet away vs 1 foot for the other cylinders. I ended up putting the IR thermometer practically on top of the header tube and rechecked. The result was a temp within the spread of the other cylinder temps. Hopefully this means I am in the clear and it was just a measurement error due to the distance.
The swap has been running great so far and with the stall converter, it gets exciting real fast - this thing has plenty of power and torque for my uses. One issue I am having now is my AC seems to be not working correctly. I noticed that it was not cooling quite as well in the passenger cabin so I blindly added a little bit of 134A to my Vintage Air system. Long story short, I think I either added too much or my system developed a leak somewhere. Right now, my gauges are showing about 20psi on the low side and 175psi on the high side, and sitting stationary the coldest vent temp I can get is 54 degrees F on a 75F day with low humidity. I used to get about 42-46F at the ducts. Another thing I noticed is that the compressor isn't cycling like it used to - it runs constantly no matter where the temp control is at. I am using a Vintage Air trinary switch. that has a low cut-off of 30psi, and high cut-off of 406psi, and a fan trigger at 254psi.
I also recorded some duct temps going down the road and noticed that it seems to cool better when moving vs stopped. Should I just have the system professionally evacuated / re-charged to the correct 1.8lbs ?
This is a good tip. I did confirm the trinary switch was kicking the fans off and on at the specified 254psi. I waited until the engine completely cooled and turned on the air to take the fan coolant temp set point out of the equation. I hooked up my gauge set and the fans were cycling as they should when the pressure got to 254 psi on the high side. I called Vintage Air about this and based on my gauge readings they said it was most likely a system overcharge. I had a local shop evacuate the system for me yesterday, but not recharge it in case I do have a leak somewhere. I will pull a vacuum on it today and see if it holds.

 07-17-2021, 09:10 PM