

1970 GTO Version 3.0
 03-09-2022, 12:10 PM
#461
TECH Fanatic
Yeah, I wonder what the highest temps that would see? Maybe even something the same durometer of a radiator or body mount?


The following users liked this post:
kwhizz (03-10-2022)
03-11-2022, 05:02 PM
#463
TECH Senior Member
Thread Starter
iTrader: (7)
I searched all over for a Y-pipe that I could use to split my 4" downpipes into dual 3" pipes, but nothing was popping up. Then I saw Jody's Chevelle build over on lateral-g and he has this beautiful part from Burns Stainless. I called up Burns and 5 weeks later got this gem.
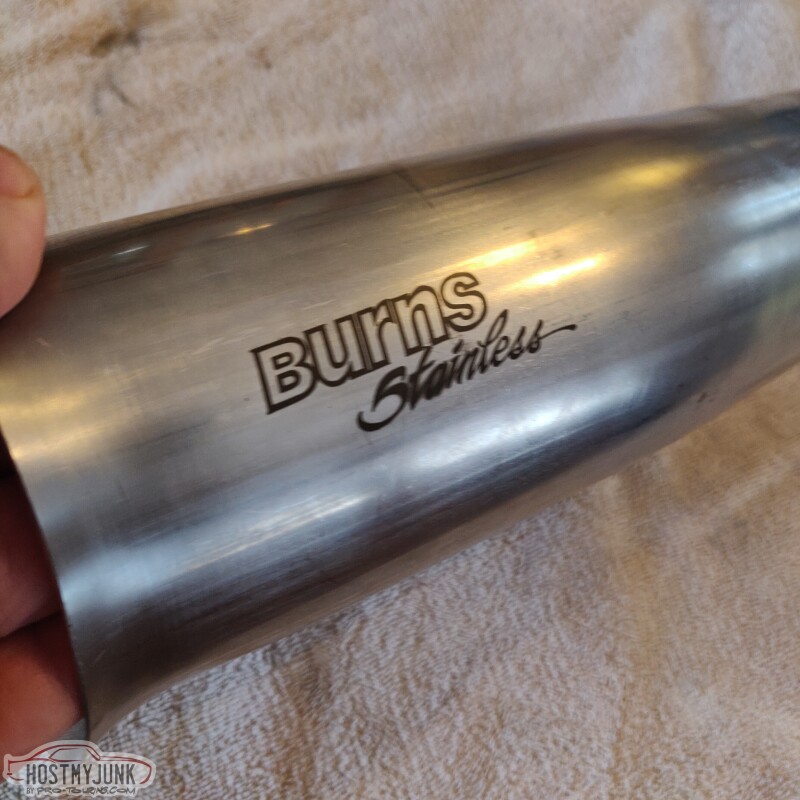
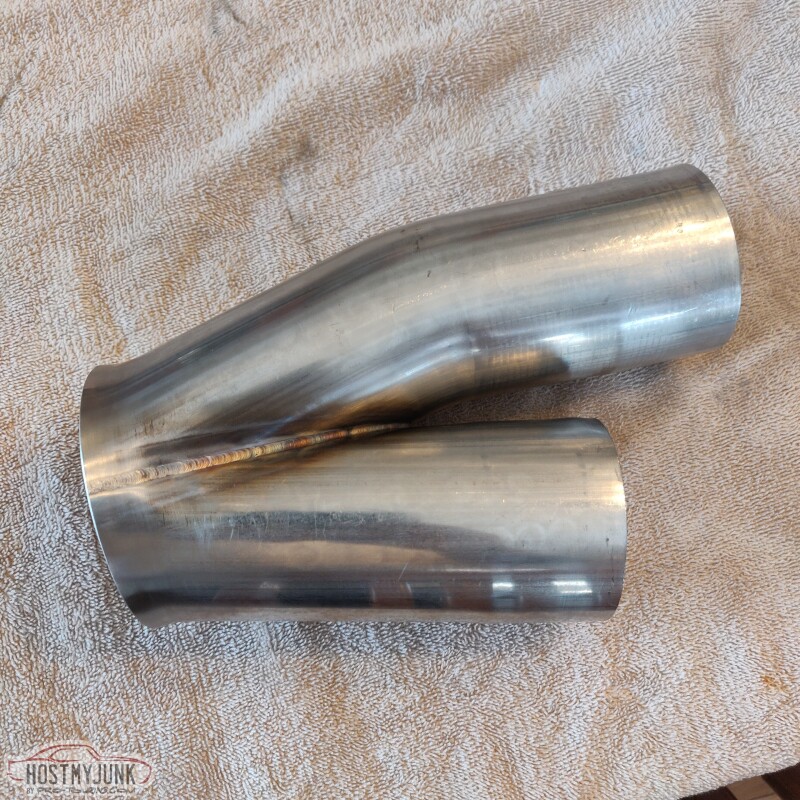
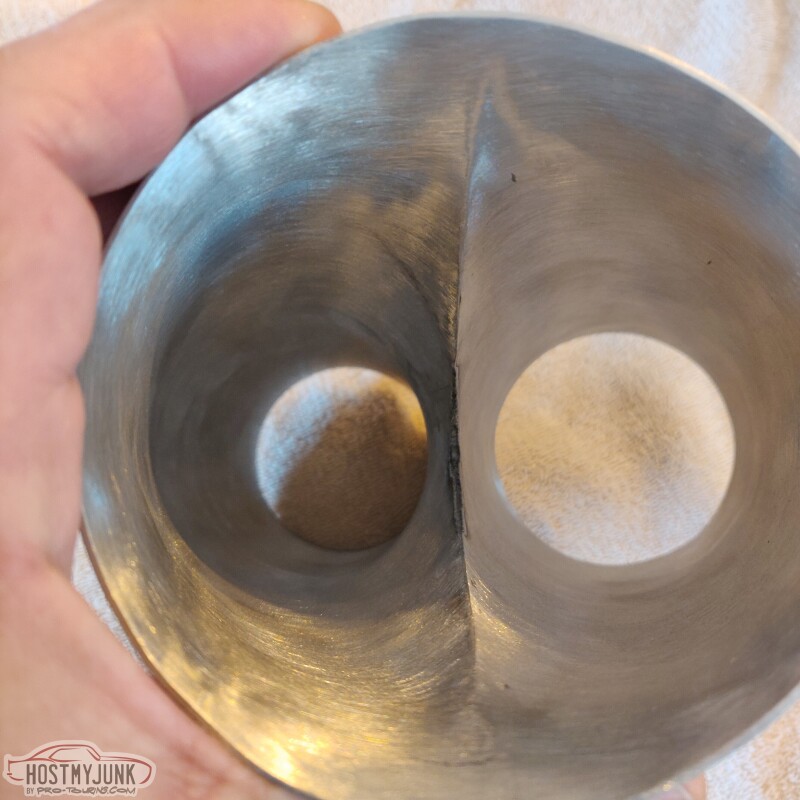

It has a nicely smoothed transition and great welds. Very happy with this part.
Andrew
It has a nicely smoothed transition and great welds. Very happy with this part.
Andrew
The following users liked this post:
G Atsma (03-11-2022)
03-11-2022, 05:10 PM
#464
TECH Senior Member
Thread Starter
iTrader: (7)
It's also totally awesome to have a friend that can whip stuff up like this and 3D print the parts out of ABS.
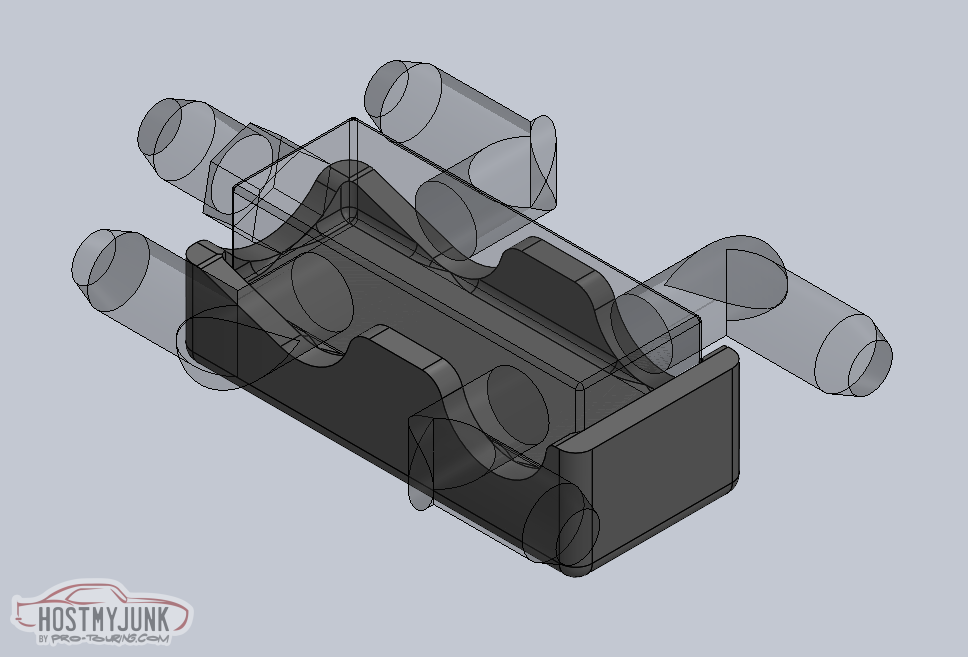

According to the 3M spec sheet, this stuff:
Is good for sustained 300 degrees F.
Andrew
According to the 3M spec sheet, this stuff:
Is good for sustained 300 degrees F.
Andrew
03-11-2022, 06:04 PM
#465
TECH Senior Member

What is the function of the fitting in the above post? It sure IS nice having friends with skills!
03-11-2022, 06:10 PM
#467
TECH Senior Member
The following 2 users liked this post by G Atsma:
kwhizz (03-12-2022), Project GatTagO (03-11-2022)


The following users liked this post:
Project GatTagO (03-14-2022)
03-14-2022, 10:35 AM
#469
TECH Senior Member
Thread Starter
iTrader: (7)
Not much progress to report. Yesterday I got some more engine parts out and did some mocking up.
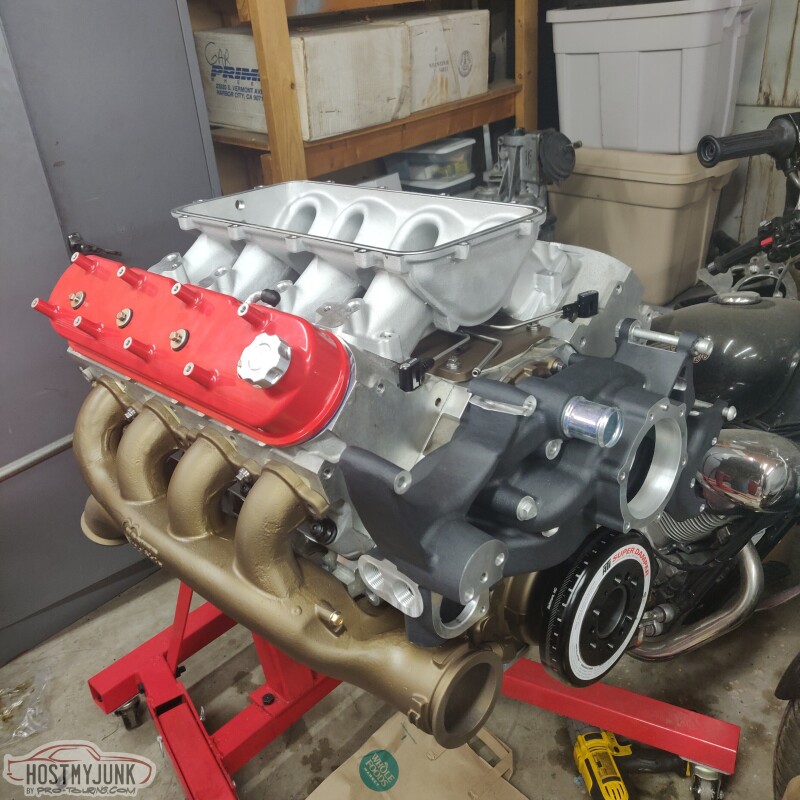
The Holley LowRam is a lot lower than I expected, especially in the valley area. The steam vent tubes actually touch the ribs on the underside of the intake. I'll probably end up bending them a little so they don't make contact.
Andrew
The Holley LowRam is a lot lower than I expected, especially in the valley area. The steam vent tubes actually touch the ribs on the underside of the intake. I'll probably end up bending them a little so they don't make contact.
Andrew
03-14-2022, 11:54 AM
#470
TECH Senior Member
I'm curious to see how the Holley turbo setup works and dyno's out. Looks like it will be a tidy arrangement.
The following users liked this post:
kwhizz (03-18-2022)
03-14-2022, 01:00 PM
#471
TECH Senior Member
Thread Starter
iTrader: (7)
Andrew
The following users liked this post:
kwhizz (03-18-2022)

The following 3 users liked this post by brucebanner:
03-18-2022, 10:14 PM
#473
TECH Senior Member
Thread Starter
iTrader: (7)
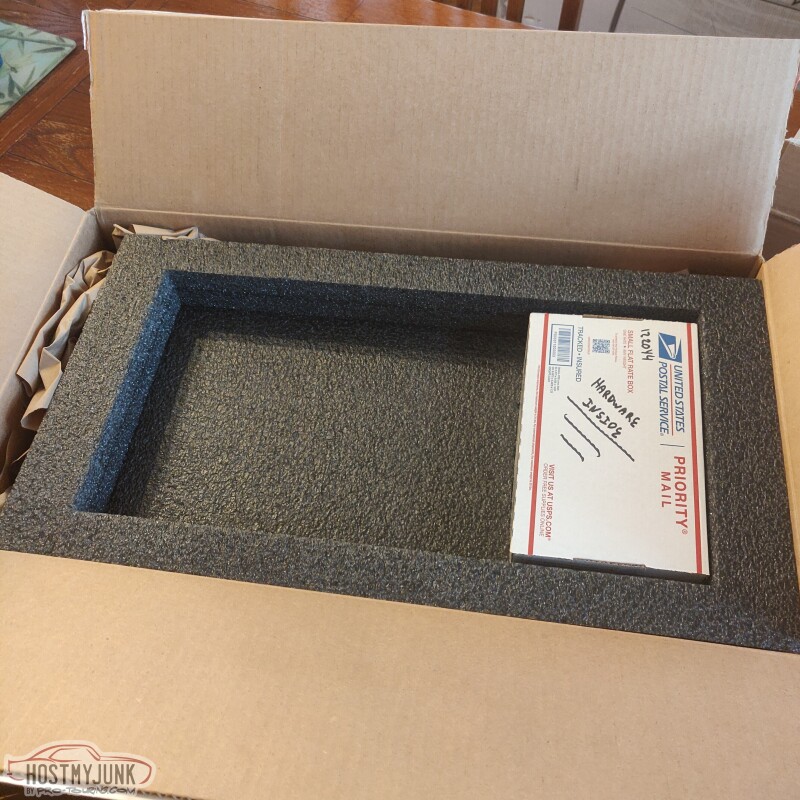
The Tick Performance intercooler showed up yesterday. I was very impressed with their careful packaging.
This thing is absolutely gorgeous and is built really well. The intercooler core looks to be a high quality design with a high density of fins.
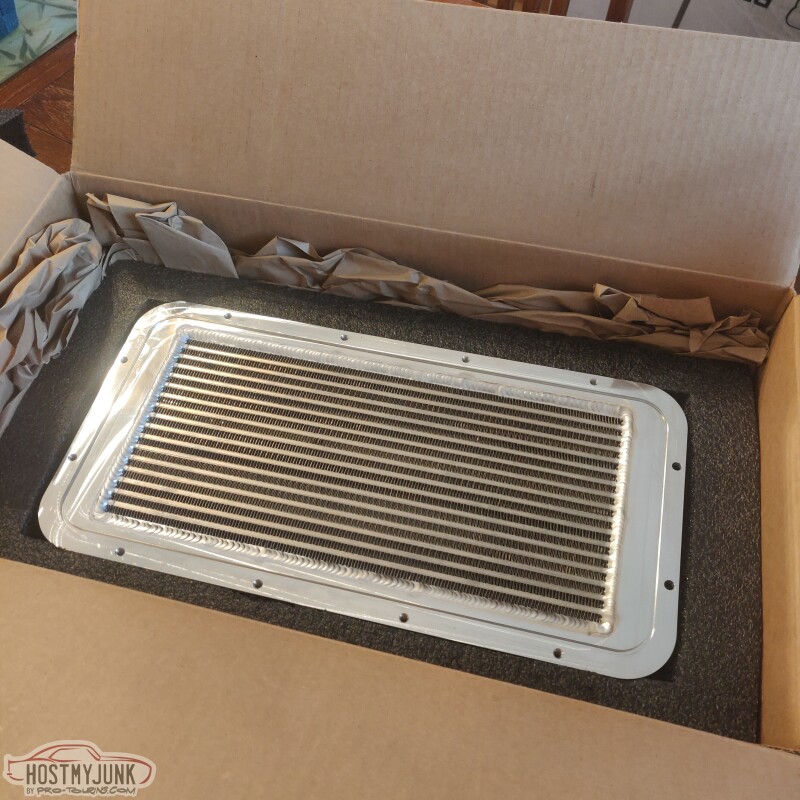
The mounting flanges are billet as are the end tanks.
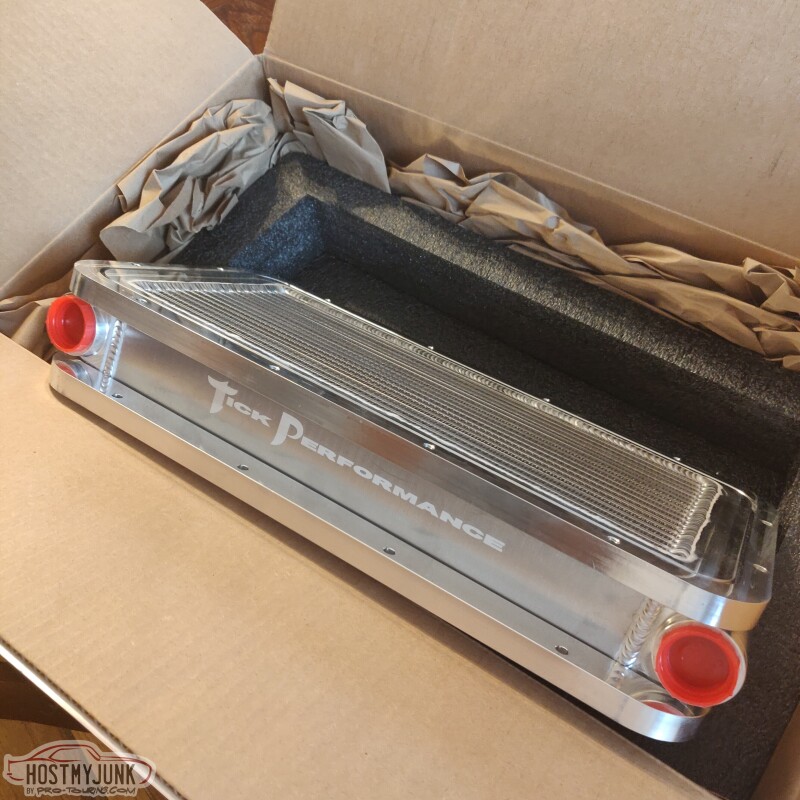
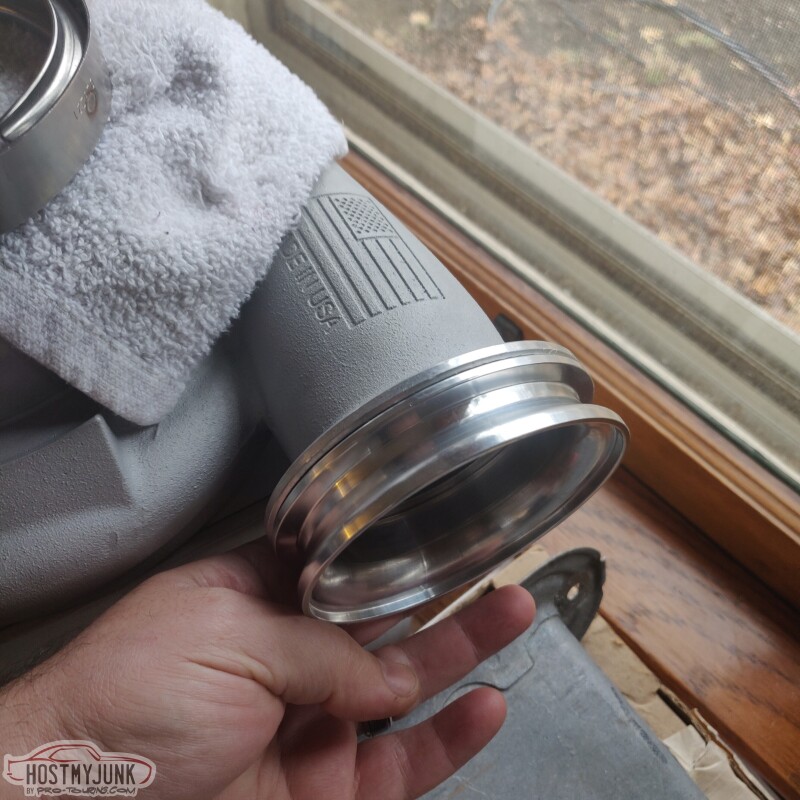
I also received the V-band flange for the compressor discharge piping, which will be 4 inches in diameter.
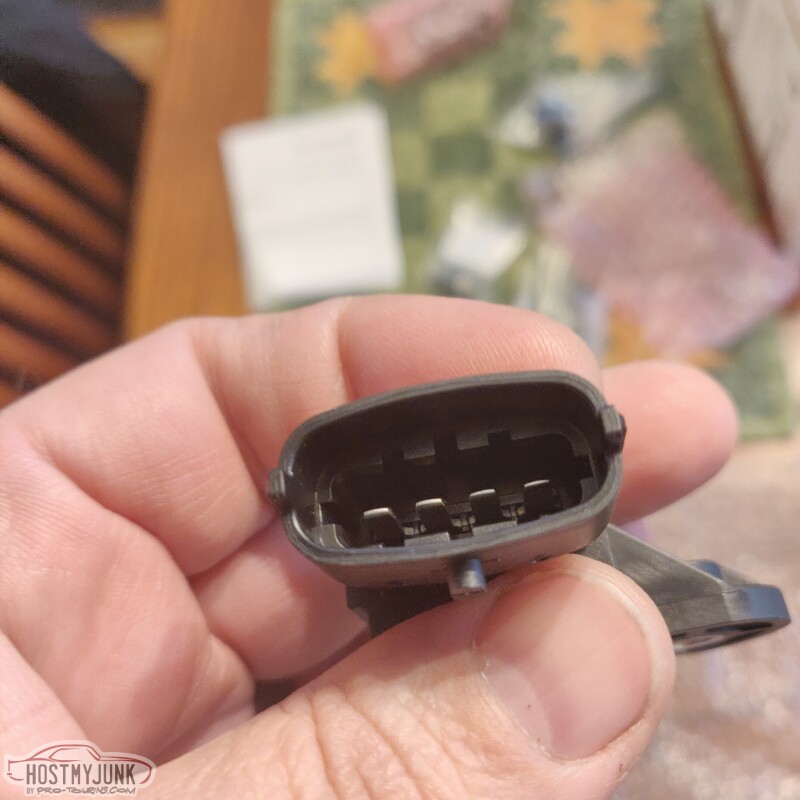
This is the MAP sensor that I will be using. I will actually be using two of them. These are 3 bar, which is a little more than I need, but I don't like running sensors to the limits of their range.
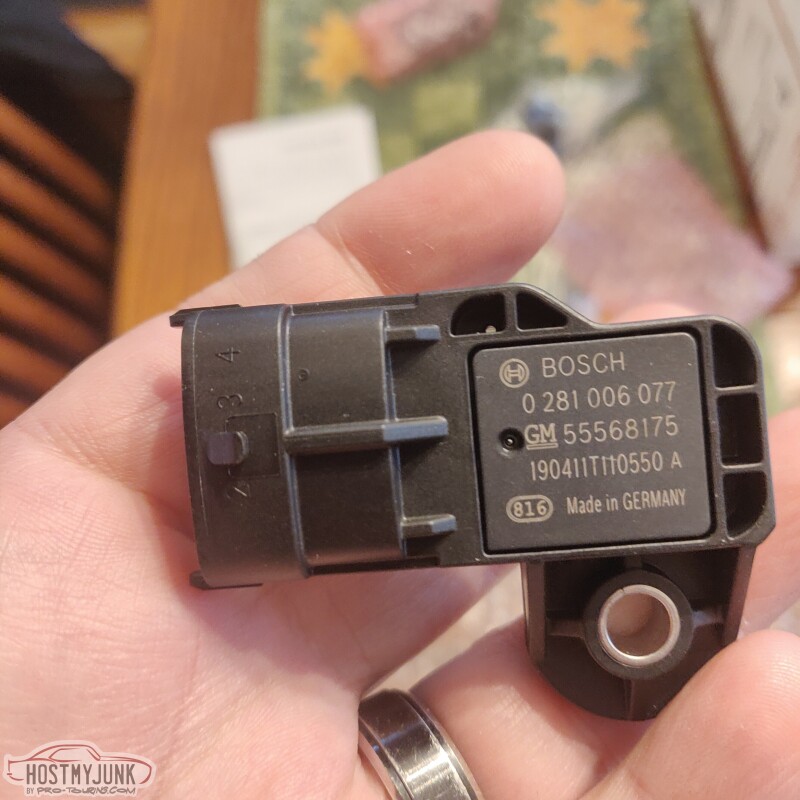
There are 4 wires instead of 3, like you would find on a typical MAP sensor. These sensors have an integral air temperature sensor, which makes for nicer packaging. One sensor will go into the Low Ram intake base, while the other will go in the lid, above the intercooler. This will allow me to measure the pressure drop across the intercooler as well as the temperature change.
Andrew
This thing is absolutely gorgeous and is built really well. The intercooler core looks to be a high quality design with a high density of fins.
The mounting flanges are billet as are the end tanks.
I also received the V-band flange for the compressor discharge piping, which will be 4 inches in diameter.
This is the MAP sensor that I will be using. I will actually be using two of them. These are 3 bar, which is a little more than I need, but I don't like running sensors to the limits of their range.
There are 4 wires instead of 3, like you would find on a typical MAP sensor. These sensors have an integral air temperature sensor, which makes for nicer packaging. One sensor will go into the Low Ram intake base, while the other will go in the lid, above the intercooler. This will allow me to measure the pressure drop across the intercooler as well as the temperature change.
Andrew
The following users liked this post:
kwhizz (03-19-2022)
03-23-2022, 12:11 PM
#474
TECH Senior Member
Thread Starter
iTrader: (7)
The weather is crappy again, but I try to get little projects done whenever I can. I showed the Earl's 4-port steam kit before, but the outlet tube that came with the Earl's kit wasn't going to work for me.
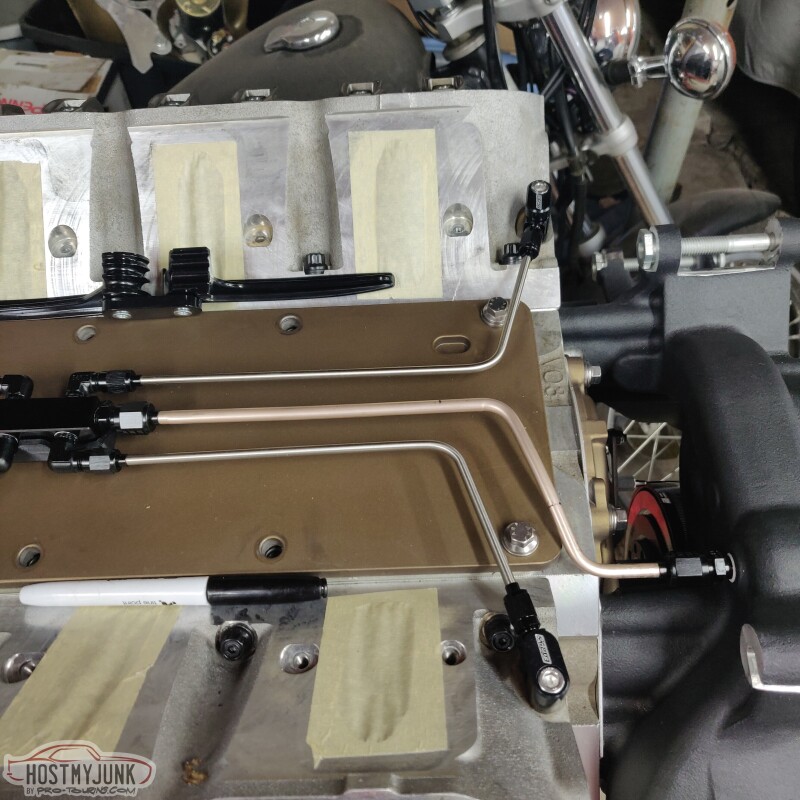
I decided to make my own little tube that goes directly to the nipple on the water pump casting. I got a roll of 1/4" NiCopp tubing and used an Earl's tubing straightener to make straight section of tube that was longer than what I needed.
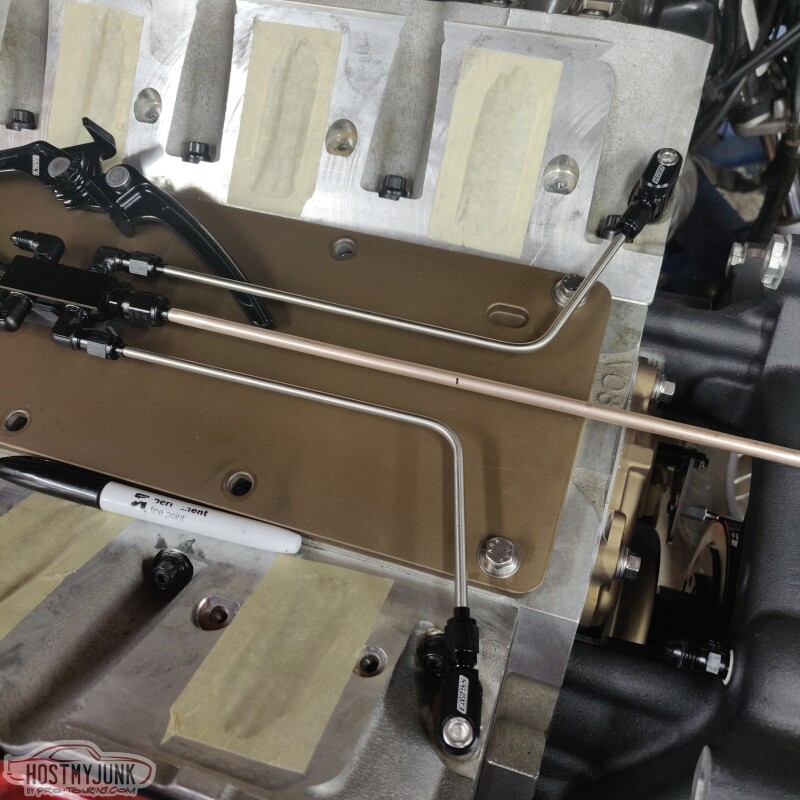
I bent up some scrap at various simulated angles to give me an approximate angle.
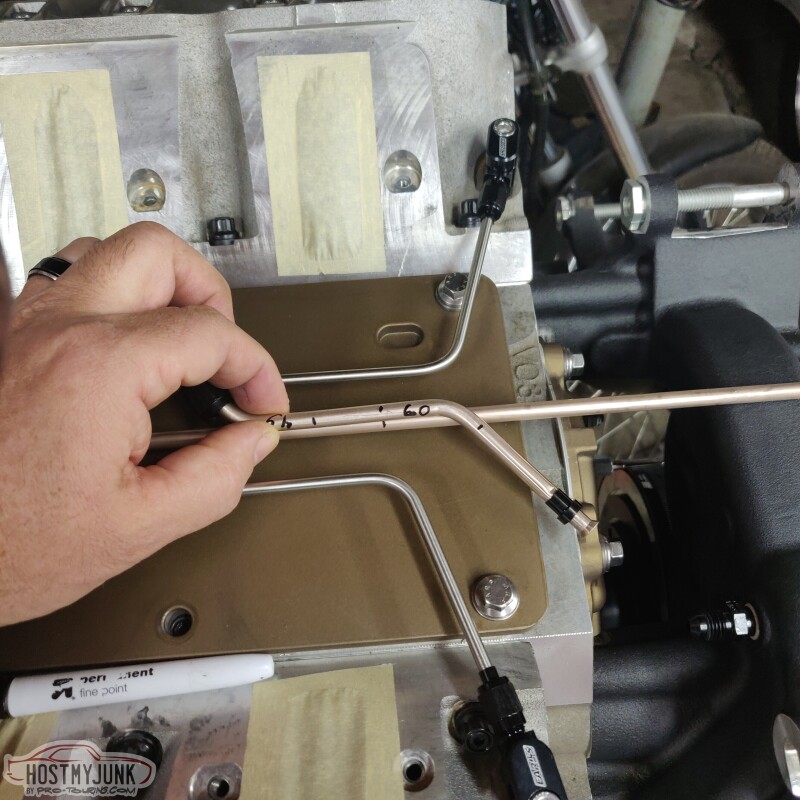
I wanted the angles to match for better aesthetics.
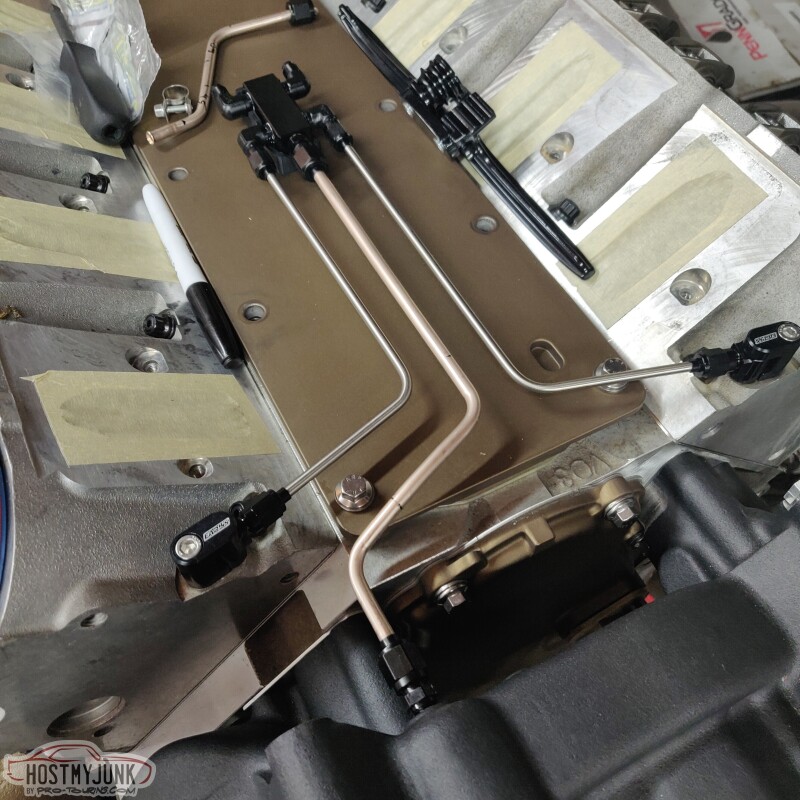
This all seemed to work pretty well.
Andrew
I decided to make my own little tube that goes directly to the nipple on the water pump casting. I got a roll of 1/4" NiCopp tubing and used an Earl's tubing straightener to make straight section of tube that was longer than what I needed.
I bent up some scrap at various simulated angles to give me an approximate angle.
I wanted the angles to match for better aesthetics.
This all seemed to work pretty well.
Andrew
The following users liked this post:
kwhizz (03-25-2022)
03-23-2022, 12:20 PM
#475
TECH Senior Member
Nicely done! Looks like it grew there...
The following users liked this post:
Project GatTagO (03-23-2022)
03-23-2022, 01:45 PM
#476
TECH Senior Member
Thread Starter
iTrader: (7)
The Mighty Mouse Solutions timing pointer had to be shortened just a little bit in order to work with the ATI balancer that comes with the Holley mid-mount accessory drive.
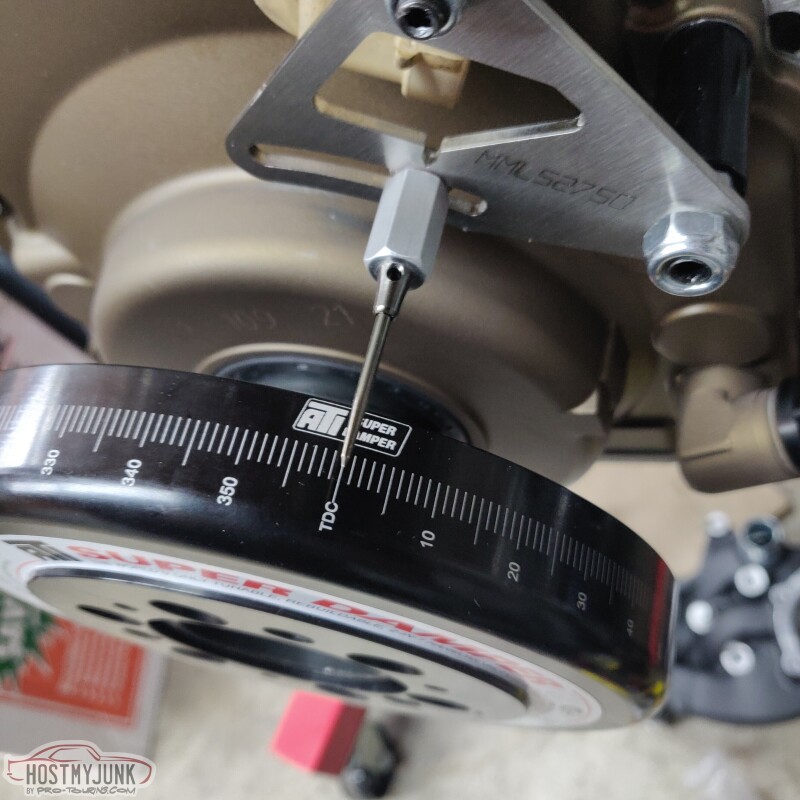
To be honest, I am not sure that it will actually be visible when everything is assembled, but at least it is there and pointing accurately.

Then I noticed this...
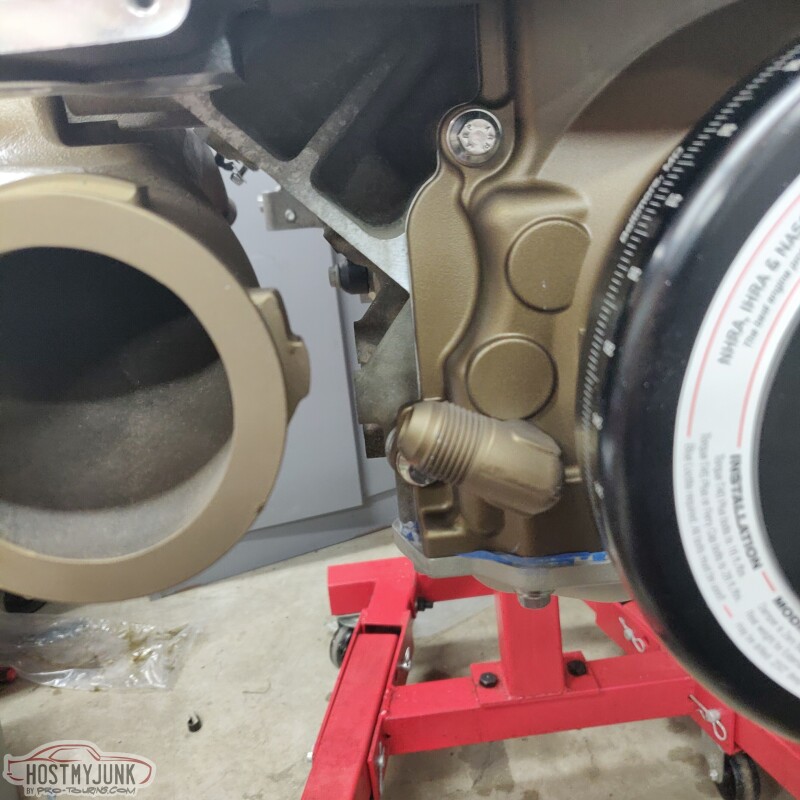
Looks like its back to using the drain ports on the pan. I have a real short fitting that I will try.
Andrew
To be honest, I am not sure that it will actually be visible when everything is assembled, but at least it is there and pointing accurately.
Then I noticed this...
Looks like its back to using the drain ports on the pan. I have a real short fitting that I will try.
Andrew
03-23-2022, 04:25 PM
#478
Sucks about the oil drain, that was a concern for my build. Seems to be the luck of the draw if it works out or not from what I could see.
Maybe you're short fitting will work out! :fingerscrossed:
Maybe you're short fitting will work out! :fingerscrossed:
The following 2 users liked this post by brucebanner:
Project GatTagO (03-23-2022), tmcmillan5 (03-23-2022)
03-23-2022, 04:45 PM
#479
TECH Senior Member
Thread Starter
iTrader: (7)
Andrew
03-23-2022, 05:45 PM
#480
TECH Senior Member
Thread Starter
iTrader: (7)
Since all the cool kids on YouTube are using Send Cut Send, I wanted to give it a try. Unfortunately, I have zero 3D modeling skills. However, I have a friend who is a master modeler.
I want to use some Molex bulkhead connectors for the injectors and coil sub harnesses. Molex happens to have 3D models available for all of their connectors, which made Blakes job super straightforward. He drew this up in 30 minutes.
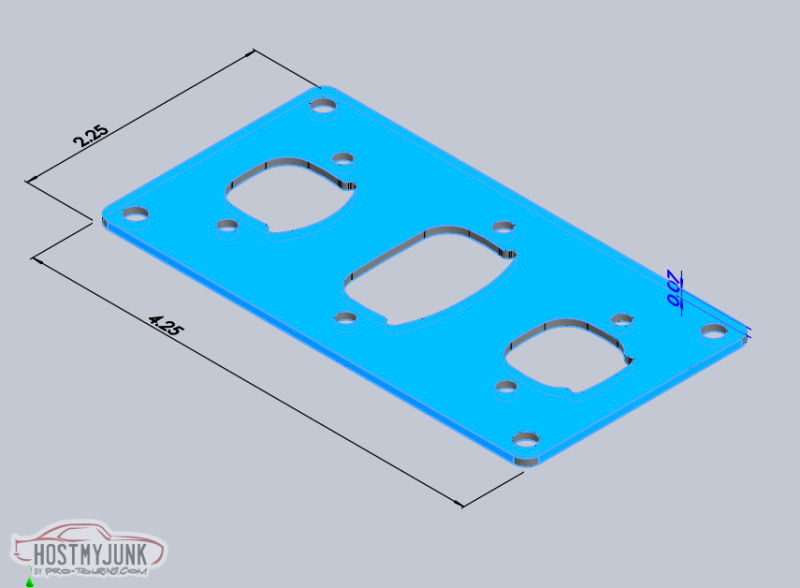
I uploaded the file, paid, and a week later I got these.
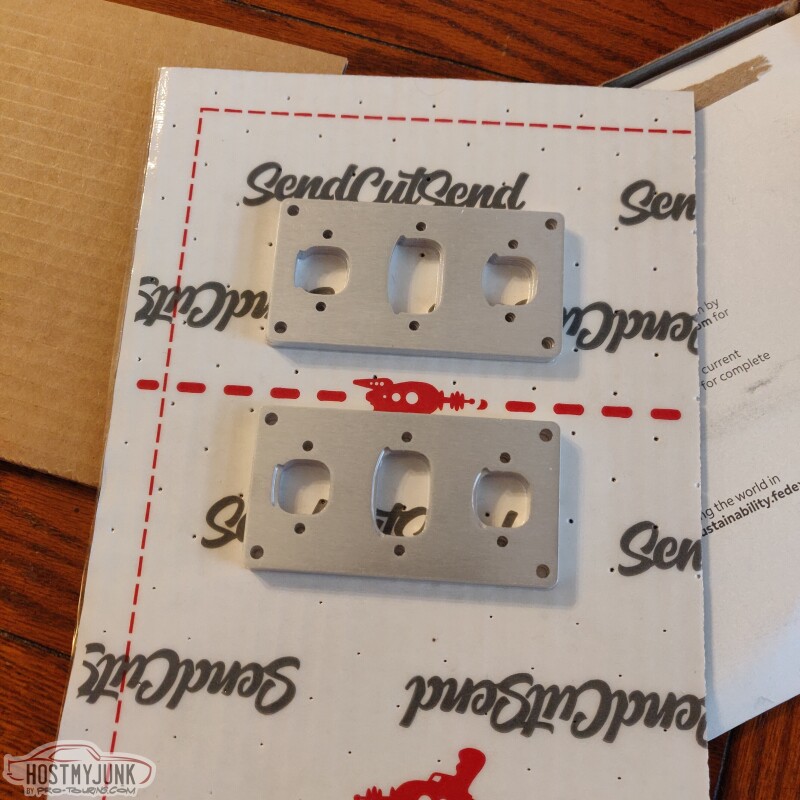
They are cut from 2mm aluminum plate, which makes them sturdy enough.
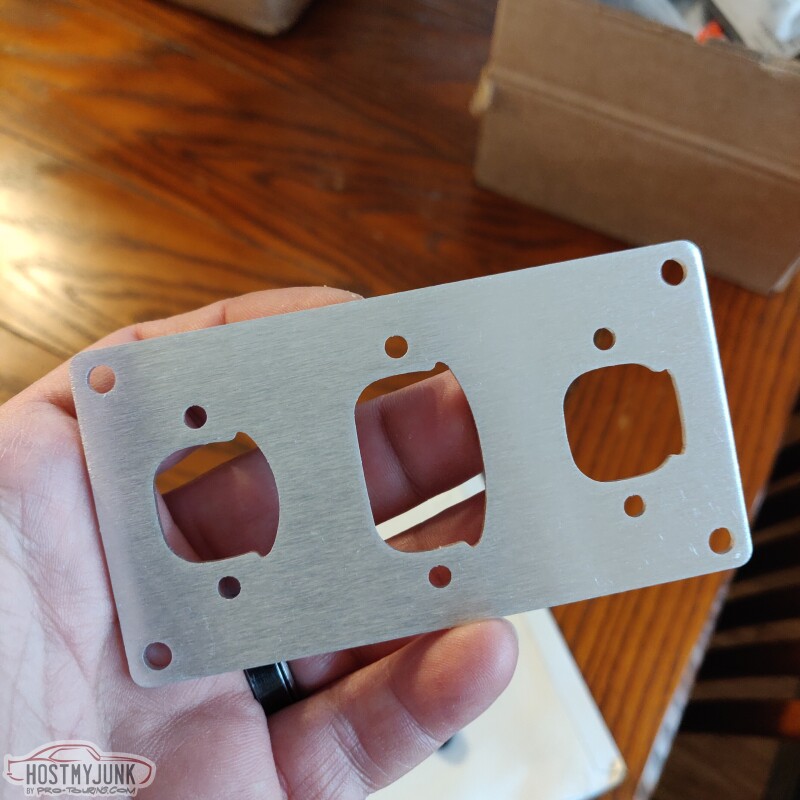
The connectors bolt in from the backside.
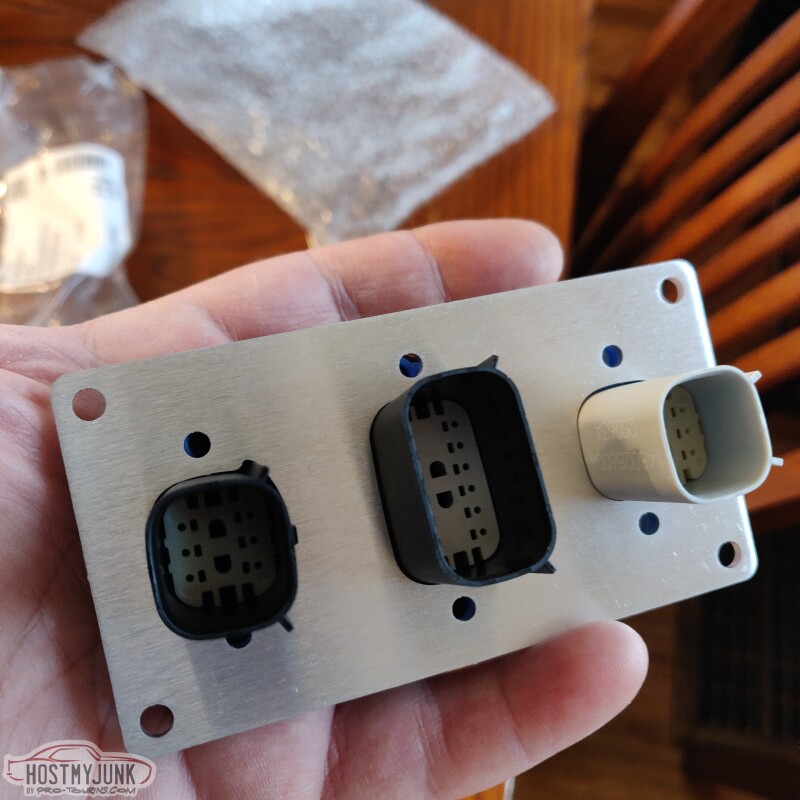
If anyone is interested in these, get in touch with me. I got extra because Send Cut Send has a minimum $ for each order.
Andrew
I want to use some Molex bulkhead connectors for the injectors and coil sub harnesses. Molex happens to have 3D models available for all of their connectors, which made Blakes job super straightforward. He drew this up in 30 minutes.
I uploaded the file, paid, and a week later I got these.
They are cut from 2mm aluminum plate, which makes them sturdy enough.
The connectors bolt in from the backside.
If anyone is interested in these, get in touch with me. I got extra because Send Cut Send has a minimum $ for each order.
Andrew
The following 2 users liked this post by Project GatTagO:
Pro Stock John (03-23-2022), tmcmillan5 (03-24-2022)