
1970 GTO Version 3.0


 02-24-2022, 04:52 AM
#424

I would imagine the drive shaft is gonna be shorter, which saves $$$ vs a whole new DS. Quick Performance seems to get a lot of LS1techs viewers
02-24-2022, 07:09 AM
#425
TECH Fanatic
iTrader: (27)

Looks great Andrew! That should hold the power you will be making. I used QP when I rebuild my 12 bolt and Andrew is right, the sales guys are very knowledgeable and they had the best prices around.
02-25-2022, 12:22 PM
#427
TECH Senior Member
Thread Starter
iTrader: (7)
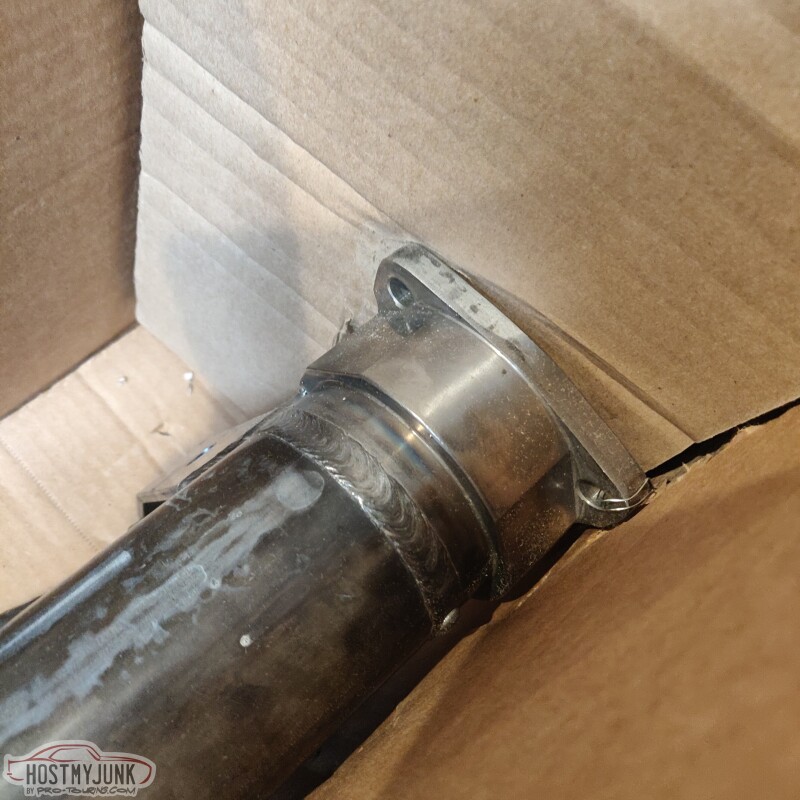
Small GM ends, same as a 2002 Camaro. This way I can retain my 2002 Camaro brakes.
I don't care much about driveline angles anymore, because I will be using a dual CV driveshaft from The DriveShaft Shop.
Center section is the Yukon aluminum bolt through with an Eaton 35 spline TrueTrac and 3.25 gears, with the CV pinion yoke, pictured earlier.
Andrew
Center section is the Yukon aluminum bolt through with an Eaton 35 spline TrueTrac and 3.25 gears, with the CV pinion yoke, pictured earlier.
Andrew
02-25-2022, 03:05 PM
#428
TECH Senior Member
Thread Starter
iTrader: (7)
Not sure why these images are rotated, but you get the idea.
Got a Mighty Mouse catch can, set up for boost.

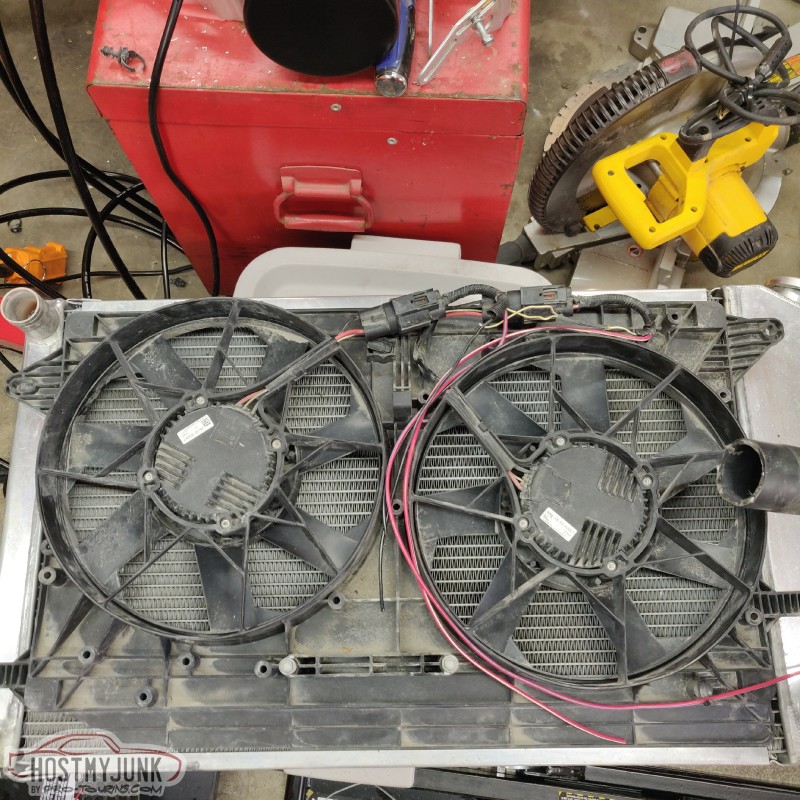
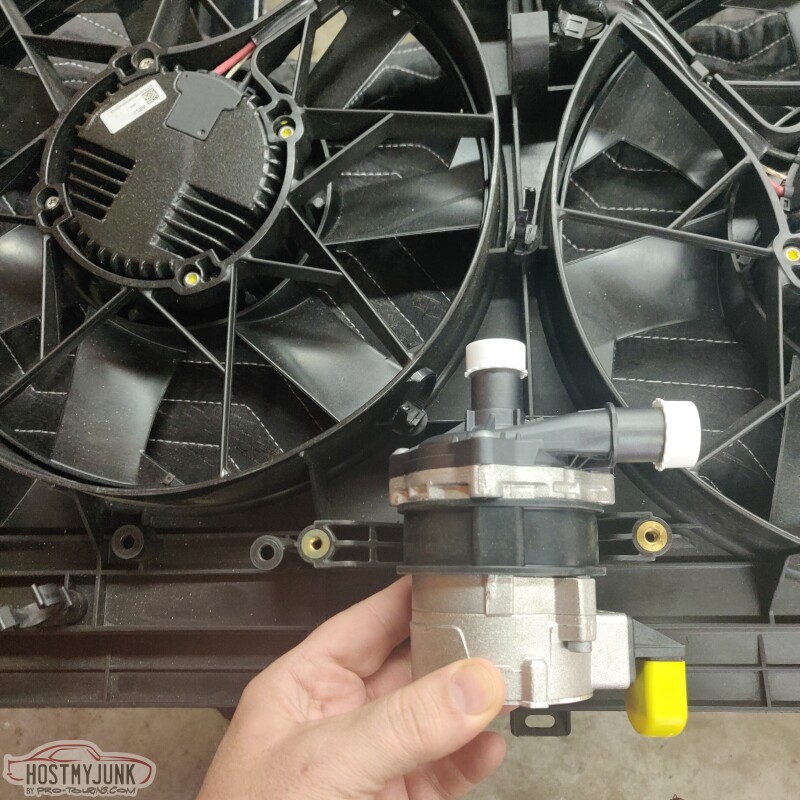
I love global trade. This is a Pierburg CWA150 pump that I got from Tecomotive in Germany. Four days to my door. Amazing!

The CWA150 is a high pressure version of the CWA100 and outflows many of the available pumps on the market. It is also said to be very quiet and will be PWM controlled through the Holley Dominator.

It should fit perfectly on the Volt fan shroud. The little cradle at the bottom, between the fans used to house a similar water pump on the Volt.
Andrew
Got a Mighty Mouse catch can, set up for boost.
I love global trade. This is a Pierburg CWA150 pump that I got from Tecomotive in Germany. Four days to my door. Amazing!
The CWA150 is a high pressure version of the CWA100 and outflows many of the available pumps on the market. It is also said to be very quiet and will be PWM controlled through the Holley Dominator.
It should fit perfectly on the Volt fan shroud. The little cradle at the bottom, between the fans used to house a similar water pump on the Volt.
Andrew
The following users liked this post:
Project GatTagO (02-25-2022)
02-27-2022, 04:57 PM
#430
TECH Senior Member
Thread Starter
iTrader: (7)
Vic has been making progress on getting the heat exchanger, fans, and condenser mounted to the radiator.
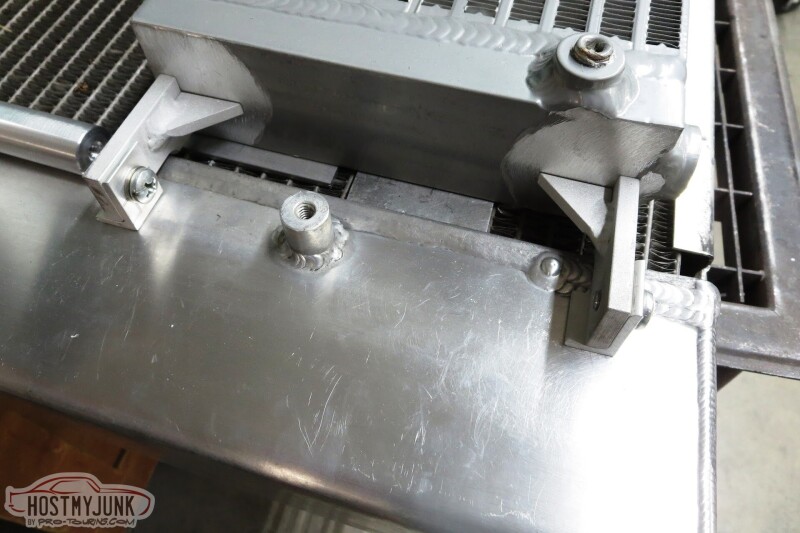
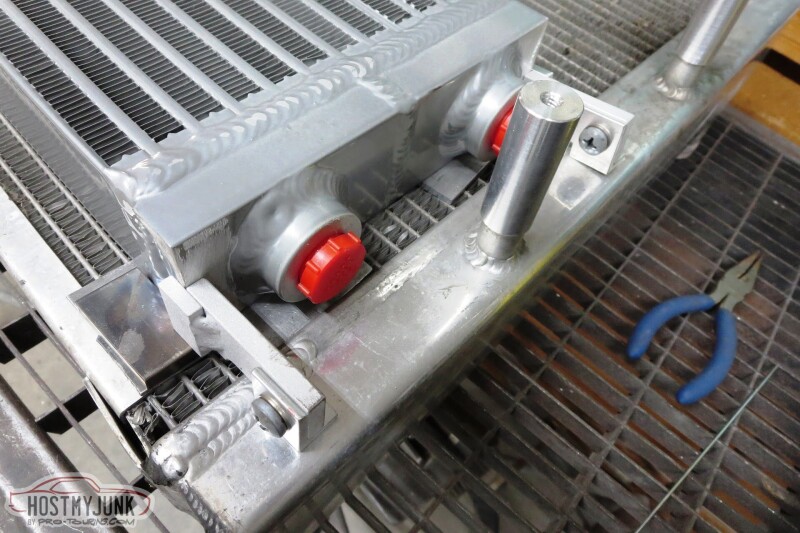
I also mocked up the CWA150 pump against the fan shroud and it looks like it will fit nicely in the location where the Volt used to have a similar pump.

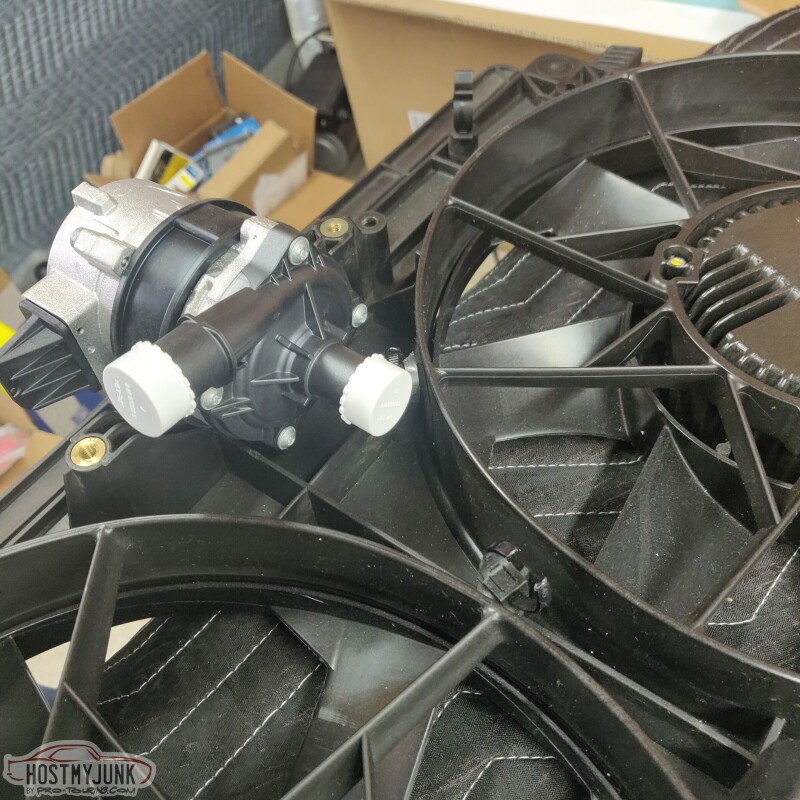
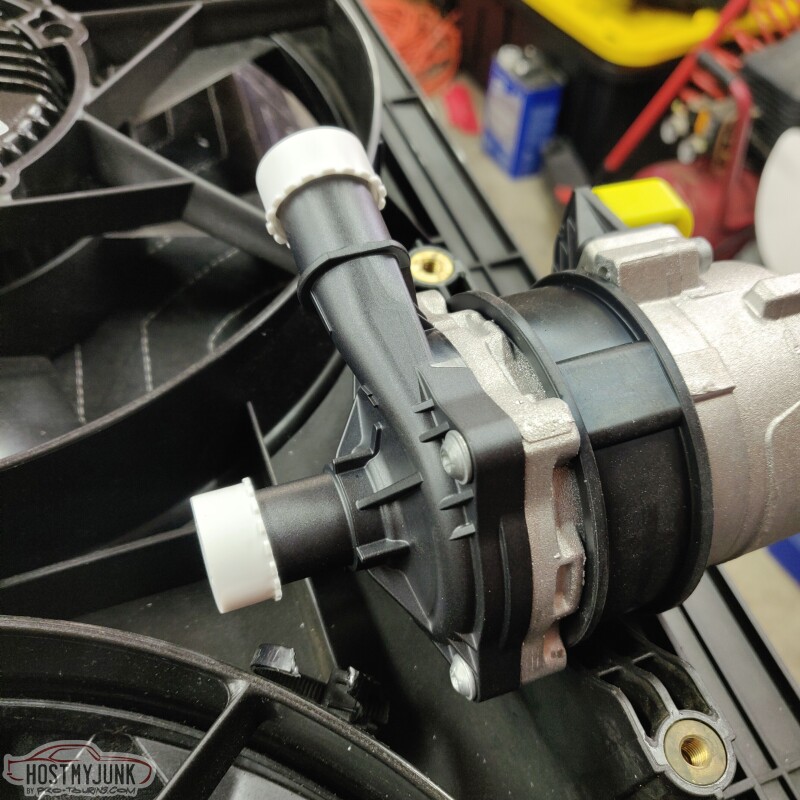
The CWA150 pump is a little smaller in diameter than the cradle, but I think a little 3D printed cradle will make up the difference nicely and will allow me to offset the pump off to the side a little.
Andrew
I also mocked up the CWA150 pump against the fan shroud and it looks like it will fit nicely in the location where the Volt used to have a similar pump.
The CWA150 pump is a little smaller in diameter than the cradle, but I think a little 3D printed cradle will make up the difference nicely and will allow me to offset the pump off to the side a little.
Andrew
 02-27-2022, 07:38 PM
#432
TECH Senior Member
Thread Starter
iTrader: (7)
Andrew
02-27-2022, 08:01 PM
#433
Got it thanks..
your skills sets are amazing, especially your search skill. You find all the tools, parts and information.
I wish I had the computer skills.
Mine are strictly wrenching. I'm deeply immersed in your builds, plus ryeguy and kwhizz as I'm about to start my own 1967 Chevelle project.
Thank you for sharing all of your talents and very though documentation.
The following 6 users liked this post by jrs396:
2ToeRacing (07-15-2023), G Atsma (02-27-2022), Jimbo1367 (02-28-2022), kwhizz (03-03-2022), Project GatTagO (02-27-2022), and 1 others liked this post.
02-27-2022, 08:46 PM
#434
TECH Senior Member
Thread Starter
iTrader: (7)
Got it thanks..
your skills sets are amazing, especially your search skill. You find all the tools, parts and information.
I wish I had the computer skills.
Mine are strictly wrenching. I'm deeply immersed in your builds, plus ryeguy and kwhizz as I'm about to start my own 1967 Chevelle project.
Thank you for sharing all of your talents and very though documentation.
your skills sets are amazing, especially your search skill. You find all the tools, parts and information.
I wish I had the computer skills.
Mine are strictly wrenching. I'm deeply immersed in your builds, plus ryeguy and kwhizz as I'm about to start my own 1967 Chevelle project.
Thank you for sharing all of your talents and very though documentation.
Today I was thinking about power distribution under the hood. I need to power both fans as well as the water pump, plus boost solenoids, and no doubt other things I haven't even thought about. My usual go to product is the Bussmann power distribution modules, but those are like unobtanium these days. Also, I don't really need relays to switch the power, because the fans and the water pump are PWM controlled. I just need a way to neatly take battery power and distribute the power to various devices and have fuses. So I found this guy on the Waytek website:
https://www.waytekwire.com/item/8202...Profile-JCASE/
It is about 2.5x4 inches and has a nice cover. It also uses Molex connectors for the lower load devices, while also giving me stud mounts for higher amp devices. I plan to run the fans off each of the studs and the water pump and boost solenoids off one of the connectors, leaving me with 6 other ports for anything else that I might need.
Andrew
02-27-2022, 08:55 PM
#435
Kudos again 
Thanks for sharing all your research !
Now I'm going to have to go back thru the cougar thread...again. This time I have a notebook to note page numbers of information I need and whatever other pertinent information to look up
Thanks for sharing all your research !
Now I'm going to have to go back thru the cougar thread...again. This time I have a notebook to note page numbers of information I need and whatever other pertinent information to look up
The following users liked this post:
Project GatTagO (02-27-2022)
03-01-2022, 08:58 AM
#436
TECH Senior Member
Thread Starter
iTrader: (7)
To keep engine bay temperatures down and to help the turbo retain heat, I got these turbo and waste gate blankets from Funk Motorsports in the UK. They look great and fit very well.

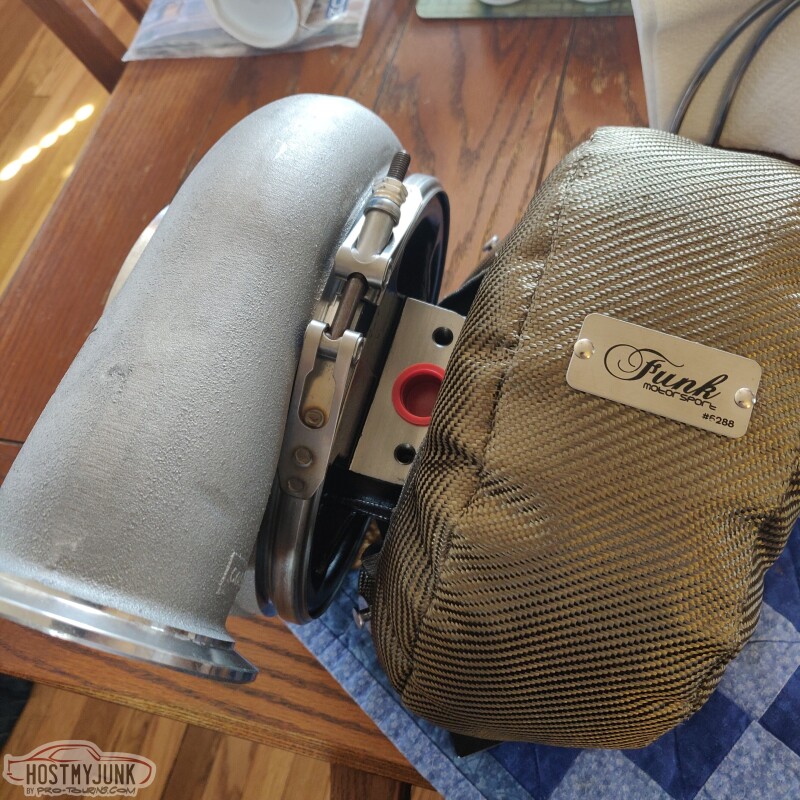
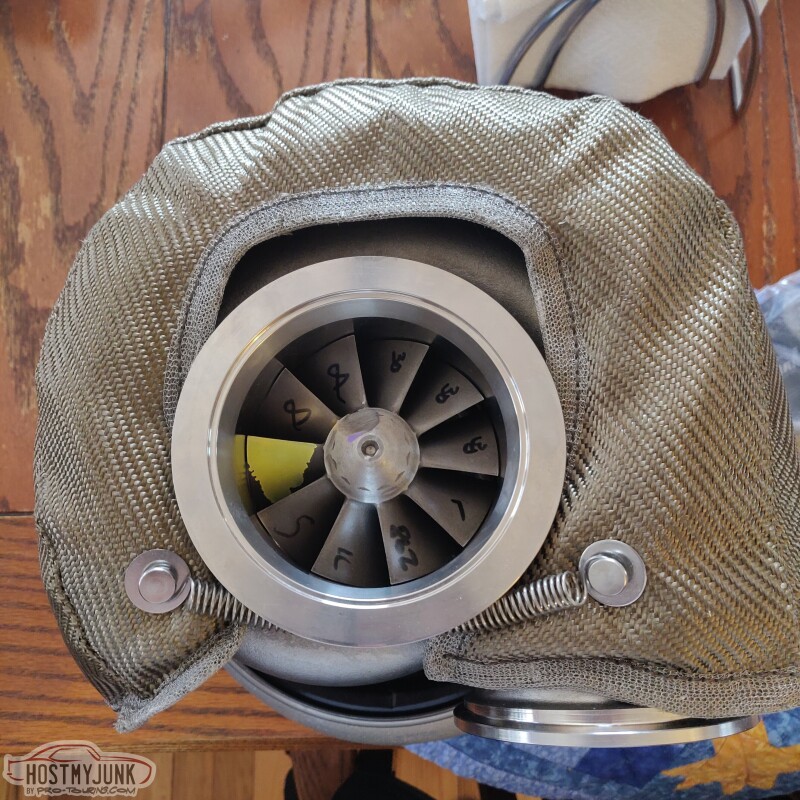
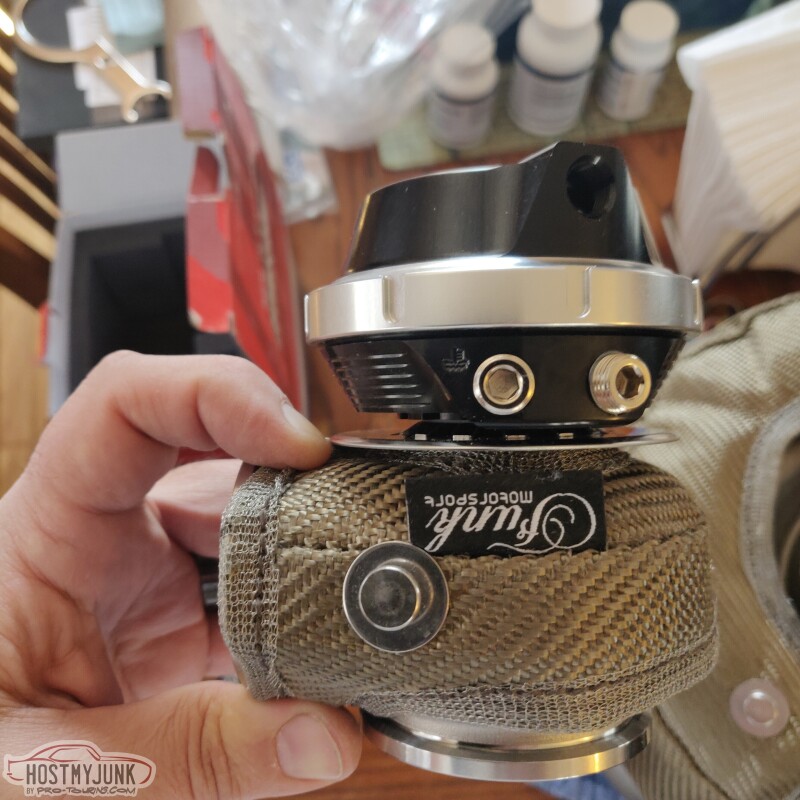
Andrew
Andrew
03-01-2022, 10:11 PM
#437
TECH Senior Member
Thread Starter
iTrader: (7)
Today was almost 70 degrees and I couldn't let this day pass by. This project isn't going to get done by itself. So I went to Harbor Freight and got a new air compressor after realizing that my old one has seized up. Got a new hose, some fittings, and a few odds and ends and went work. I asked if they had "bailing wire" and the girl looked at me like I was crazy. Then I described what it was and she said, we have this...Apparently now days bailing wire is called "mechanics wire" and it is stainless. Who knew...?
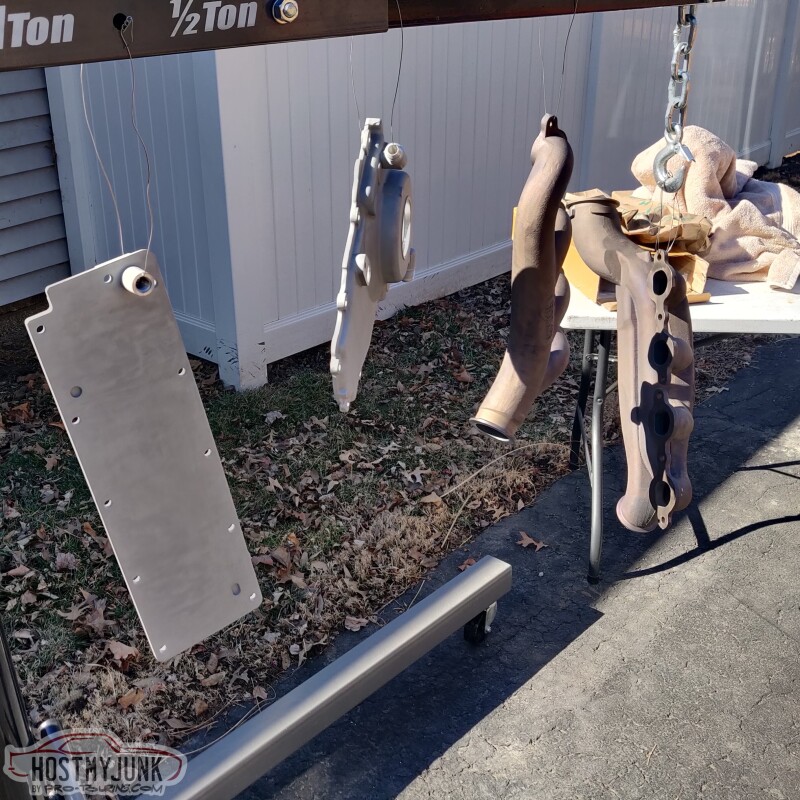
The in between pictures didn't turn out so good because of the bright sunshine, but here are the pictures after 6 hours when I brought them into the house.
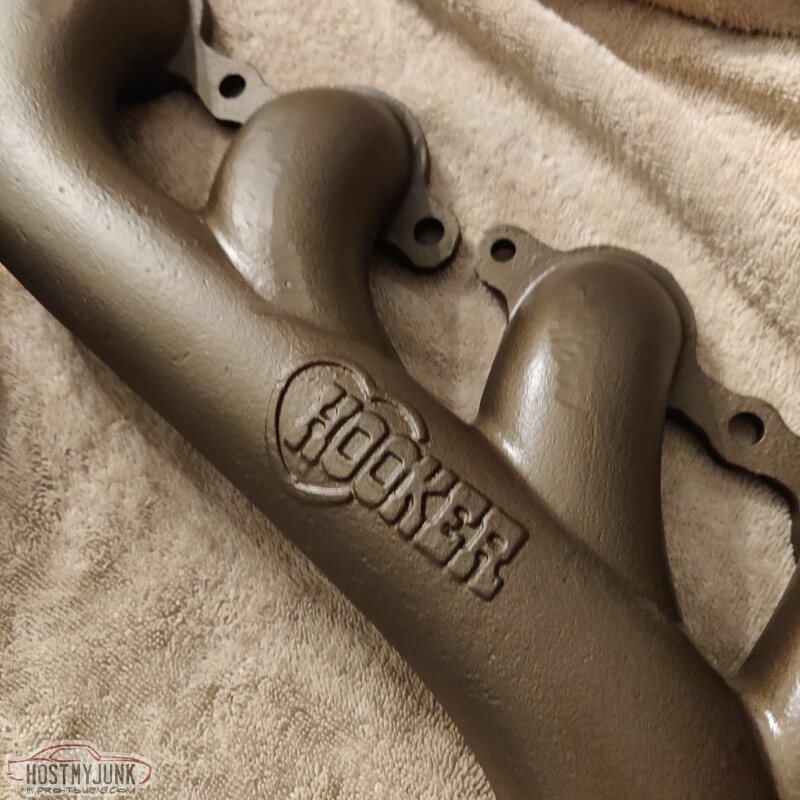
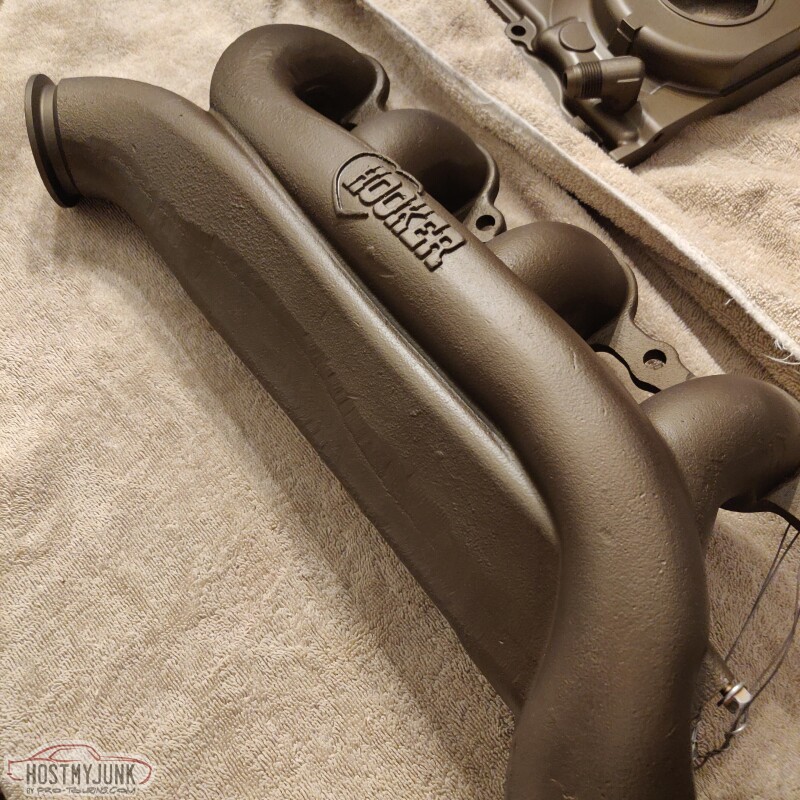
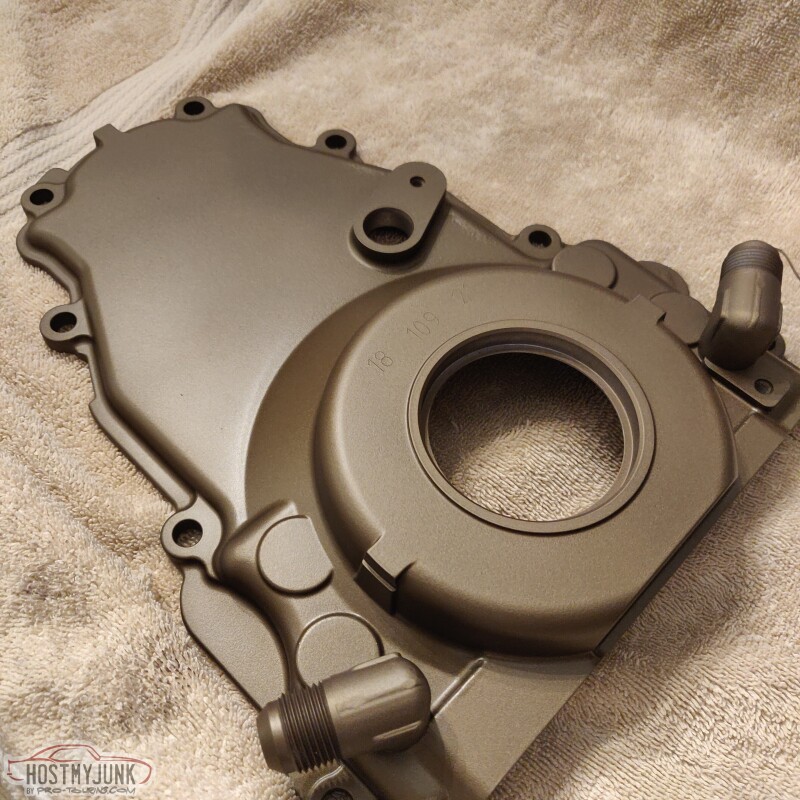
I am really happy with how everything turned out. Like, really happy!
Andrew
The in between pictures didn't turn out so good because of the bright sunshine, but here are the pictures after 6 hours when I brought them into the house.
I am really happy with how everything turned out. Like, really happy!
Andrew
03-01-2022, 10:16 PM
#438
TECH Fanatic
Looks awesome! You thinking of doing the valve covers too? Or thinking of staying with the red?
03-02-2022, 01:00 AM
#439
TECH Senior Member

Baling wire... WayBack Machine just pegged itself.. actually our family dairied for a few decades, and baling wire figured in most of the early ones, UNTIL nylon baling twine took over due to superior strength but still could cut with a knife. But yeah, I used non-rusted baling wire for a BUNCH of things, including part of my '63 VW throttle linkage. Handy stuff. Wire coat hangers just didn't fab up the same... lol

The following users liked this post:
Project GatTagO (03-02-2022)
03-02-2022, 05:28 AM
#440
In my experience the mechanics wire at the parts stores is thinner gauge than bailing wire. Very easy to bend and shape. But if your trying to install Corvette shocks you have to double it up to keep the shock compressed or it will snap. Bailing wire would of been safer. I grew up also using bailing wire or electric fence wire. We used number 9 wire for the heavy duty stuff. It was like bending a solid brake line. 3/16 maybe.
The following 2 users liked this post by the450r:
G Atsma (03-02-2022), Project GatTagO (03-02-2022)