When you click on links to various merchants on this site and make a purchase, this can result in this site earning a commission. Affiliate programs and affiliations include, but are not limited to, the eBay Partner Network.
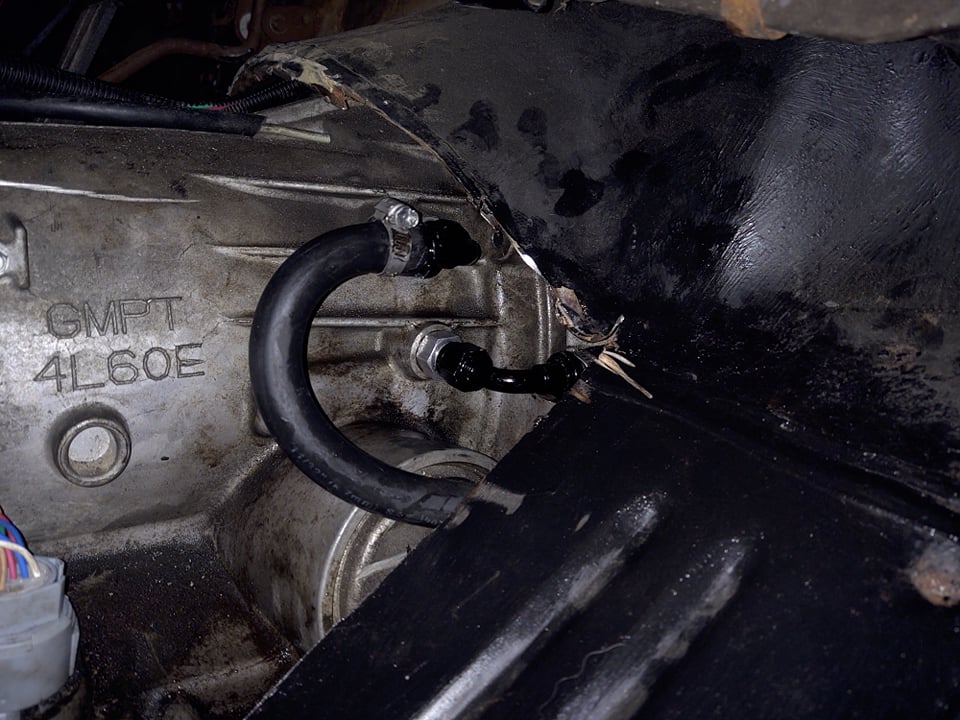
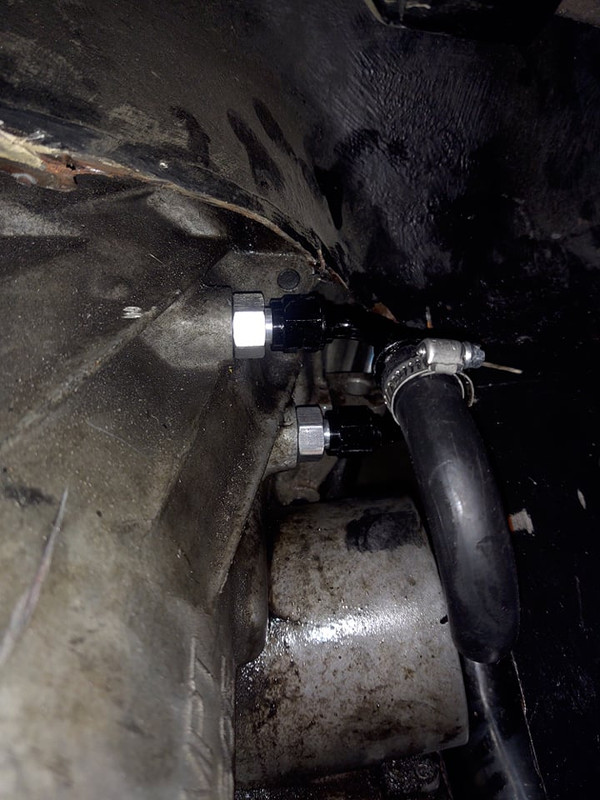
Those look like what are generically referred to and branded as "push fit" ,, I have personally towed at least a half dozen burnt race cars off track because of them. (1 brand new corvette. ) I highly recommend using hydraulic line for the transmission and oil coolers, its got stainless and additionally is wrapped in a protective rubber that can handle a ton of abuse. Goodrich or Aeroquipe for fuel. "No time spent on earth seems as long as being in a fire.. " - Famous Racer
Originally Posted by 78TranzAm
Very minor update. Moneys been extremely tight so i had to do something that didnt cost much. So, i ordered ICT Billet trans line fittings to run the rubber line off of AN but not AN style fittings (dont know the name of them) lol. Cost was around $40 for trans fittings and AN fittings. Im doing this as i just had the rubber line on the cut stock line. Didn't leak but i did that just to get the car running. I knew i couldn't keep it that way especially when it comes time to cover the transmission up. Which, is on the list. Ran out of day light, but snapped a pic. I have to cut a little more of the floor so i can route the top line better. Obviously i wouldn't keep it this way. Or would i... lol. Ill post an update once i do that.
Those look like what are generically referred to and branded as "push fit" ,, I have personally towed at least a half dozen burnt race cars off track because of them. (1 brand new corvette. ) I highly recommend using hydraulic line for the transmission and oil coolers, its got stainless and additionally is wrapped in a protective rubber that can handle a ton of abuse. Goodrich or Aeroquipe for fuel. "No time spent on earth seems as long as being in a fire.. " - Famous Racer
Thanks for the tip. I don't plan on abusing the car. Its going to be strictly a daily driver at this stage. Down the road if I upgrade power plants then I'll run AN line. This line is regulated for high PSI along with the fuel line. It should be fine for what the car is right now.
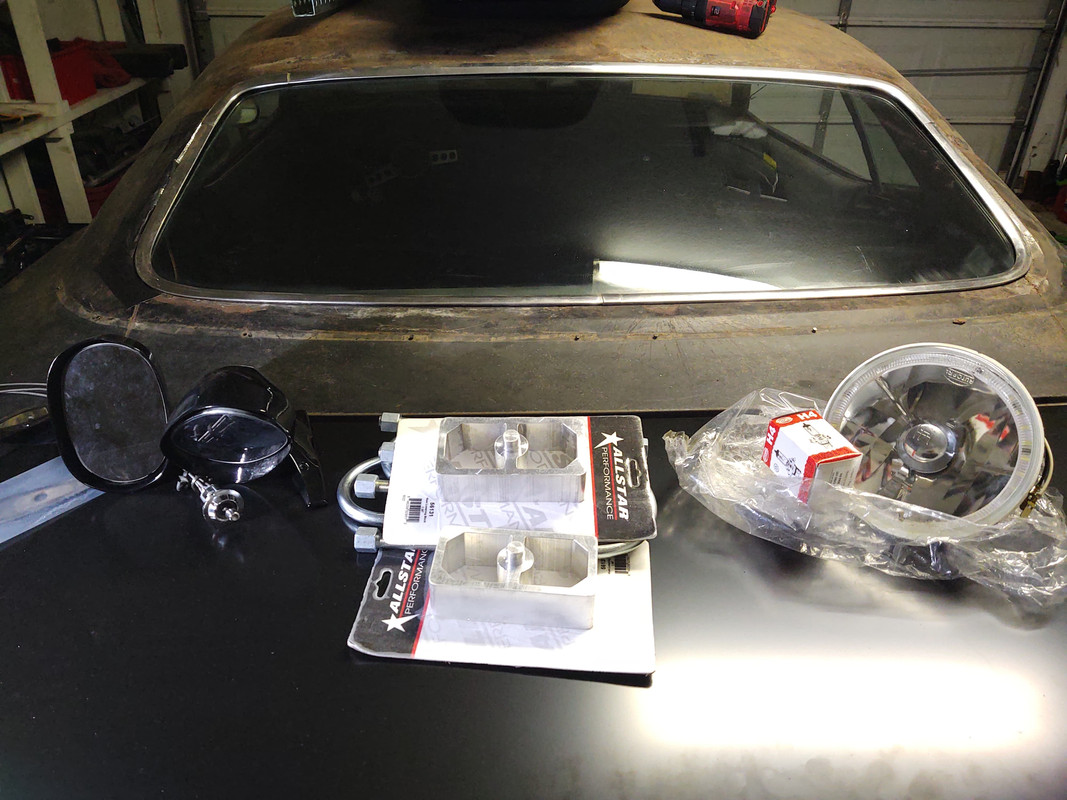
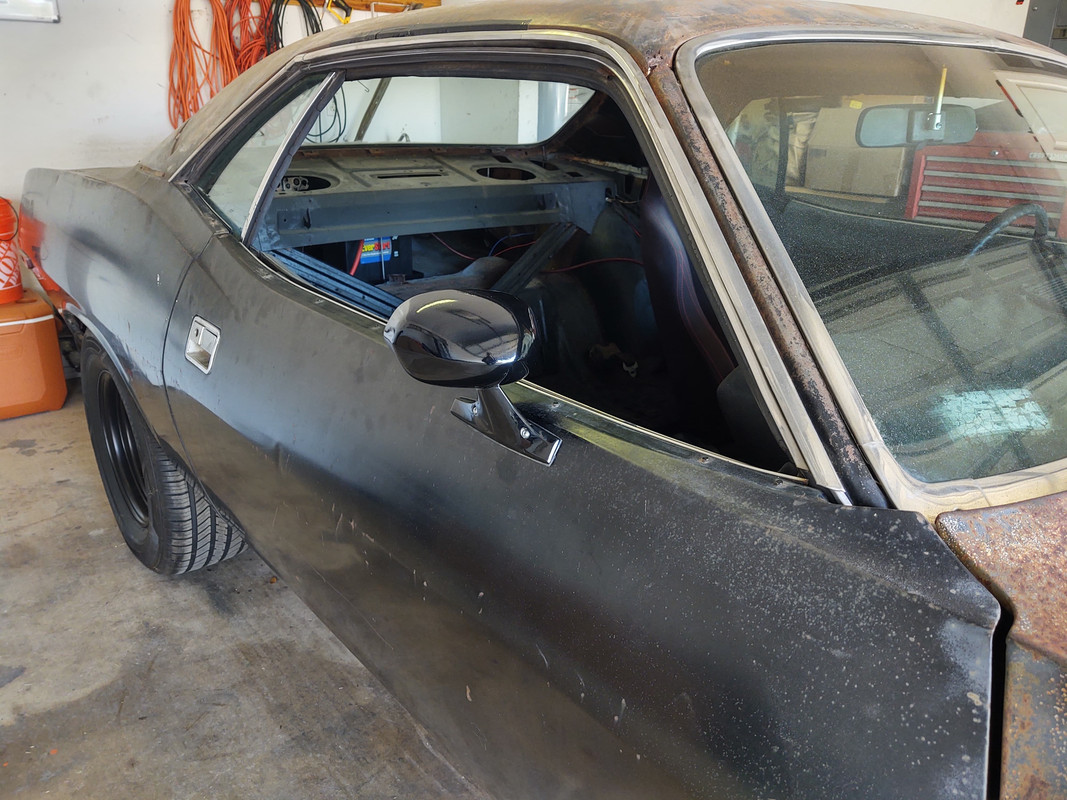
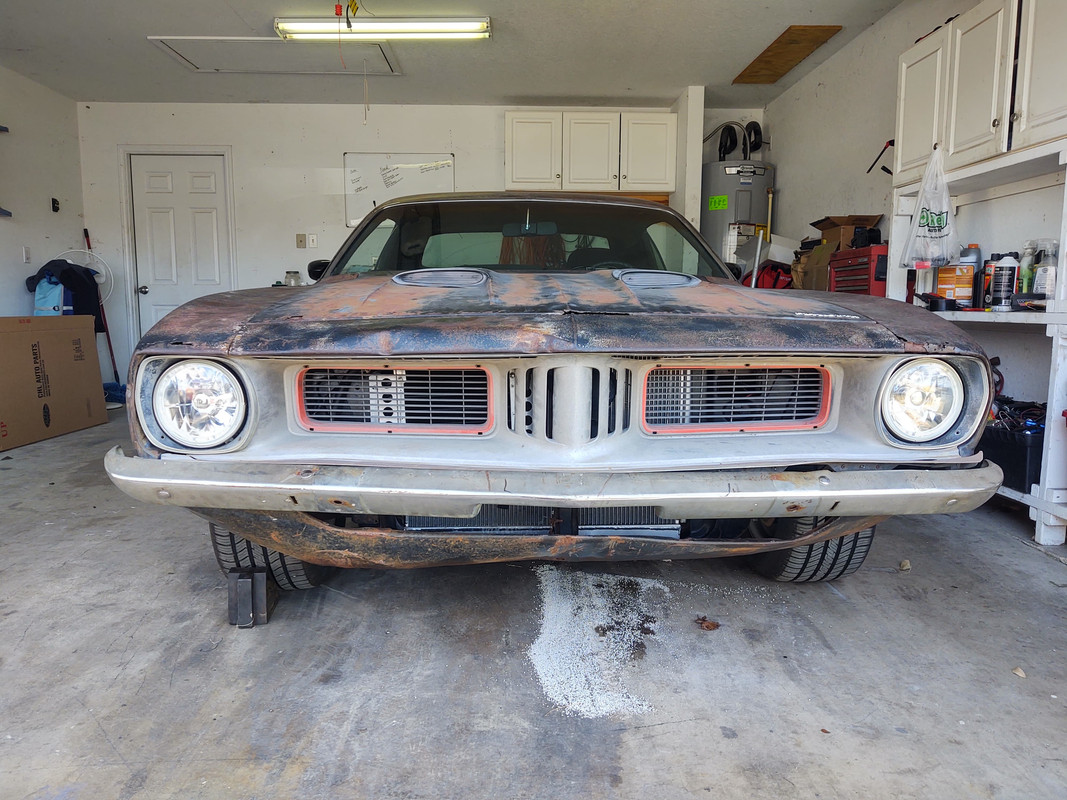
Got some goodies in the mail this week, My buddy sent me some headlights that have integrated turn signals. I scored a pair of already painted black mirrors for $160 on facebook, and i got some 1 1/2 lowering blocks.
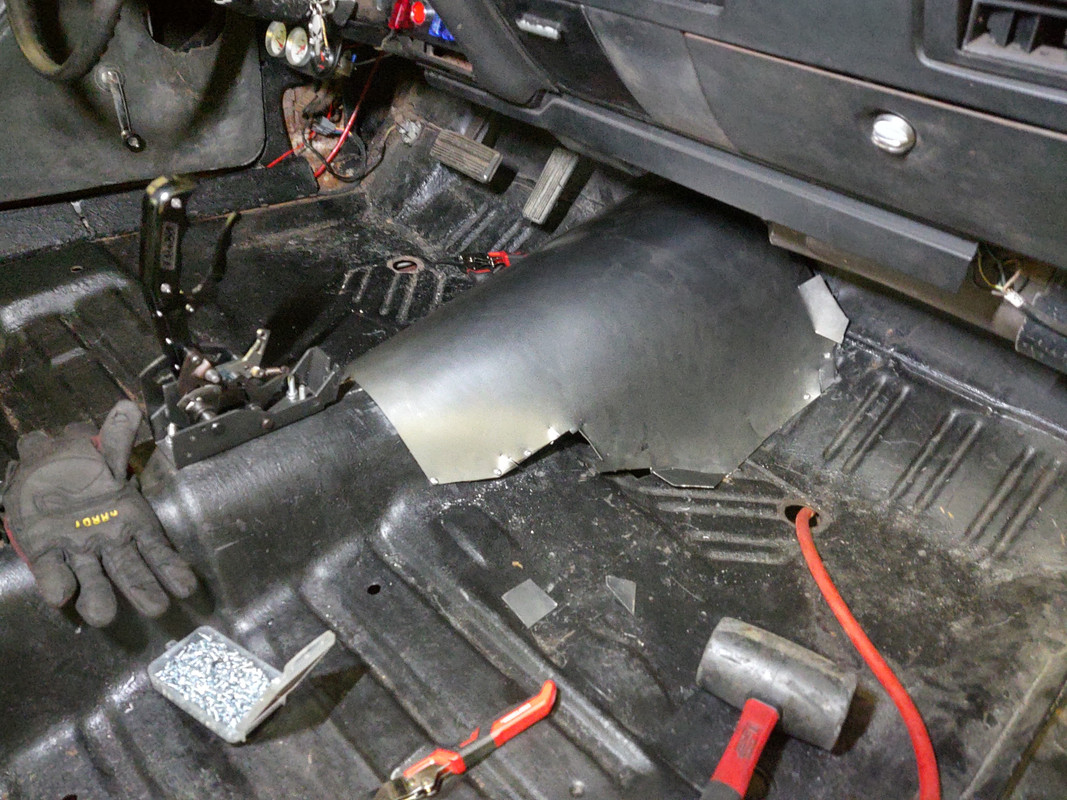
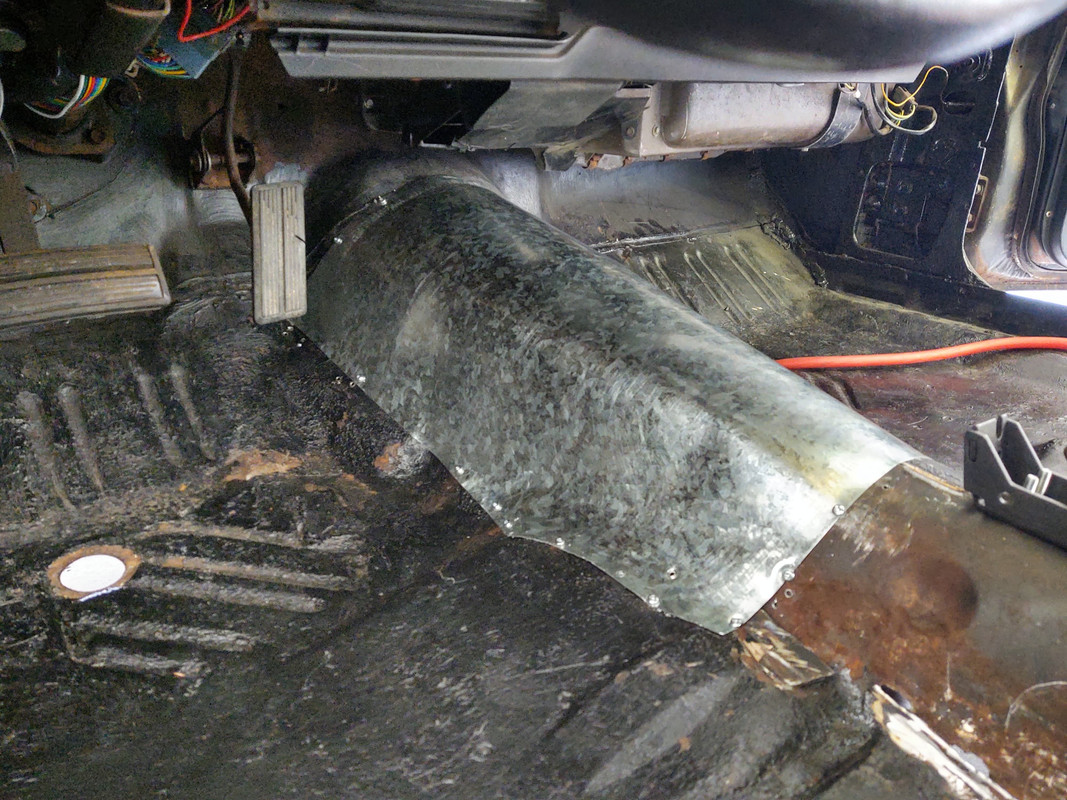
I also attempted the trans tunnel. Even trying to do a hack job it was a PAIN. So, im just going to get some aluminum thats easy to bend and screw it down. I dont want to make it permanent because i know its going to need to come off at some point.
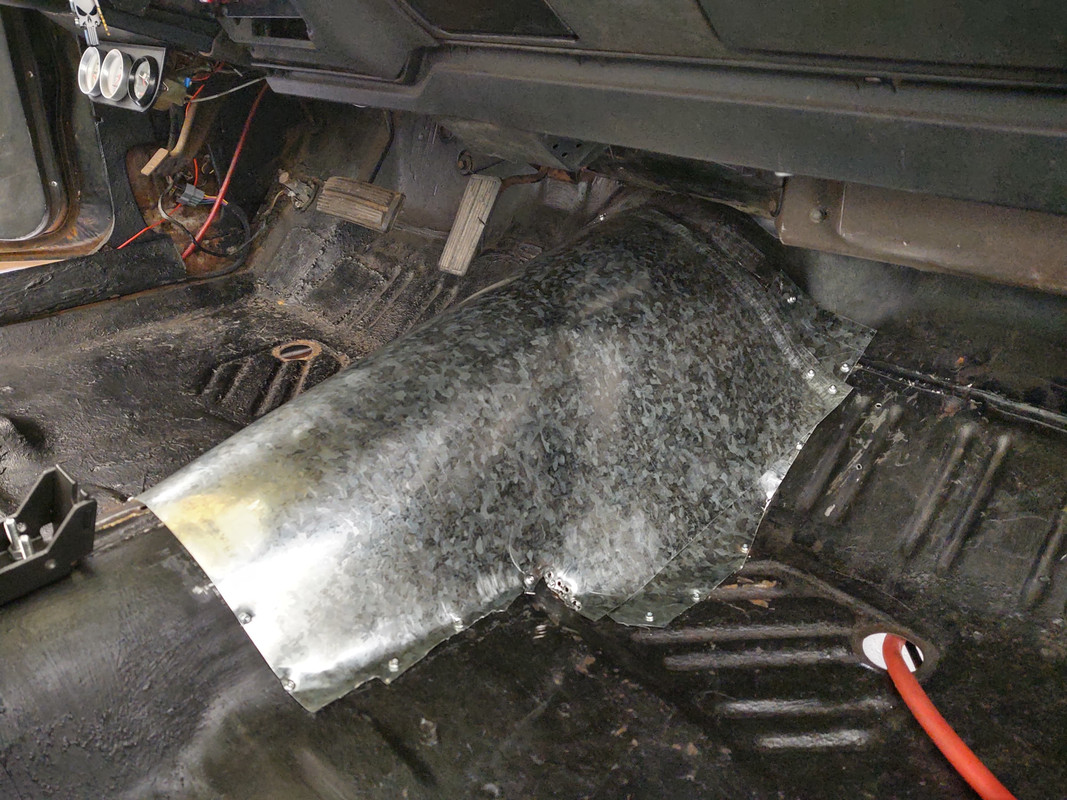
So I got the trans tunnel done today. Decided to just get a thinner sheet of metal thats easier to bend. It works but oddly, it is bothering me... Not sure why given how much work the car needs in other areas.. Idk, just how hacked it looks/is with the metal screws is just bugging me. But, for now I need to leave it alone and move along. I did get the new headlights installed and the mirrors. Also, did a cheap mount for the seat that saved me over $100 for a custom mount. Ill post pics tomorrow during the day of all that.
Actually, to my eye, it does NOT look shoddy at all. You were careful to shape it to the tunnel and button it down effectively. Once carpeted, who knows/cares??
Actually, to my eye, it does NOT look shoddy at all. You were careful to shape it to the tunnel and button it down effectively. Once carpeted, who knows/cares??
Ya, i was able to use scissors that cut metal so i could cut certain areas. On the passenger side i had to use 2 separate pieces and i think thats what bugging me along with using metal screws that stick through the floor board on the underside. On the passenger side, its not really doing anything but "covering" the transmission so you cant see it. Its not secure or going to keep out any exhaust leak smell unless maybe i throw a tunnel blanket over it? idk, its just bugging me for some reason. But like i said, i need to leave it alone or i know ill just end up making it worse lol
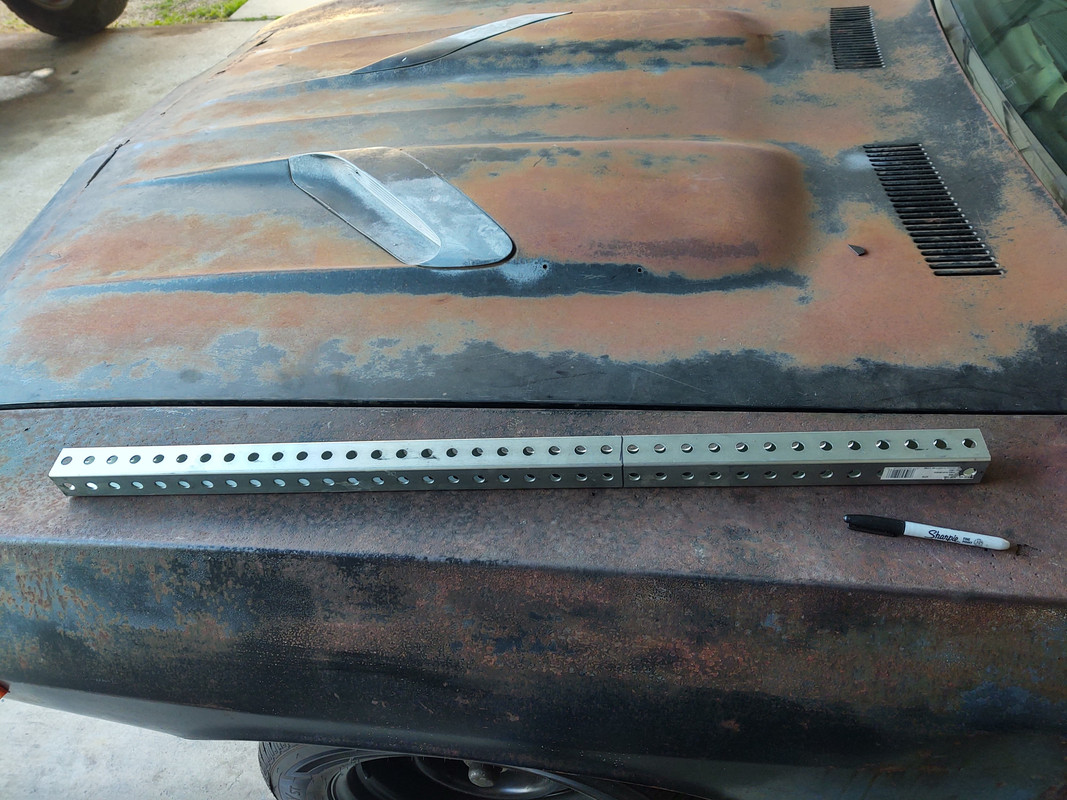
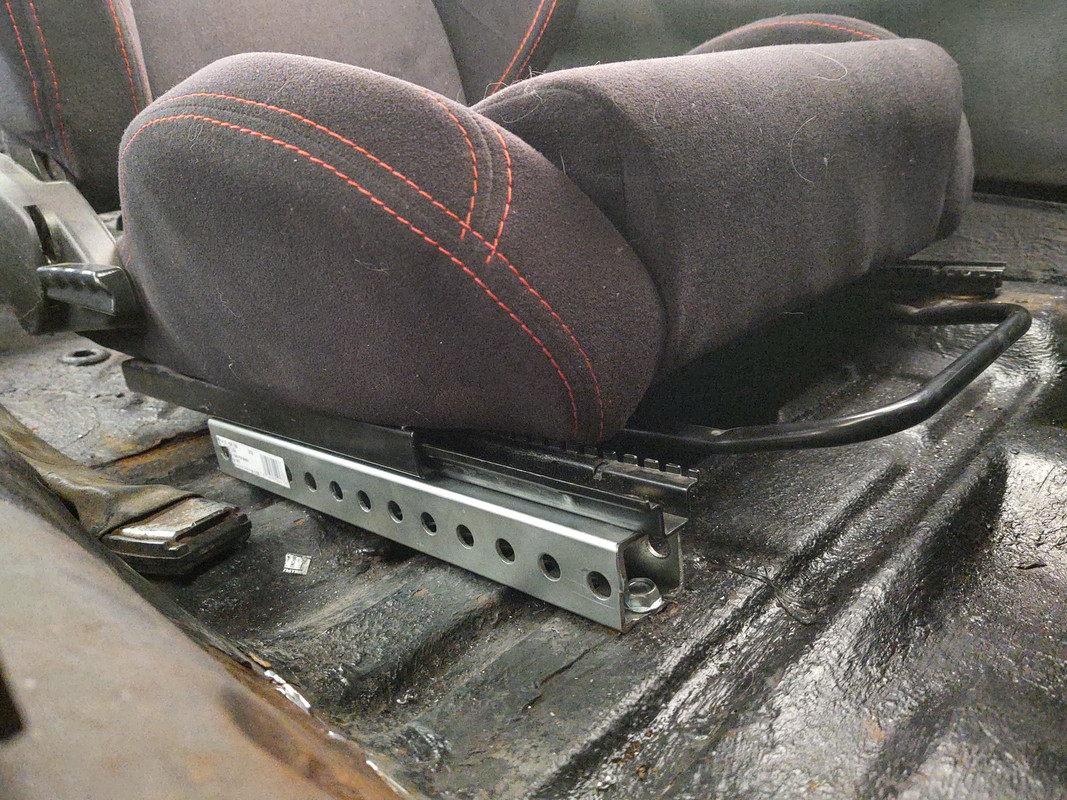
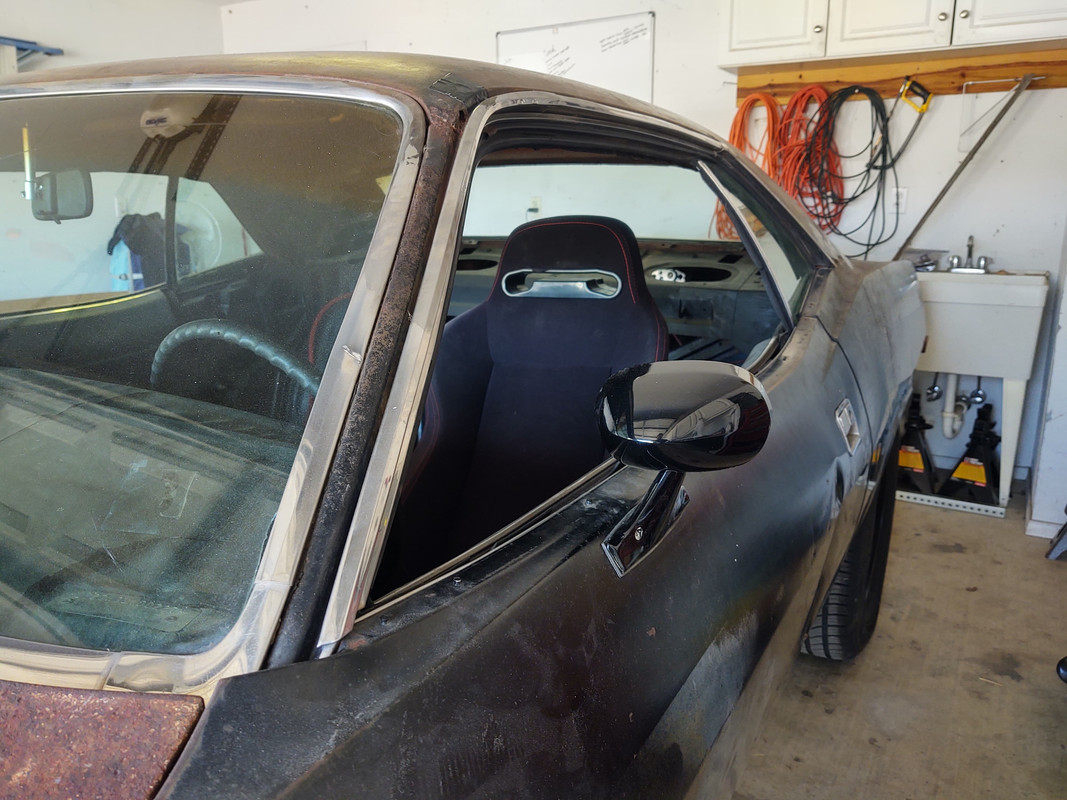
Pics of the other stuff i got done yesterday. Mirrors, headlights with integrated turn signals and seat mount.
For the seat mount it worked out perfectly because i needed the height as the driver side of the floor the seat sits higher than on the passenger side because the floor goes down. So somehow i got lucky and came across this bar when i was looking for metal for the transmission tunnel. All i did was cut it to length.
Love the black mirrors over chrome ones. Even though these mirrors are practically useless because theyre so small at least they look good lol. I will also pull the drip rail chrome off and possibly paint the window trim chrome black at some point. Just afraid to pull the front windshield trim off... lol
Thanks! I think how cheap i've been throughout the build has lost me quite a few followers on here lol. But i do kinda wish i had done or would do some quality stuff to the car. But, i just want to get it on the road.
And ya, i wish i could change my name but i didn't want to make a new account and this is the 2nd one i've ever made. I had one that was older than this one but couldn't remember the password lol. Maybe ill get back in a trans am someday? lol
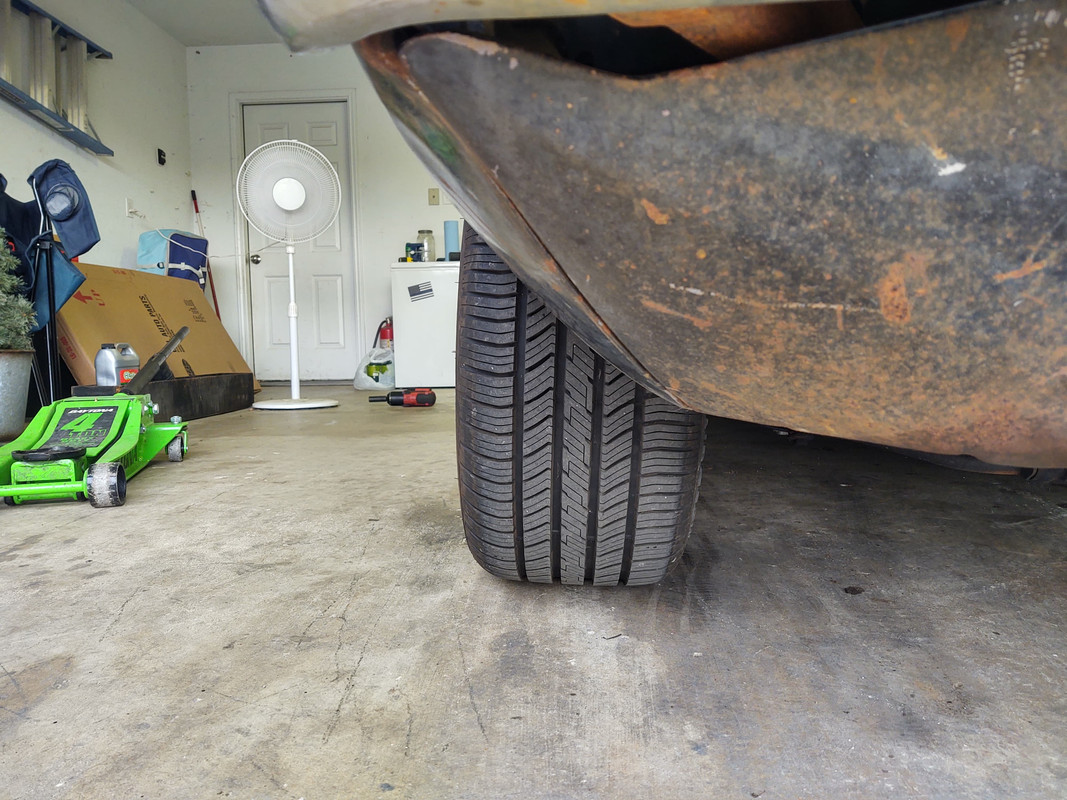
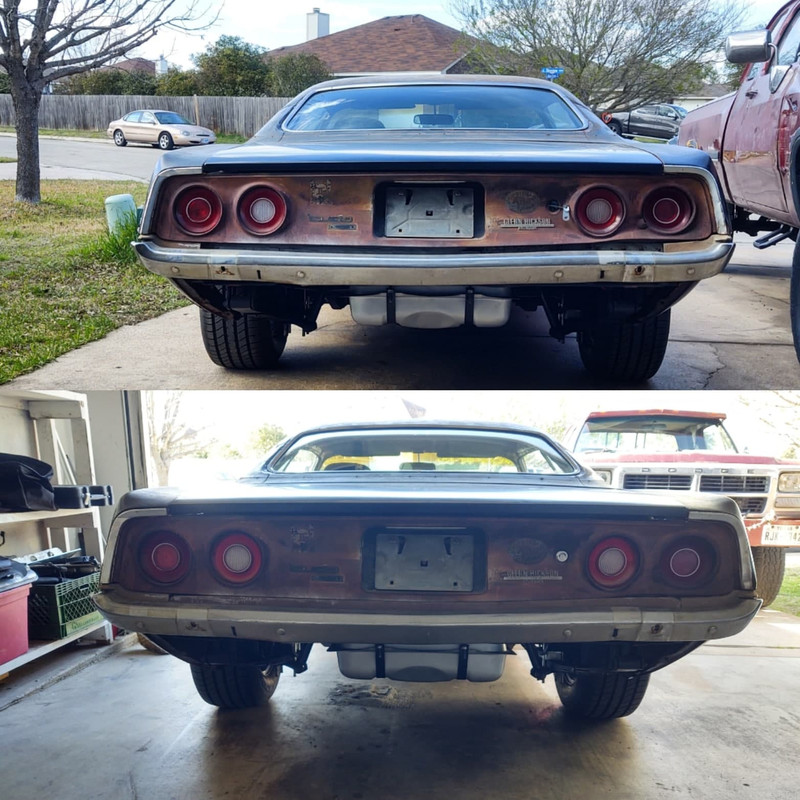
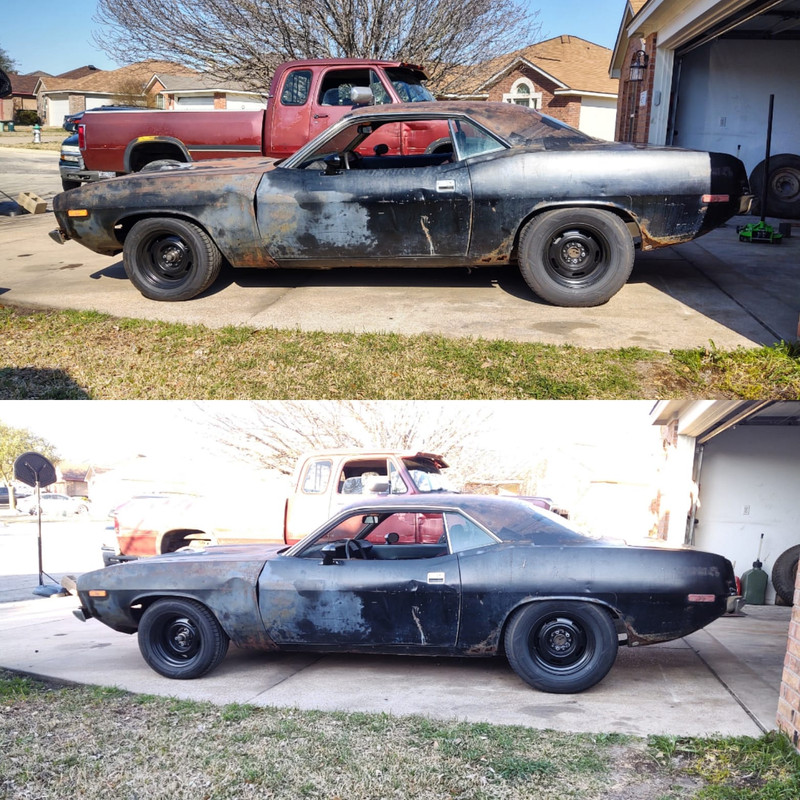
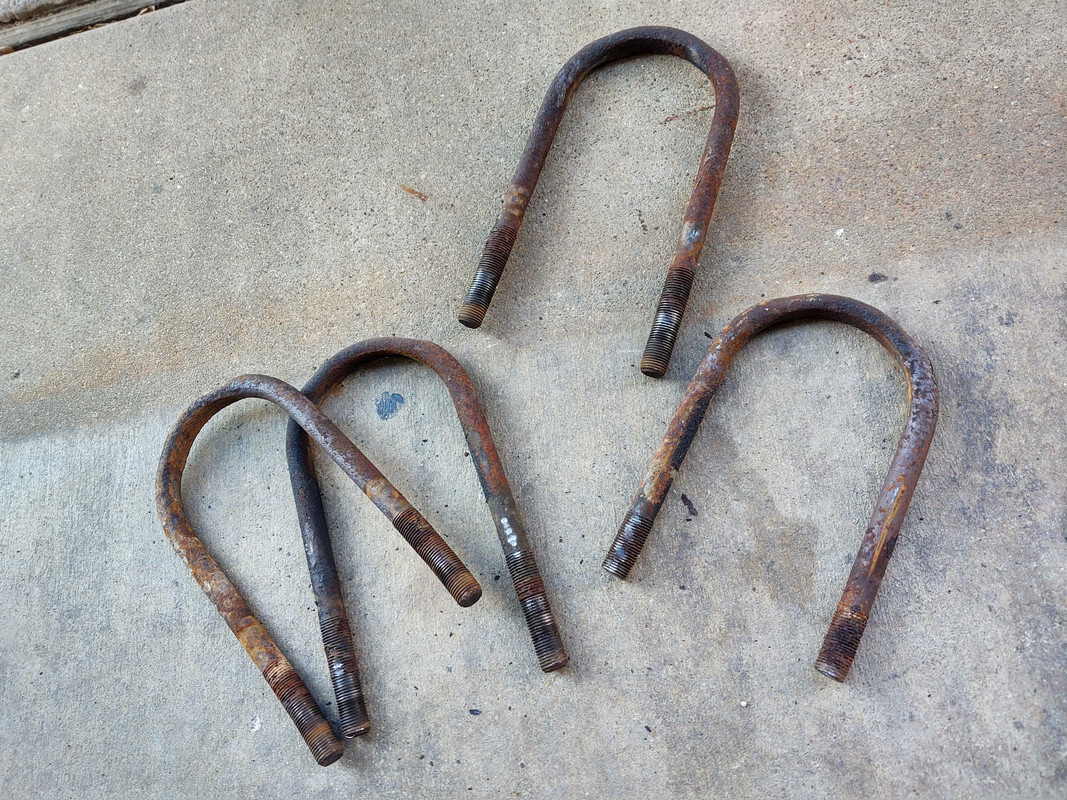
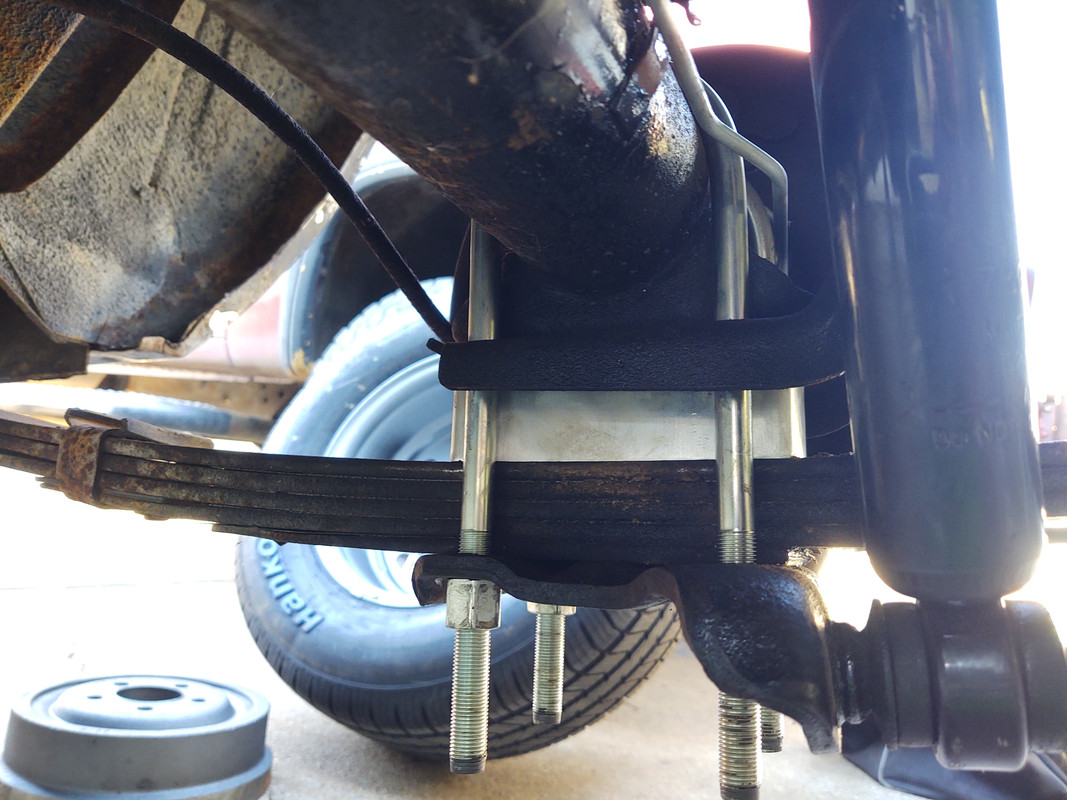
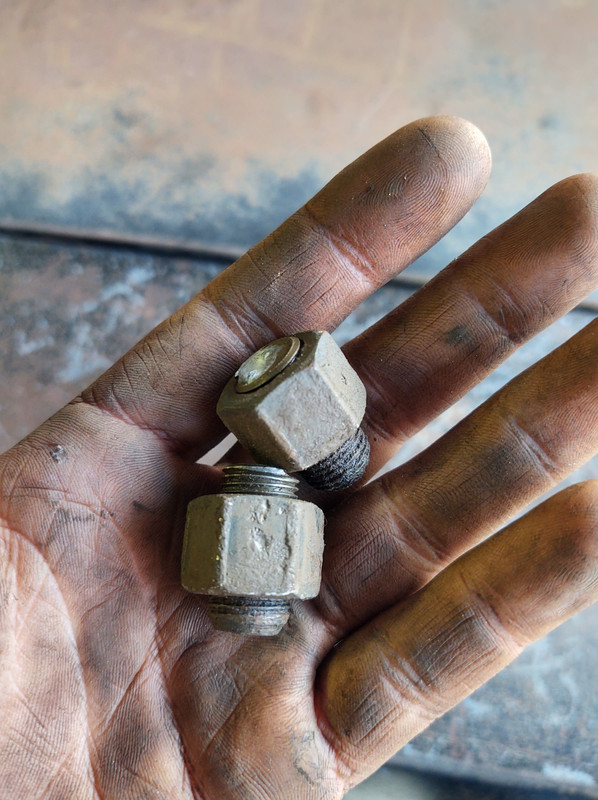
So I put in the 1 1/2 inch lowering blocks today. What should have taken 30-45 min tops of course took over 2 hours thanks to 48yr old u bolts and nuts... My snap on impact got them started off, but then i had to go at each one with just a breaker bar until i got each one off.... Thankfully on the driver side 2 broke off so that made it a little quicker lol. The driver side lowered an inch and a half but the passenger side only lower an inch-inch and a quarter. Not sure what thats about. Maybe the new shocks? maybe itll all settle once i drive it. Either way looks better. My driveway is slanted so hard to tell but you can sort of see the drop in the bottom picture. Next on the list is putting in the in-tank fuel pump.
Looking good! That's a nice stance with both ends lowered now. Been there with old leaf springs. Last year I replaced the original leaf springs in the 79 TA I inherited from my dad which he bought new. That was quite a chore. The old springs fell apart as I took them out. It was time and they were replaced with Ridetech composites
Safe to say it was time for the originals to be replaced.
Joe
I almost bought a set of the summit lowering springs as im sure mine need new ones but i figured putting in lowering blocks was the lesser of the 2 evel's lol
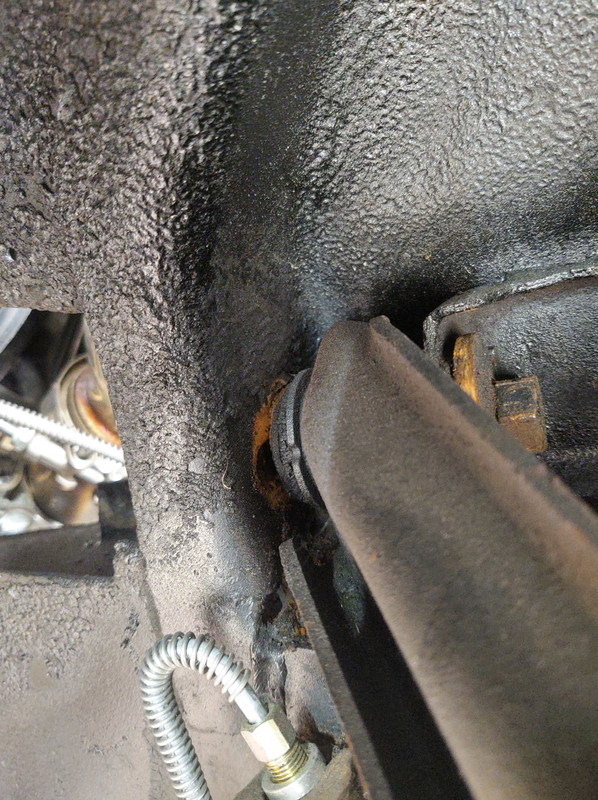
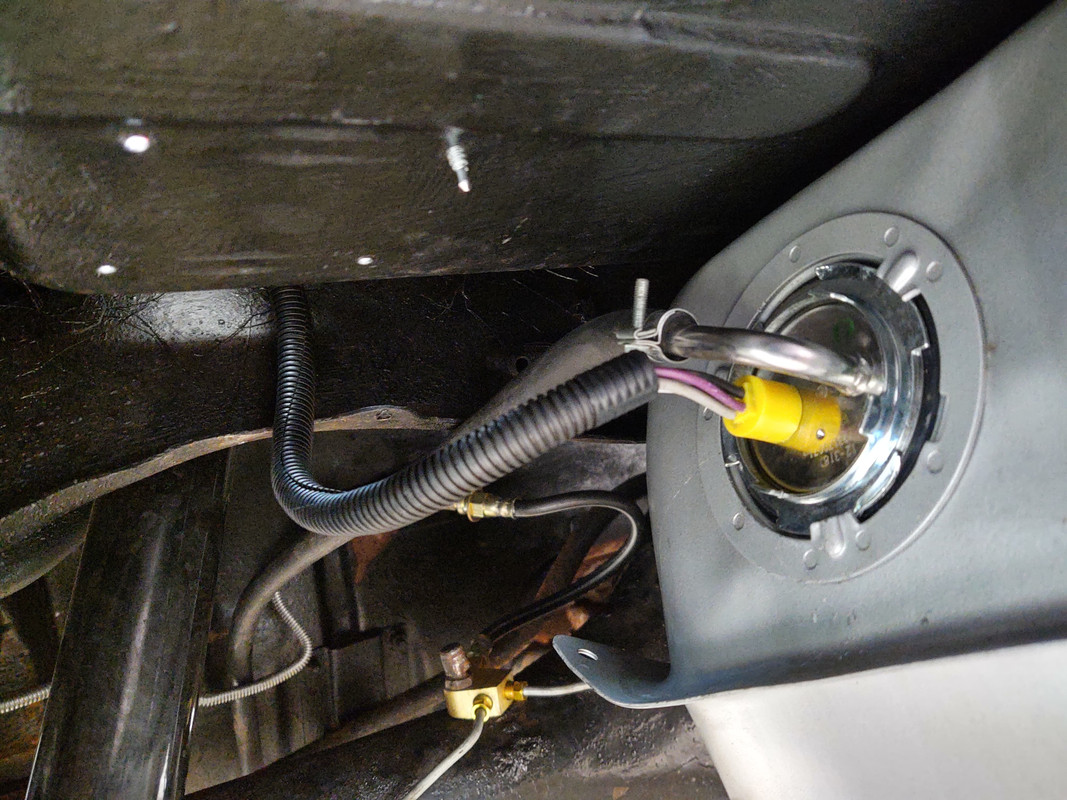
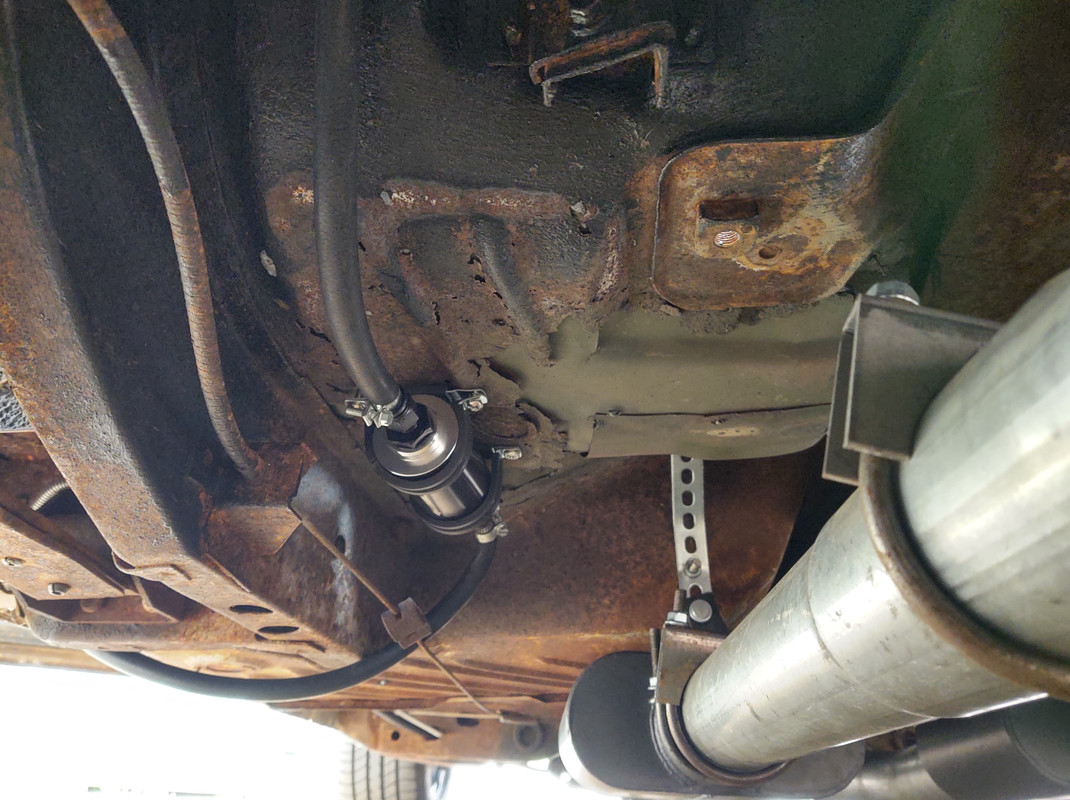
Finally stopped procrastinating on it and got the in tank fuel pump put in along with the fuel filter. Now, if you look closely at where the filter is mounted you'll see the great metal repair the previous owner did... unlike my other metal "fixes", I actually plan on replacing that footwell with a new piece.
Didn't go as quickly as I thought it would but I got it done. I even went the extra mile and wired it up to the relay that comes with the swap harness for a fuel pump. I initially was just going to wire it like I did the external pump but chose not to. Ill also get back under there and look at re routing the line that comes under the frame rail.
I planned to go picture heavy with it but I got frustrated quickly as I spilled half a tank of gas everywhere and the wind was blowing 40+ mph all day today blowing my stuff everywhere. So that along with the install not going as smoothly I wasn't really in the picture taking mood through the process.. lol
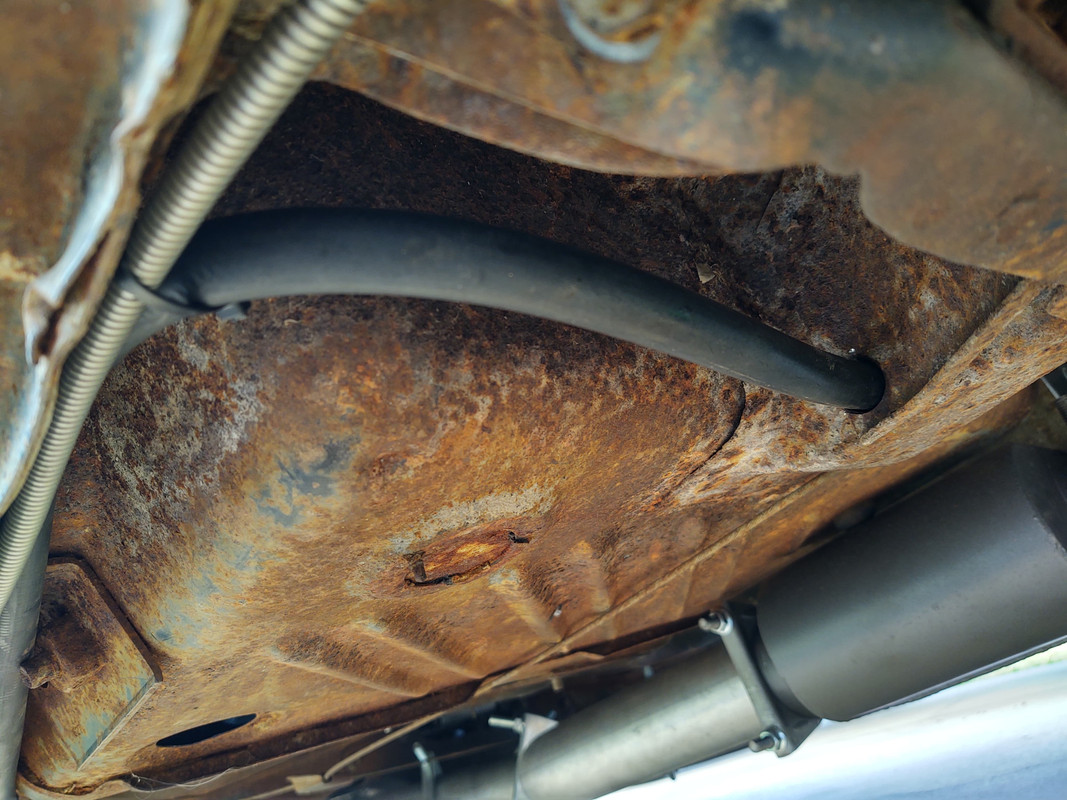
Re routed? I guess you'd call it, the fuel line. The ONLY option was to drill through the frame rail. Which obviously is much better than how it was hanging under the frame rail. At some point i will add a grommet to each hole.
I then really noticed the back end leaning much more to the drive side. Turns out the passenger side is over an inch higher in the rear than the driver side. The front is level on each side so my assumption is just completely trashed leaf springs or leaf spring components. But, im going to let that sort itself out as i drive it lol.
I then took the car for a test drive and romped on it. Thankfully all of the gears work properly now, no slipping and no codes popped up on the scanner when i got it back home. It definitely needs a tune though.
Main things from the test drive-
1st- The suspension is trash
2nd- Theres a major rattling sound either coming from the trunk or exhaust thats horrendous
3rd- I cant wait until im daily driving it.
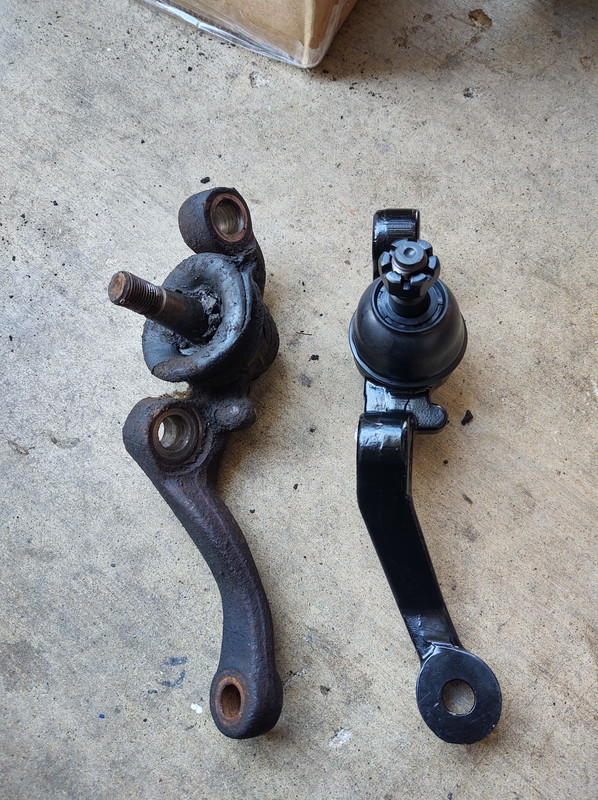
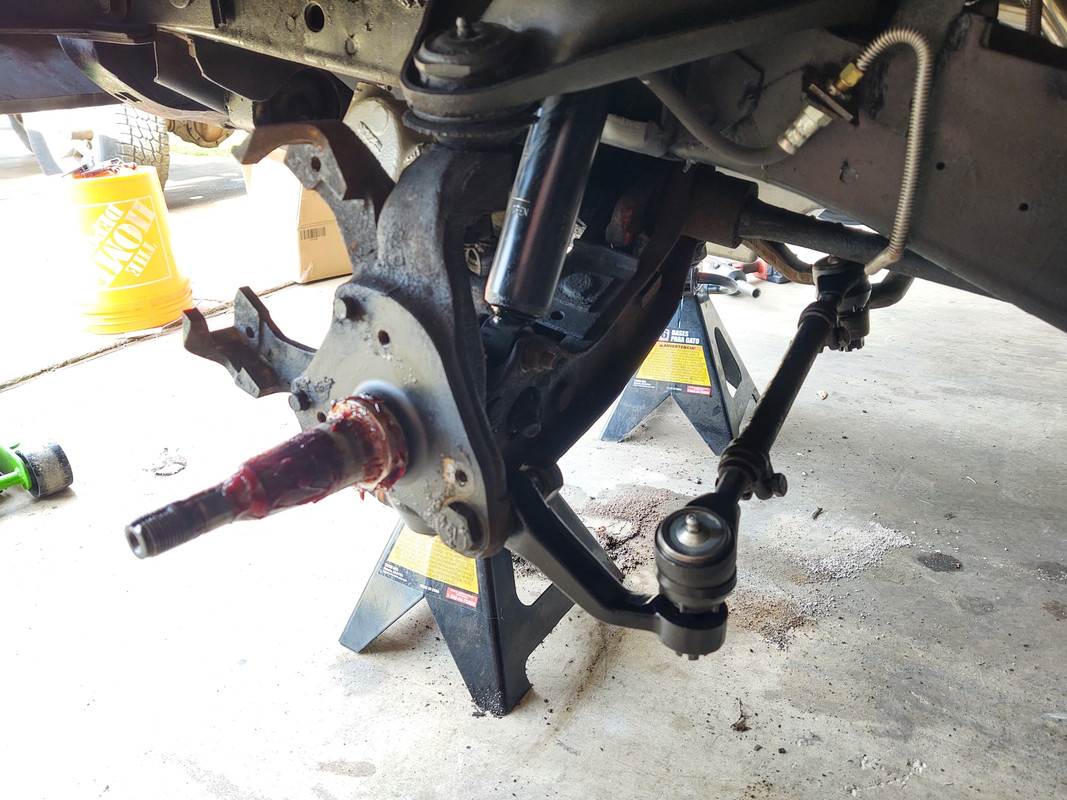
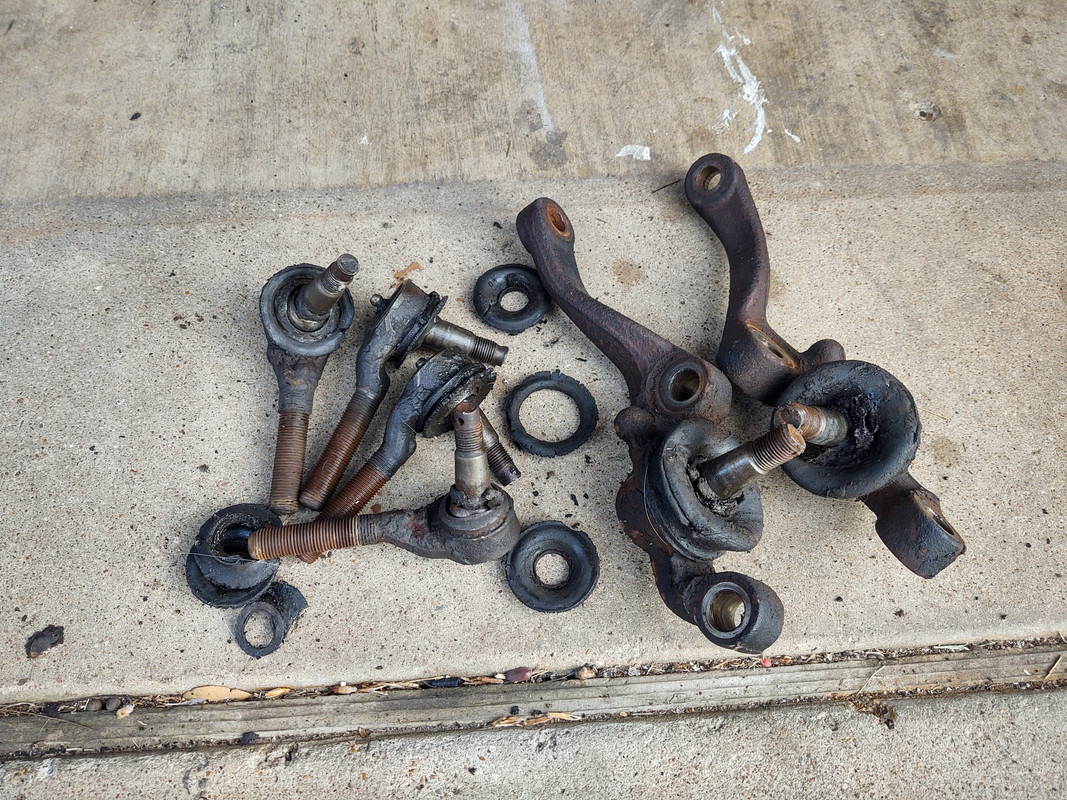
Got the tie rods and lower ball joints done today. Wasn't very difficult. Never done a Mopar before so the driver side was the learning side and passenger side went faster after. Of course now my caster and camber is off but getting some of that 50yr old suspension out was definitely needed. Didn't realize how bad it was until i pulled it all out. I have upper ball joints but I'm just going to replace the whole control arm at some point and I've seen/been told countless times how insanely difficult it is to replace the upper ball joints. You also need a special socket, go figure. Mopar... I've found a super cheap set of tubular uppers and did some research on them. They'll work but id just have to switch out the bushings as they come with bushings set up for bigger bolts than what the e body has. So, may go that route at some point.
So tried my own alignment today. Have never done one let alone a Mopar. And i can say. I might actually prefer the way of doing caster and camber on a Mopar compared to shims with Chevy's and others.
But, I spent a solid 3 hours getting on the ground, off the ground, wheels on, wheels off, over and over and over and over trying to get the toe adjusted correctly along with the caster and camber. I had finally got it dialed in then drove the car around the block a few times along with down the neighborhood main street. I did this as i knew things would settle and move and the next adjustment would be the final one. Well... After the first drive all I needed to do was fix the toe. Did that and drove again. Aside from the car dying at a stop sign (something fuel related). I got home and the caster and camber was completely opposite of what it was before I touched anything... lol.
So sometime this week ill have to un do what i spent 3 hours doing... At first the wheels sat too much on the outside of the tire, now its the complete opposite and they sit too much on the inside of the tire.
Adjusted the caster, camber and toe again today. Almost have it dialed in but of course after about an hour of messing with slight camber and a lot of toe today. I had it dialed in then i drove it and the toe moved itself... So, a little more slight adjusting and i should be good to go but doubtful. But I have to get it down on my own as I already know every shop in my area is just going to tell me they cant do it and honestly its too easy to pay someone to do.
Also, I stated that the car died on me and wouldn't start back up. Unsure of what it was specifically but it was 100% fuel related. Idk, if it was just a weak chassis ground in the wiring as i just mounted it to the trunk? or if the female connectors I put on the relay came loose? So I moved the chassis ground to the actual chassis and double checked the female connectors. Drove it around to settle the suspension and it ran great aside from the obvious needing a slight tune. As far as driving it there's not really much else. I need to replace the rear u joint and change the diff fluid but other then that everything is good to go as far as being able to just drive it.
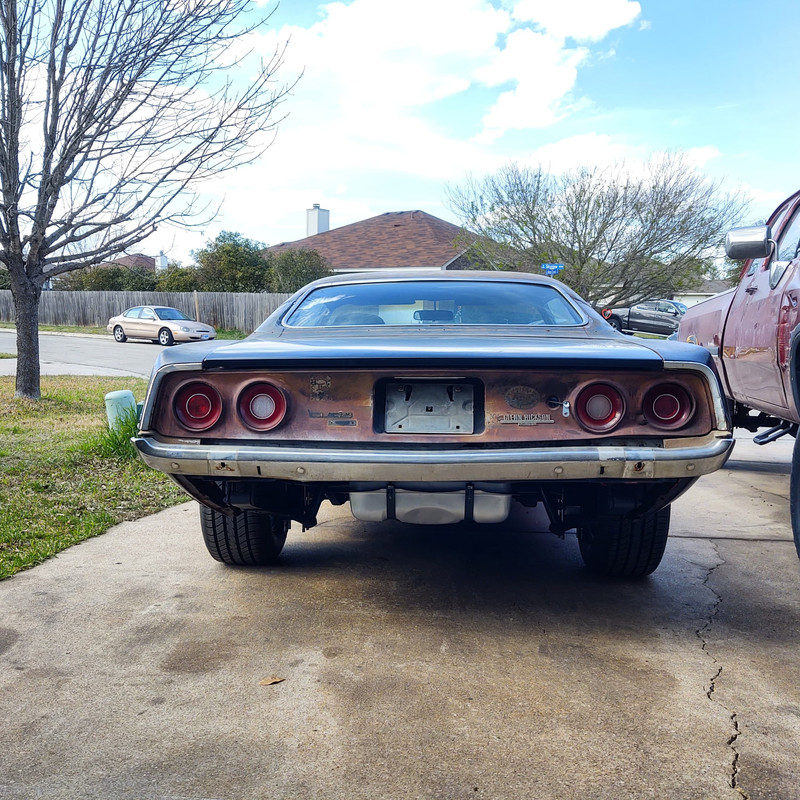
Then the final thing I did today thats been bugging me in the back of my mind is putting the filler piece back on that goes between the bottom of the tail panel and the top of the bumper. Most likely won't put a rear lower valance back on it. I have the original one which has the factory exhaust cut outs but its completely mangled on a corner and itd actually look worse then not having one on at all.

 03-07-2022, 12:06 AM


 intermittent fasting bad for you
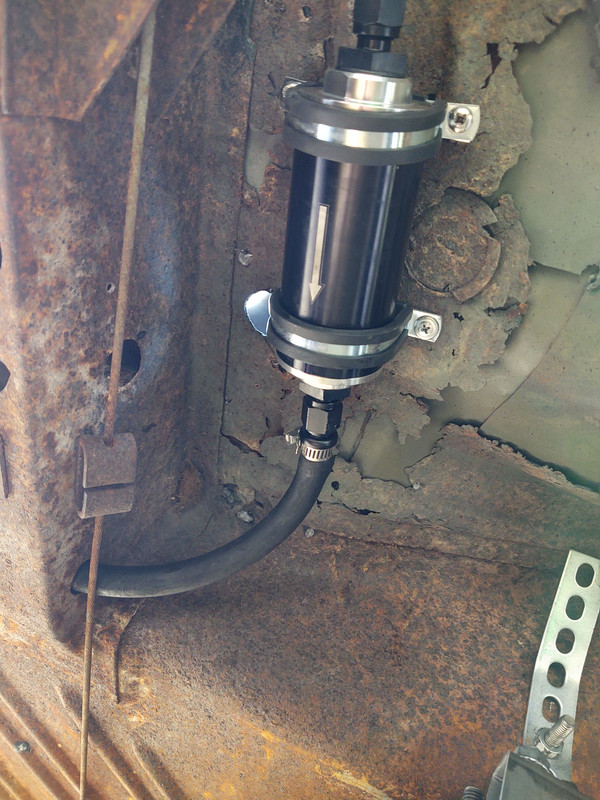
 how long can pet fish go without food