
73 Cuda LS Swap
 02-20-2022, 07:03 PM
#161

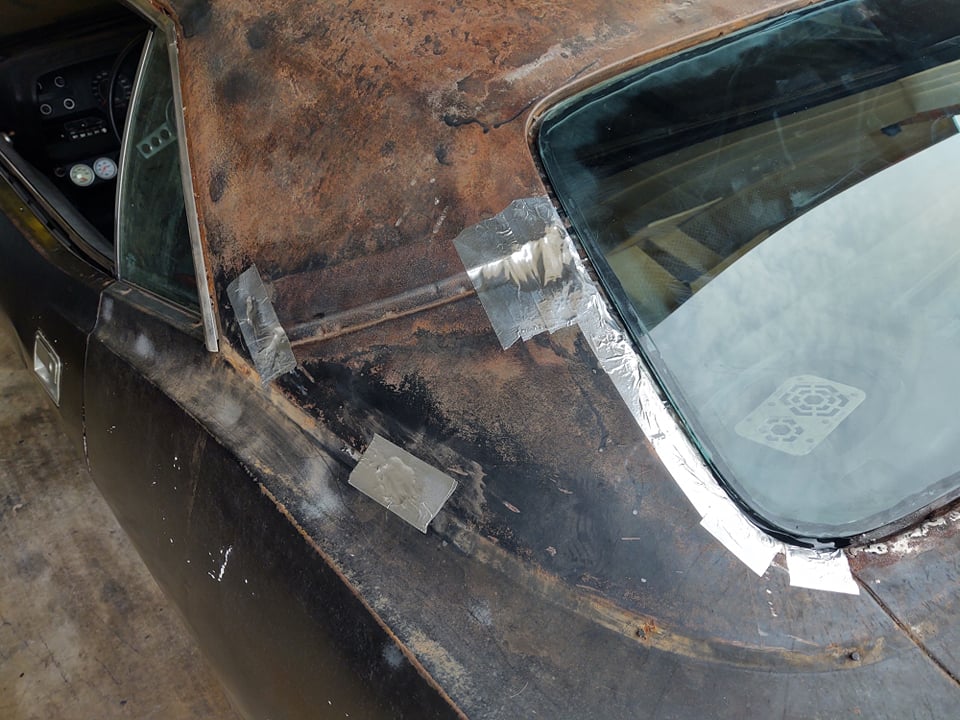
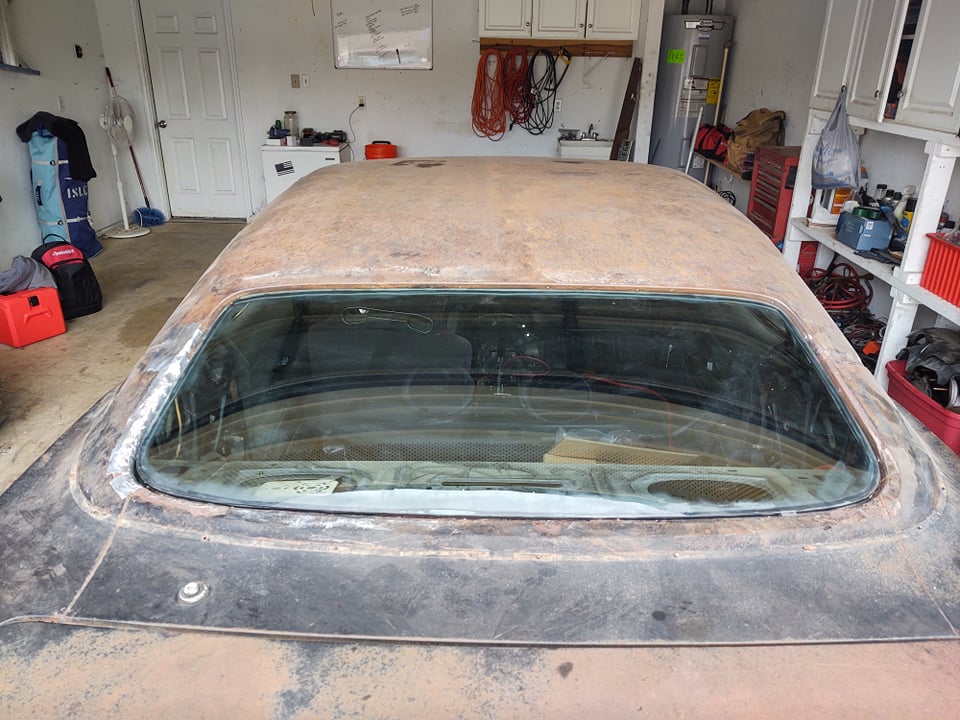
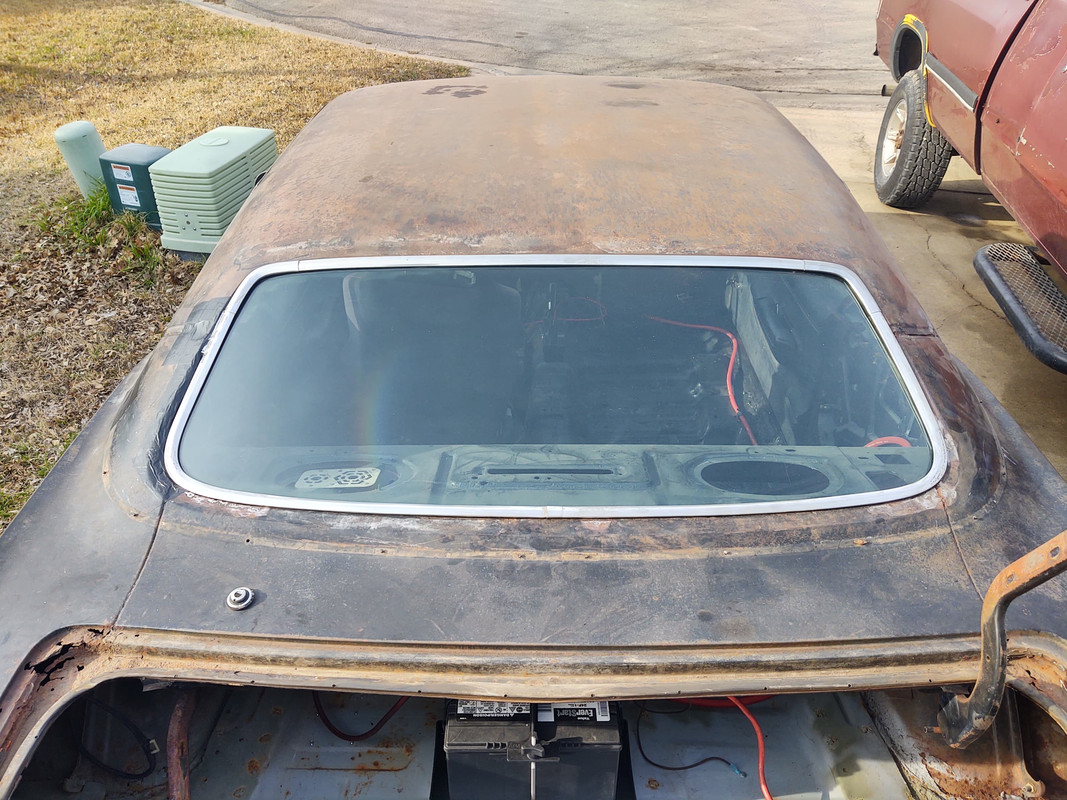
Today I got the rust holes fixed up and I put the rear window back in. Chose not to do fiberglass this go round so yall should be proud of me. Maybe next time ill actually use metal? but probably not. Too much metal work needed on the back end of the car for my wallet so... lol. I enjoy posting the pics of how i cheaply do rust repair stuff in Facebook groups. The internet builders get REAL mad lol. But at some point waaay down the line if i still own the car ill replace metal but for now, the ol girl with her LS just wants to hit the road. I will spruce it up some and paint the tape black so that you at least cant tell from about 15ft that its tape. Plus the reflection off that Tx sun in the summer would be brutal lol


The following users liked this post:
Alwhite00 (02-22-2022)
 02-22-2022, 10:00 AM
#165
 02-22-2022, 09:10 PM
#168
TECH Senior Member
 02-22-2022, 09:25 PM
#169
TECH Addict

Little trick, paint the metal with POR-15, AND BEFORE IT DRIES, lay the extra thick aluminum tape on it.
its almost like its welded and the POR will stop the rust from growing,
You can also use light weight fiberglass cloth and glue it down with POR-15 to fill rust holes in the floorboard.
Layer as needed, needs time to dry but itt produces a very thin patch that you can feather in.
its almost like its welded and the POR will stop the rust from growing,
You can also use light weight fiberglass cloth and glue it down with POR-15 to fill rust holes in the floorboard.
Layer as needed, needs time to dry but itt produces a very thin patch that you can feather in.
The following users liked this post:
78TranzAm (02-23-2022)
02-23-2022, 08:26 PM
#171
Little trick, paint the metal with POR-15, AND BEFORE IT DRIES, lay the extra thick aluminum tape on it.
its almost like its welded and the POR will stop the rust from growing,
You can also use light weight fiberglass cloth and glue it down with POR-15 to fill rust holes in the floorboard.
Layer as needed, needs time to dry but itt produces a very thin patch that you can feather in.
its almost like its welded and the POR will stop the rust from growing,
You can also use light weight fiberglass cloth and glue it down with POR-15 to fill rust holes in the floorboard.
Layer as needed, needs time to dry but itt produces a very thin patch that you can feather in.
02-23-2022, 08:30 PM
#172
Exactly. Nothing against those that prefer paint and body before everything else but when i got into old school cars in 2010 i was a late teen and obviously money wasn't just growing out of my pockets so ratty muscle is just what i could afford and ever since it's just what i've grown to love. My philosophy is get it mechanically good and drive it and do stuff to it as youre enjoying it. I know for a fact anyone reading this has seen guys post vehicles for sale thats in pieces because they had big ambitions then it became too much and too expensive or guys take the time of doing body, paint, suspension, building the engine then don't even hear the car make noise for 5 years or something. Idk, ratty stuff is just what i like. I like cars i can drive and not worry about dents, scratches, and road debris or have to wait until a nice day to drive it.
03-01-2022, 05:13 PM
#173
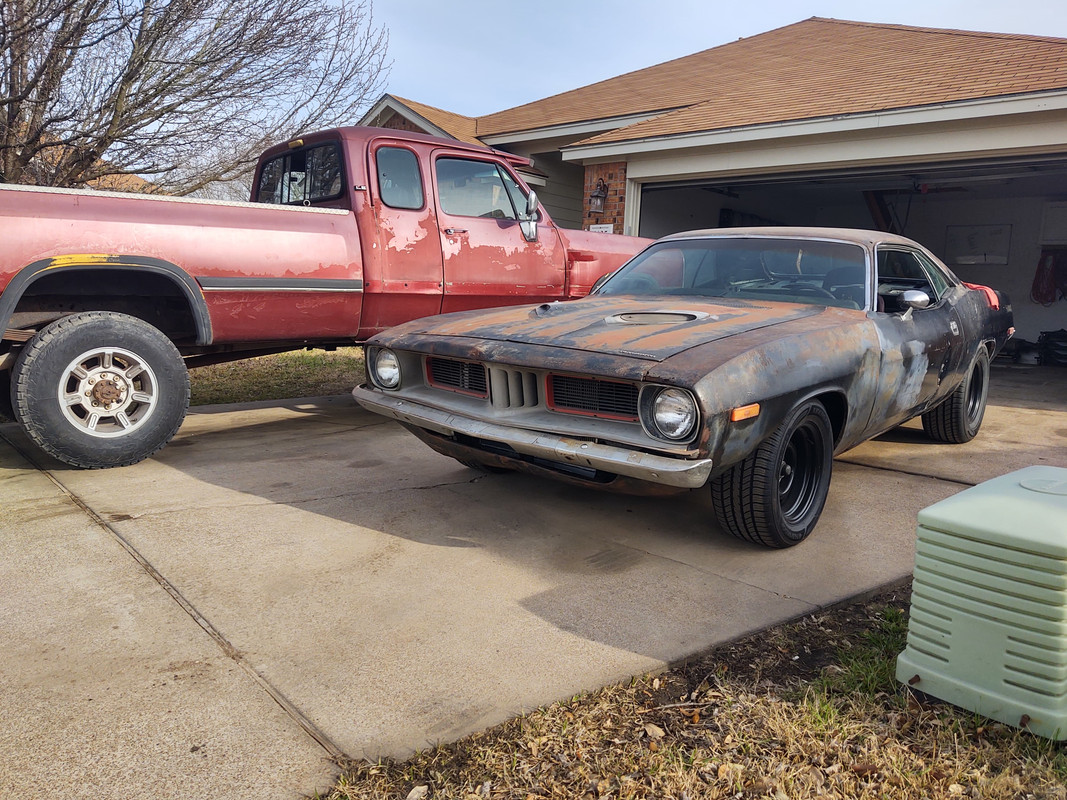
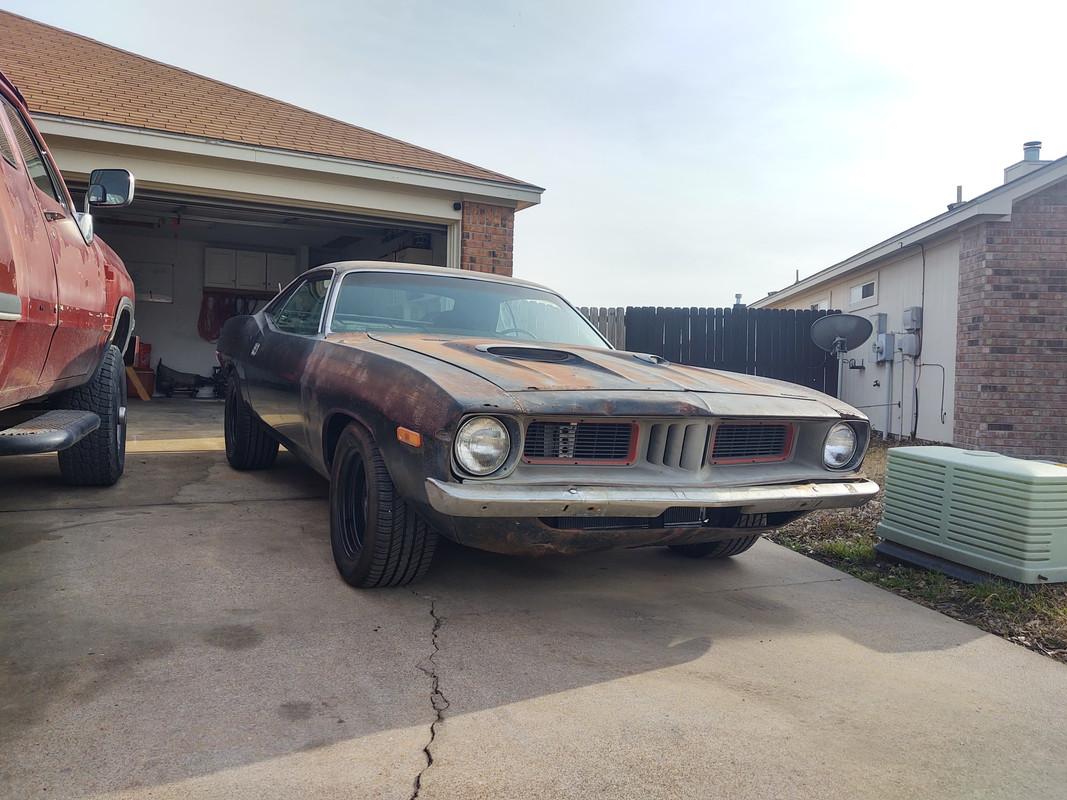
Got some stuff done today. I was able to source a used grille that had minor broken pieces but is still in far better shape than the one i've had just sitting in place. Got it for a steal thanks to they guy that sold it to me, not all mopar guys think their stuff is worth gold.. lol
I got that grille in, and the rear window trim in. I should be heading to Summit to get a trunk lid this coming weekend.
Also, don't mind the messed up bumper on the driver side, im sure the bracket is bent but no point in messing with it as i want to switch to 72 bumpers and those take different brackets anyways.
Last edited by 78TranzAm; 03-01-2022 at 05:27 PM.
03-02-2022, 01:28 PM
#174
LS1Tech Sponsor
Join Date: Jan 2008
Location: Ohio, Georgia, Nevada, Texas
Posts: 2,008
Received 1,194 Likes
on
650 Posts

@78TranzAm,
This is a pretty neat project you have going on here. Thank you for your patronage! We're happy that you've chosen us to help keep the build moving forward. It may be frowned upon by some Die Hard "Mopar or No car" folks, but it's well accepted here! It's likely appreciated by folks doing something similar to what you're doing, just behind the scenes! Keep on Keepin' on
This is a pretty neat project you have going on here. Thank you for your patronage! We're happy that you've chosen us to help keep the build moving forward. It may be frowned upon by some Die Hard "Mopar or No car" folks, but it's well accepted here! It's likely appreciated by folks doing something similar to what you're doing, just behind the scenes! Keep on Keepin' on

 03-02-2022, 02:15 PM
#175
@78TranzAm,
This is a pretty neat project you have going on here. Thank you for your patronage! We're happy that you've chosen us to help keep the build moving forward. It may be frowned upon by some Die Hard "Mopar or No car" folks, but it's well accepted here! It's likely appreciated by folks doing something similar to what you're doing, just behind the scenes! Keep on Keepin' on
This is a pretty neat project you have going on here. Thank you for your patronage! We're happy that you've chosen us to help keep the build moving forward. It may be frowned upon by some Die Hard "Mopar or No car" folks, but it's well accepted here! It's likely appreciated by folks doing something similar to what you're doing, just behind the scenes! Keep on Keepin' on
The following users liked this post:
Summitracing (03-03-2022)

The following users liked this post:
78TranzAm (03-03-2022)
03-03-2022, 10:14 PM
#177
Did some nick knack things today while i procrastinate on needing to fix an oil leak, transmission tunnel, and putting in the in tank fuel pump. So I tried mocking up the driveshaft loop. I knew when i took it out of the box it wouldn't work with both loops connected, so i took the top one off and still, with where the x pipe sits there's no chance of anything fitting under the driveshaft. Unless i move it farther back and mount it? Just thought of that as i type this. Well damn, i might do that. Either way i cant use the top loop but i think id be able to have the bottom loop sit under it, farther back behind the x pipe. Also, where the x pipe sits the x pipe will catch it lol. But my luck, that'd happen, then the x pipe would fall off and it'd just be a mess. What do you think?
 armored core wallpaper
armored core wallpaper
03-04-2022, 05:57 PM
#178
So I guess I fixed my transmission codes issue. I pulled the main harness plug off of the 4l60e, blew on it like a Nintendo 64 game, plugged it back in and since then havent had any codes pop up... SMH, i pulled the pan and replaced the pressure switch for no reason lol. I drove the car around the block today and it shifted smoothly all the way to 3rd. Being in the neighborhood I couldn't go any faster to see if it would lock up and go into 4th but maybe next week some time ill hit one of the longer roads outside the neighborhood and try to get it up to speed.
The following users liked this post:
G Atsma (03-04-2022)
03-05-2022, 08:16 PM
#179
Picked up the trunk lid today. Got home closer to dark time so pics aren't the best. I might get out there and mess with it tomorrow but i have some other things to do so maybe sometime during the week.
Of course, the lid was bent... In the pic you can clearly see it bent up, its supposed to be completely flat. I would think it was dropped from a decent height as its creased also. I just took my rubber hammer to it and flattened it as much as i cared to. I got the cheapest trunk lid you can get anywhere so can't be surprised. I also paid for most of it with gift cards so im only into it for $65. But of course, it doesn't close tight and the passenger side sits up all crooked. I believe the issue is the new Chinese trunk lid latch which of course by itself was $80... Used "OEM" latches go for over $100, good ol mopar... So what im going to have to do is lengthen the holes on the latch that the bolts go through so that i can have the latch sit as low as possible in hopes the trunk lid latches farther down, if that makes sense. I've never messed with this kind of trunk issue so im wondering if maybe the hinge spring/bar is worn out? don't know... Cant have just one thing go on, go on easy, and fit correctly... lol
*UPDATE AFTER ASKING QUESTIONS ON FACEBOOK*
I went out and pulled the rod off that keeps tension on the hinge, (it only puts tension on one). The lid closes nice and flat/even now. Unsure on how these mopar trunk hinges work so ill most likely just keep the rod off and have to just hold the lid up by hand if i need in the trunk. One less thing i can just mark off the list and move on lol. Ill post daytime pics tomorrow.
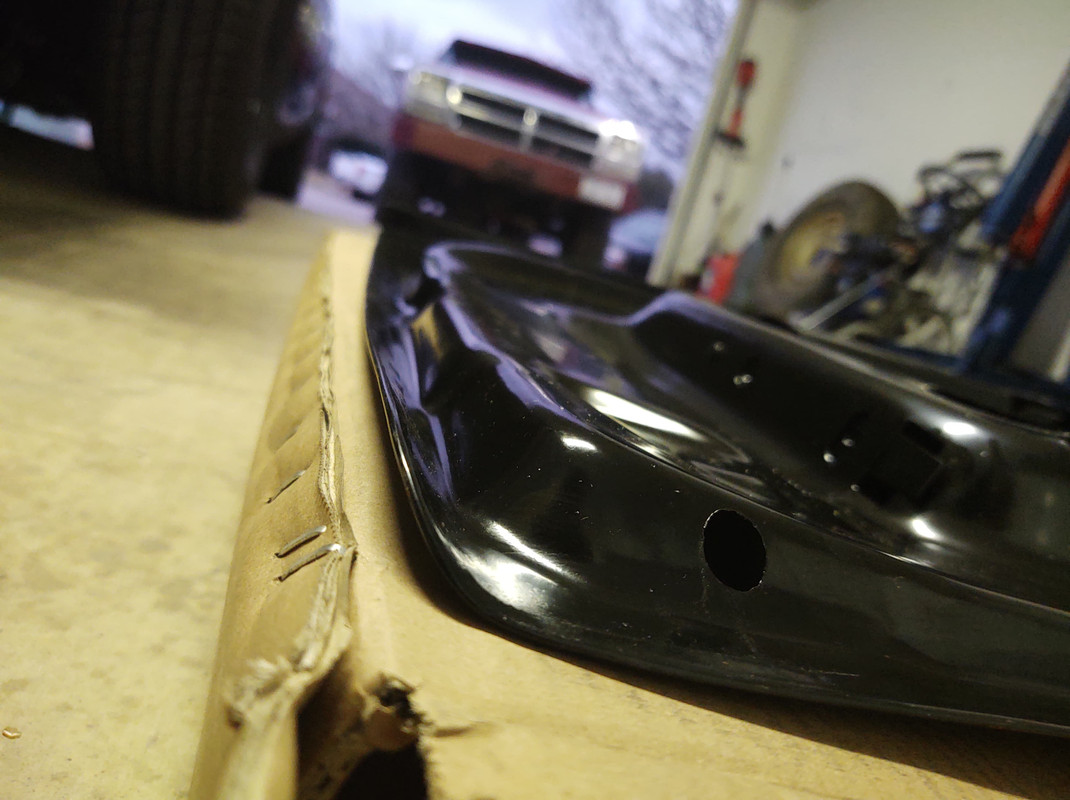
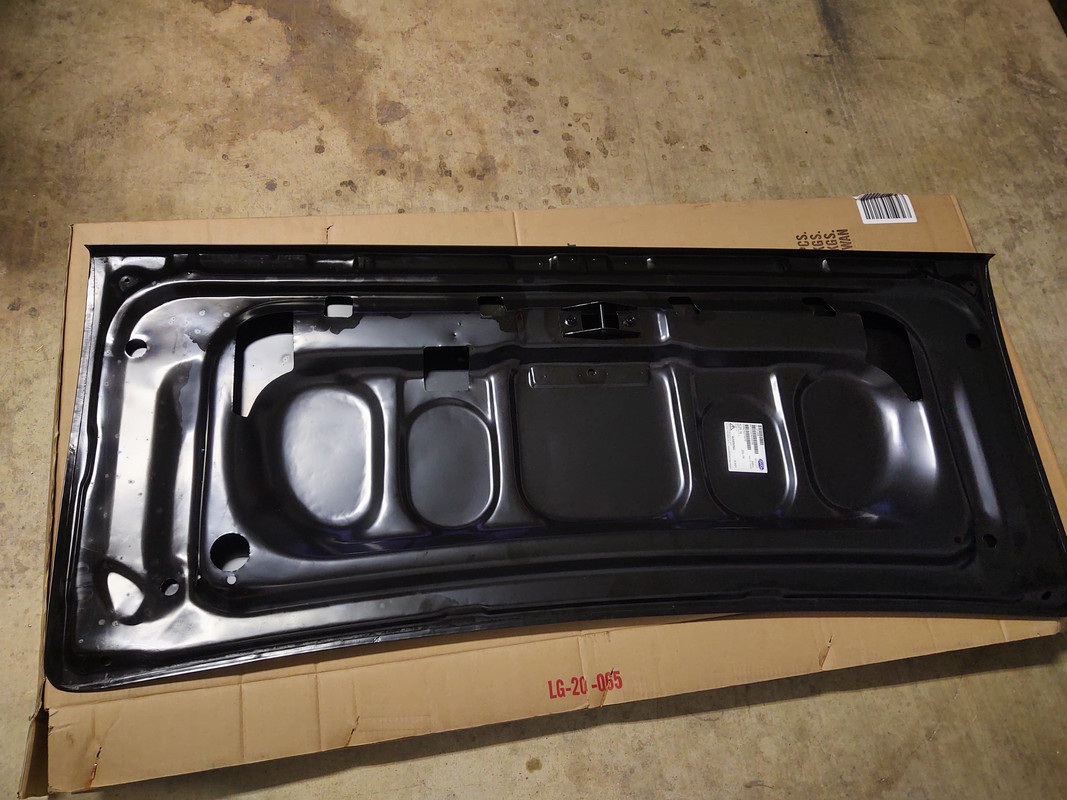
Last edited by 78TranzAm; 03-05-2022 at 10:58 PM.
03-06-2022, 07:10 PM
#180
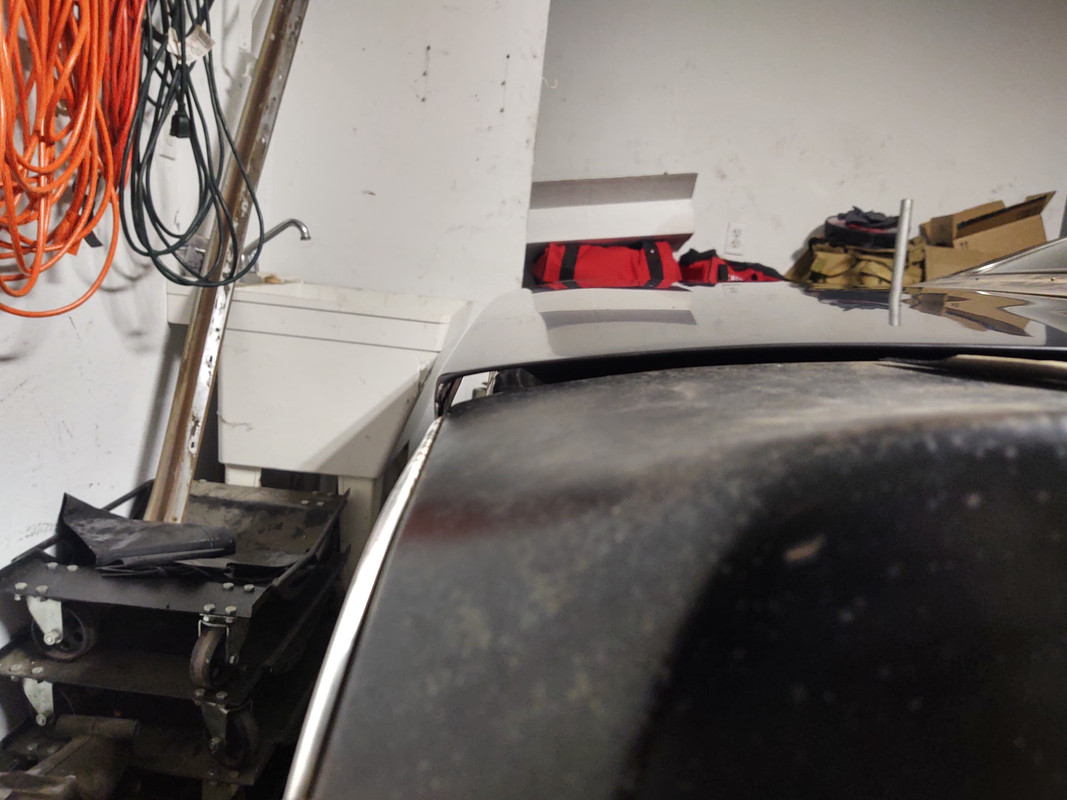
Still doesn't sit 100% flat but im pretty sure thats because the brand new $80 latch doesn't fully "latch". It just 3/4 latches which that extra 1/4 latch would pull the trunk lid down a little further to where id prefer it. But they left the factory like this and its a million times better than the original rusted out lid so, can't complain too much.


image posting
image posting