When you click on links to various merchants on this site and make a purchase, this can result in this site earning a commission. Affiliate programs and affiliations include, but are not limited to, the eBay Partner Network.
Quite a bit done, and a ton of stuff left HAHAHA
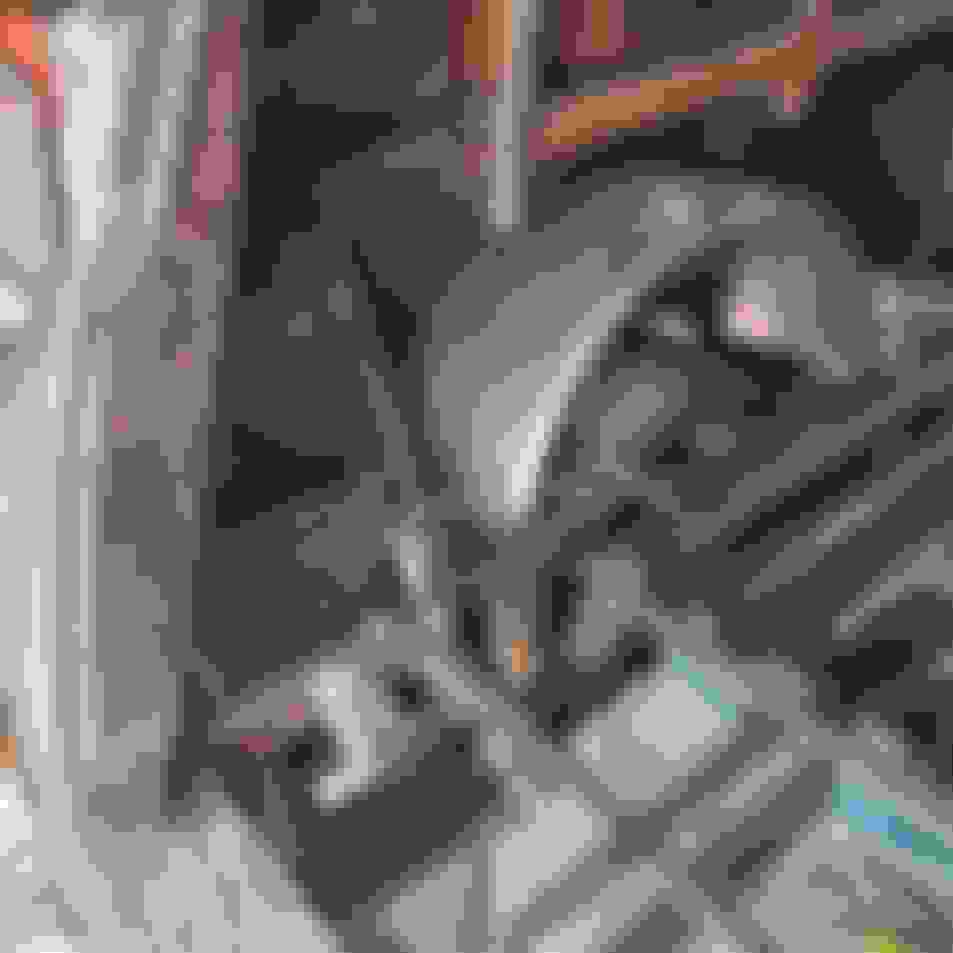
Started on the rear wheel wells
Just a stock fender for a trailer is never wide enough (I learned that doing front tubs on my dually). At least with these, they need to just cover a car tire not a truck tire so they don't need to be stretched front to back as well as side to side. I may be going over board with the pictures, but for anyone scratching your head about making tubs for the back on a budget this is how I've done it.
If I was going to be doing this in a truck bed where the tub is visible I'd have done a butt weld and smoothed it as best as I could. Because the only place to see this seam is inside the wall or from inside the bottom of the wheel well I did a lap joint, that I will fully weld before they go in for good.
Then it was just the usual "do it all again for the other side" and I had two!
I used the skirts that came with the fenders for the outer skin between these tubs and the quarter panels. I'll end up cutting some that fit better on the faces of the tub and blending those in so they look nice when its all done.
I also went ahead and finished up the pieces of metal to tie the floor into the a and b pillar frames for the doors. The one on the drivers side b pillar I had to skip because that pillar is in the wrong place (previous repair was done badly and the door doesn't close like it should).
I'll get this repair to the door frame done and then I'll be more confident on my fender placement and finish up the core support and bumper mounts.
Lastly I picked up a set of coil overs so I can get the rear set at ride height, but that'll be after the tubs are in and the door frame is finished.
Jessica
We test disc'd a customer's 66 panel truck a dozen years ago - one thing I wished it really has was a good backup camera. He has these little side mirrors the size of road dots - a bit anxious backing up whe road testing...
We test disc'd a customer's 66 panel truck a dozen years ago - one thing I wished it really has was a good backup camera. He has these little side mirrors the size of road dots - a bit anxious backing up whe road testing...
Yeah I knew it was bad, but you never know how bad until you start grinding and cutting.
I have those little "peep" mirrors as well, although I did go with the larger 4" ones. I really don't want a screen in the car, even if I could hide a backup camera pretty good on the back of the rig.
Jessica
I wish I'd gotten more done this weekend, but I couldn't. I was able to get a screaming deal on some coil overs and springs for the back of the car.
I need to finalize my ride height and get the tabs made to mount these.
The height I'm shooting for
I decided with the car back on its wheels I'd tackle the door frame issue. The old repair of the quarter was bad, in fact they made the door opening too small.
So since I've owned the car the door wouldn't really latch or close right. The front of the door is actually warn off from hitting the fender so badly. I really didn't want to cut the side off the car It'll only get better from here, right? So far so good.
Then I decided to work on some of the holes in the roof and side of the car. There was a roof rack, and six sets of three holes on the roof not too shabby, and just a little more hammering, and a skim coat of filler should take care of it A little bit of paint and its good enough to keep water out I have no idea what this was for, maybe a CB antnena? crappy black paint and it looks as good/bad as everything else
I've got the other 9 holes on the top of the passenger side to hammer and fill, but its a good start.
I had my Dad come by to help hang the drivers door better and I'll fully weld up the lower door jamb and set the gap correctly.
I need to decide whats next: more tub work and the rear floor or do I do suspension and get the ride height dialed in?
I'll definitely be doing the rear coil over mounts before the floor actually goes in for good, because its a heck of a lot easier to weld standing up than laying on the floor.
I'm also toying with the idea of dealing with the quarters (either buying patch panels or making some). It might be better to do the quarters before I weld the tubs in place, but I don't know, I've never done this.
Jessica
Got a bit distracted or busy who knows. But I'm back with an update! Bumper brackets finally made Tucked the bumper back a little and generally tried to make it look better
Found some much better doors, that have way less rust, but were not exactly the right ones.
They came pretty much blasted and sprayed with some very thin primer that had started to allow for some flash rust to form.
So I sprayed them with the same paint I used on the dash and wheels. Sedan doors are not quite like a delivery door A bit of cutting and a small filler piece and its close to the original I don't think it looks too bad Used a copper backer to help with filling the smaller trim holes Then I sprayed some more paint over the areas I'd been working on to keep some of the flash rust away
I also managed to get a lot of other parts from the same individual that will help with the build as I progress but for now the sheetmetal and exterior parts are what I'm most excited for I bought 4 more teeth for the grille. I really like it a lot better and it looks more custom. I painted that drivers fender, and I swapped out a new passenger fender. A bit of finishing touches on the splash apron and it'll be ready for paint too
All this other stuff kind of derailed me from working on the coil overs but its a heck of a score to get all this stuff so I'm trying to make the most of it.
I did get the upper coil over mount built, and set in place. I went with a roughly 70 degree angle on the shocks, and I have some misalignment spacers to help keep things from binding.
I need to do up the lower mounts, and get the upper crossmember fully welded in place. Once they are back in I'll have to put the gas tank back in place, because its hangers and crossmember had to come out to make all this work.
Anyways its been a lot of little stuff lately, but its getting there.
Oh and the whole reason I went to buy those parts was because this guy had a quarter panel. Of course its a passenger side (he already sold the driver side), but that still helps. Its off a 2 door, so the top isn't the same, but the portions that I need are the same. I really wish I'd seen his ad when he had both of them still
Coil overs and stuff are high on the priorities list at this point. Fingers crossed thats what my next update/post is all about.
Jessica
HI, I manufacture/sell an IR Intake Manifold with 65mm butterflies (8) that may fit under your truck hood line.
As an LS-1 Tech member, I will make you a price that will be very low for a complete New IR System.
Pictured.
Kind of a dump of a lot of progress pics, nothing major finished but a lot of work going into this rig.
I started on the coil over mounts and got the upper crossmember built. Of course my gas tank crossmember was about a quarter of an inch off and the coil over spring was hitting so I had to cut that out.
When the coil overs get finished I can get the tank put back in and make new mounts for its straps.
I pulled the front end sheet metal that I'm not using and went ahead and pulled the front splash apron so I could finish welding it up where I had modified it to fit the new frame and core support.
I used a piece of 3/16" rod at the back to give it some structure that it lost when I had to cut the flange off.
I threw a quick coat of paint on things to stop them from rusting, and I also got all the holes in the fenders and doors filled. Then I put the grille back in with its extra teeth.
Basically if the parts are on the car they are much safer and take up less space so that was the reason for pivoting to all this stuff from the heavy fabrication stuff.
On that same note, the car came with two back doors. One has a bad hole smashed in the center of it, but the skin is otherwise in good shape, the bottom of it is very rusted out.
The other one looks like a person walked on it. It has less rust though. So it was decided to try and fix the less rusty one.
I plan to use the non dented inner panel to make a door panel for the other one. Then I can open the door up and maybe fix the smashed skin, and just have a small amount of rust to fix on it.
The bottom inner door frame is like fixing those A and B pillars but so much worse.
Still a ways to go on the door but its getting closer. I'm sure some of you can relate to just wanting a running or rolling project, and thats where I am at. I want to have the ability to put the doors on and push it outside if I want, even if it still doesn't have windows.
Of course I also can't or won't do any more rear tub/floor work until the coil overs are mounted so that I don't end up building in my own way.
Hopefully another update soon, and it'll include a finished rear door, and some suspension on the rear end.
My '33 ****** sedan delivery had a huge blind spot too. Finally came across a set of motorcycle mirrors that really worked. The mirrors are convex, don't auto readjust when you close the door and they are cheap. Use them on all projects now...even my '32 roadster.
My '33 ****** sedan delivery had a huge blind spot too. Finally came across a set of motorcycle mirrors that really worked. The mirrors are convex, don't auto readjust when you close the door and they are cheap. Use them on all projects now...even my '32 roadster.
thats awesome! I think im going to break down and put a backup camera in the back door with a frenched plate and figure out a place to hide a screen and a stereo lol
Jessica
Got the coil overs finished after a lot of other things keeping me from working on the car. Tabs and brackets are such a time suck Its nice when they come out looking good though Sitting level and looking even!
The gas tank and filler neck are next, and then onto the floor and tubs.
Jessica
Back on track! The tank is in, the filler neck is finished, and the charcoal canister is the next thing to find a home.
I'm not super happy to redo things, like hanging the gas tank. BUT this time it actually fits better and I like how it turned out compared to the original setup.
It does look just about the same though.
Lots of stuff getting done, and lots of progress in the near future (fingers crossed this rear floor and tubs get finished next)
Jessica
Your build is super awesome and is making me want to work on my own '54 that is out in the driveway just waiting.
I just read the whole thing while I was supposed to be working...
Keep it going and I am jelly of your fab skills.
Your build is super awesome and is making me want to work on my own '54 that is out in the driveway just waiting.
I just read the whole thing while I was supposed to be working...
Keep it going and I am jelly of your fab skills.
Its hard to get started sometimes, and its even harder to keep working once you do start! I totally get it!
Thanks for the kind words, I'm self taught with the fab stuff. Its taken a lot of time and mistakes to get here, I just keep pushing myself past what I've done before on new projects and it seems to be working.
Jessica
You are not far as I am in Tigard, so I look forward to seeing your panel in the future at a show sometime.
Nice! my sister lives in Tigard, it seems like I'm over that way all the time! I hope to see your 54 at a car show sometime as well
If you ever see a loud, rowdy, satin black G body El Camino with green hood stripes tearing up Tigard or at cars and coffee its me.
Jessica
Took a bit of a break from the car (seems like a month or so). It was just too hot out to work very late in the day. I ended up buying another project so that derailed me as well. That one is on the back burner, and its at a point I can just let it simmer for now.
Anyways back onto the progress! The rear floor is coming together and its looking pretty good (in my opinion).
The final picture of the floor framework before the floor pan went on. I mounted the charcoal canister on the passenger side.
I doubled up the main cross bars to make the floor more rigid and not flex/bow.
I started on the trunk drops, or at least thats what I'm calling them. The portion that attaches to the quarter isn't done yet, but its enough to start on the floor. It was a pain to work in the back without the floor but all the bracing in the way. The beginning of the front "trunk drop" The rear "mud flaps" Installed in front of that charcoal canister
although this car was pretty rusty I did have a good idea of what these pieces looked like from the factory so I just had to get them close.
Luckily these are under the car, so this thread is probably the only time anyone will see them. Figuring out spacing Checking the side panels All the spot welds Checking the fitment All the tack welds and then all the grinding Onto the next sections
The floor is coming along nicely, but its a time and labor intensive project. I've got a bit of time lately and the weather is cooling off so thats in my favor.
I also did a lot of wheeling and dealing this summer and I ended up with some cool parts for this car. I parted out an S10 that had some good parts but the bed was so dented it wasn't worth selling. Thats where the other green floor pieces came from. I had tried to replicate bed floor using a bead roller, and had looked at other options (like just using flat metal). That kind of tied me up and wasted time, so now I can get back on this.
I need to get this floor sorted so I can pull my Fiero back in the garage for a bit and figure out what is going on with its transmission, so that'll be anoth hiccup in progress in the near future.
Jessica


 04-17-2024 | 01:19 PM

 If it wasn�t for rust, you wouldn�t learn metalworking!