When you click on links to various merchants on this site and make a purchase, this can result in this site earning a commission. Affiliate programs and affiliations include, but are not limited to, the eBay Partner Network.
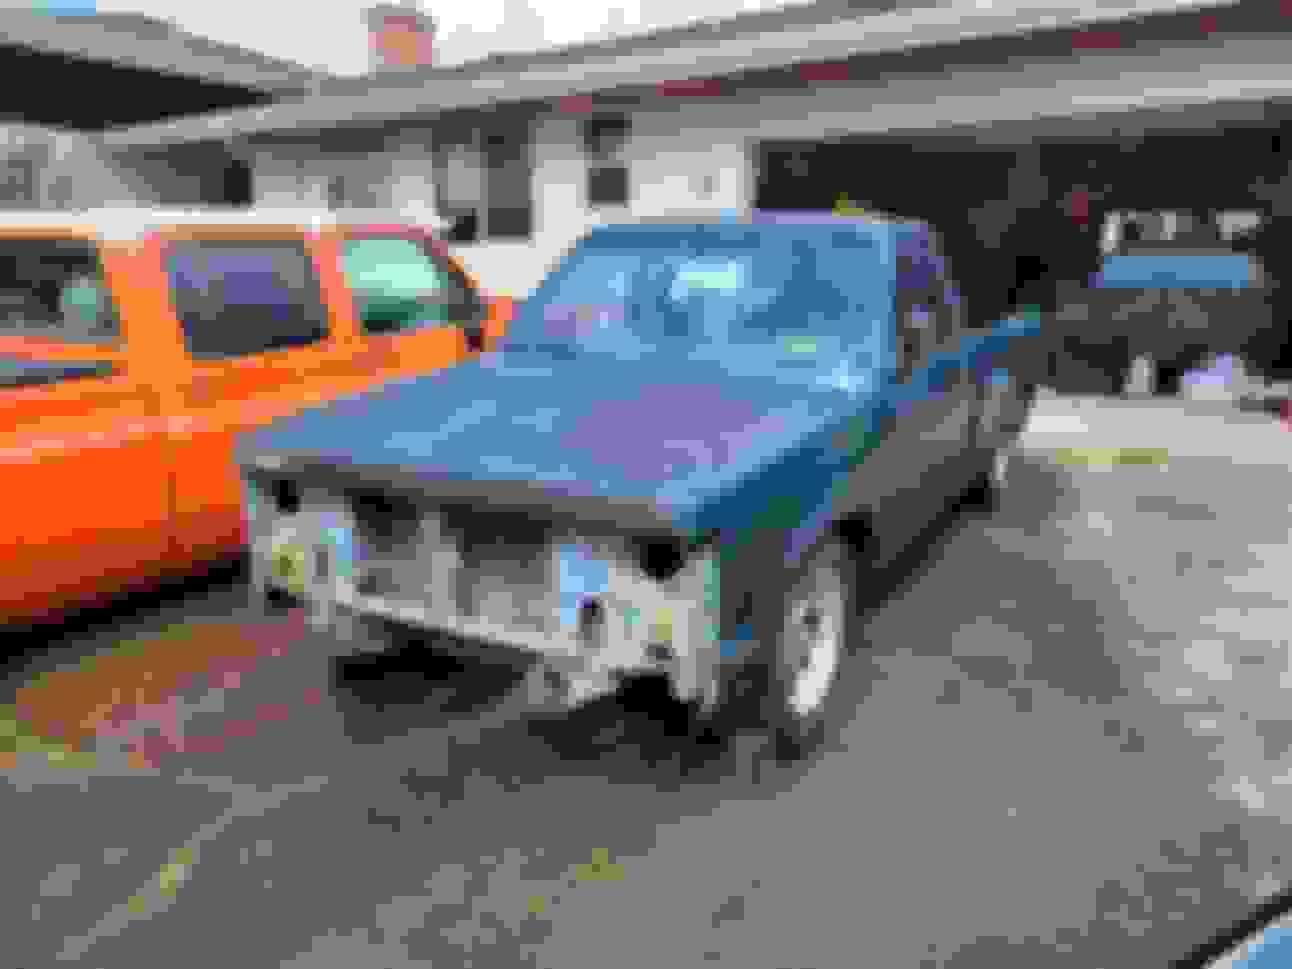
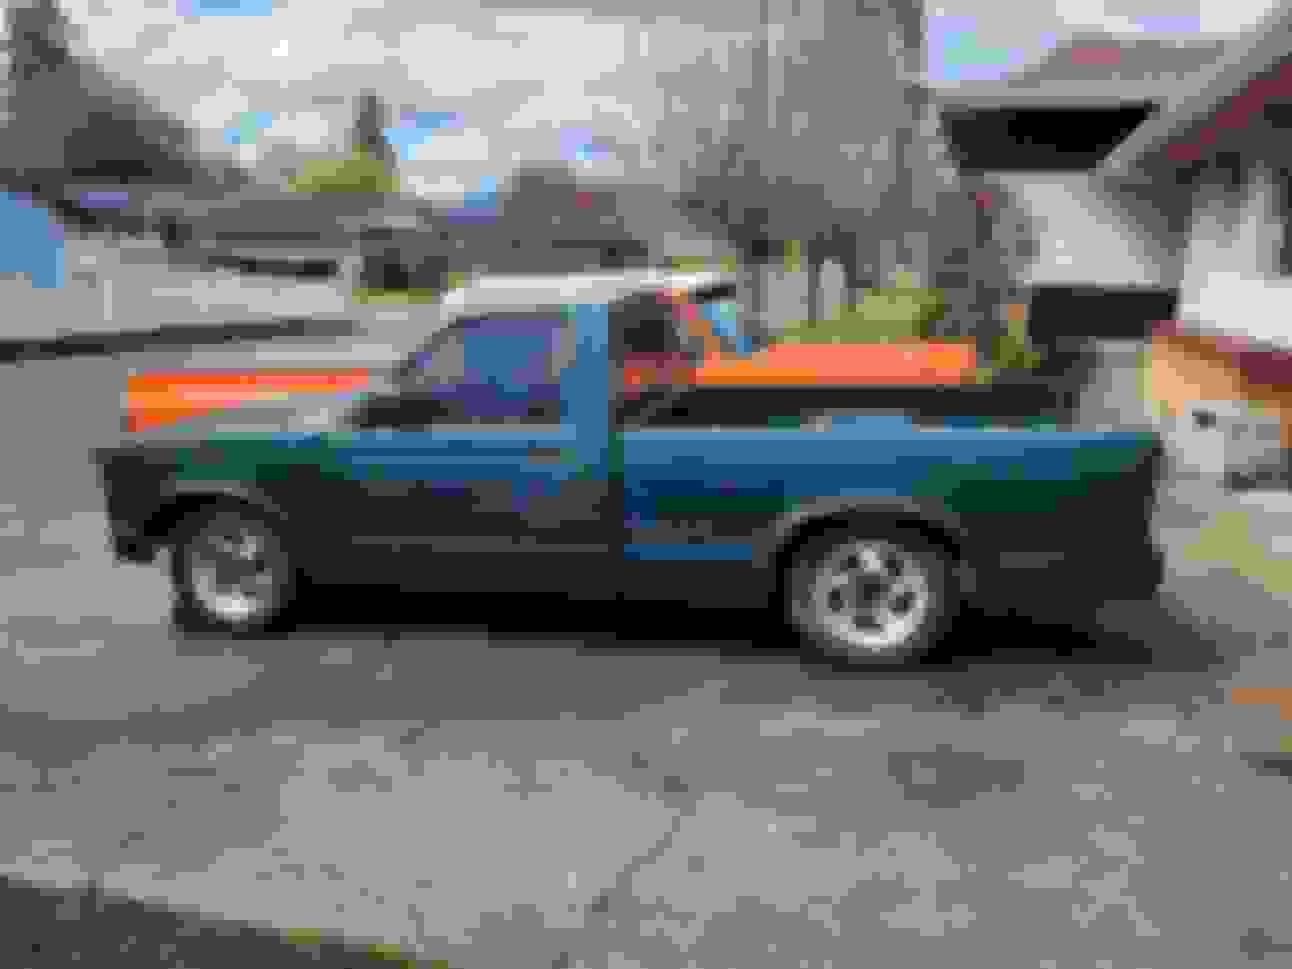
I recently found a 54 Chevy Sedan Delivery and I'd been looking for a 48-50s split windshield panel truck. I kind of wanted the panel truck because they are cheaper and less desirable, and parts are pretty similar to the trucks. I didn't think I'd find a sedan, in my very low price range. Then this popped up and here we are! I drug it home, spent a couple months trying to get the paperwork sorted (and I think we're onto the home stretch now so I decided to come up with a build thread). The thing is rough! Its been messed with, and its going to be a challenge to get back together. That being said I've done paint and body work in the past. I've replaced floors, build sheet metal panels and tubs. I've done a lot of rust repair (never this much on one car though). I've also swapped a 408 LSx into my 78 El Camino and a 3800 supercharged GTP engine into my 87 Fiero. I think for most of the big stuff I can handle all this, its just this one car will need everything I've ever done (and more).
It was in sad shape The hood, and drivers door weren't bolted on Came with a spare rear door, and a bunch of dash parts The door was reinstalled once it was off the trailer The previous owner had too much fun with the black spray paint I couldn't help myself painting the wheels, it needed to look a little happier somehow
So I have a 6L LQ4 block with some small chamber heads to bump the compression to the 10:1 range with some LS2 valve springs, a 4L80e core, and then a bunch of spare and left over parts from my 408 swap. I was thinking of doing a sloppy stage 2 cam and springs, or a sloppy stage one and use my yellow springs. I am also toying with the idea of an S10 frame swap to get a newer disc front end and rear end as well as easy Blazer gas tank mounting. Just update this poor mess and make a nice cruiser out of it.
I found a donor vehicle for a chassis and some other stuff. I'm going to try and source an 8.5" 10 bolt from a 4wd S10 and that should give me the right front and rear track width. The length of the regular cab short bed truck is a little short, but I have to shift the engine back to make it fit under the 54 anyways so a change to the chassis isn't a huge addition. I also am not sold on running rear leafs, and might go to a triangulated 4 link and coil overs, so back half-ing the chassis or modifying it heavily is again not much extra work. The bed floor is in good shape and so are the rear wheel wells, and I plan to use the floor at least for the rear floor of the 54. I will probably use the pedal box assembly from the S10 (modern brakes are a huge item on my list of upgrades ). I'd like to use a streetrod aftermarket column and not the newer style, mostly to keep the ignition in the dash and not look too modern. I may cut the trans tunnel out of the S10 depending on how clean it is to use in the 54, but if I change the firewall on the 54 I'll get/make a smooth one so it looks custom but not from a late model.
I need to get the Fiero painted and assembled so it can come out of my garage and this thing can get parted out and ready for the 54.
Other than that I'm just finding pieces and parts that are missing from the 54 here and there.
Jessica
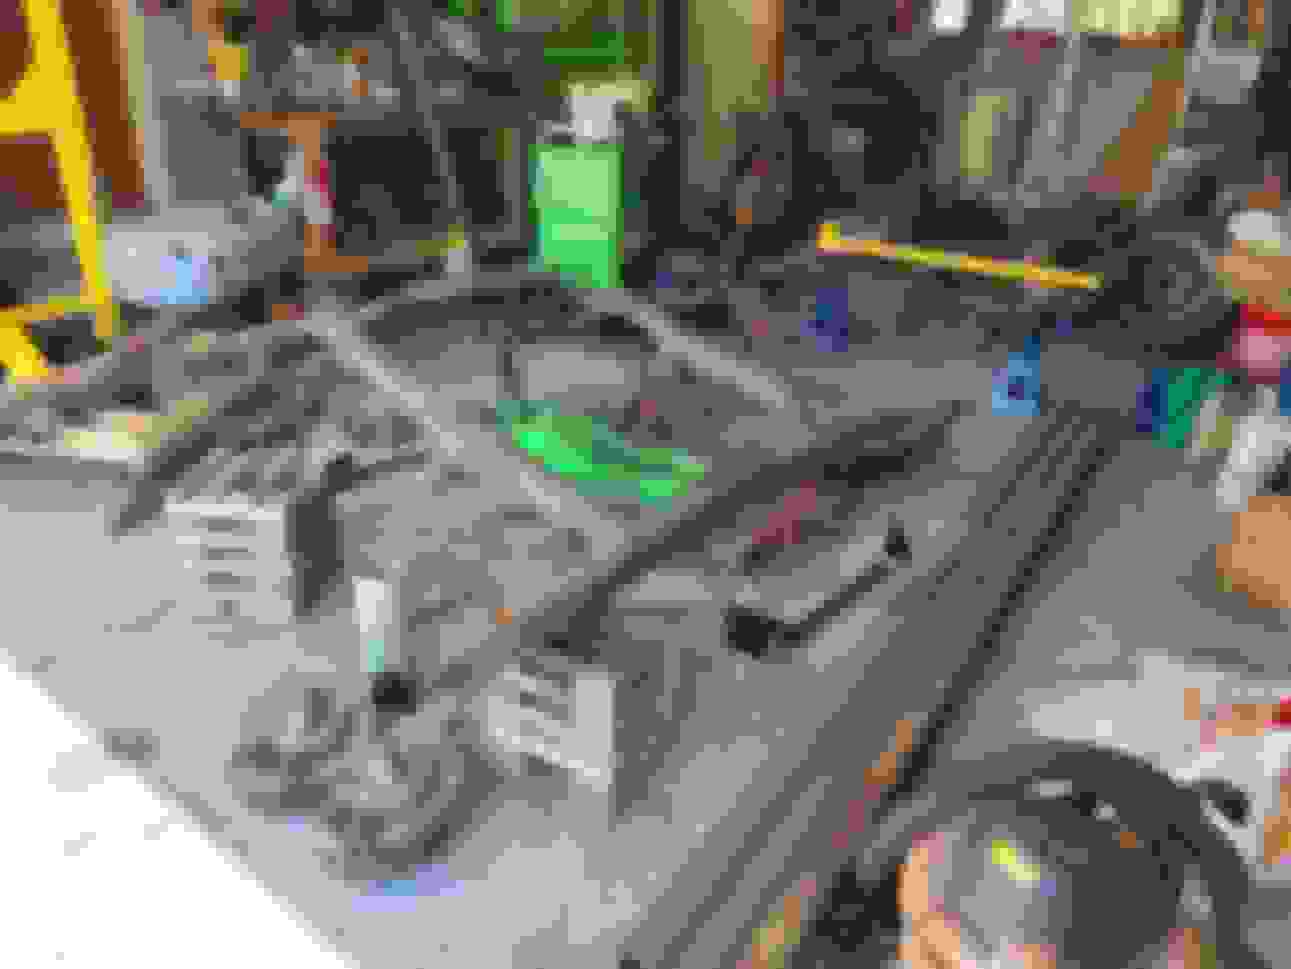
Things are moving right along. The frame is mostly stripped and all the parts I sold paid for the truck. I also cleaned up some of my garage and sold off some things I didn't need so this project is actually going in the right direction.
The frame has a small bend in it that I couldn't see under the cab when I bought it. There were no real signs of a wreck so maybe it was from overloading the bed? I don't really know, even the bed to cab gap looked good. I'm going to have to do more measuring and maybe some bending and heating to fix it. The bend is in the C channel portion of the frame, and I plan to box in that portion so it should be strong in the end. The S10 frame looks pretty good, but there is what I hope to be a small issue Found a cheap 4wd S10 rear, so at least I can get this thing rolling and built. The cab floor looks basically brand new, so it'll be donating at least the tunnel for the '54
I need to finish getting the frame and junk in the tent cleaned up. Then I'll decide if I want to run the leaf springs or go to a triangulated 4 link in the rear and get the wheel base all set for the '54. I know it is a big goal, but I'd like the body to be on this frame before the end of the summer. Then I can spend the winter getting the floors repaired, fitting the drivetrain, and getting the frame ready for paint and plumbing.
I got the rest of the S10 parted out, and other than a few pieces that are still for sale, or need to go in the trash I'm down to just the frame.
I decided to dust off the old garage winch and get the Fiero kicked out for the long weekend and work on 4 linking the frame. The Fiero was getting a transmission rebuild and a refresh of the engine, its also getting painted.
Project burnout was real these past few months so I'm doing a little to the '54
The regular cab short bed has a 6.7" shorter wheelbase than the '54 so by relocating the axle back that distance when installing this 4 link I'll just have to extend the rear frame horns to mount a gas tank and the bumper.
I'll also deal with the suspension drop at the same time, it should be 2" spindles, and whatever drop springs are on it, and then the rear will be setup low without needing any blocks or stuff like that.
Finally learning to save my back as I'm getting older and its getting more screwed up
Things are in some state of disarray but it'll all work out, and the 4wd S10 rear end is here and ready to go. Its not a perfect frame, and its got a few issues that worry me, but it should work out ok once I'm done.
Everything removed and ready for surgery Not that bad to remove with a borrowed plasma cutter
I don't have pictures but I also snagged a set of drop spindles with new cross drilled and slotted rotors and calipers for the front, as well as a new Blazer gas tank for the rear so I can make sure to build this so I can fit it in the frame when I'm done.
Hopefully this weekend goes well and I'll have a nice rolling chassis ready to go under the body.
Jessica
The holiday weekend turned into me locking myself in the garage with a lot of tools and metal...
The frame I thought was going to be fixable, was anything but. I started to cut the cab and bed mount off, then the spring perches and the frame made a pretty pronounced ting noise and the drivers side frame rail kicked up about 6 inches off the jack stand it was resting on.
I bent it back into place, tried to even out some of the C channel frame section so it wasn't so wavy, but as I cut more pieces of brackets off the frame kept moving. So on Friday before the steel yard closed I bought some frame rails (some assembly required).
I probably went overkill on the size, but its close to the S10 dimension, but thicker, and the 54s dimension is close and this thickness, so I think it'll work, and be nice and strong.
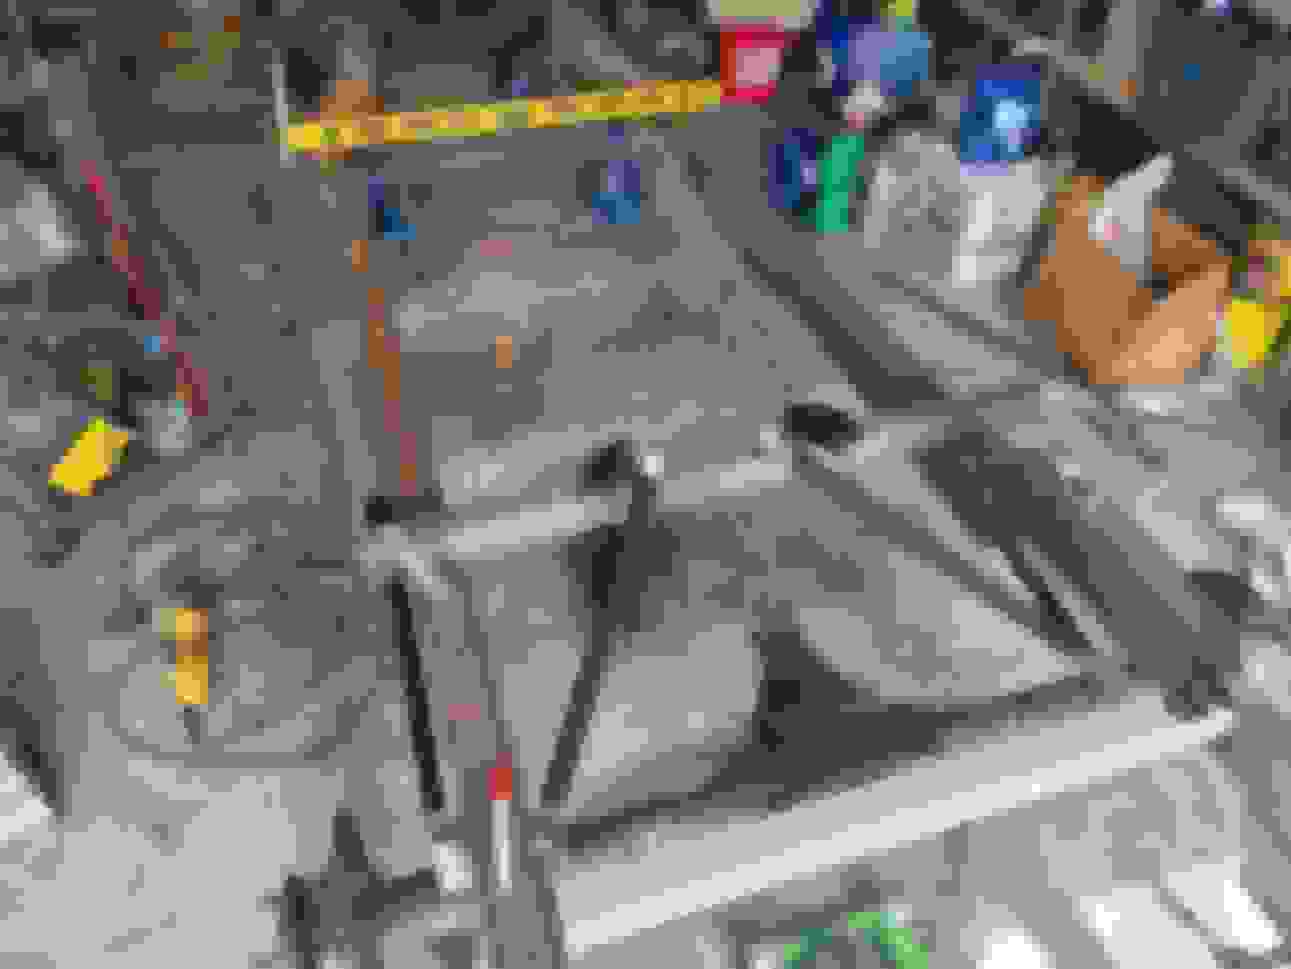
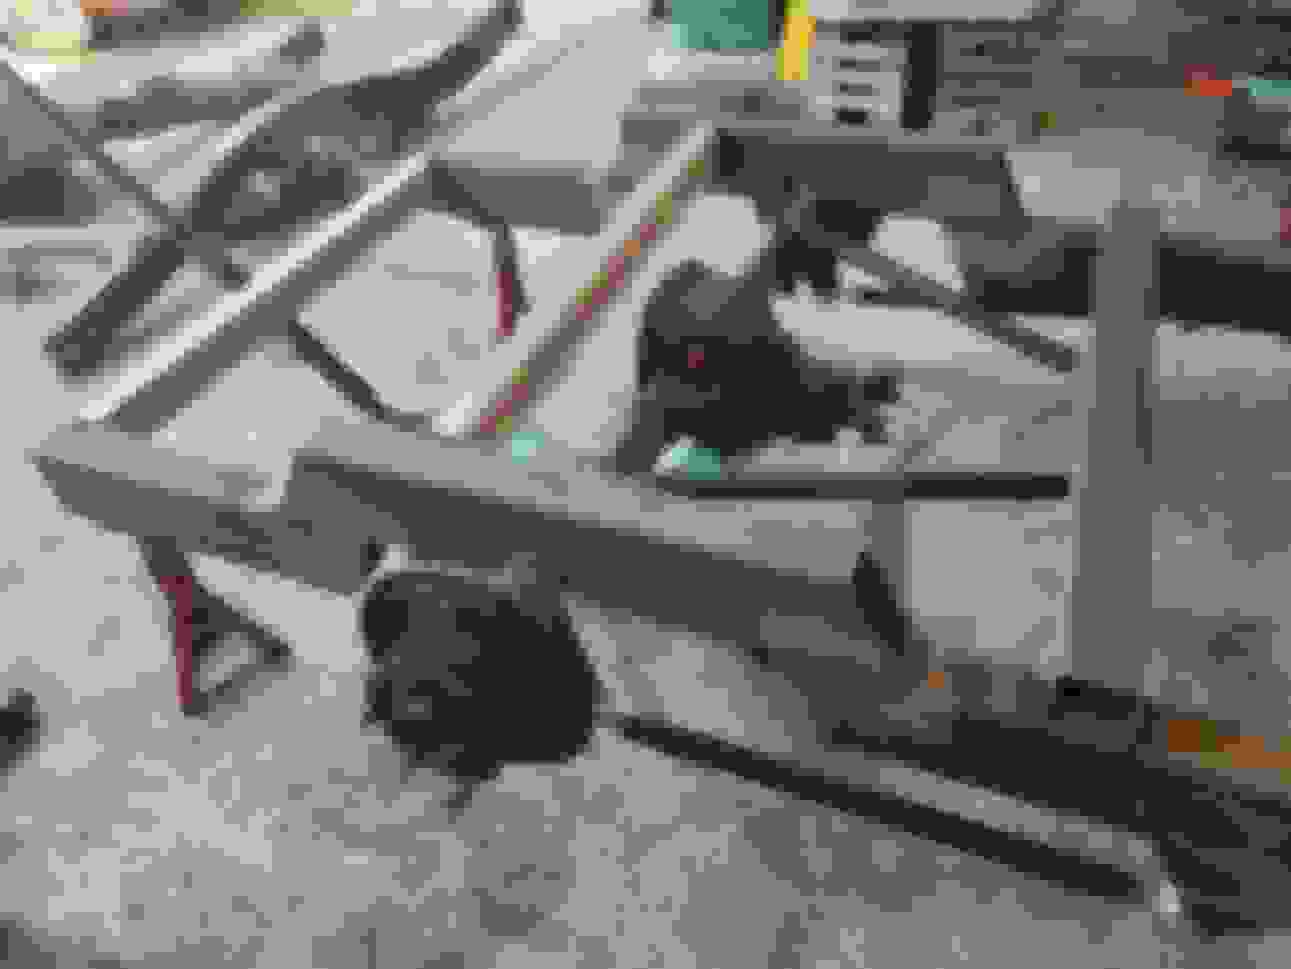
First some pictures of the poor S10, I think it was rear ended, but who knows. Oddly enough a lot of this damage was hidden by the gas tank or other stuff like the exhaust. I ran my hand along the frame when I bought the truck and it mostly looked and felt just fine. Even the bottom of the frame isn't nearly as wavy as the top was. Either way, I made back what I spent on the truck selling body parts and I'm not too upset.
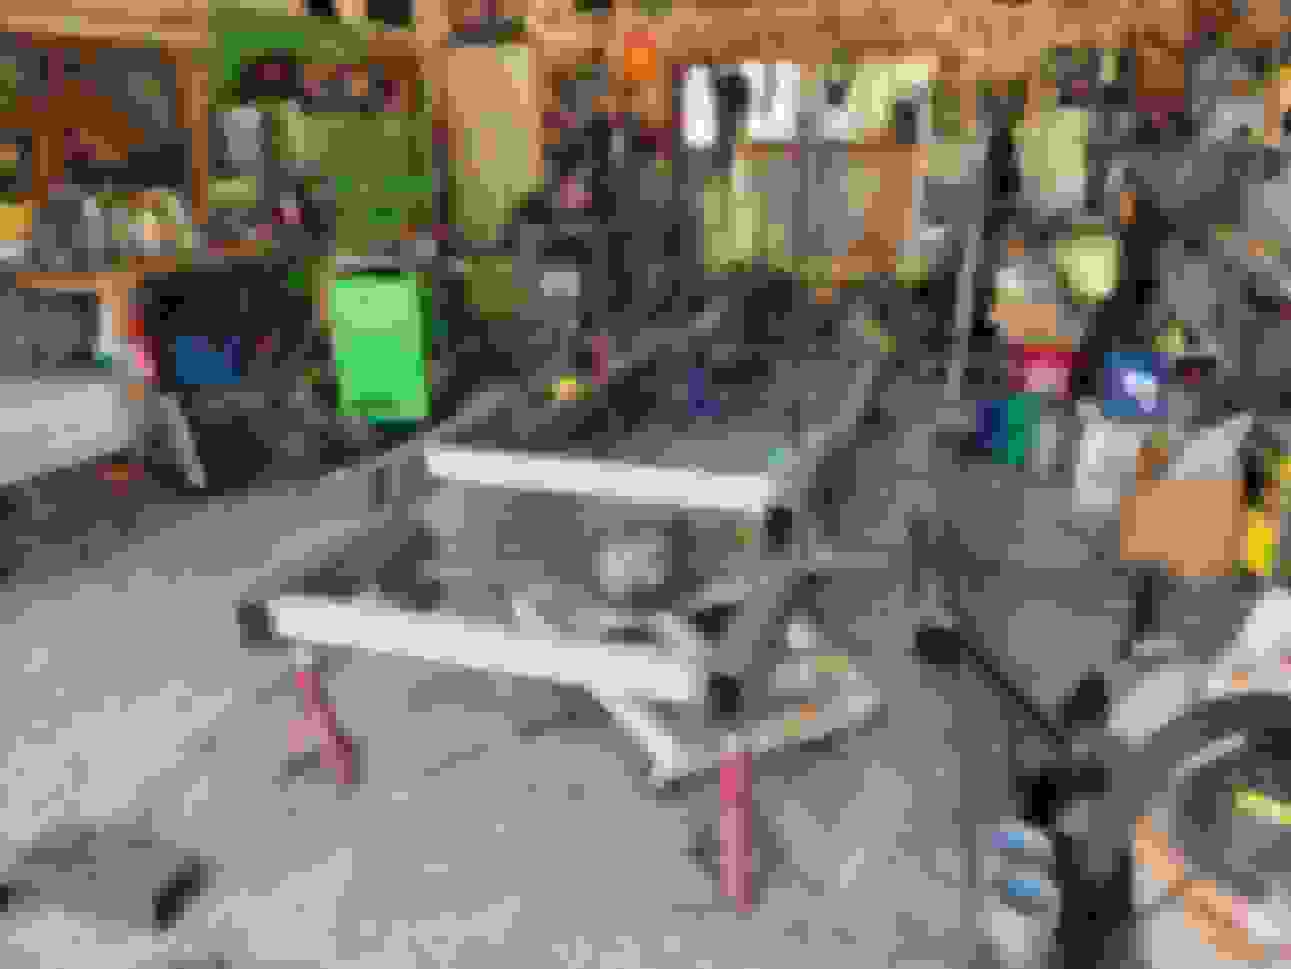
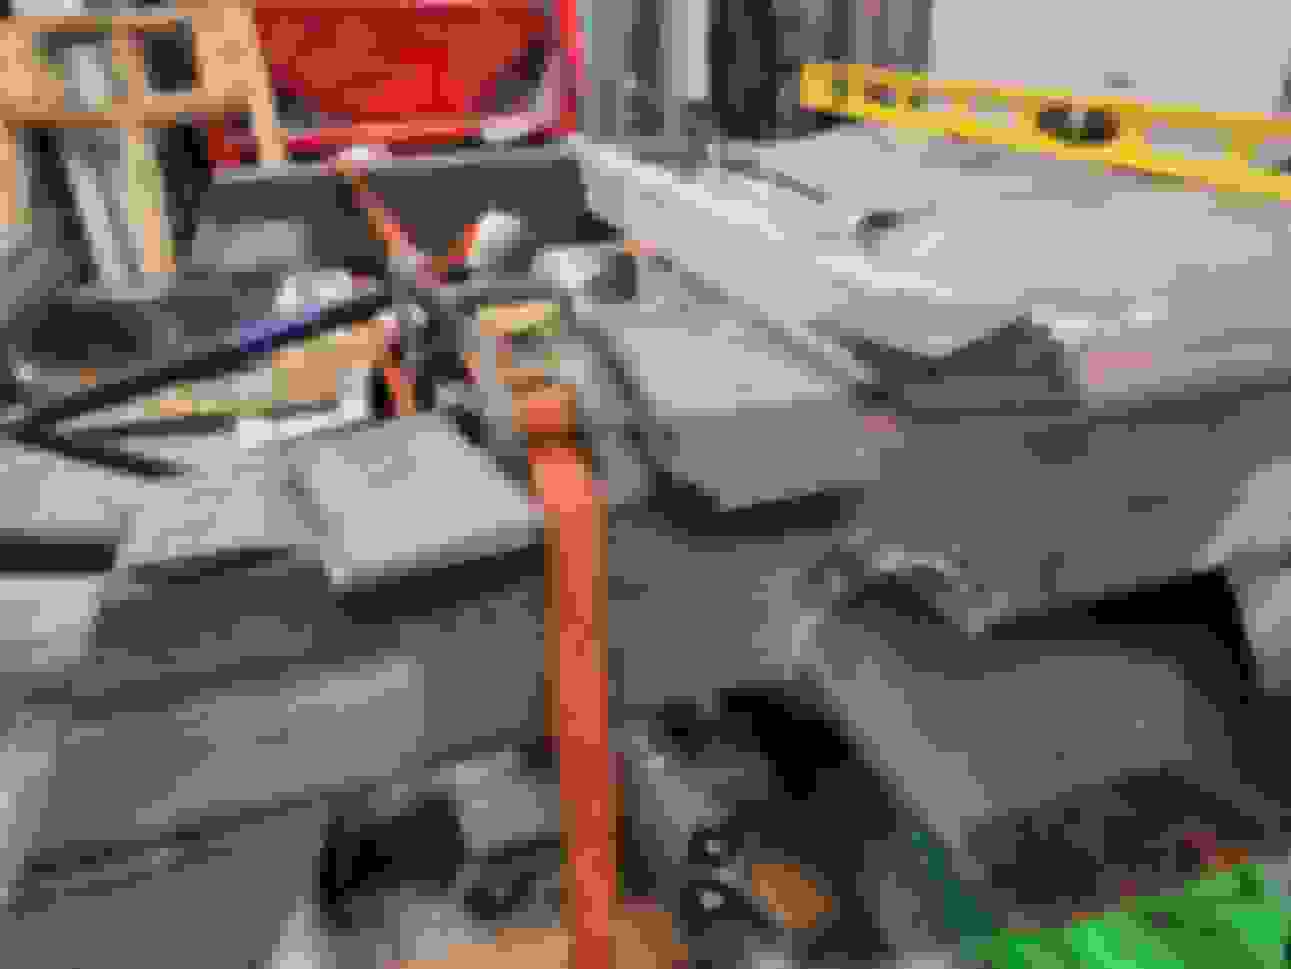
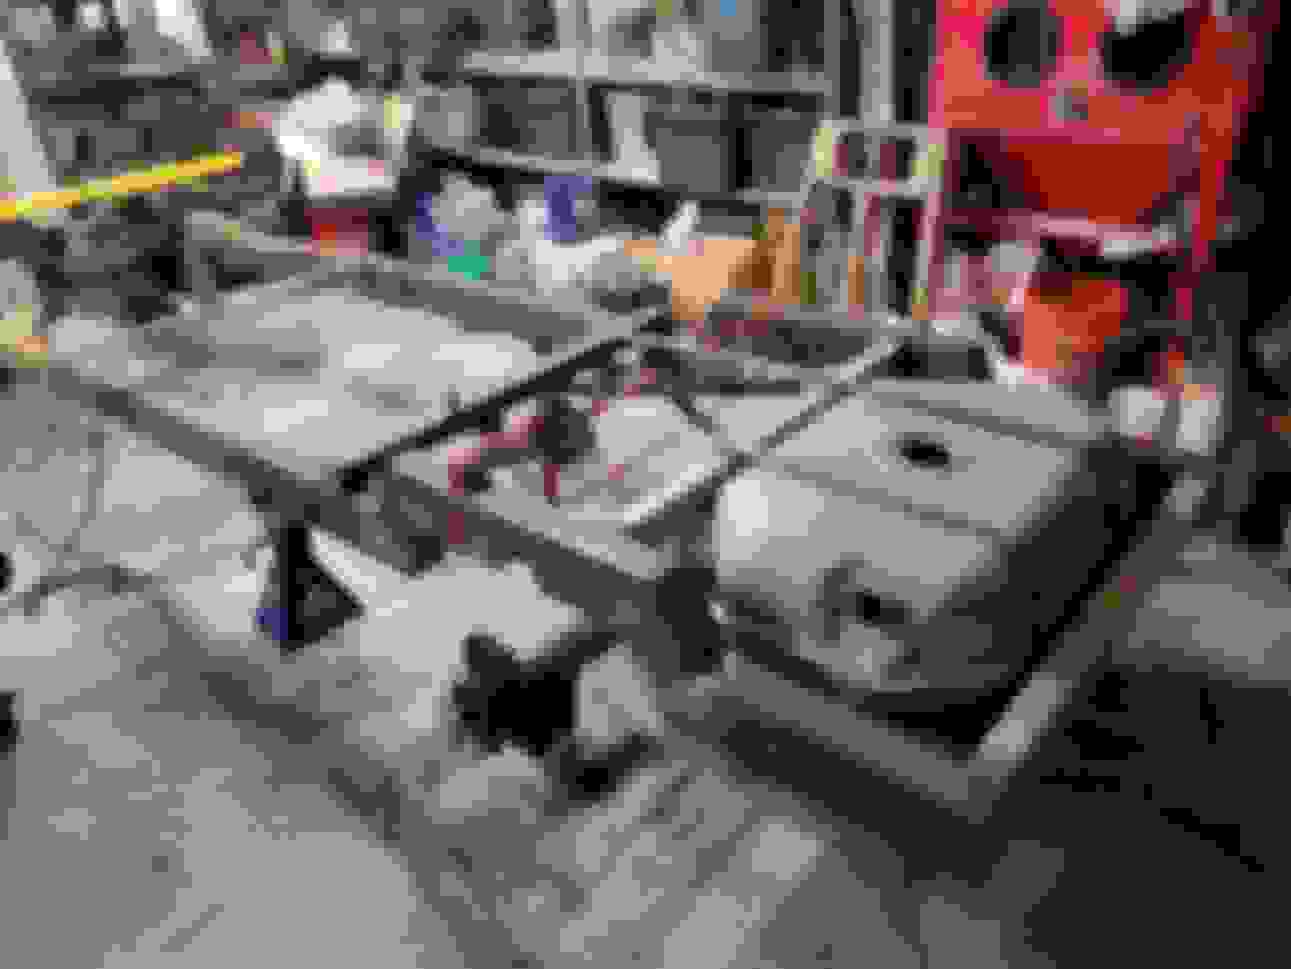
My friend let me borrow his plasma cutter to clean up the frame, and it was working great! Honestly building the new frame was easier than cleaning up the old one, and boxing it. Out with the old! Just keeping it around for measurements if needed. Lots of measuring and leveling and checking, and rechecking The basic plan, I was going to do a bigger step notch but I don't want to have to raise the stock rear floor any. I was also able to get an S10 Blazer gas tank locally before the holiday so I could make sure whatever I do I don't make things too small for it to fit. This had to be the second or third day, it all ran together, but once the fame was in place it started to come together faster I relied heavily on a book by Max Fish about setting up rear suspensions. I'll be using a coilover, but I suppose air bags would work too. Lots of measuring and pondering, and measuring. Then I measured more, and checked level. Then I'd get ready to weld, and measure everything again! No panhard bar or watts link needed with a triangulated 4 link, and the axle has tons of bind free travel and articulation (without any coil overs)
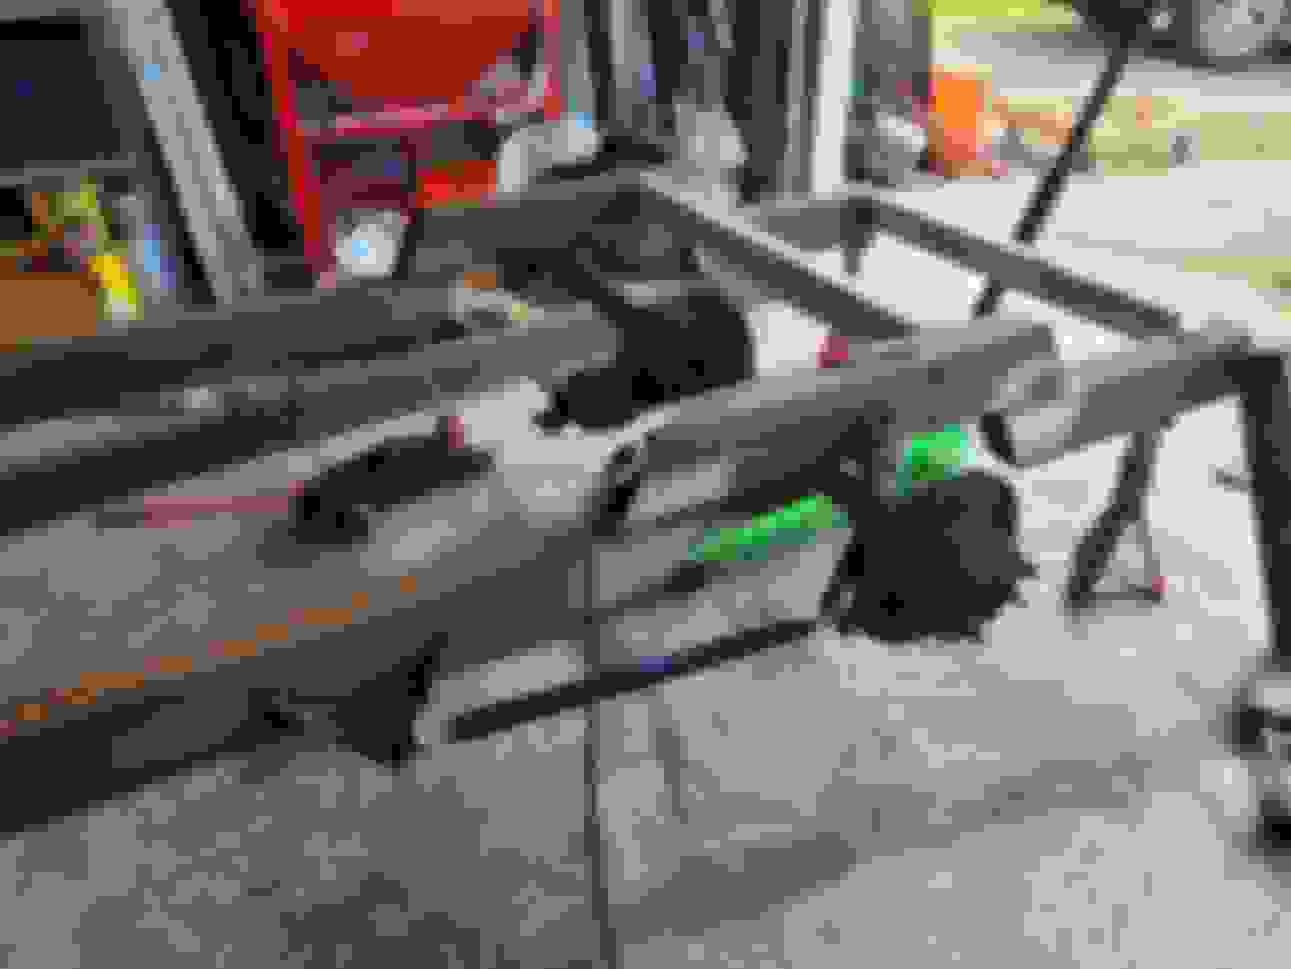
Remember that plasma cutter I was mentioning? Well it came in handy to cut some pipe notches in the frame. I'm just not very good at it, but it'll work. All the rear fish plates and tube end caps for the back half.
I will have to finish plating in where the front clip and this rear section attach together, and making those plates. I didn't even think or care about engine and trans mounts yet, but they should be easy enough to do later when I know where the body will land. I have a lot of finish welding to do in general. The gas tank straps need tabs, and the rear will need some solid bars to hold the frame up until I can get coil overs. The drop spindles need to go on, and then it'll leave the garage for a while, and I'll finish up the Fiero I'm working on. Might have the body setting on it in July or August, kind of depends when I get time to pull the stock everything out from under the body.
Jessica
Another productive weekend! Admittedly I could have gotten the frame "done" this weekend and moved it back to my carport, but I only had Sunday to work on things.
The blazer tank fits pretty good, and all the tube end caps, and gussets/fish plates are in place. Flipping the frame was a bit sketchy with the complete front suspension, but it worked. I didn't want to have to do all that welding over my head, but I had solidly tacked all the joints, as well as plated what I could before I flipped it. Almost all the top side welding was complete as well. Almost everything done, and I ran out of welding gas.
I will be swapping out the front spindles for some 2" drop ones and then I'll see how the ride height looks (obviously without a body on the frame). Then I can decide what to do in regards to the rear coil over mounts on the frame.
Once I have a rough idea of where the shocks will go I'll weld my brake line bracket in place, and the frame will leave the garage for a while so I can get my Fiero painted and put back together.
I plan to have the body off its stock frame, and the drivetrain out of it this summer, but maybe not till late summer. Just too much going on around here lately.
Jessica
I installed the 2" lowering spindles and put the wheels back on the frame last night. Everything looks really good, but I'm concerned the front will be the right ride height and the rear will be a little too high.
I was all ready to start hacking and cutting, but I slept on it. I have a bagged truck and I kind of set this up like it could be bagged (I designed the rear suspension at half travel at least).
I've decided it might be fine, or it might not be, I also found a part number on one of the front coil springs and they are 3" drop springs not 2" like I thought so I guess I brought the front down 5" total.
On the ground and only slightly not right
The gas tank mount works great, the suspension moves perfectly, and I think it'll be fine, I may just need to make the notches a little larger.
I'm going to wait until I have the body on this frame to do any more adjusting to the rear design. As it is now, its a great starting point, and I can shift my focus back to other things that I have to get done in the summer (painting a Fiero)
Jessica
Got my Fiero painted and almost all done. It actually drove out of the garage on its own with custom brakes, a new supercharger and a transmission I rebuilt myself.
The '54 was all ready to go in the garage to get fitted to the new chassis.
I cut all the body bolts and the body (whats left of it anyways) isn't attached to the frame anymore. I should be lifting it off this weekend, and just might get it to sit on the new frame.
Then its a matter of test fitting the engine and trans and seeing what all need to be cut, built, or changed.
Jessica
Last weekend went pretty good! Couldn't get any friends to come help, but I wanted to make progress so I carried on by myself (like usual). Borrowed two of these beam things from a friend. They used to build trailers on them, and they worked perfect! I just kep telling myself to keep lifting till it looked sketchy, then lift more... Managed to get the entire mess out in one go. It just barely scraped the dirt off the top of the frame on one side coming under the beam. Old frame out of the way, and the "new" frame out of the carport and into place. I barely have room to do this stuff. Like I said, lift and then lift some more Sitting on the frame, totally crooked and not sitting down all the way. The only way to get the body to drop down was to cut out a bit of the floor. Its all rotten so its no loss, it was coming out anyways. Dropped down pretty good, still not all lined up but I'm liking the stance and look so far.
I should have some help this weekend, and I'm planning to get the body straightened out on the frame and maybe start on the floor a little. I'd also like to put the engine and trans in place to compress the suspension and see about the height of everything.
I got a good amount done this weekend, but ran into a couple snags so I'm kind of waiting on parts.
Got the frame and body lined up and the tires/wheels centered in the wells. Threw a less rusty splash apron on the front to hold the fenders a little, then welded the body to the frame temporarily. Pulled the engine out of its hiding place as well. Cut the rest of the floor out to fit the 4L80e in place. Using a 4wd for mockup but it'll have to be switched over to 2wd when I get to building a driveshaft and stuff. The engine looks pretty low and back, but it should fit nice and leave me room for the radiator and fans.
I was hoping to get away with this GM muscle car pan, it was too deep on my El Camino and I ended up using a Holley style or F-body shallow pan.
The whole point or plan for this project is to use my left over parts, and keep the cost down where I can.
I wanted to use some factory style mounts I had left over, but they are just too bulky and get in the way of the upper control arm bolts. I am going to have to do some aftermarket style ones. You can also see the temporary body to frame mounts.
I also test fitted some GMT800 truck manifolds and the shape worked, but the flanges were too big. I ordered some shorty style headers that I hope will work, and they'll look nicer than old rusty manifolds, plus I can weld to them easier and make them fit. The big win was the steering column shouldn't be an issue, I just have to order one, and that intermediate shaft doesn't hit anything on the exhaust either.
Anyways, so far so good. Should have the engine mounted this week and maybe started on the transmission mount.
Jessica
Got a good bit done this weekend, lots of cutting and figuring out for the floor, firewall, and rockers.
I ended up cutting more of the floor out on the passenger side because it was all rusty, and rocker had been repaired with lead previously and there isn't much rocker left.
That pushed me to order some outer rockers, and I'm waiting to hear about the length of the inner rockers I found.
I would like to replace the entire inner and outer rocker portion of the body and then build supports to the floor that are welded to that, because what is there now is just not sturdy enough to weld to.
The drivetrain is all bolted in place now, the mounts are heavily tacked, but I think they are in their final places. I did get the trans crossmember made, and bolted into the frame.
Got my cheap headers in place, and they will work (once the collector is cut off). Not sure how these could be sold as S10 swap headers, they would interfere with the steering too much on a stock car (I think). The passenger side fits about as good as the drivers. The ears on the transmission will have to be cut off, but thats kind of what I expected. Everything kind of fits...
The intake is a little tall, but I don't really want to buy a car intake and deal with all that entails. I can't drop the engine lower with the GM muscle car pan, and I don't want to buy an F-body pan.
So it kind of hits the wiper "motor" but I think I can relocate that or trim the back of the intake if I have to.
The cardboard template was just to get an idea of how I want to do the shaved firewall. I think I'll pinch the top in a little more and round it instead of the wide scared off opening I have right now.
I plan to recess that center portion back a few inches so I can access the bellhousing bolts with the intake removed, as well as tuck the wiper motor behind the intake.
So like I said before this project is utilizing a lot of stuff I have on hand or couldn't use on my other builds. So far I've been able to use a lot of stuff, and source a lot of used parts at a fraction of the cost for new.
The sheet metal wasn't terribly expensive for the rockers. I've started on making the body mount brackets and pedestals, and will be using as much of the S10 floor as I can. the rear portion will be the bed floor sectioned and changed, there will be two cubby boxes behind the seat and then there will be the floor under the seat, that will primarily be made up of the S10 floor. The tunnel from the S10 will work (and I won't have to make one!)
The plan so far is to build out the front floor (under the seat area) and attach it to the rockers, as well as to the body mounts I need to put on the frame. Then build up the framework for under the rear cubbies. That should be enough to keep the body from collapsing on itself any more than it already has. Then I'll pull the drivetrain and do the toe boards and firewall. I'll tackle the rear floor last, because it is the most complete section and its holding itself together pretty well so far.
Got a bit done on the old car this weekend, not as much as I'd like to, but isn't' that always the case? Started to make up the body mount pedestals and floor washer things These tall ones will be in the back under the flat floor and in the front for the core support These are going in the center, under the cab floor Cut the rest of the floor out to make room Lots of measuring and aligning things at this stage The first ones always take longer, but that box tube on the top will be what the floor welds onto for support, and the bolts will go right through the floor into the mount on the frame I did get both sides done this weekend, and the rocker had to be removed once it fully broke off
The next step will be to start making the frame the floor will weld onto, as well as attaching this stuff to the body at the rockers, and quarters. I think I'll actually start by making the two storage cubbies in the back (between the seat back and the flat floor section). This is going to be made up of box tubing and flat sheets and should tie the body back together well. It'll be a lot simpler and faster than the front section, so the body isn't unsupported for too long. The front is going to be a lot of work, because it also involves the rockers and the firewall. The outer rockers showed up this weekend, and the inners should be here this week. I'll start on those as well. I also got my steering column so this thing will be able to turn and roll when it gets pushed out of the garage.
As an added bonus I finally sold the wheels that came on the S10 parts truck, and the engine and transmission that was in this '54 when I bought it. I've gotta admit its nice to add some money back into the budget when I can.
Hopefully more progress this week, but I'm making no promises. I may just start to play around with the headers and exhaust, who knows.
Jessica
**EDIT**
I got the inner rockers, kind of overwhelmed and excited at the same time! The inner and outer rockers look pretty awesome, I went with sedan rockers. Coupe may have been a better option, but that would have also caused other issues.
I also got rid of the weird drawing of a rat rod/hot rod wagon on the side (the flames are still there for now)
I got a good bit done this weekend. I stopped by my local steel yard on Friday afternoon to get some sheet metal but they didn't have anything cut yet and I didn't want to deal with a full sheet by myself.
So I figured I'd make do with that I had and it'd be fine. I was wrong! I ran out of rec tube pretty fast, and then with only limited sheet metal on hand I didn't get a lot else done.
The passenger side rocker is installed though! I have the start on the floor and thats just made more things I'm trying to figure out, but at least its progress and the body is a lot more stable. The rocker is pretty bad on this side The quarter bulge too, but luckily this is the easier side to work on in the garage New outer rocker tacked in place Starting to fit the inner rocker As you can see there isn't much left to reference for how it should look on this side Inners and outers attached, and support tubes in place to the main tube on the frame The beginnings of the cubbies behind the seat, and the furthest towards the quarter section will probably be the future location of the battery. Trying to make sure the front is beefed up enough to support the body when I pull it off in the future Decided to ditch the 3 bolt flanges, extend the headers a little, and I'll add some V-bands later The drivers side header got the same treatment. Plus both "ears" on the transmission had to be removed to even get the headers to work. The front of the rocker was a mess and a big learning curve. Its mostly attached to the firewall, although the door posts still need a lot of rust repair.
As for the floors I had kept the cab and bed floors from the S10 just in case I could use them. I think I might be able to make the tunnel work, but the rest of the floor might be just too much trouble to modify.
As you can see in the pictures the body is channeled over the frame a few inches, if you're into mini trucks I suppose it'd be called a body drop. Either way it means I'm probably going to want to keep the floor as flat as possible to retain as much interior room as I can.
I think the back portion of the tunnel will need to be removed and I think the pans just have too many big humps in them to really work well. The S10 floor section I had to work with is about 10" narrower than this car so it was going to be a lot of seams and stuff to make it work, but it might just not work at all.
With any luck the steel yard will have what I need today and I'll be able to tackle the rest of the floor over the holiday weekend and that'll leave me pondering what part to tackle next!
Jessica
This is a very cool project, going to be a fun one!
Hey I'm wondering, what are you going to do for your wiring and ecu? I suppose if your engine is staying 100% stock then you just need to remove the VATS from the stock ecu and you're good to go. I have a 6.0L with a cam and higher compression and have been reading up on tuning options until my head hurts, and I can't decide which way to go for a simple and fun street car. There's so many options: tune the stock ecu with an HP Tuners MVPI3 after learning how to tune ($500 for the MVPI3 w/ 2 credits), or tune the stock ecu with HP Tuners paying someone to do the remote tune ($500 for the MPVI3 and another ~$400+ for the remote tuner), or a laundry list of aftermarket EFI systems like Holley Terminator X Max for ~$2k, Aces Jackpot for ~$1.2k, FiTech, etc. I wish I could determine what is the cost-efficient way to get it done for a simple street car, not looking to be a race car or constantly tweaking the tune, etc.
Oh man I was so in that boat years ago! So here is what I did/what I had to do:
I was building my 78 El camino, (this engine was supposed to go in it). I had a factory pcm, and I'm pretty proficient at wiring so I was leaning towards the hptuners route. This must have been close to 10 years ago. I kept dragging my feet, and the engine went from a 6L to a pretty wild 408 stroker. This engine would probably do better with a stand alone but its on the factory pcm, that i paid to have tuned via email and thay kind of screwed me. It does run, but its far from dialed in, but its not the end of the world. I've put close to 400 miles on it and it is a monster.
During this time I also built a Fiero with a 98 GTP 3800 supercharged v6 and the only good tuning option for that was hptuners. This one works great on the factory pcm with hptuners, and it was only 2 more credits. I did all the wiring and i was set.
My daily is an 04 SS silverado that I put a 4L80e in, and had to do a segment swap so the factory pcm could run it instead of the original 44L60e. I've also got an intake and long tubes to put on it, so having a way to tune for that is nice and easy.
As you can see I'm into hptuners 2 credits per car plus whatever I paid originally for the mpvi2 pro (so I have wide band logging). It's still cheaper than 1 holley setup, and I'm proficient enough to do vats, segment swaps, and other stuff like that. I'm getting better at tuning for modifications like maf and cams but even having to pay someone isn't too bad. If you need to pay someone to tune your holley it'll cost the same as well. Admittedly, I'm biased but I kind of saw how having hptuners is more bang for my buck because of my habit of doing resto-mods.
There are great resources and people willing to help, and once you have the car and tuning suite open a lot of the tutorials make more sense.
If you have any more specific questions I'm more than happy to help.
Got a day or two to work on the car over the holiday weekend. Its coming along nicely, and already a lot more solid than it was when I started.
I've been joking with my Dad, I spend a lot of time out in the garage and I'm sure a casual observer (like a neighbor) would have no clue any progress is happening. Made a notch for the driveshaft to come through the upper arm cross member Lots and lots of fitting and welding but there is a floor skeleton now I got some tipping dies for my cheap bead roller Not too shabby for my first try at making a curved flange The second piece was a little tighter of a radius so I had to make relief cuts
I decided to call it quits there and evaluate what I'm going to do with the floor and tunnel.
I also want to fully fix this B-pillar door jamb situation before I do anything else. The rocker is solid, but it needs to be fully attached at least on one end of the door.
The body was still flexing pretty bad, until I tied the right and left side of the floor frame together, now when you push or pull on the passenger side it actually just moves the entire car, not just the one side.
I know I kept the S10 floor to try and use, but I'm not sure it'll actually work well or save me much time. So I may do all the rest of the floor and then tackle the tunnel at the end once its got a sturdy starting point to attach to.
Jessica

 03-14-2023, 01:48 PM