When you click on links to various merchants on this site and make a purchase, this can result in this site earning a commission. Affiliate programs and affiliations include, but are not limited to, the eBay Partner Network.
Just a little background my interest in Nova's...... Back in April of 66 I took delivery of a Marina Blue L-79 SS Nova...... That started it all....Didn't realize what a special car it was until a couple of years after I sold it..... Anyhow, we were down in Florida on vacation in 87 and after looking thru the classic car section of the Sarasota newspaper I noticed a 66 Nova for sale..... We went and looked at it.....It was a Sport Coupe 283 powerglide White top, Mist Blue bottom.....Absolutely Rust free..... Bought it and had it shipped back to Wisconsin....So over the years I somewhat tried to replicate my old car.....
Put a 350 and a 700R4 trans in it......added Nitrous and the car went a best of 10.92 on street tires back in 2006...... The people at the drag strip told me not to come back until I put a Roll cage in the car.... That was when I quit racing as I didn't want to screw up the car even if it was for my safety....
So I kept the car and on my grandsons 16th birthday I gave him the car... He has since then had Frameup wheelworks install a 9" ford rear, mini tubs, and subframe connectors........and the story continues..... I'll be posting updates on the evolution
I'm a 2 gen Nova fan. I've done two over the years. Both 67's.
Pics. The red one had a mild 350/700R combo. The satin black one had LS2/4L60E. The LS2 was sleeved and stroked to 427 cubes. Super fun car to drive.
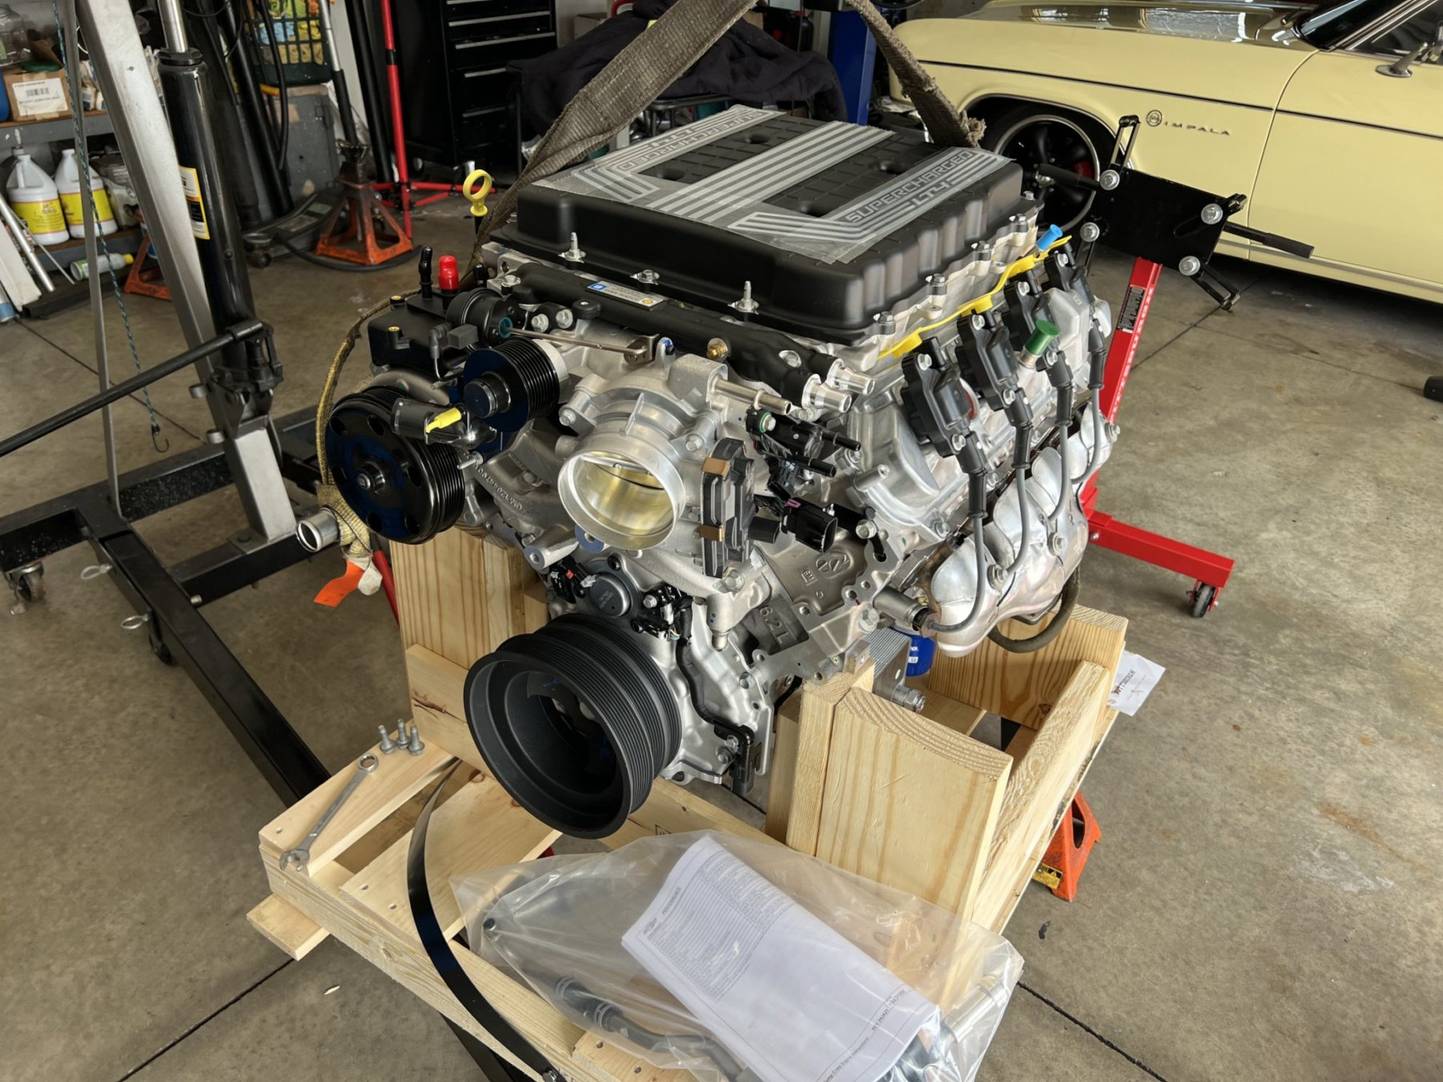
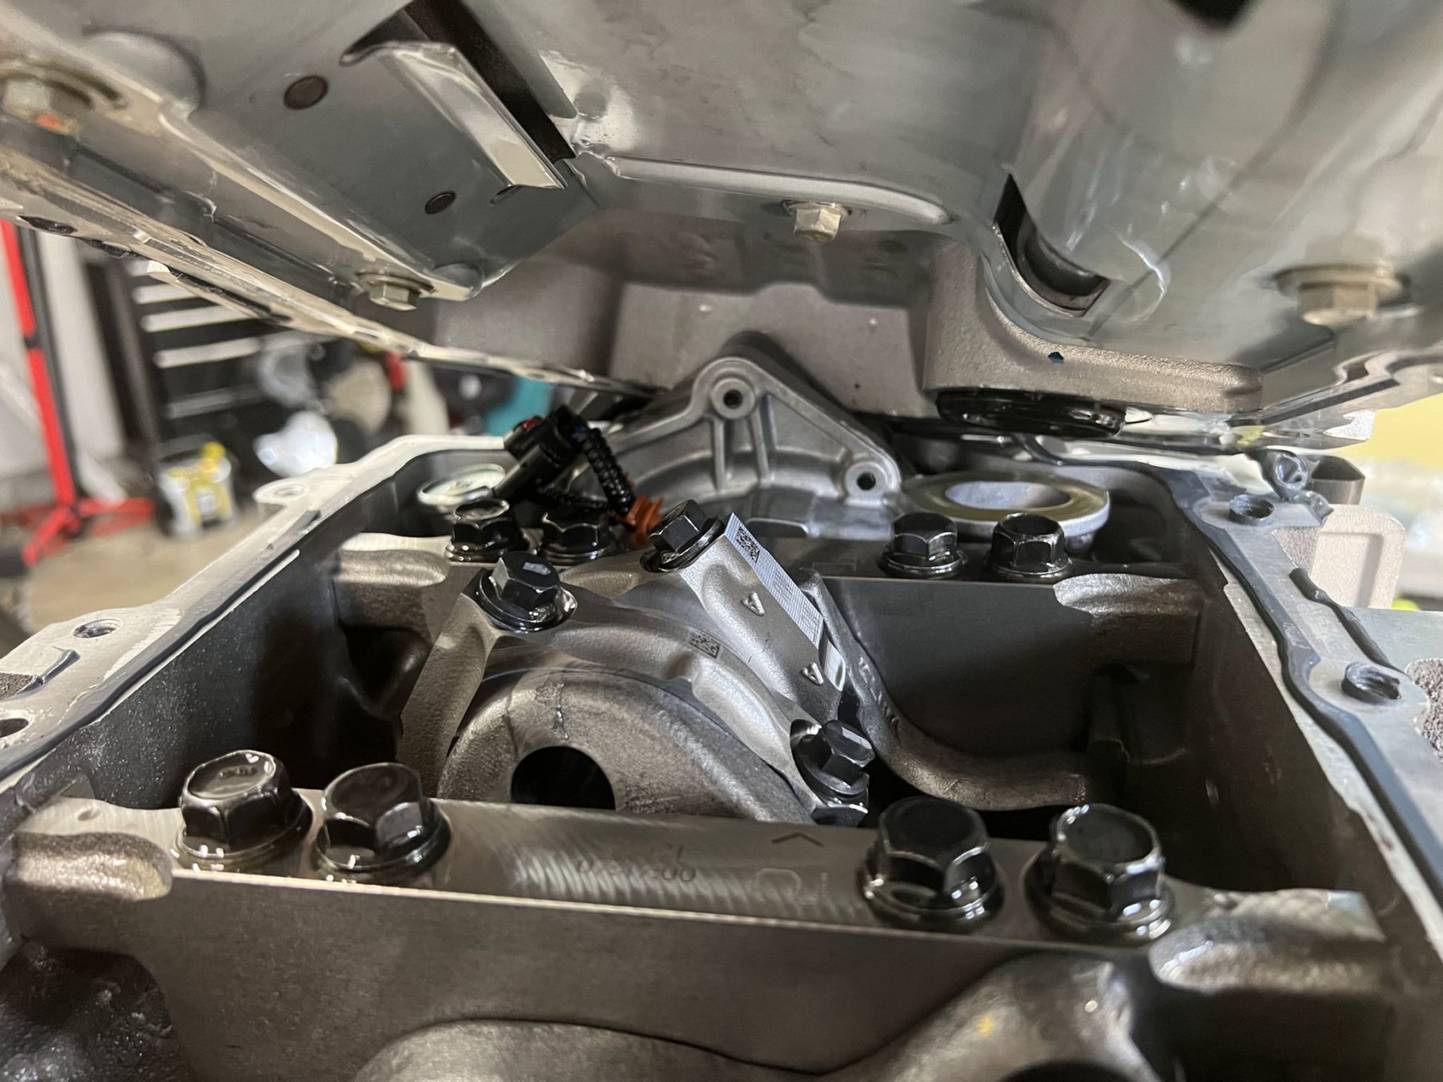
I'm getting an education with the differences between the LS and the LT engines........ to be explained in future posts.......The first issue I encountered was changing to the Holley 302-20 oil pan........Mounted the engine on a engine stand and flipped the engine over to change the pan...... Simple..Right!!!.....when I opened the Holley box I was looking for the pan gasket...... Hummm!!!!..... Went online and found out they no longer use a pan gasket...the pan is sealed with RTV sealant..... O.K....... Took the pan bolts out and had to pry the stock pan off.......Done...... Then I tried to get the pan off...Couldn't get the pan off as the oil pump sticks up and the pan was wedged between the oil pump casting and the inside of the harmonic balancer......Hummm!!!!...... If you don't know..... The balancer removal is easy..... But putting them back on is a major Pain.... Gotta get a new bolt as you can't reuse them as they are torqued and then stretched per factory spec's.......
Had to put the keyed flywheel locker on and order a new harmonic balancer bolt and go thru the torque and stretch procedure.... 20 minute job ended up being a day long ordeal...... one of many lessons learned
With the engine assy I was also supplied with a Holley front drive assy....Now.... with the LT engine family there are a few changes that need to be accommodated.....Since these engines are direct injected the PCV system becomes very important.....In a normal engine assy if oil vapors get into the intake and get on the intake valves the incoming gas will wash it off keeping the valve clean...... In the LT since it is direct injected this is not an option.....Holley copied the GM system and they have a vapor collection reservoir (like a catch can) that drains the oil back into the oil pan..... I'm sure there's more to it but this is my understanding of what's going on...Holley doesn't include this drain back feature in their kit......I was going to use AN fittings and rubber hose.... But they cautioned that keeping the drain feature away from the exhaust system and also maintaining a downward pitch to the drain.....I could see that my original idea wasn't going to work....the motor mount adaptor plate and motor mount wasn't going to allow this.......So, after going in the house and thinking about this.... I went back out and took the original draintube that was on the drivers side and cut it up and welded it back together and (with a little bit of grinding on the ribs between the motor mount bolts) the tube now fit under the adaptor plates and were hidden from the exhaust manifolds
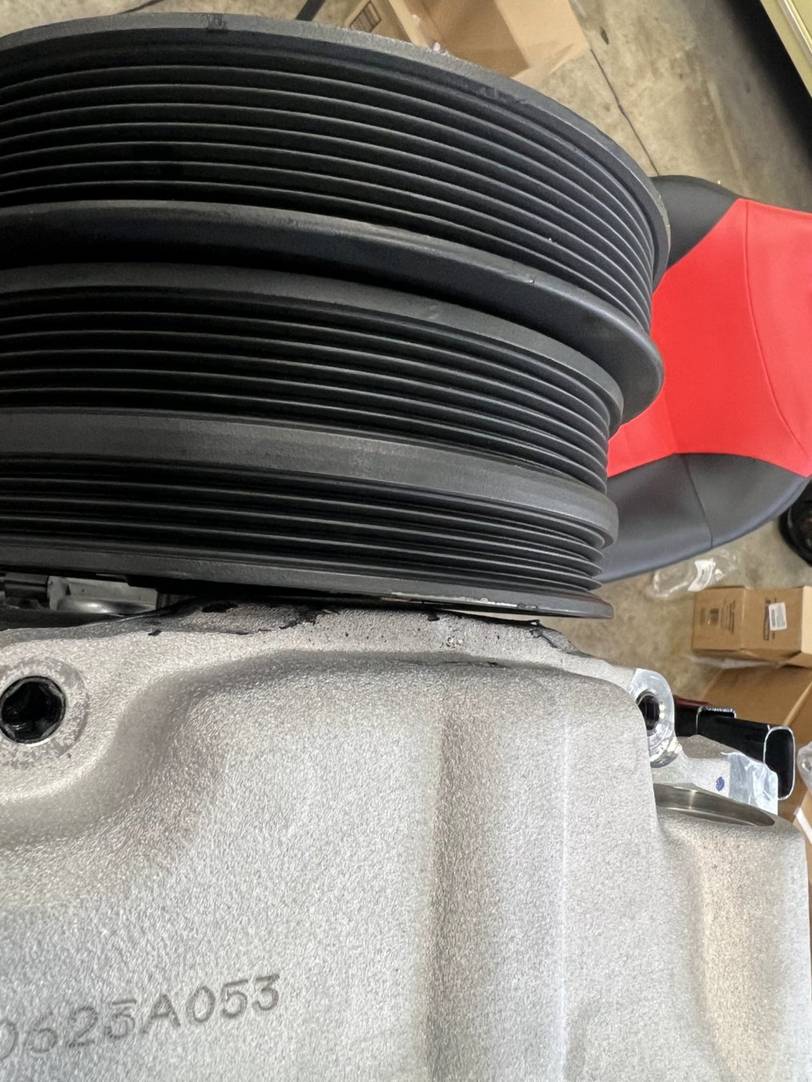
The Holley front drive set-up has another change from the other set-ups.... The normal set-ups have a single belt driving the supercharger and all other accessories are driver off a smaller belt..... For some reason Holley added the power steering pump into the supercharger drive belt...... To do this and eliminate pressure from the stress put on accys they added an additional casting with three bearings in it that the pump screws into....all the belt wrap pressure is absorbed by those bearings..... The big problem is that part of the front drive sticks out 2.5" from the rest of the unit....Humm!!!.....On most applications there would be enough room and this wouldn't matter......But.....
The OEM LT4 never came in cars that had hydraulic power steering. For that reason, Holley added the hydraulic PS pump to the blower idler. It is actually a really clever way to do it without disturbing other accessories.
Time to slip it in and see what other problems are going to come up.... My concerns are the transmission cross member.........Exhaust manifolds.....getting the engine as close as possible to the firewall yet still having enough clearance for the harness plugs for the high pressure pump......
Wow!!!...... Transmission cross member (modified in the past for the 700R4) bolted right up to the trans mount....... Clearance with the firewall perfect.....Supplied exhaust manifolds look like they were made for this swap
I know this is too perfect and I'm sure other problems will come up buy we dodged many bullets till this point
Next issue to deal with......We have the A/C condenser mounted to the stock position on the core support.... I was planning mounting the supercharger intercooler between the condenser and the radiator...... ...Now I have 7 1/2" between the core support and the Supercharger drive pulley......minus the 2 1/2" stick out of the power steering pulley....5" of space to work with for Intercooler, Radiator, and Electric Fan......Here we go.....In mocking it up with the original radiator to see what I had to work with..... another problem came up..... It became apparent that I would not be able to move the radiator back at all as the throttle body was positioned to where the 4" rubber elbow was just going to fit with the stock position.......Hummmmm!!!!!
So...After agonizing over this issue I came to the conclusion that the intercooler had to mounted front of the core support.......... I found one that is 22 x 10.5 x 1 3/4" thick........To get it to fit I have to eliminate the stock hood latch assy and (until I get it I won't know for sure) trim away the bottom lip on the Grill to clear......I also ordered a Volkswagen Beetle hood latch (which I always used on my street rod projects) assy and I hope I can that to work otherwise we will have to use Hood Pins which I really don't want to do...... Wiating for parts now
Finally made some more progress...... Got all the fittings I needed to get the new gas tank installed....With the old tank out you can see the Quality of the rear end modifications done by Frame-up Wheelworks in Beach Park, Ill.......9" Ford rear along with Detroit Speed 4 Link and Coil overs........they also mini-tubbed the rear along with adding frame connectors.......So it is better suited now to handle a little more H.P........Here are some pic's
Had a problem with the Image hosting site......Think I got it figured out finally......So....I received the new radiator and put it in to see what the next set of problems that are going to pop up were......LOL.... Very limited room for anything.. The Throttle body with elbow is 1/2" away from the Radiator.....The Electric fan has about 1" of clearance.....I have to see about moving the A/C condenser behind the core support and getting the Heat exchanger to fit in front of the core support is going to be an issue........But...In the meantime I finished the air inlet tube ........More pic's to come
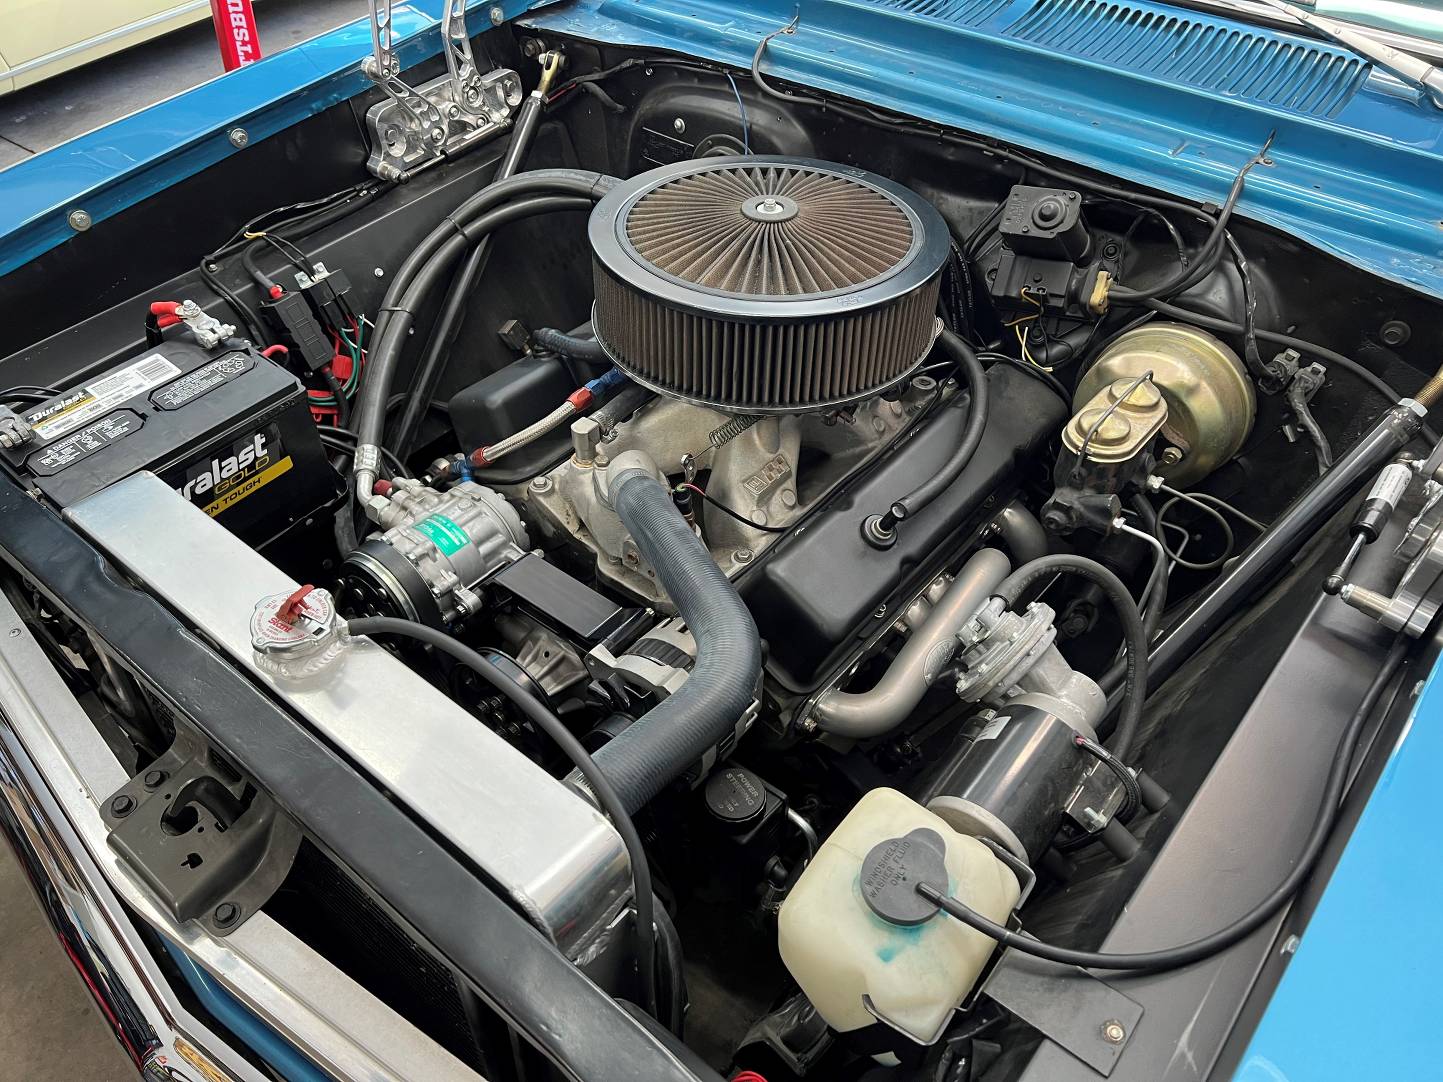
Nice work but I'd make myself a goal of getting that air cleaner out of the engine bay. I bet your iat's will be through the roof especially supercharged.
Getting to the part I have dreaded for a while....... Now that all the physical parameters are known.......Time to pull the engine out and install the wiring harnesses and see what other issues are going to pop up.......
This is where patience is going to enter the picture.....Look at the size of the main harness ........ Hope there is room left in that 1 lb. bag to get this 10 lbs in there...
It's been a while as I have had some issues with getting pictures off my phone and into the web hosting sites ..... Finally got it figured out (I think)....LOL....Anyhow, I had some issues getting a Heat Exchanger to work in the space I had available....I ended up buying two different ones that I thought I could get to fit.....Ended up trimming the inner grill lips and no matter what I did I could either get the Intercooler to fit or the A/C condenser...but not both....So...I kept looking and looking at what was available..... I found a motorcycle engine oil cooler that looked like it would fit.... It was small enough to work with the taper of the grill.......Humm!!!..... so I bought another one and mocked them up on either side of the hood latch assy and installed the A/C condenser and everything just barely fit......I had to modify the heck out of them but they fit.....they are on the small side and don't know yet if the cooling will be sufficient but my only other option was putting one of the larger one under the car with fans blowing thru it......Gonna try this and see how it works....


 04-22-2023, 07:45 AM